
Articles
How To Install A Freestanding Tub Faucet
Modified: January 19, 2024
Learn how to easily install a freestanding tub faucet with step-by-step articles. Create a stylish and functional bathroom with our helpful tips and guidance.
(Many of the links in this article redirect to a specific reviewed product. Your purchase of these products through affiliate links helps to generate commission for Storables.com, at no extra cost. Learn more)
Introduction
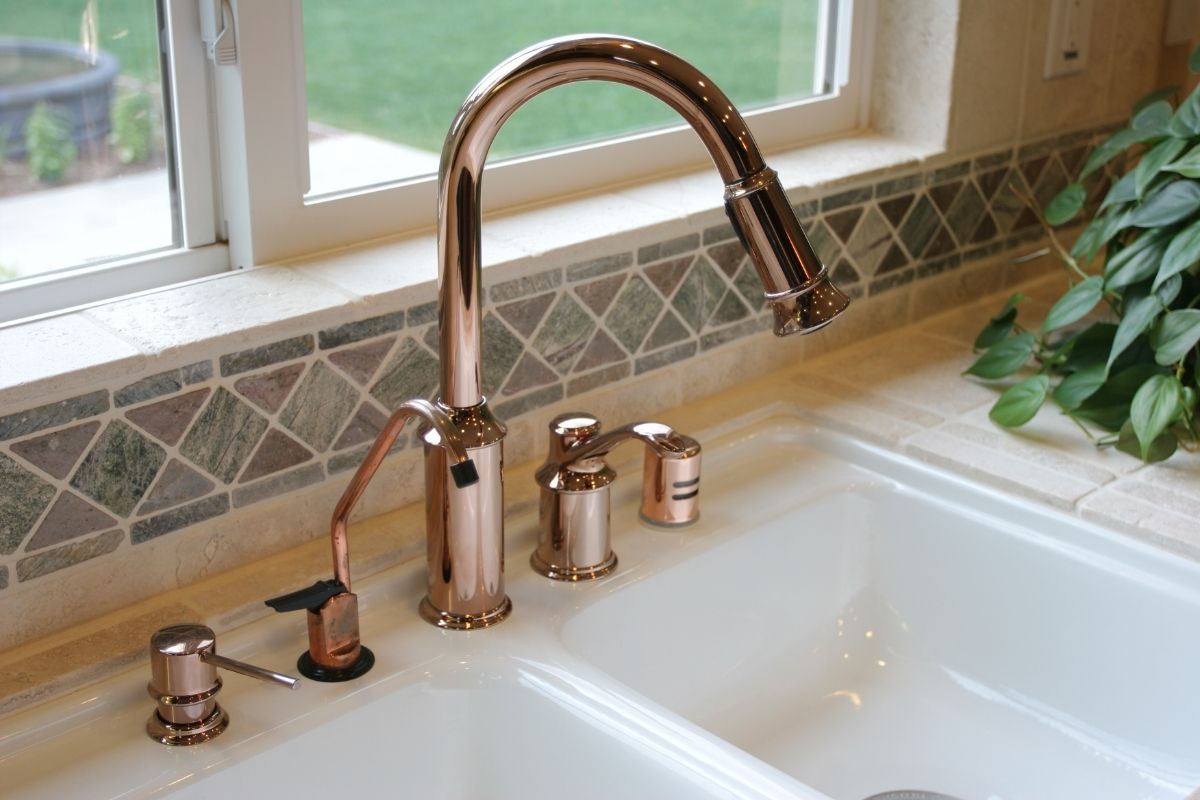
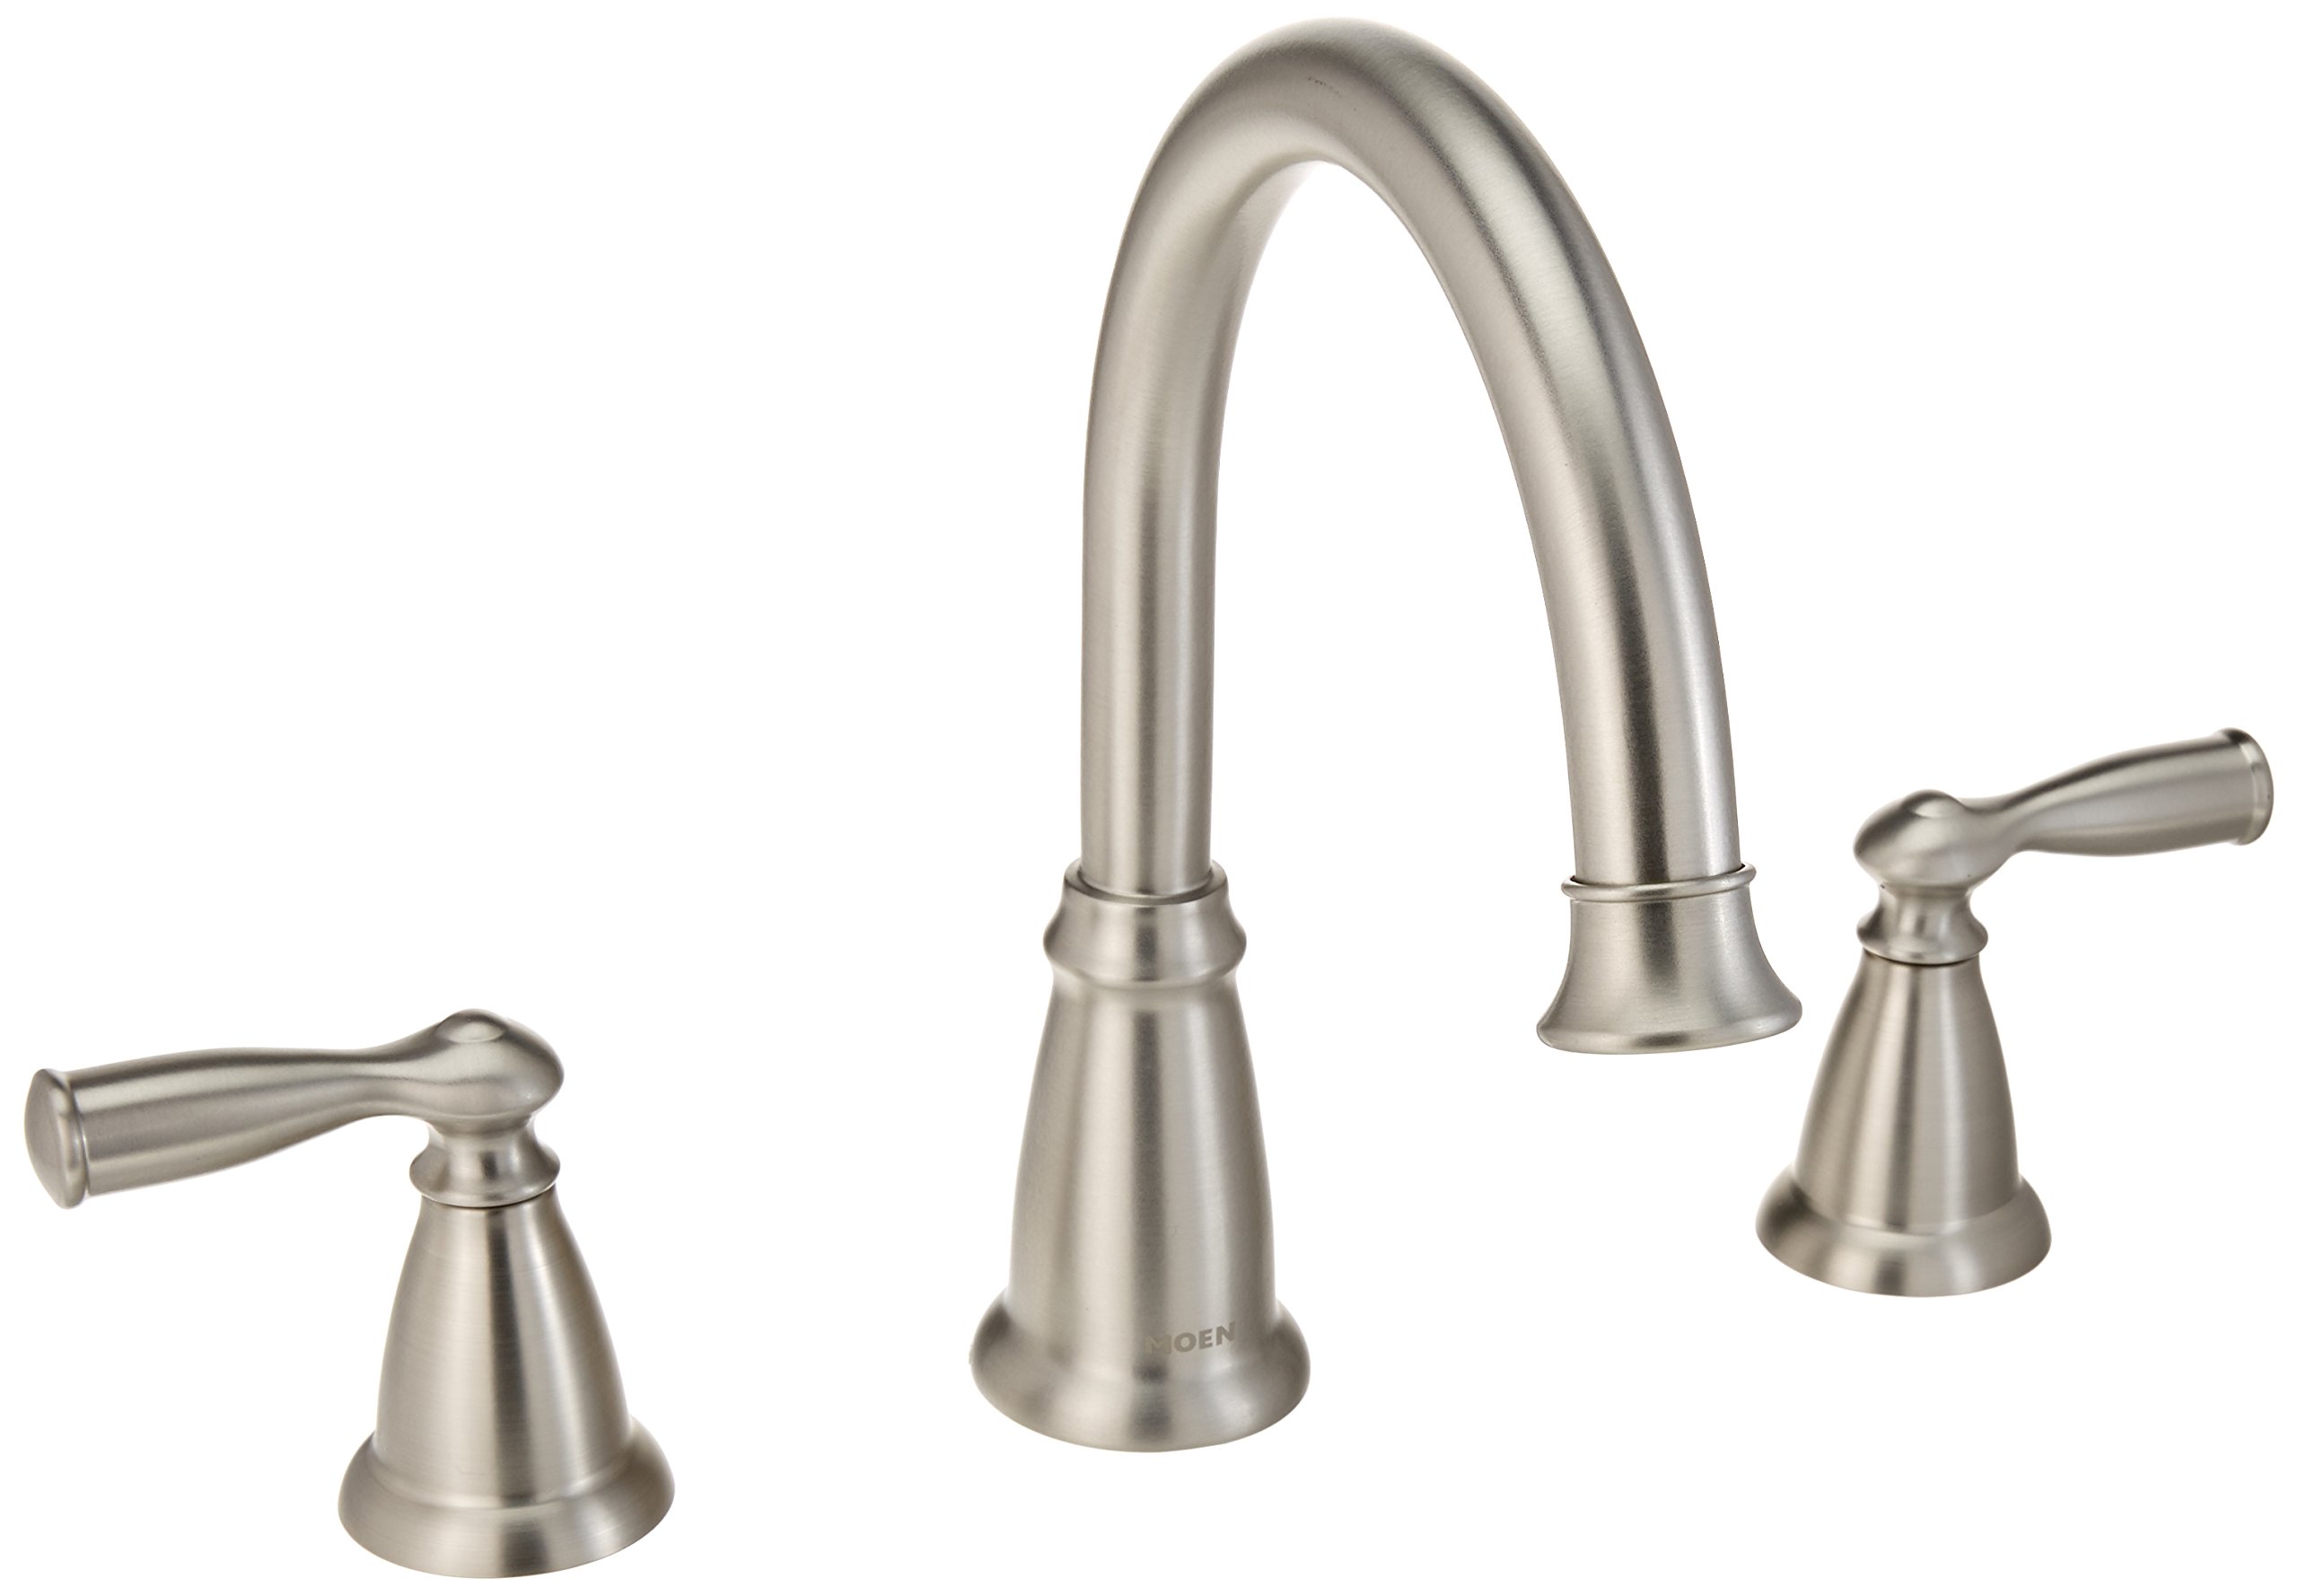
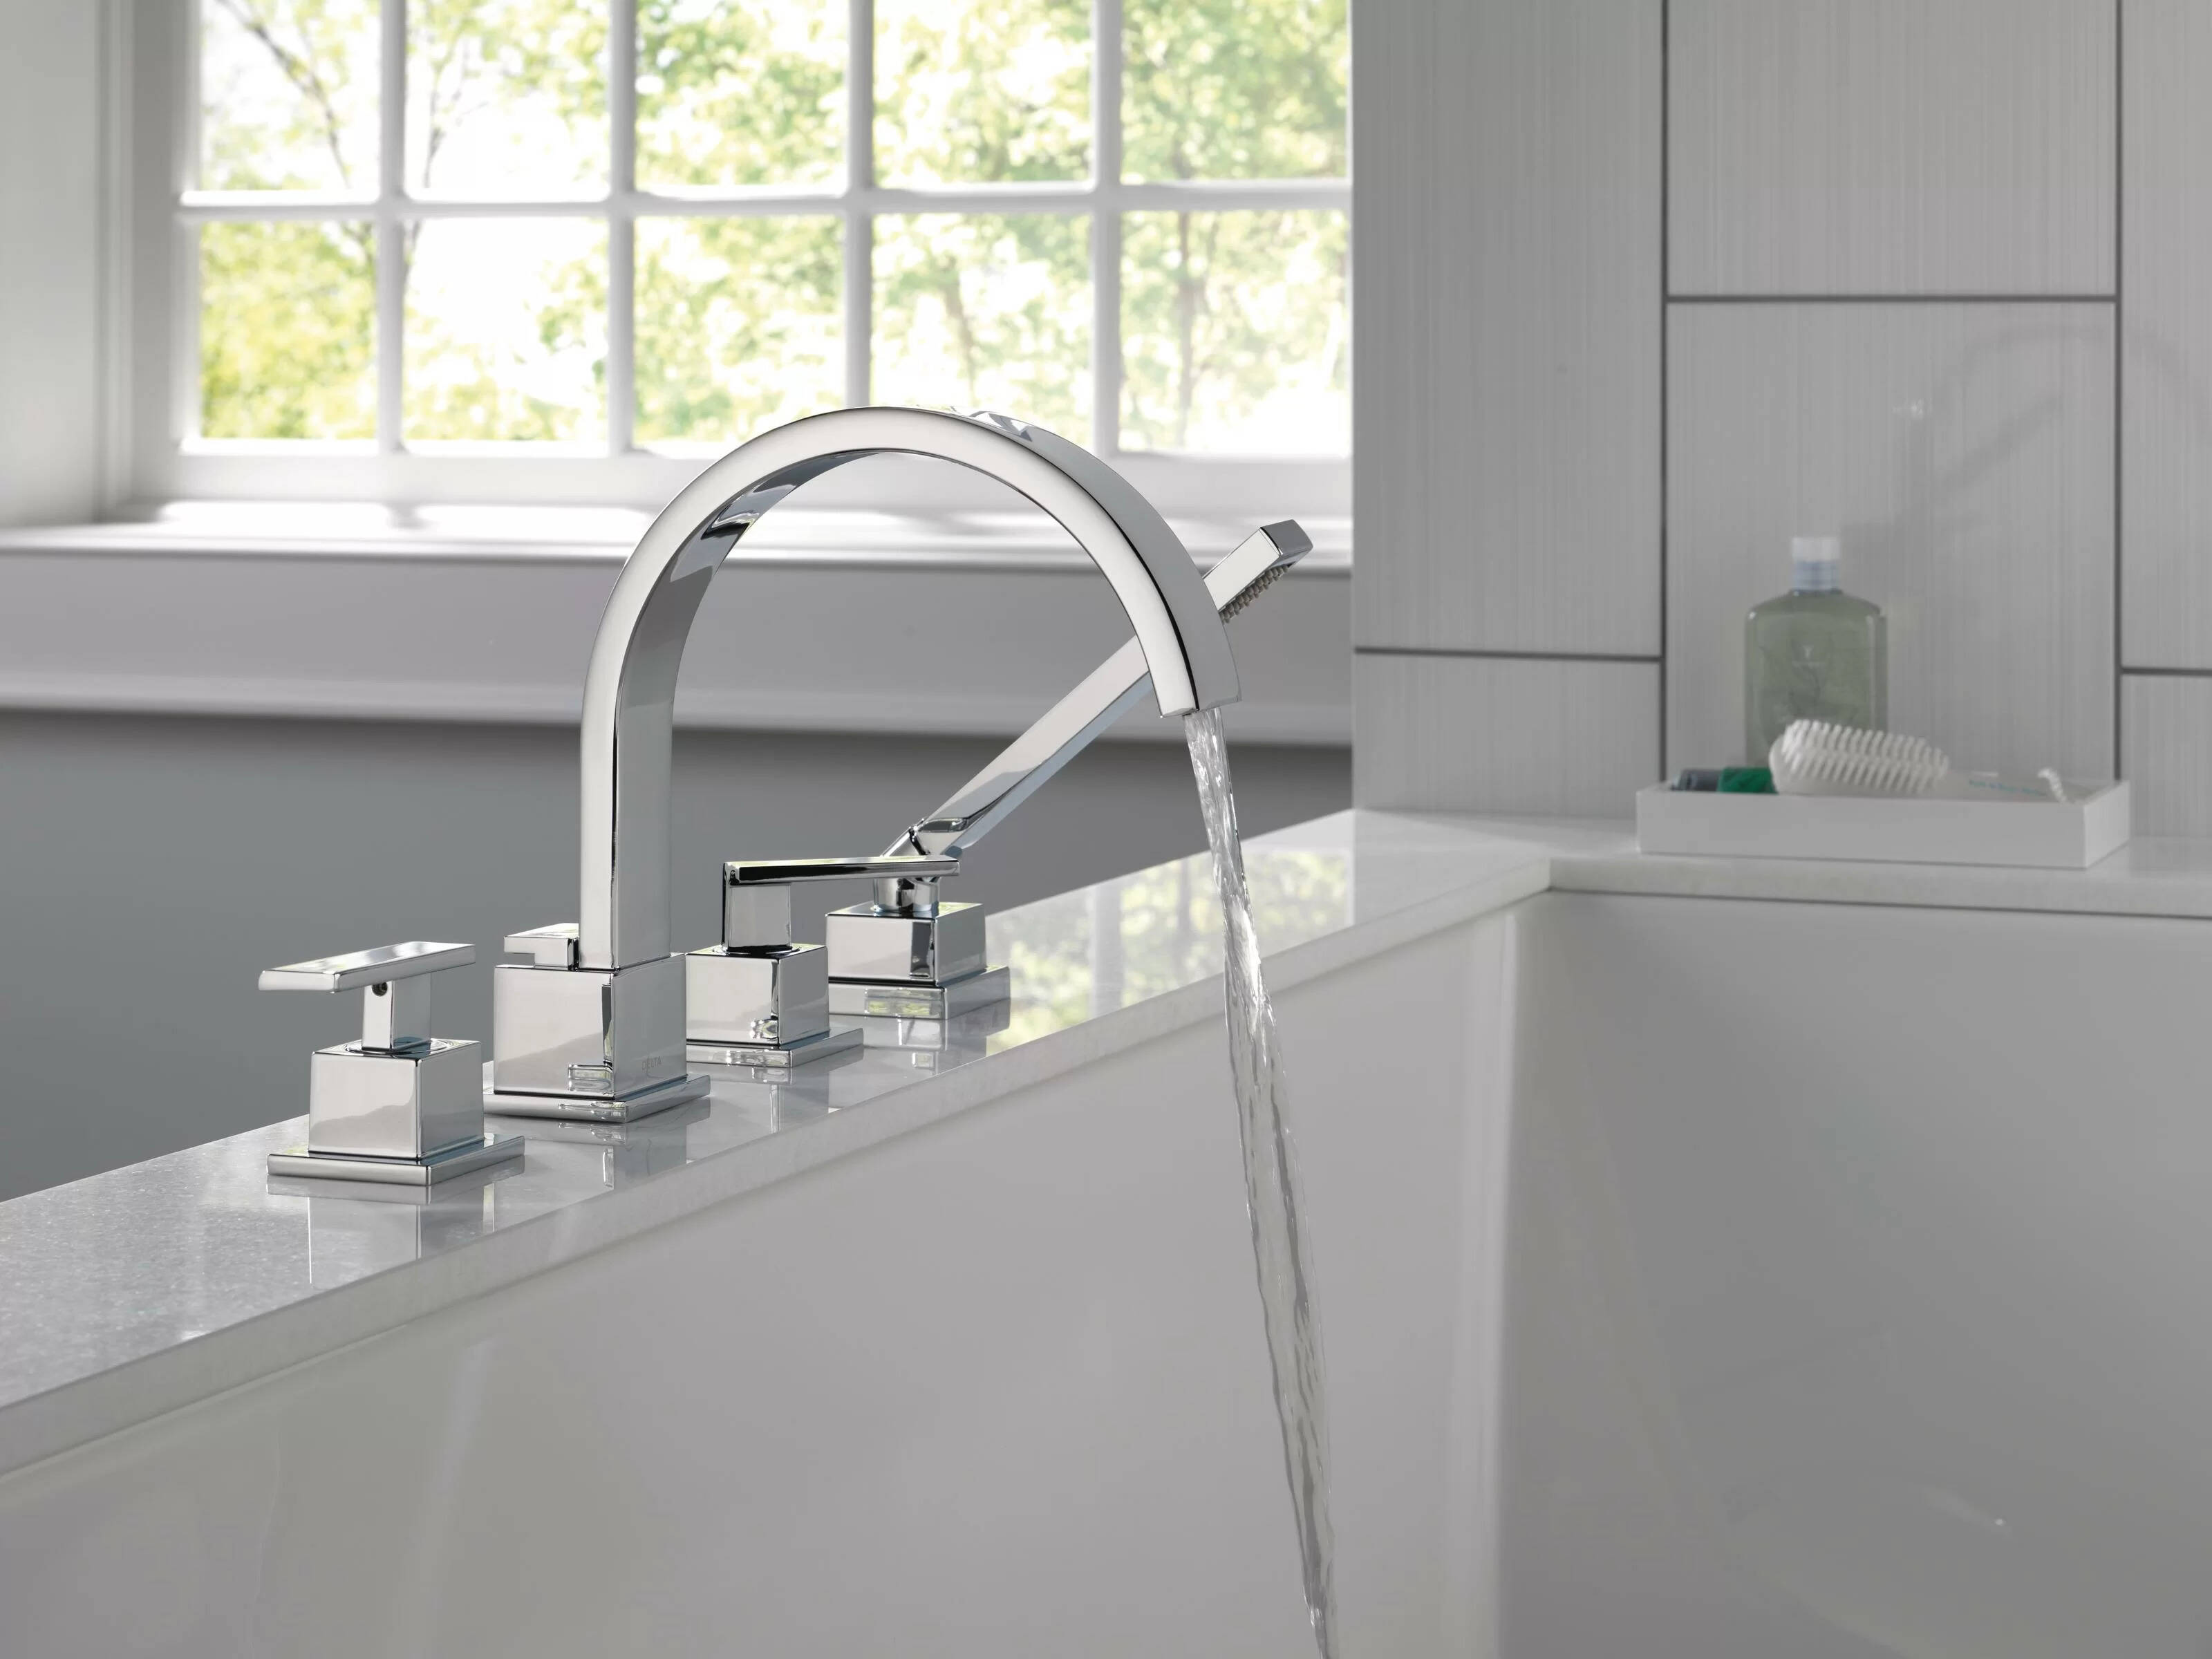
Installing a freestanding tub faucet can be a great way to update the look and functionality of your bathroom. Whether you’re remodeling your entire bathroom or simply replacing an old faucet, a freestanding tub faucet can add a touch of elegance and luxury to your space.
In this article, we will guide you through the step-by-step process of installing a freestanding tub faucet. From gathering the necessary tools and materials to completing the final installation, we will cover everything you need to know to successfully install your new faucet.
Before we begin, it’s important to note that installing a freestanding tub faucet may require some plumbing knowledge and skills. If you are not confident in your abilities, it may be best to consult a professional plumber for assistance. However, if you are comfortable with DIY projects and have some basic plumbing knowledge, you can likely tackle this installation on your own.
Now, let’s dive into the exciting world of freestanding tub faucet installation and get started on transforming your bathroom into a stunning oasis.
Key Takeaways:
- Elevate your bathroom with a luxurious freestanding tub faucet, transforming your space into a stunning oasis. Follow the step-by-step guide for a successful DIY installation, or consult a professional for assistance.
- Ensure a smooth and efficient installation by gathering the necessary tools and materials, preparing the faucet assembly, and carefully connecting the water supply lines. Test for leaks and secure the faucet stand for a long-lasting, functional addition to your bathroom.
Read also: 15 Best Freestanding Bathtub Faucet for 2025
Step 1: Gather the Required Tools and Materials
Before you begin installing your freestanding tub faucet, it’s essential to gather all the necessary tools and materials. Having everything on hand will help ensure a smooth and efficient installation process. Here are the tools and materials you will need:
- Adjustable wrench
- Plumbers tape
- Screwdriver (Phillips or flathead, depending on your faucet assembly)
- Teflon tape
- Bucket or container to catch water
- Level
- Pipe cutter (if necessary)
- Rags or towels for clean-up
- Faucet assembly kit (includes faucet stand, handles, and any necessary hoses or connectors)
- Drain assembly kit
Make sure to double-check the manufacturer’s instructions for your specific faucet model. Some faucets may require additional tools or materials, so it’s important to have the complete list before starting.
Additionally, ensure that you have turned off the water supply to the area where you will be installing the freestanding tub faucet. This can usually be done by shutting off the main water supply valve to your house or by turning off the shut-off valves specific to your bathroom.
Once you have gathered all the necessary tools and materials and have turned off the water supply, you’re ready to move on to the next step of the installation process.
Step 2: Prepare the Faucet Assembly
Now that you have all the tools and materials ready, it’s time to prepare the faucet assembly for installation. Here’s what you need to do:
- Remove the faucet components from their packaging and familiarize yourself with each piece. This includes the faucet stand, handles, and any additional components.
- Read and follow the manufacturer’s instructions for assembling the faucet. Different faucet models may have slightly different assembly processes, so it’s important to refer to the specific instructions for your faucet.
- Apply plumbers tape to the threads of any connections that will be joining together. This helps create a watertight seal and prevents leaks.
- If your faucet requires any attachments or adaptors, ensure they are properly connected. Follow the instructions provided by the manufacturer for this step.
- Double-check all the connections to ensure they are secure. Give them a gentle tug to make sure they are firmly in place.
Once you have prepared the faucet assembly, you’re ready to move on to the next step of the installation process. The preparation stage is crucial, as it ensures that the faucet components are properly assembled and ready to be installed in your bathroom.
Remember to take your time during this step and refer to the manufacturer’s instructions if you have any questions or need additional guidance. Having a well-prepared faucet assembly will make the installation process much smoother and more efficient.
Step 3: Position and Attach the Faucet Stand
With the faucet assembly prepared, it’s time to position and attach the faucet stand. Follow these steps to ensure a proper installation:
- Place the faucet stand in the desired location next to your freestanding tub. Make sure it is centered and aligned with the tub for optimal functionality and aesthetics.
- Use a level to ensure that the faucet stand is perfectly straight and level. Adjust as necessary to achieve a balanced installation.
- Once you are satisfied with the positioning, mark the holes where the faucet stand will be attached to the floor. Use a marker or a pencil to make small dots at each hole location.
- Set the faucet stand aside and prepare the area where it will be attached. If your floor is tiled, you may need to use a tile drill bit to create pilot holes at the marked locations.
- With the pilot holes created, line up the faucet stand with the holes and use the appropriate screws or hardware provided by the manufacturer to secure it to the floor. Make sure the stand feels firm and secure.
During this step, it is important to be cautious and patient. Take your time to ensure that the faucet stand is positioned correctly and securely attached to the floor. A wobbly or improperly positioned stand can affect the stability and function of your freestanding tub faucet.
Once the faucet stand is securely attached, you can proceed to the next step of connecting the water supply lines. This will bring your installation one step closer to completion.
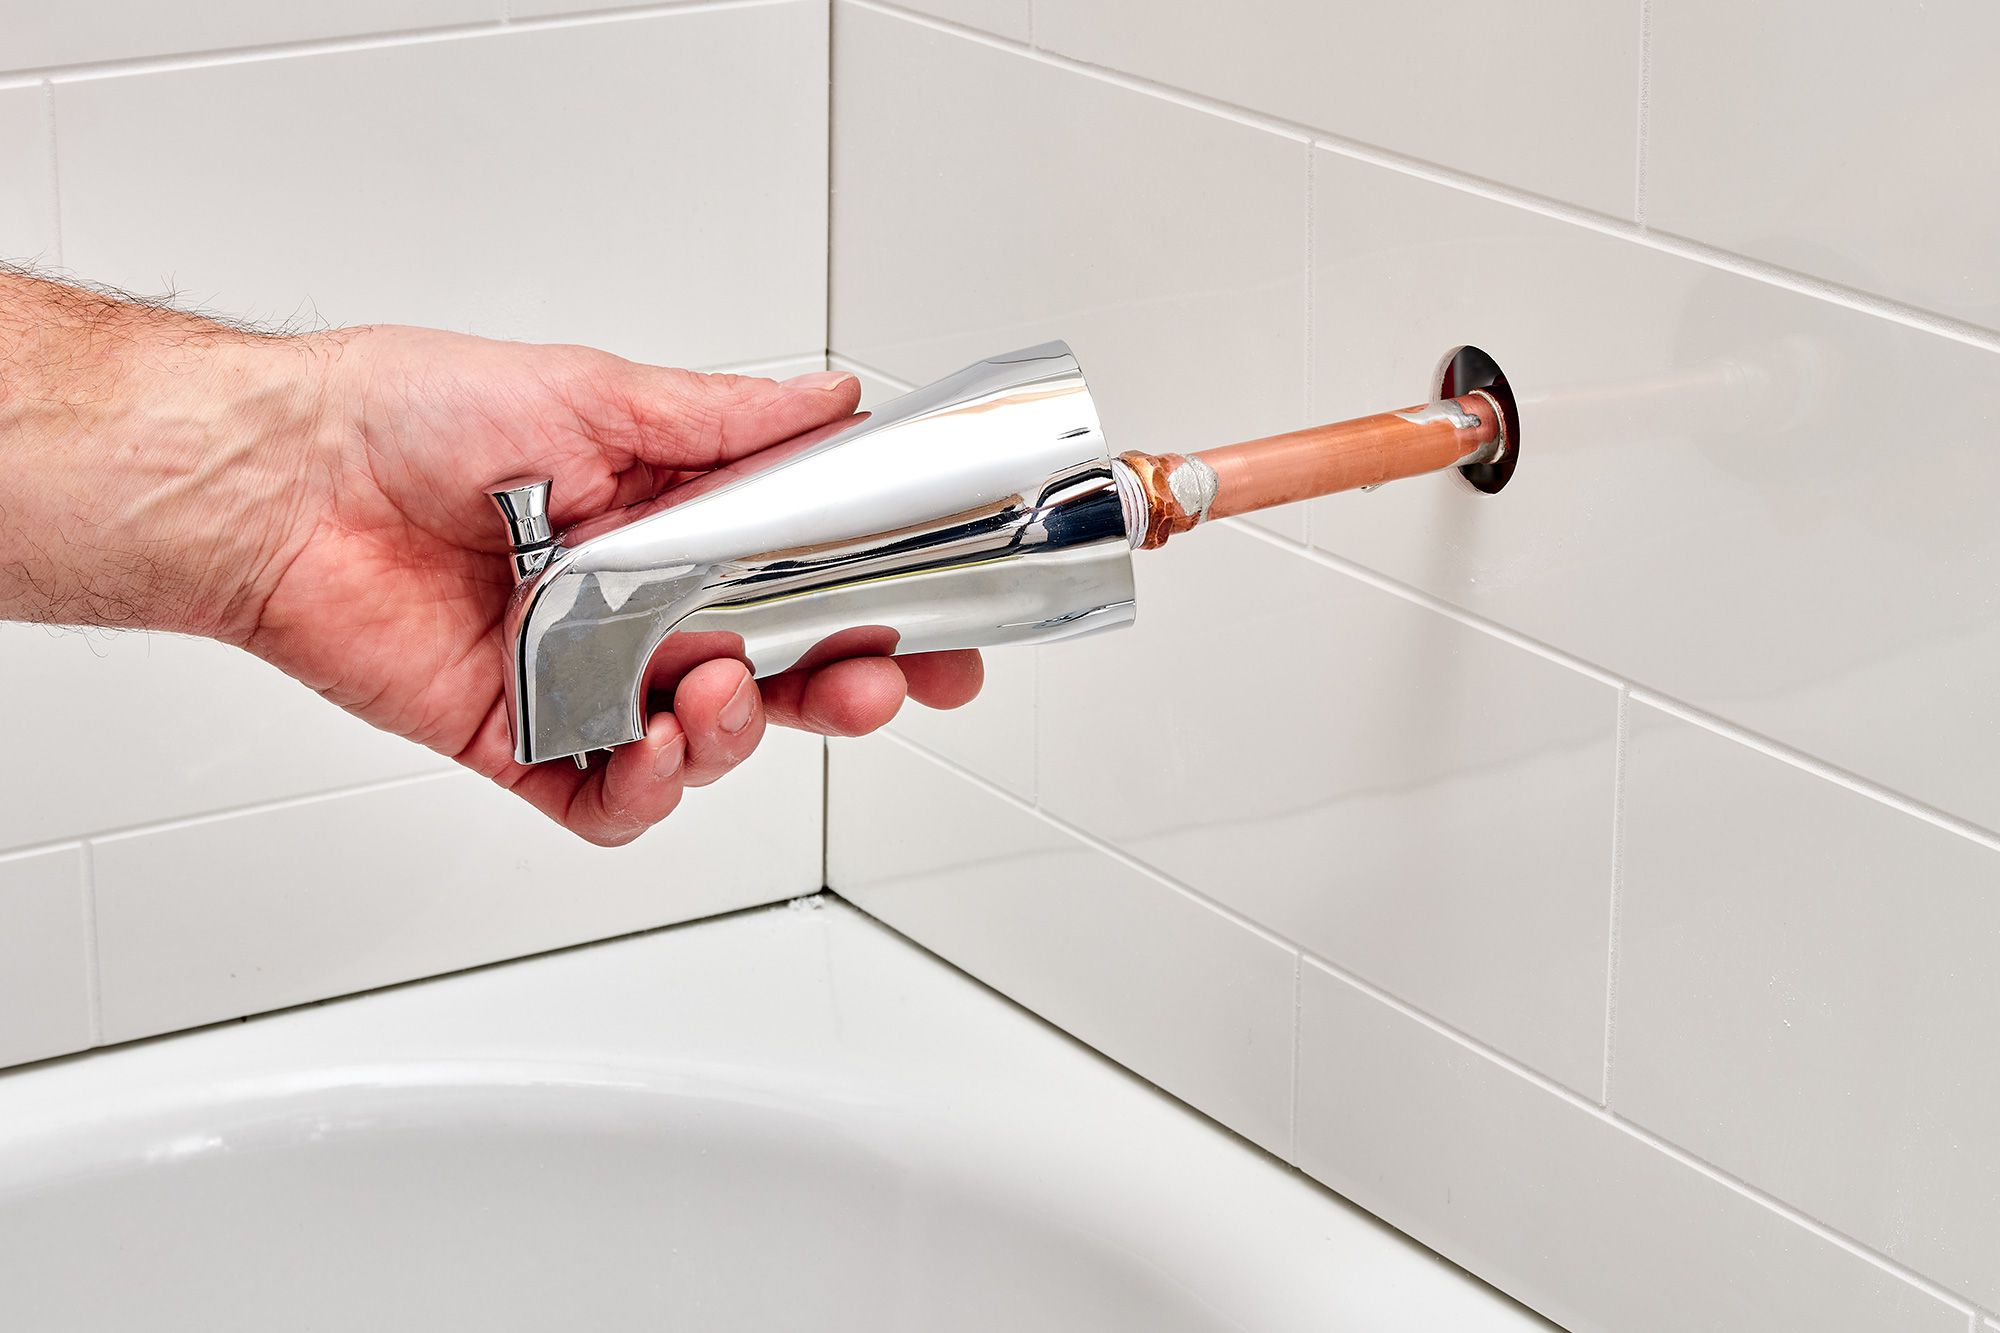
Step 4: Connect the Water Supply Lines
Now that the faucet stand is securely attached, it’s time to connect the water supply lines. Follow these steps to ensure a successful connection:
- Locate the hot and cold water supply valves for your bathtub. These valves are typically located beneath the floor or behind the wall.
- Turn off the hot and cold water supply valves by rotating them in a clockwise direction. This will prevent water from flowing while you connect the supply lines.
- Connect the hot and cold water supply lines to the corresponding valves. Use an adjustable wrench to tighten the connections, ensuring a secure fit.
- Apply Teflon tape to the threaded ends of the supply lines. This will help create a watertight seal and prevent leaks.
- Attach the supply lines to the appropriate input ports on the bottom of the faucet stand. Again, use an adjustable wrench to tighten the connections.
Take your time during this step to ensure that all connections are tightened properly. Avoid over-tightening, as it can cause damage to the connections or lead to leaks.
After connecting the water supply lines, you can move on to the next step of testing the faucet for leaks. This is an important step to ensure that your installation is watertight and functioning correctly.
Note: If you’re not comfortable working with plumbing connections or if you encounter any difficulties during this step, it’s recommended to seek the assistance of a professional plumber.
Make sure to measure the distance between the hot and cold water supply lines before purchasing a freestanding tub faucet to ensure it will fit your tub.
Read more: How To Fix Tub Faucet Diverter
Step 5: Test the Faucet for Leaks
Testing the faucet for leaks is a crucial step in the installation process. Here’s how you can do it:
- Turn on the hot and cold water supply valves. Slowly open them to allow water to flow into the faucet.
- Keep a close eye on all the connections, including the ones at the supply valves and the input ports on the faucet stand.
- Check for any signs of leaks, such as dripping water or water pooling around the connections.
- If you notice any leaks, turn off the water supply valves immediately and double-check the connections. Tighten them if necessary or consider replacing any faulty components.
- Once you’re confident that there are no leaks, let the water flow for a few minutes to ensure proper water flow and pressure.
During the testing process, it’s important to be thorough and attentive. Even a small leak can cause significant damage if left unnoticed. Take the time to inspect all connections and ensure that water is flowing smoothly without any leaks.
If you discover any leaks or are unsure about the integrity of your installation, it’s best to seek professional help from a plumber. They can identify and resolve any issues, ensuring a leak-free and properly functioning freestanding tub faucet.
Once you have confirmed that there are no leaks and the water flow is adequate, you can proceed to the next step of securing the faucet stand to enhance its stability.
Step 6: Secure the Faucet Stand
After testing the faucet for leaks and ensuring a proper water flow, the next step is to secure the faucet stand to enhance its stability. Follow these instructions to secure the faucet stand:
- Locate the anchor holes on the bottom of the faucet stand. These holes are designed to secure the stand to the floor or wall.
- If your faucet stand has wall-mounting options, determine if you will be securing it to the floor or the wall. Follow the manufacturer’s instructions for proper installation.
- If securing the faucet stand to the floor, mark the anchor hole locations on the floor using a marker or pencil.
- Using a drill and appropriate drill bit, create pilot holes at the marked locations.
- Align the faucet stand with the pilot holes and use the screws or anchors provided by the manufacturer to secure it in place.
- If securing the faucet stand to the wall, follow the same steps but ensure that you are using the appropriate hardware for wall installation.
By securing the faucet stand, you will enhance its stability and prevent any wobbling or movement during use. This step is crucial to maintain the integrity of your installation and ensure long-lasting functionality.
Once the faucet stand is securely fastened, you can proceed to the next step of connecting the drain to complete the installation.
Note: If you are unsure about the anchoring process or encounter any difficulties, it’s recommended to consult a professional plumber to ensure a proper and secure installation.
Step 7: Connect the Drain
Connecting the drain is the next crucial step in the installation process. Follow these steps to successfully connect the drain:
- Start by determining the type of drain assembly kit you have and the specific instructions provided by the manufacturer. Different tubs may have slightly different drain systems, so it’s important to follow the instructions for your specific model.
- Remove the old drain system, if necessary, by unscrewing it or cutting it using a drain removal tool.
- Prepare the drain components by applying plumber’s putty or using the gaskets provided in the kit. This will help create a watertight seal.
- Insert the drain components into the drain hole of the tub, ensuring a snug fit. Tightening may be required to secure the components in place, but be cautious not to overtighten as it can cause damage.
- Connect the drain pipe or trap to the drain assembly, following the instructions provided by the manufacturer. Use adjustable pliers or a wrench to tighten the connections.
- Test the drain by filling the tub with water and checking for any leaks. If you notice any leaks, tighten the connections or consider using plumber’s tape to create a better seal.
Properly connecting the drain is essential to ensure that water drains efficiently and without any leaks. Take your time during this step and follow the manufacturer’s instructions closely to achieve a successful installation.
Once you have connected the drain and confirmed that there are no leaks, you are ready to move on to the final step of finishing the installation.
Note: If you are uncertain about the drain connection process or encounter any difficulties, it’s recommended to consult a professional plumber for assistance.
Step 8: Finish the Installation
Congratulations! You’re in the final step of installing your freestanding tub faucet. Follow these steps to complete the installation:
- Double-check all the connections, including the water supply lines, faucet stand, and drain, to ensure they are secure and leak-free.
- Clean up any excess debris or water from the installation process using rags or towels.
- Turn on the hot and cold water supply valves to allow water to flow into the faucet.
- Test the faucet and ensure that hot and cold water are flowing properly.
- Inspect the overall appearance of the installation, checking for any cosmetic imperfections or areas that need attention.
- Make any necessary adjustments or touch-ups to the installation to achieve the desired look and functionality.
After completing these final steps, take a moment to admire your newly installed freestanding tub faucet. You have successfully transformed your bathroom with an elegant and functional addition.
Remember to periodically check the faucet and its connections for any signs of leaks or issues. Routine maintenance and inspection will help ensure the longevity and proper functioning of your freestanding tub faucet.
Now that you have completed the installation process, it’s time to enjoy the luxurious experience of using your new freestanding tub faucet. Relax and unwind in your beautiful bathroom oasis!
Note: If at any point during the installation process you encounter difficulties or are unsure about any steps, it’s always best to seek the assistance of a professional plumber to ensure an accurate and safe installation.
Read more: How To Replace A Roman Tub Faucet
Conclusion
Installing a freestanding tub faucet can be a rewarding and transformative project for your bathroom. By following the step-by-step instructions outlined in this article, you can successfully install a freestanding tub faucet and elevate the look and functionality of your space.
Throughout the installation process, it’s important to gather all the necessary tools and materials, prepare the faucet assembly, position and attach the faucet stand, connect the water supply lines, test for leaks, secure the faucet stand, connect the drain, and complete the final touches to finish the installation.
While the process may require plumbing knowledge and skills, taking the time to carefully follow the instructions and consult the manufacturer’s guidelines will help ensure a smooth and successful installation.
Remember, if you ever feel unsure or encounter challenges along the way, it is always best to seek the assistance of a professional plumber. They have the expertise to handle any complexities and ensure a proper and secure installation.
Now that you have completed the installation of your freestanding tub faucet, it’s time to relax and enjoy the luxurious experience it brings to your bathroom. Take a moment to appreciate the aesthetic enhancement and functionality it adds to your space.
Regular maintenance and inspections will help prolong the life of your freestanding tub faucet. Stay vigilant for any signs of leaks or issues, and address them promptly to avoid any further problems.
By following the steps outlined in this article and expressing your creativity, you can successfully install a freestanding tub faucet and create a beautiful, functional, and inviting bathroom space that you can enjoy for years to come.
Frequently Asked Questions about How To Install A Freestanding Tub Faucet
Was this page helpful?
At Storables.com, we guarantee accurate and reliable information. Our content, validated by Expert Board Contributors, is crafted following stringent Editorial Policies. We're committed to providing you with well-researched, expert-backed insights for all your informational needs.


0 thoughts on “How To Install A Freestanding Tub Faucet”