Articles
How To Install A Whirlpool Dishwasher
Modified: October 19, 2024
Learn how to install a Whirlpool dishwasher with our step-by-step guide. Check out our articles for expert tips and advice on DIY dishwasher installation!
(Many of the links in this article redirect to a specific reviewed product. Your purchase of these products through affiliate links helps to generate commission for Storables.com, at no extra cost. Learn more)
Introduction
Welcome to our comprehensive guide on how to install a Whirlpool dishwasher. Whether you’re replacing an old dishwasher or installing a new one, this step-by-step tutorial will walk you through the process, ensuring a smooth and successful installation.
A dishwasher not only saves you time and effort but also ensures that your dishes come out sparkling clean. Whirlpool is a trusted brand known for its high-quality dishwashers, and with this guide, you’ll be able to enjoy the convenience and efficiency they offer in no time.
Before we begin, it’s essential to note that dishwasher installation involves working with electrical wiring and plumbing connections, so if you’re not comfortable or experienced with these tasks, it’s best to seek professional assistance. However, if you’re a confident DIY enthusiast, let’s dive into the steps!
In this article, we’ll provide a detailed walkthrough of the installation process, along with the necessary tools and materials you’ll need. From preparing your dishwasher to connecting power and water supply, we’ll cover every aspect to ensure your Whirlpool dishwasher is installed correctly and safely.
Let’s get started!
Key Takeaways:
- DIY Confidence
By following this step-by-step guide, you can confidently install your Whirlpool dishwasher, saving money and enjoying the satisfaction of completing a DIY project. Just ensure to prioritize safety and seek professional help if needed. - Enjoy Convenience and Efficiency
With the proper tools and materials, you can install and test your Whirlpool dishwasher, freeing up time and ensuring sparkling clean dishes. Embrace the convenience and efficiency of your new appliance for years to come.
Tools and Materials Needed
Before you begin the installation process, gather the following tools and materials:
- Adjustable wrench
- Screwdriver (both Phillips and flathead)
- Pliers
- Teflon tape
- Level
- Tubing cutter or utility knife
- Wire stripper
- Wire nuts
- Safety goggles
- Gloves
- Measuring tape
- Pencil or marker
- Bucket or towel to catch water
- Whirlpool dishwasher (make sure it’s the correct size for your space)
- Installation manual (usually included with the dishwasher)
It’s important to have all these tools and materials on hand before you begin the installation process. This will save you time and ensure you have everything you need to complete the job efficiently.
Additionally, make sure to review the dishwasher’s installation manual thoroughly. The manual contains specific instructions and guidelines from the manufacturer, which may vary depending on the model you have. Following these instructions will ensure a proper installation and help prevent any damage to the dishwasher or your kitchen.
Now that you have all the necessary tools and materials, let’s move on to the next step: preparing the dishwasher for installation.
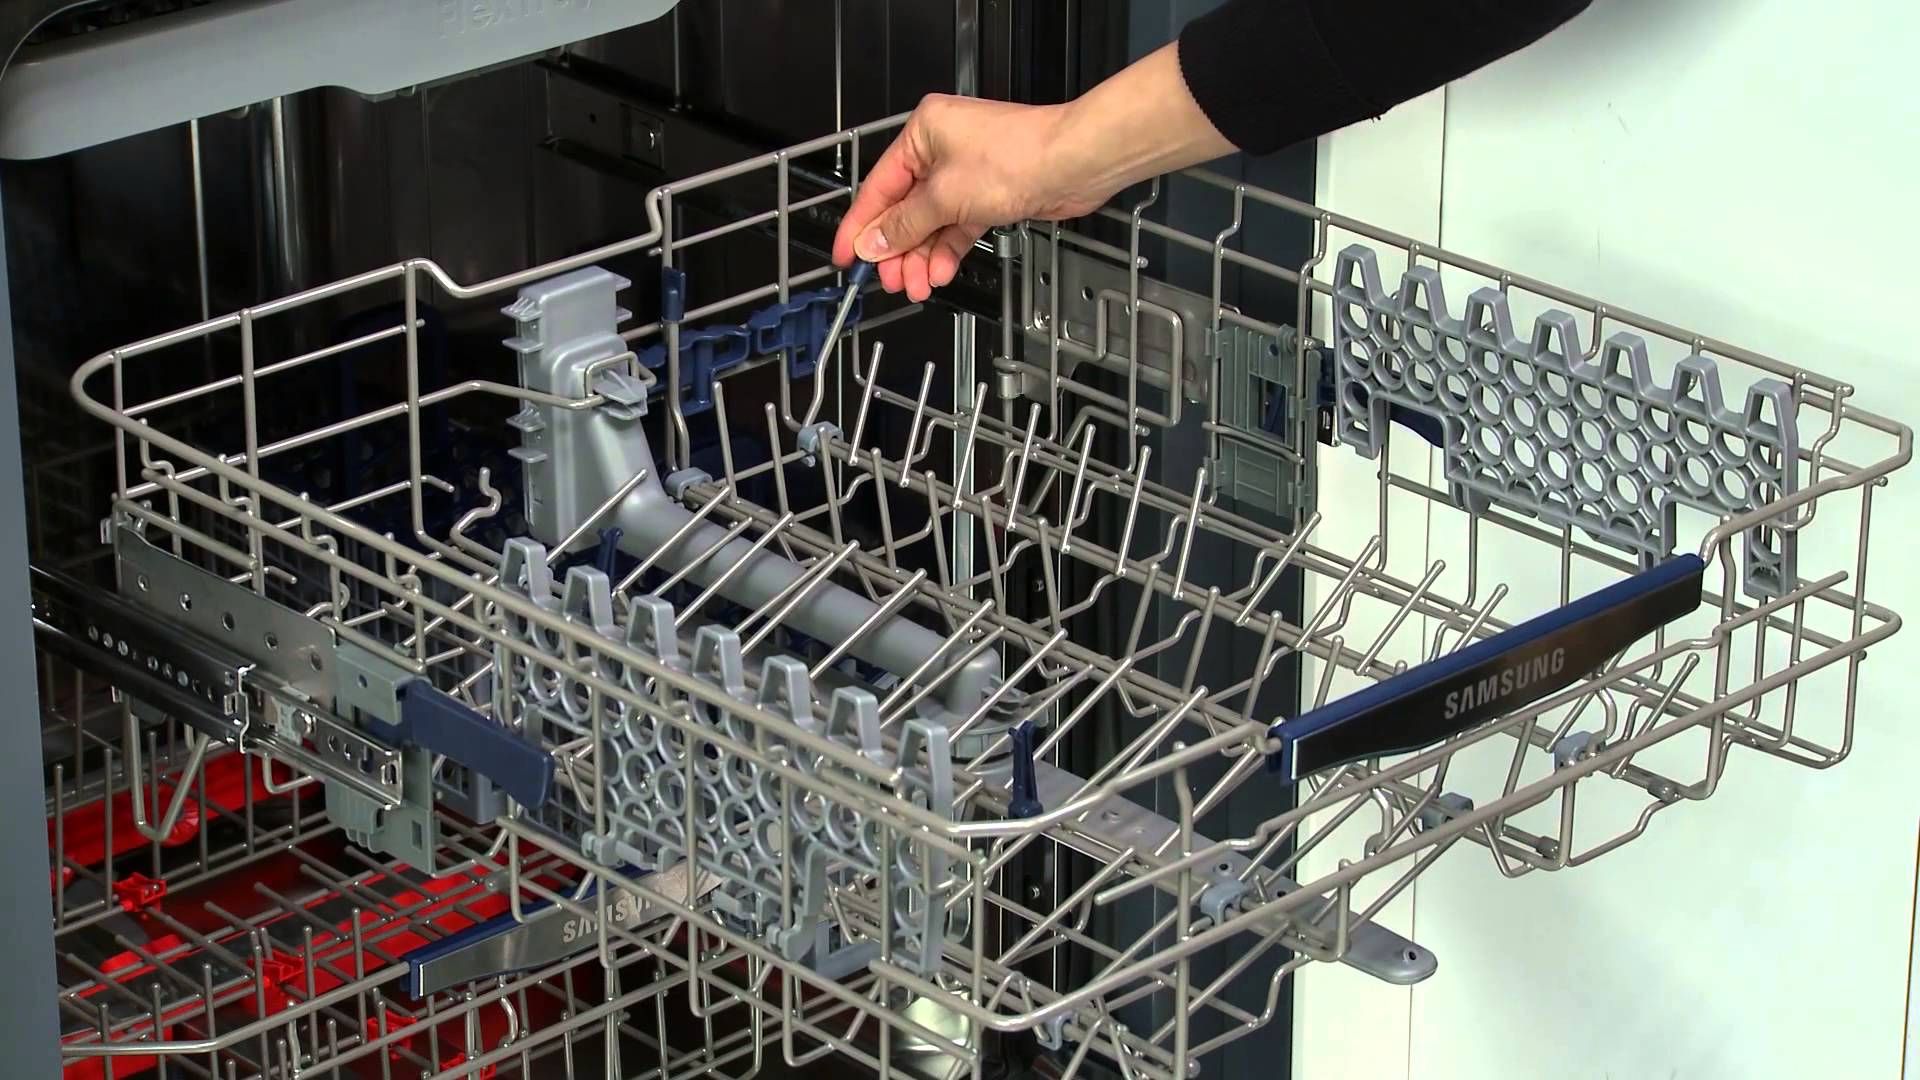
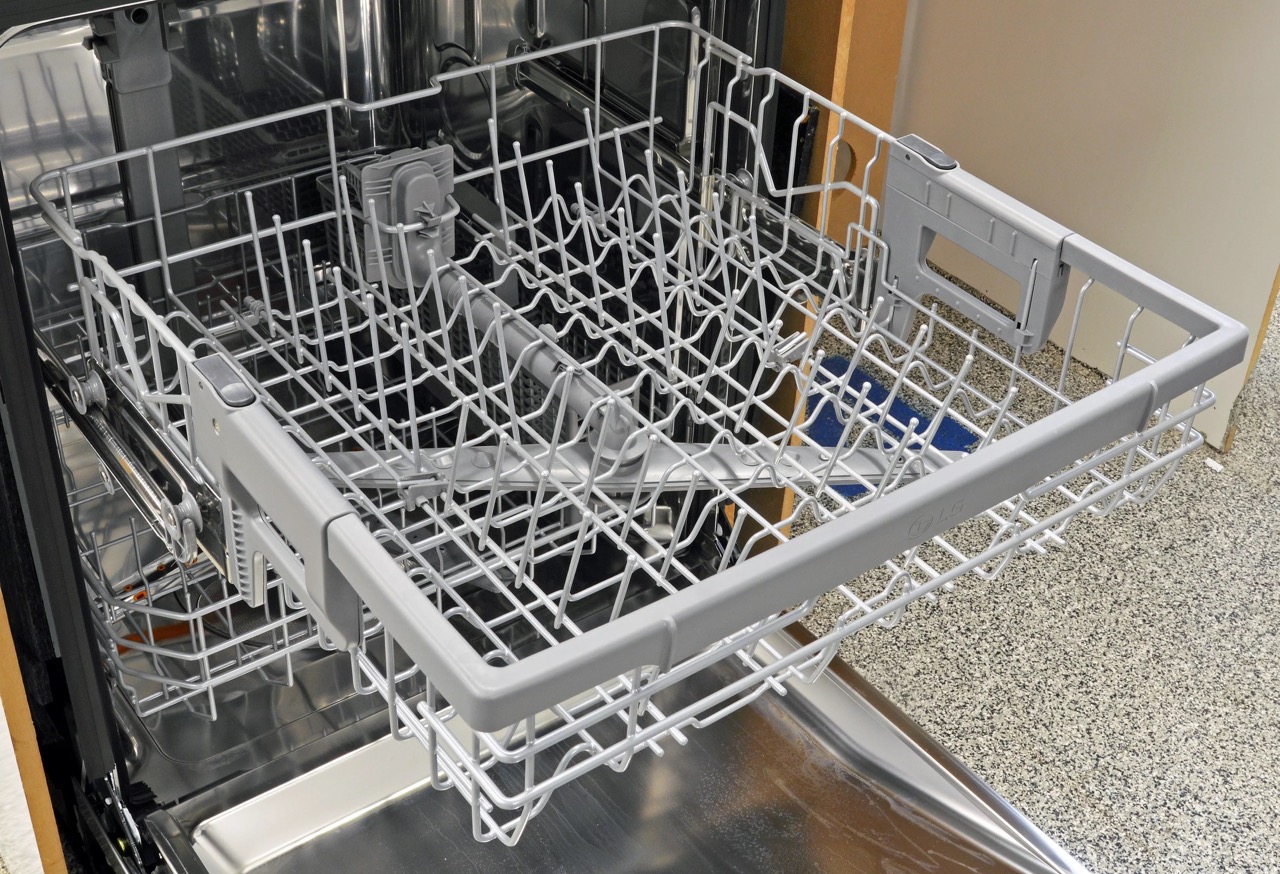
Step 1: Prepare the Dishwasher
Before installing the dishwasher, it’s important to inspect it for any damage or missing parts. Make sure all components are included and in good condition.
Next, remove any protective packaging or shipping materials from the dishwasher. This includes any plastic wrap, foam padding, or tape that may be securing the dishwasher. Be careful not to damage any parts during this process.
If your dishwasher comes with a protective film, now is the time to peel it off. This film is typically applied to the control panel or stainless steel surfaces to protect them during shipping and handling. Gently peel it away, ensuring not to leave any residue or scratches.
Once the dishwasher is unwrapped and free from any packaging, inspect the interior for cleanliness. Wipe down the interior surfaces with a damp cloth to remove any dust or debris that may have accumulated.
Now, we need to adjust the dishwasher’s leveling feet. Uneven placement can affect the dishwasher’s performance and cause leaks. With the help of a level, adjust the feet until the dishwasher is perfectly level in both directions. This will ensure proper drainage and prevent any water pooling inside the unit.
Finally, check the electrical cord and water supply line. Ensure they are not tangled or kinked. Straighten them out if necessary, as they need to be properly connected in the later steps.
With the dishwasher prepared and in good condition, we’re ready to move on to step 2: disconnecting power and water supply.
Step 2: Disconnect Power and Water Supply
Before you can begin removing your old dishwasher or installing a new one, you need to disconnect power and water supply to ensure your safety and prevent any damage.
Start by locating the electrical circuit breaker that controls the dishwasher. It is usually labeled in the electrical panel. Turn off the circuit breaker that corresponds to the dishwasher to cut off power. Alternatively, if your dishwasher has a dedicated power switch, you can switch it off.
Next, locate the hot water supply valve under the kitchen sink. Turn off the valve by twisting it in a clockwise direction. This will shut off the water supply to the dishwasher.
Once the water supply is turned off, verify that no water is running by turning on the sink faucet. Allow any residual water to drain out before proceeding.
Now, you’ll need to disconnect the water supply line from the dishwasher. Place a bucket or towel underneath to catch any remaining water.
Using an adjustable wrench, carefully loosen the compression nut connecting the water supply line to the dishwasher. Turn the nut counterclockwise to loosen it, and once loose, remove the nut and set it aside.
With the nut removed, gently pull the water supply line away from the dishwasher. Some residual water may drip out, so be prepared to catch it with the bucket or towel.
Next, you’ll need to disconnect the dishwasher’s power supply. If your dishwasher is hardwired, locate the junction box or electrical connection beneath the dishwasher. Open the junction box cover, and using a screwdriver, disconnect the wires by removing the wire nuts.
If your dishwasher is plugged into an electrical outlet, simply unplug it from the outlet.
With the power and water supply disconnected, you’re now ready to move on to step 3: removing the old dishwasher.
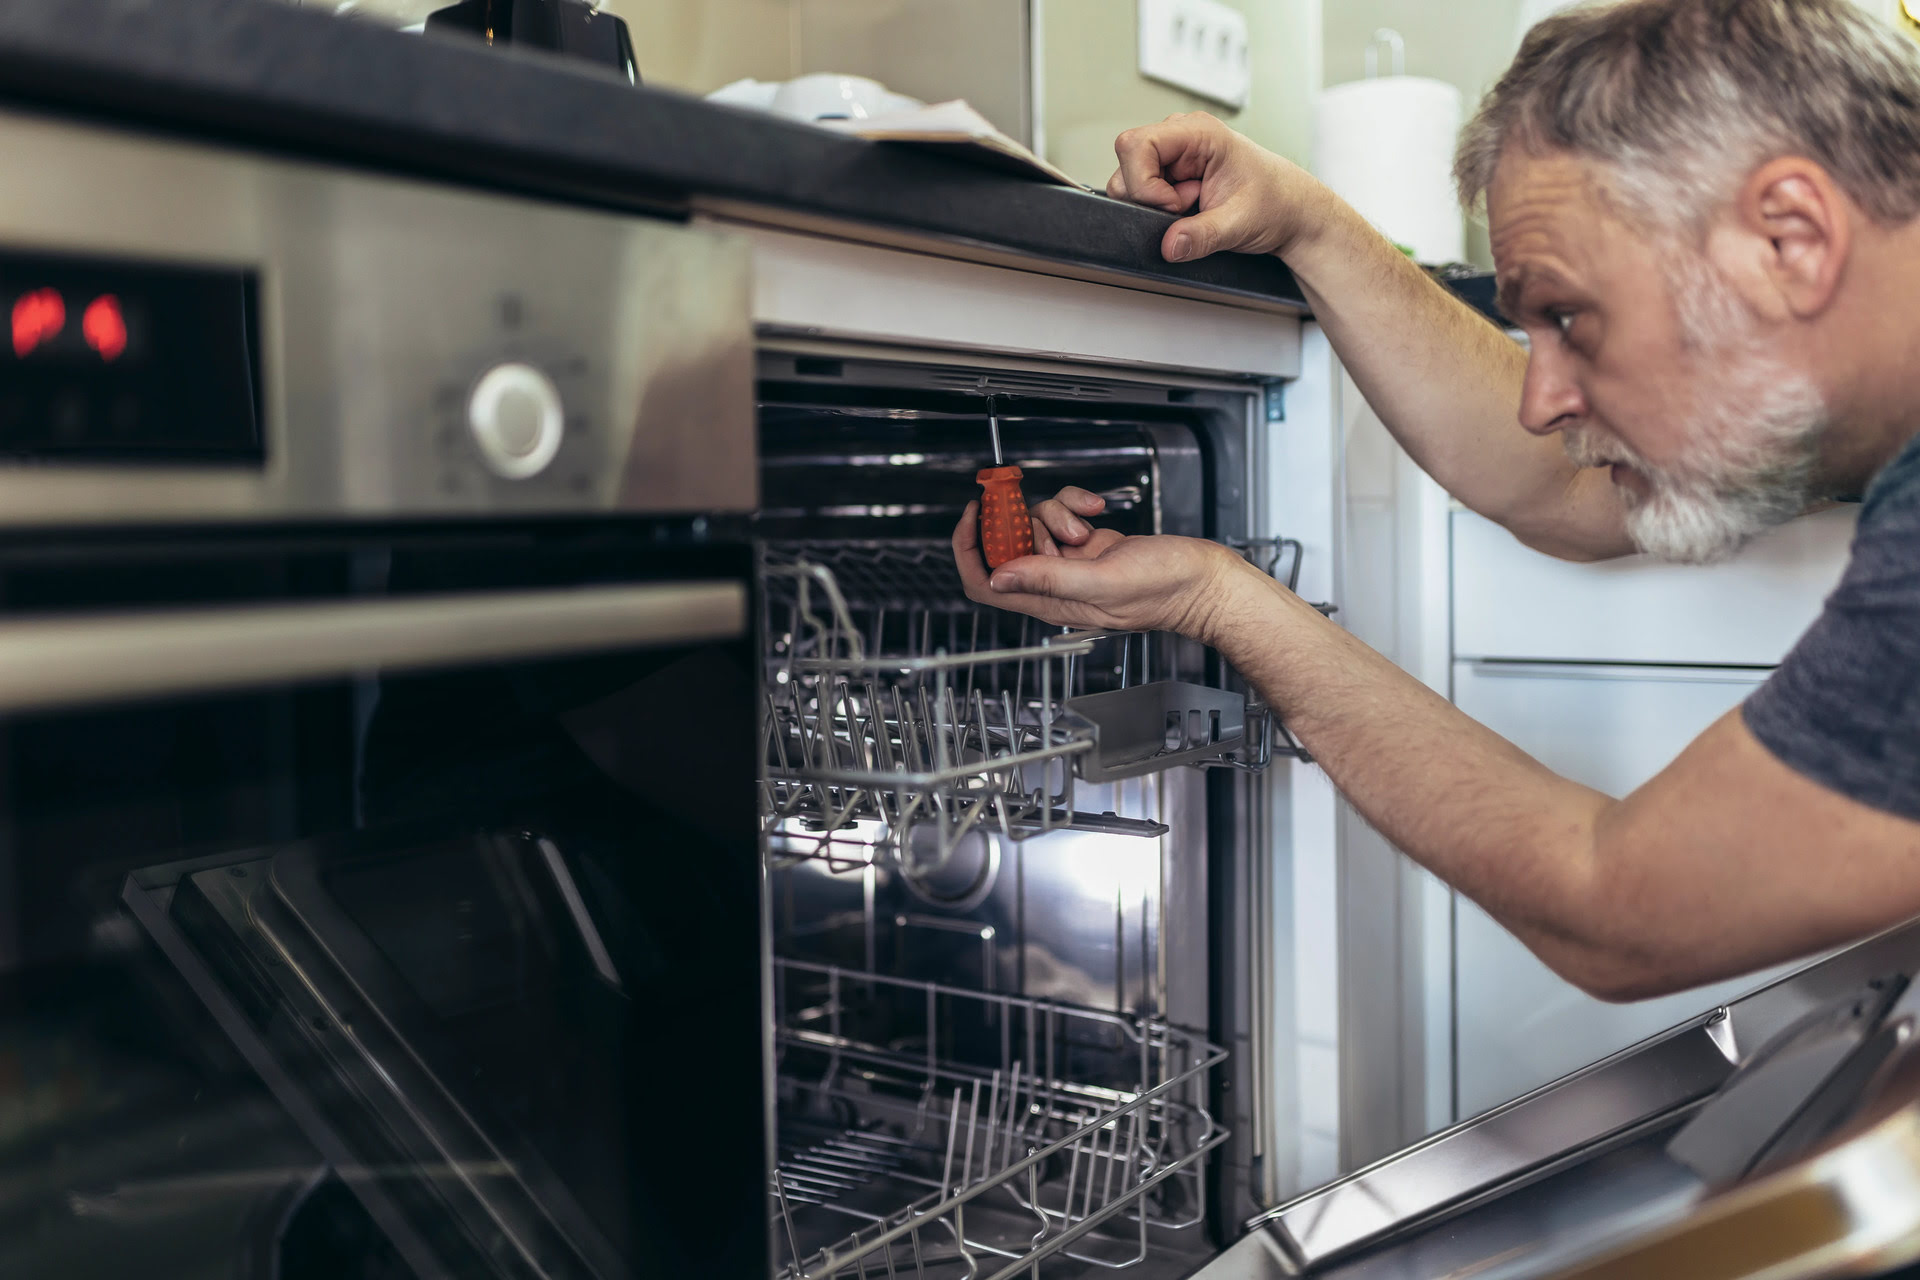
Step 3: Remove the Old Dishwasher
Now that you have disconnected the power and water supply, it’s time to remove the old dishwasher. Follow these steps carefully to ensure a smooth removal process.
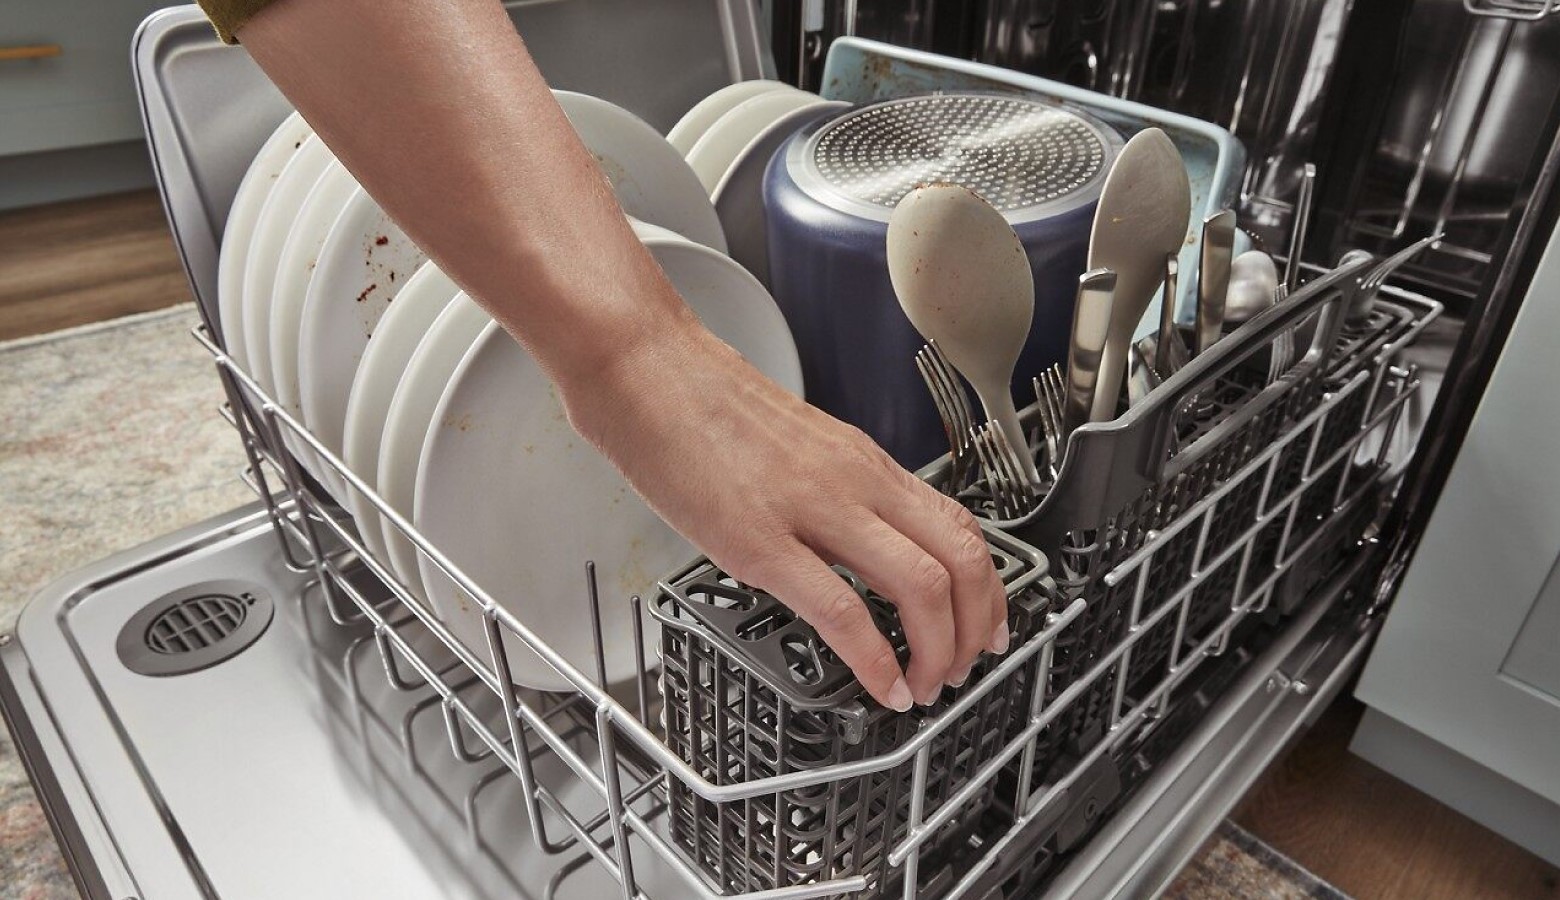
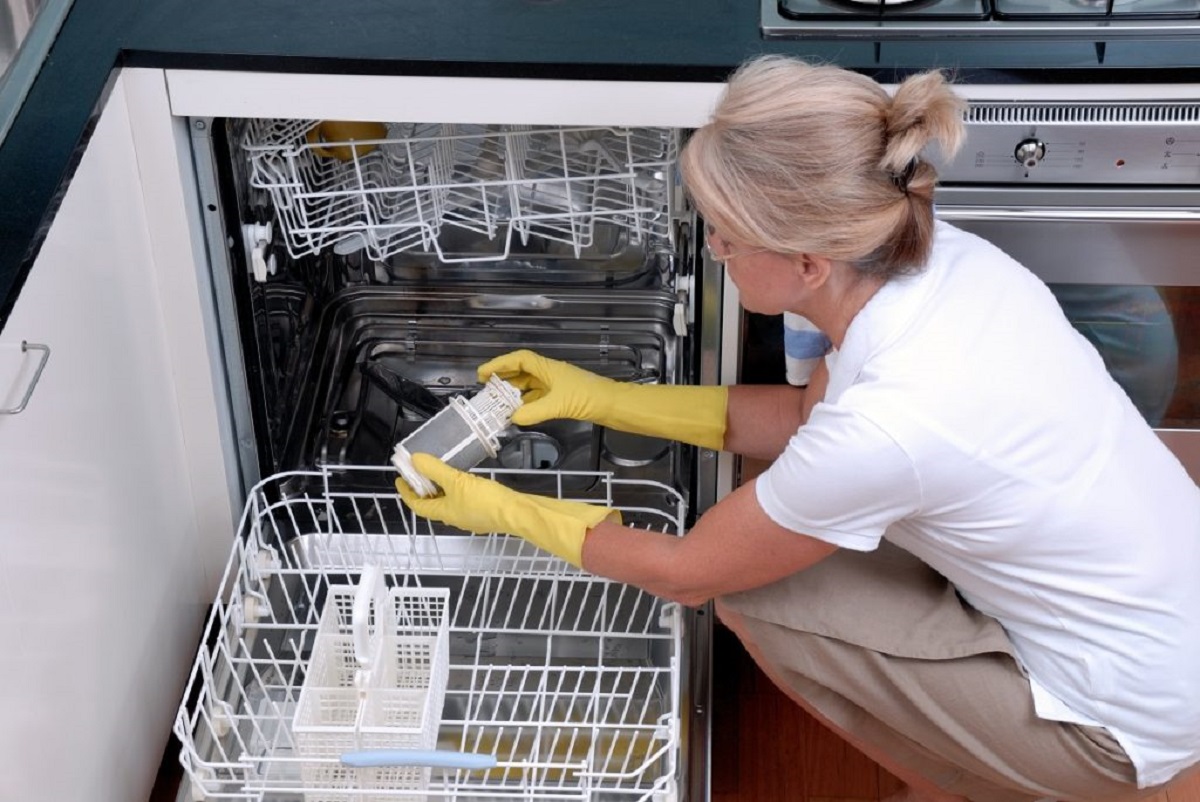
Start by opening the dishwasher door and removing any items that may be inside, such as racks, utensil holders, or filters. Set these aside for cleaning and future use.
Next, locate the mounting brackets that secure the dishwasher to the countertop. Depending on the model, there may be brackets on either side of the dishwasher or at the top. Use a screwdriver or wrench to loosen and remove the screws holding the brackets in place.
With the mounting brackets removed, carefully pull the old dishwasher out from its space. Be cautious not to damage any surrounding cabinetry or flooring.
If the old dishwasher is hardwired, you may need to remove the electrical junction box cover to access the wiring connections. Unscrew the cover and detach the wires from the dishwasher by removing the wire nuts.
Next, you’ll need to disconnect the drain hose. Locate the hose at the back of the dishwasher and loosen the clamp holding it in place. Slide the clamp off and pull the hose away from the dishwasher. Check for any residual water in the hose and drain it into a bucket or towel.
Once the drain hose is disconnected, carefully lift the old dishwasher out of its space and set it aside.
Now is a good time to clean the area where the old dishwasher was installed. Remove any debris or dirt and wipe down the space to ensure a clean and fresh start for the new dishwasher.
With the old dishwasher successfully removed, you’re now ready to move on to step 4: preparing the installation area.
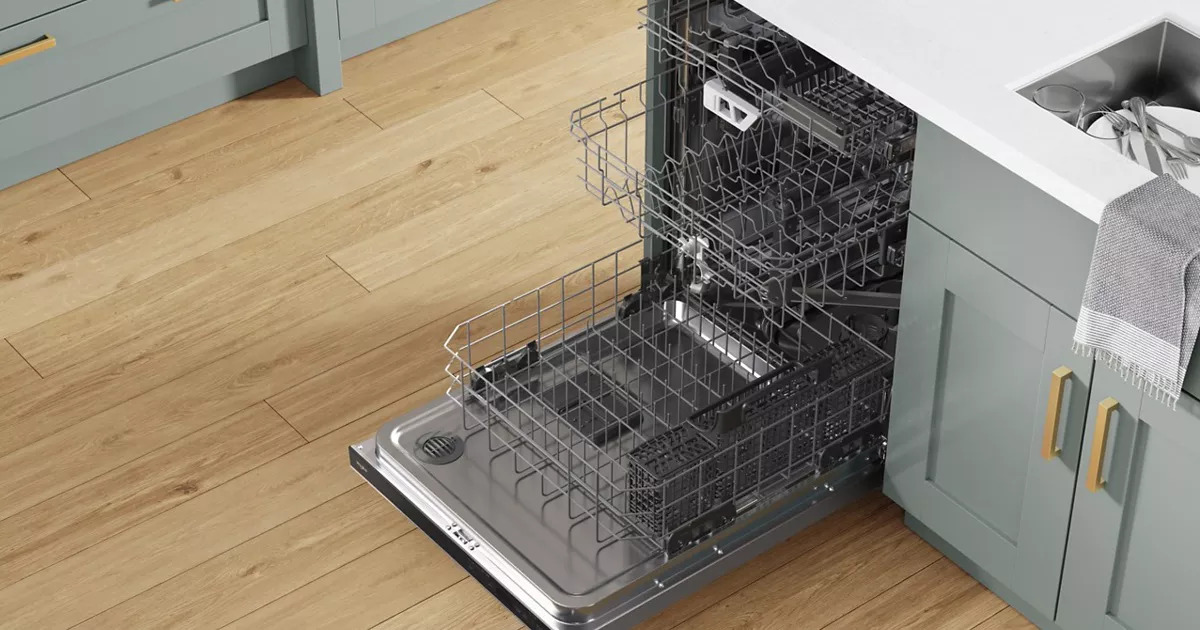
Step 4: Prepare the Installation Area
Now that you have removed the old dishwasher, it’s time to prepare the installation area for the new Whirlpool dishwasher. This step is crucial to ensure a proper and secure fit for your new appliance.
Start by measuring the width, depth, and height of the opening where the dishwasher will be installed. This information will help you verify if the new dishwasher will fit properly in the space. Refer to the manufacturer’s specifications to ensure compatibility.
Inspect the cabinet area surrounding the installation space. Look for any signs of damage, such as rot or water leaks. If you notice any issues, it’s important to address them before proceeding with the installation.
Next, clean the area where the new dishwasher will sit. Remove any dirt, dust, or debris from the surface and ensure it’s free of any obstacles that may interfere with the installation process.
Check the leveling of the installation area using a level. Place the level on top of the countertop or on the sides of the opening and adjust the leveling feet, if necessary, to ensure a perfectly level surface. This is crucial for the proper functioning of the dishwasher and to prevent leaks.
Inspect the dishwasher’s mounting brackets to ensure they are in good condition. If they are damaged or missing, contact the manufacturer to acquire replacement brackets.
Refer to the Whirlpool dishwasher’s installation manual for any specific requirements or recommendations for the installation area. Different models may have varying guidelines, so be sure to follow them accordingly.
With the installation area prepared, you’re now ready to move on to the next steps of connecting the drain hose and water supply line in Step 5 and Step 6.
Before installing a Whirlpool dishwasher, make sure to measure the space to ensure a proper fit. Also, check for any potential plumbing or electrical issues before beginning the installation process.
Step 5: Connect the Drain Hose
Connecting the drain hose is an essential step in the installation process of your Whirlpool dishwasher. This ensures that wastewater from the dishwasher is properly drained out. Follow these steps to connect the drain hose:
- Locate the drain outlet on the back of the dishwasher. It is usually a plastic protrusion or a metal fitting with a rubber gasket.
- Inspect the end of the drain hose and ensure it is not damaged or clogged. If necessary, clean it or replace it with a new one.
- Attach the end of the drain hose securely to the drain outlet on the dishwasher. Make sure it fits snugly and is properly aligned.
- If your dishwasher requires it, use a hose clamp to secure the connection between the hose and the drain outlet.
- Next, locate the drainpipe or sink drain where you will connect the other end of the drain hose.
- Make sure the drainpipe or sink drain is clean and free from any blockages.
- Attach the other end of the drain hose to the drainpipe or sink drain. Ensure it is securely connected.
- If necessary, use a hose clamp to secure the connection between the hose and the drainpipe or sink drain. This will prevent any leaks.
- Ensure that the drain hose follows a gradual downward slope from the dishwasher to the drainpipe or sink drain. This will ensure proper drainage and prevent water backup.
- Check for any kinks or bends in the drain hose. Straighten them out to ensure a smooth flow of wastewater.
Once the drain hose is securely connected, double-check all connections to ensure they are tight and properly aligned. This will prevent any leaks or drainage issues during the dishwasher’s operation.
With the drain hose connected, you can now move on to step 6: connecting the water supply line.
Step 6: Connect the Water Supply Line
Connecting the water supply line is an important step in the installation process of your Whirlpool dishwasher. This ensures a proper flow of water to clean your dishes effectively. Follow these steps to connect the water supply line:
- Locate the hot water supply valve under the kitchen sink. This valve controls the flow of hot water to the dishwasher.
- Turn off the hot water supply valve by twisting it in a clockwise direction.
- Next, find the water inlet valve on the back of the dishwasher. It is usually located near the bottom of the unit.
- Inspect the water inlet valve and make sure it is clean and free from any debris. Clean it if necessary.
- Take the water supply line and wrap Teflon tape around the threaded end. This will help create a watertight seal.
- Screw the threaded end of the water supply line onto the water inlet valve. Tighten it using an adjustable wrench, but be careful not to overtighten and damage the valve or the line.
- Once the water supply line is securely connected, turn on the hot water supply valve to allow the flow of water to the dishwasher.
- Check for any leaks at the water supply connection. If you notice any leaks, tighten the connection further or replace the water supply line if necessary.
- Verify that the water supply line is not kinked or bent, as this can restrict water flow. Straighten it out if needed.
After connecting the water supply line, it’s crucial to test for any leaks. Run a short cycle on your dishwasher and carefully monitor the connection for any signs of leakage. If you notice any leaks, immediately turn off the water supply and make the necessary adjustments or repairs before proceeding.
With the water supply line successfully connected, you’re now ready to secure the dishwasher in place in step 7.
Step 7: Secure the Dishwasher in Place
Securing the dishwasher in place is an important step in the installation process to ensure stability and prevent any movement or accidents. Follow these steps to secure your Whirlpool dishwasher:
- Carefully slide the dishwasher back into its designated space, aligning it with the installation area.
- Ensure the dishwasher is centered and parallel to the surrounding cabinetry.
- Using a level, check the front and sides of the dishwasher to ensure it is perfectly level. Adjust the leveling feet if necessary.
- Once the dishwasher is level, locate the mounting brackets provided with the dishwasher.
- Position the mounting brackets on the sides of the dishwasher or at the top, aligning them with the corresponding holes on the sides of the installation area or the countertop.
- Secure the mounting brackets in place by screwing them tightly onto the sides of the installation area or the countertop. Use the appropriate screws and a screwdriver or a wrench.
- Double-check the dishwasher’s levelness after securing the mounting brackets to ensure it hasn’t shifted during the process.
- Verify that the dishwasher is firmly and securely in position by giving it a gentle push or shake. It should not move or wobble.
Securing your dishwasher in place is crucial for its proper operation and to prevent any potential damage or accidents. A stable and level dishwasher ensures efficient cleaning and helps prevent leaks or other issues.
With the dishwasher securely in place, you’re now ready to move on to step 8: connecting the power supply.
Read more: How To Start Whirlpool Dishwasher
Step 8: Connect the Power Supply
Connecting the power supply is an essential step in the installation process of your Whirlpool dishwasher. Follow these steps to ensure a safe and proper electrical connection:
- Refer to the manufacturer’s instructions and the dishwasher’s installation manual for specific electrical requirements.
- If your dishwasher is hardwired, locate the electrical junction box or connection point beneath the unit.
- Ensure that the power is turned off at the circuit breaker before proceeding.
- Remove the junction box cover by unscrewing it or removing any screws or clips holding it in place.
- Take note of the wires inside the junction box. You may need to use a wire stripper to remove any insulation from the ends of the wires.
- Match the corresponding wires from the dishwasher to the wires inside the junction box:
- White or gray wire (neutral) to white or gray wire
- Black or red wire (hot) to black or red wire
- Green or copper wire (ground) to green or copper wire
- Twist the matching wires together, ensuring a secure and proper connection.
- Use wire nuts to cover and protect the twisted wire connections. Make sure the wire nuts are fastened tightly.
- Tuck the connected wires into the junction box and position them so they are neatly arranged and not in the way of any moving parts or components.
- Secure the junction box cover back in place using the screws or clips.
- If your dishwasher is plugged into an electrical outlet, simply locate an accessible outlet near the installation area.
- Plug the dishwasher’s power cord into the outlet, ensuring a snug fit.
- Double-check that the dishwasher is still securely in place and level.
Once the power supply is properly connected, turn on the circuit breaker or power switch to supply electricity to the dishwasher. Verify that the dishwasher’s control panel lights up and the display is functional.
With the power supply successfully connected, you’re now ready to move on to step 9: testing the dishwasher.
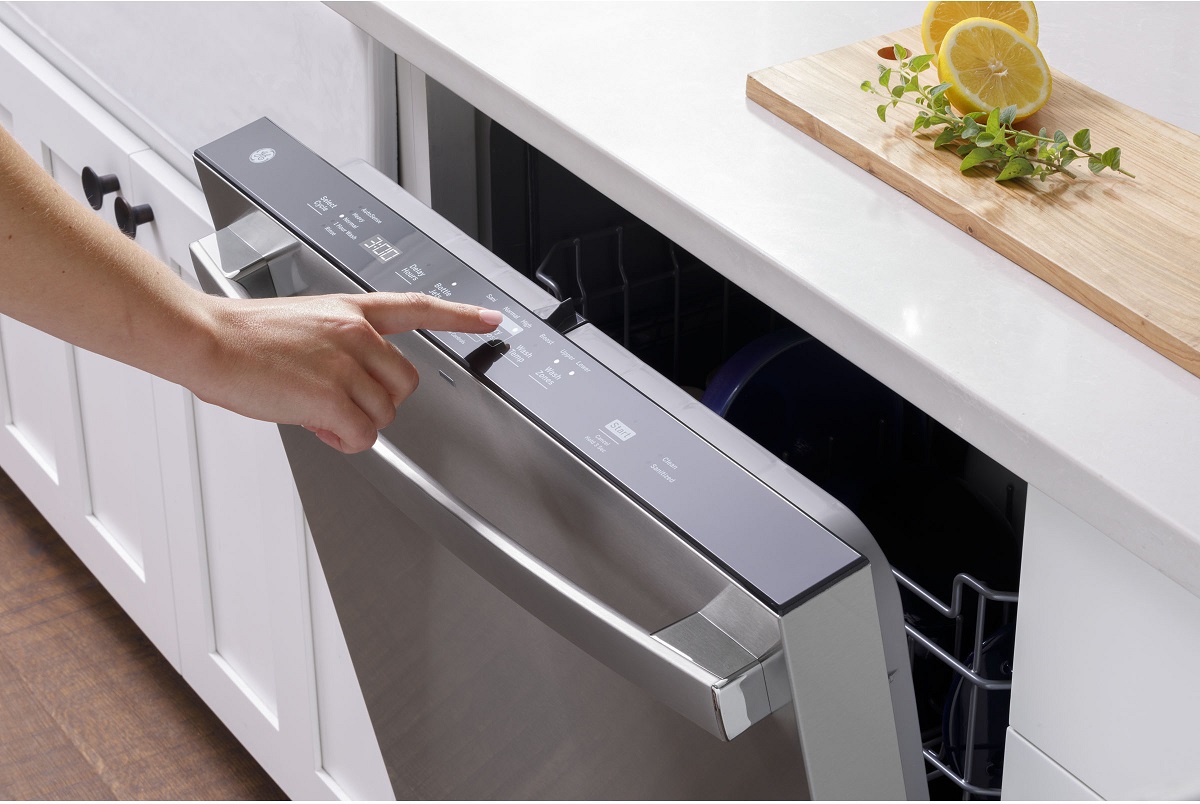
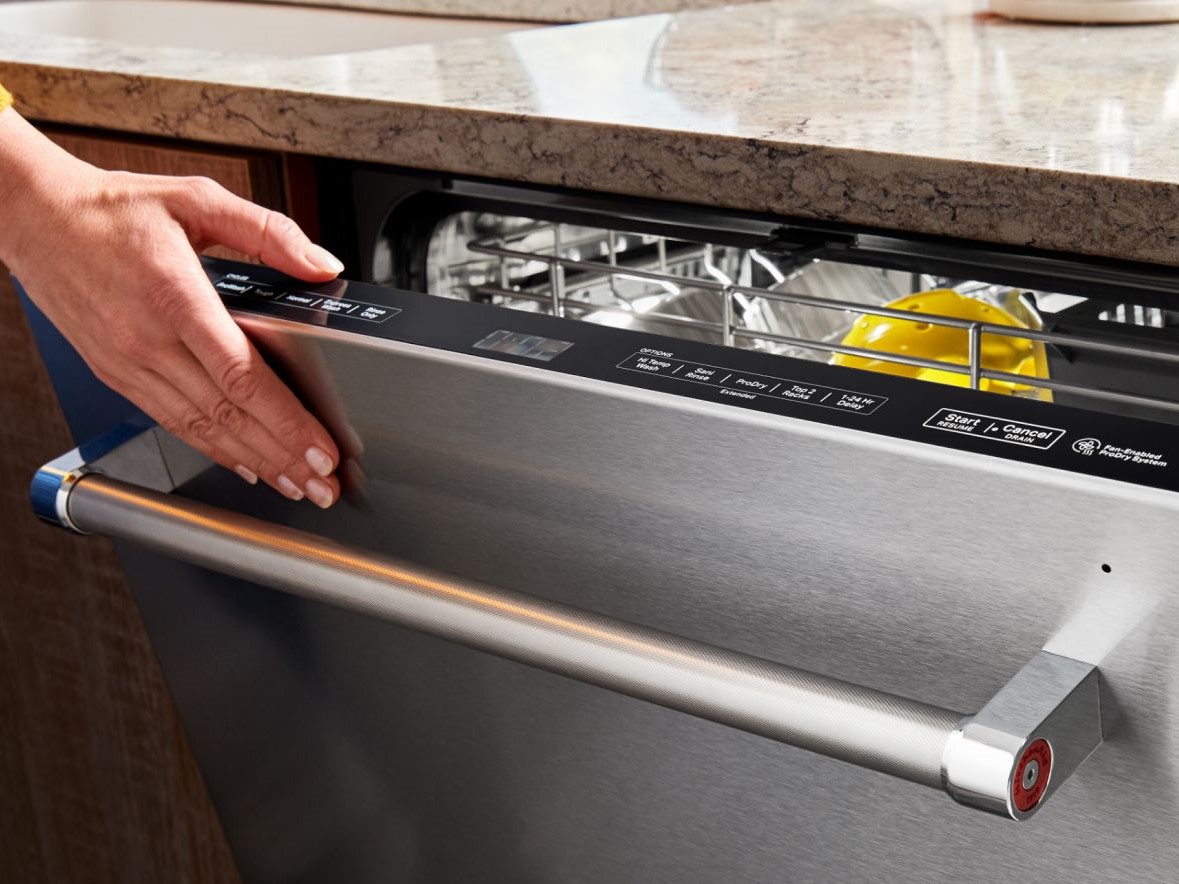
Step 9: Test the Dishwasher
After completing the installation process of your Whirlpool dishwasher, it’s important to test its functionality to ensure everything is working correctly. Follow these steps to test your dishwasher:
- Close the dishwasher door and double-check that it is securely latched.
- Turn on the water supply valve to allow water to flow into the dishwasher.
- Ensure that the dishwasher control panel is powered on.
- Select a wash cycle and any additional options or settings you desire.
- Start the dishwasher and allow it to run through a complete cycle.
- Observe the dishwasher’s operation to ensure it fills with water, washes the dishes, rinses properly, and drains without any leaks or issues.
- Listen for any unusual noises, such as grinding or buzzing, which may indicate a problem.
- Check for any leaks around the dishwasher, especially near the water supply and drain connections.
- Open the dishwasher door after the cycle is complete and inspect the cleanliness of the dishes.
- Verify that the dishwasher’s heating element is functioning by checking if the dishes are hot and dry at the end of the cycle.
If you encounter any issues during the testing process, refer to the dishwasher’s troubleshooting guide in the user manual or contact Whirlpool customer support for assistance. They can provide guidance and solutions to common problems or arrange for a service technician if needed.
Congratulations! You have successfully installed and tested your Whirlpool dishwasher. Enjoy the convenience and efficiency of a sparkling clean kitchen with your new appliance.
If you’re satisfied with the dishwasher’s performance and everything is in working order, it’s time to clean up the installation area and tidy up any remaining materials. Dispose of any packaging or old appliances responsibly and enjoy your newly installed dishwasher!
Thank you for following this installation guide, and we hope it has been helpful in navigating the installation process of your Whirlpool dishwasher.
Happy dishwashing!
Conclusion
Congratulations on successfully installing your Whirlpool dishwasher! By following this comprehensive guide, you have learned the step-by-step process to ensure a proper and effective installation. Installing your own dishwasher not only saves you money but also gives you the satisfaction of completing a DIY project.
Throughout this guide, we covered everything from preparing the dishwasher to securing it in place, connecting the power supply, and testing its functionality. By adhering to the manufacturer’s instructions and using the right tools and materials, you can enjoy the convenience and efficiency of your Whirlpool dishwasher for years to come.
Remember, safety should always be a priority when working with electrical connections and plumbing. If you ever feel unsure or uncomfortable during the installation process, it’s best to seek professional assistance.
Now that you have your dishwasher up and running, it’s time to sit back and enjoy its many benefits. Say goodbye to hand-washing dishes and hello to more free time and sparkling clean utensils, plates, and glasses.
It’s important to properly maintain your dishwasher by following the manufacturer’s recommendations. Regular cleaning and maintenance will help prolong its lifespan and optimize its performance. Additionally, stay attentive to any warning signs of malfunction, such as leaks, unusual noises, or error codes, and address them promptly to avoid further issues.
We hope this installation guide has provided you with the knowledge and confidence to install your Whirlpool dishwasher successfully. If you have any further questions or need additional assistance, don’t hesitate to reach out to Whirlpool’s customer support or consult their user manual.
Thank you for choosing Whirlpool, and we wish you many years of convenient, efficient, and spotless dishwashing!
Frequently Asked Questions about How To Install A Whirlpool Dishwasher
Was this page helpful?
At Storables.com, we guarantee accurate and reliable information. Our content, validated by Expert Board Contributors, is crafted following stringent Editorial Policies. We're committed to providing you with well-researched, expert-backed insights for all your informational needs.

0 thoughts on “How To Install A Whirlpool Dishwasher”