Home>Articles>How To Clean Showerhead That Is Soaked In Vinegar
Articles
How To Clean Showerhead That Is Soaked In Vinegar
Modified: February 28, 2024
Learn the best technique to clean your showerhead with a simple soak. Check out our informative articles on effective cleaning methods.
(Many of the links in this article redirect to a specific reviewed product. Your purchase of these products through affiliate links helps to generate commission for Storables.com, at no extra cost. Learn more)
Introduction
Cleaning your showerhead is an essential task to ensure a fully functioning and hygienic bathroom. Over time, mineral deposits, soap scum, and other impurities can build up inside the showerhead, leading to reduced water flow and potential bacterial growth. Regular cleaning not only helps maintain the efficiency of your showerhead but also improves the quality of your showers.
In this article, we will guide you through the process of cleaning your showerhead using a simple soak method. This method is effective in removing stubborn dirt, limescale, and bacteria without the need for harsh chemicals or excessive scrubbing.
Before we get started, gather the necessary supplies for this task:
- A wrench or adjustable pliers
- A plastic bag or container large enough to fit the showerhead
- Vinegar or a descaling solution
- A toothbrush or small brush for scrubbing
- A clean cloth or sponge
Now that you have everything you need, let’s dive into the step-by-step process of cleaning your showerhead.
Key Takeaways:
- Say goodbye to stubborn dirt and mineral deposits on your showerhead with a simple soak method using vinegar or a descaling solution. Enjoy a fully functioning and hygienic shower experience without harsh chemicals or excessive scrubbing.
- Keep your showerhead in optimal condition by following a step-by-step cleaning process. Remove mineral deposits, limescale, and bacteria, and ensure a steady water flow for refreshing and enjoyable showers.
Supplies Needed
Before you begin cleaning your showerhead, make sure you have the following supplies:
- A wrench or adjustable pliers: You will need this tool to loosen and remove the showerhead from the pipe.
- A plastic bag or container large enough to fit the showerhead: This will be used for soaking the showerhead in a cleaning solution.
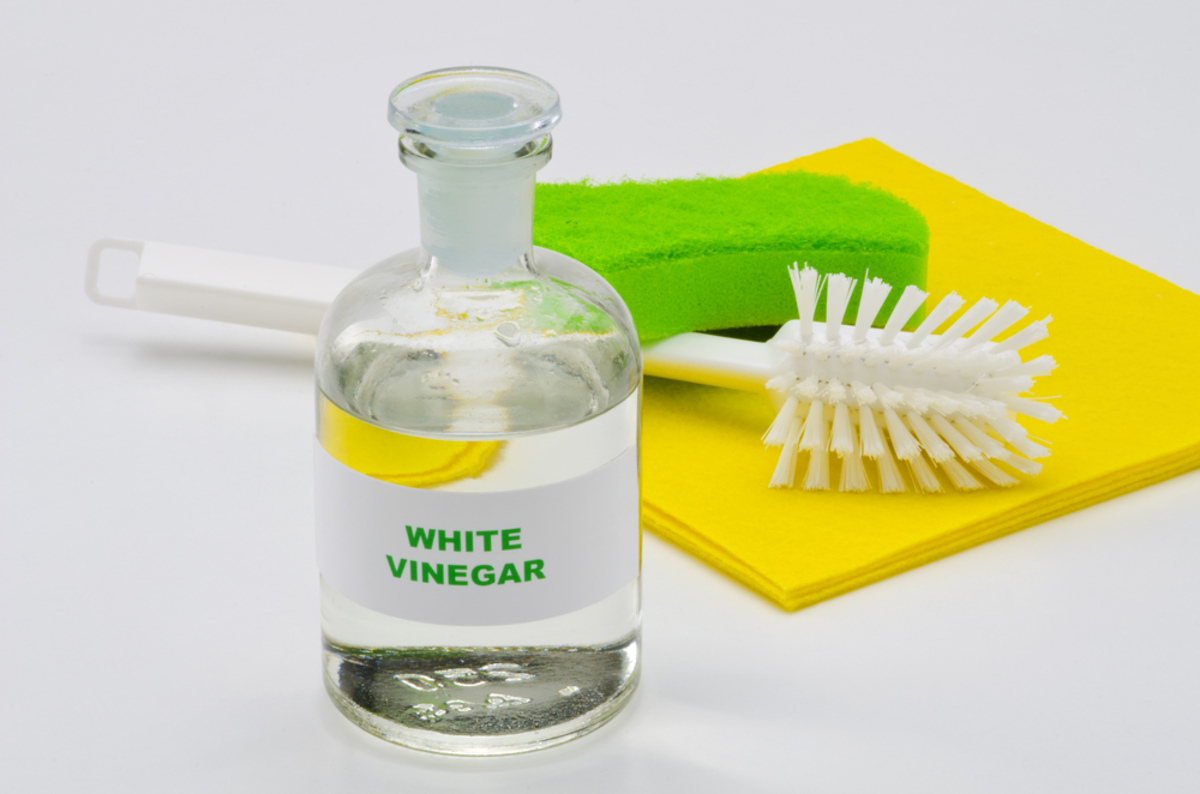
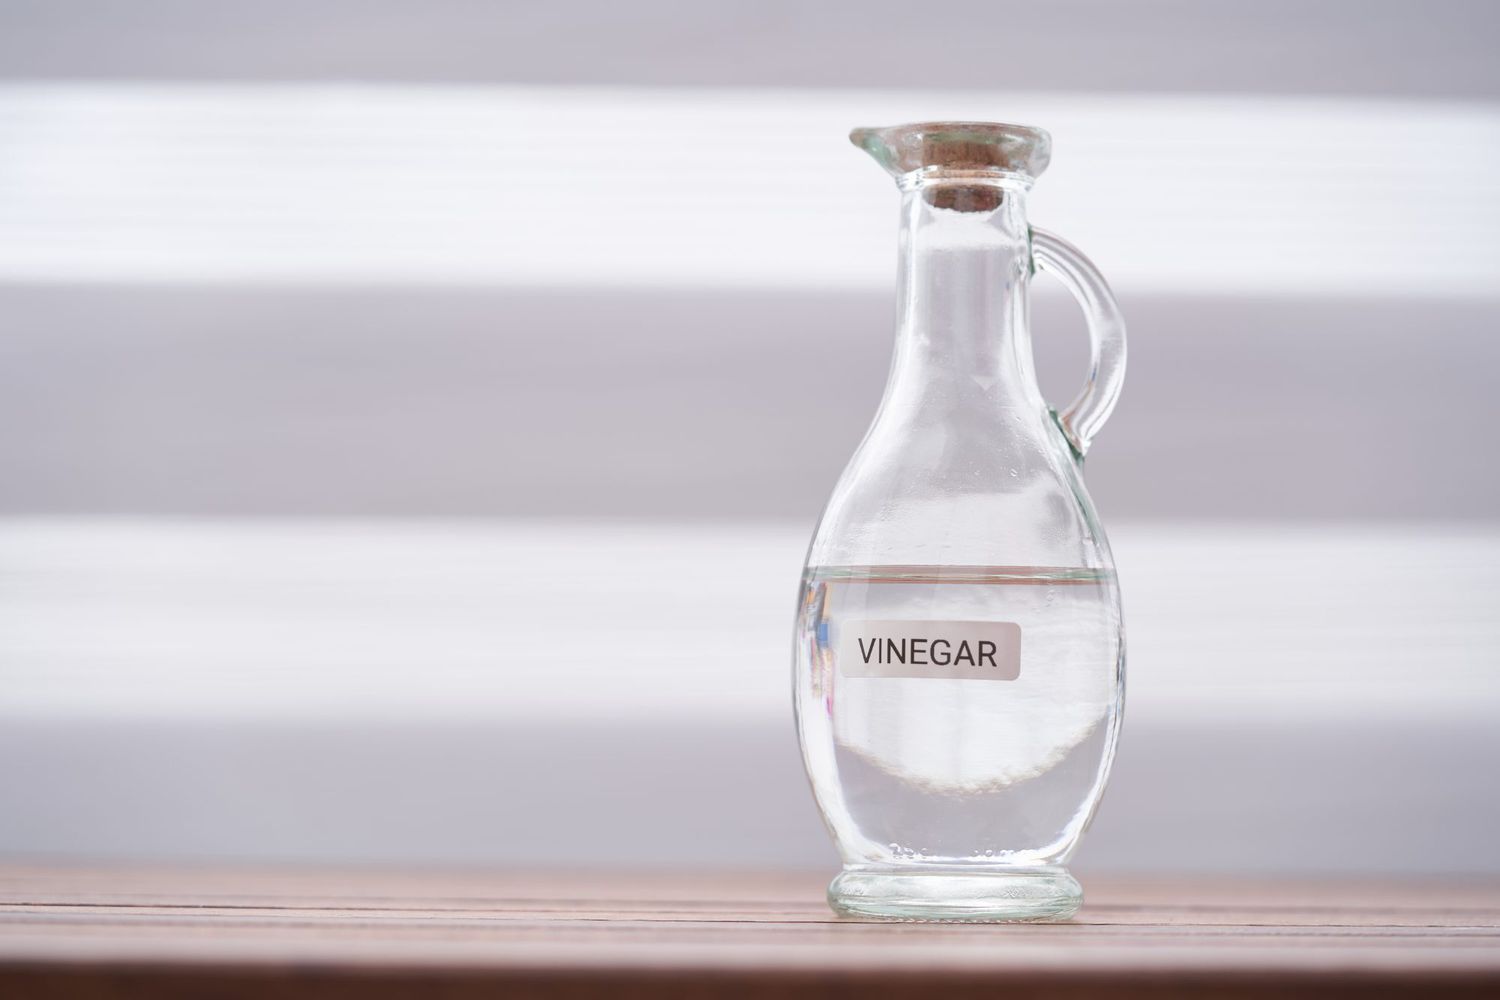
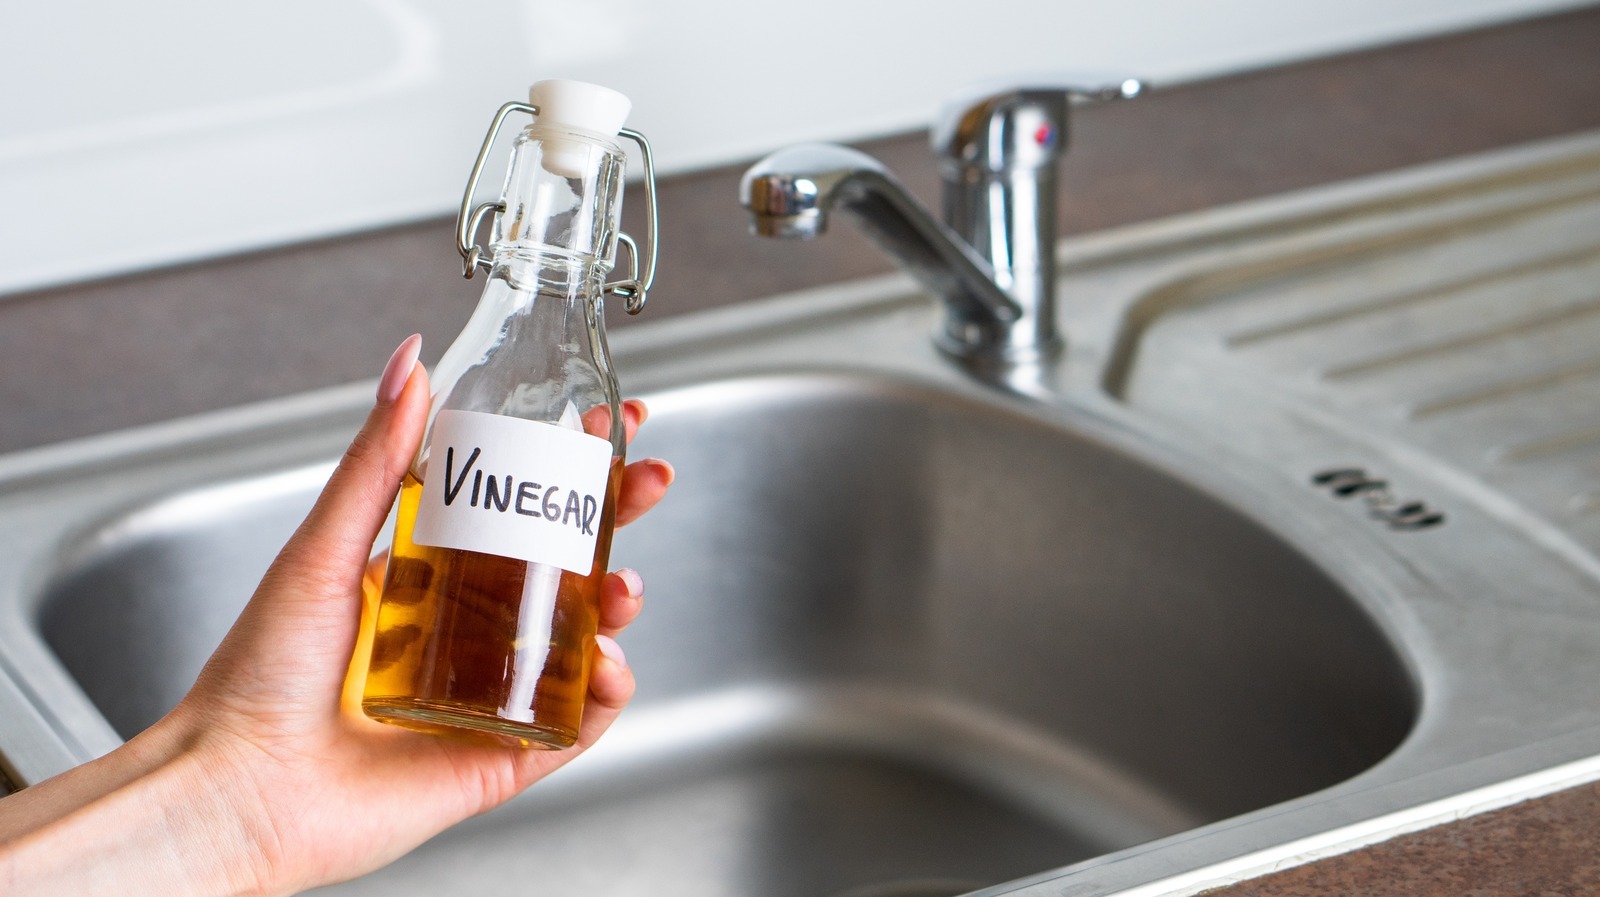
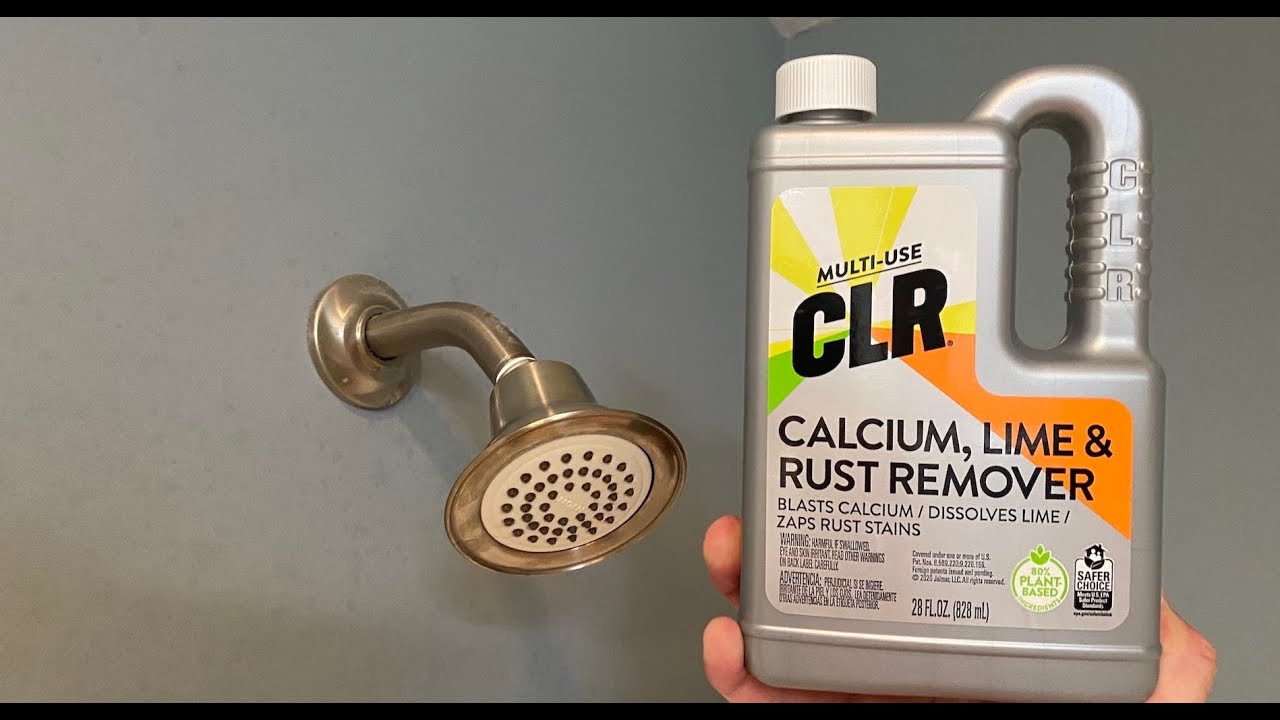
- Vinegar or a descaling solution: Vinegar is a natural and effective cleaner that can help remove mineral deposits and limescale from the showerhead. If you prefer, you can also use a commercial descaling solution.
- A toothbrush or small brush for scrubbing: This will be used to scrub away any remaining debris or buildup on the showerhead.
- A clean cloth or sponge: This will come in handy for wiping down the showerhead and giving it a final clean finish.
With these supplies on hand, you’re ready to begin the cleaning process. Remember to always follow safety precautions and ensure the bathroom area is well-ventilated during the cleaning process.
Step 1: Removing the Showerhead
The first step in cleaning your showerhead is to remove it from the water pipe. This will allow for easier access and thorough cleaning. Follow these steps:
- Turn off the water supply: Locate the valve or handle that controls the water supply to your shower. Turn it off to prevent any accidental water flow while removing the showerhead.
- Protect the showerhead: To avoid scratching or damaging the showerhead surface, wrap a soft cloth around the base of the showerhead before using a wrench or adjustable pliers.
- Loosen the showerhead: Gently and carefully use a wrench or adjustable pliers to loosen the showerhead from the water pipe. Turn it counterclockwise until it is loose enough to be removed by hand.
- Remove the showerhead: Once it is loosened, unscrew the showerhead entirely by hand. Be cautious not to drop any small parts or washers down the drain.
With the showerhead successfully removed, you can proceed to the next step of preparing the soaking solution.
Step 2: Preparing the Soaking Solution
Now that you have removed the showerhead, it’s time to prepare a soaking solution that will effectively remove the buildup and debris. One of the most commonly used and effective solutions is vinegar. Here’s how to prepare the soaking solution:
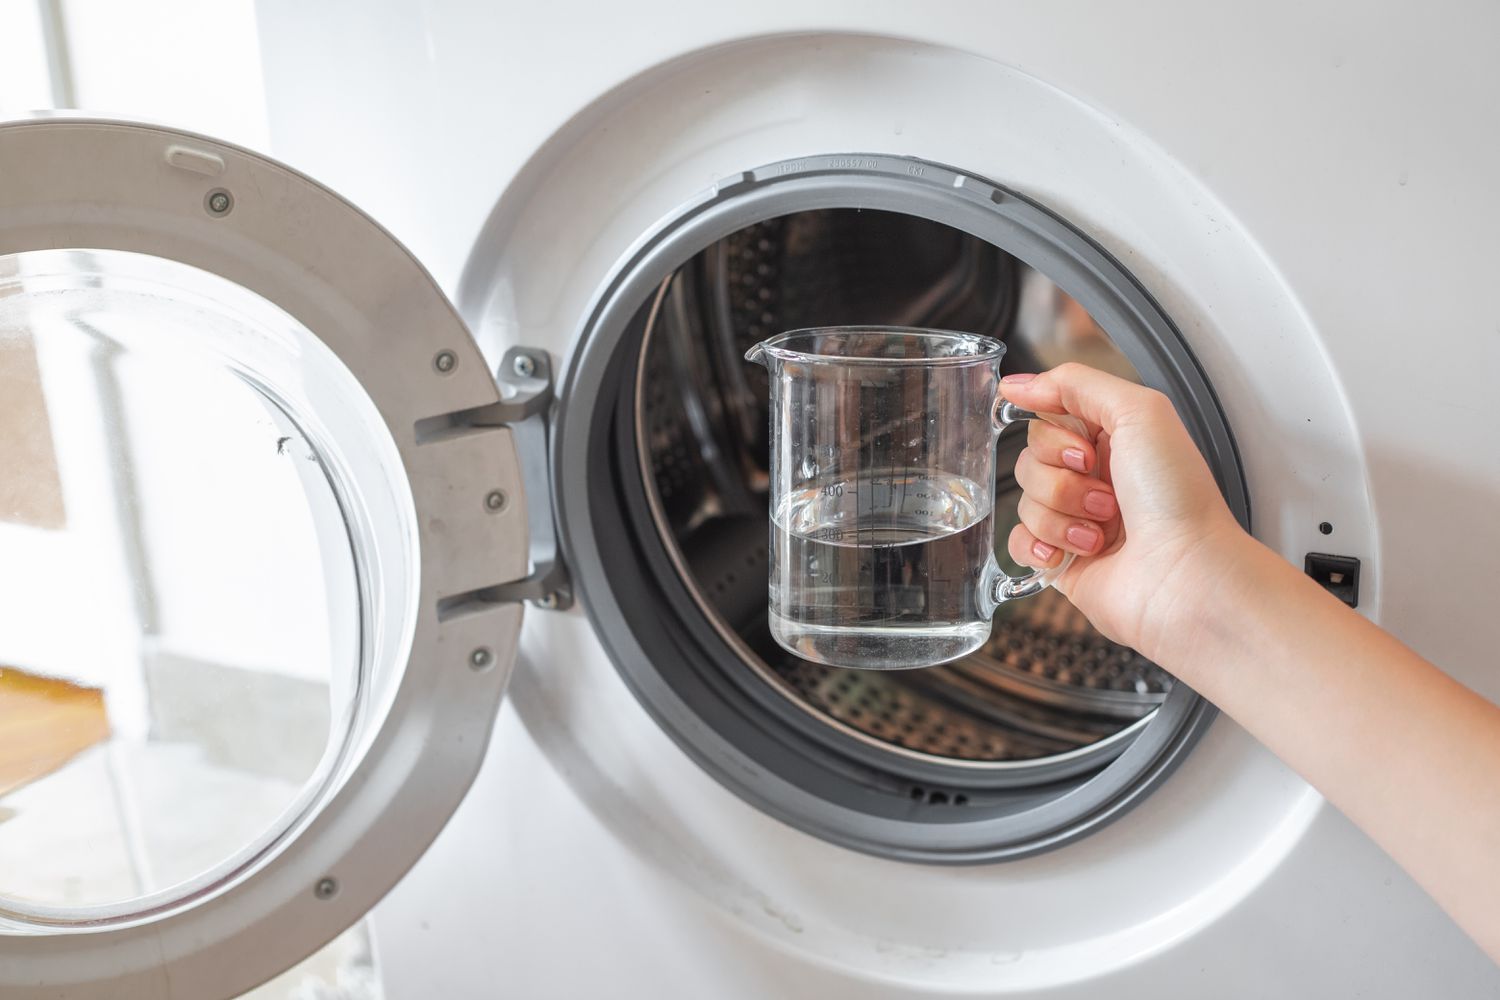
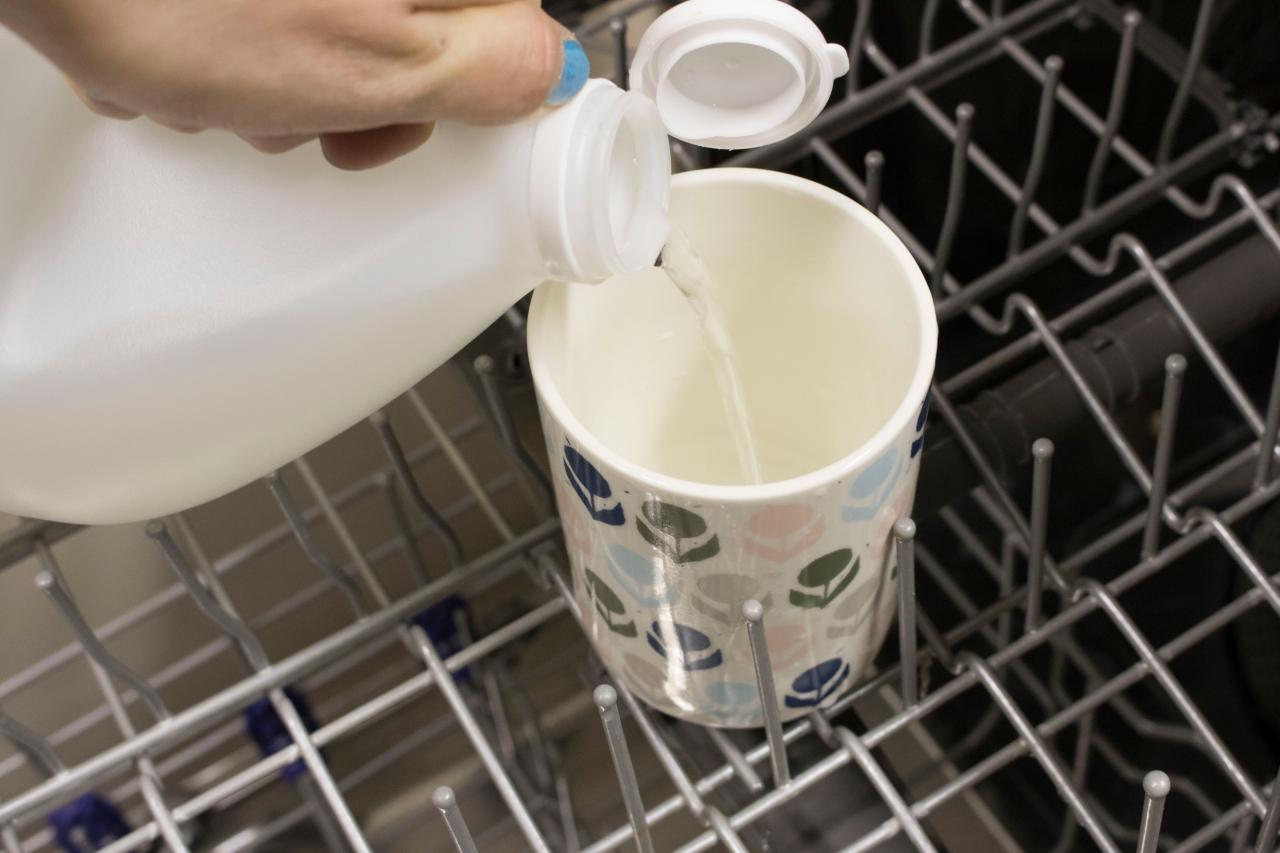
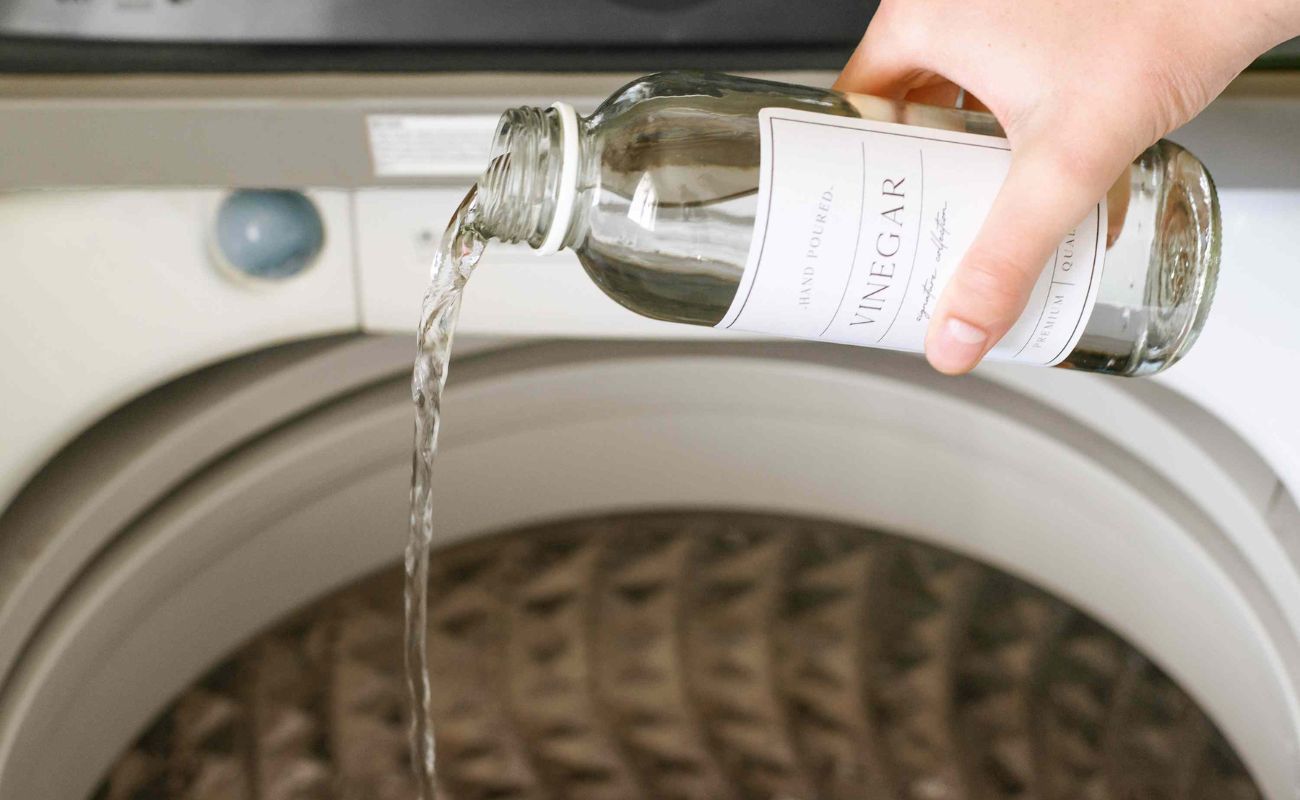
- Fill a plastic bag or container: Take a plastic bag or container large enough to fit the showerhead. Fill it with equal parts water and vinegar. If you prefer, you can also use a commercial descaling solution according to the manufacturer’s instructions.
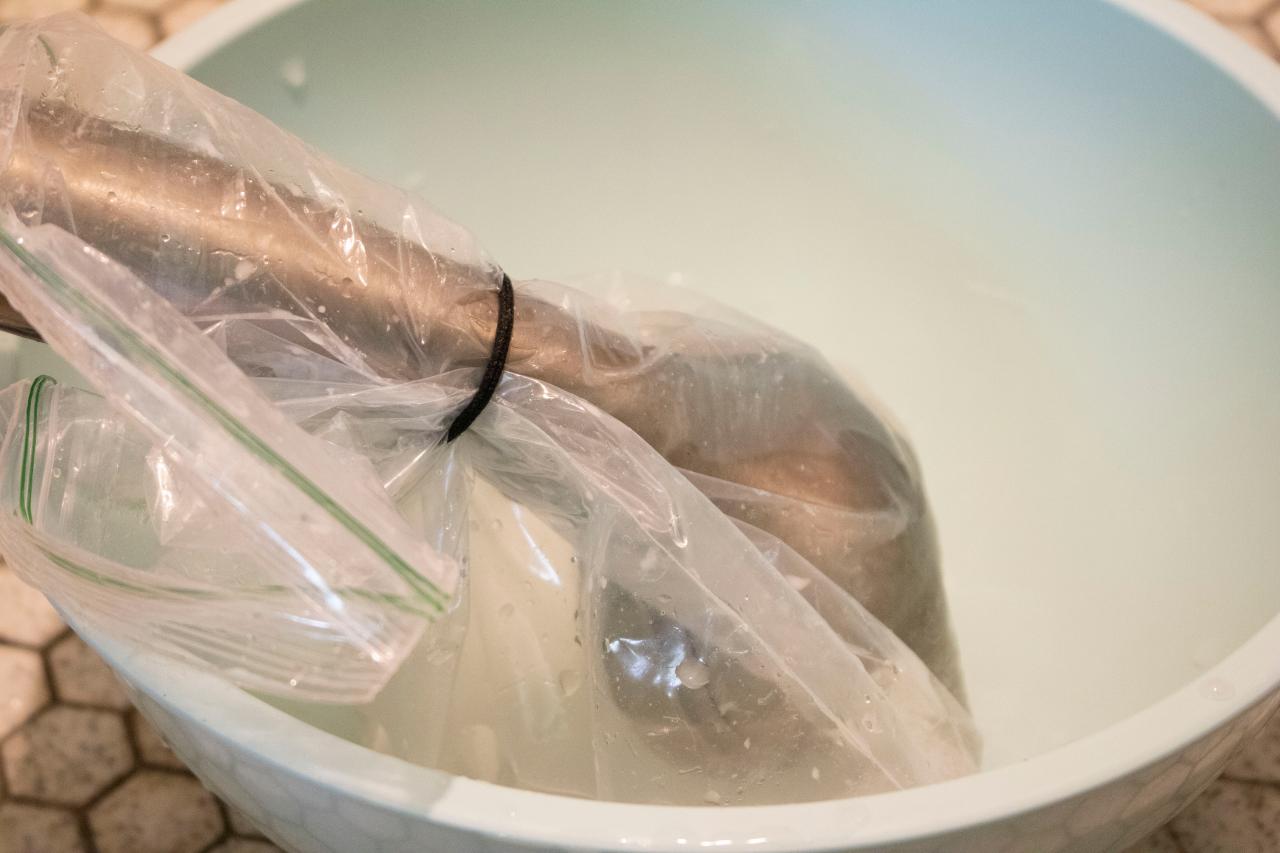
- Submerge the showerhead: Immerse the showerhead in the soaking solution, ensuring that it is completely covered. If using a plastic bag, secure it tightly around the showerhead to prevent leaks.
- Let it soak: Allow the showerhead to soak in the solution for at least 30 minutes or longer if it has significant buildup. Soaking helps dissolve mineral deposits and loosen any stubborn dirt or grime.
Vinegar is a natural cleaner that effectively breaks down mineral deposits and limescale. It’s also safe to use on most showerhead materials. If you have a showerhead with delicate finishes or are unsure about using vinegar, consider using a descaling solution specifically designed for cleaning showerheads.
While the showerhead is soaking, you can move on to the next step of cleaning.
Step 3: Soaking the Showerhead
Now that you have prepared the soaking solution, it’s time to proceed with soaking the showerhead. This step ensures that the solution thoroughly penetrates and cleans the internal components of the showerhead. Here’s how to do it:
- Place the showerhead in the soaking solution: Carefully lower the showerhead into the plastic bag or container filled with the prepared soaking solution. Ensure that the showerhead is fully submerged.
- Secure the bag or cover the container: If using a plastic bag, securely seal it around the showerhead to prevent any leakage. If using a container, cover it with a lid or plastic wrap. This will help maintain the temperature and prevent evaporation of the solution.
- Allow it to soak: Leave the showerhead in the soaking solution for at least 30 minutes, or longer if there is heavy buildup or stubborn dirt. This gives the vinegar or descaling solution enough time to break down the mineral deposits and grime.
During the soaking process, the solution will work to dissolve and loosen any debris or buildup inside the showerhead. This method is effective in removing stubborn limescale and mineral deposits that can hinder water flow and affect the performance of your shower.
While the showerhead is soaking, you can move on to the next step of scrubbing.
To clean a showerhead, soak it in a mixture of equal parts water and white vinegar for at least 30 minutes. This will help dissolve mineral deposits and improve water flow.
Step 4: Scrubbing the Showerhead
After the showerhead has soaked in the cleaning solution, it’s time to give it a thorough scrub to remove any remaining debris or buildup. This step ensures that the showerhead is completely clean and free from any blockages. Here’s how to do it:
- Remove the showerhead from the soaking solution: Carefully take the showerhead out of the soaking solution and place it on a clean surface.
- Inspect the showerhead: Take a close look at the showerhead to identify any remaining scale, dirt, or residue. Pay special attention to the spray nozzles and crevices.
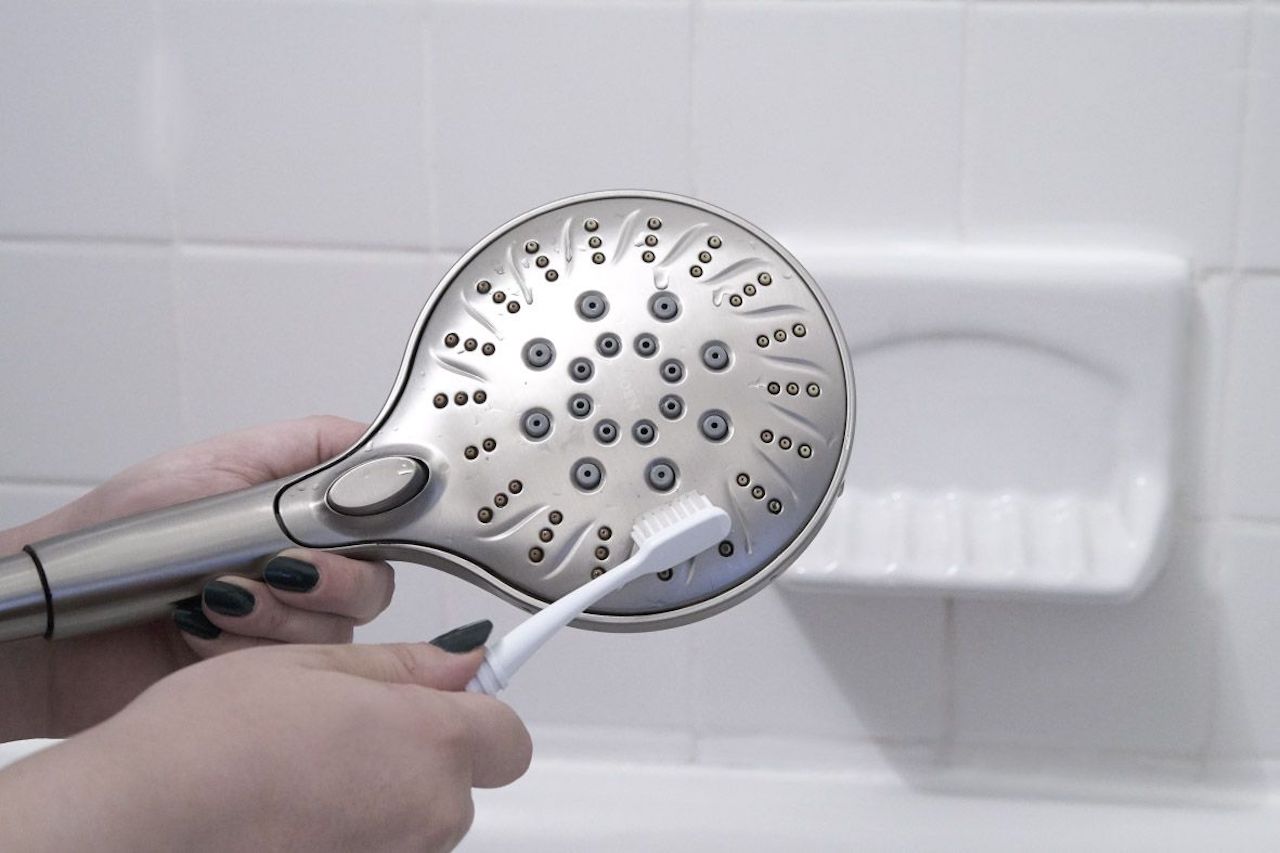
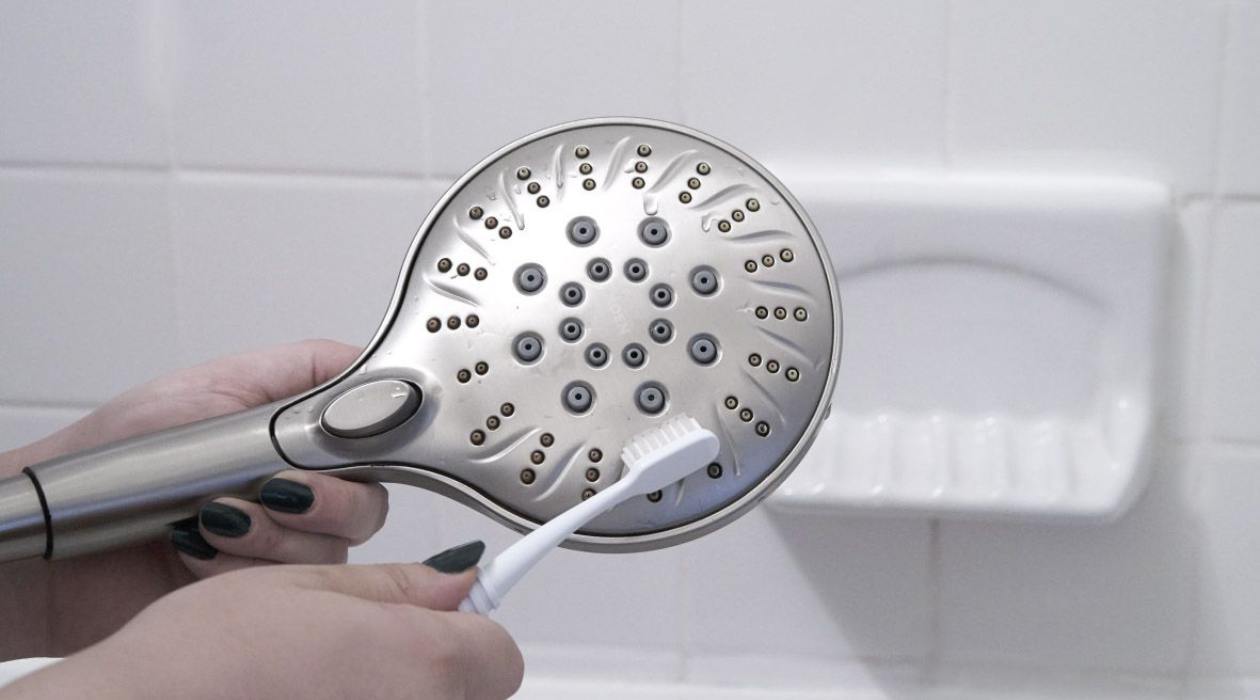
- Scrub with a toothbrush or small brush: Dip a toothbrush or small brush into the cleaning solution and scrub the entire surface of the showerhead. Focus on areas with visible buildup or grime, gently scrubbing in circular motions.
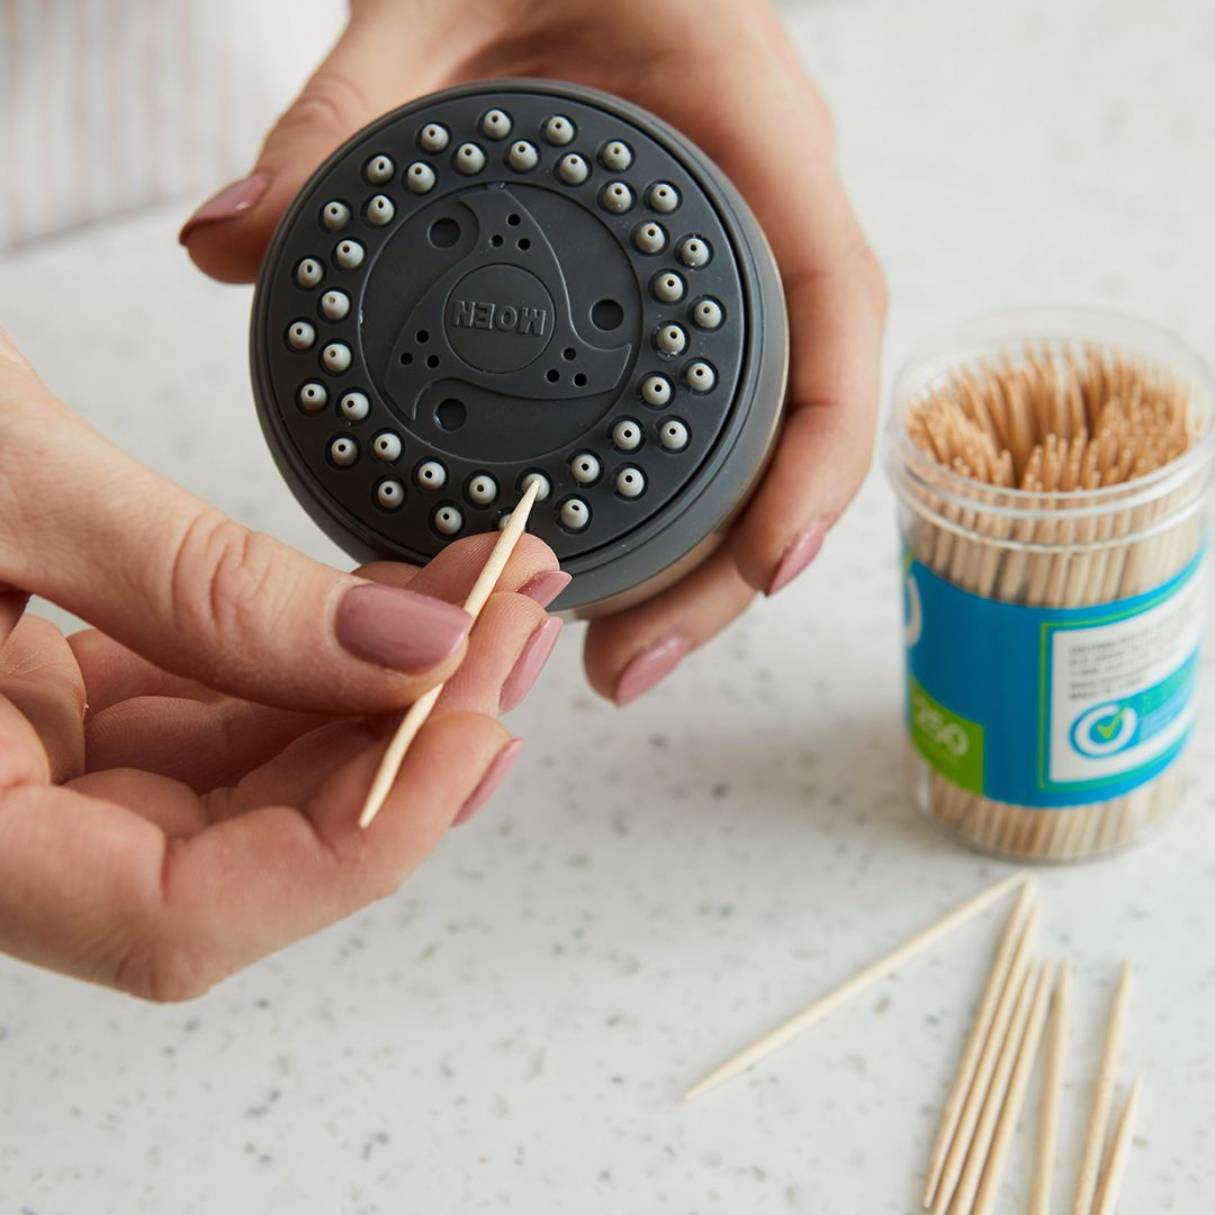
- Clean the spray nozzles: Use the toothbrush or a pin to remove any debris or mineral deposits from the spray nozzles. Be careful not to damage or enlarge the nozzles while cleaning.
- Rinse the showerhead: Once you have thoroughly scrubbed the showerhead, rinse it under running water to remove any residue or cleaning solution. This step ensures that no traces of the cleaning solution are left behind.
Scrubbing the showerhead helps to dislodge and remove any stubborn buildup that was loosened during the soaking process. The gentle scrubbing action ensures that your showerhead is clean, fresh, and ready for reassembly.
With the showerhead now scrubbed clean, you can move on to the next step of reassembling it.
Step 5: Reassembling the Showerhead
Now that you have thoroughly cleaned the showerhead, it’s time to reassemble it and put it back into place. Here’s a step-by-step guide on how to reassemble your showerhead:
- Inspect the showerhead components: Before reassembling, check the showerhead and its components for any damage or wear. Replace any worn-out washers or O-rings if necessary.
- Apply plumber’s tape (optional): To prevent any leaks, you can wrap a few rounds of plumber’s tape clockwise around the threaded end of the water pipe. This helps create a tight seal between the showerhead and the pipe.
- Screw the showerhead back on: Position the showerhead over the water pipe and carefully screw it back on in a clockwise direction. Use your hands to tighten it, and then use a wrench or adjustable pliers to give it a final firm twist. Be careful not to overtighten, as this can cause damage.
- Check for leaks: Once the showerhead is securely in place, turn on the water supply and check for any leaks. If you notice any leaks, gently tighten the showerhead a little more until the leak stops.
- Wipe down the showerhead: Use a clean cloth or sponge to wipe down the exterior of the showerhead. This will remove any fingerprints, water spots, or residue left from the cleaning process.
Reassembling the showerhead is a simple process, but it’s important to ensure a proper fit and tight seal to prevent any leaks. Take your time to ensure everything is securely in place before moving on to the final step.
With the showerhead successfully reassembled, you’re ready to move on to the final step of testing the cleaned showerhead.
Step 6: Testing the Cleaned Showerhead
After you have reassembled the showerhead, it’s essential to test its functionality and ensure that it is clean and working properly. Testing allows you to verify that the cleaning process has improved water flow and removed any blockages. Here’s how to test your cleaned showerhead:
- Turn on the water supply: Slowly turn on the water supply to your shower and let it run for a few minutes. This allows any air trapped in the plumbing to be released and ensures a steady flow of water.
- Check for normal water flow: Observe the water flow from the showerhead. It should be steady, without any sputtering or irregular patterns. If you notice any issues, such as reduced water pressure or uneven spray, you may need to repeat the cleaning process or check for any blockages.
- Adjust the spray pattern (if applicable): If your showerhead has adjustable spray patterns, test each one to ensure that it is working correctly. Adjust the settings to your preference and make sure the spray coverage is consistent and even.
If you are satisfied with the water flow and spray pattern, congratulations! You have successfully cleaned and restored your showerhead. It’s now ready to provide you with refreshing and enjoyable showers.
However, if you encounter any issues with water flow or notice persistent blockages, you may need to repeat the cleaning steps or consult a professional plumber for further assistance.
Remember to periodically clean your showerhead to maintain its performance and keep it hygienic. Regular maintenance helps prevent the buildup of mineral deposits and ensures a smooth and enjoyable shower experience.
By following these steps and incorporating regular cleaning into your routine, you can keep your showerhead functioning optimally and enjoy a refreshing shower every time.
Conclusion
Cleaning your showerhead is a crucial task to maintain a clean and functional bathroom. By following the steps outlined in this article, you can effectively remove mineral deposits, limescale, and other buildup to keep your showerhead in optimal condition.
Remember to gather the necessary supplies before starting, including a wrench or adjustable pliers, a container for soaking, vinegar or a descaling solution, a toothbrush or small brush for scrubbing, and a cloth or sponge for wiping down the showerhead.
The process begins with removing the showerhead, preparing a soaking solution using vinegar or a descaling solution, and allowing the showerhead to soak for at least 30 minutes. After that, scrub away any remaining debris using a toothbrush or small brush, rinse the showerhead, and reassemble it carefully to ensure a tight seal and prevent leaks.
Finally, test the cleaned showerhead for proper water flow and adjustable spray patterns if applicable. If you encounter any issues, repeat the steps or seek professional assistance if necessary.
Regular cleaning of your showerhead not only improves its performance but also enhances your shower experience. It removes any blockages that inhibit water flow and reduces the risk of bacteria growth, ensuring a clean and refreshing shower every time.
By incorporating regular maintenance and cleaning into your bathroom routine, you can enjoy the benefits of a clean and efficient showerhead for years to come.
So don’t wait any longer – grab your supplies and get started on cleaning your showerhead today!
Frequently Asked Questions about How To Clean Showerhead That Is Soaked In Vinegar
Was this page helpful?
At Storables.com, we guarantee accurate and reliable information. Our content, validated by Expert Board Contributors, is crafted following stringent Editorial Policies. We're committed to providing you with well-researched, expert-backed insights for all your informational needs.


0 thoughts on “How To Clean Showerhead That Is Soaked In Vinegar”