Learn how to seed bare spots in your garden and revitalize your outdoor space. Find step-by-step instructions and expert tips for successful gardening.
(Many of the links in this article redirect to a specific reviewed product. Your purchase of these products through affiliate links helps to generate commission for Storables.com, at no extra cost. Learn more)
Introduction
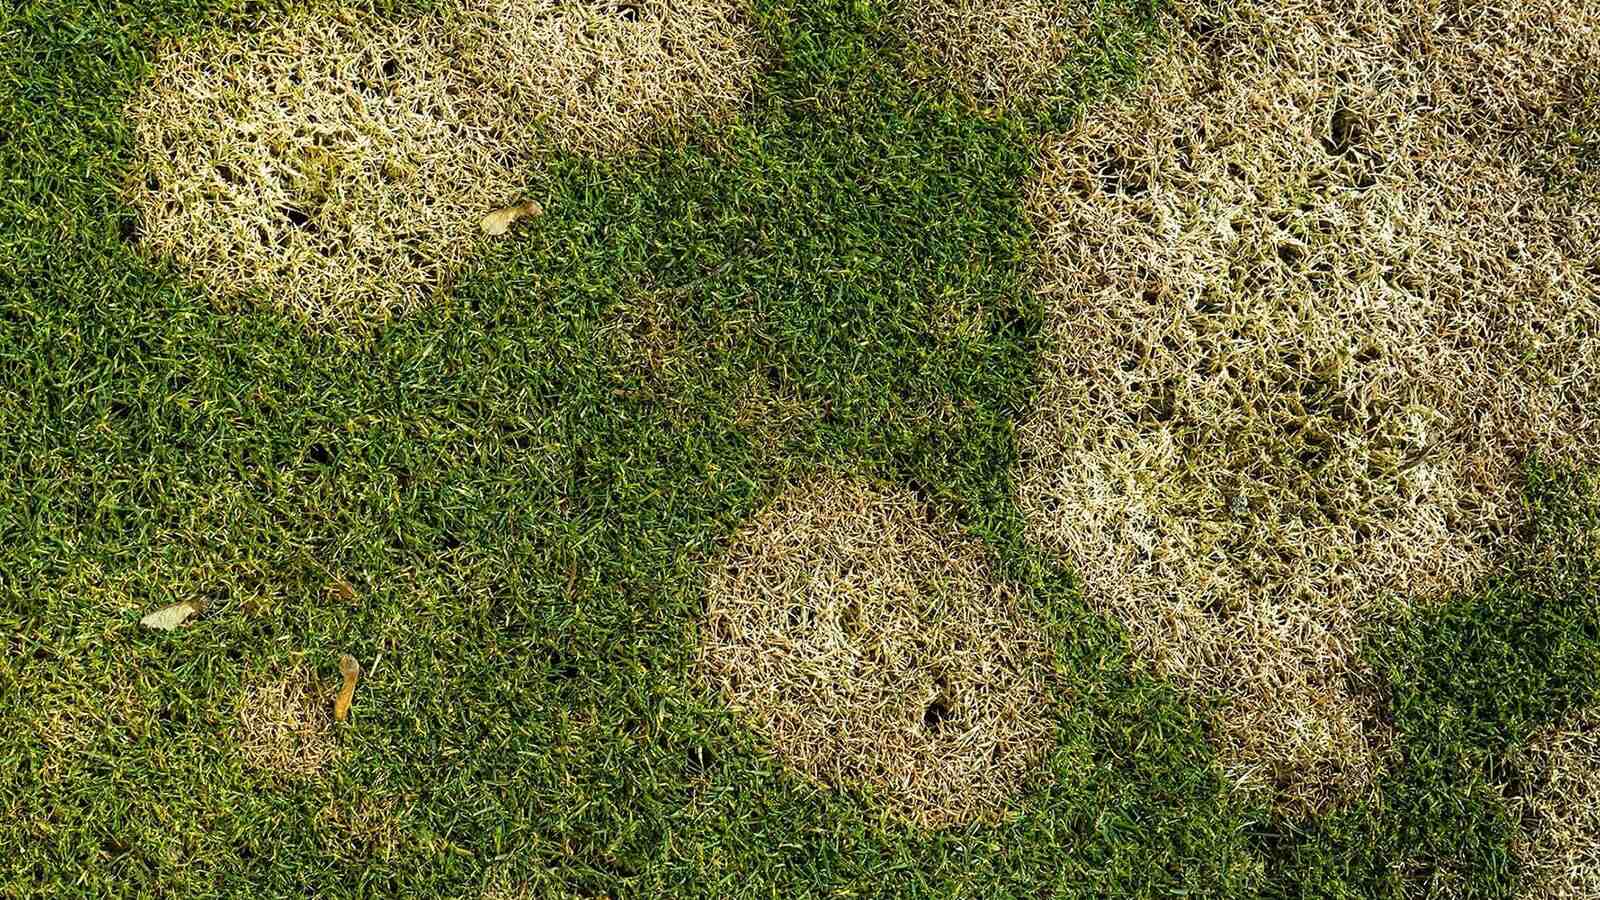
Having a beautiful, lush green lawn is a dream for many homeowners. However, one common issue that can detract from its overall appearance is the presence of bare spots. These bare spots not only disrupt the visual appeal of your lawn but also provide an opportunity for weeds to take root and spread.
If you’re dealing with bare spots in your lawn, don’t worry! With a little know-how and the right techniques, you can quickly and effectively seed those bare spots and restore your lawn to its former glory.
In this article, we’ll guide you through the process of seeding bare spots in your lawn. We’ll explain the underlying causes of bare spots, help you identify the main culprits in your specific situation, and provide you with step-by-step instructions on how to seed and care for those areas.
Key Takeaways:
Don’t let bare spots ruin your lawn! Identify the cause, choose the right seed, and provide proper care to restore lush greenery. Enjoy a vibrant, healthy lawn with these simple steps.
Seeding bare spots is a breeze! Prepare the soil, choose the right seed, and protect the newly seeded areas for a beautiful, thriving lawn. It’s easy and worth the effort!
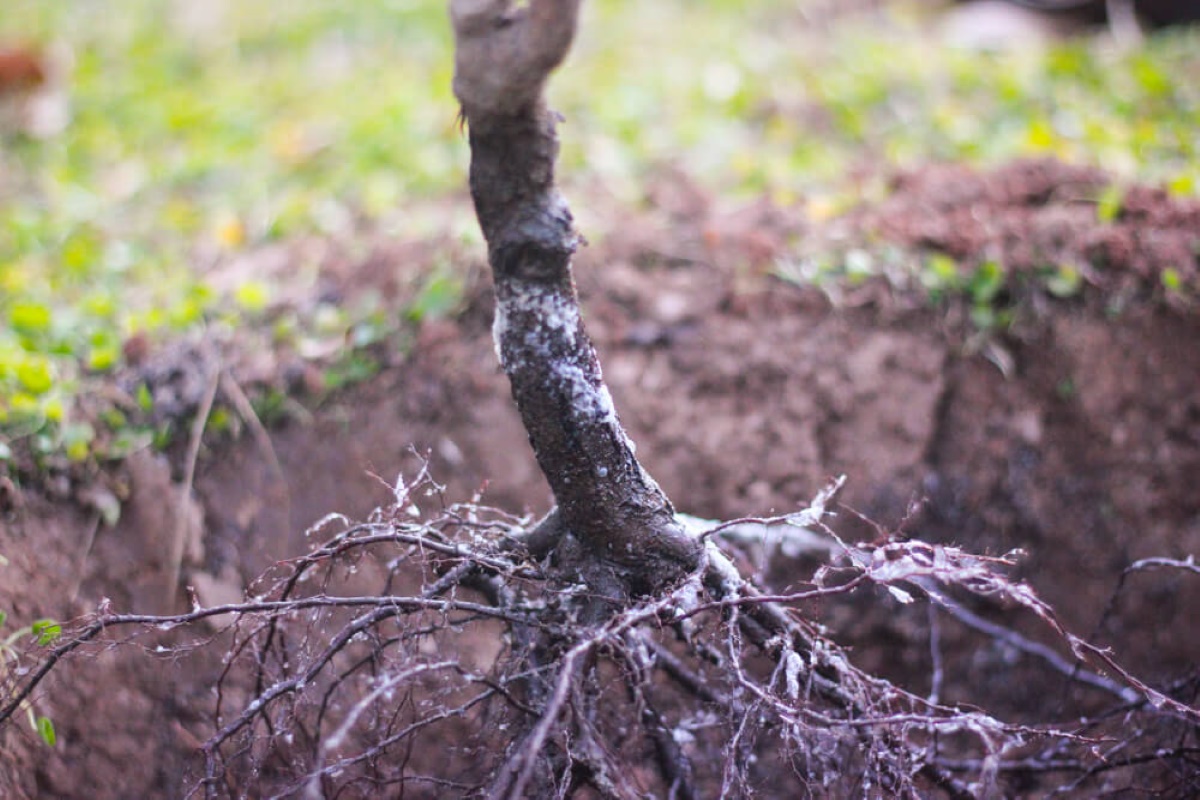
Before we dive into the process of seeding bare spots, it’s essential to understand what causes them in the first place. Bare spots are areas in your lawn where grass is either thin or completely absent, leaving bare soil exposed. These spots can be caused by a variety of factors, including:
Heavy foot traffic: Areas that experience heavy foot traffic, such as pathways or play areas, are more prone to developing bare spots due to soil compaction.
Poor soil quality: Inadequate soil nutrition, pH imbalance, or excessive thatch buildup can hinder grass growth and result in bare patches.
Excessive shade: Grass needs sunlight to thrive, so areas with dense shade from trees or structures may struggle to support healthy grass growth.
Watering issues: Overwatering or underwatering can stress grass and cause it to thin or die out, leading to bare spots.
Pest and disease damage: Certain pests, like grubs or fungal diseases, can damage grass roots and cause sections of your lawn to deteriorate.
Improper mowing: Cutting grass too short or using dull mower blades can weaken the grass, making it more susceptible to bare spots.
By understanding the underlying causes of your bare spots, you can take appropriate measures to address them and prevent future occurrences. The next step is to identify the main culprits specific to your lawn, which will help you determine the best course of action for seeding and restoring those bare areas.
Identifying the Cause of Bare Spots
To effectively address bare spots in your lawn, it’s crucial to identify the specific causes behind them. This will allow you to target the root issues and implement suitable remedies. Here are a few steps to help you identify the cause of bare spots:
Observe the location: Take note of where the bare spots are located in your lawn. Are they concentrated in high-traffic areas, shady spots, or areas with poor drainage?
Examine the soil: Check the quality of the soil in the bare spots. Is it compacted, lacking nutrients, or excessively dry or wet?
Inspect the grass blades: Look closely at the remaining grass blades in the bare spots. Do you notice any signs of pests, disease, or damage?
Consider recent lawn care practices: Reflect on your recent lawn care practices, such as mowing height, watering schedule, or fertilizer application. Determine if any of these factors could have contributed to the bare spots.
Consult a professional: If you’re unsure about the cause or struggling to identify it accurately, consider consulting a lawn care professional who can provide expert advice.
By carefully examining the location, soil, grass blades, and your own lawn care practices, you will be able to narrow down the potential causes of the bare spots. This knowledge will guide you in the next steps of preparing the soil and choosing the appropriate seed for reseeding those areas.
Preparing the Soil
Once you have identified the causes of the bare spots in your lawn, it’s time to prepare the soil for reseeding. Proper soil preparation is key to creating an environment that promotes optimal seed germination and establishment. Follow these steps to prepare the soil:
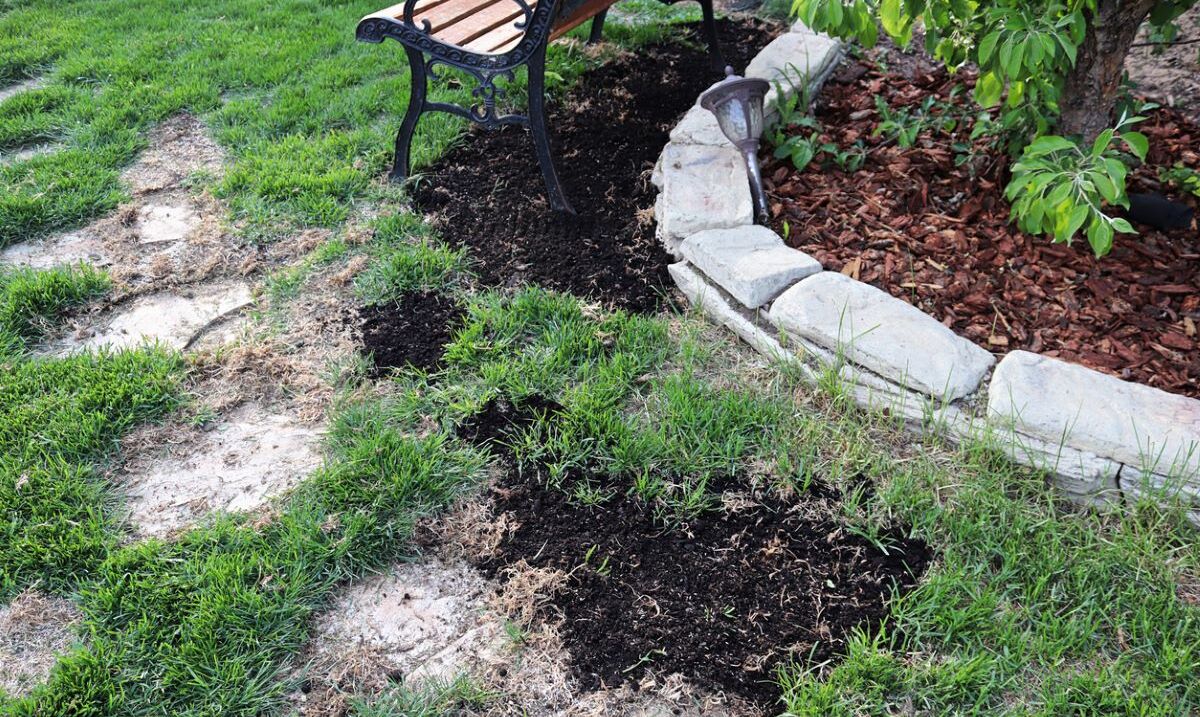
Clear the area: Remove any debris, weeds, or rocks from the bare spots. Use a rake or shovel to gently loosen and level the soil surface.
Test the soil: Conduct a soil test to assess its pH level and nutrient content. This will help you determine if any amendments are needed to correct imbalances and create the ideal growing conditions.
Aerate the soil: If the soil is compacted, aerate the bare spots and surrounding areas. Aeration helps improve water and nutrient penetration, loosens compacted soil, and promotes healthy root growth.
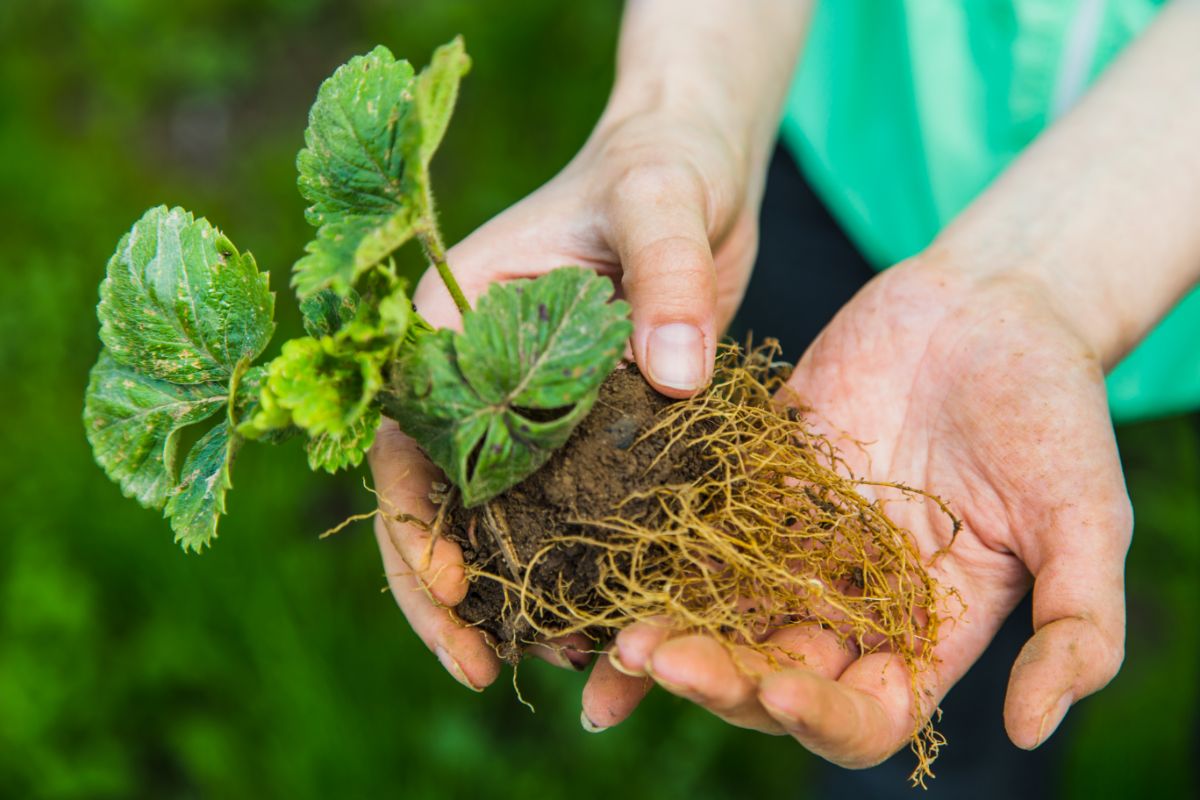
Add organic matter: Incorporate organic matter, such as compost or well-rotted manure, into the soil. This enhances drainage, improves soil structure, and provides essential nutrients for seedling development.
Level the surface: Use a rake or leveling tool to ensure the soil surface is smooth and even. This will help prevent water pooling and uneven seed distribution.
By taking the time to properly prepare the soil, you create an optimal foundation for seed germination and growth. The next step is selecting the right seed variety for reseeding the bare spots in your lawn.
Choosing the Right Seed
When it comes to choosing the right seed for reseeding bare spots in your lawn, you want to select a variety that suits your specific needs and growing conditions. Here are some factors to consider when choosing the right seed:
Grass type: Determine the type of grass that will thrive in your region’s climate. Common warm-season grasses include Bermuda grass and Zoysia grass, while cool-season grasses include Kentucky bluegrass and perennial ryegrass.
Sunlight requirements: Consider the amount of sunlight the bare spots receive. Some grasses, like St. Augustine grass, thrive in full sun, while others, like fine fescue, tolerate shade better.
Soil type: Different grass varieties have specific soil preferences. Determine whether your soil is sandy, loamy, or clay-based, and choose a seed variety that is well-suited to your soil type.
Grass characteristics: Consider factors such as drought tolerance, disease resistance, and traffic tolerance. Choose a grass variety that aligns with the specific characteristics you desire in your lawn.
Seed quality: Purchase high-quality seed from a reputable supplier to ensure good germination rates and a healthy, vigorous lawn.
It’s worth noting that blends or mixtures of grass seeds often provide the benefits of different grass varieties, such as increased resilience or improved appearance. You can also use a patch repair mix specifically designed for quick establishment in bare areas.
Once you have selected the appropriate seed for your bare spots, it’s time to move on to the next step: seeding the areas.
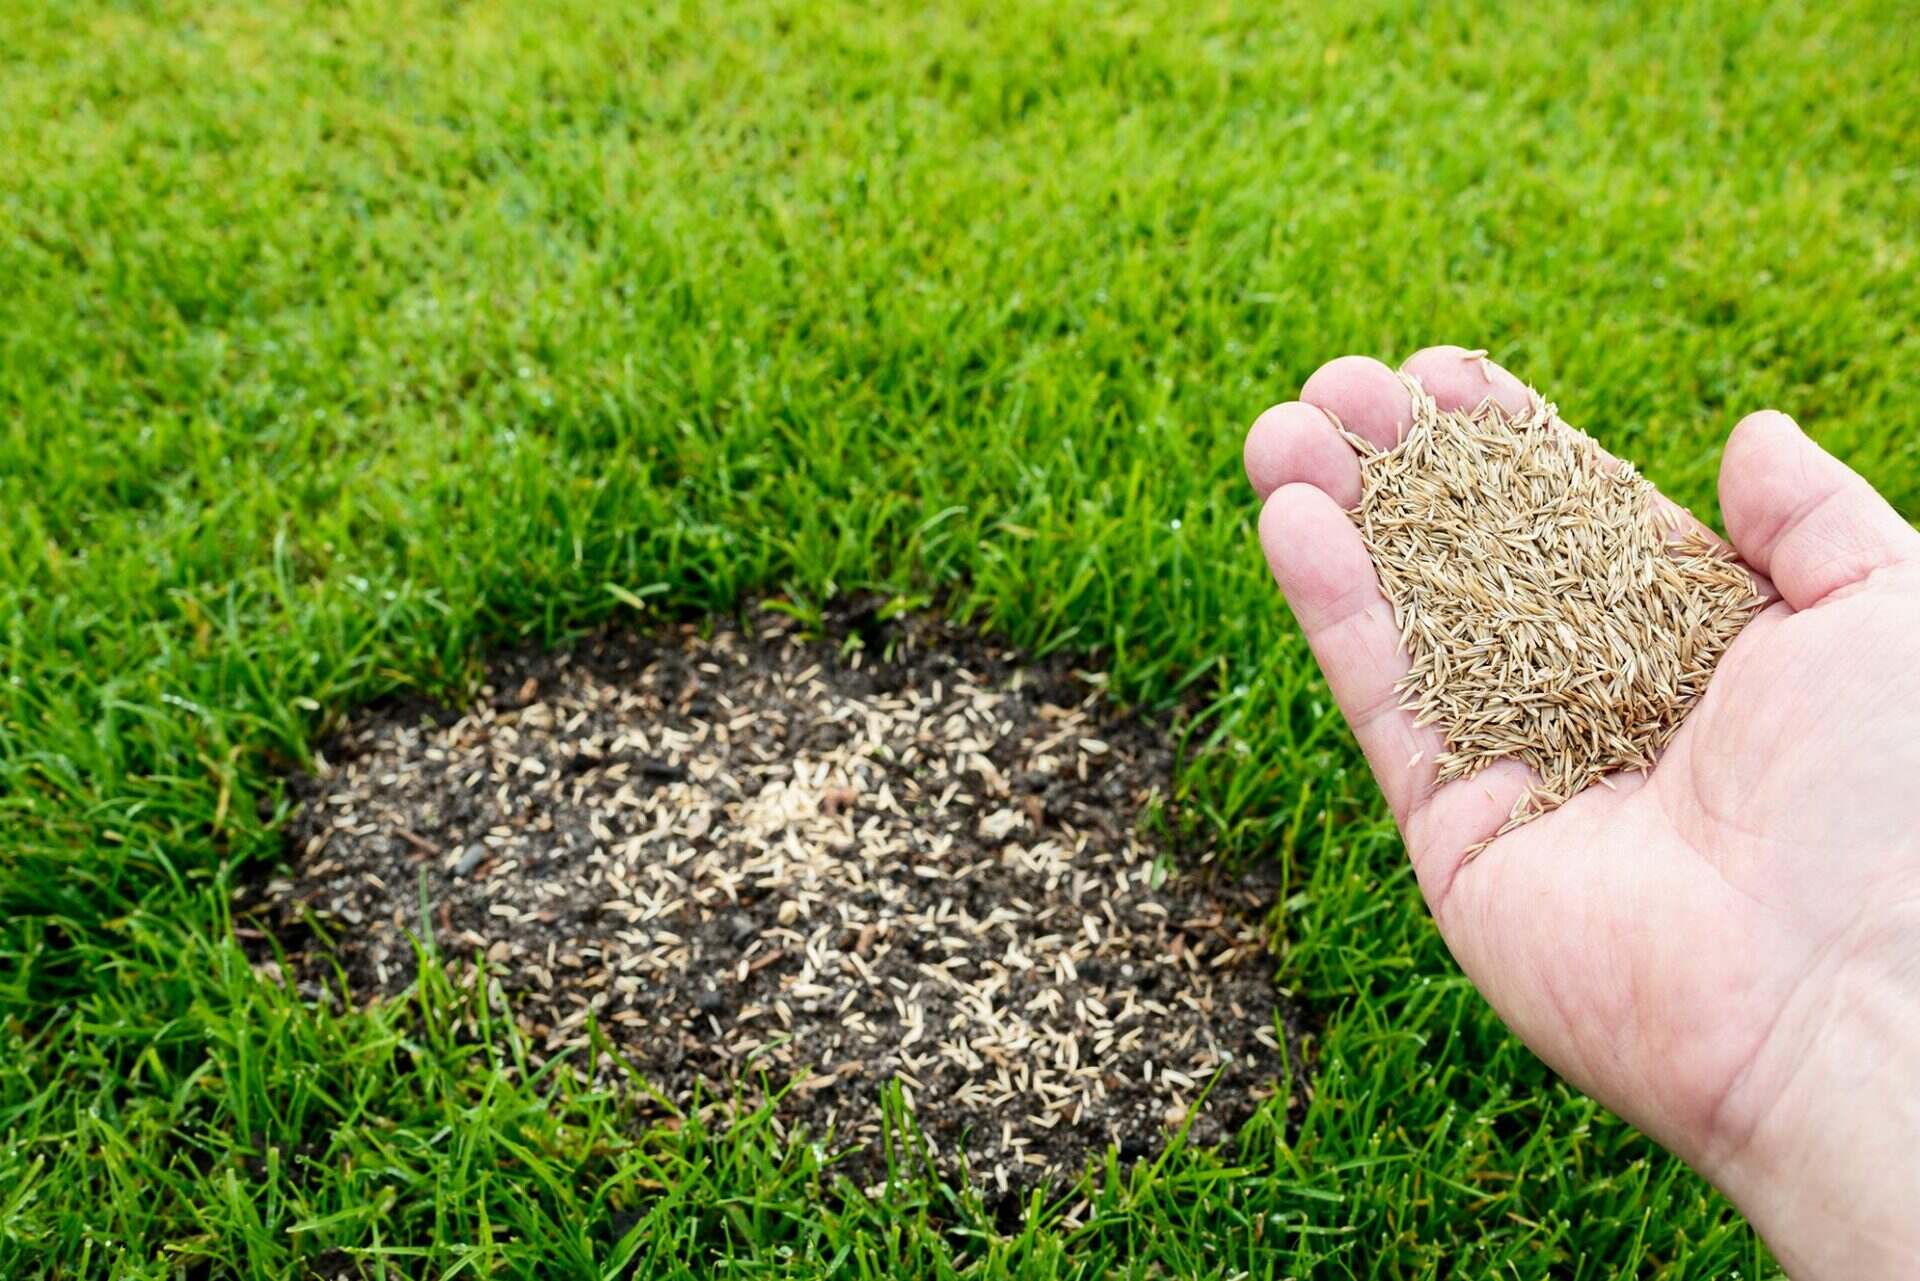
When seeding bare spots in your lawn, make sure to loosen the soil, spread the seeds evenly, and lightly cover them with a thin layer of soil or mulch to protect them and keep them moist. Water regularly to help the seeds germinate and establish new grass growth.
Now that you have prepared the soil and chosen the right seed, it’s time to seed the bare spots in your lawn. Follow these steps for successful seeding:
Timing: The best time to seed bare spots is during the cooler months of the year when temperatures are mild. This ensures optimal germination and reduces competition from weeds.
Loosen the soil: Before seeding, gently loosen the top layer of soil in the bare spots using a rake or garden fork. This helps to create a receptive seedbed.
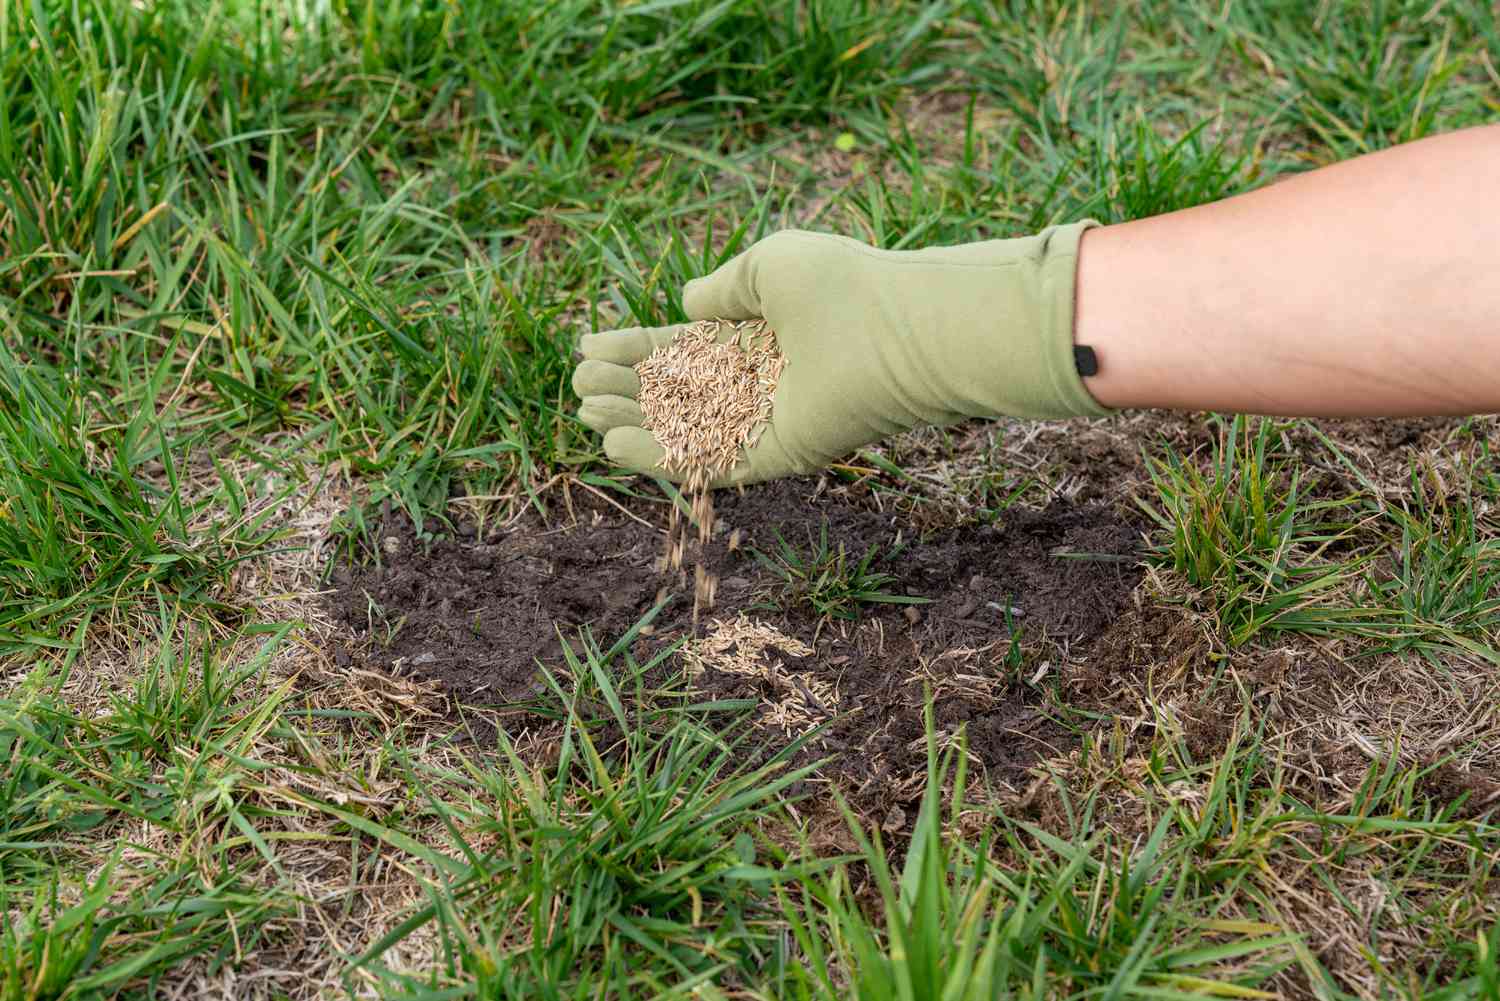
Spread the seed: Use a spreader or distribute the seed by hand, ensuring even coverage. Follow the recommended seeding rate indicated on the seed packaging for the best results.
Rake lightly: After spreading the seed, lightly rake the area to ensure good seed-to-soil contact. This helps the seeds to settle into the soil and improves germination.
Water thoroughly: Water the newly seeded areas immediately after seeding to provide moisture for germination. Keep the soil consistently moist, but avoid overwatering, which can lead to seed runoff or rotting.
Protect from birds: Place a lightweight netting or straw mulch over the newly seeded areas to deter birds from eating the seeds. Remove the netting once germination occurs.
Remember to follow any specific instructions provided by the seed manufacturer for optimal germination and establishment. With proper care, the seeds will begin to sprout, and your bare spots will soon be filled with vibrant new grass.
Watering and Fertilizing
Proper watering and fertilizing are essential for the healthy growth and establishment of the newly seeded areas in your lawn. Follow these guidelines to ensure the best results:
Watering: Water the newly seeded areas consistently to keep the soil moist. Aim for light, frequent watering to prevent the soil from drying out or becoming waterlogged. Depending on the weather and soil conditions, this may require watering once or twice a day. Gradually reduce the frequency as the grass begins to establish.
Deep watering: When watering, aim to moisten the soil to a depth of at least 6 inches. This encourages the grass roots to grow deeper, making them more resilient and less dependent on frequent watering.
Fertilizing: After the grass has grown to a height of about 3 inches, apply a balanced fertilizer formulated for new lawns. Follow the recommended application rate provided on the fertilizer packaging. This will provide the necessary nutrients for healthy grass growth.
Follow a fertilization schedule: It’s important to follow a regular fertilization schedule to maintain the overall health and vigor of your lawn. Consult with a local garden center or lawn care professional to determine the best fertilizer and schedule for your specific grass type and region.
Avoid overfertilizing: Be careful not to apply excessive amounts of fertilizer, as this can lead to burning the grass or nutrient runoff, which can harm the environment. Always follow the recommended guidelines for proper application.
Remember, water and fertilizer requirements can vary depending on factors such as climate, soil type, and grass variety. Keeping a consistent watering schedule and providing the necessary nutrients will help ensure the successful establishment and growth of your newly seeded areas.
Protecting the Newly Seeded Areas
After seeding and caring for your bare spots, it’s important to take steps to protect the newly seeded areas to maximize their chances of successful germination and growth. Here are some measures you can take to safeguard these areas:
Avoid heavy traffic: Minimize foot traffic and keep pets away from the newly seeded areas. Excessive pressure can disrupt the delicate germinating seeds or compact the soil, hindering healthy growth.
Use caution when mowing: Once the newly seeded areas have reached a height of about 3 inches, you can begin mowing. However, use caution and set your mower blades to a higher height to avoid damaging the young grass.
Monitor for weeds: Keep an eye out for any weed growth in the newly seeded areas. Weeds compete with the grass for resources and can hinder its growth. Remove weeds carefully by hand to avoid disturbing the grass seeds.
Consider mulching: Applying a thin layer of straw or organic mulch can help conserve moisture, regulate soil temperature, and provide some protection against birds and rain runoff. However, be cautious not to apply a thick layer that could smother the young grass.
Continue regular maintenance: Maintain a regular lawn care routine for both the newly seeded areas and the rest of your lawn. This includes proper watering, mowing, and fertilizing according to the specific needs of your grass type and region.
By taking these protective measures, you can create an environment that supports the healthy growth of the newly seeded areas and promotes a seamless integration with the existing lawn.
Regular Maintenance for Established Grass
Once the newly seeded areas have established and the grass has grown and filled in, it’s important to maintain regular lawn care practices to keep your entire lawn looking healthy and vibrant. Here are some essential maintenance tasks for established grass:
Mowing: Set your mower blades to the appropriate height for your grass species and mow regularly, removing no more than one-third of the grass blade length at a time. This promotes a strong root system and helps control weed growth.
Watering: Water deeply and infrequently, applying about 1 inch of water per week, including rainfall. Watering deeply encourages the grass roots to grow deeper, making your lawn more drought-resistant.
Fertilizing: Follow a regular fertilization schedule to provide the necessary nutrients for healthy grass growth. Choose a fertilizer that matches the specific needs of your grass type and region. Apply according to the recommended application rate and timing.
Aerating: Schedule regular core aeration to relieve soil compaction and improve nutrient and water absorption. This helps the grass roots access essential resources and promotes overall lawn health.
Weed control: Keep an eye out for any weeds that may appear in your lawn and promptly address them. Use selective herbicides to target specific weeds without harming the grass. Regularly removing weeds by hand can also be effective for minor infestations.
Overseeding: Consider overseeding your lawn annually to fill in any thin or bare areas and maintain a dense and healthy grass cover. This is particularly beneficial in regions with cool-season grasses.
Monitor for pests and diseases: Regularly inspect your lawn for signs of pest infestations or disease. Address any issues promptly, using appropriate treatments or seeking professional advice if necessary.
By consistently following these maintenance tasks, you can keep your established grass looking lush, healthy, and free from common issues that can hinder its growth and appearance.
Seeding bare spots in your lawn is a straightforward process that can quickly restore the beauty and health of your outdoor space. By understanding the underlying causes of bare spots and taking the necessary steps to address them, you can create an environment that promotes healthy grass growth and minimizes future issues.
From preparing the soil and choosing the right seed to properly seeding the bare spots and providing the necessary care, each step plays a vital role in the success of your lawn restoration efforts. Remember to water and fertilize your grass appropriately, protect the newly seeded areas, and maintain regular maintenance practices for established grass.
While the process may require time and effort, the results will be worth it. A lush, green lawn not only enhances the appearance of your property but also provides a space for relaxation, play, and enjoyment.
If you need guidance or have specific concerns about your lawn, don’t hesitate to consult with a local lawn care professional. They can provide tailored advice based on your region, climate, and grass type.
So go ahead, take the necessary steps to fill those bare spots and enjoy a vibrant and healthy lawn that you can be proud of!
Frequently Asked Questions about How To Seed Bare Spots
What are the common causes of bare spots in the garden?
Bare spots in the garden can be caused by various factors such as heavy foot traffic, poor soil quality, lack of sunlight, overwatering, or the presence of pests and diseases.
When is the best time to seed bare spots in the garden?
The best time to seed bare spots in the garden is during the early fall or early spring when the weather is cooler and there is usually more moisture in the soil. This will give the seeds the best chance to germinate and establish themselves before the harsh conditions of summer or winter.
How should I prepare the bare spots before seeding?
Before seeding bare spots, it’s important to loosen the soil with a rake or garden fork to create a good seed bed. You can also add some compost or topsoil to improve the soil quality and provide a better environment for the seeds to grow.
What type of grass seed should I use for bare spots in the garden?
The type of grass seed you should use for bare spots depends on the conditions of your garden, such as the amount of sunlight, soil type, and climate. It’s best to choose a grass seed that is well-suited to your specific garden conditions for the best results.
How often should I water the newly seeded bare spots?
After seeding bare spots, it’s important to keep the soil consistently moist but not waterlogged. Water the newly seeded areas lightly once or twice a day, depending on the weather, to help the seeds germinate and establish themselves.
Was this page helpful?
At Storables.com, we guarantee accurate and reliable information. Our content, validated by Expert Board Contributors, is crafted following stringent Editorial Policies. We're committed to providing you with well-researched, expert-backed insights for all your informational needs.
This website uses cookies so that we can provide you with the best user experience possible. Cookie information is stored in your browser and performs functions such as recognising you when you return to our website and helping our team to understand which sections of the website you find most interesting and useful.
Strictly Necessary Cookies
Strictly Necessary Cookie should be enabled at all times so that we can save your preferences for cookie settings.
If you disable this cookie, we will not be able to save your preferences. This means that every time you visit this website you will need to enable or disable cookies again.


0 thoughts on “How To Seed Bare Spots”