Articles
How To Install A Shower Or Tub Faucet
Modified: August 27, 2024
Learn how to install a shower or tub faucet with our step-by-step articles. Find expert tips and advice for a successful DIY project.
(Many of the links in this article redirect to a specific reviewed product. Your purchase of these products through affiliate links helps to generate commission for Storables.com, at no extra cost. Learn more)
Introduction
Welcome to our comprehensive guide on how to install a shower or tub faucet! Whether you’re looking to upgrade your bathroom or replace a worn-out fixture, installing a new faucet is a relatively straightforward process that can be done with a few basic tools and some DIY know-how. In this article, we’ll walk you through the step-by-step process of removing the old faucet and installing a new one, ensuring a leak-free and functional fixture for your shower or tub.
Before we begin, it’s important to note that this guide is intended for individuals with a basic understanding of plumbing systems and tools. If you’re not confident in your abilities or if you encounter any complex issues during the installation, it’s always advisable to consult a professional plumber.
Now, let’s dive into the tools and materials you’ll need for this project.
Key Takeaways:
- Upgrade your bathroom with a new shower or tub faucet by following our DIY guide. Ensure a leak-free installation and enjoy the improved functionality and aesthetics of your bathroom.
- Remember to gather the necessary tools, shut off the water supply, and test for leaks after installation. If in doubt, seek professional assistance to ensure a successful faucet upgrade.
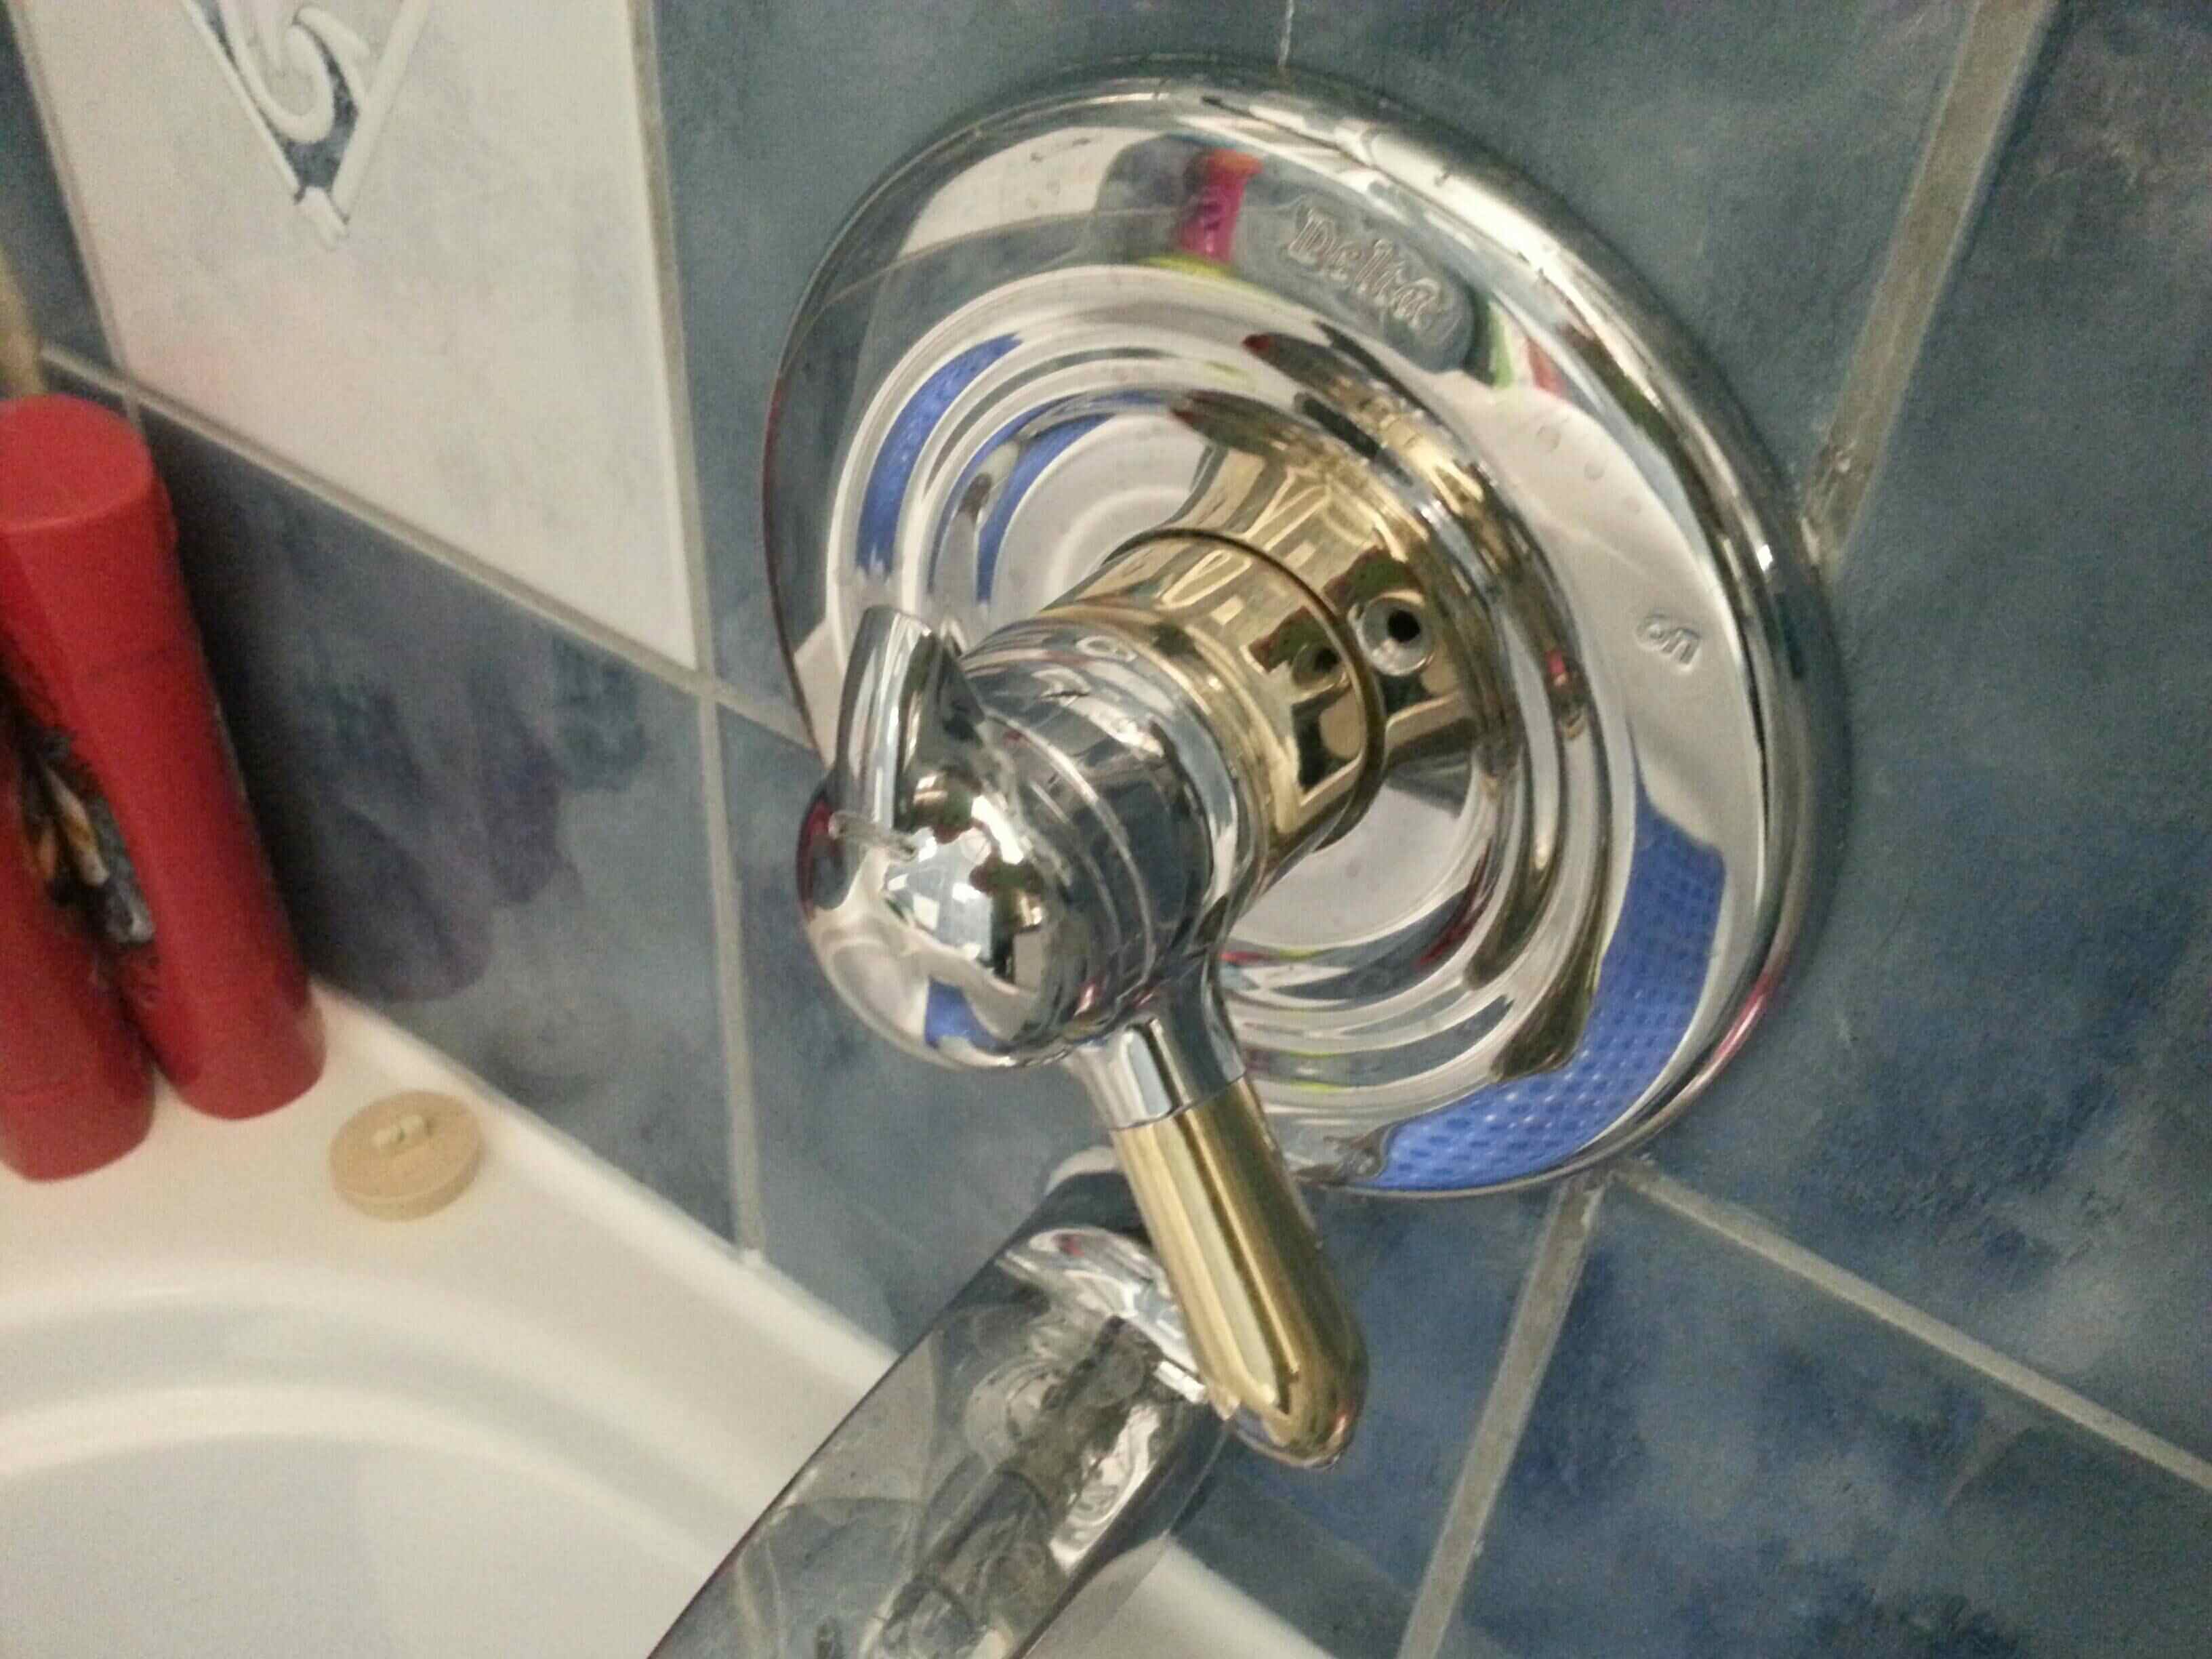
Read more: How To Install Delta Shower Faucet
Tools and Materials Needed
Before you get started with the installation, make sure you have the following tools and materials on hand:
- Adjustable wrench
- Phillips screwdriver
- Plumber’s tape
- Plunger
- Bucket
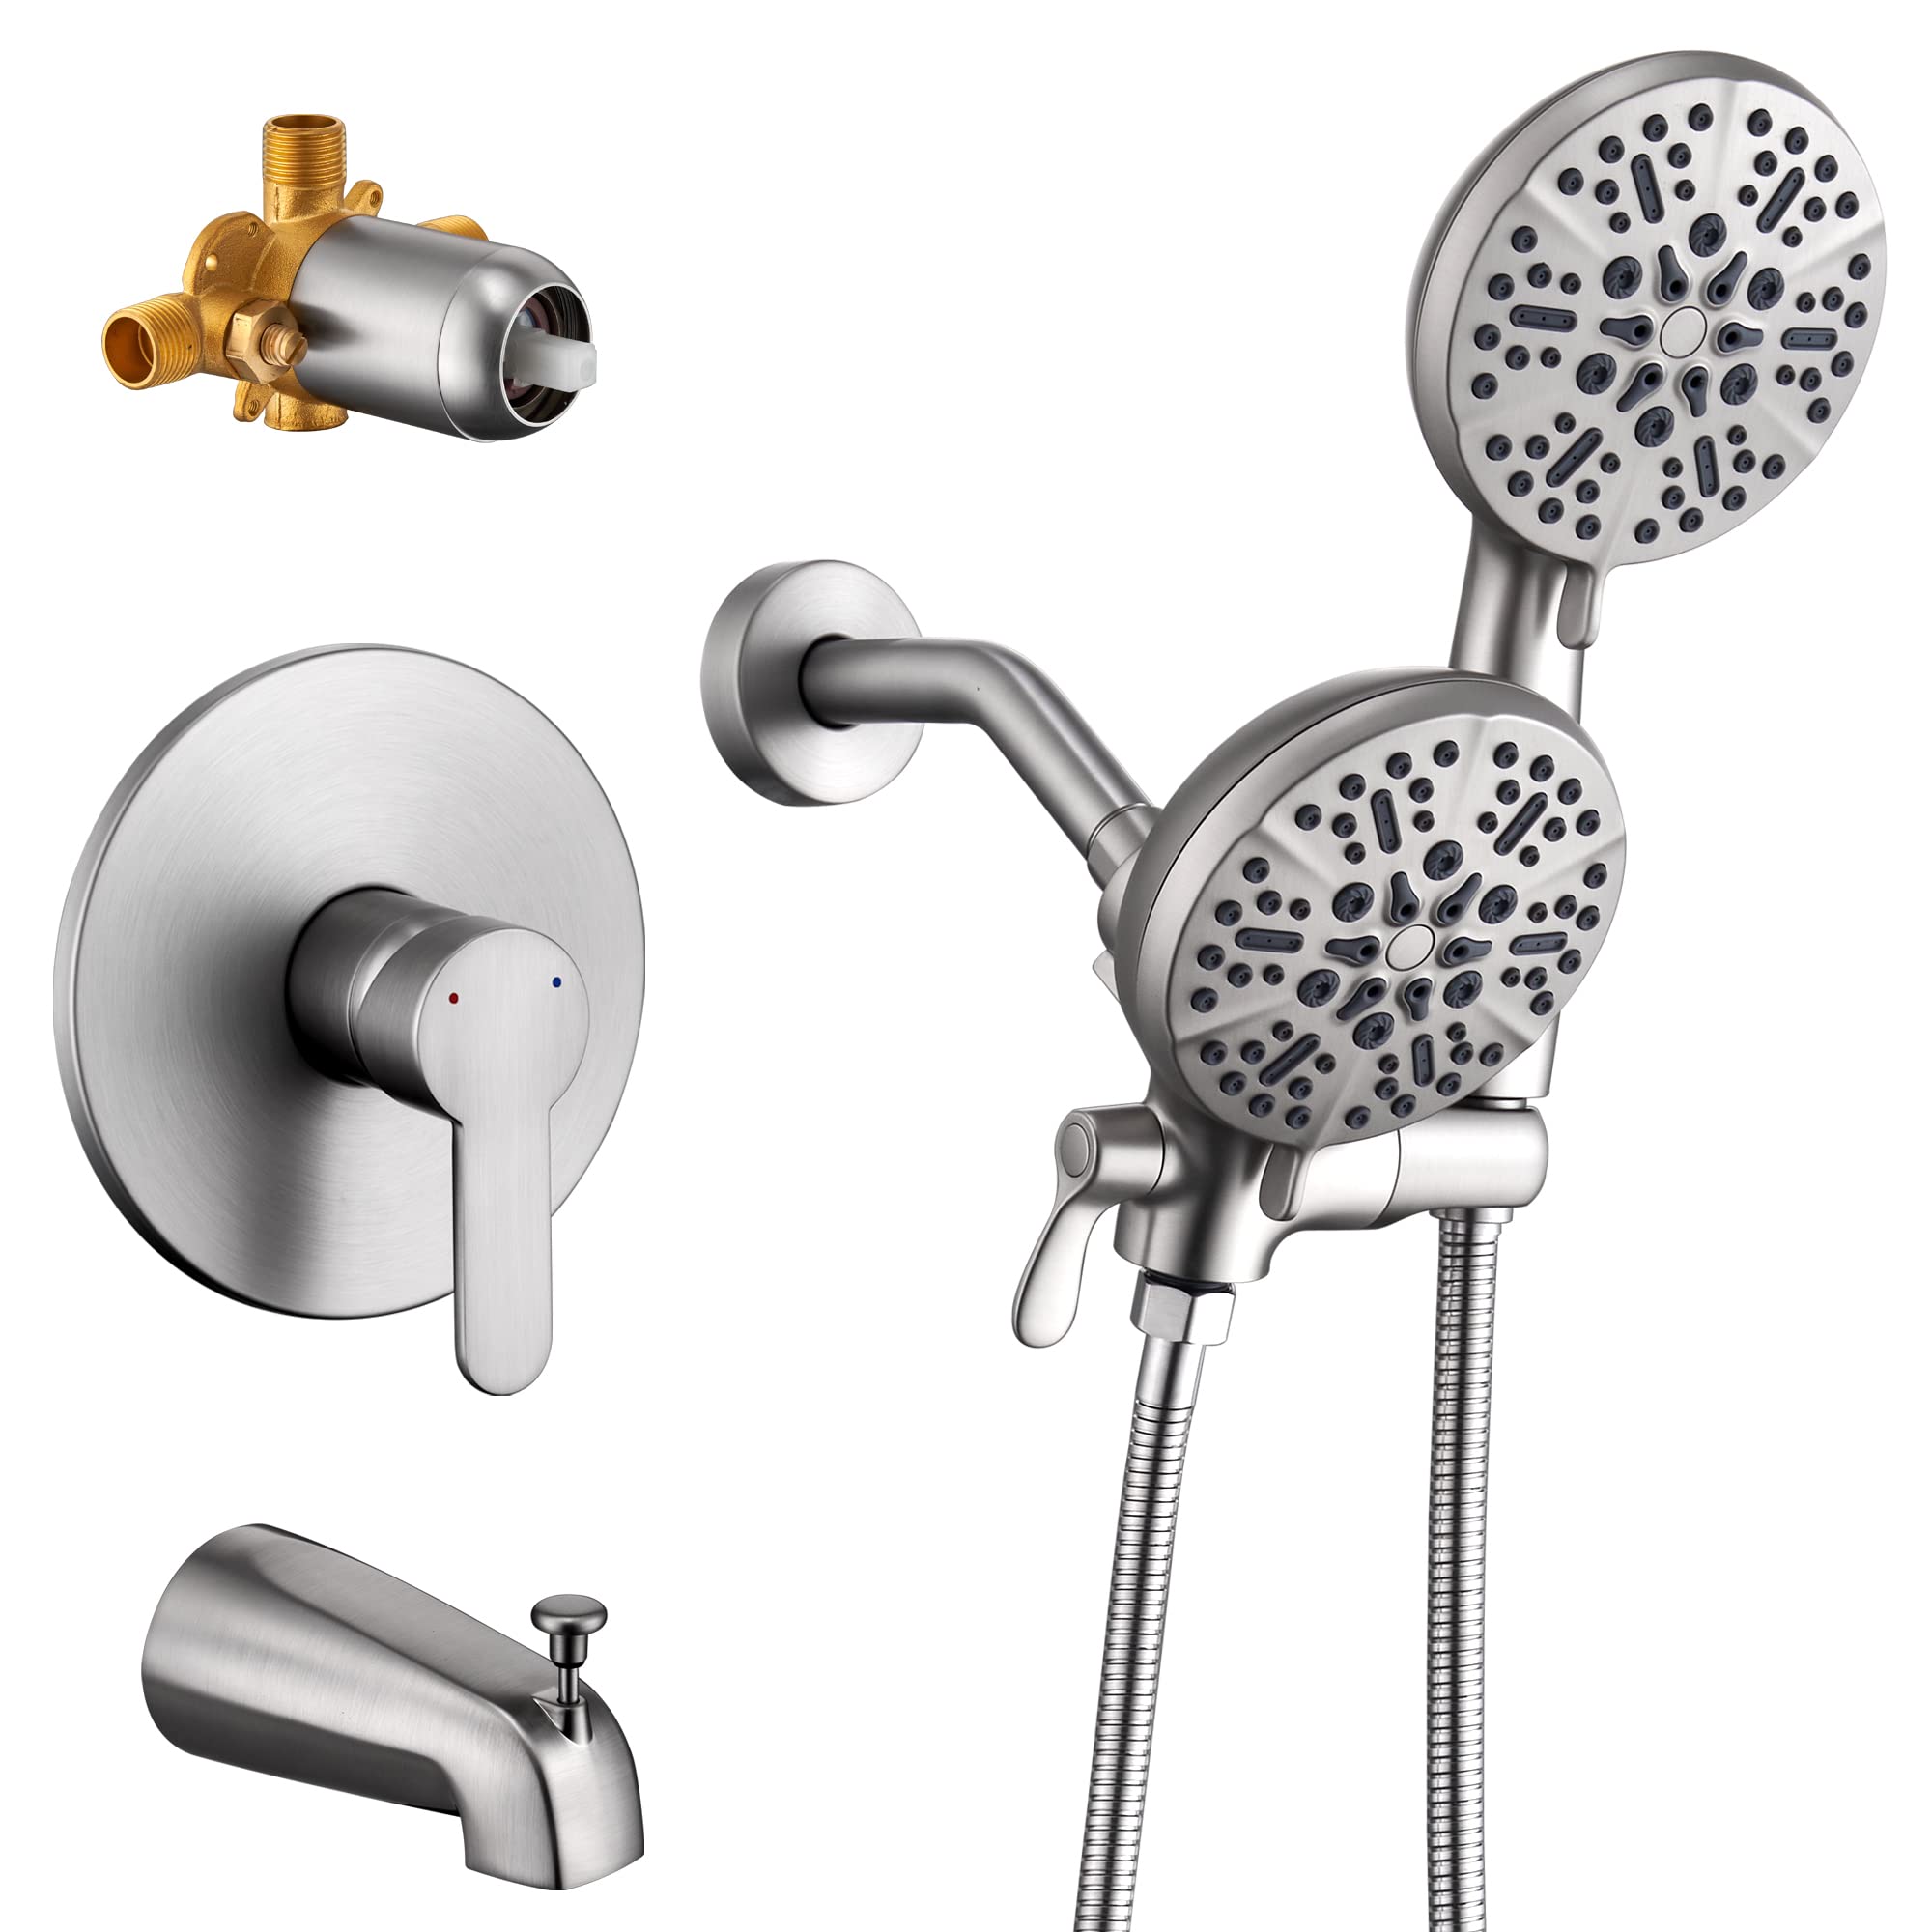
- New tub or shower faucet
- Replacement cartridge, if necessary
- Plumbing compound or silicone caulk
- Towels or rags
It’s essential to gather all the necessary tools and materials before starting the installation to ensure a smooth and efficient process. Now that you have everything ready, let’s move on to the first step: shutting off the water supply.
Shutting off the Water Supply
Before you begin working on your shower or tub faucet, it’s crucial to turn off the water supply to avoid any accidents or water damage. Follow these steps to shut off the water:
- Locate the main water shut-off valve for your home. This valve is typically found near the water meter or where the main water line enters your house.
- Turn the valve clockwise to shut off the water supply. You may need to use pliers or a wrench to help with the turning if the valve is tight.
- Open a faucet at a lower level in your home, such as a sink or bathtub, to relieve any remaining pressure in the water lines.
Make sure to check that the water is fully shut off by testing the faucets in your home. Once you’ve confirmed that the water supply is off, you can continue with removing the old faucet.
Important note: If you live in an apartment or have a shared water supply, it’s recommended to consult your building manager or plumber to ensure you have permission and the knowledge to safely shut off the water supply.
Now that you’ve turned off the water supply, let’s move on to removing the old faucet.
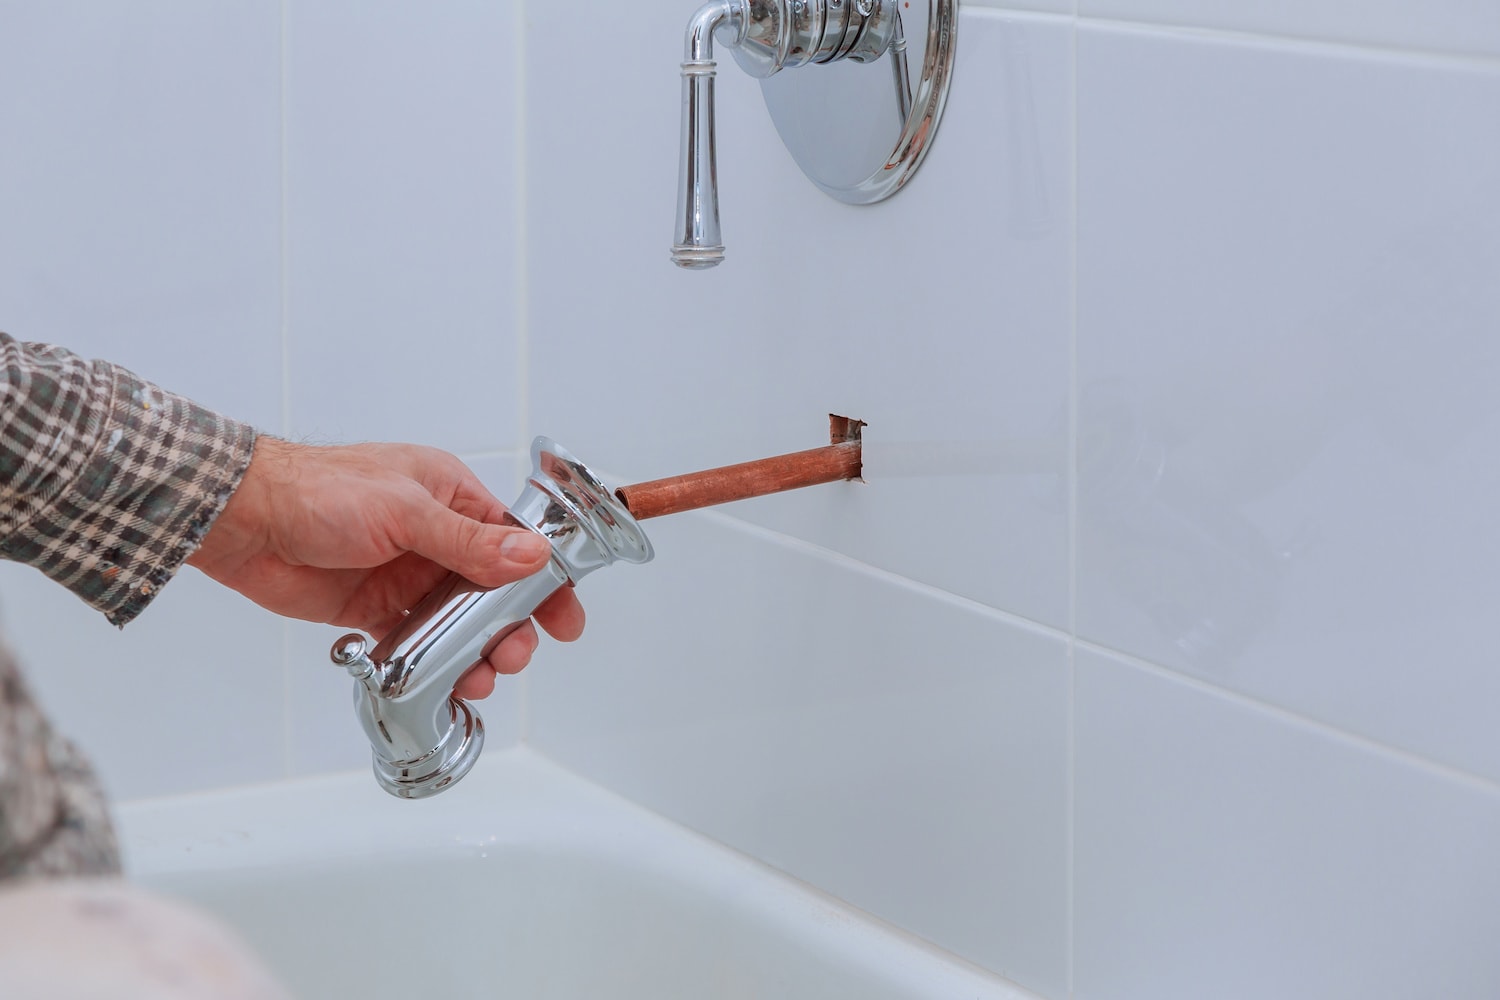
Removing the Old Faucet
Removing the old faucet is a crucial step in the installation process. Follow these steps to successfully remove the old faucet:
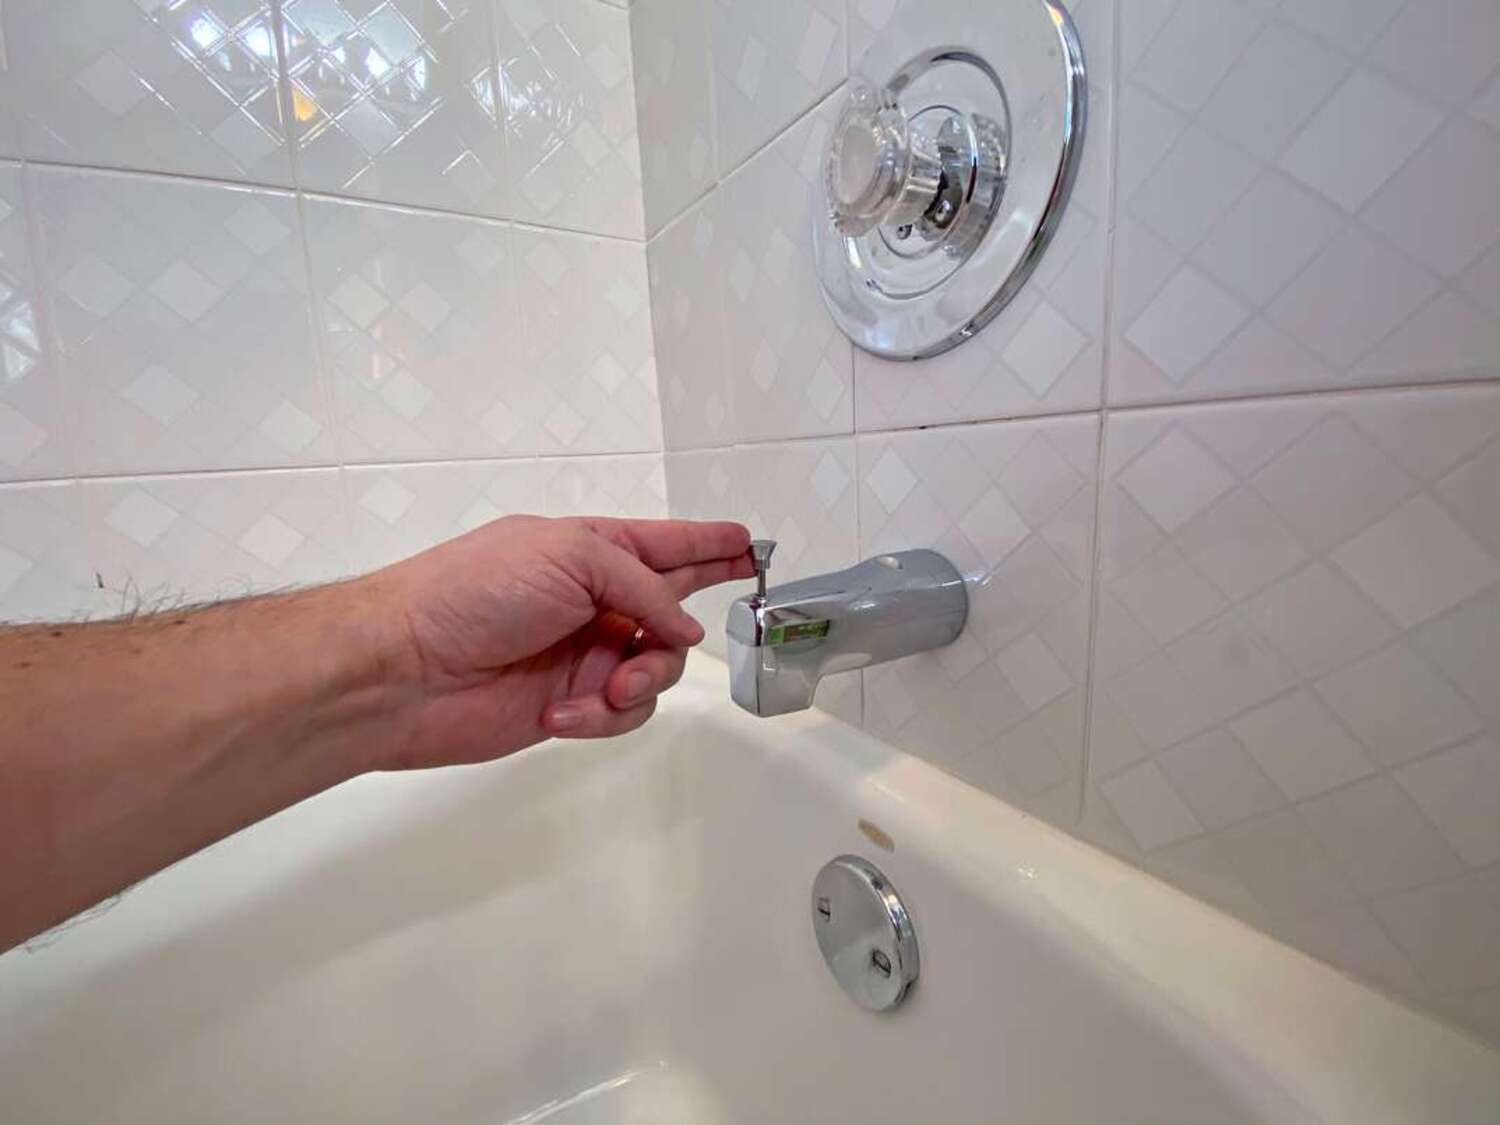
- Start by removing any decorative caps or handles covering the faucet. Use a flathead screwdriver or a small pry tool to gently lift and remove these covers.
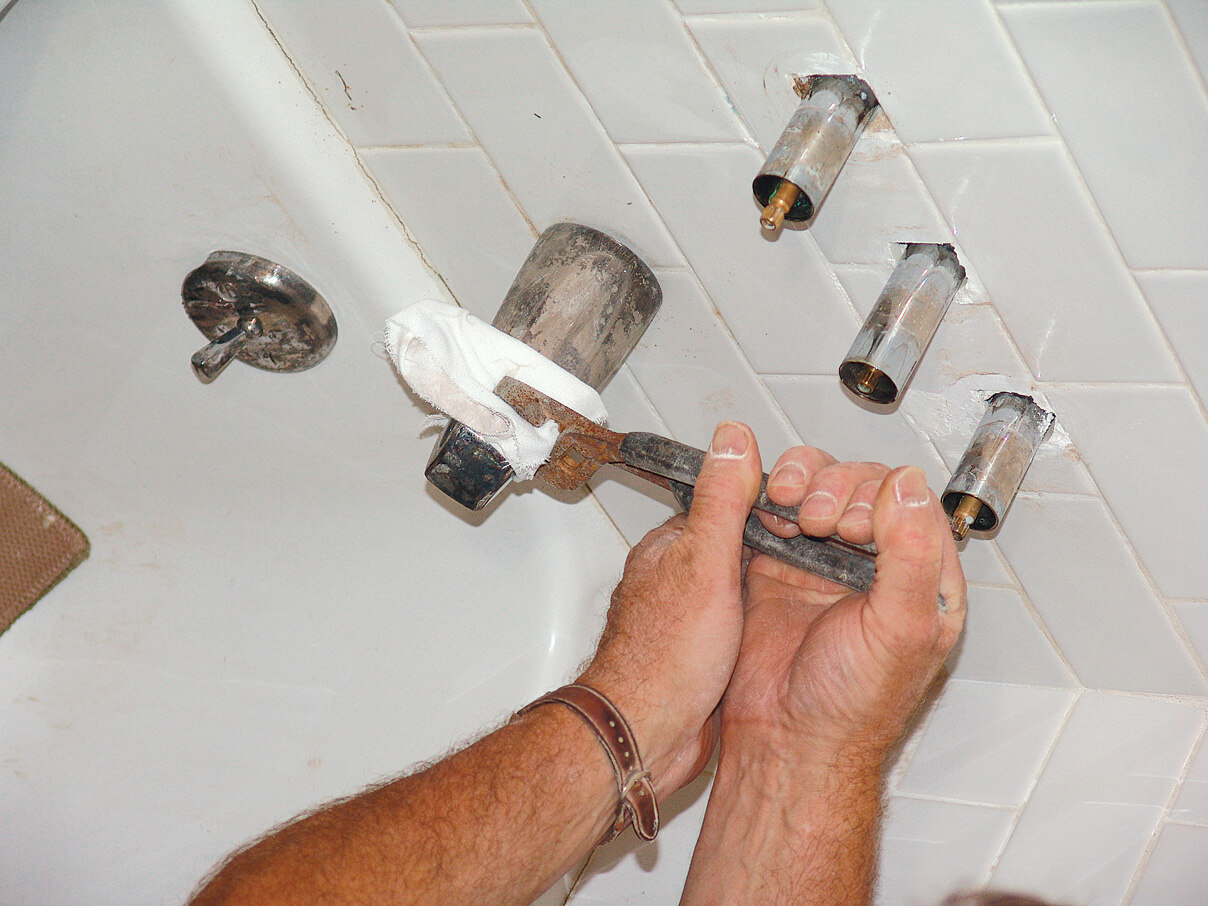
- Once the caps or handles are removed, you’ll find screws or nuts securing the faucet to the wall or tub. Use an appropriate tool, such as a Phillips screwdriver or an adjustable wrench, to loosen and remove these fasteners.
- After removing the screws or nuts, gently pull the faucet away from the wall or tub. In some cases, the faucet may be sealed with plumber’s putty or silicone caulk. Use a putty knife or a screwdriver to carefully break the seal without damaging the surface.
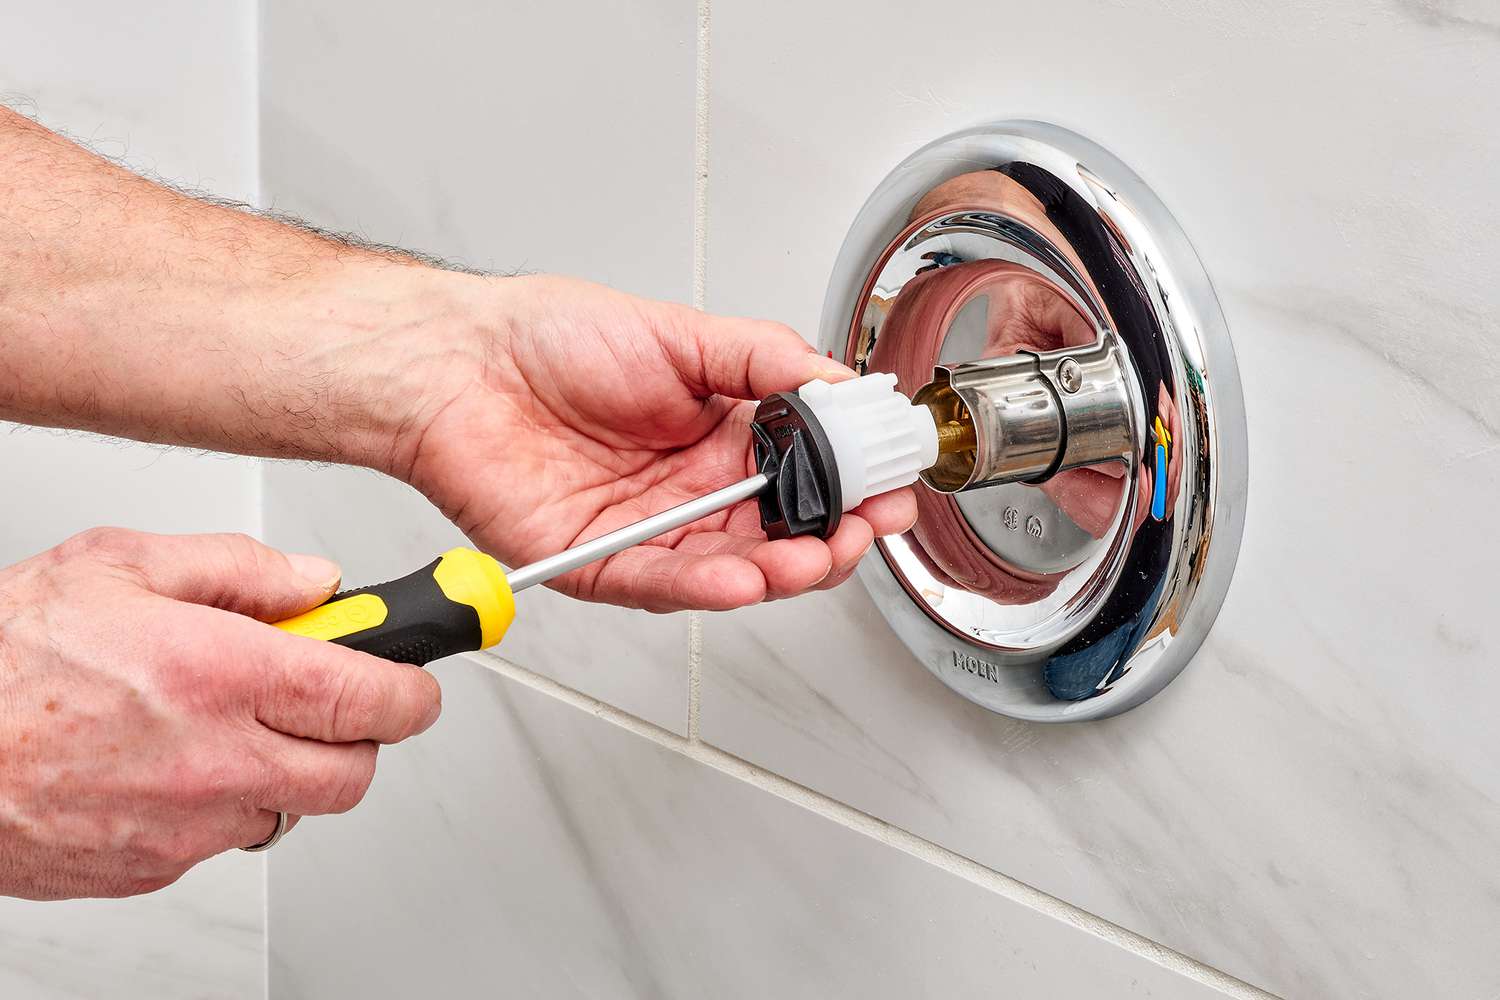
- If your faucet has a cartridge, it may need to be replaced if it’s worn out or causing leaks. To remove the cartridge, look for a retaining clip or nut securing it in place. Use pliers or a wrench to loosen and remove the clip or nut, and then pull the cartridge straight out.
Once you have removed the old faucet and any accompanying parts, inspect the area to ensure it’s clean and free from debris. Wipe down the surface with a damp cloth to prepare it for the installation of the new faucet.
Now that the old faucet has been removed, let’s move on to preparing the installation area.
Preparing the Installation Area
Before installing the new shower or tub faucet, it’s essential to properly prepare the installation area. Follow these steps to ensure a smooth and secure installation:
- Clean the installation area thoroughly. Remove any residue or debris left behind from the old faucet to create a clean and smooth surface. Use a mild household cleaner and a cloth or sponge to wipe down the area.
- If necessary, apply plumber’s tape to the threads of the water pipe. Plumber’s tape, also known as Teflon tape, helps create a watertight seal between the faucet and the water pipe. Wrap a few layers of the tape around the threaded ends of the pipe in a clockwise direction.
- Review the manufacturer’s instructions for the new faucet. Familiarize yourself with the specific mounting requirements and any additional steps or tools that may be necessary for the installation.
- If the new faucet requires it, apply a small amount of plumbing compound or silicone caulk to the backside of the faucet base. This will help create a secure seal and prevent water leaks. Ensure the compound or caulk is evenly spread across the entire base.
- Position the new faucet over the installation area, aligning it with the water pipe. Lightly press the faucet against the wall or tub to create a secure fit.
By properly preparing the installation area, you’ll ensure a stable and leak-free installation for your new shower or tub faucet. With the area ready, it’s time to move on to the next step – installing the new faucet.
Before installing a shower or tub faucet, make sure to shut off the water supply to the area. This will prevent any water from flowing while you work on the installation.
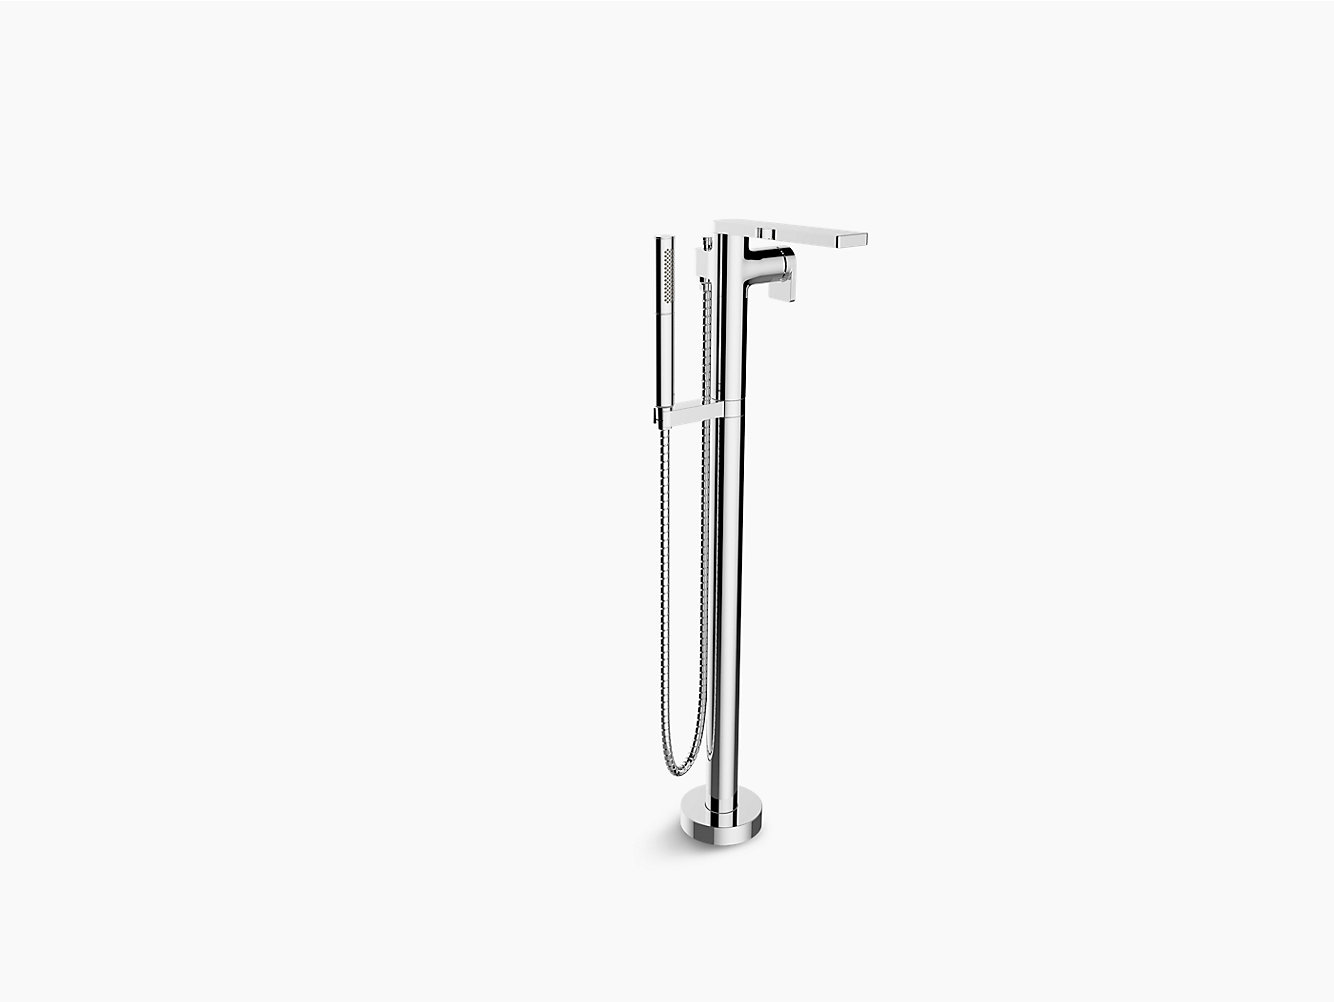
Read more: How To Install A Freestanding Tub Faucet
Installing the New Faucet
With the preparation complete, it’s time to install the new shower or tub faucet. Follow these steps to ensure a successful installation:
- Insert the water pipe into the designated opening on the backside of the faucet. Ensure a snug fit, but avoid overtightening to prevent damage.
- Secure the faucet to the wall or tub by tightening the screws or nuts that hold it in place. Use an appropriate tool, such as a Phillips screwdriver or an adjustable wrench, and ensure that the faucet is level and secure.
- Refer to the manufacturer’s instructions to attach any additional components of the faucet, such as handles or decorative trims. Follow the provided guidelines for a proper and secure installation.
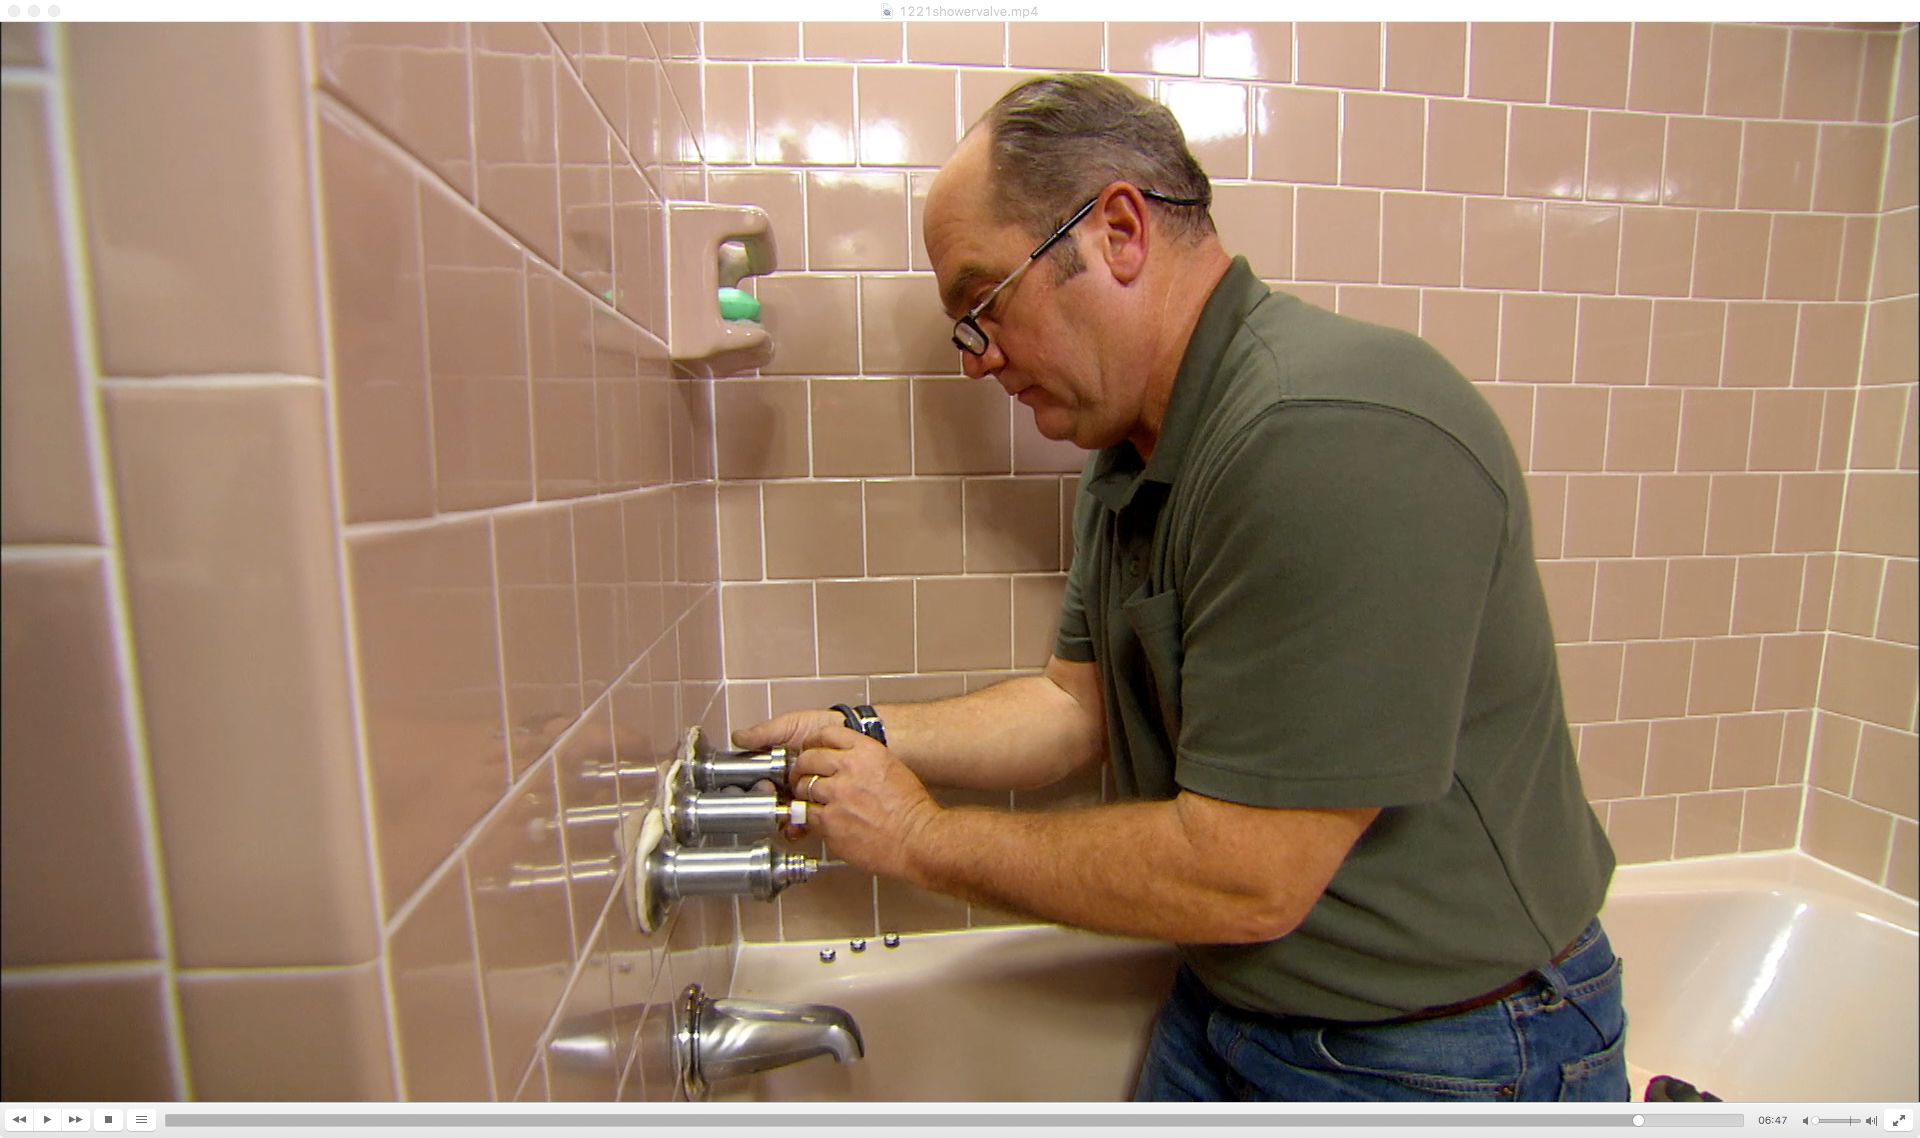
- If necessary, install a new cartridge by inserting it into the designated slot and securing it with the retaining clip or nut. Ensure the cartridge is properly aligned and seated before tightening.
- Double-check all connections to ensure they are secure and aligned correctly. Inspect the faucet for any gaps or areas that may need additional sealing.
Once the new faucet is installed, take a moment to admire your work. You’re almost finished, but before you turn on the water supply, there’s one more important step to complete – connecting the water supply.
Please note that the specific installation steps may vary depending on the brand and model of your faucet. Always refer to the manufacturer’s instructions for the most accurate and up-to-date information.
Connecting the Water Supply
Now that the new faucet is securely installed, it’s time to connect the water supply to ensure proper functionality. Follow these steps to connect the water supply:
- Locate the hot and cold water supply lines extending from the wall or floor. These lines are typically labeled or color-coded for easy identification.
- If necessary, attach the appropriate fittings or adapters to the water supply lines. This will depend on the specific requirements of your new faucet.
- Apply plumber’s tape to the threads of the water supply connections on the faucet. This will help create a tight and leak-free seal.
- Connect the hot water supply line to the corresponding hot water connection on the faucet. Hand-tighten the connection, and then use an adjustable wrench to give it a final snug turn.
- Repeat the previous step to connect the cold water supply line.
Once the water supply lines are securely connected, it’s time to turn on the water supply and test the new faucet.
Before proceeding, take a moment to inspect all the connections for any visible leaks. If you notice any leaks, tighten the connections further or check if any washers or gaskets need to be replaced. It’s crucial to address any leaks before testing the faucet.
With everything in place, it’s time to move on to the final step – testing the faucet.
Testing the Faucet
Testing the faucet is an important step to ensure everything is functioning correctly and there are no leaks. Follow these steps to test your newly installed shower or tub faucet:
- Turn on the water supply by re-opening the main shut-off valve.
- Start by turning on the hot water faucet. Check for any leaks or drips around the faucet connections. Allow the water to run for a few minutes to flush out any debris or air bubbles.
- Next, turn on the cold water faucet and check for any leaks or issues. Again, let the water run for a few minutes to ensure a consistent flow.
- Check all handles and knobs for proper operation. Ensure they turn smoothly and without any resistance. If necessary, make adjustments or tighten any loose components.
- Monitor the faucet closely for any signs of leaks during the testing process. If you notice any leaks, address them immediately by tightening connections or replacing faulty components.
- If everything looks good and there are no leaks, congratulations! You have successfully installed your new shower or tub faucet. Enjoy the improved functionality and aesthetics of your bathroom!
It’s a good practice to continue monitoring the faucet in the following days to ensure there are no hidden leaks or issues that may arise over time. Regular maintenance and inspections can help prevent potential problems down the line.
If you encounter any persistent issues or are unsure about the installation, it’s recommended to seek the assistance of a professional plumber to avoid any further complications.
Now that you’ve tested the faucet and confirmed its functionality, it’s time to wrap up this installation process.
Conclusion
Installing a new shower or tub faucet can be a rewarding DIY project that enhances the functionality and appearance of your bathroom. By following the step-by-step guide outlined in this article, you can successfully remove the old faucet and install a new one, ensuring a leak-free and functional fixture.
Remember, it’s important to gather all the necessary tools and materials before starting the installation. By shutting off the water supply, removing the old faucet, preparing the installation area, and connecting the water supply, you can ensure a smooth and secure installation process.
After the faucet is installed, it’s crucial to test it for leaks and proper functionality. Take the time to inspect all the connections, turn on the water supply, and check for any leaks or drips. By addressing any issues promptly, you can ensure the long-term performance of your new faucet.
If you encounter any difficulties during the installation or if you’re not confident in your abilities, it’s always advisable to seek the assistance of a professional plumber. Your safety and the proper functioning of your plumbing system should always take priority.
We hope this comprehensive guide has provided you with the necessary information and confidence to install a shower or tub faucet in your bathroom. Enjoy the upgraded fixture and the improved experience it brings to your daily routine!
Frequently Asked Questions about How To Install A Shower Or Tub Faucet
Was this page helpful?
At Storables.com, we guarantee accurate and reliable information. Our content, validated by Expert Board Contributors, is crafted following stringent Editorial Policies. We're committed to providing you with well-researched, expert-backed insights for all your informational needs.
0 thoughts on “How To Install A Shower Or Tub Faucet”