
Articles
How To Install PVC Conduit
Modified: January 8, 2024
Learn how to easily install PVC conduit with our informative articles. Find step-by-step guides and expert tips for a seamless installation process.
(Many of the links in this article redirect to a specific reviewed product. Your purchase of these products through affiliate links helps to generate commission for Storables.com, at no extra cost. Learn more)
Introduction
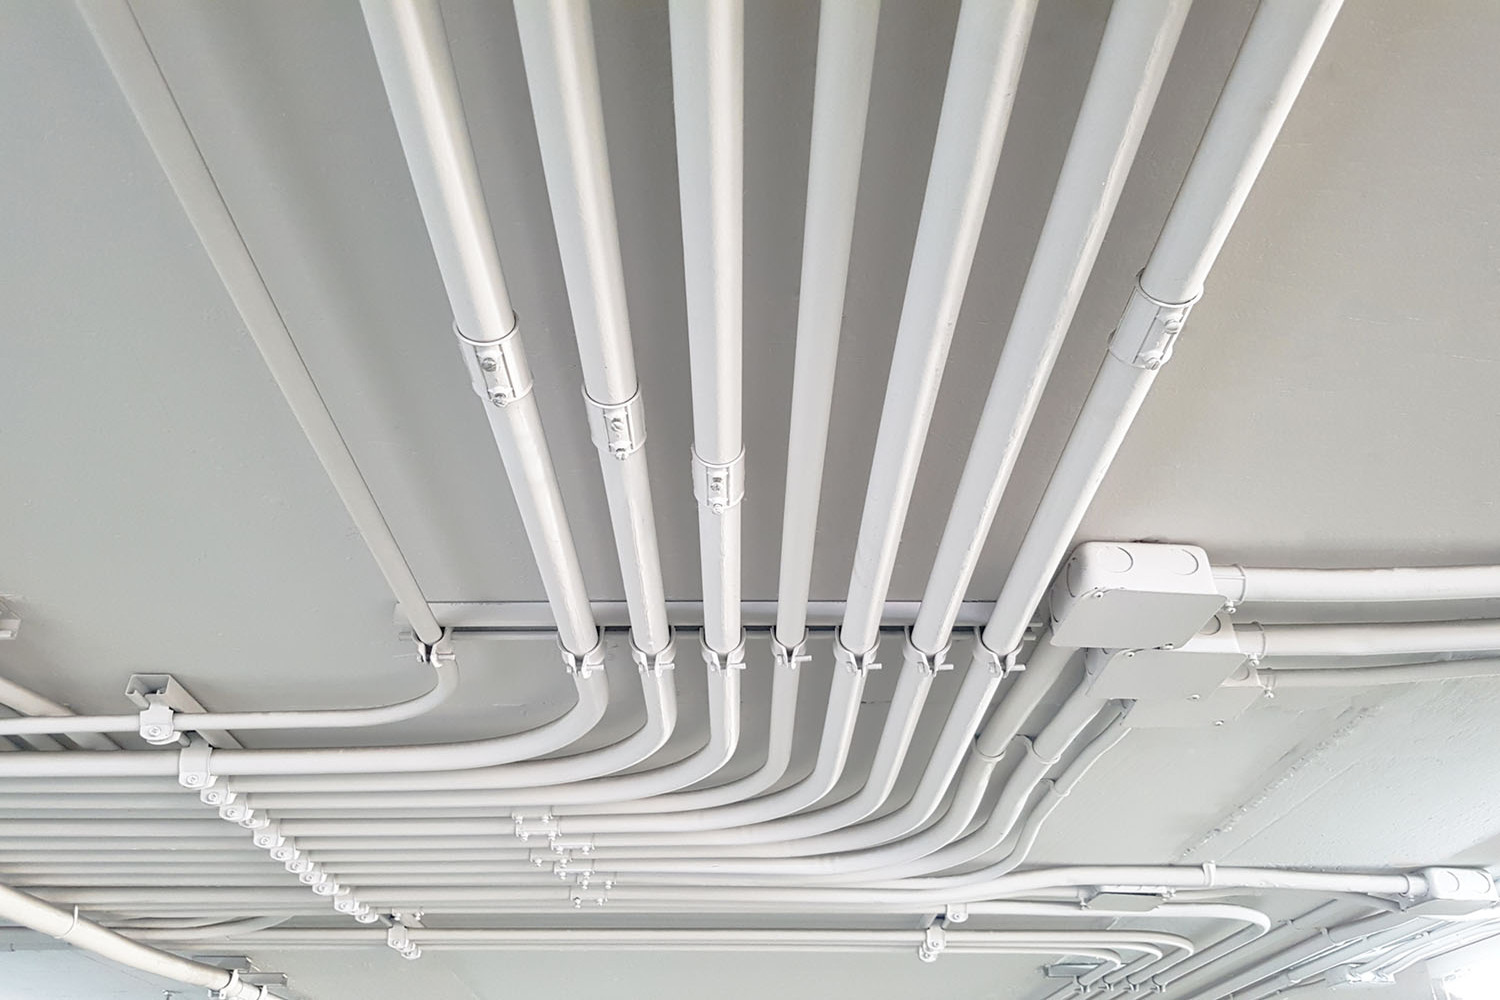
Installing PVC conduit is a crucial step in any electrical wiring project. PVC conduit provides a protective housing for electrical wires, safeguarding them from damage and ensuring proper organization. Whether you are working on a residential or commercial project, understanding how to install PVC conduit is essential for a safe and reliable electrical system.
In this comprehensive guide, we will walk you through the step-by-step process of installing PVC conduit. From gathering the necessary materials and tools to running wires through the conduit, we will cover all the essential aspects to help you successfully complete your installation.
Before we dive into the installation process, let’s understand why PVC conduit is popular in the electrical industry. PVC, or polyvinyl chloride, is a durable and versatile material that offers excellent resistance to corrosion, moisture, and chemicals. It is lightweight and easy to work with, making it a preferred choice for many electricians and DIY enthusiasts.
Another advantage of PVC conduit is its affordability. Compared to other types of conduit materials, such as metal or fiberglass, PVC conduit is more cost-effective. This makes it a budget-friendly option for both residential and commercial projects.
Installing PVC conduit requires careful planning and adherence to safety guidelines. It is crucial to comply with local building codes and regulations to ensure a compliant and safe installation. Additionally, having the right tools and materials at hand will make the installation process smoother and more efficient.
In the following sections, we will provide you with a detailed step-by-step guide on how to install PVC conduit. We will cover everything from gathering the necessary materials and tools to running wires through the conduit. By following this guide, you will be able to successfully install PVC conduit for your electrical wiring project.
So, let’s get started with Step 1: Gathering the necessary materials and tools.
Key Takeaways:
- Proper planning, accurate measurements, and secure attachments are crucial for a successful PVC conduit installation. Adhering to safety guidelines and testing the system ensures a safe and reliable electrical infrastructure.
- Gathering the right materials, following a step-by-step process, and conducting thorough testing are essential for a smooth and efficient PVC conduit installation. Prioritizing safety and compliance with local regulations is paramount.
Read more: How To Run PVC Conduit
Step 1: Gather the necessary materials and tools
Before you begin the installation process, it is crucial to gather all the necessary materials and tools. This will ensure that you have everything you need at hand, saving you time and avoiding interruptions during the installation.
Here is a list of the materials and tools you will need:
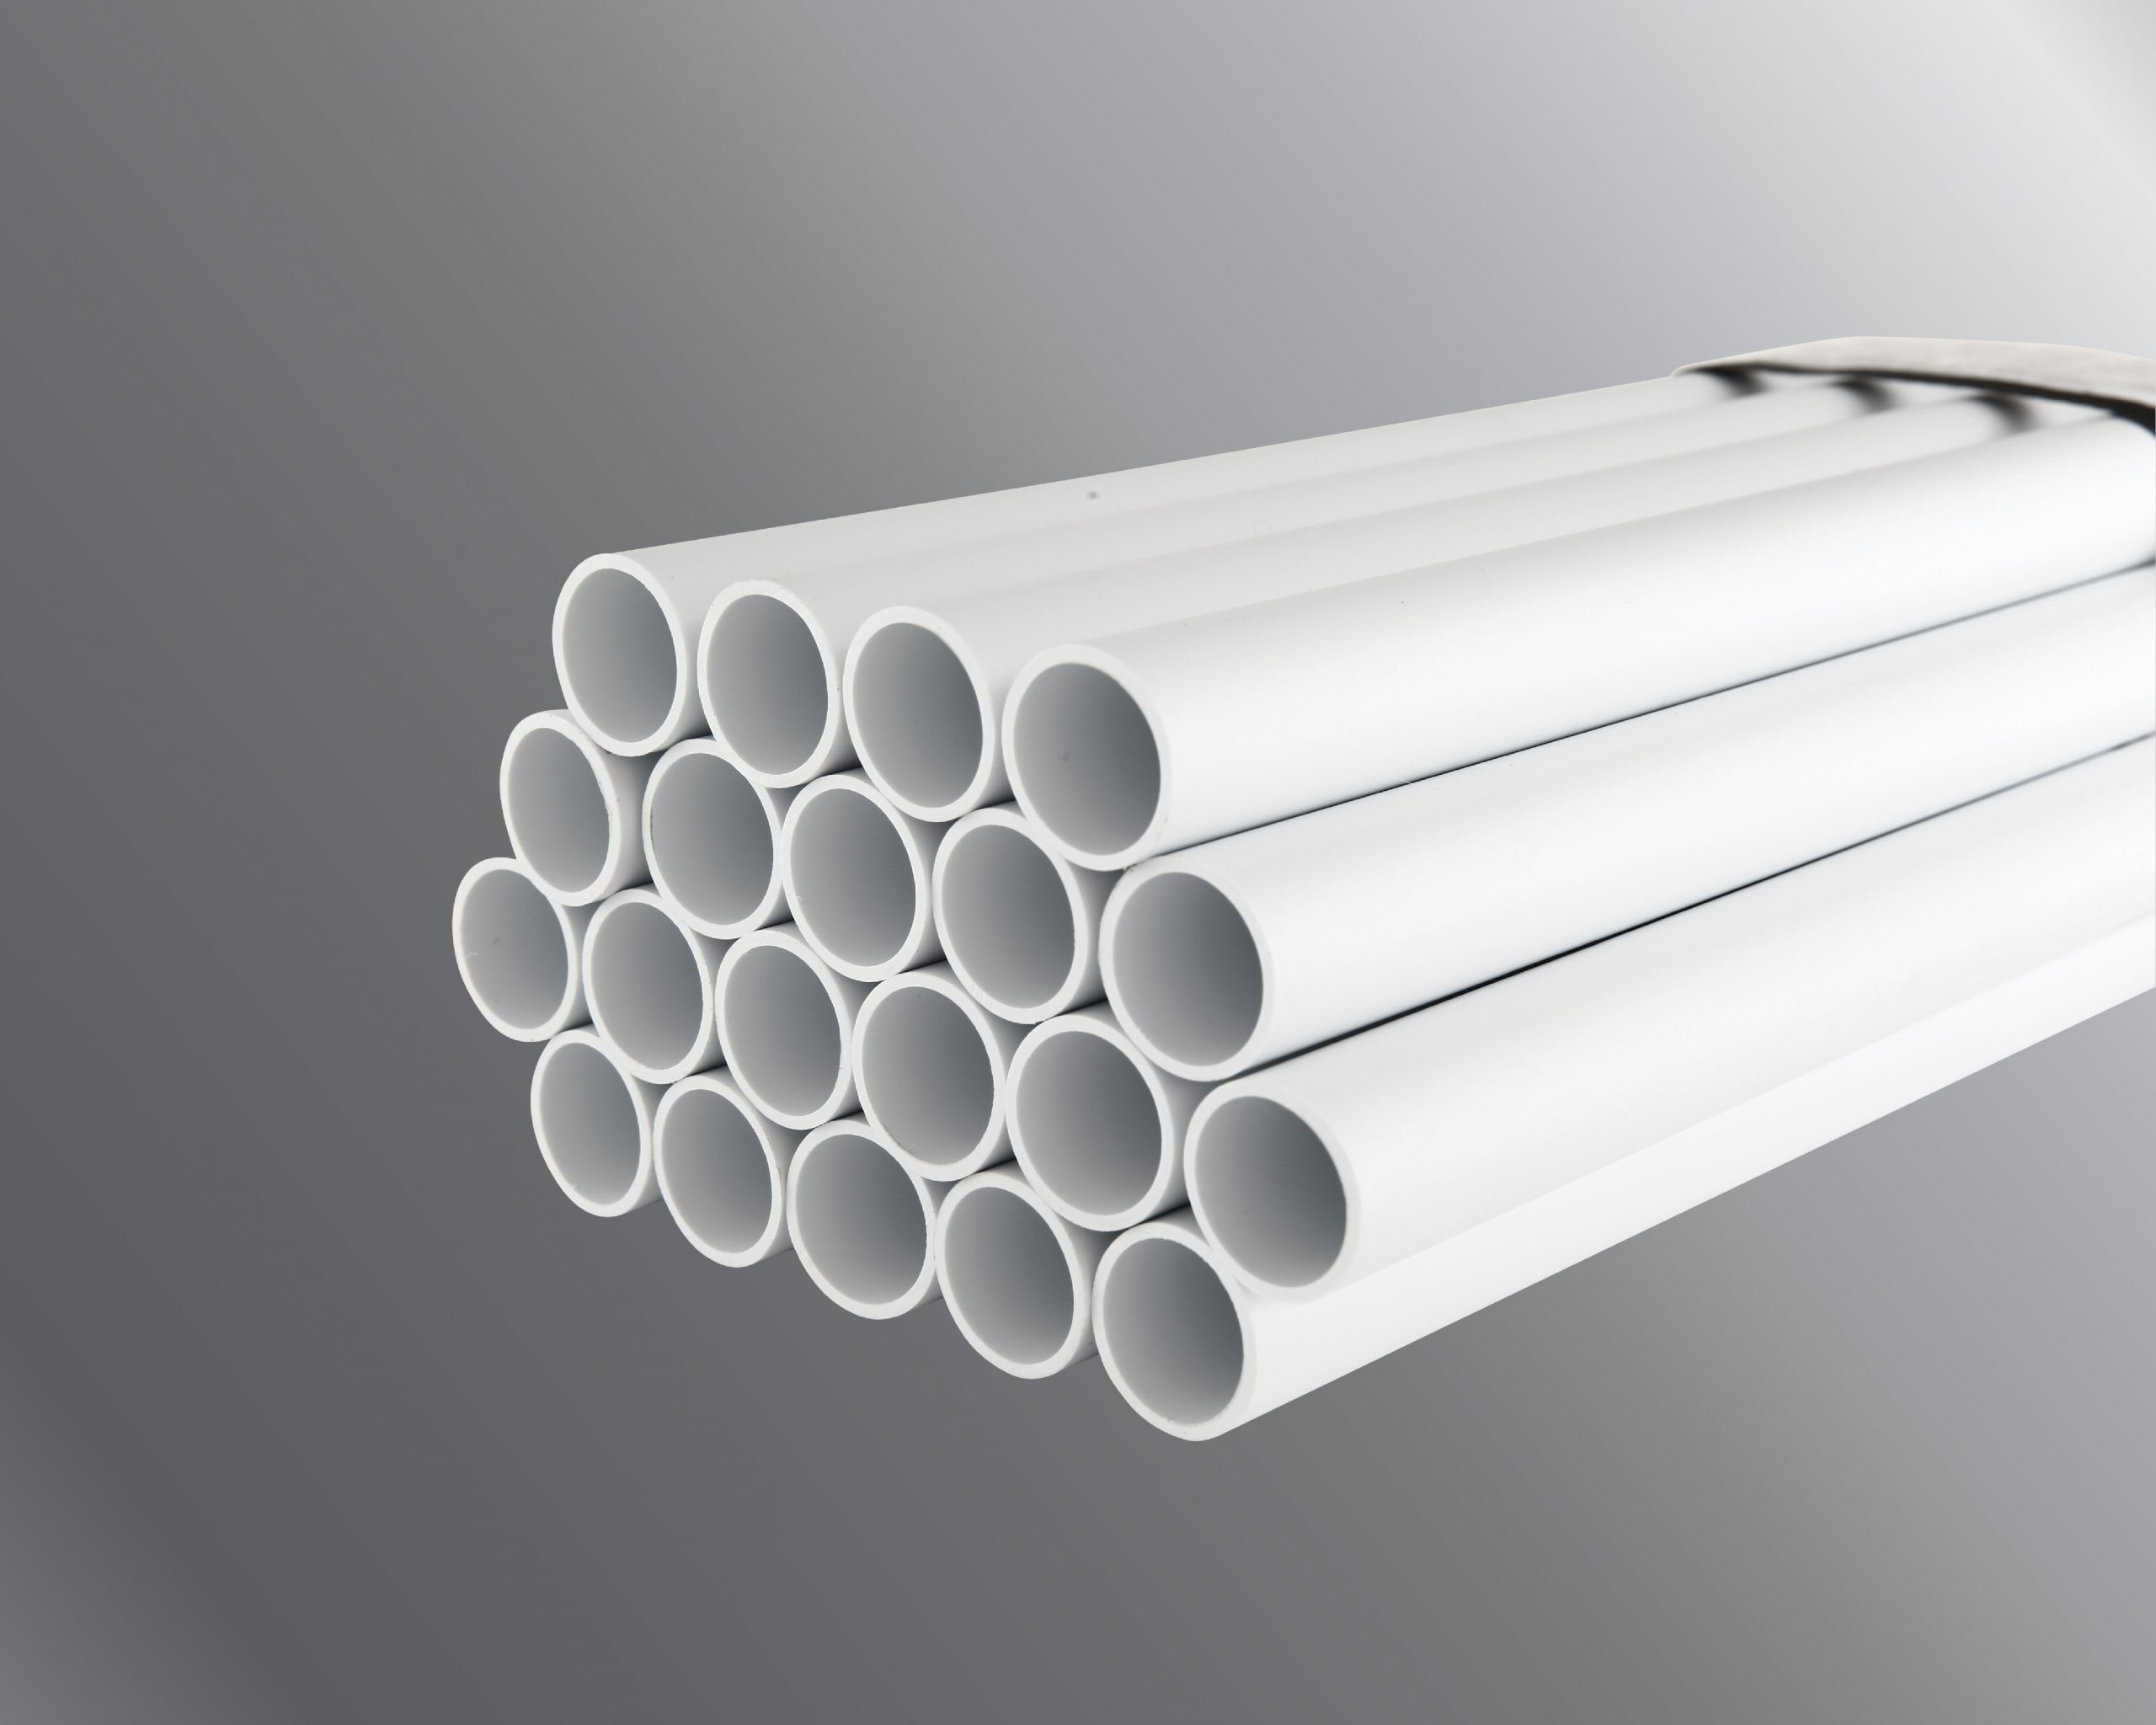
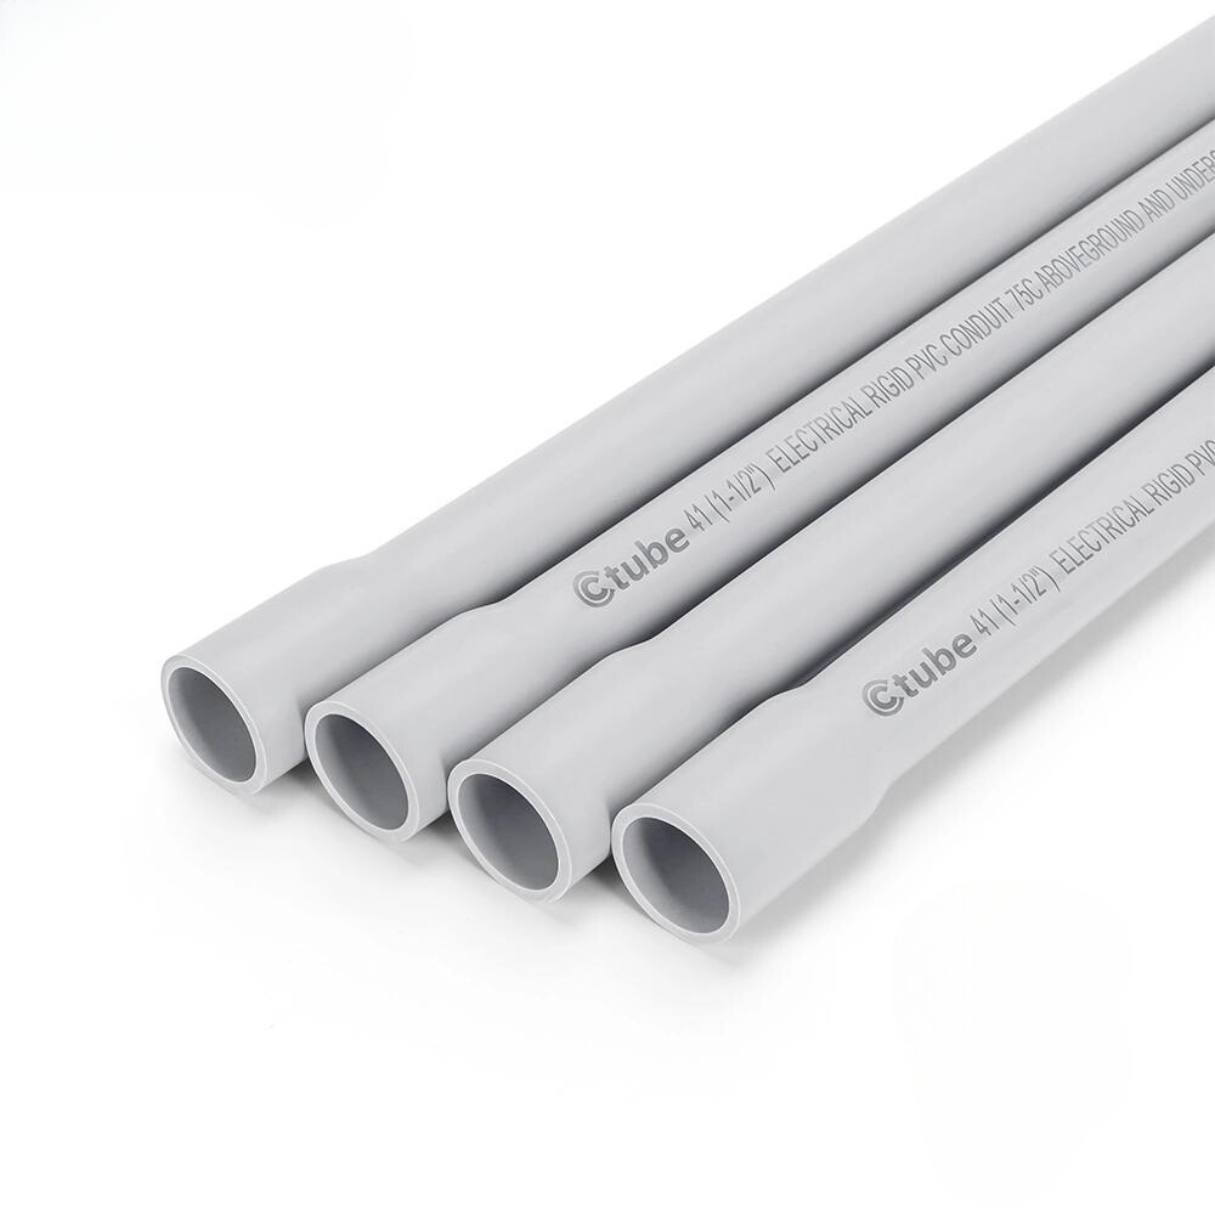
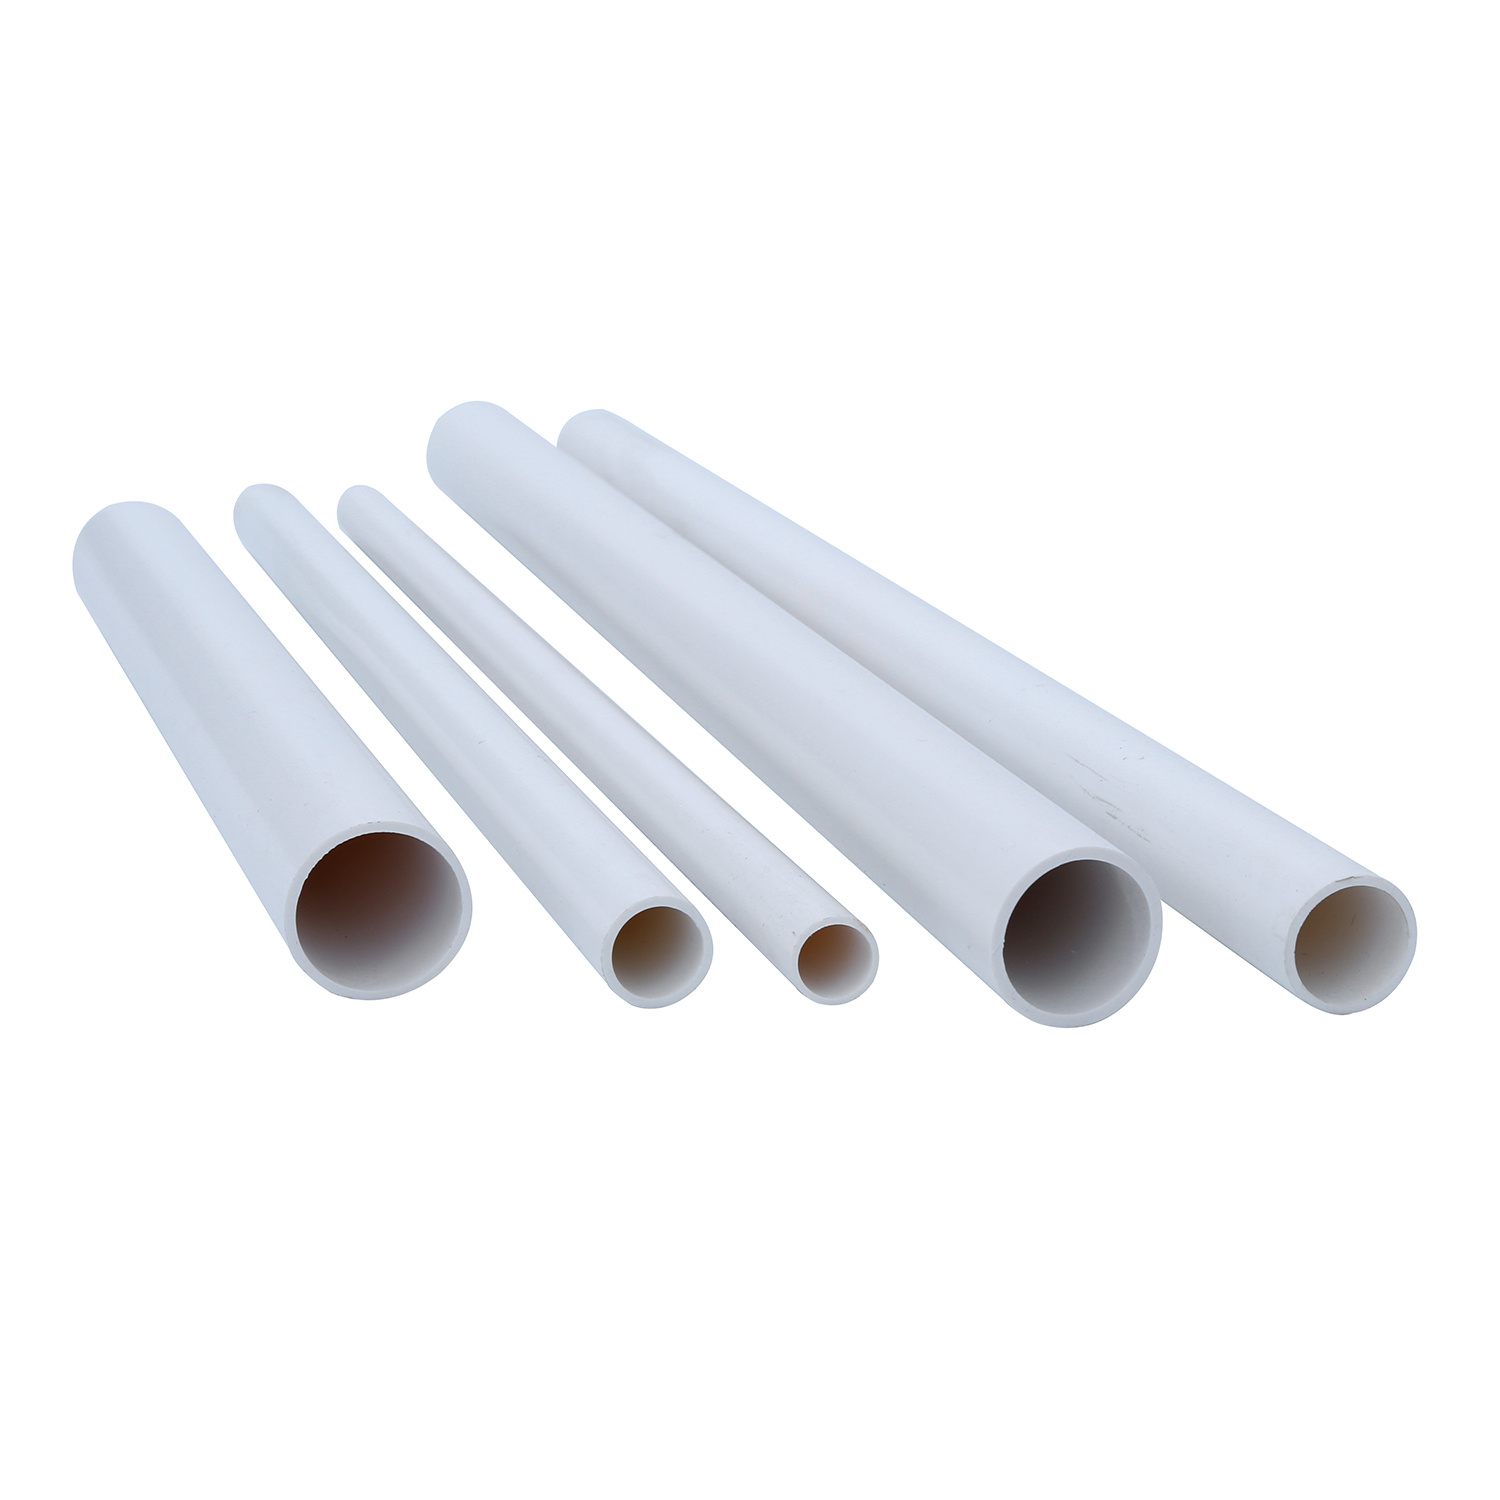
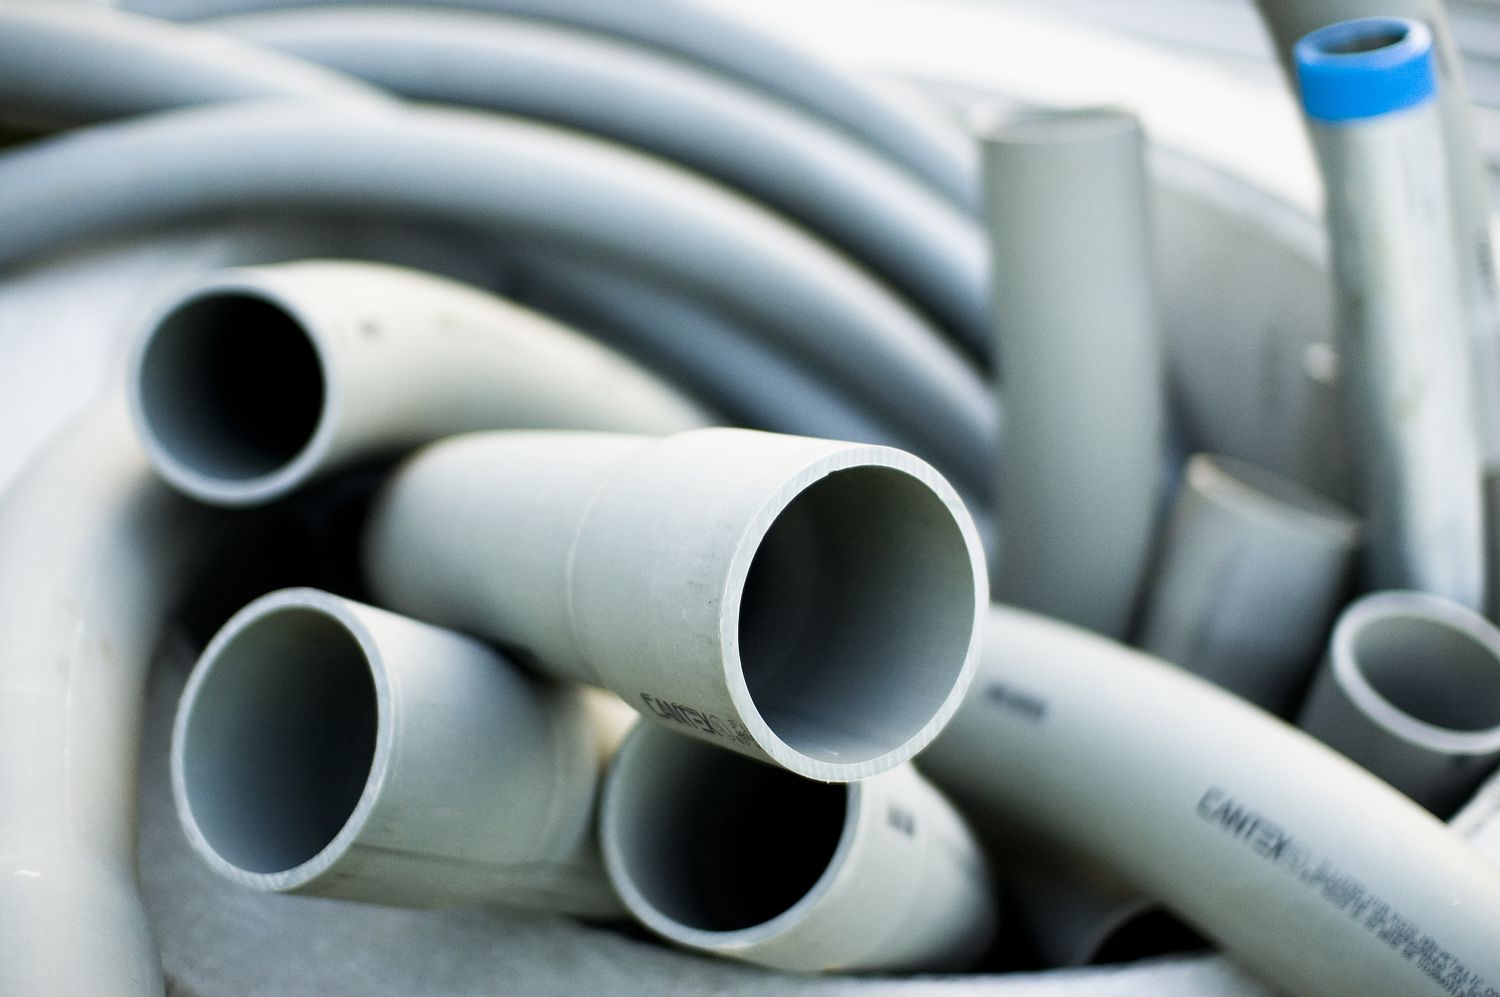
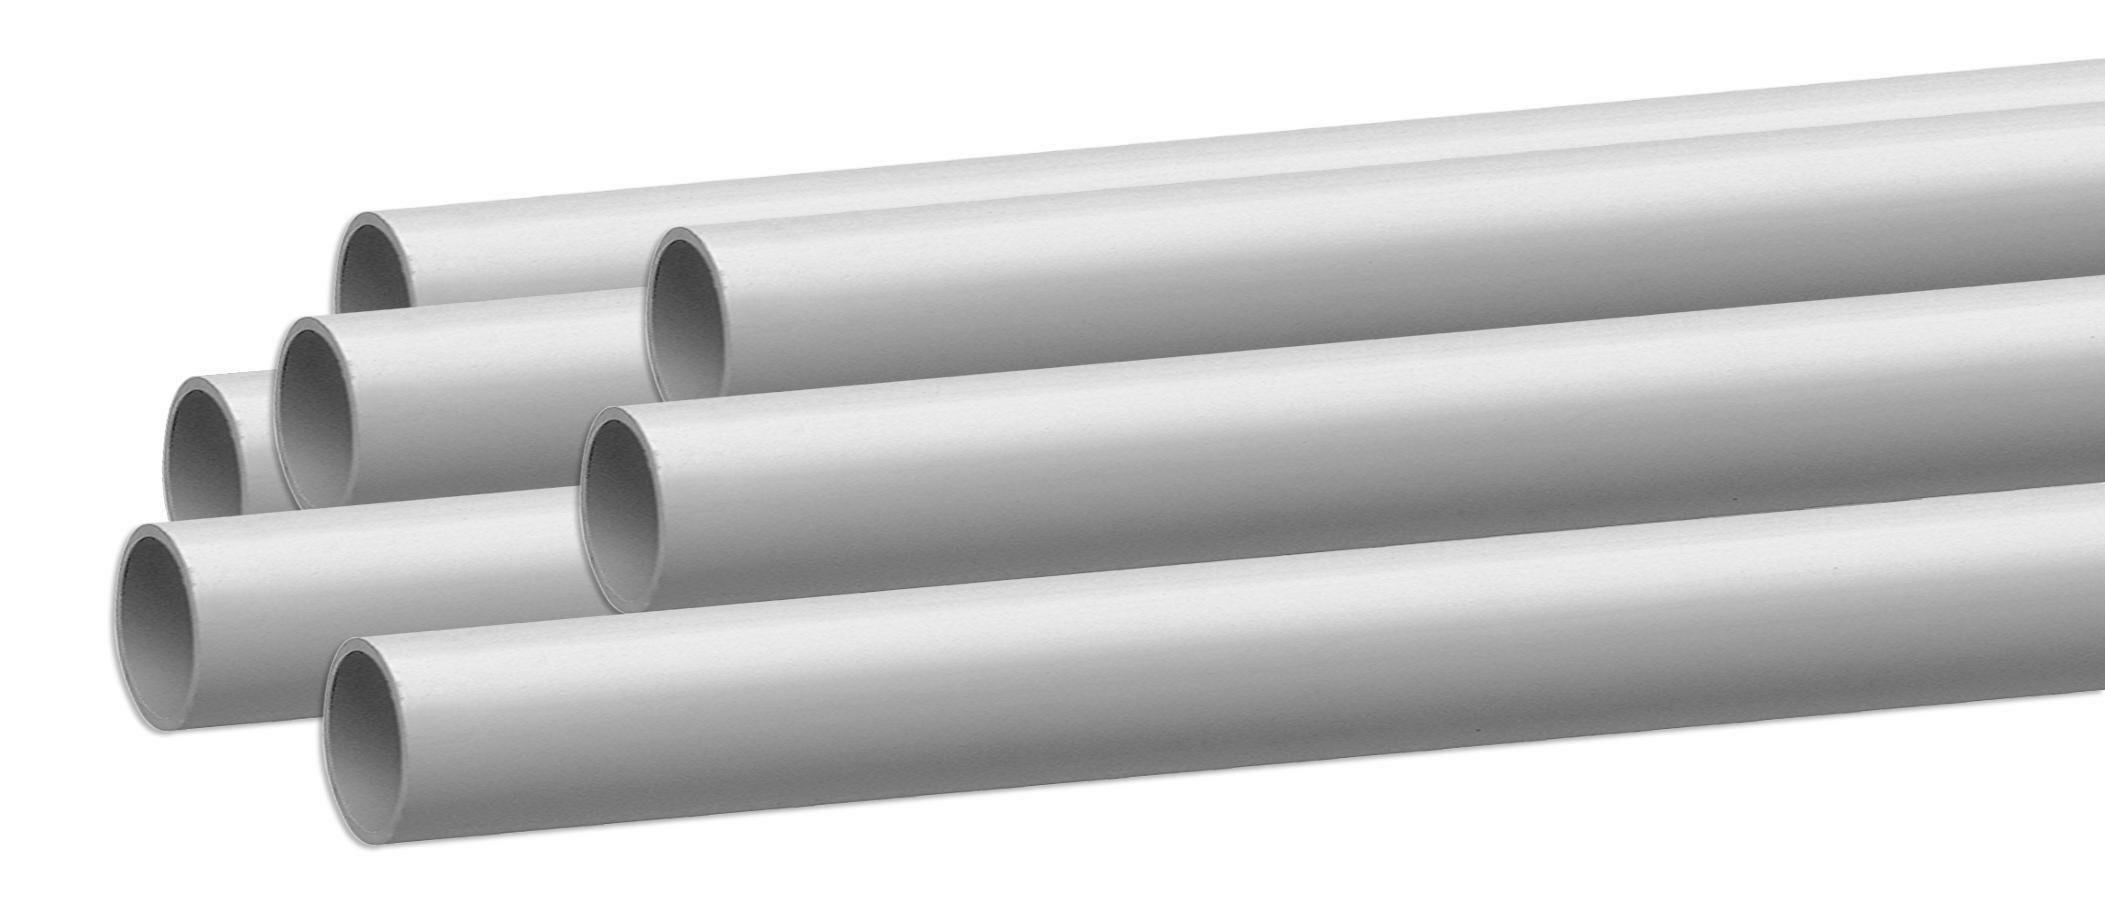
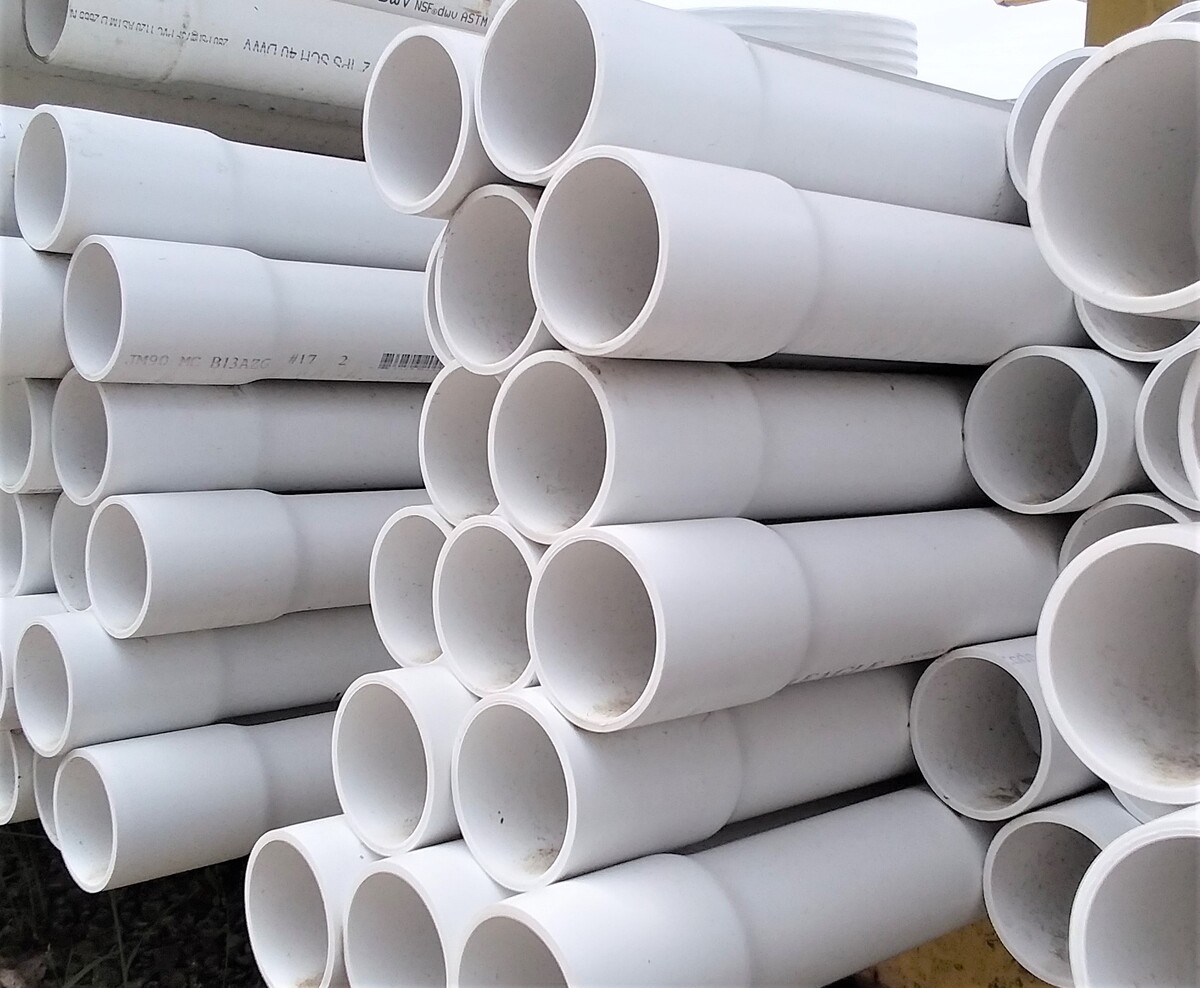
1. PVC Conduit: Purchase the appropriate size and length of PVC conduit for your project. It is available in various sizes, ranging from ½ inch to 6 inches in diameter. Consider the number of wires that will be running through the conduit and choose the appropriate size accordingly.
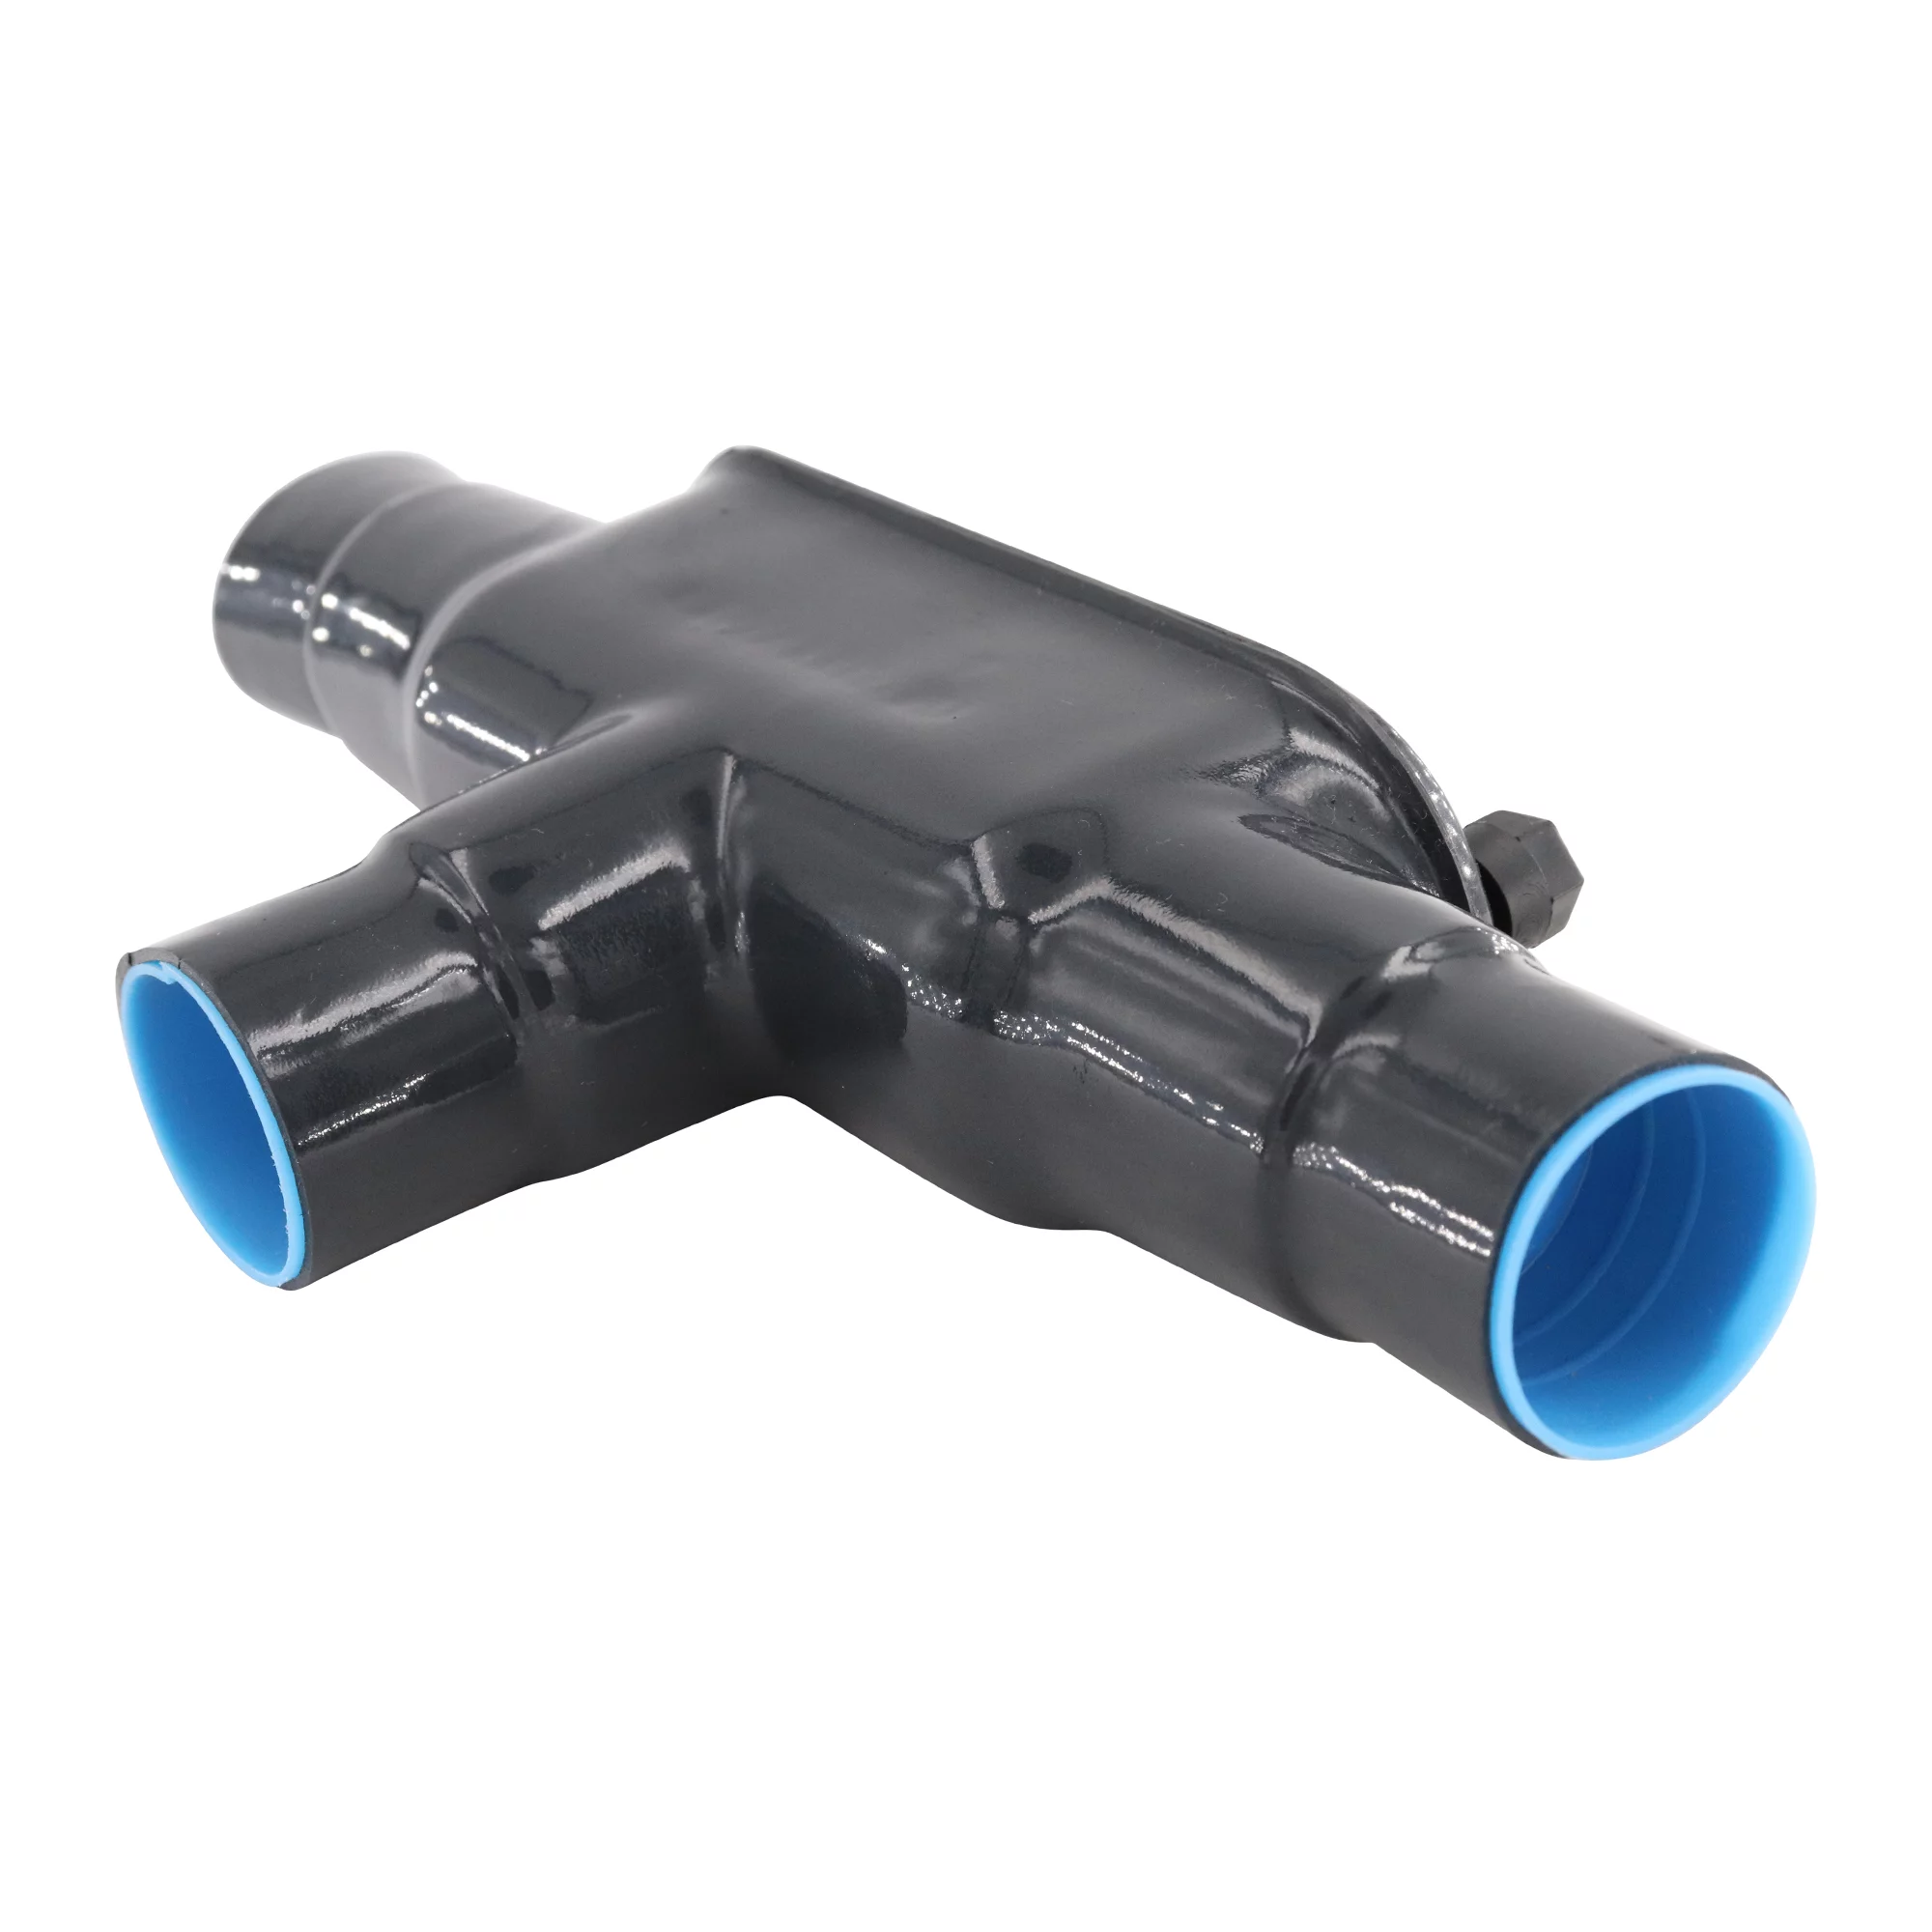
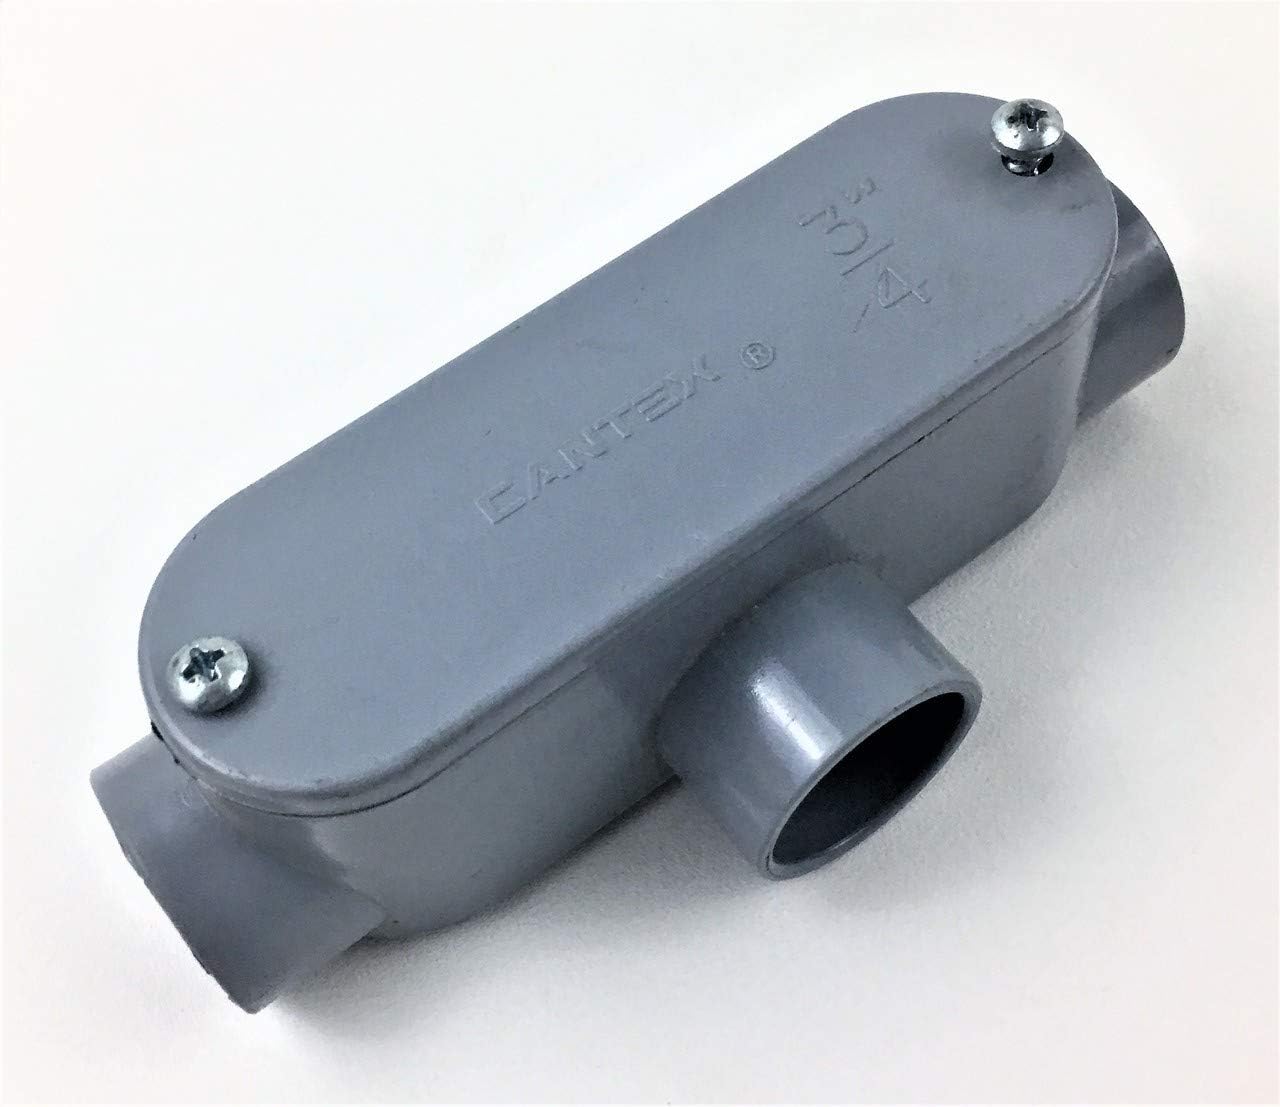
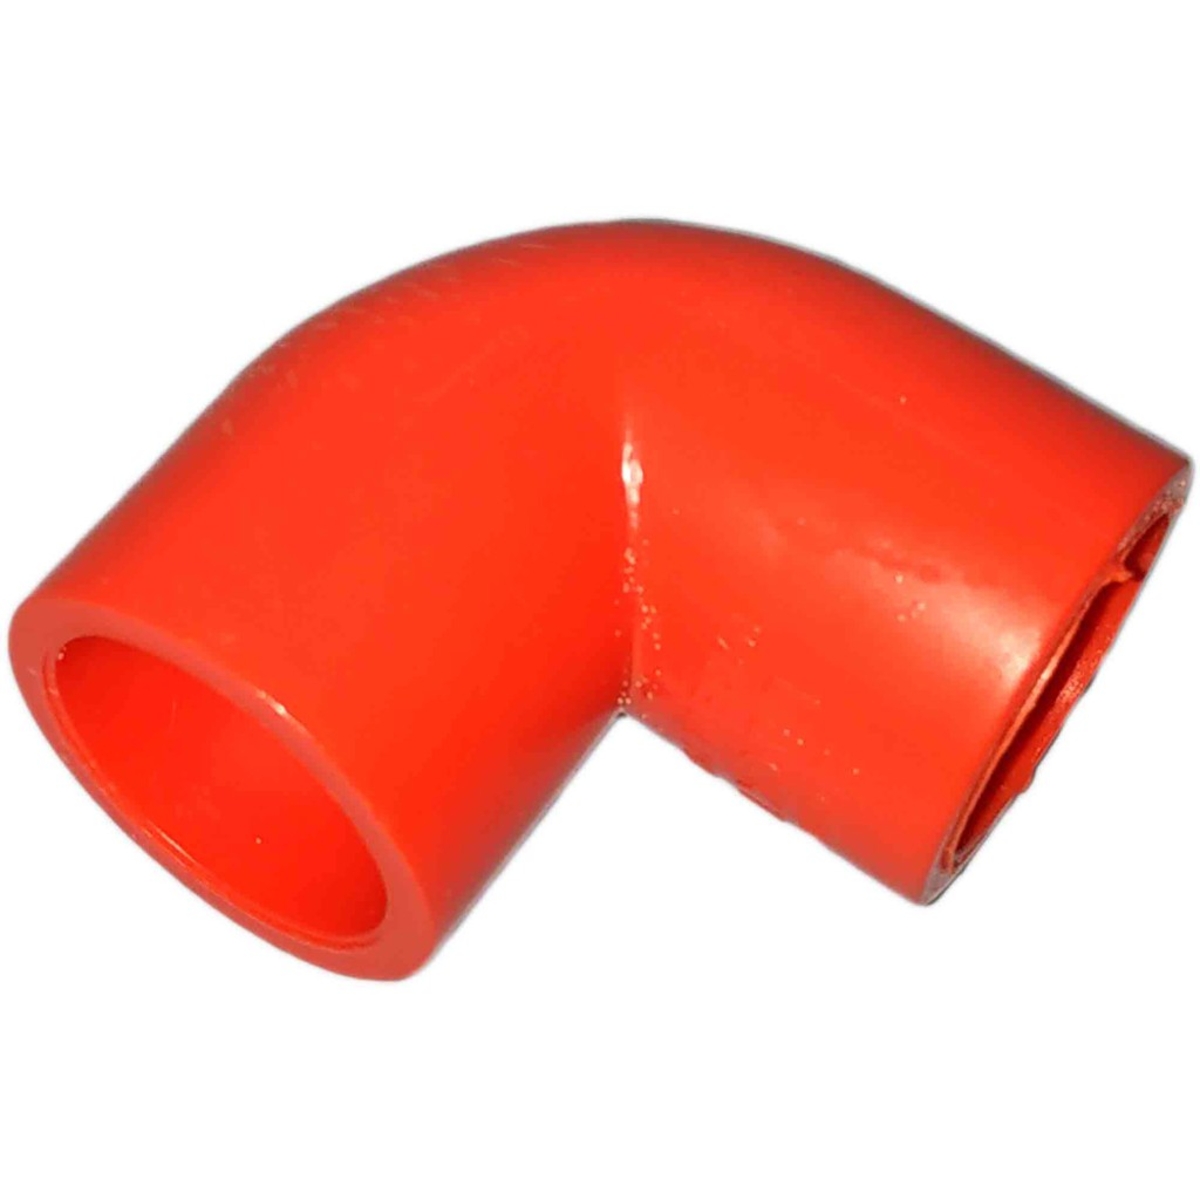
2. Conduit Fittings: You will need connectors, couplings, elbows, and other fittings to join the PVC conduit pieces together and create bends or turns. Make sure to select fittings that are compatible with your conduit size.
3. PVC Cement: PVC cement is used to bond PVC conduit fittings and secure them in place. It creates a strong and durable connection. Make sure to use PVC cement that is specifically designed for use with electrical conduits.
4. Electrical Wires: Depending on your project, you will need the appropriate types and lengths of electrical wires. This can vary based on the electrical load and the type of installation you are working on. Consult with an electrician or refer to local codes for the specific requirements.
5. Wire Pulling Lubricant: This lubricant helps reduce friction when pulling wires through the conduit. It ensures smooth and easy wire installation and prevents damage to the wires.
6. Wire Cutting Tools: You will need wire cutters or a cable cutter to measure and cut the electrical wires to the desired lengths.
7. Measuring Tape: A measuring tape will help you accurately measure the lengths of conduit and wires, ensuring a precise installation.
8. Screwdrivers or Drill: Depending on the type of conduit supports you will be using, you may need screwdrivers or a drill to secure the conduit to the wall or ceiling.
9. Safety Gear: To protect yourself during the installation process, wear safety goggles, gloves, and appropriate clothing. Additionally, make sure to turn off the power supply to the area where you will be working to avoid electrical accidents.
By gathering all the materials and tools before you start the installation, you will have a smooth and uninterrupted workflow. This will enable you to complete the installation efficiently and ensure a safe and functional electrical system.
Now that you have all the necessary materials and tools, it’s time to move on to Step 2: Planning the conduit installation.
Step 2: Plan the conduit installation
Proper planning is essential for a successful PVC conduit installation. Before you start cutting and attaching the conduit, take the time to carefully plan your installation. This will help you determine the best route for the conduit, ensure proper support and clearance, and avoid any obstacles in your path.
Here are some important steps to consider when planning your conduit installation:
1. Determine the route: Identify the path that the conduit will follow. Consider the shortest and most direct route from the power source to the desired destination. Take into account any obstacles, such as walls, floors, or other structures, and plan how you will navigate around them.
2. Consider the electrical load: Assess the electrical load that the conduit will be carrying. Determine the number and size of wires that will be running through the conduit. Make sure the conduit size is adequate to accommodate the wires and comply with local electrical codes and regulations.
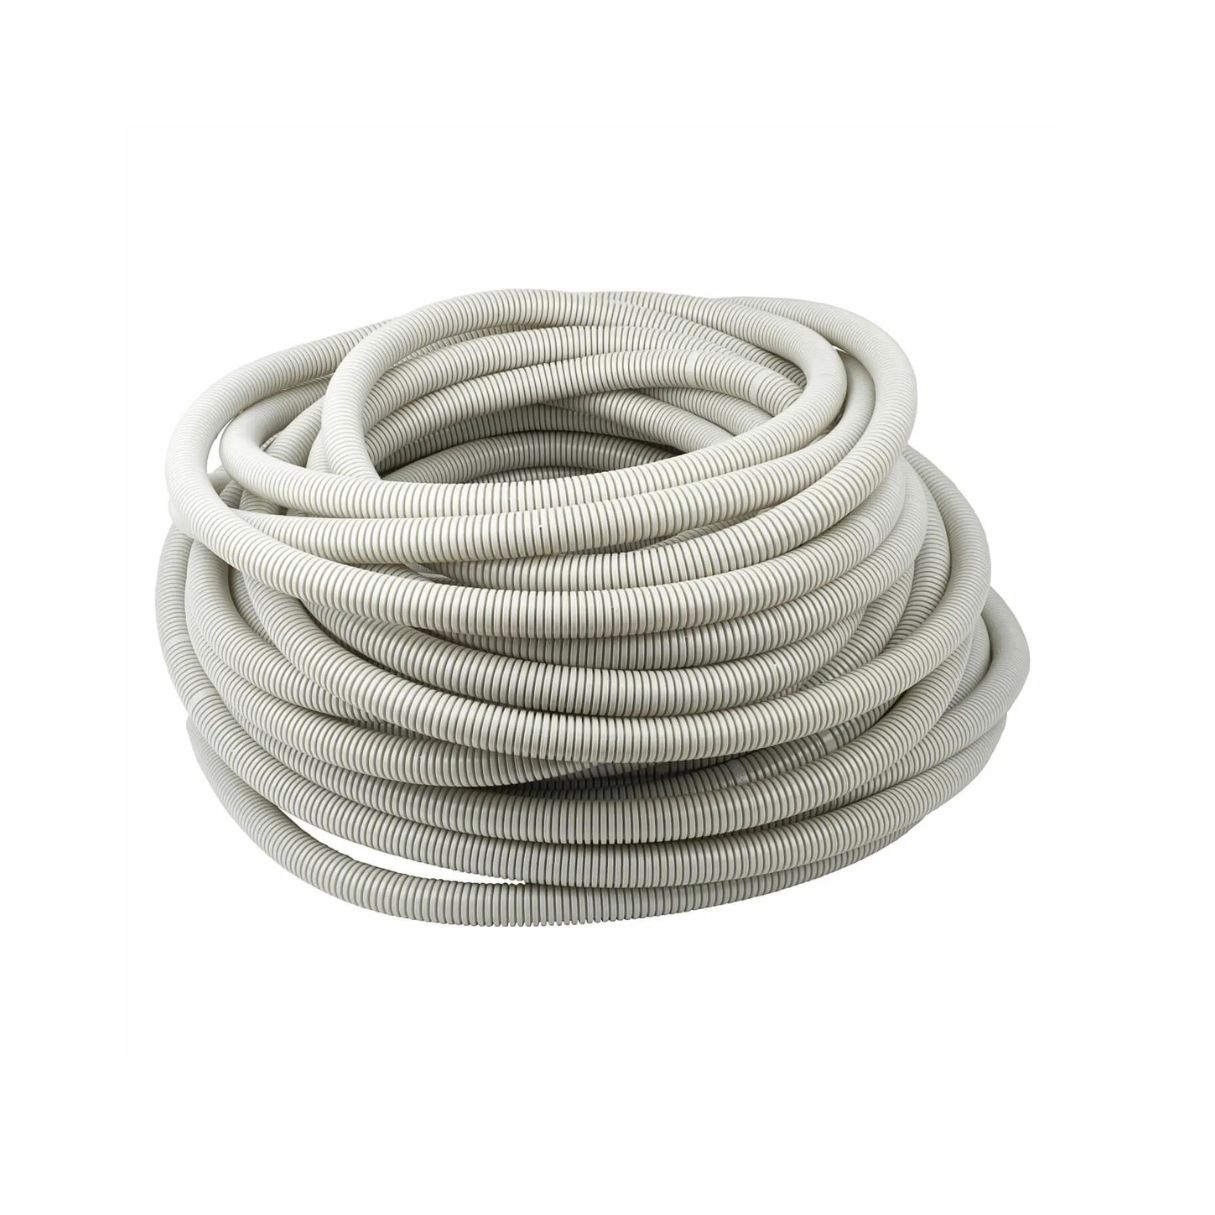
3. Choose the correct conduit type: PVC conduit comes in different types, such as rigid PVC conduit (Schedule 40 or Schedule 80) and flexible PVC conduit. Consider the specific needs of your project and select the appropriate conduit type. Rigid PVC conduit is more suitable for long straight runs, while flexible PVC conduit is ideal for applications that require flexibility and maneuverability.
4. Plan for bends and turns: If your conduit installation requires bends or turns, plan for them in advance. Use conduit fittings, such as elbows and couplings, to create the necessary bends without damaging the wires inside. Ensure that the bends are within the allowable limits specified by local codes.
5. Determine the location of conduit supports: PVC conduit must be supported at regular intervals to prevent sagging and ensure stability. Determine where the conduit supports will be located and mark them accordingly. Depending on the length and diameter of the conduit, supports may be needed every 3 to 10 feet.
6. Consider access points: Identify where you will need access points along the conduit route. These access points will allow you to pull and route the wires through the conduit. Plan for removable covers or fittings that can be easily accessed when needed.
7. Check for clearance requirements: Verify that there is sufficient clearance around the conduit installation. This includes ensuring adequate space for future maintenance or repairs and compliance with any applicable building codes.
By taking the time to plan your conduit installation, you will be able to anticipate potential challenges and ensure a smooth and efficient process. Planning also helps prevent costly mistakes and ensures that your PVC conduit installation meets all safety and regulatory requirements.
Once you have a clear plan in place, it’s time to move on to Step 3: Measure and cut the conduit.
Step 3: Measure and cut the conduit
Once you have planned the route for your PVC conduit installation, it’s time to measure and cut the conduit to the appropriate lengths. Proper measurements and accurate cuts are crucial for a precise and seamless installation. Here’s how you can effectively measure and cut the conduit:
1. Measure the conduit length: Use a measuring tape to determine the length of conduit needed for each section of your installation. Measure from one end of the conduit to the desired endpoint, taking into account any bends, turns, or access points along the way. Add a few extra inches to each length to allow for adjustments and ensure a proper fit.
2. Mark the conduit: Once you have measured the desired length, mark the conduit using a permanent marker or chalk. Make sure the markings are clear and visible.
3. Use a conduit cutter: To cut the PVC conduit, use a conduit cutter specifically designed for this purpose. Place the cutter around the marked section of the conduit, ensuring that the blade of the cutter aligns with the mark. Tighten the cutter’s grip and rotate it around the conduit, applying even pressure until the blade cuts through the conduit. Repeat this process for each section of conduit that needs to be cut.
4. Smooth the edges: After cutting the conduit, use a deburring tool or a file to smooth any rough or jagged edges. This step is crucial to prevent damage to the wires and ensure a clean fit when connecting the conduit fittings.
5. Double-check measurements: Before proceeding to the next step, double-check the measurements of the cut conduit sections. Ensure that they are accurate and match the requirements of your installation plan.
It’s worth noting that if you are using flexible PVC conduit, you can simply measure and mark the desired length and cut it with a utility knife or PVC pipe cutter. However, rigid PVC conduit requires the use of a conduit cutter to achieve clean and accurate cuts.
Remember, safety is paramount when working with cutting tools. Always wear protective gloves and ensure you have a secure grip on the conduit during the cutting process.
With the conduit accurately measured and cut, you are now ready to move on to Step 4: Attach the conduit fittings.
Step 4: Attach the conduit fittings
Attaching conduit fittings is a crucial step in PVC conduit installation, as they provide secure connections and allow for bends, turns, and transitions. Properly attaching the fittings ensures a smooth and efficient conduit installation. Here’s how you can effectively attach the conduit fittings:
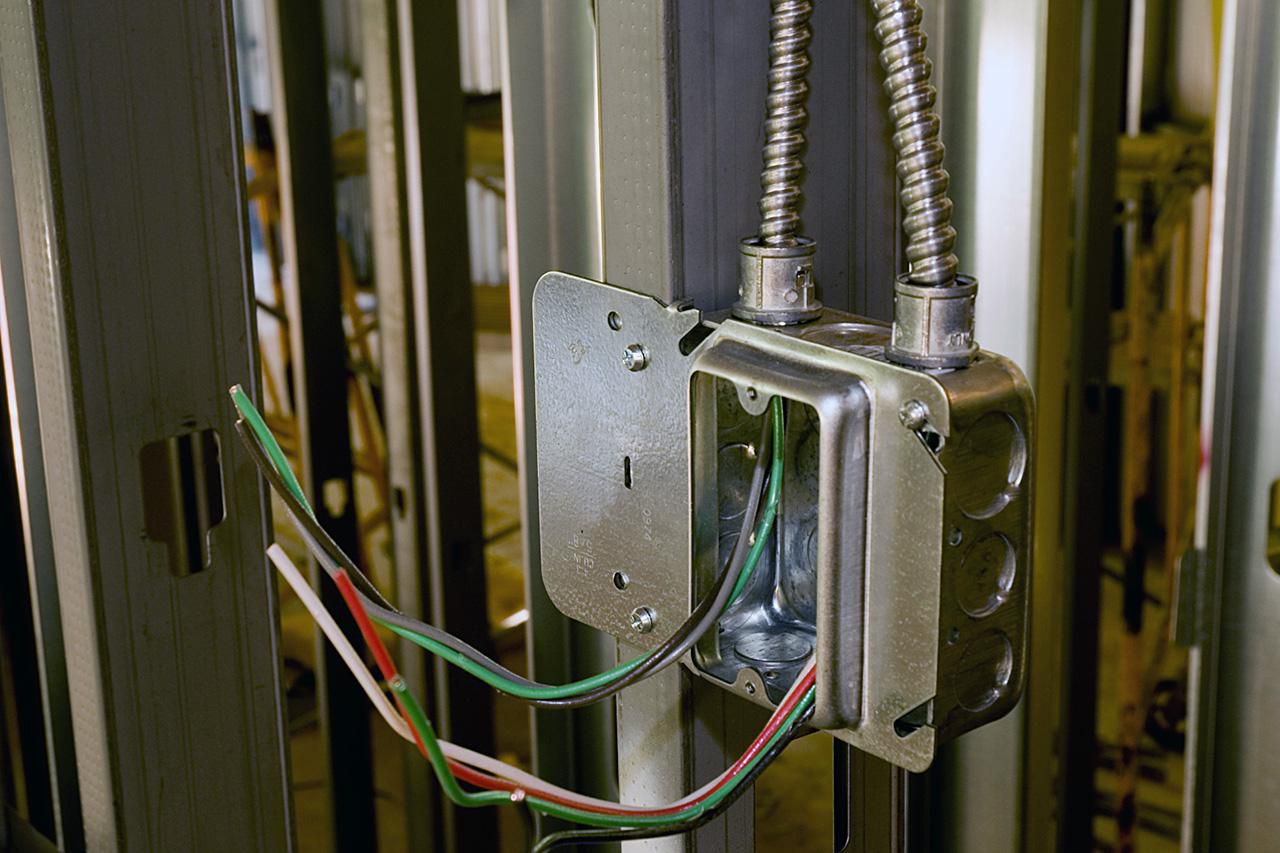
1. Gather the necessary fittings: Depending on your installation plan and conduit layout, gather the required conduit fittings. These can include connectors, couplings, elbows, junction boxes, and other fittings necessary to connect the conduit sections and create bends or turns.
2. Apply PVC cement: PVC cement is used to bond the conduit fittings to the ends of the conduit. Before applying the cement, make sure the fittings and conduit ends are clean and free from any dirt or debris. Apply a liberal amount of PVC cement to the inside of the fitting and the outside of the conduit end.
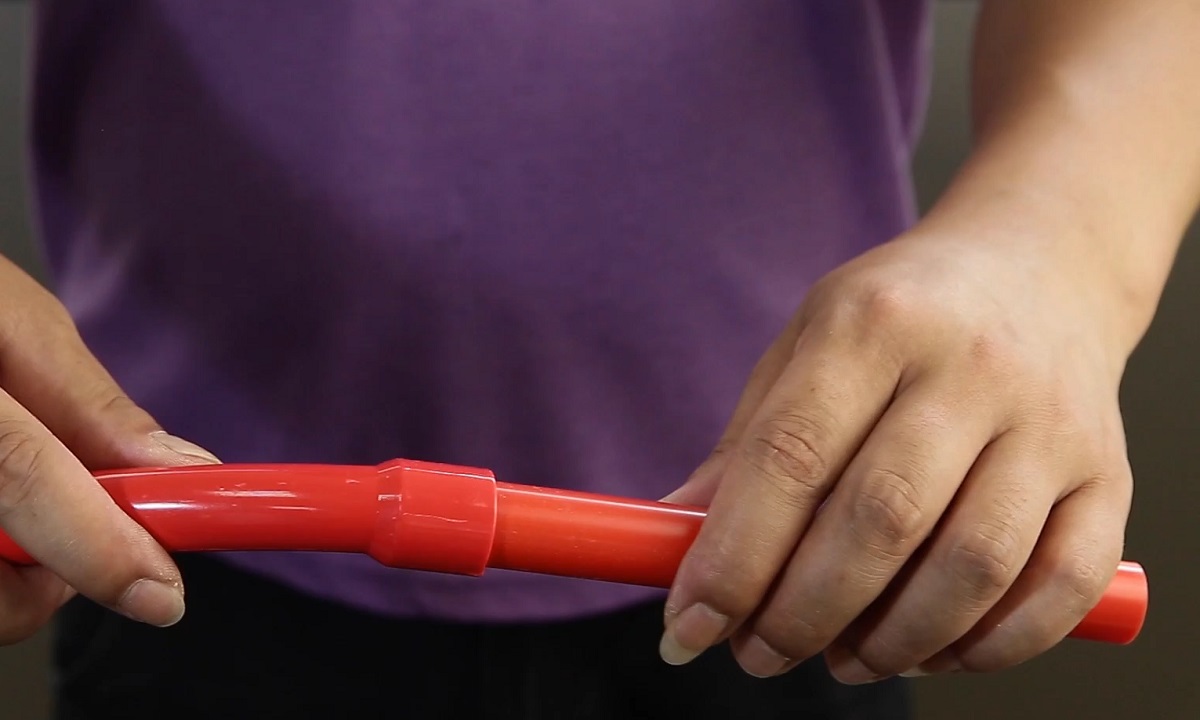
3. Insert the conduit into the fitting: After applying the PVC cement, insert the conduit into the fitting, ensuring a tight and secure fit. Twist the conduit slightly to evenly distribute the cement and create a strong bond. Make sure the conduit is fully inserted into the fitting until it reaches the stop or shoulder inside the fitting.
4. Align the fittings: Ensure that the fittings are aligned properly to maintain a smooth conduit path. Use a level to verify that the fittings are straight and in the desired position.
5. Allow the cement to set: PVC cement requires time to set and create a strong bond. Follow the manufacturer’s instructions for the recommended curing time. Avoid disturbing or putting stress on the conduit fittings during this curing period.
6. Repeat for additional fittings: If your installation requires multiple conduit fittings, repeat the process for each fitting. Take your time to ensure each fitting is securely attached and properly aligned.
It is important to note that PVC cement creates a permanent bond, so make sure that the fittings and conduit ends are aligned correctly before applying the cement. Once the cement sets, it will be difficult to adjust or reposition the fittings.
Additionally, always use PVC cement that is specifically designed for electrical conduit applications. Avoid using regular PVC glue, as it may not provide the necessary strength or longevity required for conduit installations.
With the conduit fittings securely attached, you can now move on to Step 5: Secure the conduit to the wall or ceiling.
When installing PVC conduit, make sure to measure and plan the layout carefully before cutting the conduit. Use a PVC cutter to make clean, straight cuts, and always deburr the edges to prevent damage to the wires.
Read more: What Is A PVC Conduit
Step 5: Secure the conduit to the wall or ceiling
Securing the PVC conduit to the wall or ceiling is an important step in the installation process. Properly securing the conduit ensures it remains stable and in place, preventing any potential damage or hazards. Here’s how you can effectively secure the conduit to the wall or ceiling:
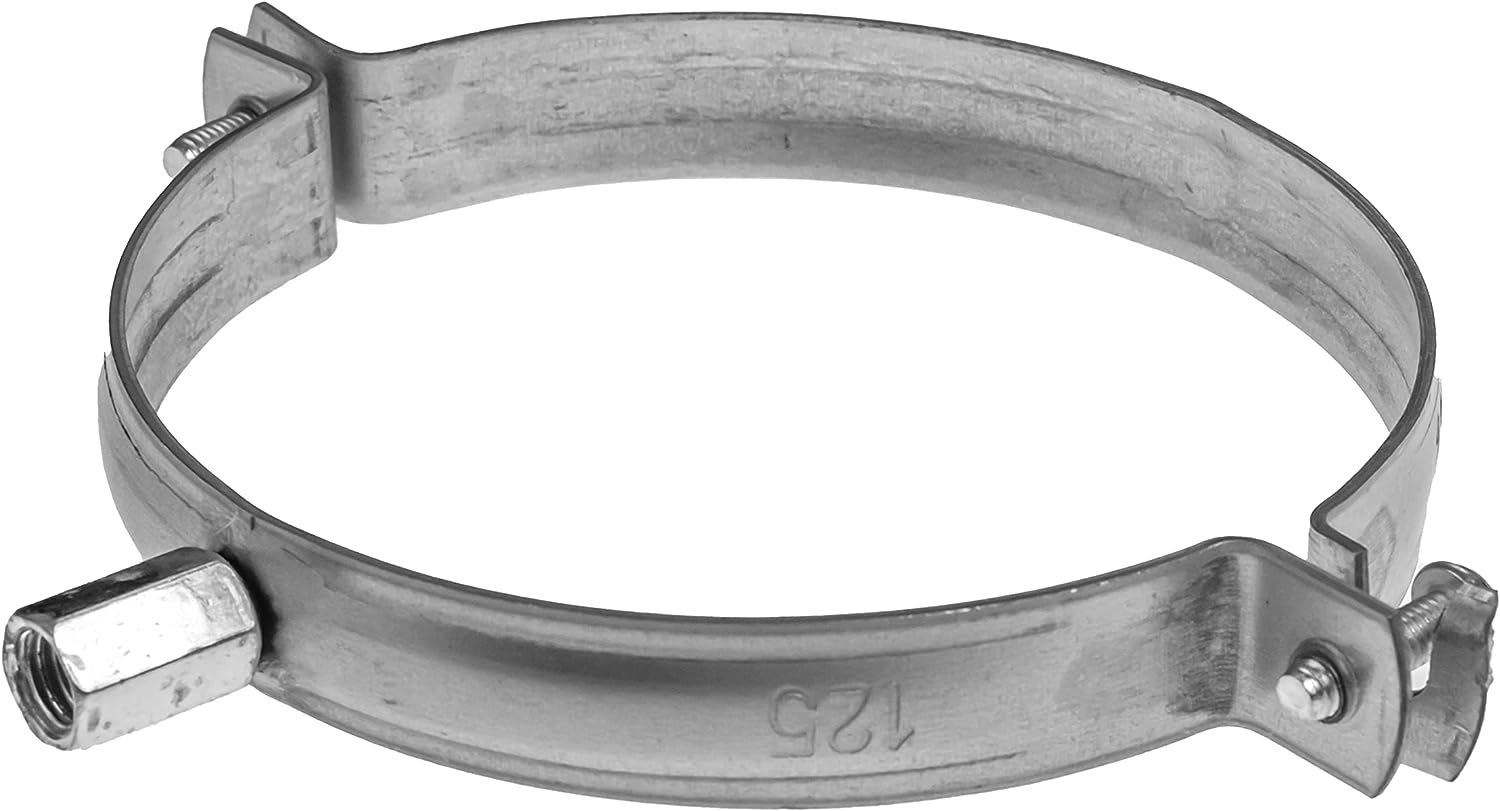
1. Choose the appropriate mounting method: There are various methods for securing PVC conduit, depending on the surface you are working with. Common mounting methods include conduit straps, clamps, hangers, or conduit clips. Consider the weight of the conduit, the location of the installation, and local building codes to determine the best mounting method for your project.
2. Determine the spacing for conduit supports: PVC conduit must be supported at regular intervals to prevent sagging and ensure stability. The spacing between conduit supports depends on the length and diameter of the conduit. Consult local codes for the recommended spacing, which is typically between 3 to 10 feet. Mark the locations where the conduit supports will be installed.
3. Attach conduit supports: Using appropriate screws or fasteners, attach the conduit supports to the wall or ceiling at the marked locations. Make sure the supports are level and securely fastened.
4. Place the conduit in the supports: Insert the conduit into the conduit supports, ensuring it is seated properly. The conduit should fit snugly in the supports without any excessive movement.
5. Secure conduit with additional supports if needed: For longer conduit runs or areas with heavy electrical loads, additional supports may be required. Install additional conduit supports as needed to provide proper stability and support.
6. Check for proper clearance: Ensure that there is adequate clearance around the conduit and between the conduit and any nearby surfaces. This includes maintaining the required distance between the conduit and any flammable materials or heating sources as per local codes and regulations.
By securely fastening the conduit to the wall or ceiling, you minimize the risk of the conduit becoming loose or detached. This promotes a safe and organized electrical system.
Remember to use proper mounting hardware and follow manufacturer instructions for securing conduit to different surfaces. Additionally, double-check the tightness of the conduit supports to prevent any potential movement or sagging.
With the conduit securely in place, you can now move on to Step 6: Run wires through the conduit.
Step 6: Run wires through the conduit
Running wires through the PVC conduit is a critical step in the installation process. Properly pulling and routing the wires ensures a safe and efficient electrical system. Here’s how you can effectively run the wires through the conduit:
1. Prepare the wires: Before pulling the wires, make sure they are properly stripped and prepared for installation. Remove any outer insulation or jackets as necessary, leaving the appropriate length of exposed wire for connections.
2. Apply lubricant: To ease the wire pulling process and minimize friction, apply a wire pulling lubricant along the length of the conduit. This lubricant reduces the chances of damaging the wires and helps them slide smoothly inside the conduit.
3. Begin wire pulling: Start by feeding one end of the wire into the conduit opening. Use a fish tape or wire pulling tool to guide and pull the wire through the conduit. Slowly and steadily feed the wire through the conduit while simultaneously pushing it from the other end. This ensures a controlled and uniform pulling process.
4. Assist the wire pulling process: For longer or more complex conduit runs, it may be helpful to have an assistant feed the wire into the conduit while you guide it from the other end. Communicate with your assistant to maintain a consistent and smooth wire pulling motion.
5. Mitigate bends and tight spots: If you encounter bends or tight spots along the conduit route, use gentle pressure and maneuvering to navigate the wire through. Avoid excessive force, as it can damage the wires or cause them to get stuck. If necessary, use conduit fittings like elbows or junction boxes to create smoother turns.
6. Check for proper wire positioning: As you pull the wire through the conduit, periodically check to ensure it is properly aligned and positioned. Avoid any sharp bends or kinks that may compromise the wire’s integrity. If needed, make adjustments or re-route the wire to maintain a safe and organized installation.
7. Pull additional wires if required: If your installation requires multiple wires in the same conduit, repeat the wire pulling process for each wire. Ensure proper spacing and separation between the wires to prevent overheating and interference.
8. Ensure proper slack: Allow for sufficient slack or extra length of wire at each end of the conduit for connections. This prevents strain on the wires and allows flexibility for future adjustments or repairs.
Properly running the wires through the conduit is crucial for a functional and safe electrical system. Take your time during this step, ensuring the wires are pulled smoothly and without any damage.
With the wires successfully pulled through the conduit, you are now ready to move on to Step 7: Test the conduit installation.
Step 7: Test the conduit installation
After completing the PVC conduit installation and running wires through it, it is essential to test the conduit system to ensure it is functioning properly and meets safety standards. Testing the conduit installation will help identify any issues or faults before finalizing the project. Here’s how you can effectively test the conduit installation:
1. Turn off the power: Before conducting any tests, make sure to turn off the power supply to the area where the conduit installation is located. This precautionary measure ensures your safety during the testing process.
2. Visual inspection: Conduct a thorough visual inspection of the entire conduit system. Check for any signs of damage, loose connections, or improper wire routing. Verify that all fittings are securely attached and aligned correctly. Look for any visible defects or irregularities that may need to be addressed.
3. Continuity testing: Using a multimeter or continuity tester, check the continuity of the wires through the conduit. Place one lead of the tester on one end of the wire and the other lead on the opposite end. The tester should indicate that there is continuity, meaning the wire is an unbroken path for the electrical current. Repeat this process for each wire within the conduit.
4. Pulling tension test: If necessary, conduct a pulling tension test to ensure the conduit can withstand the force applied during the wire pulling process. Apply controlled tension to the conduit to simulate the pulling force and verify that the conduit remains securely attached and does not collapse or deform.
5. Wire insulation check: Inspect the insulation of the wires for any signs of damage or wear. Look for exposed wires, frayed insulation, or any other issues that may compromise the safety and functionality of the electrical system. Replace any damaged wires or insulation as needed.
6. Check grounding and bonding: If applicable to your installation, ensure that the conduit system is properly grounded and bonded. Verify that the grounding conductor is securely connected to the grounding electrode system and that bonding jumpers are installed as necessary.
7. Finalize connections: If all tests pass and no issues are found, finalize the connections within the conduit installation. Properly connect the wires to the appropriate outlets, switches, or panels, following electrical codes and best practices.
8. Restore power and conduct functional tests: Once all connections are finalized and verified, you can restore power to the area. Conduct functional tests to ensure that all electrical components and circuits within the conduit system are working as intended. Test switches, outlets, and any other devices connected to the conduit installation to confirm their functionality.
By properly testing the conduit installation, you can ensure that it is safe, functional, and compliant with electrical codes. Address any issues or faults that arise during the testing process before considering the project complete.
With the conduit installation tested and confirmed to be in proper working condition, you have successfully completed the installation process. Congratulations!
Remember to always prioritize safety and consult with a licensed electrician if you are unsure about any aspect of the installation or testing procedures.
Conclusion
Installing PVC conduit is a fundamental step in any electrical wiring project. By following the step-by-step process outlined in this comprehensive guide, you can successfully install PVC conduit for your residential or commercial project.
We began by emphasizing the importance of gathering the necessary materials and tools before initiating the installation. This ensures that you have everything you need to complete the project efficiently. Proper planning was highlighted as a crucial step to determine the conduit route, consider electrical load requirements, select the appropriate conduit type, and plan for bends and turns.
We then discussed how to measure and cut the conduit accurately, ensuring precise lengths and clean edges. Attaching conduit fittings securely with PVC cement was covered in detail, as it provides strong connections and allows for bends or transitions. Securing the conduit to the wall or ceiling with suitable mounting methods was emphasized to maintain stability and prevent damage.
Running wires through the conduit was explained, including the importance of preparing the wires, applying lubricant, and ensuring proper alignment and clearance. Testing the conduit installation was highlighted as an essential step to check for continuity, inspect for any issues, validate wire insulation, and ensure proper grounding and bonding.
In conclusion, installing PVC conduit is a critical aspect of any electrical wiring project. It enhances safety, protects wires from damage, and ensures an organized and efficient electrical system. By following the steps outlined in this guide and adhering to local codes and regulations, you can successfully install PVC conduit and create a reliable electrical infrastructure.
Remember to prioritize safety throughout the installation process and consult with a licensed electrician if needed. With proper planning, careful execution, and thorough testing, your PVC conduit installation will provide years of reliable service.
Frequently Asked Questions about How To Install PVC Conduit
Was this page helpful?
At Storables.com, we guarantee accurate and reliable information. Our content, validated by Expert Board Contributors, is crafted following stringent Editorial Policies. We're committed to providing you with well-researched, expert-backed insights for all your informational needs.

0 thoughts on “How To Install PVC Conduit”