
Articles
How To Run PVC Conduit
Modified: October 20, 2024
Learn how to effectively run PVC conduit with informative articles. Master the techniques and best practices for a successful installation.
(Many of the links in this article redirect to a specific reviewed product. Your purchase of these products through affiliate links helps to generate commission for Storables.com, at no extra cost. Learn more)
Introduction
Running PVC conduit is a crucial step in electrical installations, whether you’re setting up a new system or making modifications to an existing one. PVC conduit provides protection and routing for electrical cables, ensuring their safety and longevity. By properly running conduit, you can organize and secure your electrical wiring, making future maintenance and repairs much easier.
In this article, we will guide you through the process of running PVC conduit, step by step. From planning and measuring to wiring and securing cables, we’ll cover everything you need to know to successfully run PVC conduit.
But before we begin, it’s important to note that working with electrical systems can be dangerous if proper safety precautions are not followed. Always ensure that the power is turned off and that you are wearing appropriate personal protective equipment (PPE) when working with electrical components. If you are unsure or uncomfortable with any part of the process, it’s best to consult a qualified electrician.
Now let’s dive into the details of running PVC conduit and get you on your way to a well-organized and efficient electrical system.
Key Takeaways:
- Prioritize safety by turning off power, wearing PPE, and following local codes when running PVC conduit. Proper planning, precise measurements, and secure connections ensure a well-organized and reliable electrical system.
- Gather the necessary tools and materials, plan and measure accurately, cut and prepare the conduit, attach fittings, mount securely, wire and secure cables, and inspect and test the installation for a successful PVC conduit run.
Read more: What Is A PVC Conduit
Safety Precautions
Before you start working on running PVC conduit, it’s essential to prioritize safety. Working with electricity can be hazardous, so taking the necessary precautions will help protect you from potential injuries. Here are some safety guidelines to keep in mind:
- Turn off the power: Always turn off the power supply to the area where you will be working. This will prevent any electrical shocks or accidents.
- Wear protective gear: Make sure to wear appropriate personal protective equipment (PPE), such as safety glasses, gloves, and a hard hat. These will protect you from potential hazards during the installation process.
- Use insulated tools: Opt for insulated tools specifically designed for electrical work. These tools help reduce the risk of electric shock.
- Avoid wet conditions: Do not work on PVC conduit installation in wet or damp conditions. Water and electricity do not mix well and can increase the risk of electrical accidents.
- Check for hidden wires: Before drilling or cutting into walls or ceilings, use a wire detector to ensure there are no hidden electrical wires in the area.
- Secure the work area: Make sure the area where you will be working is clear of obstacles and clutter. This will reduce the risk of tripping or falling during the installation process.
- Follow code regulations: Familiarize yourself with local building codes and regulations regarding electrical installations. Adhering to these guidelines will help ensure that your installation is safe and compliant.
- Seek professional help if needed: If you are unsure about any aspect of the PVC conduit installation process or if you encounter any complications, it’s best to consult a licensed electrician for assistance.
Remember, safety should always be your top priority when working with electrical systems. By following these precautions, you can minimize the risks and carry out the installation process in a safe and secure manner.
Tools and Materials Needed
Before you begin running PVC conduit, gather the necessary tools and materials to ensure a smooth installation process. Having the right equipment on hand will make the job easier and more efficient. Here’s a list of the tools and materials you will need:
Tools:
- Tape measure: For accurate measurements of conduit lengths.
- Hacksaw or PVC pipe cutter: To cut the conduit to the desired lengths.
- Deburring tool: For removing any sharp edges or burrs from the cut ends of the conduit.
- Screwdriver or drill: To secure conduit straps or brackets to the desired surface.
- Wire puller or fish tape: To route the electrical cables through the conduit.
- Pliers or wire strippers: For stripping the insulation off the wires.
- Level: To ensure that the conduit is installed correctly and aligned.
- PVC cement and brush: To securely bond conduit fittings and connectors.
Materials:
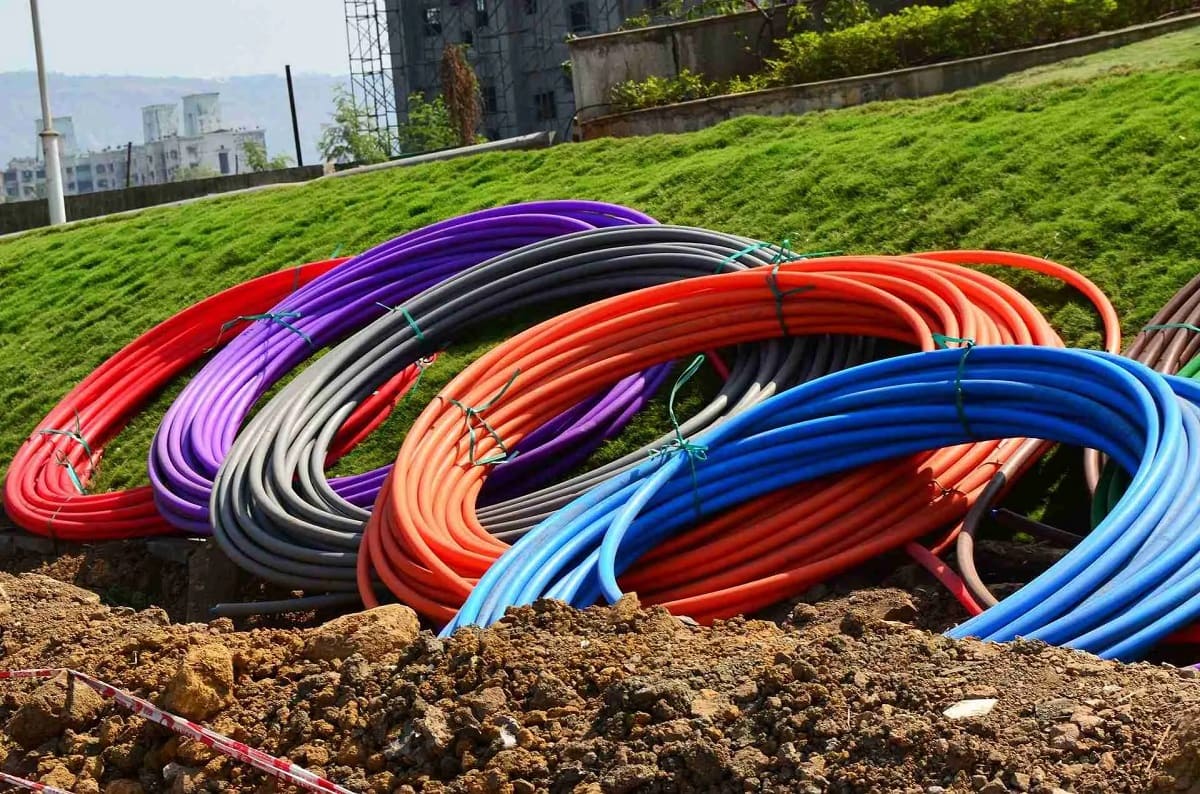
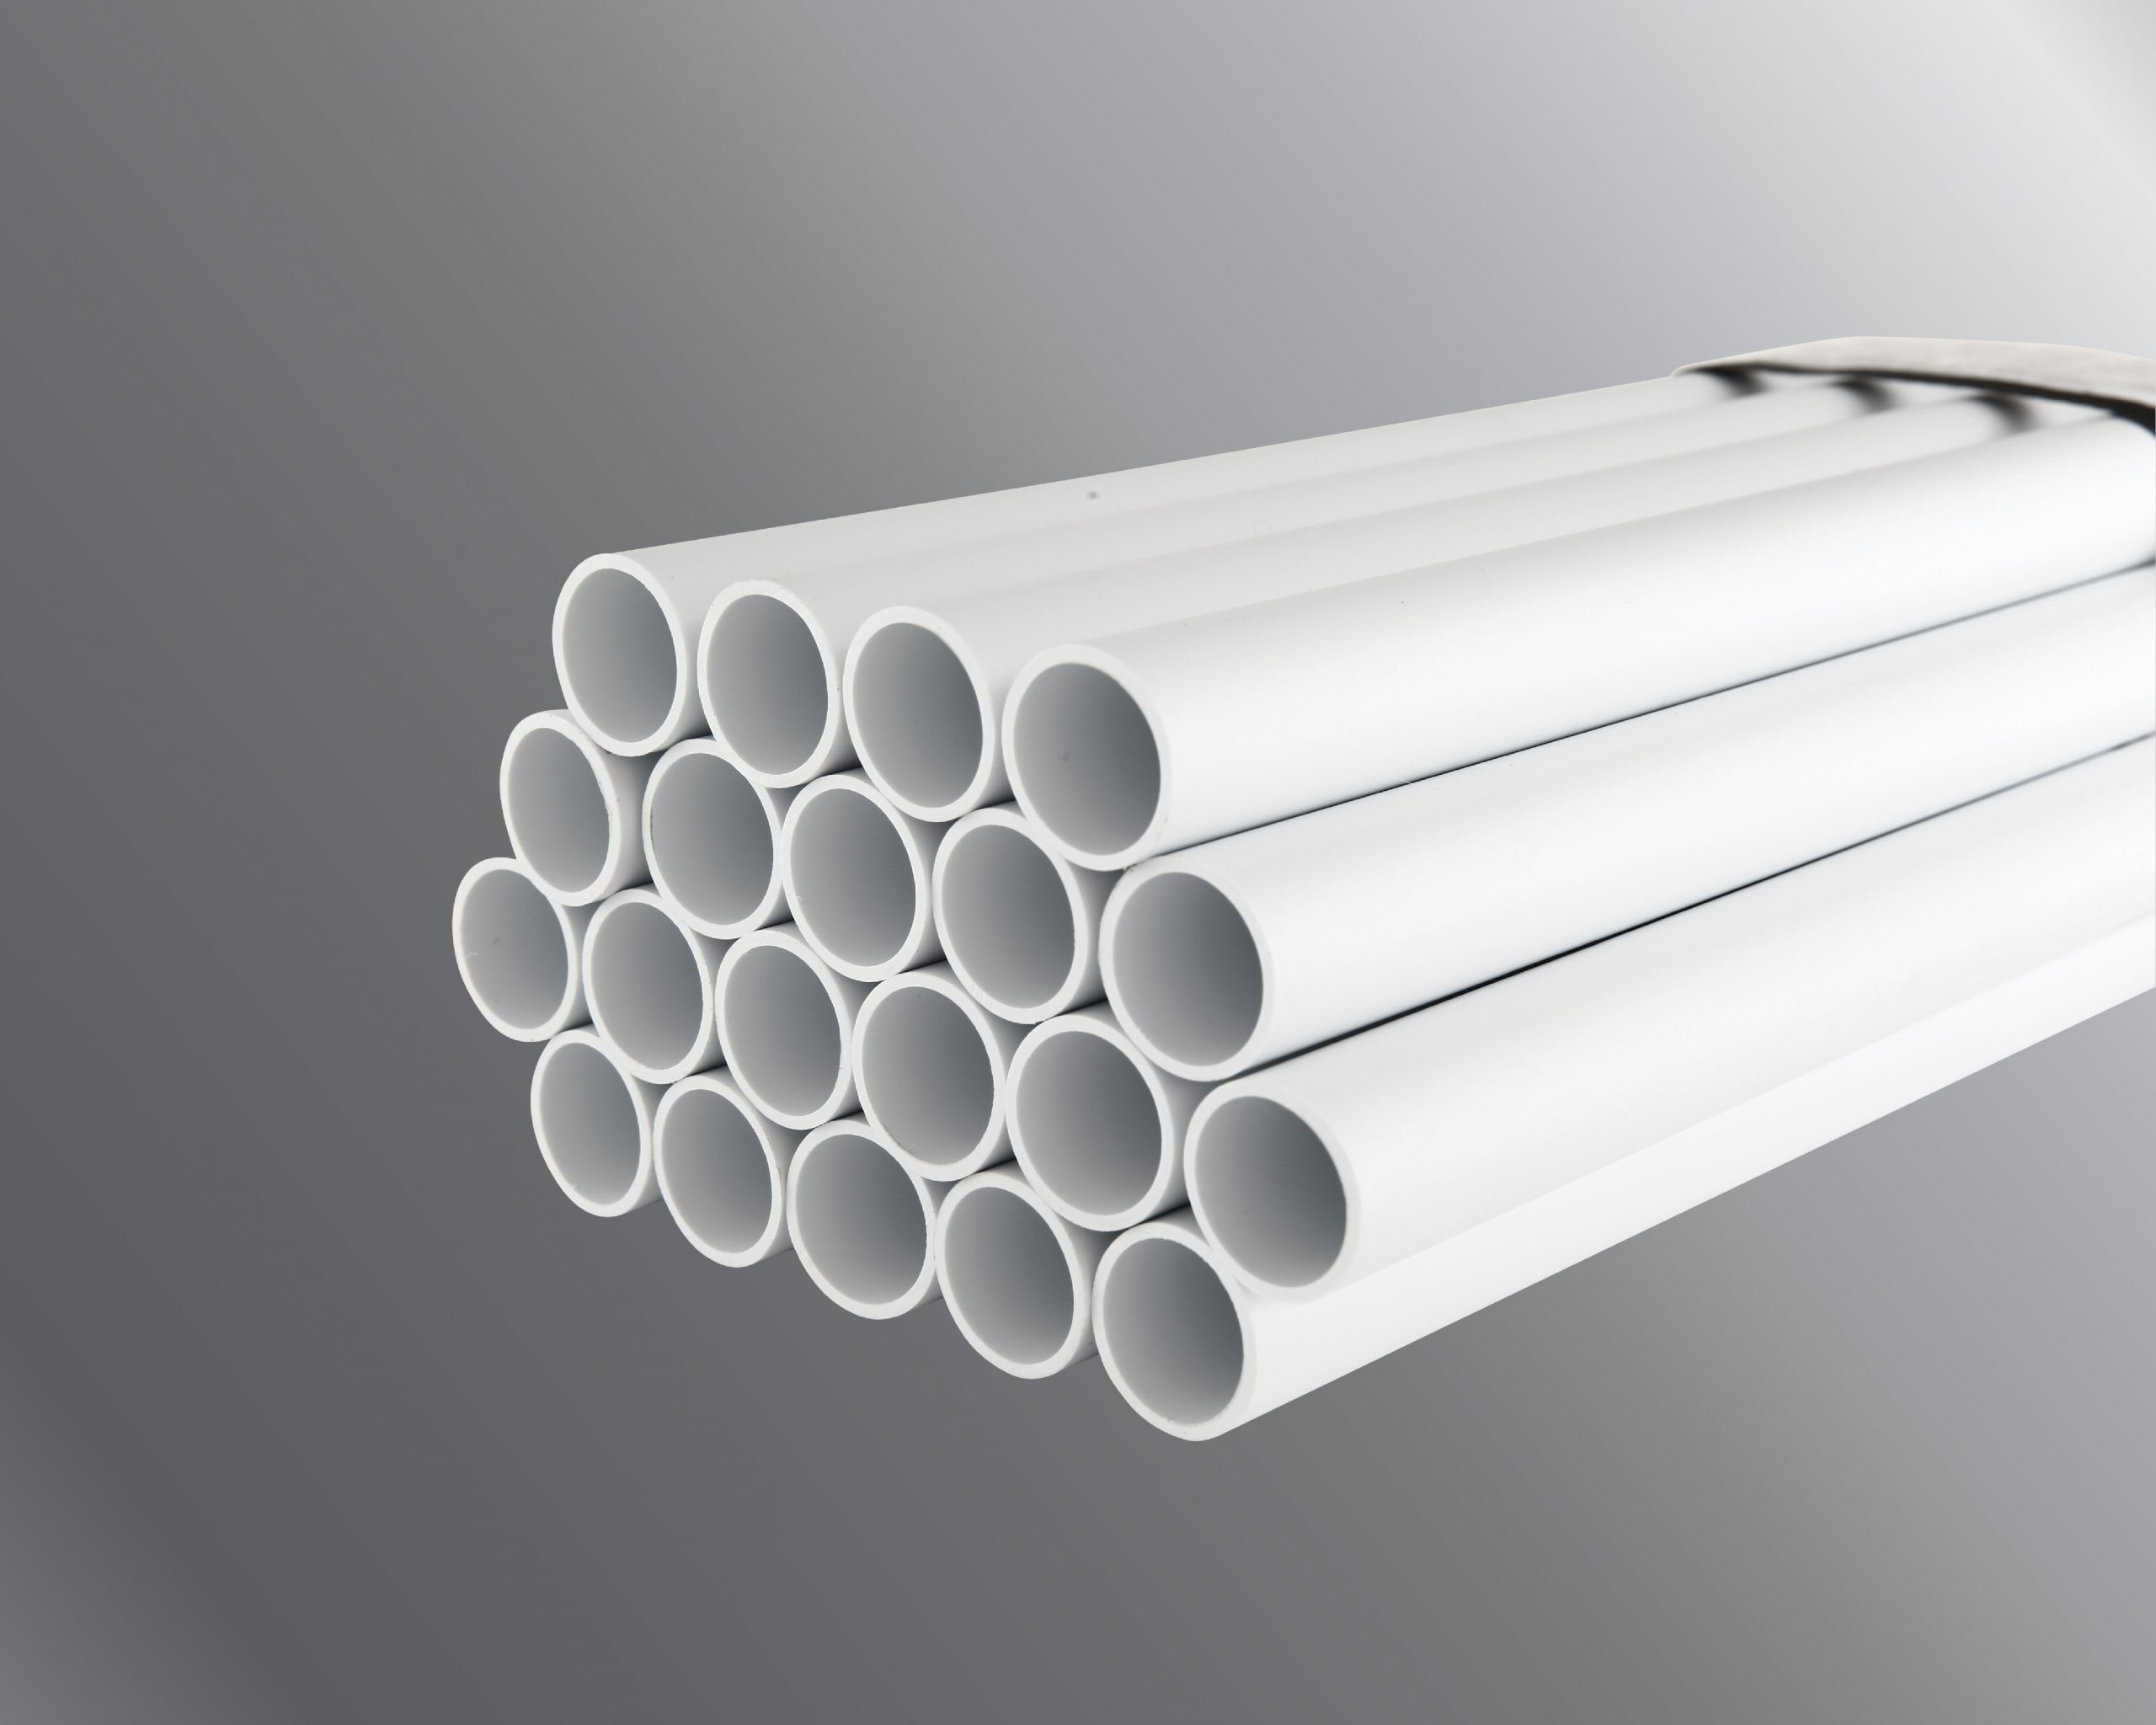
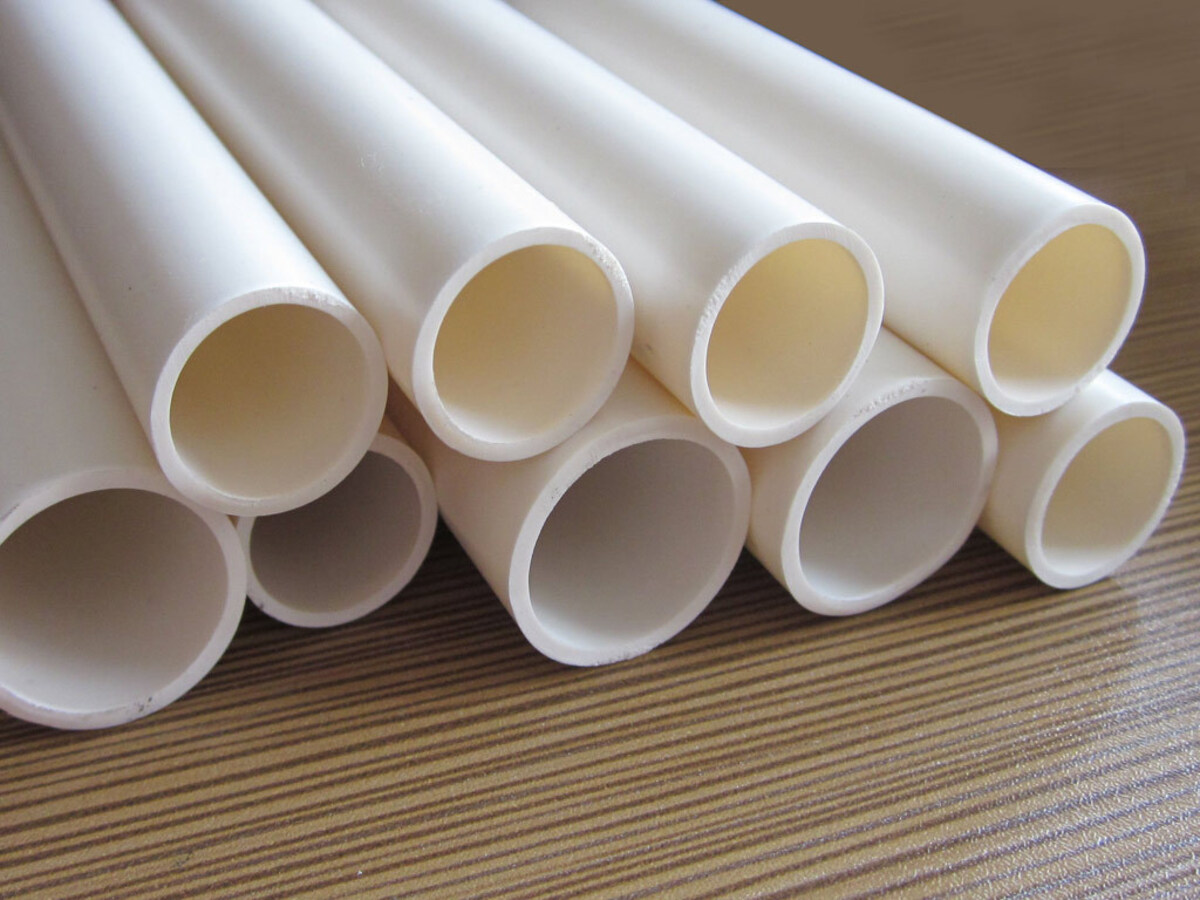
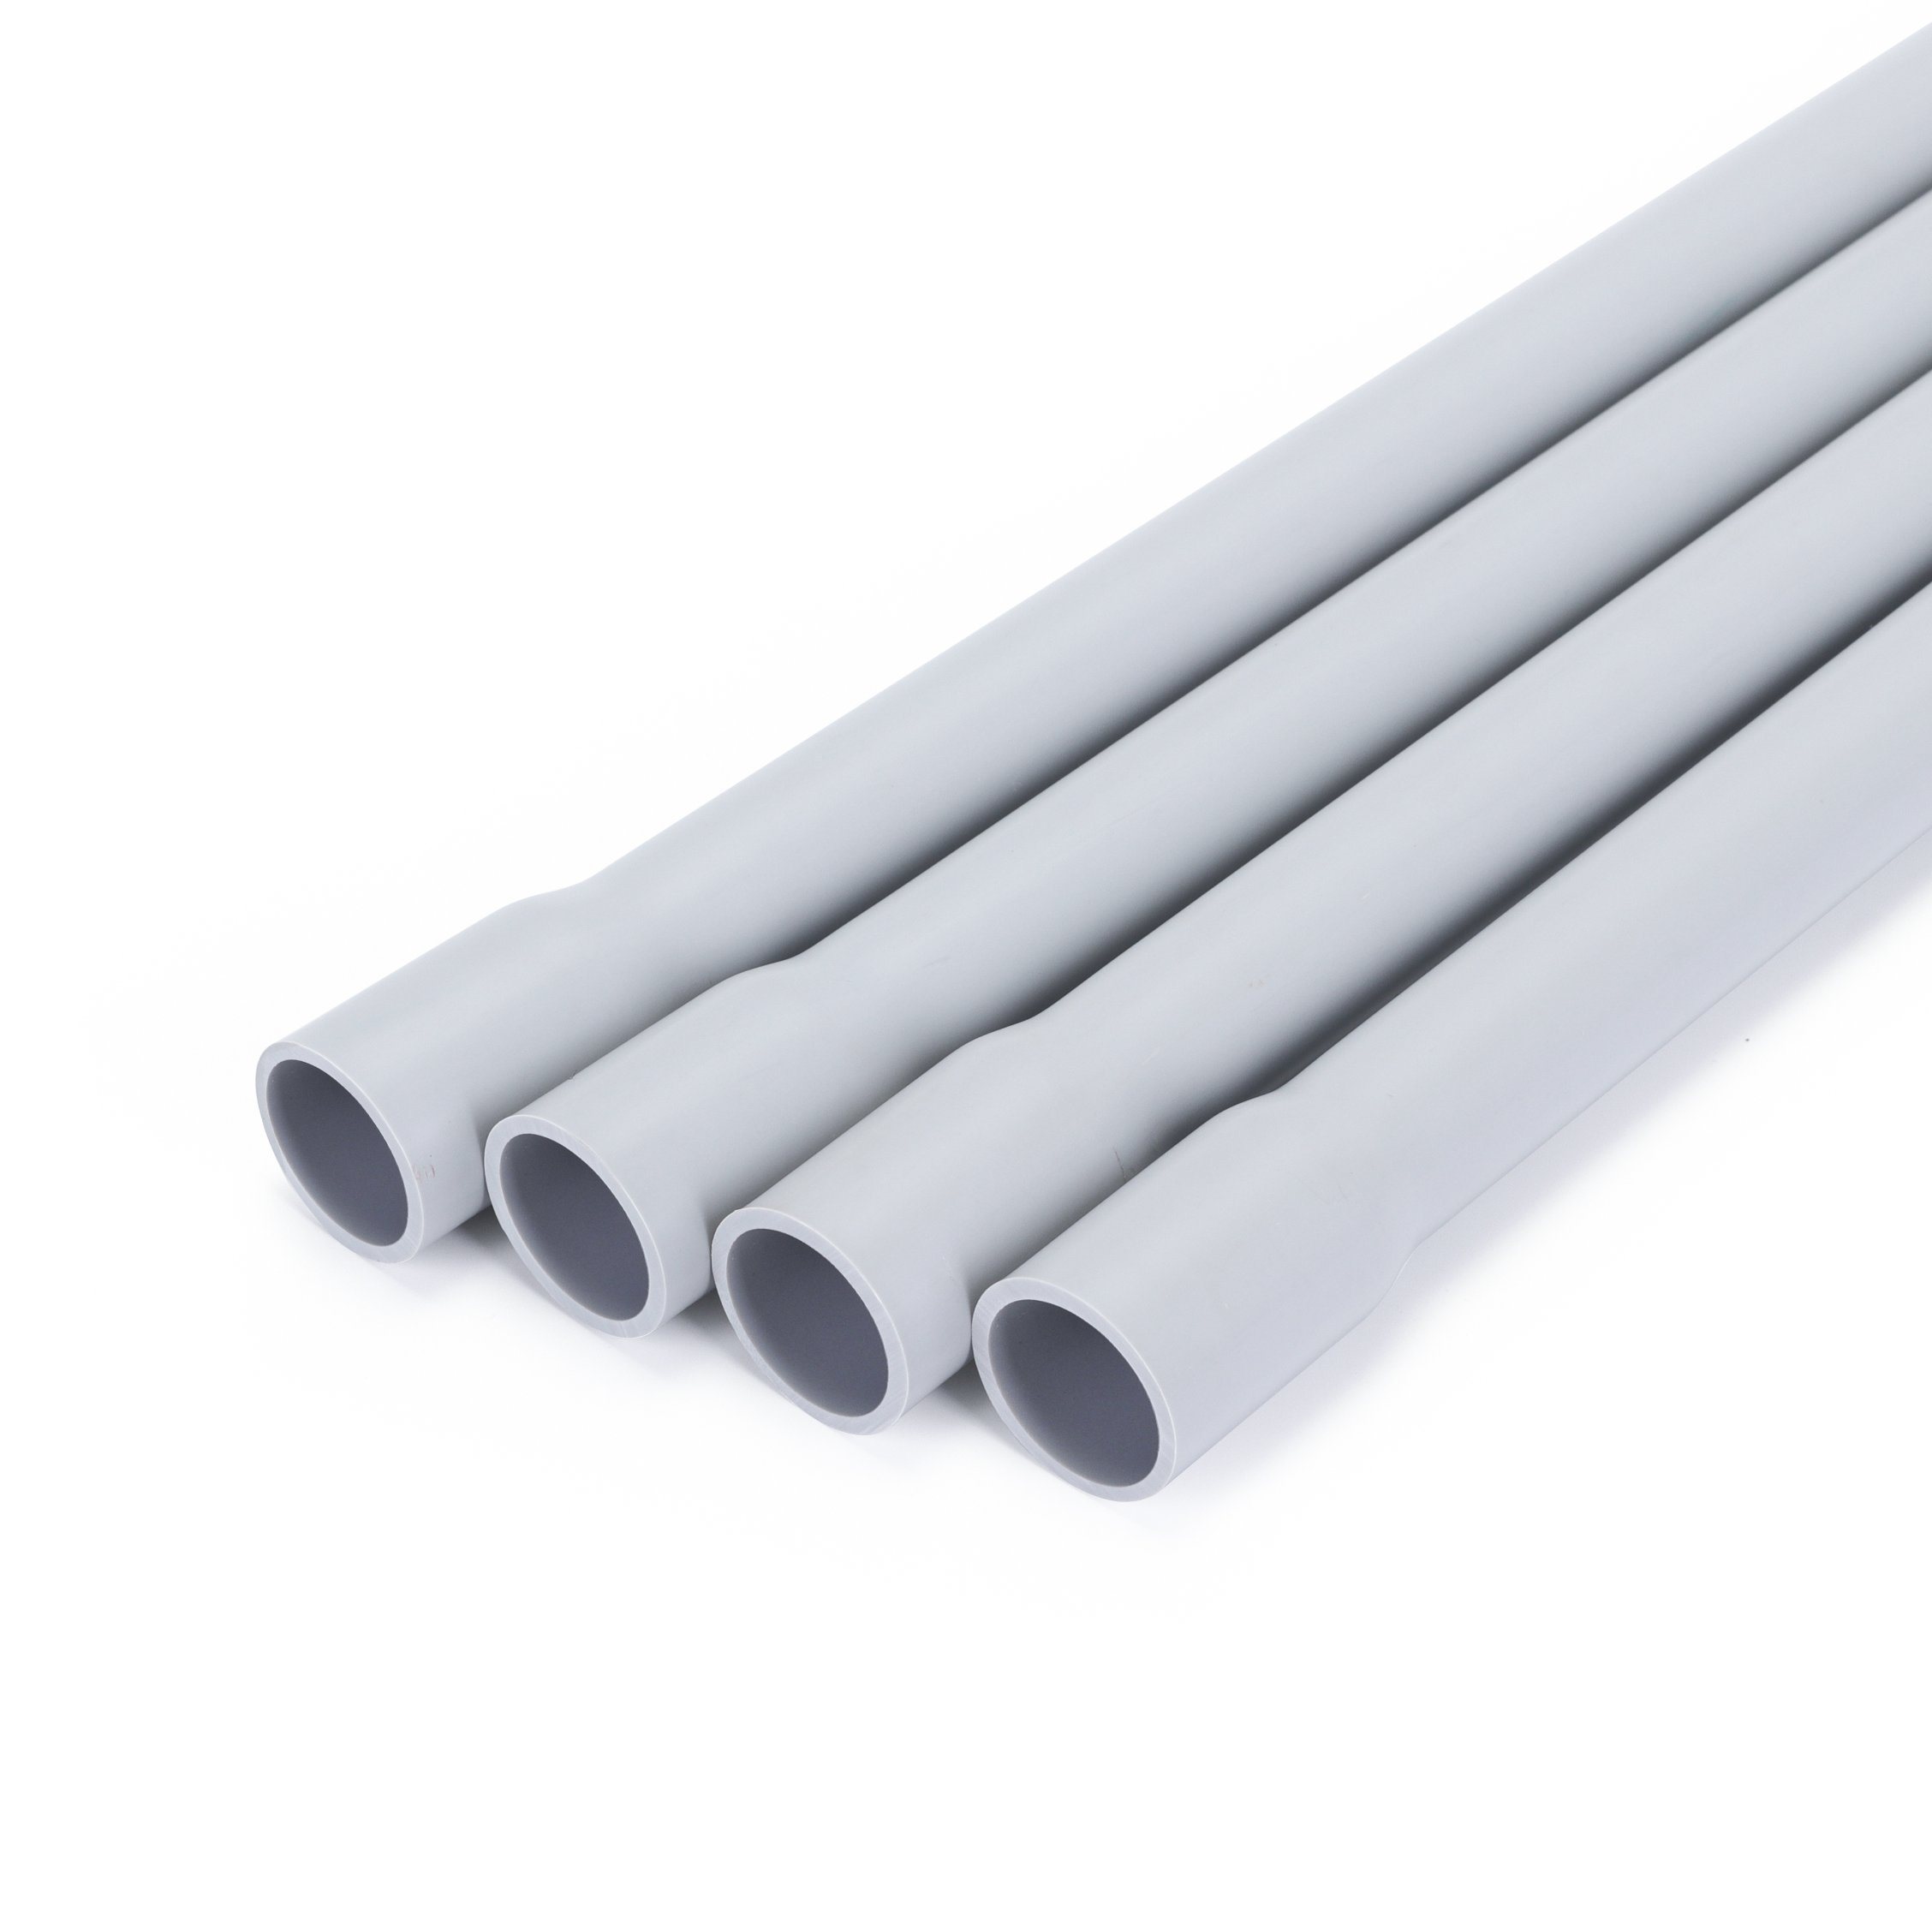
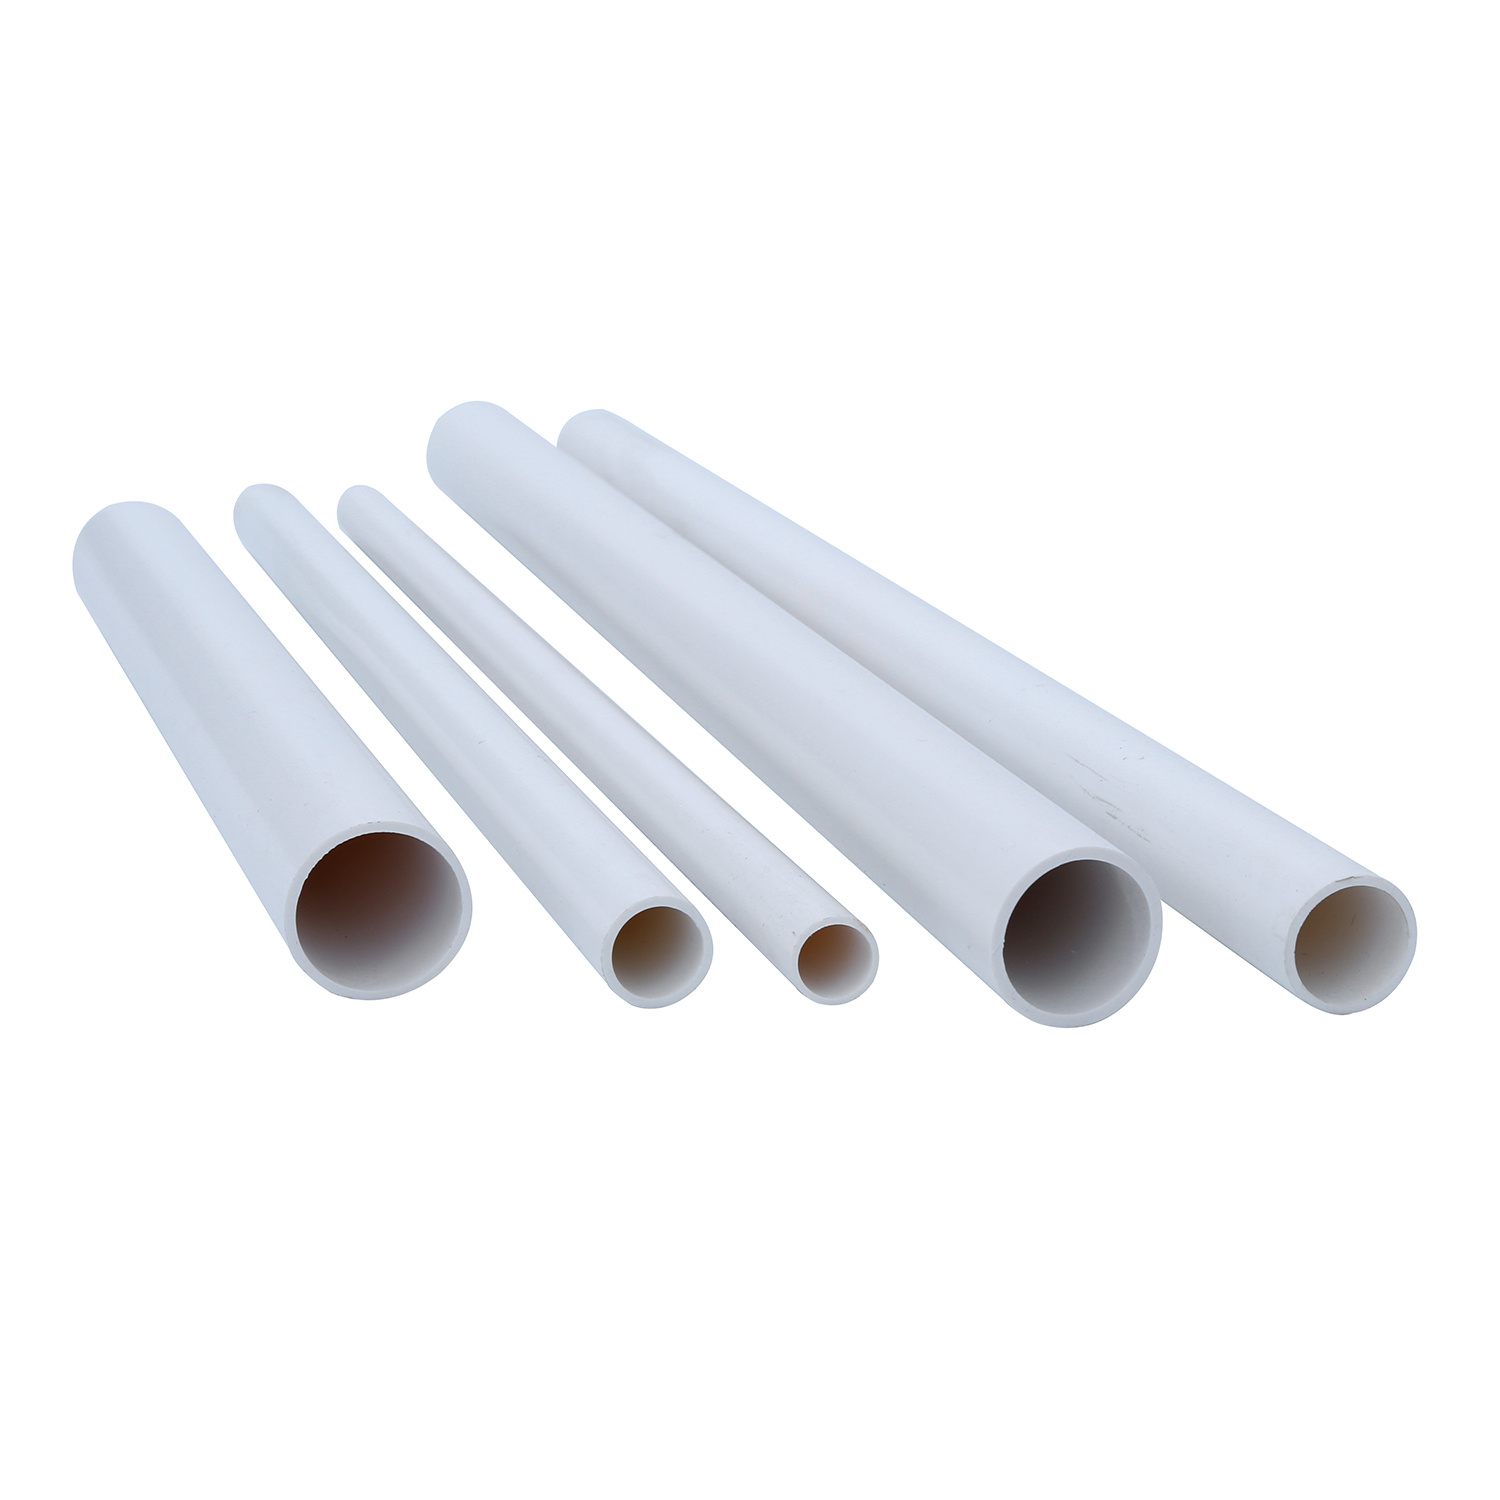
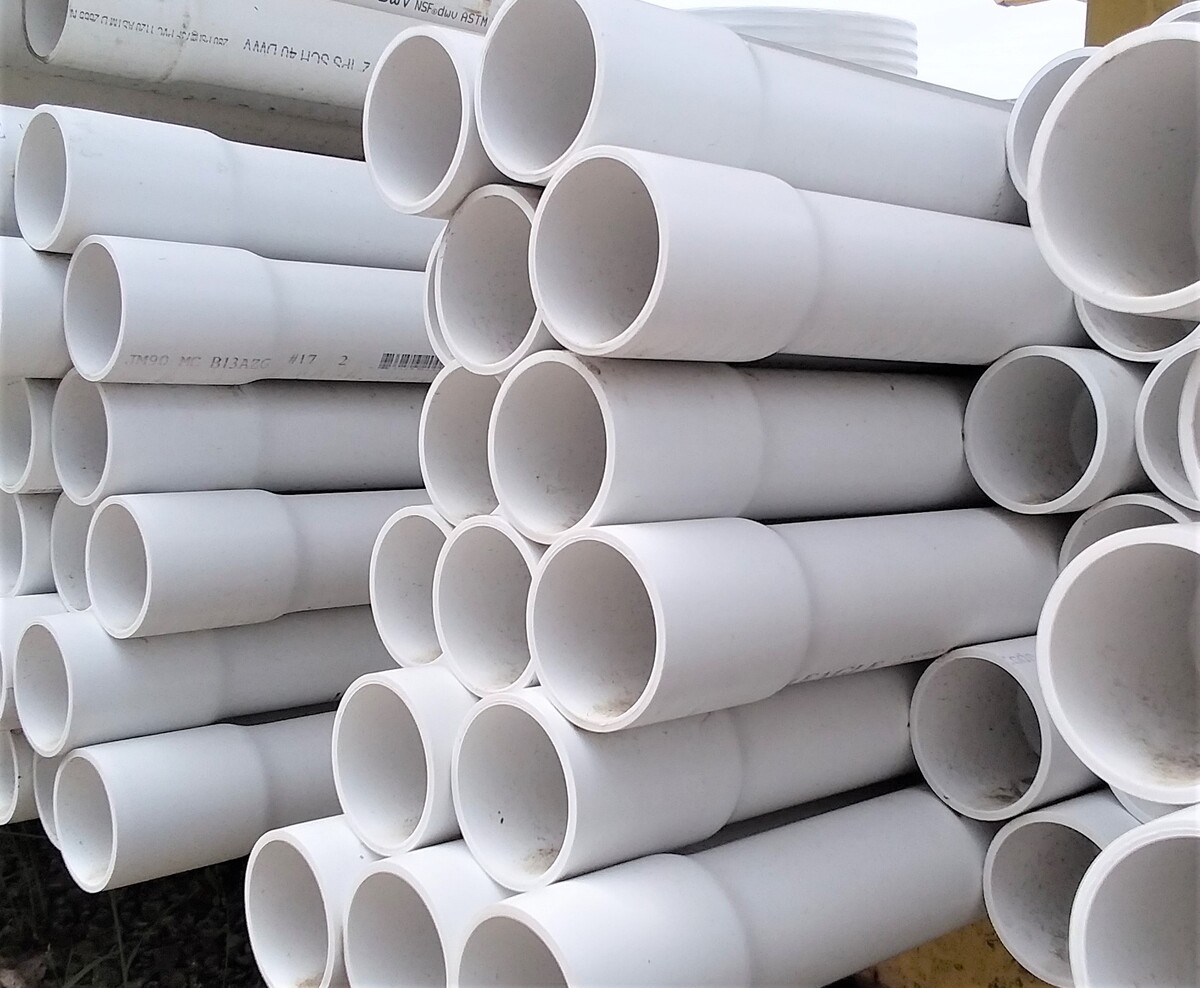
- PVC conduit: Select the appropriate size and length based on your electrical requirements.
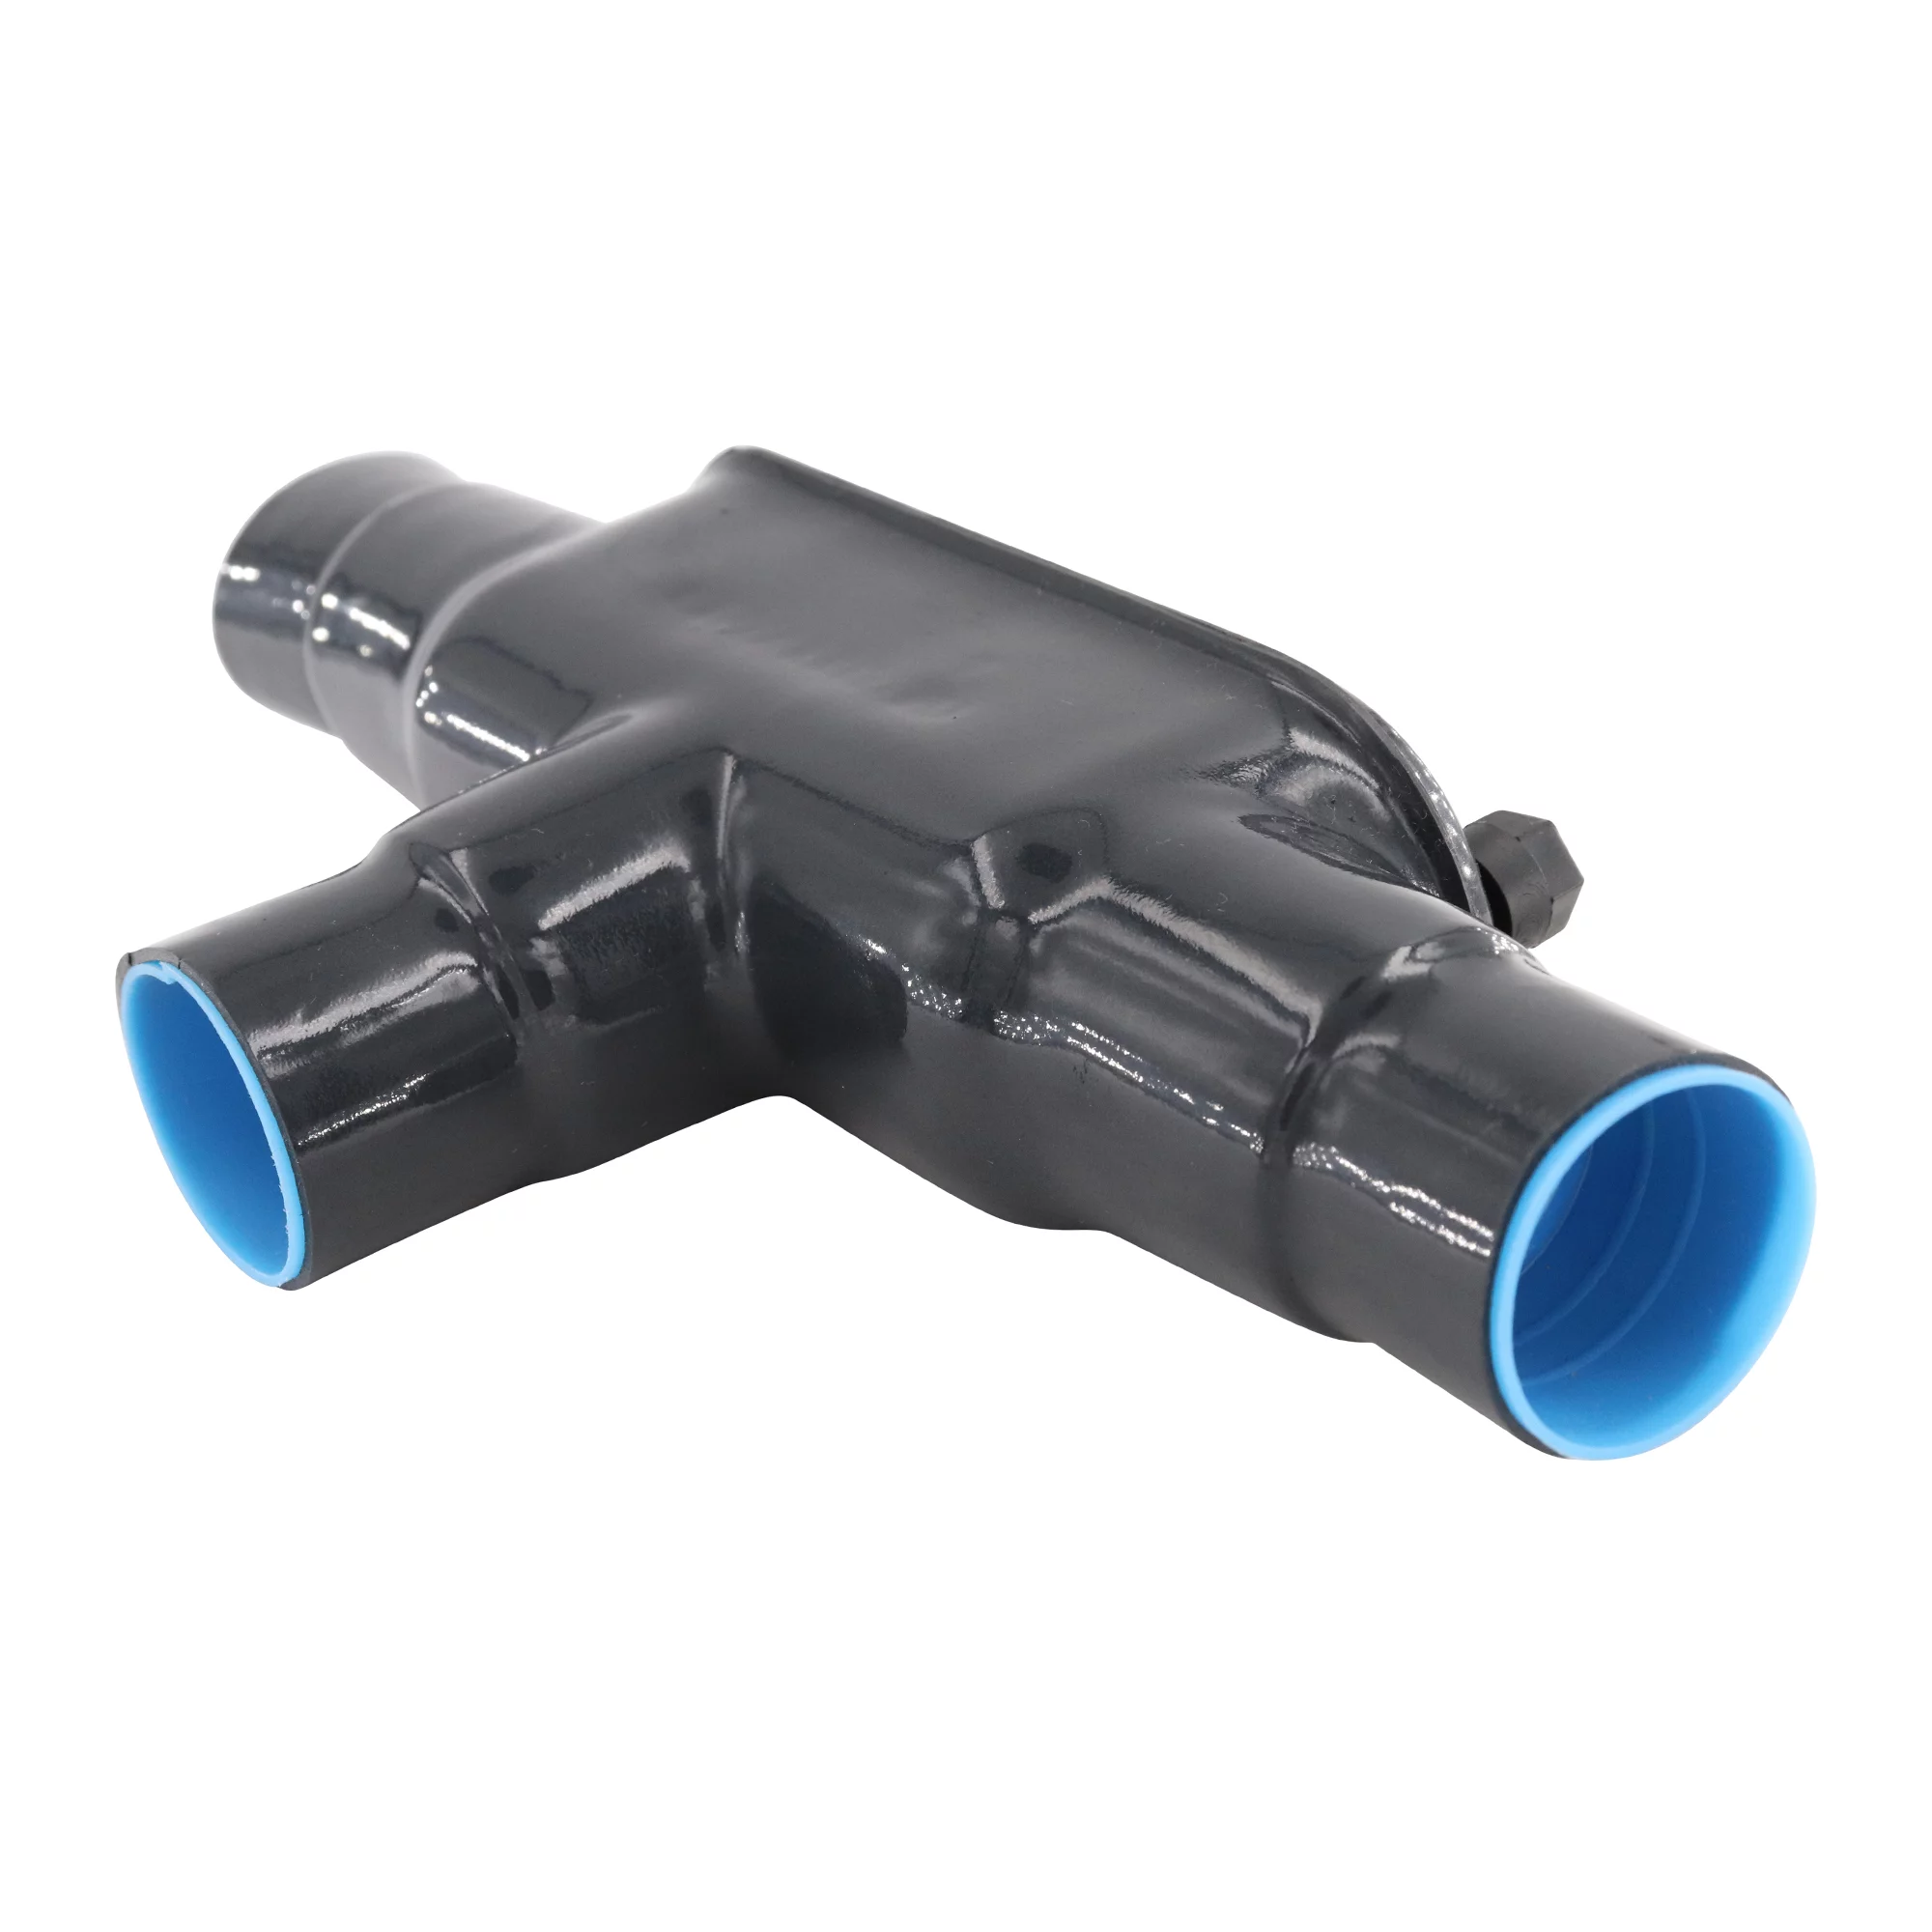
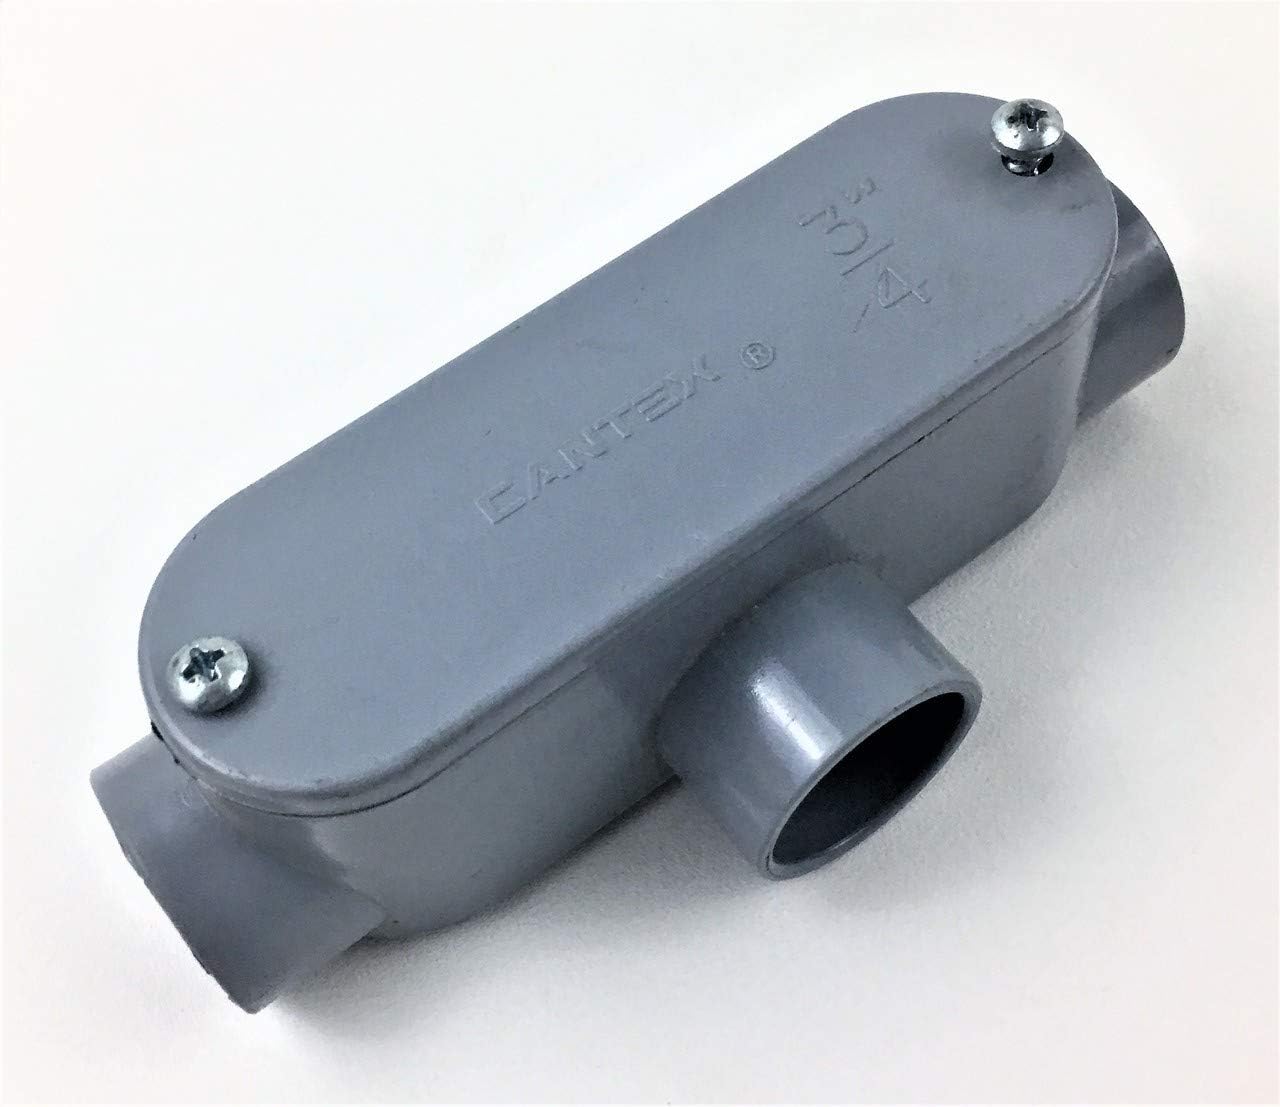
- Conduit fittings: Couplings, connectors, and elbows used to connect and route the conduit.
- Conduit straps or brackets: To mount and secure the conduit to walls, ceilings, or other surfaces.
- Electrical cables: The wires that will run through the conduit to supply electricity.
- Wire connectors: To securely join the electrical cables inside the conduit.
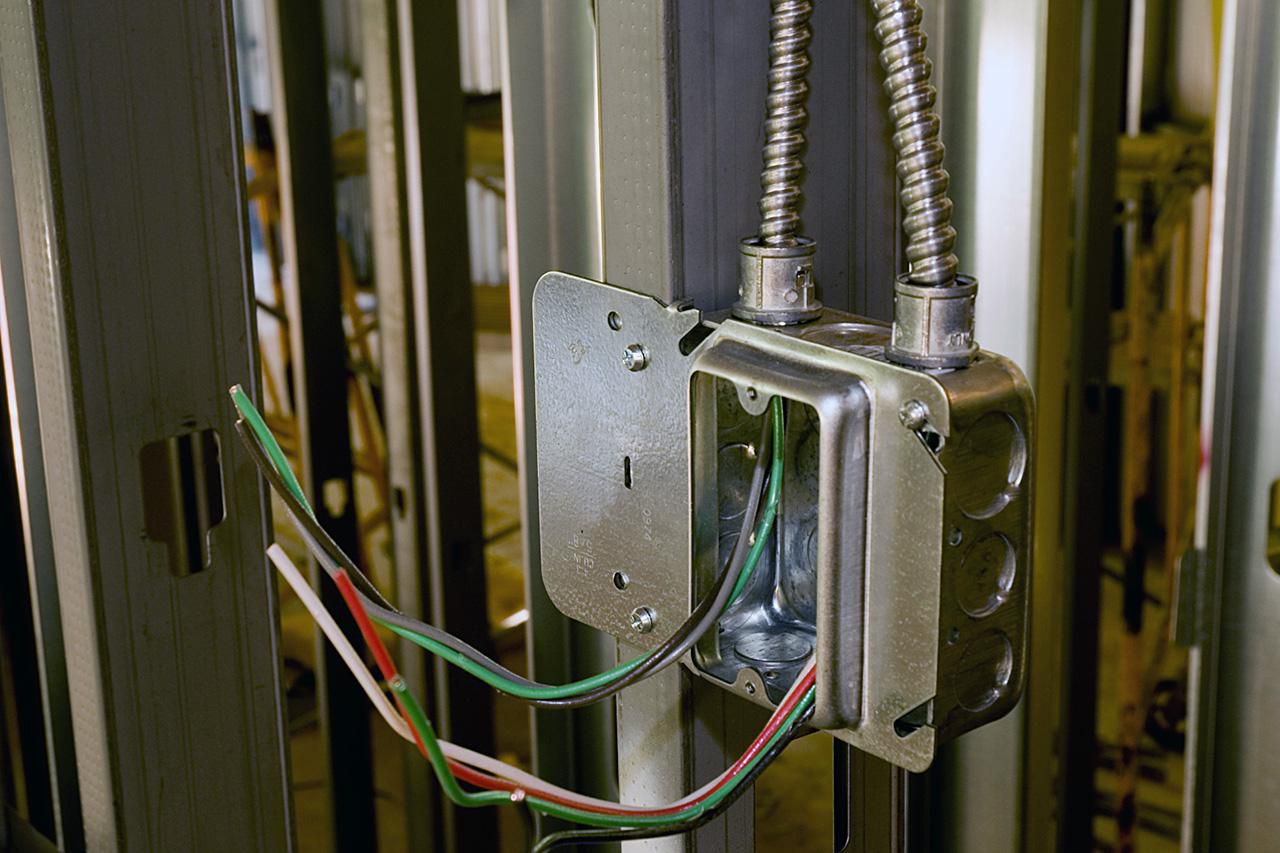
- Conduit junction boxes: If necessary, for housing and accessing wire connections.
Having these tools and materials readily available will save you time and ensure a successful PVC conduit installation. Make sure to double-check your supplies before starting the project to avoid any unnecessary delays.
Read more: How To Run An Electrical Conduit
Step 1: Planning and Measuring
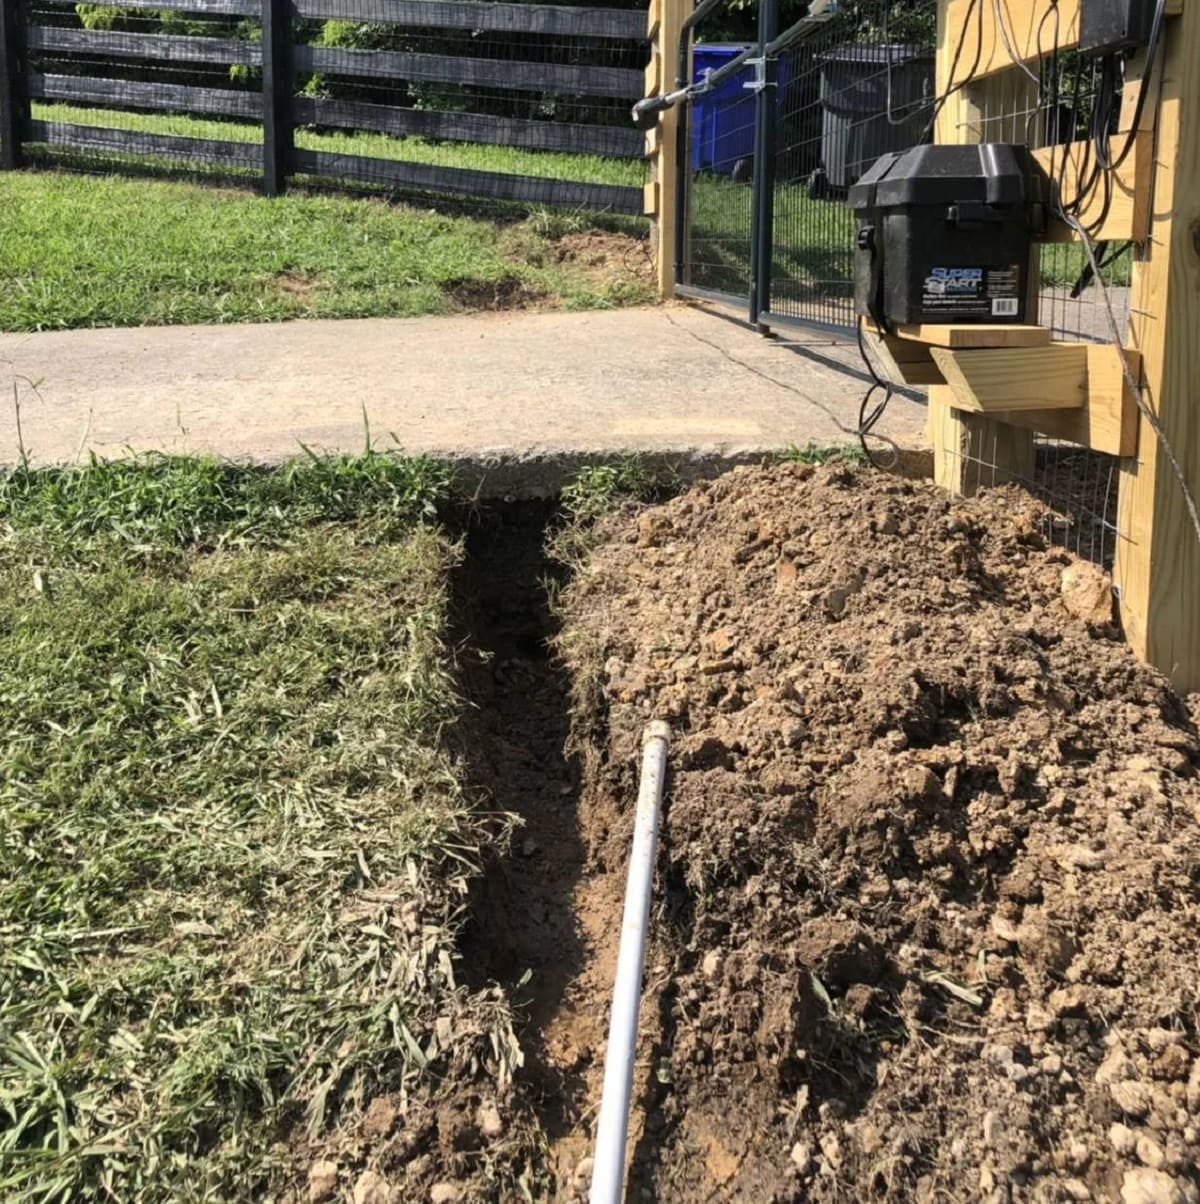
Before you begin installing PVC conduit, it’s important to carefully plan and measure your installation to ensure proper cable routing and effective organization. Follow these steps to properly plan and measure your PVC conduit installation:
- Identify the route: Determine the path that the conduit will follow. Consider the most direct and accessible route, avoiding obstacles and obstructions. Take into account any bends, turns, or vertical rises that may be necessary to navigate around walls, ceilings, or other structures.
- Measure the lengths: Use a tape measure to measure the lengths of conduit needed for each section of the route. Add a few extra inches to account for any necessary adjustments or connections.
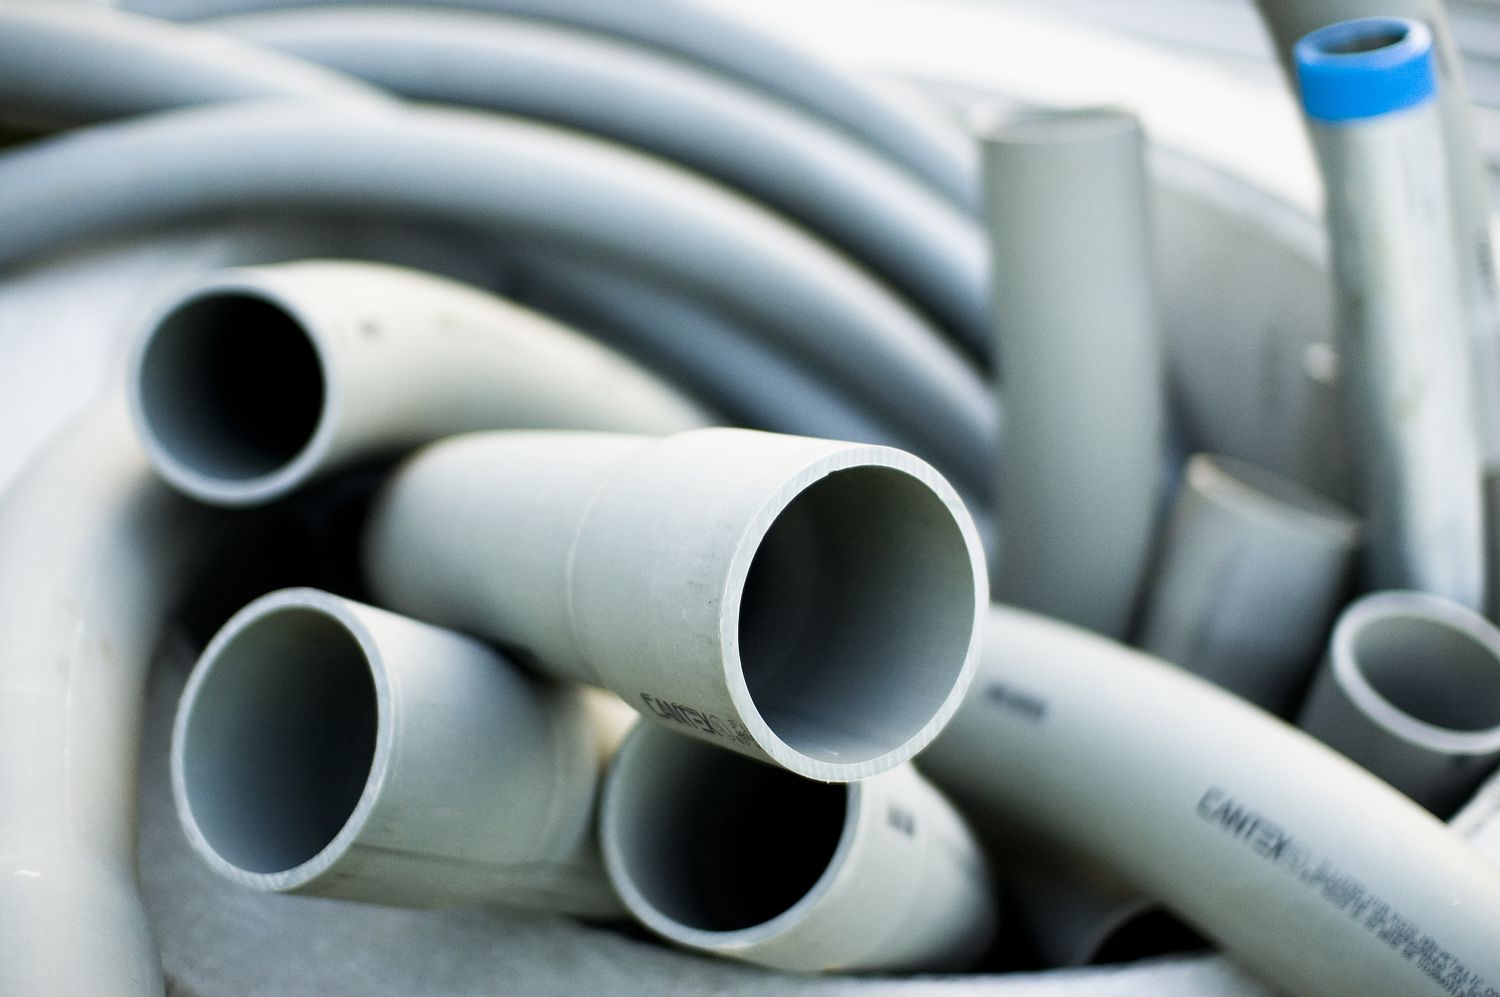
- Consider capacity requirements: Determine the diameter and capacity of the conduit based on the types and number of cables that will run through it. Consult local electrical codes to ensure compliance with minimum conduit size requirements.
- Mark the mounting points: Determine the locations where you will mount the conduit to walls, ceilings, or other surfaces. Mark these points with a pencil or marker.
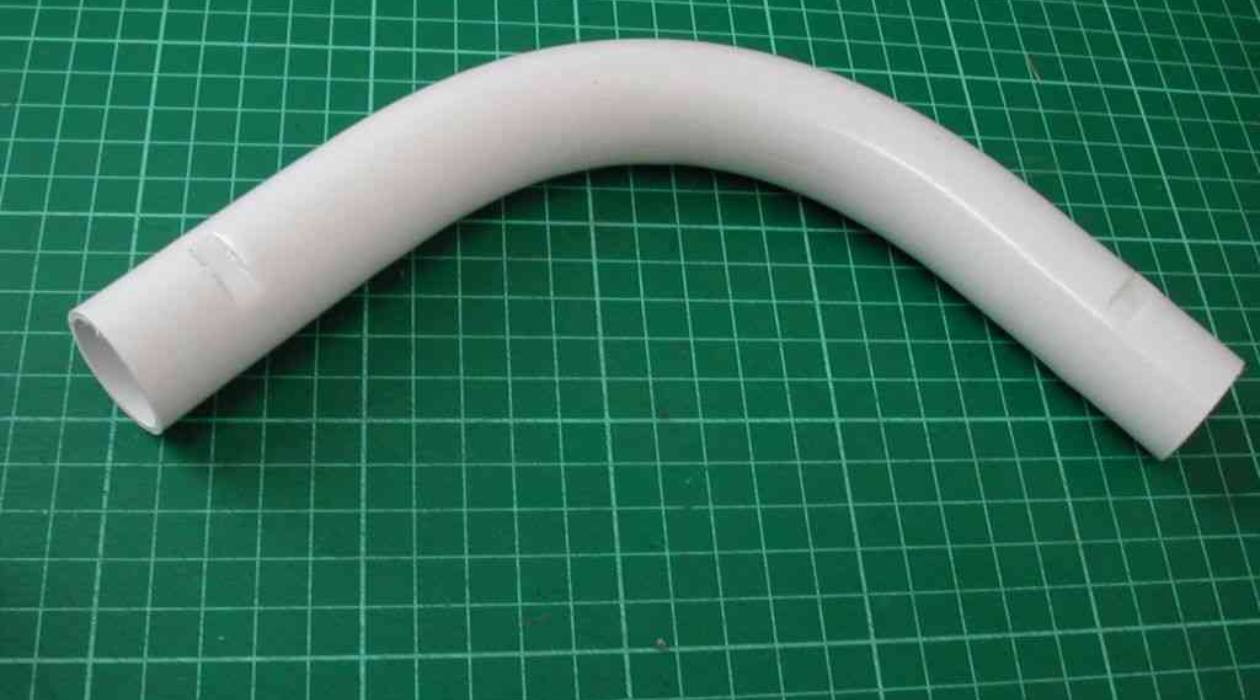
- Plan for bends and turns: If you need to navigate tight corners or bends, consider using conduit elbows to ensure a smooth and continuous route for the cables.
- Account for expansion: If your conduit installation will be exposed to temperature variations or other factors that may cause expansion or contraction, plan for expansion joints or flexible couplings to accommodate these changes.
By carefully planning and measuring your PVC conduit installation, you will ensure a well-organized and efficient electrical system. Take the time to consider all factors and make adjustments as necessary before moving on to the next step.
Step 2: Cutting and Preparing the Conduit
Once you have planned and measured your PVC conduit installation, it’s time to cut and prepare the conduit for installation. Follow these steps to cut and prepare the conduit:
- Mark the cutting points: Use a tape measure and a pencil to mark the points where you need to cut the conduit. Double-check your measurements to ensure accuracy.
- Secure the conduit: Use a vise or clamp to hold the conduit securely in place while cutting.
- Cut the conduit: Use a hacksaw or a PVC pipe cutter to cut the conduit at the marked points. Apply consistent pressure and use smooth, even strokes to ensure a clean cut. Make sure to wear eye protection to prevent any debris or shavings from getting into your eyes.
- Remove burrs: After cutting the conduit, use a deburring tool to remove any sharp edges or burrs from the cut ends. This will prevent damage to the wires and ensure a smooth connection.
- Check for fit: Test the fit of the conduit pieces by connecting them together. If necessary, make any adjustments by trimming or sanding the edges until the pieces fit securely without gaps.
Cutting and preparing the conduit is an important step in the installation process. Take your time to ensure precise cuts and smooth connections, as this will make the rest of the installation easier and more efficient.
Step 3: Attaching the Couplings and Connectors
With the conduit cut and prepared, the next step in installing PVC conduit is to attach the couplings and connectors. These fittings will enable you to connect the conduit sections together and provide a secure and stable connection. Follow these steps to attach the couplings and connectors:
- Apply PVC cement: Before inserting the conduit into the fittings, apply a thin layer of PVC cement to the inside of the fitting and the outside of the conduit. This will help create a strong bond between the two.
- Insert the conduit: Insert one end of the conduit into the coupling or connector, ensuring that it goes all the way in until it reaches the stop mark or shoulder inside the fitting.
- Rotate the conduit: Twist the conduit slightly while it is inserted in the fitting to spread the cement evenly and improve the bond.
- Hold in place: Hold the conduit in place for a few seconds to allow the cement to set. This will ensure a secure connection.
- Repeat the process: Continue attaching the couplings and connectors to the remaining sections of conduit, as needed, to complete your desired conduit pathway.
It’s important to note that PVC cement dries quickly, so work efficiently and avoid excessive handling of the fittings. Make sure to follow the instructions provided by the manufacturer for the specific type of PVC cement you are using.
By properly attaching the couplings and connectors, you will ensure a secure and stable conduit system that will effectively protect the electrical cables inside.
When running PVC conduit, make sure to use the appropriate size for the wires you are running through it. Overfilling the conduit can lead to overheating and potential fire hazards.
Step 4: Mounting the Conduit
Once the PVC conduit sections are connected with couplings and connectors, the next step is to mount the conduit securely in place. Mounting the conduit ensures that it remains stable and properly aligned, creating a neat and organized installation. Follow these steps to mount the conduit:
- Locate mounting points: Refer to your planning and measurement from earlier to identify the locations where you marked the mounting points. These points should be spaced according to local building codes and the size of your conduit.
- Attach conduit straps or brackets: Using a screwdriver or drill, attach conduit straps or brackets to the surface where you will be mounting the conduit. Ensure that the straps or brackets are positioned correctly and securely fastened.
- Place the conduit: Slide the conduit into the mounted straps or brackets, making sure it fits securely. Use a level to ensure that the conduit is straight and aligned properly.
- Secure the conduit: Once the conduit is in place, tighten the straps or brackets to hold it securely. Avoid overtightening to prevent damage to the conduit.
- Repeat the process: If you have multiple sections of conduit to mount, repeat the steps above for each section, ensuring proper spacing and alignment throughout the installation.
Remember, the conduit should be mounted in such a way that it allows for easy access to future wiring or maintenance if needed. Take your time to ensure that the conduit is securely fastened and positioned correctly.
Once the conduit is mounted, it’s time to move on to the next step of wiring and securing the cables.
Read more: How To Run Outdoor Conduit
Step 5: Wiring and Securing Cables
After the conduit is mounted securely, it’s time to wire and secure the cables inside. This step involves carefully running the electrical cables through the conduit and ensuring they are properly connected and secured. Follow these steps to wire and secure the cables:
- Prepare the cables: Strip off a sufficient length of insulation from the ends of the electrical cables using pliers or wire strippers. Make sure to follow the manufacturer’s guidelines for the required length.
- Route the cables: Use a wire puller or fish tape to guide the cables through the conduit, starting from one end and pulling them through to the other. Take care not to force the cables to avoid any damage or unnecessary strain.
- Connect the cables: Once the cables are pulled through, securely join the individual wires together using wire connectors. Follow proper color-coding and ensure that the connections are tight and secure.
- Organize the cables: Arrange the cables neatly inside the conduit, avoiding any unnecessary twists or loops. Use zip ties or cable clips to secure the cables to the inside of the conduit at regular intervals. This will prevent them from shifting or getting tangled.
- Check and test the connections: Inspect the connections and ensure they are tight and properly insulated. Use a voltage tester to verify that the wires are not live before proceeding with any further work or energizing the system.
It’s essential to handle the cables with care and avoid any kinks or sharp bends that might cause damage or interference. Take your time to ensure that the wiring is done correctly and the cables are well-organized within the conduit.
Once the cables are securely connected and properly arranged, you’re ready to move on to the final step of inspecting and testing the conduit installation.
Step 6: Inspecting and Testing the Conduit
After completing the wiring and securing of the cables, the final step in running PVC conduit is to inspect and test the installation. This step ensures that the conduit is properly installed and functioning correctly. Follow these steps to inspect and test the conduit:
- Visual inspection: Conduct a visual inspection of the entire conduit installation. Check for any obvious signs of damage, loose connections, or misaligned sections. Ensure that the conduit is securely mounted and free from any obstructions.
- Verify cable protection: Ensure that the cables are properly protected inside the conduit and that there are no exposed wires or insulation. Look for any signs of wear or damage that may affect the integrity of the cables.
- Perform a continuity test: Use a multimeter or continuity tester to verify the continuity of each wire within the conduit. This will help ensure that there are no breaks or faults in the wiring.
- Test for functionality: If applicable, connect the conduit to the power source and test the functionality of the electrical system. Check that the circuits are working correctly and that there are no issues with the electrical supply.
- Inspect grounding and bonding: Verify the grounding and bonding connections as per local electrical codes. These connections are crucial for safety and protection against electrical faults. Ensure that all grounding wires are securely connected and bonded to appropriate grounding points.
- Document the installation: Keep a record of the conduit installation, including any measurements, diagrams, and test results. This documentation will be valuable for future reference and maintenance purposes.
By inspecting and testing the conduit installation, you can identify and address any potential issues before finalizing the project. This step helps ensure the safety, functionality, and longevity of the electrical system.
Once you have completed the inspection and testing, you can confidently conclude the process of running PVC conduit. Your conduit installation is now ready to provide a secure and organized pathway for your electrical cables.
Conclusion
Running PVC conduit is a crucial step in any electrical installation or modification project. By properly organizing and protecting the electrical cables, PVC conduit ensures the safety and efficiency of your electrical system in the long run.
In this article, we have provided a comprehensive guide to help you successfully run PVC conduit. We discussed the importance of safety precautions and outlined the tools and materials needed for the installation process. We walked you through each step, from planning and measuring to cutting and preparing the conduit, attaching couplings and connectors, mounting the conduit, wiring and securing cables, and finally inspecting and testing the installation.
Throughout the process, it’s important to prioritize safety by turning off the power, wearing appropriate personal protective equipment (PPE), and following local electrical codes and regulations. Taking the time to plan, measure accurately, and make secure connections will result in a well-organized and reliable electrical system.
Remember, if you are uncertain or uncomfortable with any aspect of running PVC conduit, it is always best to seek the assistance of a qualified electrician. They have the expertise and experience to ensure a professional and safe installation.
By following the steps outlined in this article, you can confidently run PVC conduit and create a robust electrical system. Enjoy the benefits of a well-organized and protected wiring pathway, making future maintenance and repairs much more manageable.
Thank you for reading, and we wish you success in your PVC conduit installation!
Now that you've mastered running PVC conduit, why not expand your skills with in-wall conduit installation? Our next guide offers practical steps and valuable insights for securely embedding conduit within walls, perfect for both new construction and renovations. Every do-it-yourself enthusiast will appreciate the straightforward approach and handy tips that make electrical upgrades a breeze. Don't miss out on this essential read for enhancing your home's functionality and safety.
Frequently Asked Questions about How To Run PVC Conduit
Was this page helpful?
At Storables.com, we guarantee accurate and reliable information. Our content, validated by Expert Board Contributors, is crafted following stringent Editorial Policies. We're committed to providing you with well-researched, expert-backed insights for all your informational needs.

0 thoughts on “How To Run PVC Conduit”