Articles
How To Cut Flexible Electrical Conduit
Modified: October 18, 2024
Learn how to cut flexible electrical conduit with our informative articles. Find step-by-step guides and tips to help you successfully complete your electrical projects.
(Many of the links in this article redirect to a specific reviewed product. Your purchase of these products through affiliate links helps to generate commission for Storables.com, at no extra cost. Learn more)
Introduction
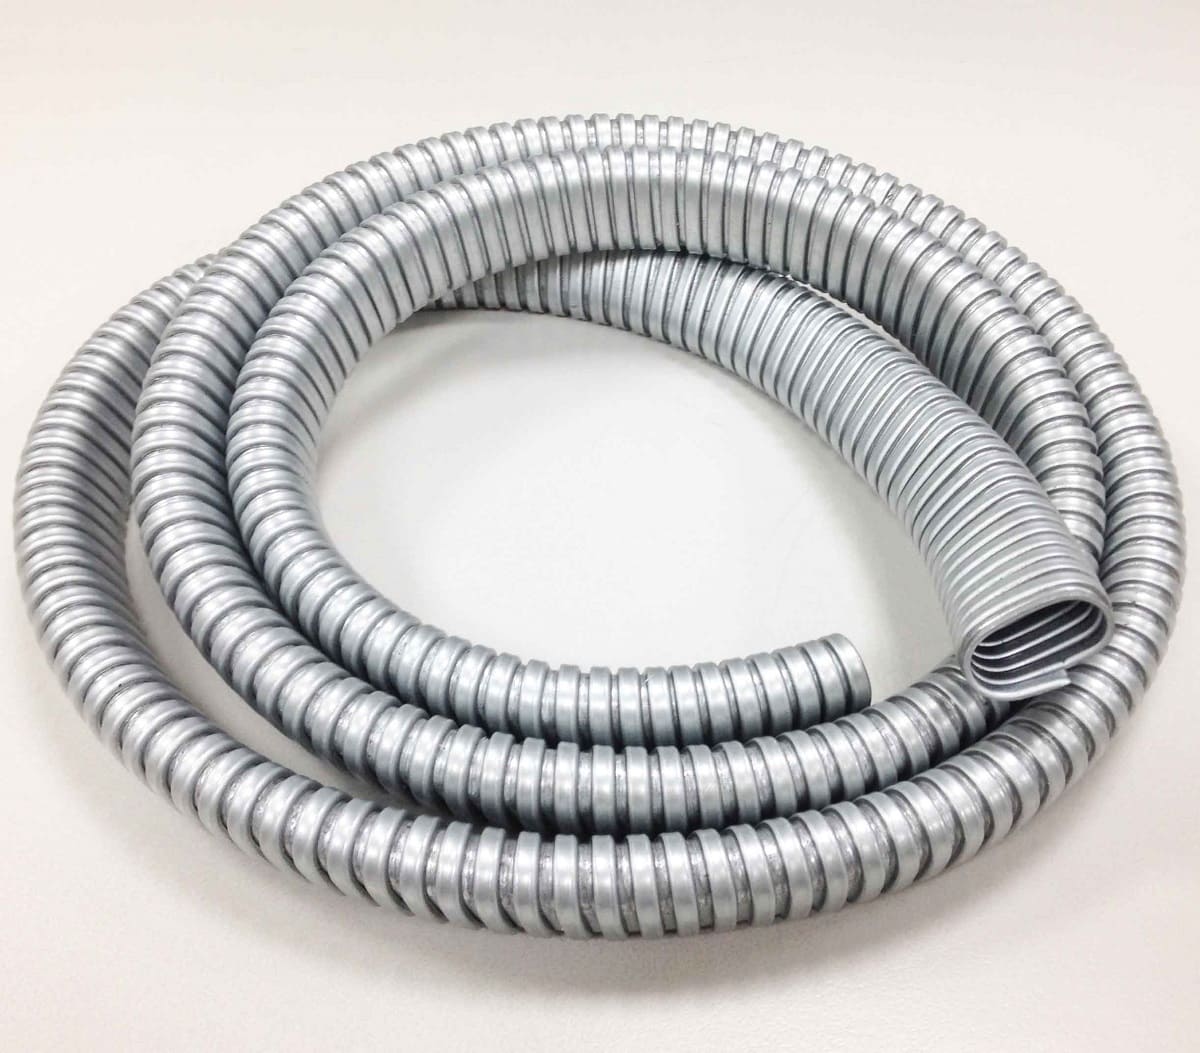
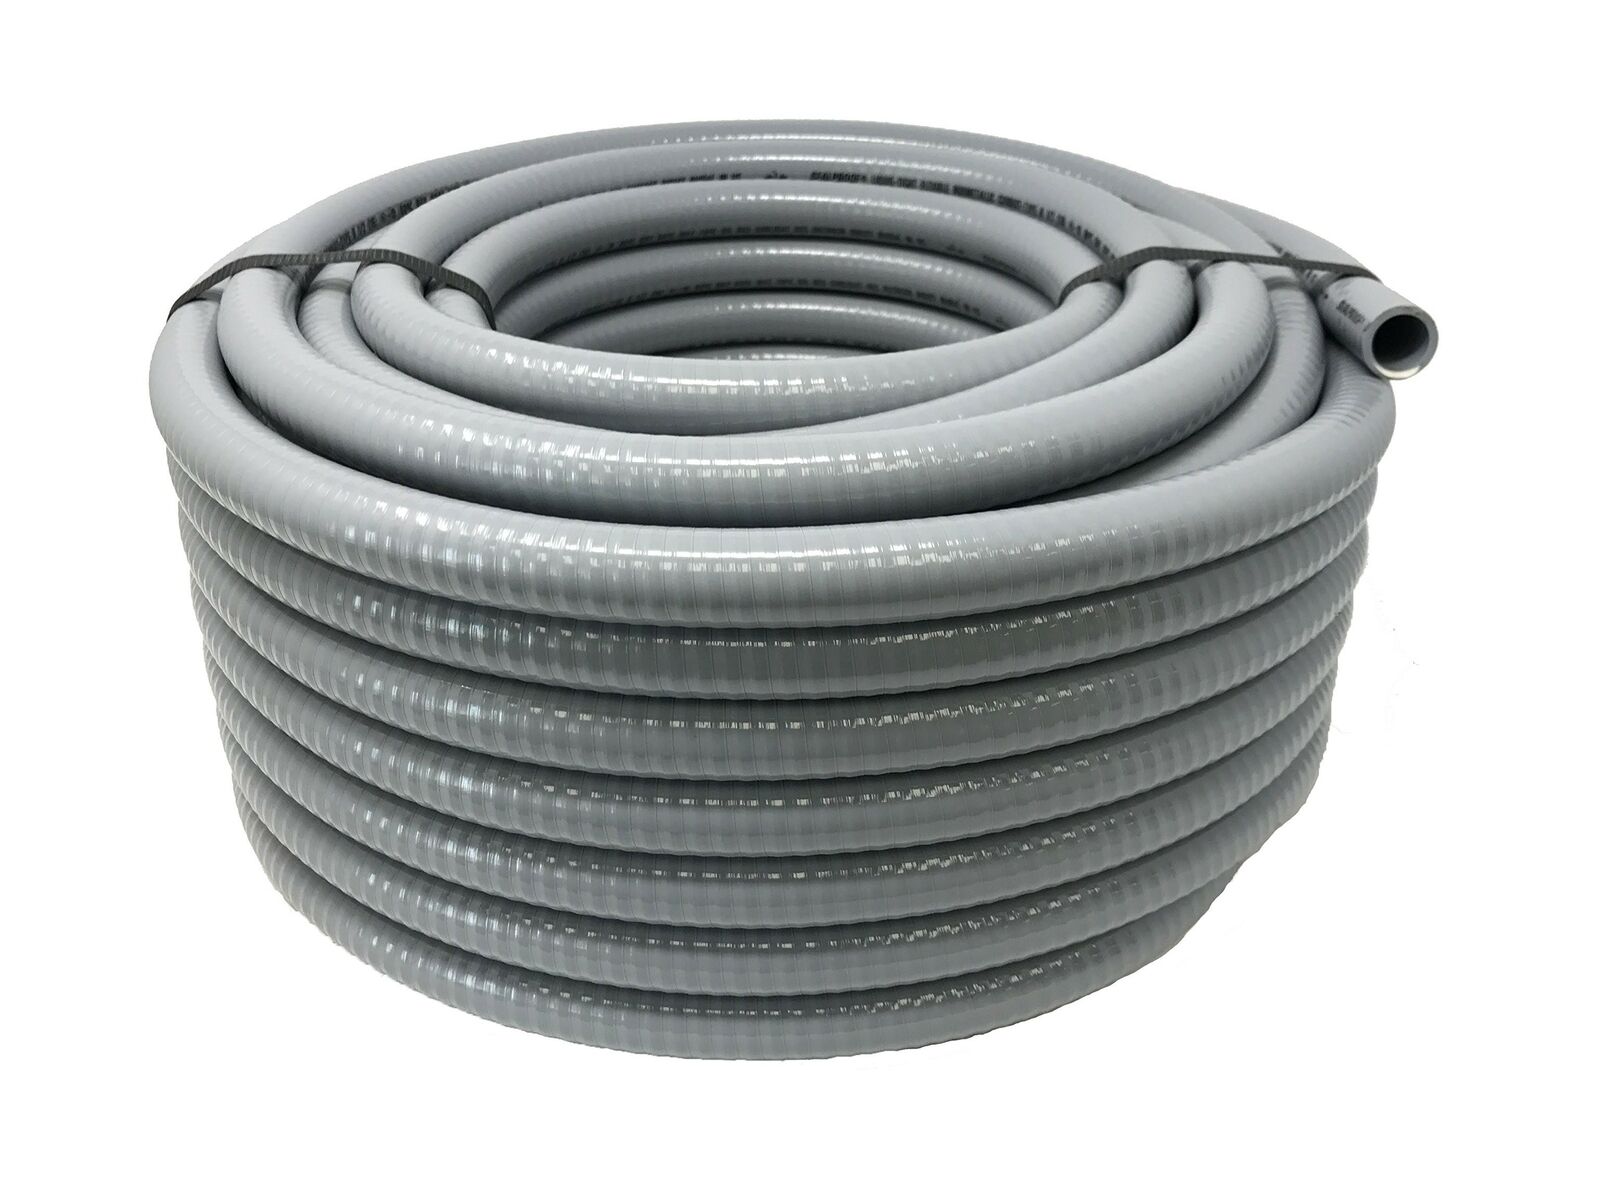
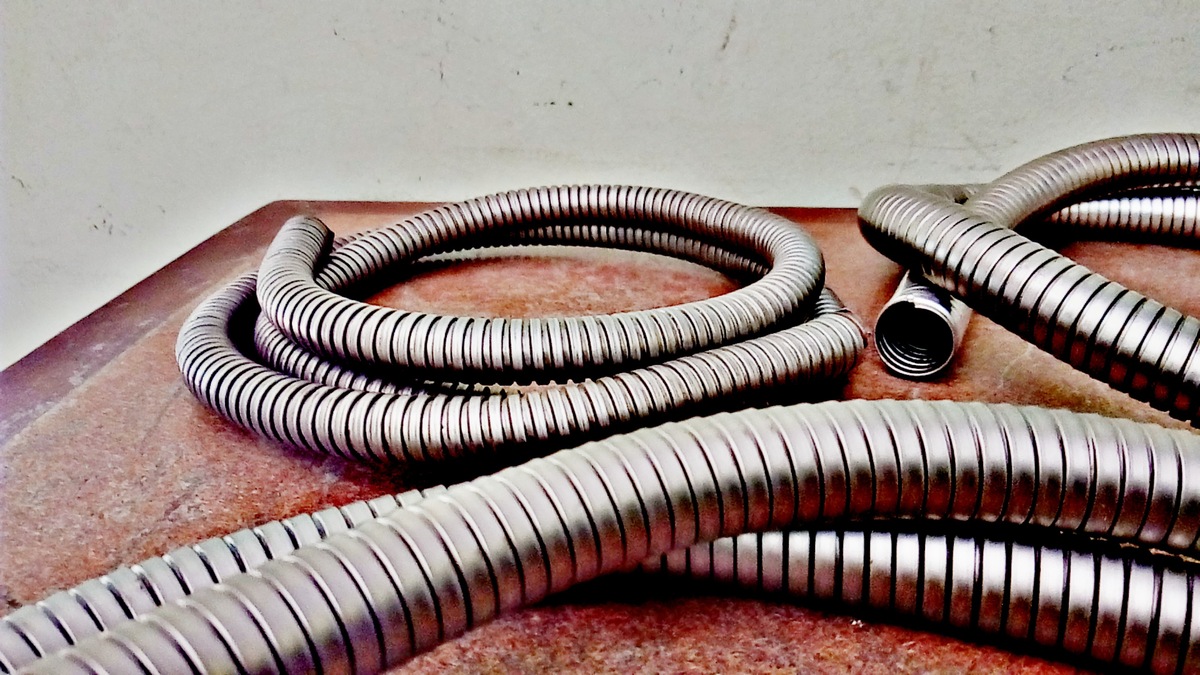
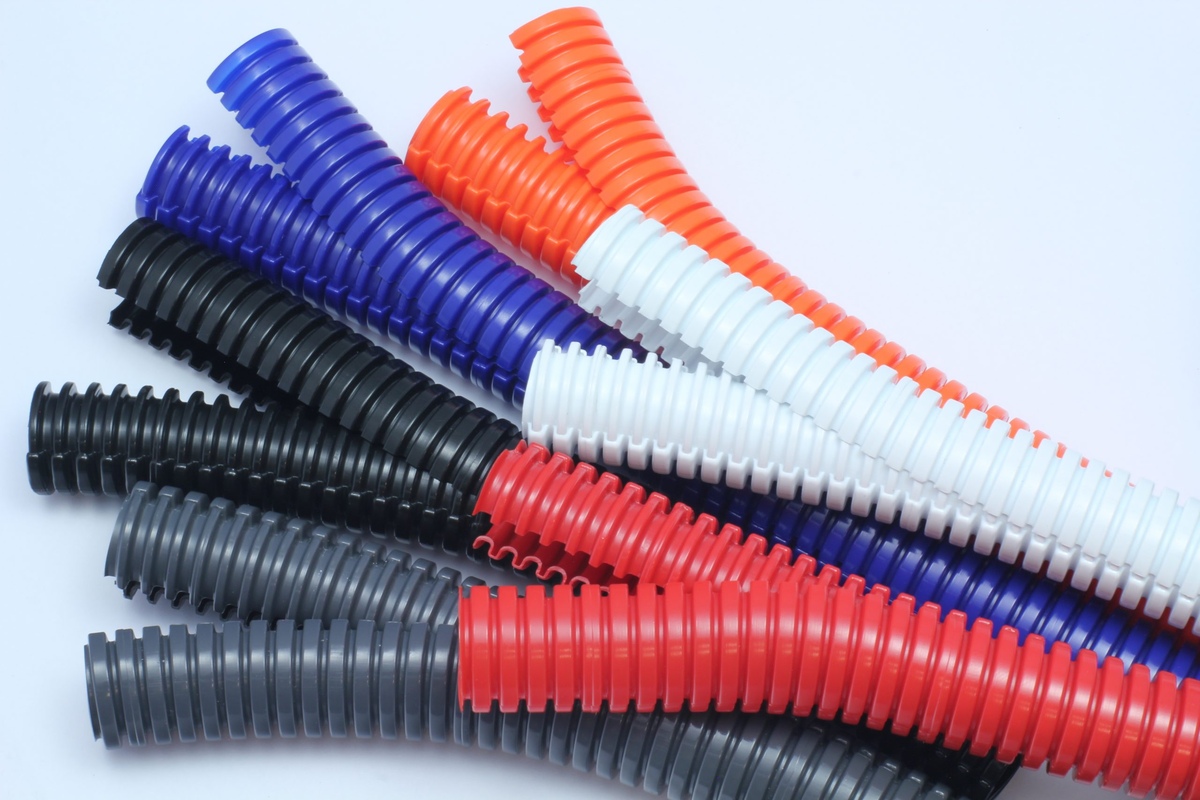
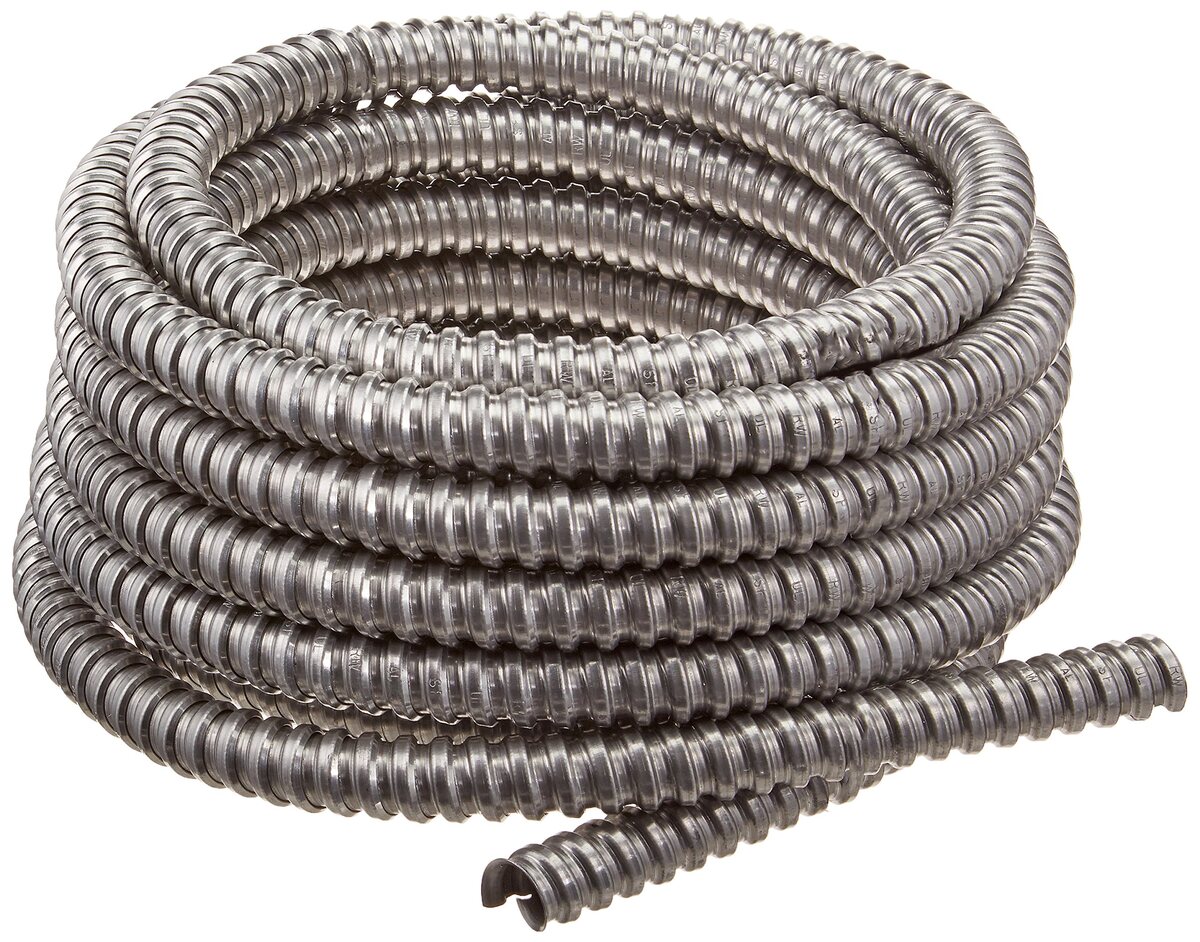
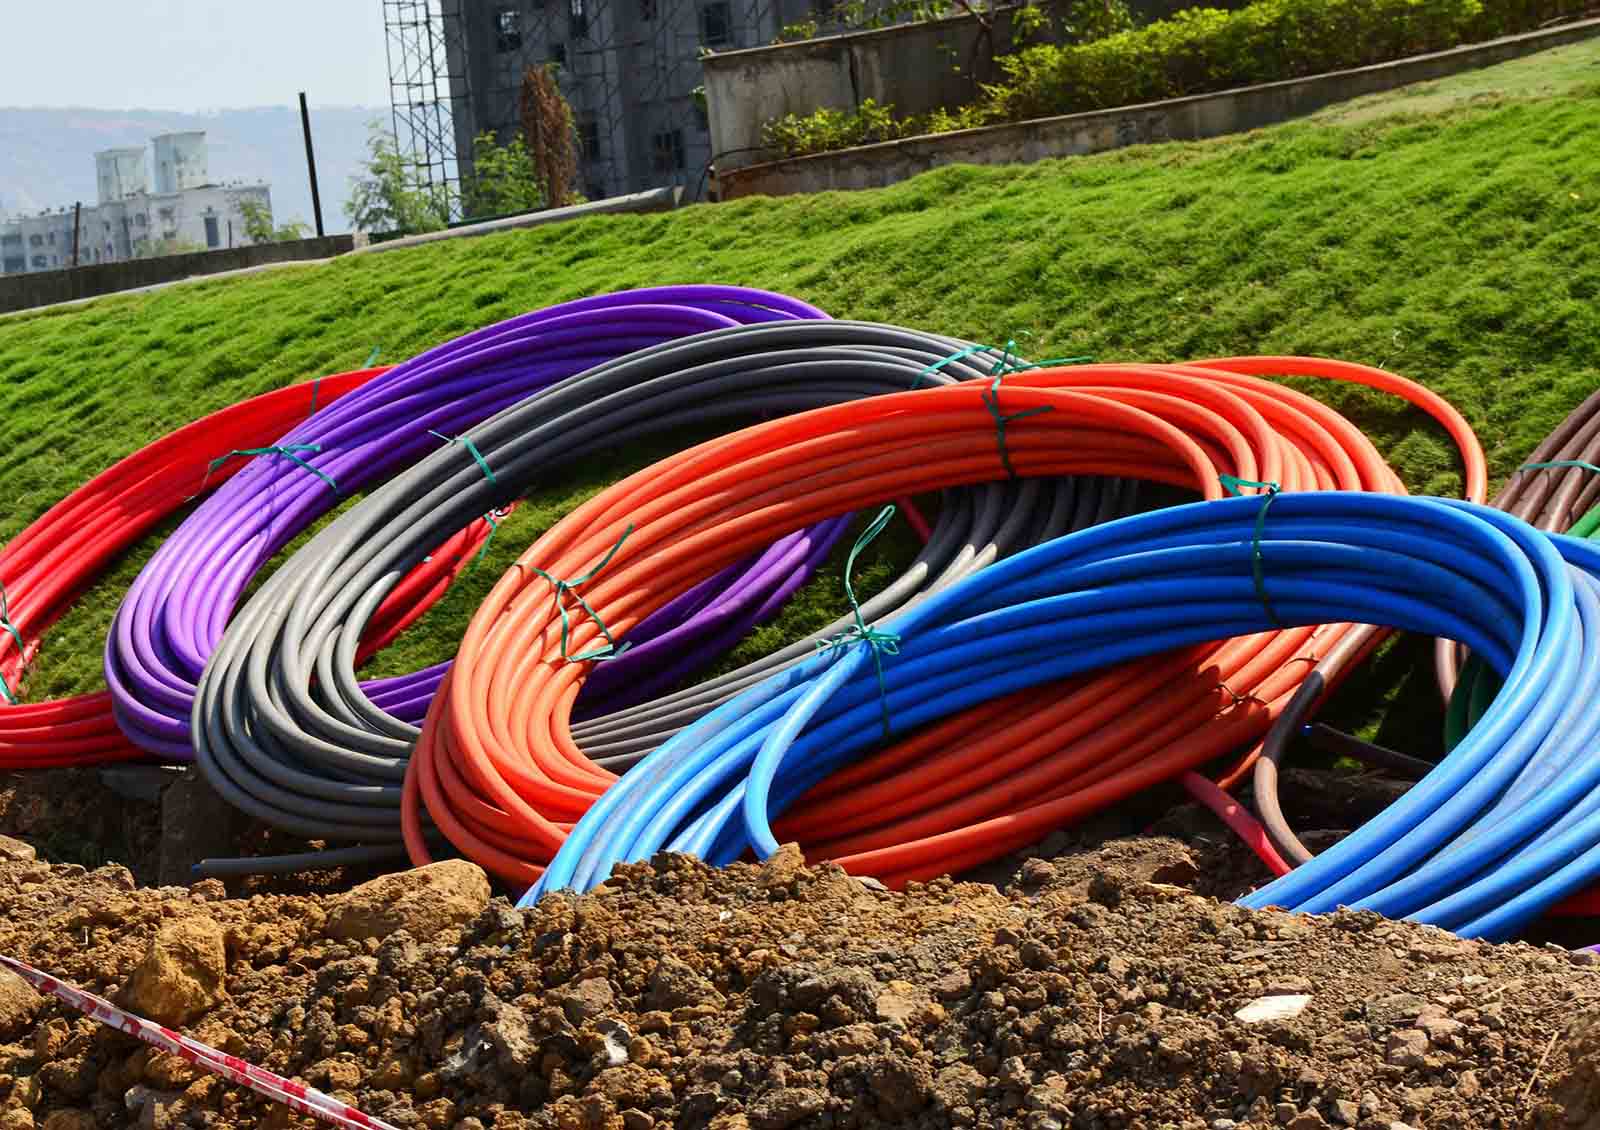
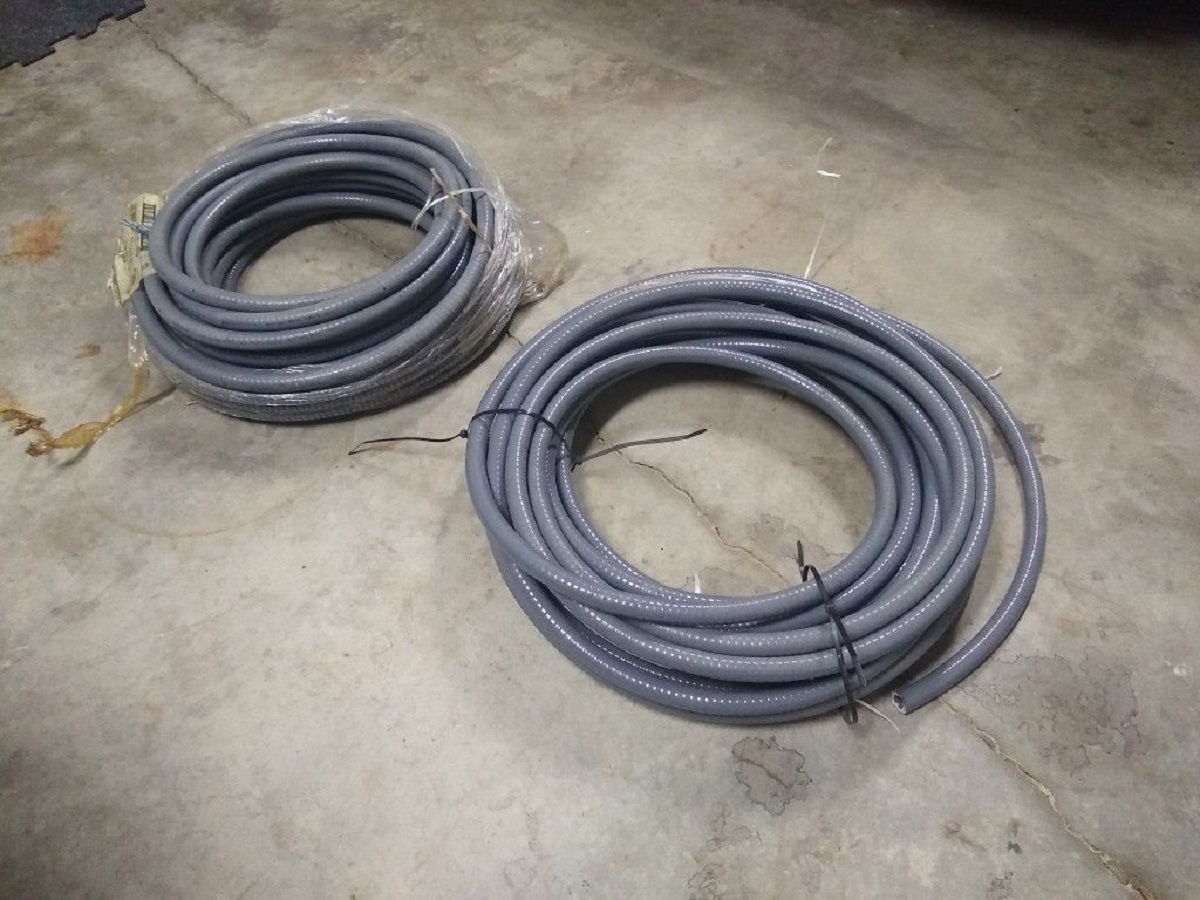
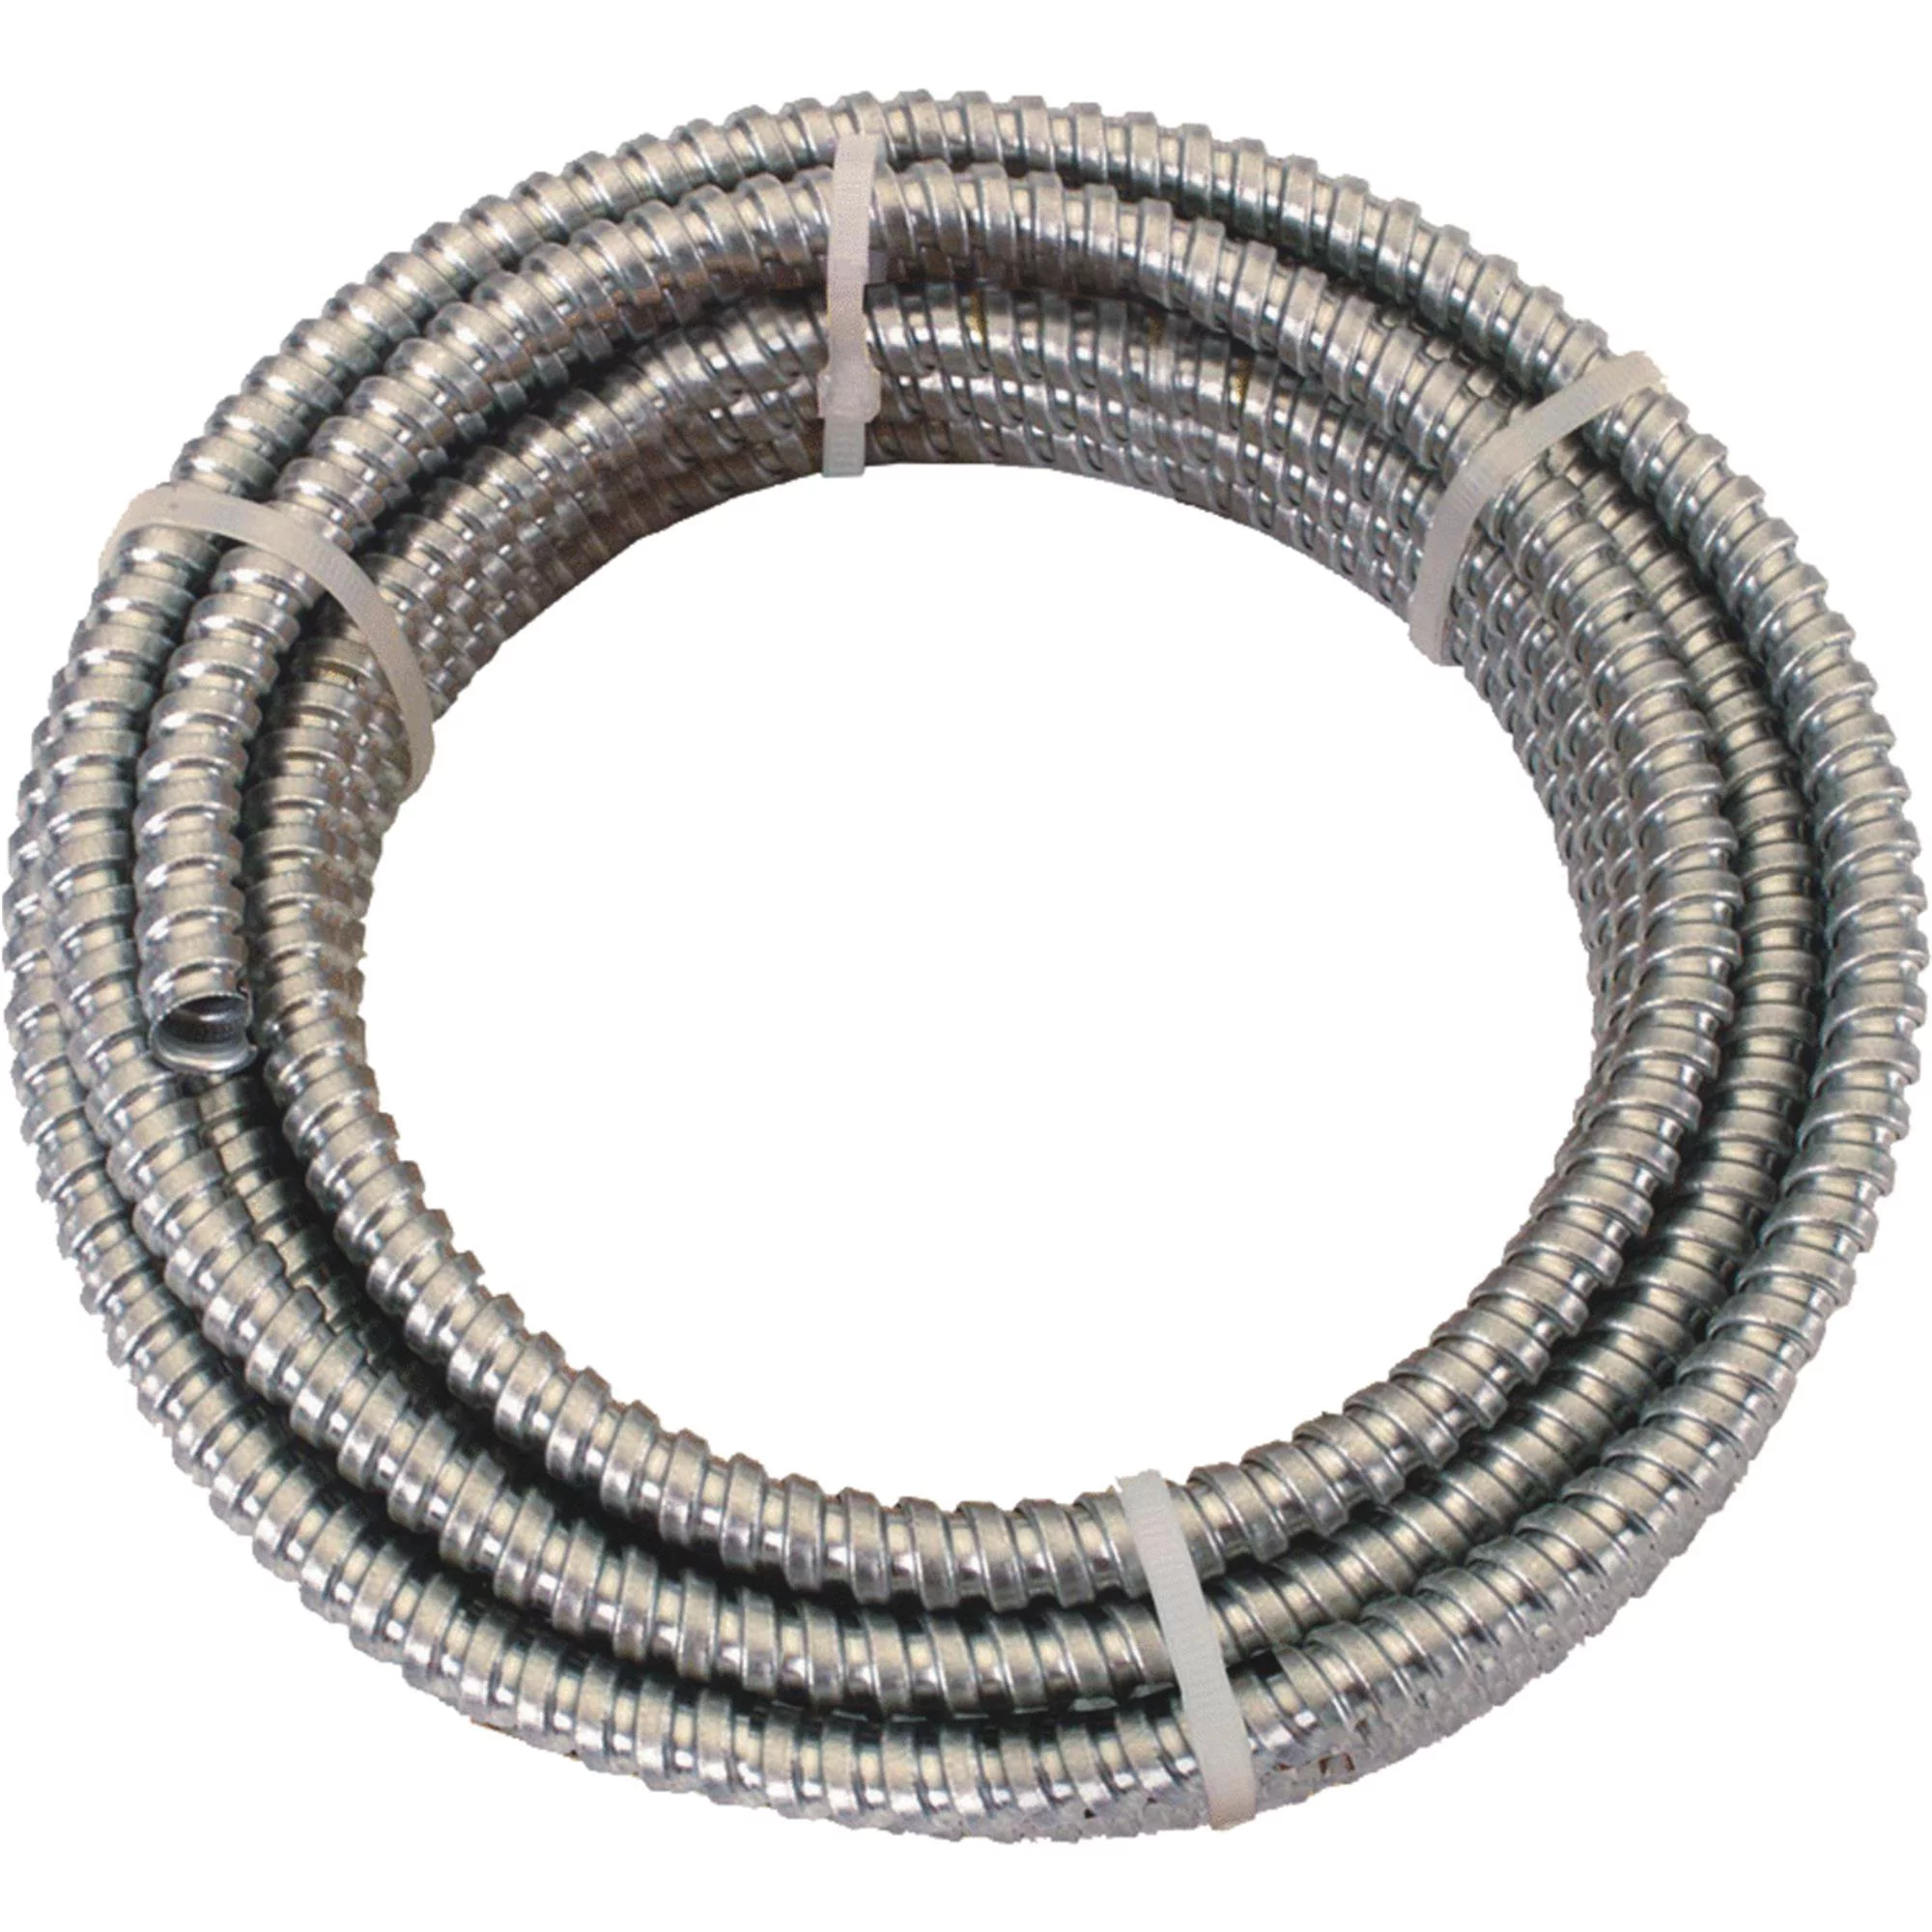
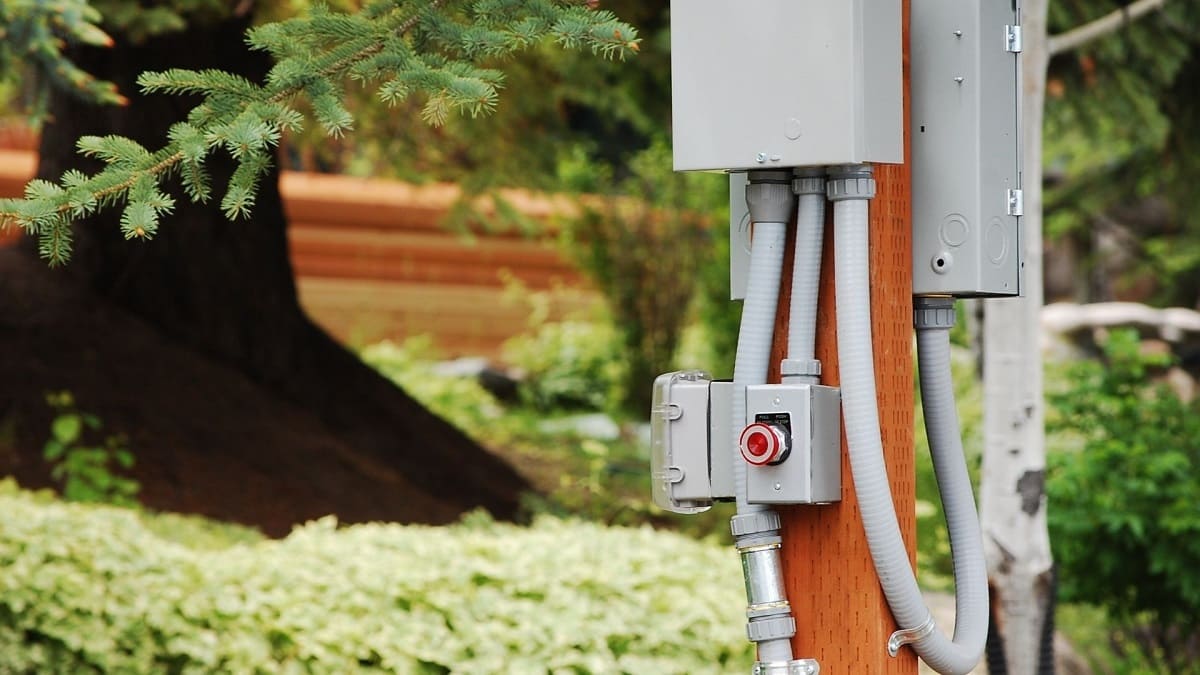
When it comes to electrical installations, having the proper equipment is crucial. Flexible electrical conduit is a commonly used component that allows for easy routing and protection of wires and cables. However, at times, you may need to cut the conduit to the desired length to fit your installation needs.
Cutting flexible electrical conduit may seem like a daunting task, especially for those who are new to electrical work. But with the right tools and techniques, it can be a straightforward process. In this article, we will guide you through the steps to cut flexible electrical conduit effectively and safely.
Before you begin, it is important to ensure you have the necessary materials and tools at hand. This will make the process easier and prevent any unnecessary delays.
Key Takeaways:
- Master the art of cutting flexible electrical conduit by accurately measuring, securely clamping, and choosing the right cutting method. Smooth the edges for a professional finish and prioritize safety throughout the process.
- Create a safe and organized workspace by cleaning up after cutting flexible electrical conduit. Whether you’re a professional electrician or a DIY enthusiast, follow these steps for a successful and efficient conduit cutting process.
Read more: How To Connect Conduit To Flexible Conduit
Materials Needed
Before you start cutting flexible electrical conduit, gather the following materials:
- Flexible electrical conduit
- Measuring tape or ruler
- Marker or pencil
- Secure clamps or vise
- Hand saw, hacksaw, tubing cutter, or reciprocating saw
- Deburring tool
- Safety goggles
- Gloves
Having these materials ready will streamline the cutting process and ensure that you have everything you need to complete the task safely.
It is important to note that the specific tools required for cutting flexible electrical conduit may vary depending on the material and diameter of the conduit. Be sure to choose the appropriate tools based on the specifications of your conduit.
Step 1: Measure and Mark
The first step in cutting flexible electrical conduit is to accurately measure and mark the desired length. This ensures that the conduit will fit properly in your installation.
Before beginning, always make sure the conduit is securely clamped or held in place to prevent it from moving while you work. This will help ensure accurate measurements and clean cuts.
Using a measuring tape or ruler, measure the length you need for your installation. Once you have the measurement, use a marker or pencil to make a clear mark on the conduit at the desired cutting location.
It is important to make a precise and visible mark to ensure accuracy when cutting. Take your time to double-check the measurement and mark before moving on to the next step.
Remember, measure twice, cut once. Taking the time to measure accurately and mark the conduit properly will help avoid any costly mistakes and ensure a successful installation.
Step 2: Secure the Conduit
After measuring and marking the desired length of the flexible electrical conduit, it’s crucial to secure it in place before proceeding with the cutting process. This will ensure stability and accuracy while cutting.
One effective way to secure the conduit is to use secure clamps or a vise. Place the clamps or vise at both ends of the marked section, making sure they are tight enough to hold the conduit firmly in place. This will prevent it from slipping or moving during the cutting process.
Securing the conduit is essential for safety purposes as well. It minimizes the risk of accidents or injuries caused by an unstable or uncontrolled piece of conduit. Always wear safety goggles and gloves while handling the conduit to protect yourself from any potential hazards.
With the conduit securely clamped or held in place, you can proceed with confidence to the next step of choosing the cutting method that best suits your needs.
Step 3: Choose the Cutting Method
When it comes to cutting flexible electrical conduit, there are several methods you can choose from. The right cutting method depends on the type of conduit you are working with and your personal preference.
Here are four common cutting methods you can consider:
- Method 1: Hand Saw: A hand saw is a versatile tool that can be used to cut flexible electrical conduit. It is suitable for smaller conduit sizes and provides more control for precise cuts. Ensure that the hand saw has fine teeth to avoid rough edges on the cut.
- Method 2: Hacksaw: A hacksaw is another manual cutting tool that is effective for cutting flexible electrical conduit. It consists of a fine-toothed blade that can cut through a wide range of conduit sizes. The process may require more effort compared to a hand saw, but it provides clean cuts.
- Method 3: Tubing Cutter: A tubing cutter is a specialized tool designed specifically for cutting conduit and pipes. It is ideal for larger conduit sizes and provides smooth, precise cuts. With a tubing cutter, the cutting process is relatively quick and effortless.
- Method 4: Reciprocating Saw: A reciprocating saw, also known as a Sawzall, is a power tool that uses a push and pull motion to cut through various materials. It is an excellent choice for cutting larger conduit sizes or when working with harder materials.
Consider the size of the conduit, the level of precision required, and the tools you have available when choosing the cutting method. Each method has its advantages and limitations, so select the one that best fits your needs and preferences.
Once you have chosen the cutting method, you can proceed to the next step of actually cutting the conduit.
Method 1: Hand Saw
A hand saw is a versatile cutting tool that can be used to cut flexible electrical conduit. It is a popular choice for smaller conduit sizes and provides more control for precise cuts.
Here’s how to cut flexible electrical conduit using a hand saw:
- Ensure that the conduit is securely clamped or held in place to prevent it from moving during the cutting process.
- Position the hand saw at the marked cutting location on the conduit.
- Hold the hand saw with a firm grip and use steady, controlled strokes to cut through the conduit.
- Continue cutting until you have completely severed the conduit.
It is important to use a hand saw with fine teeth to ensure clean cuts and avoid rough edges. This will help maintain the integrity of the conduit and provide a smooth surface for wire or cable installation.
Take your time and exercise caution while using the hand saw to prevent any accidents or injuries. Always wear safety goggles and gloves to protect yourself from flying debris or sharp edges.
Once you have cut the conduit, proceed to the next step of smoothing the edges to ensure a clean finish.
Method 2: Hacksaw
A hacksaw is another manual cutting tool that is effective for cutting flexible electrical conduit. It consists of a fine-toothed blade that can cut through a wide range of conduit sizes. The hacksaw is particularly useful when precise, clean cuts are desired.
Follow these steps to cut flexible electrical conduit with a hacksaw:
- Securely clamp or hold the conduit in place to prevent it from moving during the cutting process.
- Position the hacksaw blade at the marked cutting location on the conduit.
- Hold the hacksaw with a firm grip and apply light pressure as you start sawing back and forth. Let the weight of the hacksaw do the work.
- Continue sawing until you have cut through the conduit.
Using a hacksaw with a fine-toothed blade ensures clean and accurate cuts. Be sure to maintain a steady pace and rhythm while cutting to achieve a smooth edge.
Always wear safety goggles and gloves while operating a hacksaw to protect yourself from any potential hazards. Additionally, take care to position yourself in a way that allows for safe and comfortable sawing.
Once the cuts are complete, proceed to the next step to smooth the edges of the conduit for a professional-looking finish.
When cutting flexible electrical conduit, use a hacksaw with a fine-toothed blade to ensure a clean and precise cut. Make sure to secure the conduit in place before cutting to prevent any movement.
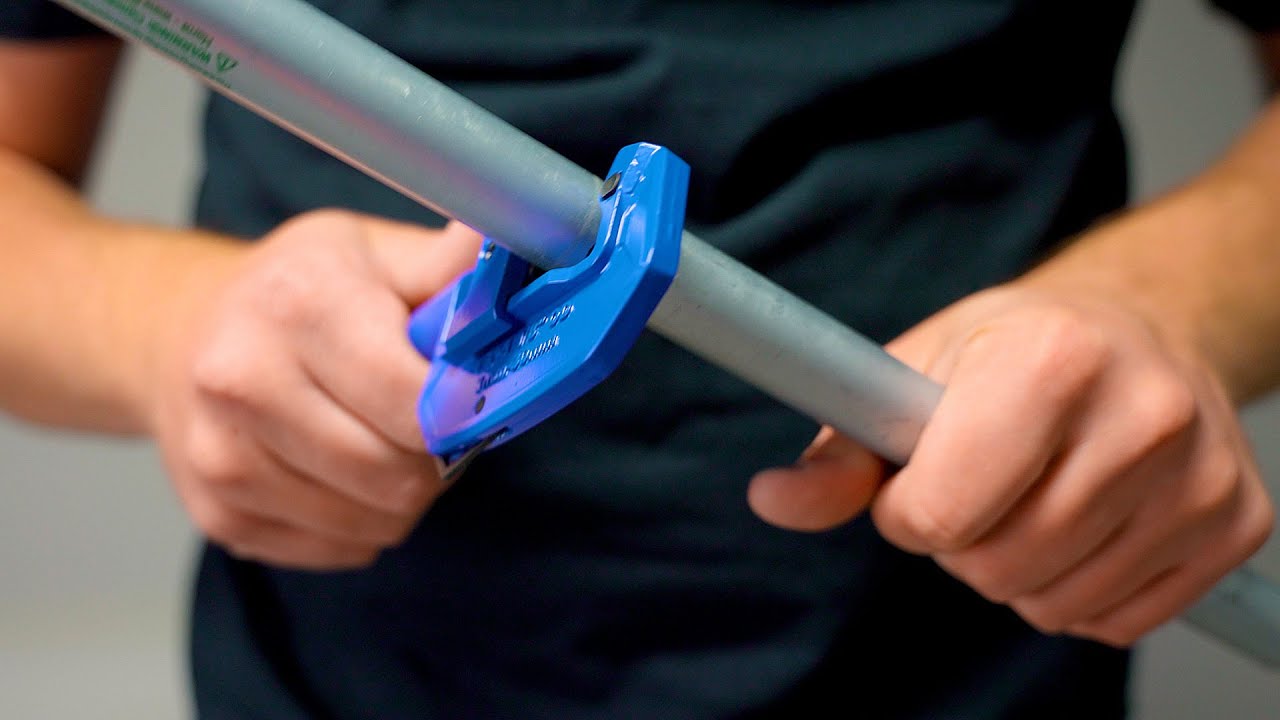
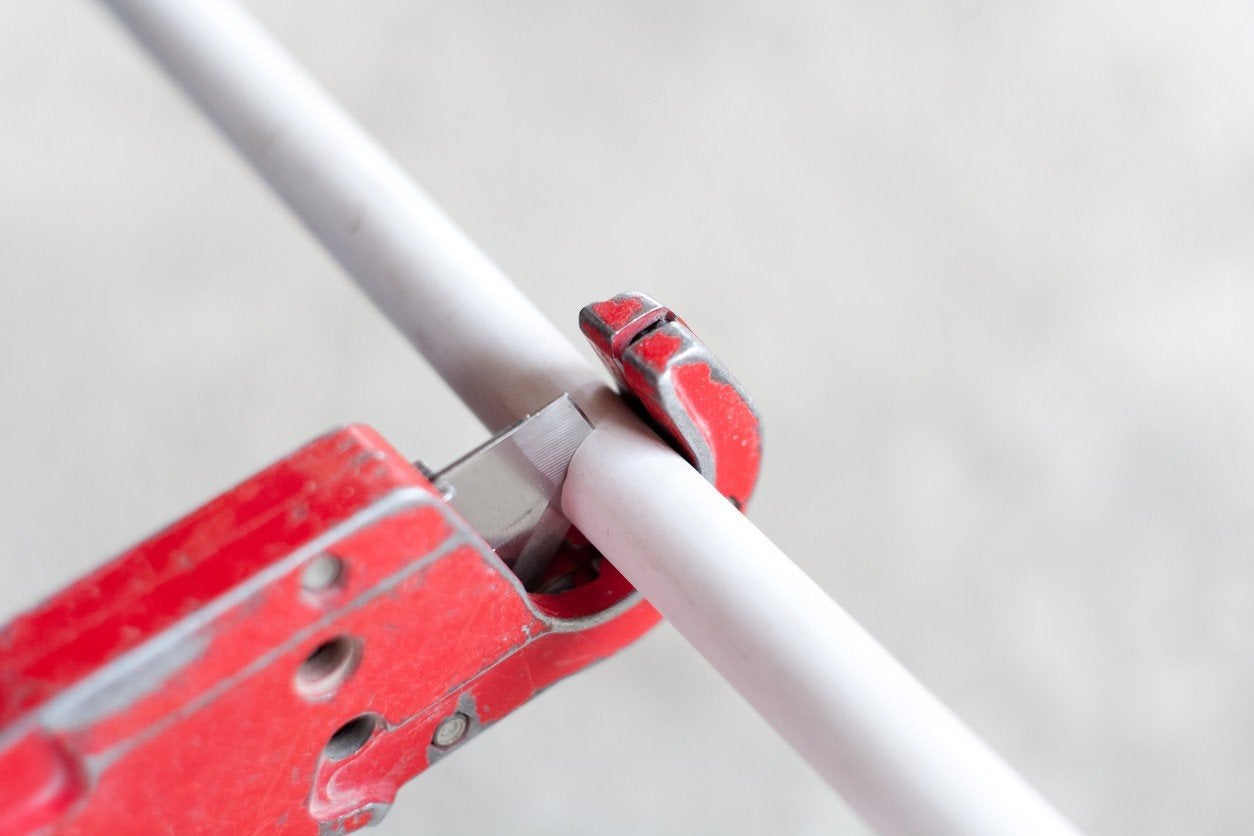
Method 3: Tubing Cutter
A tubing cutter is a specialized tool designed specifically for cutting conduit and pipes. It is an ideal choice for larger conduit sizes and provides smooth, precise cuts.
Here’s how to cut flexible electrical conduit using a tubing cutter:
- Ensure that the conduit is securely clamped or held in place to prevent any movement while cutting.
- Place the tubing cutter around the marked cutting location on the conduit.
- Tighten the tubing cutter around the conduit by rotating its knob or handle. Make sure it is secure and aligned properly.
- Rotate the tubing cutter around the conduit in a circular motion, applying gentle pressure with each rotation.
- Continue rotating the tubing cutter until you have made a complete cut through the conduit.
A tubing cutter is designed with a sharp, circular blade that gradually cuts into the conduit, resulting in a clean and precise cut. The cutter’s design also helps prevent any deformation or crushing of the conduit during the cutting process.
Always follow the manufacturer’s instructions when using a tubing cutter to ensure proper usage and safety. Also, wear safety goggles and gloves to protect yourself from any potential debris or sharp edges.
After cutting the conduit with a tubing cutter, proceed to the next step to smooth the edges for a professional finish.
Method 4: Reciprocating Saw
A reciprocating saw, also known as a Sawzall, is a power tool that is highly effective for cutting flexible electrical conduit. This tool is particularly useful when working with larger conduit sizes or tougher materials.
Follow these steps to cut flexible electrical conduit using a reciprocating saw:
- Securely clamp or hold the conduit in place to prevent it from moving during the cutting process.
- Attach a suitable blade for cutting metal or plastic to the reciprocating saw.
- Position the blade at the marked cutting location on the conduit.
- Hold the reciprocating saw with a firm grip and slowly start the saw.
- Gently guide the saw along the marked line, allowing the oscillating motion of the blade to cut through the conduit.
- Continue cutting until you have completely severed the conduit.
Reciprocating saws are known for their power and cutting efficiency. They can easily handle thicker conduit and make quick work of the cutting process.
Always wear safety goggles and gloves, as well as hearing protection, when operating a reciprocating saw. This will provide protection against any potential debris or noise generated by the tool.
Once the cut is complete, proceed to the next step to smoothen the edges of the conduit for a professional finish.
Read also: 15 Best Flexible Electrical Conduit for 2025
Step 4: Cut the Conduit
Now that you have chosen the appropriate cutting method, it’s time to cut the flexible electrical conduit.
Follow these general steps to cut the conduit:
- Ensure that the conduit is securely clamped or held in place to prevent any movement while cutting.
- Position the cutting tool (e.g., hand saw, hacksaw, tubing cutter, or reciprocating saw) at the marked cutting location on the conduit.
- Use the appropriate technique based on the selected cutting method:
- For a hand saw or hacksaw, apply steady, controlled strokes while maintaining the blade aligned with the marked line. Take your time and follow the cutting technique recommended for the specific tool.
- If using a tubing cutter, rotate it around the conduit in a circular motion, tightening the cutter with each turn until it cuts through the material.
- When using a reciprocating saw, start the tool, guide the blade along the marked line, and let the saw do the work as it moves back and forth.
- Continue cutting until you have completely severed the conduit, maintaining a steady hand and applying consistent pressure.
Take caution to ensure the cuts are as clean and accurate as possible. Avoid rushing the process to minimize the risk of mistakes or rough edges.
Remember to wear appropriate safety gear, such as safety goggles and gloves, to protect yourself from potential hazards associated with cutting tools.
Once the conduit is cut, proceed to the next step to smooth the edges for a professional finish.
Step 5: Smooth the Edges
After cutting the flexible electrical conduit, it’s important to smooth out the edges to ensure a clean and professional finish. This step helps prevent any potential damage to wires or cables during installation and ensures a secure fit.
Follow these steps to smooth the edges of the conduit:
- Inspect the cut ends of the conduit for any rough or jagged edges.
- Use a deburring tool or file to gently remove any burrs or sharp edges from the cut ends. Start at the outer edge and move towards the inner edge in a circular motion.
- Continue filing until the edges are smooth and free from any potential snags or obstructions.
- Run your fingers along the edges to check for any remaining roughness. If necessary, continue filing until the edges are smooth to the touch.
By smoothing the edges of the conduit, you create a safe and professional installation environment. This ensures that wires or cables easily slide into the conduit without any snagging or damage.
Always exercise caution when using sharp tools, such as deburring tools or files. Handle them carefully and maintain a firm grip to avoid any accidents or injuries.
Once the edges have been smoothed, proceed to the next step to clean up any debris or residue.
Step 6: Clean Up
After completing the cutting and smoothing process, it’s important to take a few moments to clean up and ensure a tidy work area. This step not only helps maintain a safe and organized workspace but also adds a professional touch to your installation.
Follow these steps to clean up after cutting flexible electrical conduit:
- Remove any clamps or vises that were used to secure the conduit during the cutting process.
- Inspect the work area to ensure there are no leftover debris, such as metal shavings or plastic particles, that could pose a safety hazard.
- Use a brush, vacuum, or compressed air to clean up any loose debris or particles from the work surface.
- Dispose of any generated waste materials, such as small cut-offs or shaving remnants, in an appropriate manner.
- Return any tools or equipment used to their proper storage location.
A clean work area helps prevent accidents caused by tripping or slipping on debris. It also promotes a professional and organized approach to electrical installations.
Remember to put safety first throughout the cleaning process, wearing safety goggles and gloves if necessary to protect yourself from any lingering debris or sharp edges.
Cleaning up after cutting flexible electrical conduit is a simple yet vital step in ensuring a successful installation.
Conclusion
Cutting flexible electrical conduit is a necessary skill for any electrician or DIY enthusiast working on electrical installations. By following the steps outlined in this article, you can effectively and safely cut conduit to the desired length.
Start by measuring and marking the conduit accurately, ensuring it is securely clamped or held in place. Choose the most appropriate cutting method based on your needs and the tools available, whether it’s a hand saw, hacksaw, tubing cutter, or reciprocating saw.
Remember to cut the conduit with precision and care, taking the time to ensure clean and accurate cuts. Smooth the edges using a deburring tool or file to prevent any damage to wires or cables during installation.
After completing the cutting and smoothing process, take a few moments to clean up the work area and dispose of any generated waste materials properly. A clean and organized workspace not only enhances safety but also adds a professional touch to your installation.
Always prioritize safety throughout the entire process, wearing appropriate safety gear such as goggles and gloves, and following the manufacturer’s instructions for the specific tools you are using.
By mastering the art of cutting flexible electrical conduit, you will have the confidence to handle various electrical installations with precision and ease.
So, whether you are a professional electrician or a DIY enthusiast, use the knowledge and techniques provided in this article to ensure a successful and efficient electrical conduit cutting process.
Frequently Asked Questions about How To Cut Flexible Electrical Conduit
Was this page helpful?
At Storables.com, we guarantee accurate and reliable information. Our content, validated by Expert Board Contributors, is crafted following stringent Editorial Policies. We're committed to providing you with well-researched, expert-backed insights for all your informational needs.

0 thoughts on “How To Cut Flexible Electrical Conduit”