
Articles
How To Install An AC Unit
Modified: February 28, 2024
Learn how to install an AC unit with our comprehensive articles. Get step-by-step instructions and tips for a successful installation.
(Many of the links in this article redirect to a specific reviewed product. Your purchase of these products through affiliate links helps to generate commission for Storables.com, at no extra cost. Learn more)
Introduction
Installing an AC unit is a great way to beat the heat during those sweltering summer months. Whether you’re looking to cool down your home or office, installing an AC unit can make a significant difference in your comfort level. However, the process of installing an AC unit may seem daunting, especially if you have little to no experience with HVAC systems. But fear not, because in this article, we will guide you through each step of the installation process, making it easier for you to enjoy the benefits of a cool and comfortable space.
Before we dive into the nitty-gritty details, it is important to note that AC unit installations may vary depending on the type and model of the unit you have. It is always recommended to refer to the manufacturer’s instructions for specific guidelines related to your AC unit. With that said, let’s get started!
Disclaimer: Safety should always be your top priority when dealing with electrical appliances. If you are uncertain about any step of the installation or lack the necessary skills, it is highly recommended to seek professional assistance.
Key Takeaways:
- Choose the right AC unit size by considering room dimensions, insulation, and climate for efficient cooling and optimal comfort. It’s better to slightly oversize the unit than to undersize it.
- Properly prepare the installation area, secure the unit in place, and insulate any gaps to ensure efficient and effective cooling. Regular maintenance and check-ups are essential for optimal performance.
Read more: How To Install Split AC Unit
Step 1: Determine the appropriate AC unit size
Choosing the right size AC unit is crucial for efficient and effective cooling. An undersized unit may struggle to cool the space adequately, while an oversized unit can lead to higher energy consumption and frequent on-off cycles.
The size of an AC unit is measured in British Thermal Units (BTUs) and is determined by factors such as the size of the room, the insulation of the space, and the climate in which you live. To determine the appropriate AC unit size, follow these steps:
- Calculate the square footage: Measure the length and width of the room where you plan to install the AC unit. Multiply these values to calculate the square footage of the space.
- Consider the insulation: Take into account the insulation of the room. Well-insulated spaces require less cooling capacity compared to poorly insulated areas.
- Factor in the climate: Regions with extreme temperatures may require a higher cooling capacity. Hotter climates will typically require larger AC units.
Once you have these measurements and considerations, you can use a BTU calculator or consult with an HVAC specialist to determine the appropriate AC unit size for your space. This will ensure efficient cooling and optimal comfort.
Remember, it’s better to slightly oversize the unit than to undersize it, as a slightly larger unit can handle the cooling demand more effectively. However, avoid going too far beyond the recommended size, as it can lead to unnecessary energy consumption and inefficient cooling.
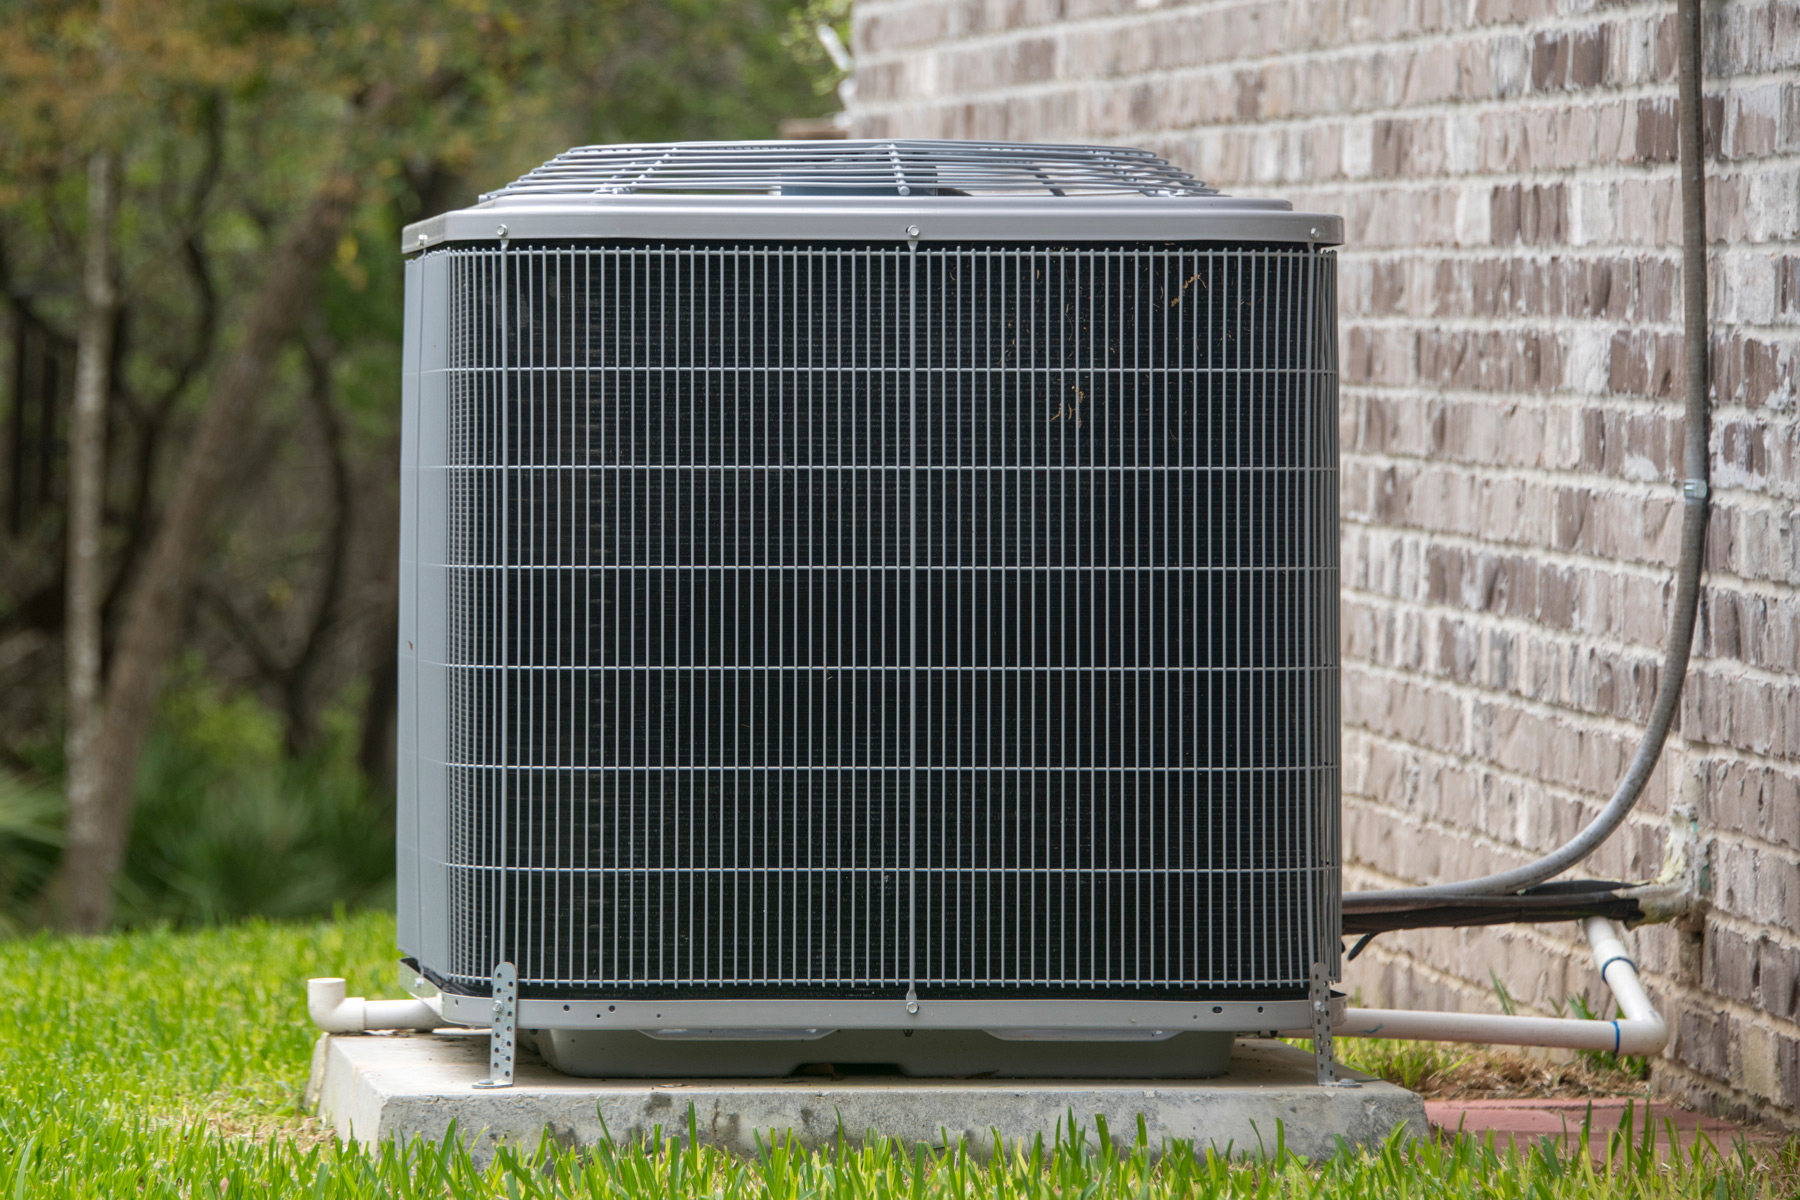
Step 2: Select the installation location
Choosing the right installation location is crucial for the proper functioning and efficiency of your AC unit. Here are some factors to consider when selecting the installation location:
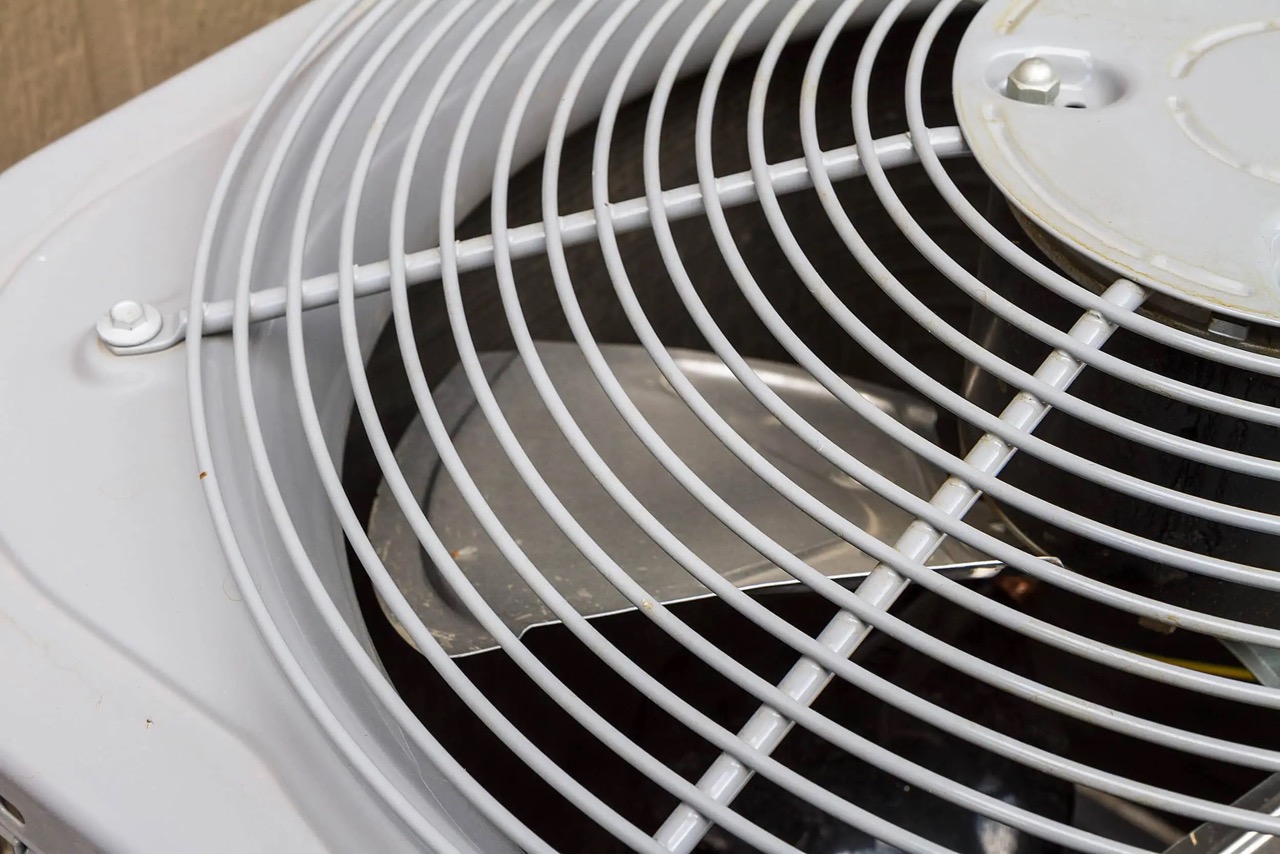
- Adequate air circulation: Ensure that the chosen location allows for proper airflow around the AC unit. Restricting airflow can hinder the cooling process and put unnecessary stress on the system.
- Accessible to outdoor unit: If you have a split AC system, make sure the indoor installation location is easily accessible to the outdoor unit. This will facilitate the installation of refrigerant lines and electrical connections.
- Away from direct sunlight: Avoid placing the AC unit in direct sunlight as it can affect its efficiency. Choose a location that is shaded or shielded from direct sunlight as much as possible.
- Distance from heat sources: Keep the AC unit away from heat sources such as ovens, stoves, or heat-generating equipment. The presence of heat sources can increase the workload on the AC unit and reduce its efficiency.
- No obstructions: Make sure there are no obstructions such as furniture, curtains, or decor items that could hinder the airflow or obstruct the cool air from circulating the room.
While selecting the installation location, it’s also important to consider any local building codes or regulations that may dictate where an AC unit can be installed. It’s advisable to consult with a professional HVAC technician or check the local regulations to ensure compliance.
Once you’ve identified the ideal location, mark it and ensure that it meets all the necessary criteria. This will lay the foundation for a smooth and efficient installation process.
Step 3: Prepare the installation area
Before you begin the installation process, it’s essential to properly prepare the area where the AC unit will be installed. This preparation will help ensure a smooth installation and improve the overall performance of the unit. Here are the steps to follow:
- Clean the area: Clear the installation area of any debris, dust, or dirt. Ensure that the area is clean and free from any obstacles that could interfere with the installation process or hinder the proper functioning of the AC unit.
- Check the wall condition: Inspect the wall where the AC unit will be mounted. Make sure it is structurally sound and can support the weight of the AC unit. If necessary, reinforce the wall or consult a professional to ensure proper wall strength.
- Prepare the electrical supply: Ensure that the electrical supply in the installation area is compatible with the electrical requirements of the AC unit. Consult an electrician if any electrical modifications or upgrades are needed to meet the necessary voltage and amperage requirements.
- Arrange necessary tools and equipment: Gather all the tools and equipment required for the installation process. This may include a drill, screwdriver, level, measuring tape, mounting brackets, and any additional hardware specified by the manufacturer.
- Measure and mark the mounting points: Measure and mark the exact locations for mounting the AC unit on the wall. Use a level to ensure proper alignment and make adjustments if necessary.
By adequately preparing the installation area, you can streamline the installation process and minimize the chances of any complications or errors. This preparation will pave the way for a successful installation and the proper functioning of your AC unit.
Step 4: Install the mounting bracket or support platform
Installing a mounting bracket or support platform is an essential step in securely attaching the AC unit to the wall. The mounting bracket provides stability and ensures that the unit remains in place. Follow these steps to install the mounting bracket:
- Position the bracket: Place the mounting bracket or support platform at the marked location on the wall. Ensure that it is level and aligned properly.
- Mark the mounting holes: Using a pencil or marker, mark the locations for the mounting holes on the wall through the holes in the bracket. Make sure the marks are accurate and precise.
- Pre-drill the holes: With a drill and an appropriate drill bit, pre-drill the marked holes on the wall. The size of the drill bit should match the diameter of the mounting screws provided with the unit.
- Secure the bracket: Place the bracket back on the wall, aligning the mounting holes with the pre-drilled holes. Insert the mounting screws into the holes, and using a screwdriver or drill, tighten them securely. Ensure that the bracket is firmly attached to the wall.
- Check for stability: Once the bracket is installed, check its stability by gently shaking it. It should hold firm and not wobble or move. If there is any instability, recheck the screws and make adjustments as necessary.
It is important to note that the installation process may vary depending on the specific type of AC unit and the manufacturer’s instructions. Always refer to the manufacturer’s guidelines and follow the provided instructions to ensure proper installation of the mounting bracket.
With the mounting bracket or support platform successfully installed, you are one step closer to completing the installation of your AC unit. This sturdy foundation will provide the necessary support for the unit and contribute to its stability and overall performance.
Read more: How To Install A Wall AC Unit
Step 5: Attach the AC unit to the mounting bracket
Now that the mounting bracket or support platform is securely installed, it’s time to attach the AC unit to it. Follow these steps to properly attach the unit:
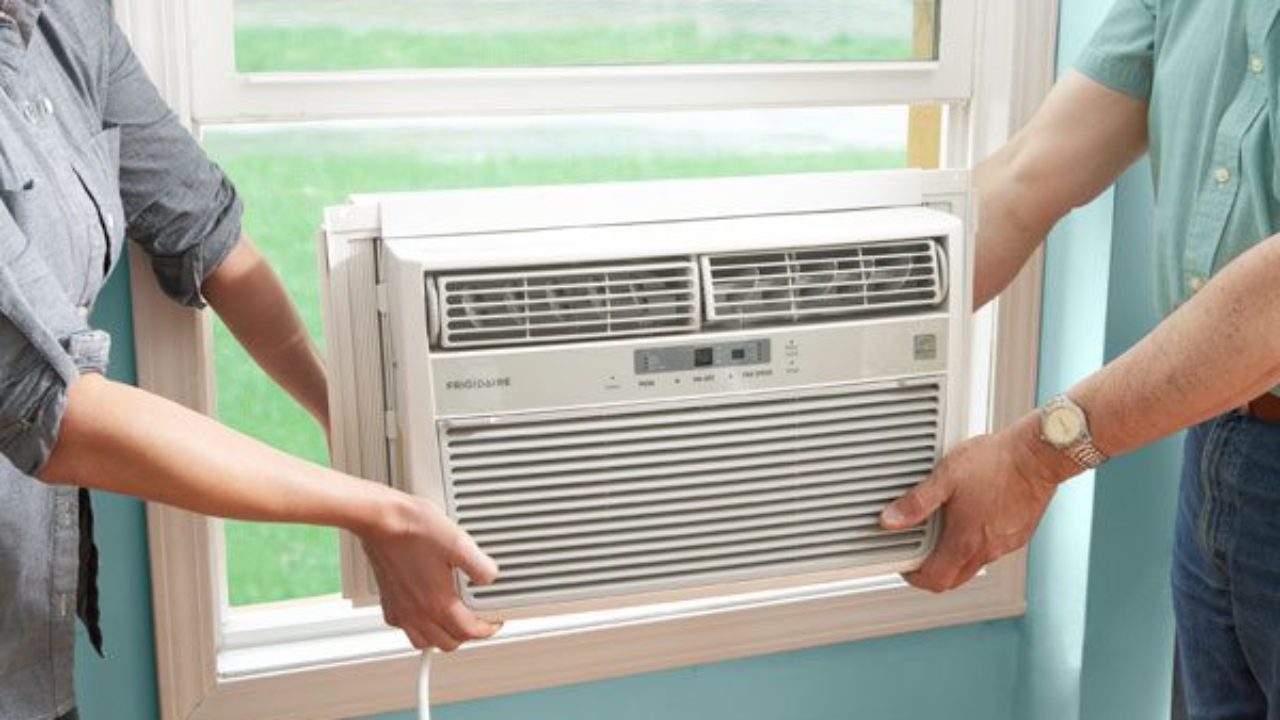
- Position the AC unit: Carefully lift the AC unit and position it in front of the mounting bracket. Make sure the unit is aligned correctly with the bracket.
- Slide the unit onto the bracket: With the help of another person if needed, slide the AC unit onto the mounting bracket. Ensure that the unit’s mounting holes align with the brackets’ protrusions or hooks designed to hold the unit in place.
- Secure the unit: Once the unit is aligned with the mounting bracket, insert the screws provided by the manufacturer into the unit’s mounting holes and fasten them tightly using a screwdriver or drill. Double-check that all screws are tightened to ensure the unit is securely attached to the mounting bracket.
- Verify proper alignment: After securing the unit, check that it is level and properly aligned with the wall. Make any necessary adjustments if the unit appears to be tilted or uneven.
It’s crucial to follow the manufacturer’s instructions when attaching the AC unit to the mounting bracket, as different units may have specific requirements for the attachment process.
Once the AC unit is securely attached to the mounting bracket, you can proceed to the next step of the installation process. Ensuring that the unit is properly attached will provide stability and support, allowing the unit to function optimally.
Make sure to properly insulate the area around the AC unit to prevent air leaks and maximize energy efficiency. This will help keep your home cool without wasting energy.
Step 6: Secure the AC unit in place
After attaching the AC unit to the mounting bracket, it’s important to take the necessary measures to secure it in place. This step ensures the stability and longevity of the unit. Follow these steps to securely fasten the AC unit:
- Double-check the mounting screws: Make sure all the screws that attach the AC unit to the mounting bracket are tightly secured. Use a screwdriver or drill to ensure that they are firmly in place.
- Use support brackets: Depending on the specific design of your AC unit and the manufacturer’s instructions, there may be additional support brackets provided. Install these brackets as directed to further secure the unit.
- Verify proper alignment: Check that the AC unit is aligned properly with the wall and that it is level. Any misalignment may cause the unit to function inefficiently or put unnecessary strain on the components.
- Tighten any loose components: Inspect the AC unit for any loose components, such as screws or panels. Tighten them if necessary to prevent any rattling or potential damage during operation.
- Ensure proper clearance: Verify that there is sufficient clearance between the AC unit and any nearby objects, such as furniture or curtains. Adequate clearance promotes proper airflow and prevents obstructions.
It’s crucial to follow the manufacturer’s instructions for securing the AC unit, as different units may have specific guidelines. Additionally, ensure that all safety measures, such as turning off the power supply to the unit during installation, are adhered to.
By properly securing the AC unit in place, you can avoid any potential accidents or damage and ensure that it operates smoothly and efficiently. A securely mounted unit contributes to the overall performance and longevity of your cooling system.
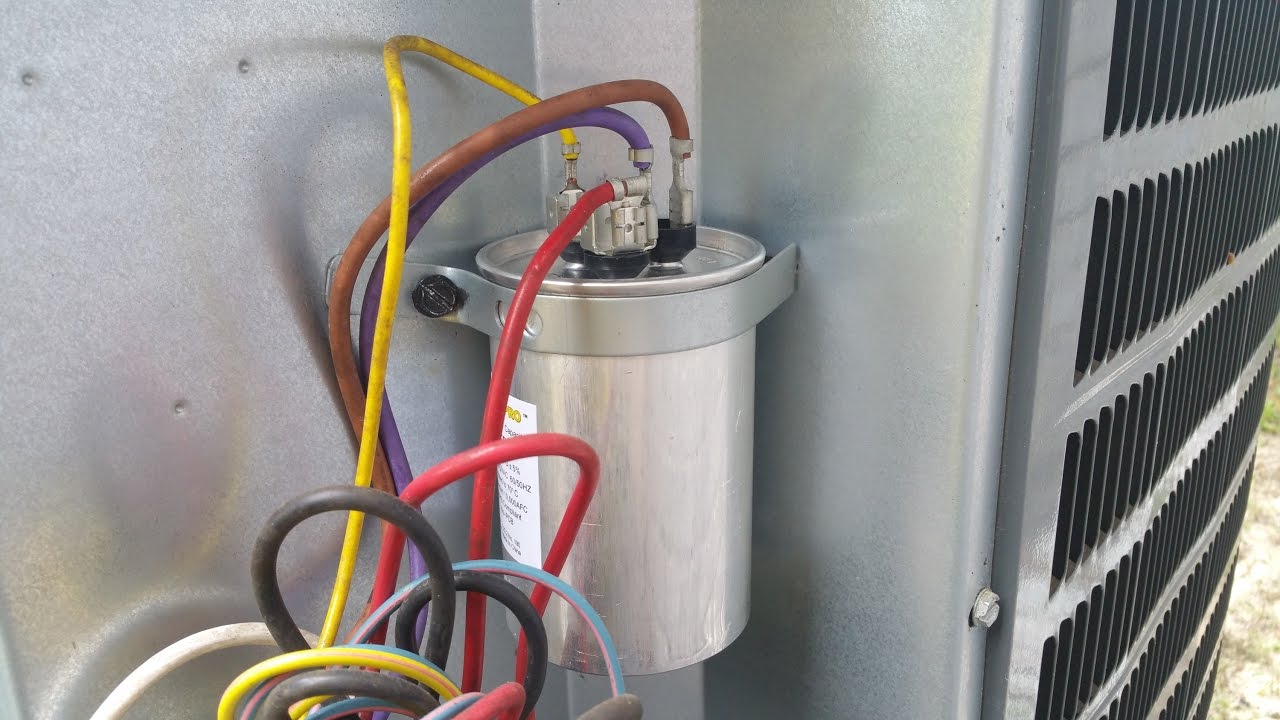
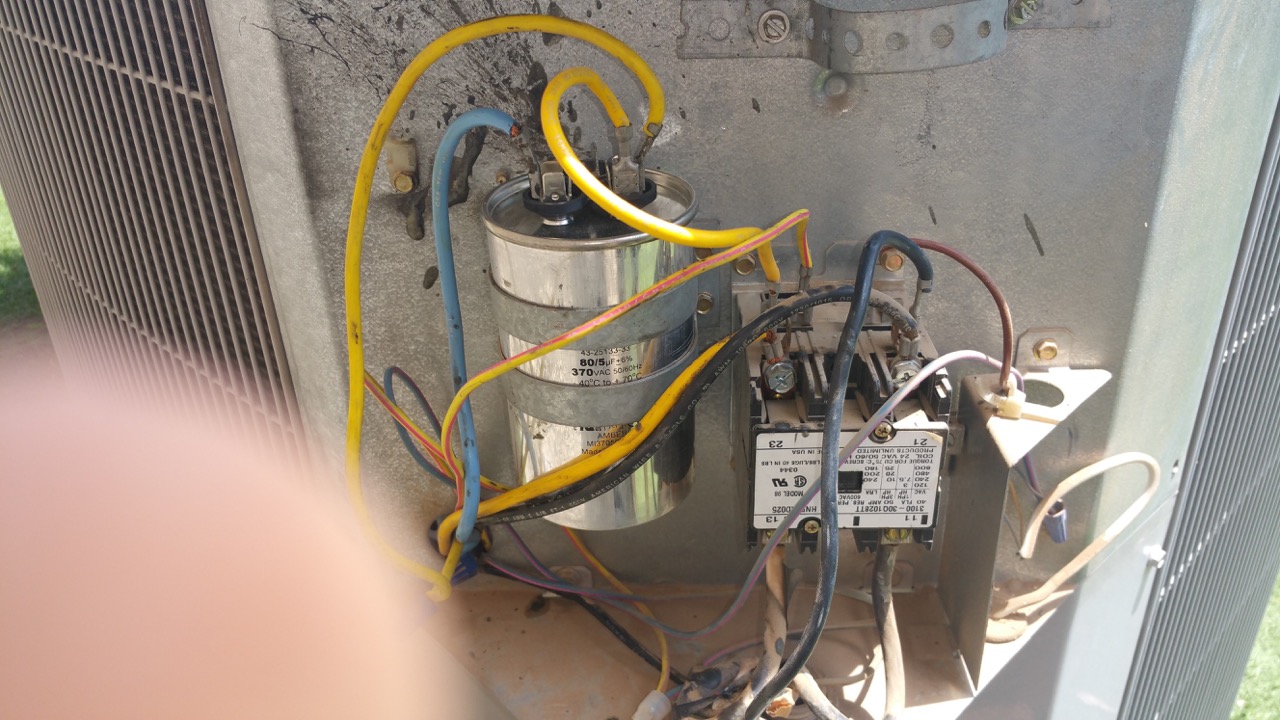
Step 7: Connect the AC unit to the electrical supply
Connecting the AC unit to the electrical supply is a critical step in the installation process. Proper electrical connections are essential for the safe and efficient operation of the unit. Follow these steps to connect the AC unit to the electrical supply:
- Turn off the power: Before starting any electrical work, turn off the power supply to the area where you will be connecting the AC unit. This ensures your safety and prevents any electrical accidents.
- Locate the electrical box: Locate the electrical box near the AC unit installation area. This box will contain the necessary electrical connections.
- Connect the wires: Follow the manufacturer’s instructions and connect the corresponding wires from the AC unit to the wires in the electrical box. Typically, the wires will be color-coded, matching the specific connections.
- Secure the wire connections: Once the wires are connected, use wire connectors or electrical tape to secure and insulate the connections. This ensures that the wires are protected and prevents any accidental disconnections.
- Double-check the connections: Prior to turning the power back on, carefully inspect all the electrical connections to ensure they are secure and free from any loose or exposed wires.
- Test the electrical connection: After verifying the connections, turn the power supply back on and test the AC unit to ensure it is receiving power and functioning properly.
It’s important to note that electrical work should only be carried out by a qualified electrician or someone with sufficient knowledge and experience in electrical installations. If you are unsure about any aspect of the electrical connection process, it is best to seek professional assistance to ensure safety and avoid any potential hazards.
By properly connecting the AC unit to the electrical supply, you can power the unit and enjoy its cooling benefits. Remember to prioritize safety and follow the recommended procedures to ensure a reliable and efficient electrical connection.
Step 8: Test the AC unit
Once you have completed the installation and connected the AC unit to the electrical supply, it’s time to test the unit and ensure that it functions properly. Testing the AC unit will help you identify any potential issues and make any necessary adjustments before regular use. Follow these steps to test your AC unit:
- Turn on the power: Ensure that the power supply to the AC unit is turned on. You may need to switch on the circuit breaker or turn on the corresponding switch in the electrical box.
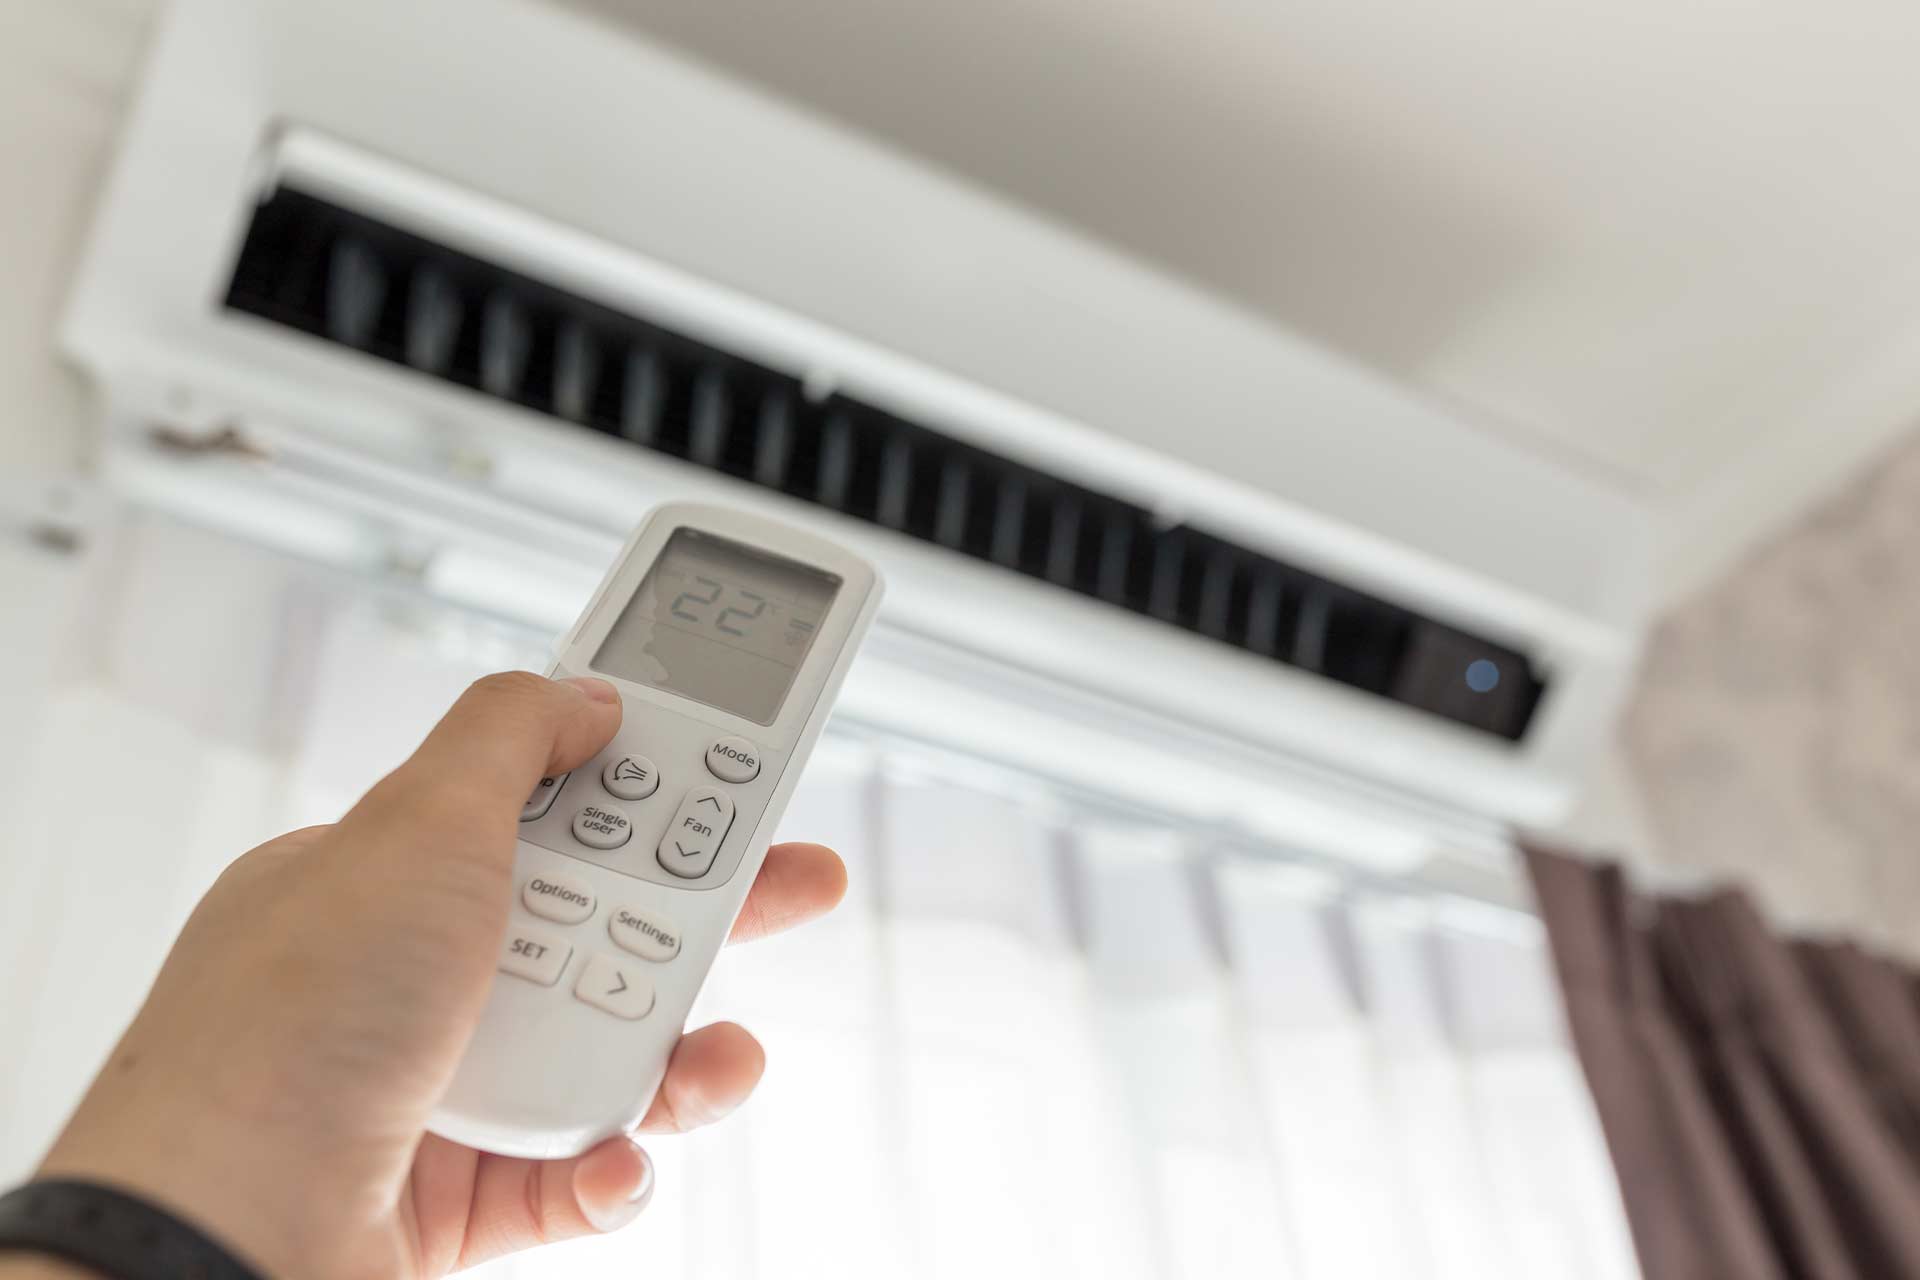
- Set the desired temperature: Adjust the thermostat or control panel on the AC unit to the desired temperature setting.
- Wait for the unit to start: Give the unit a few moments to start up. You should hear the sound of the fan and possibly the compressor kicking in.
- Check the airflow: Verify that the air is flowing properly from the AC unit’s vents. Place your hand in front of the vents or use a piece of tissue paper to feel the airflow. If there are any blockages or weak airflow, check for obstructions or potential issues with the unit’s air filters.
- Monitor the cooling: Allow the AC unit to run for a while and monitor the cooling performance. Ensure that the air becomes noticeably cooler within a reasonable time frame.
- Listen for unusual noises: Pay attention to any strange or unusual noises coming from the unit. Rattling, grinding, or squealing sounds may indicate a mechanical issue that requires further investigation or repair.
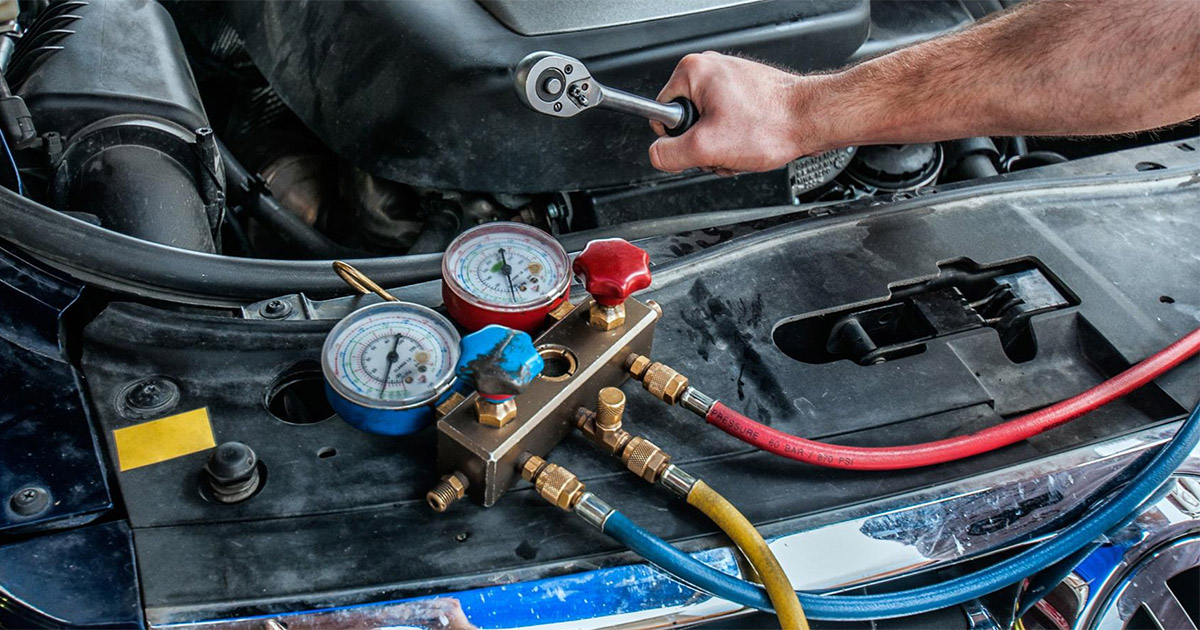
- Check for any leaks: Inspect the area around the AC unit for any signs of water leaks or moisture accumulation. This could indicate a problem with the condensate drainage system or a refrigerant leak.
If you notice any issues during the testing phase, such as weak airflow, unusual noises, or leaks, it is recommended to consult with a professional HVAC technician. They can diagnose and address any potential problems to ensure the proper functioning of your AC unit.
By conducting a thorough test of your AC unit, you can ensure that it is operating correctly and providing the desired cooling relief. Regular testing and maintenance will help extend the lifespan of your unit and maximize its efficiency.
Read more: How Much To Install AC In A House
Step 9: Insulate and Seal Any Gaps or Openings
The final step in the AC unit installation process is to insulate and seal any gaps or openings around the unit. Proper insulation and sealing help improve the efficiency of the cooling system and prevent air leakage. This step also helps maintain a comfortable indoor environment and reduces energy waste. Follow these steps to insulate and seal any gaps or openings:
- Examine for gaps: Inspect the area around the AC unit, including the spaces between the unit and the mounting bracket or support platform, as well as any gaps between the unit and the wall. Look for any visible gaps or openings where air could potentially escape.
- Apply weatherstripping: Use weatherstripping or foam tape to seal the gaps between the AC unit and the mounting bracket or support platform. Apply the weatherstripping along the edges of the unit to create a tight seal.
- Seal with caulk: Use caulk or silicone sealant to seal any gaps or openings between the AC unit and the wall. Apply the caulk along the edges of the unit, ensuring a complete seal to prevent air leakage.
- Insulate refrigerant lines: If you have a split AC system, ensure that the refrigerant lines running between the indoor and outdoor units are properly insulated. Insulating the refrigerant lines helps prevent heat gain or loss, improving the overall efficiency of the system.
- Check the air ducts: If your AC unit is connected to air ducts, inspect them for any leaks or loose connections. Seal any gaps in the ductwork using duct tape or mastic sealant to prevent air leaks and ensure optimal airflow.
Proper insulation and sealing are crucial to maximize the efficiency of your AC unit. It helps prevent air leakage, which can lead to energy waste and decreased cooling performance. Additionally, insulation and sealing help maintain a consistent indoor temperature and improve the overall comfort of your space.
By taking the time to insulate and seal any gaps or openings, you can optimize the performance of your AC unit and enjoy the benefits of a well-sealed and energy-efficient cooling system.
Conclusion
Congratulations! You have successfully navigated through the installation process of an AC unit. By following each step and paying attention to the details, you have ensured the proper installation and functionality of your cooling system. Here’s a brief recap of the steps we covered:
- Determine the appropriate AC unit size.
- Select the installation location.
- Prepare the installation area.
- Install the mounting bracket or support platform.
- Attach the AC unit to the mounting bracket.
- Secure the AC unit in place.
- Connect the AC unit to the electrical supply.
- Test the AC unit.
- Insulate and seal any gaps or openings.
By carefully executing each step, you have set up an efficient and effective cooling system that will keep your home or office comfortable during the hot summer months.
It’s important to remember that proper maintenance and regular check-ups are essential to keep your AC unit running smoothly. Schedule routine maintenance with a qualified HVAC technician to ensure optimal performance and address any potential issues before they become major problems.
With your newly installed AC unit, you can now enjoy a cool and comfortable environment whenever you need it. Stay cool and beat the heat with your reliable cooling system!
Frequently Asked Questions about How To Install An AC Unit
Was this page helpful?
At Storables.com, we guarantee accurate and reliable information. Our content, validated by Expert Board Contributors, is crafted following stringent Editorial Policies. We're committed to providing you with well-researched, expert-backed insights for all your informational needs.

0 thoughts on “How To Install An AC Unit”