Articles
How To Test AC Pressure Switch
Modified: April 23, 2024
Learn how to test your AC pressure switch with our informative articles. Ensure your air conditioning system is running at optimal performance.
(Many of the links in this article redirect to a specific reviewed product. Your purchase of these products through affiliate links helps to generate commission for Storables.com, at no extra cost. Learn more)
Introduction
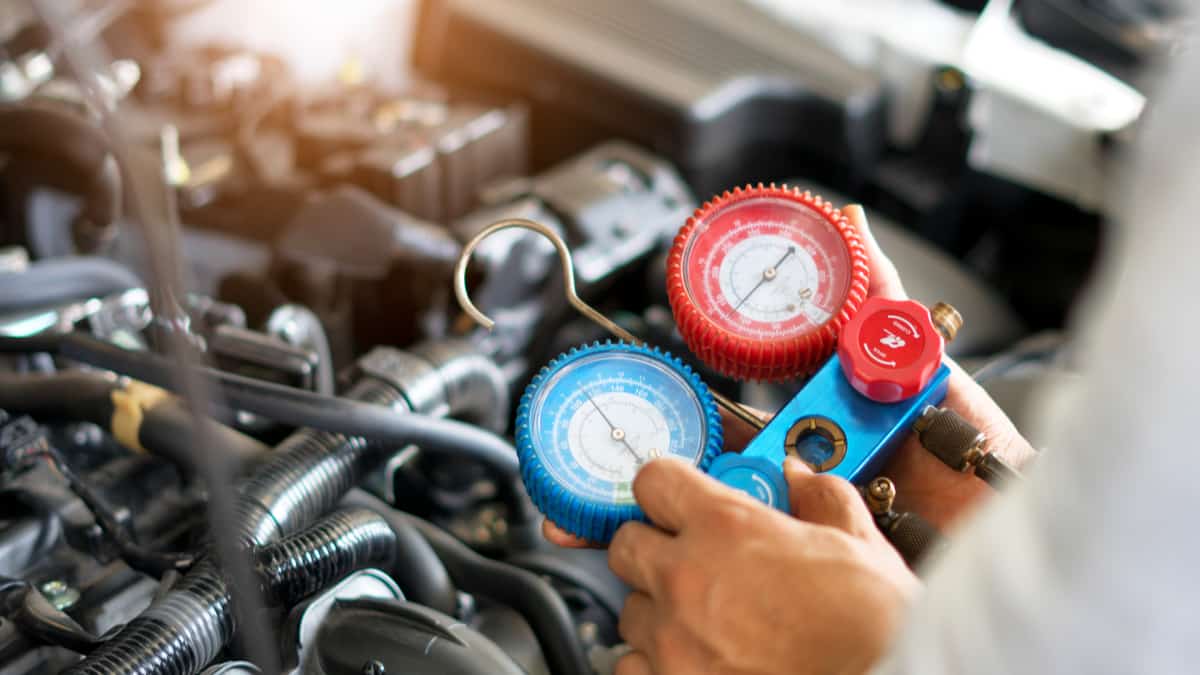
Welcome to this comprehensive guide on how to test an AC pressure switch. If you’ve been experiencing issues with your air conditioning system, such as poor cooling performance or irregular cycling of the compressor, the AC pressure switch could be the culprit. Understanding how to properly test and diagnose the pressure switch can save you time and money by ensuring that you accurately identify and address the underlying issue.
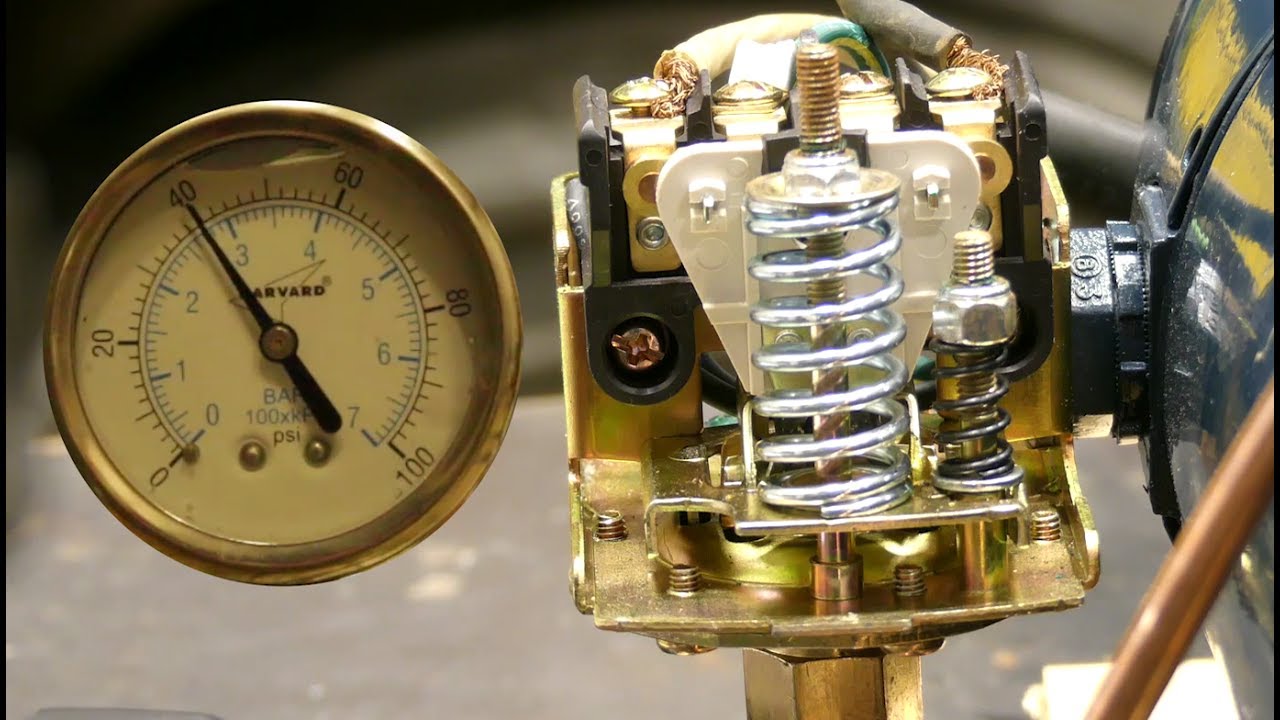
An AC pressure switch is a critical component of your air conditioning system that helps monitor and regulate the pressure of the refrigerant in the system. It works by monitoring the pressure levels in the AC system and sending signals to the compressor to engage or disengage based on those pressure readings.
Why is it important to test the AC pressure switch? Well, a malfunctioning pressure switch can lead to a variety of problems. If the switch fails to detect an adequate refrigerant pressure, it may prevent the compressor from engaging, resulting in a lack of cooling in your vehicle. On the other hand, if the switch is stuck in the closed position, it could cause excessive pressure build-up in the system, leading to potential damage to the compressor or other AC components.
To properly test the AC pressure switch, you’ll need a few tools and materials, including a multimeter, safety gloves, safety glasses, and a set of wrenches. Additionally, make sure you are working in a well-ventilated area and take the necessary safety precautions to avoid any accidents or injuries. Now, let’s dive into the step-by-step process to test the AC pressure switch and determine if it’s functioning correctly.
Key Takeaways:
- Regularly testing and maintaining the AC pressure switch is crucial for ensuring optimal performance and longevity of your air conditioning system. By following safety precautions and using a multimeter, you can accurately diagnose any issues and take necessary measures to keep your vehicle cool and comfortable.
- If the test results indicate a faulty AC pressure switch, it’s important to replace it to restore proper functioning of your AC system. Prioritize safety, gather the necessary materials, and follow the recommended steps to ensure a smooth and secure replacement process.
Read more: How To Test HVAC Low Pressure Switch
What is an AC Pressure Switch?
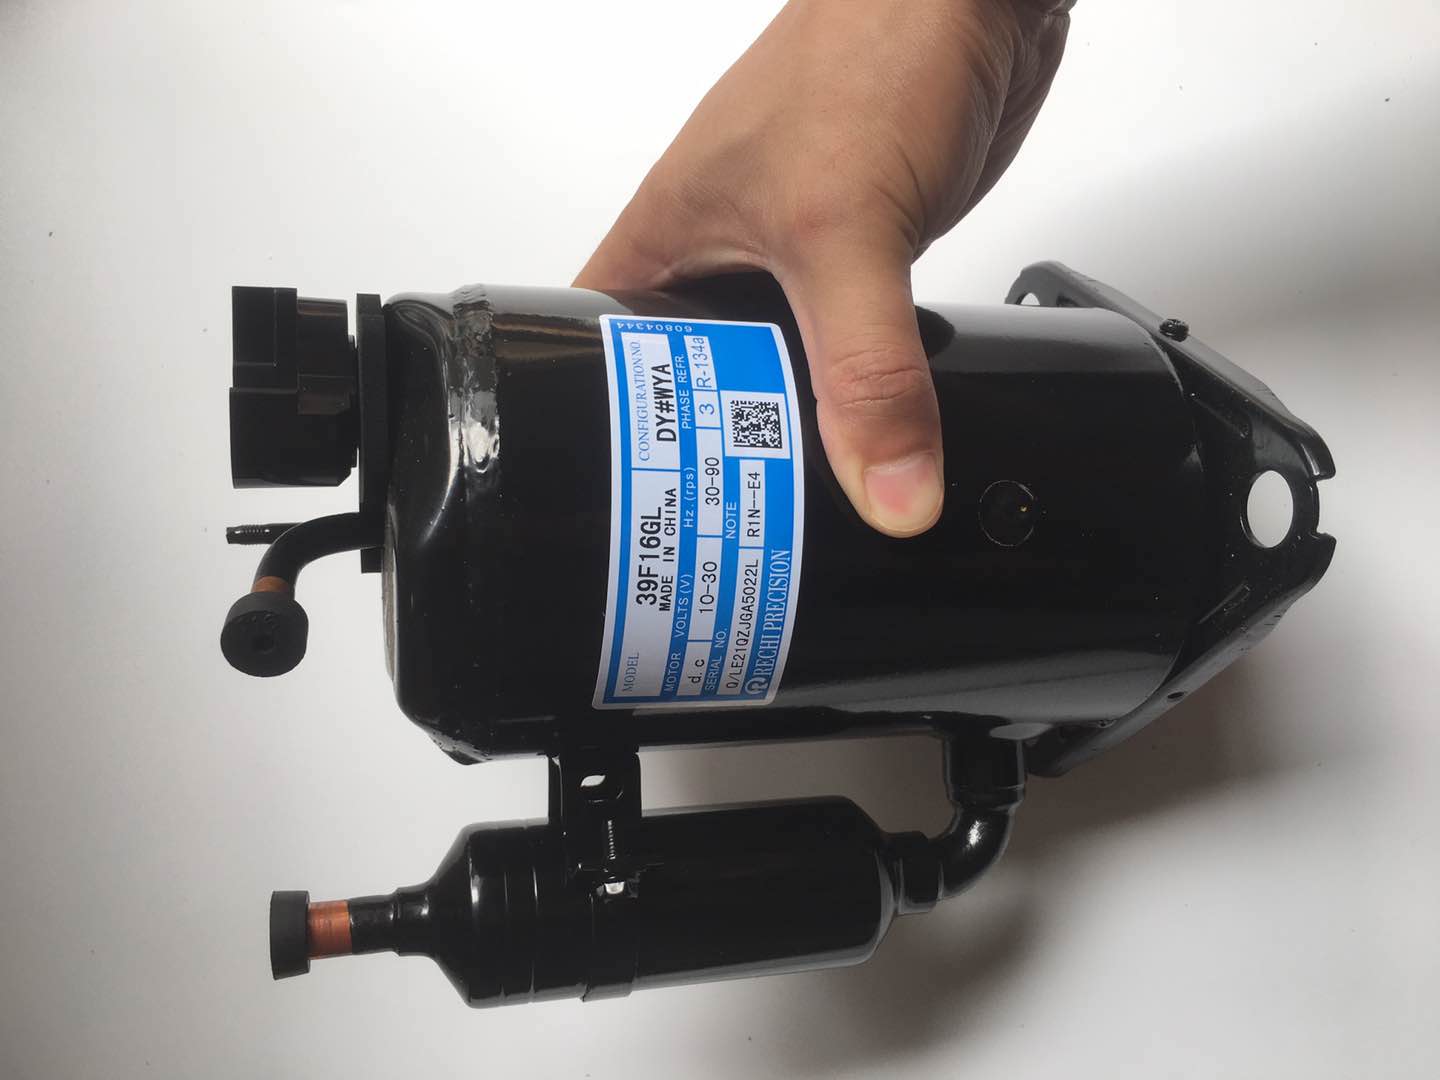
An AC pressure switch, also known as a refrigerant pressure sensor, is a crucial component of an air conditioning system. It is typically located near the AC compressor or in the high-pressure line of the system. The main purpose of the AC pressure switch is to monitor and regulate the pressure of the refrigerant in the AC system.
The switch is designed to detect the pressure levels of the refrigerant and send electrical signals to the compressor to control its operation. When the pressure reaches a certain threshold, the switch will either engage or disengage the compressor, depending on the system’s requirements.
AC pressure switches are important for several reasons. They help protect the AC system from damage due to excessive pressure or lack of refrigerant. By monitoring the pressure levels, the switch can prevent the compressor from running when the pressure is too low, which could indicate a refrigerant leak or other system issues.
On the other hand, if the pressure becomes too high, the AC pressure switch will disengage the compressor to prevent damage to the system. This is crucial because excessive pressure can put stress on the compressor and other components, leading to potential failures and expensive repairs.
In addition to regulating the AC system’s pressure, some pressure switches also provide feedback to the vehicle’s onboard computer system. This feedback helps the computer adjust the engine’s performance, such as adjusting idle speed or controlling the radiator fans, to optimize the overall efficiency of the AC system.
Overall, the AC pressure switch plays a vital role in maintaining the proper performance and safety of the air conditioning system. Regular testing and maintenance of the pressure switch can help identify any issues before they escalate, ensuring that you have a reliable and efficient AC system to keep you cool during those hot summer months.
Why Test the AC Pressure Switch?
Testing the AC pressure switch is essential to ensure the proper functioning of your air conditioning system. Here are several reasons why it is crucial to test the AC pressure switch:
- Determining the Cause of AC Problems: If you’re experiencing issues with your air conditioning system, such as insufficient cooling or the compressor constantly cycling on and off, the AC pressure switch could be the culprit. Testing the switch allows you to identify if it is functioning correctly or if it needs to be replaced.
- Preventing Further Damage: A malfunctioning AC pressure switch can lead to more significant problems if left unchecked. For example, a switch that fails to detect low pressure may allow the compressor to continue running, potentially causing damage to the compressor or other AC components. By testing the switch, you can prevent further damage and avoid costly repairs in the future.
- Ensuring Optimal Performance: The AC pressure switch plays a crucial role in maintaining the proper pressure levels in the system. If the switch is not working correctly, it can lead to inefficient cooling performance and increased energy consumption. Testing the switch allows you to ensure that it is regulating the pressure properly, leading to optimal AC performance.
- Identifying Refrigerant Leaks: One common cause of AC pressure switch failure is a refrigerant leak. Testing the switch can help you determine if the low-pressure reading is a result of a leak, allowing you to address the issue promptly and prevent further refrigerant loss.
- Verifying System Safety: The AC pressure switch serves as a safety mechanism to protect the AC system from excessive pressure. By testing the switch, you can ensure that it is correctly functioning to prevent potential damage to the system and ensure the safety of your vehicle and occupants.
Testing the AC pressure switch is a relatively straightforward process that can be done with basic tools and equipment. By regularly testing and maintaining the switch, you can identify any issues early on and take necessary measures to keep your air conditioning system running smoothly. Remember, if you’re unsure about the testing process or need assistance, it’s always recommended to consult a professional technician for guidance.
Tools and Materials Needed
Before you begin testing the AC pressure switch, gather the following tools and materials to ensure a smooth and efficient process:
- Safety Gloves and Glasses: It’s crucial to prioritize safety while working on your vehicle’s AC system. Make sure to wear safety gloves and glasses to protect your hands and eyes from any potential hazards.
- Multimeter: A multimeter is an essential tool for testing electrical components, including the AC pressure switch. A digital multimeter allows you to measure voltage, resistance, and continuity, helping you determine the switch’s functionality.
- Wrench Set: Depending on the location of the AC pressure switch, you may need a set of wrenches to remove any necessary components for access. Different sizes of wrenches may be required, so it’s essential to have a variety on hand.
- Pen and Paper: Keeping a pen and paper nearby will help you record your testing results and any observations you make during the process. This will come in handy when interpreting the results later on.
- Electrical Contact Cleaner (optional): If you encounter any dirt or debris on the electrical connector while working, having electrical contact cleaner can help clean the connector and ensure proper electrical connections.
- Shop Manual or Online Resources: Having access to a shop manual or online resources specific to your vehicle’s make and model can provide valuable information about the location of the AC pressure switch and any additional steps required for testing.
Having these tools and materials readily available will help streamline the testing process, ensuring that you have everything you need to perform accurate and effective tests on the AC pressure switch. Remember to double-check the compatibility of the tools with your vehicle’s specifications and consult the vehicle’s manual or online resources for any specific requirements or precautions.
Step 1: Safety Precautions
Prior to testing the AC pressure switch, it is crucial to prioritize your safety and take the necessary precautions. Here are the key safety measures to follow:
- Ensure the Engine is Off: Before starting any work on the AC system, make sure the engine is turned off and the ignition is in the off position. This will help prevent any accidental engagement of the AC system components.
- Allow the Engine to Cool Down: AC system components can become very hot during operation. To avoid burns or other injuries, allow the engine to cool down for a sufficient amount of time before starting the testing process.
- Wear Safety Gloves and Glasses: Protect your hands with safety gloves and your eyes with safety glasses throughout the testing process. This will help prevent any injuries that may occur while working with tools or around the AC system’s components.
- Work in a Well-Ventilated Area: Ensure that you are working in a well-ventilated space, either outdoors or in a garage with open doors. This will help prevent the build-up of any potentially harmful gases or fumes that may be present while working on the AC system.
- Be Mindful of High-Pressure Lines: The AC system utilizes high-pressure lines to circulate refrigerant. Be cautious around these lines, as they may be under high pressure and can cause injury if mishandled.
- Follow Proper Disconnection Procedures: When disconnecting electrical connectors or removing components, be sure to follow the proper procedures specified by your vehicle’s manufacturer. This will help prevent any damage to the connectors or surrounding components.
- Consult a Professional if Unsure: If you are uncertain about any step of the testing process or feel uncomfortable performing the task yourself, it is recommended to seek the assistance of a professional technician who has experience working with automotive AC systems.
By adhering to these safety precautions, you can minimize the risk of accidents or injuries while testing the AC pressure switch. Safety should always be a top priority when working on any automotive system, and by taking the necessary precautions, you can ensure a smooth and secure testing process.
Read more: Where Is The AC Pressure Switch Located
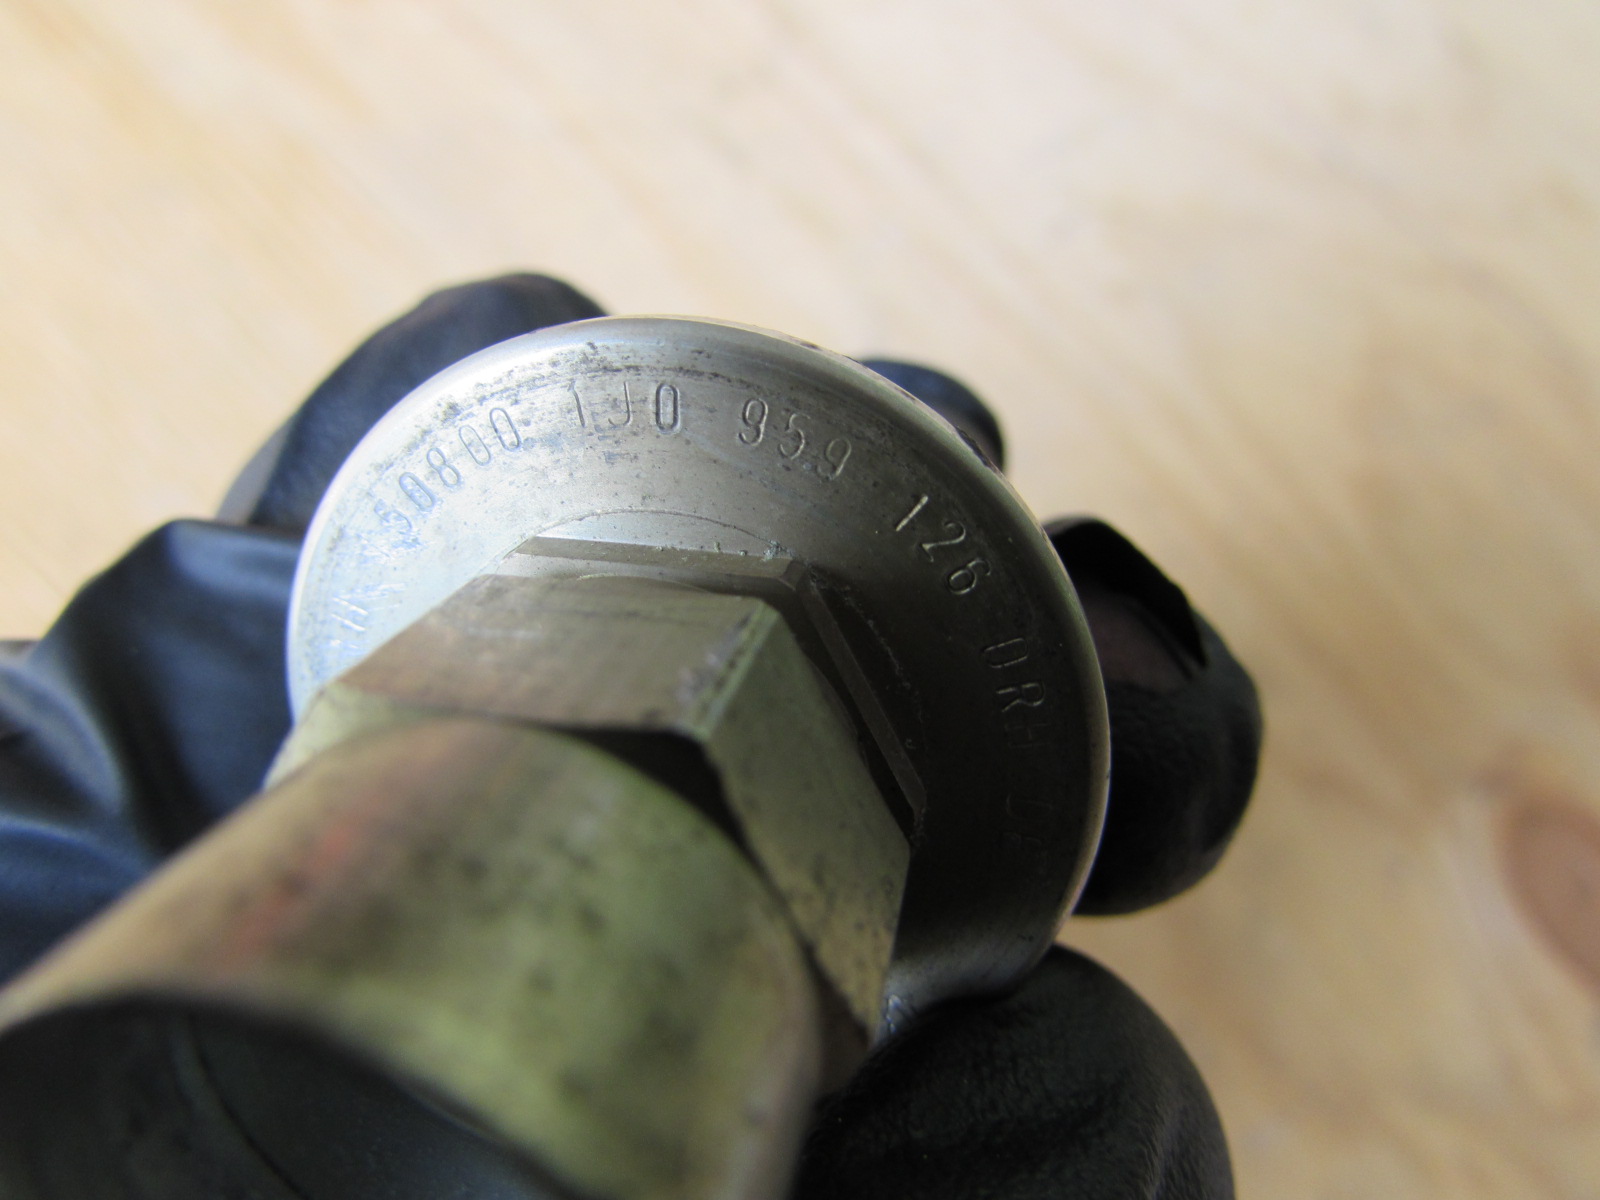
Step 2: Locating the AC Pressure Switch
Locating the AC pressure switch is the next step in the process of testing it. The exact location of the switch may vary depending on the make and model of your vehicle, so referring to the vehicle’s manual or online resources specific to your make and model can provide valuable guidance. Here are some general guidelines to help you find the AC pressure switch:
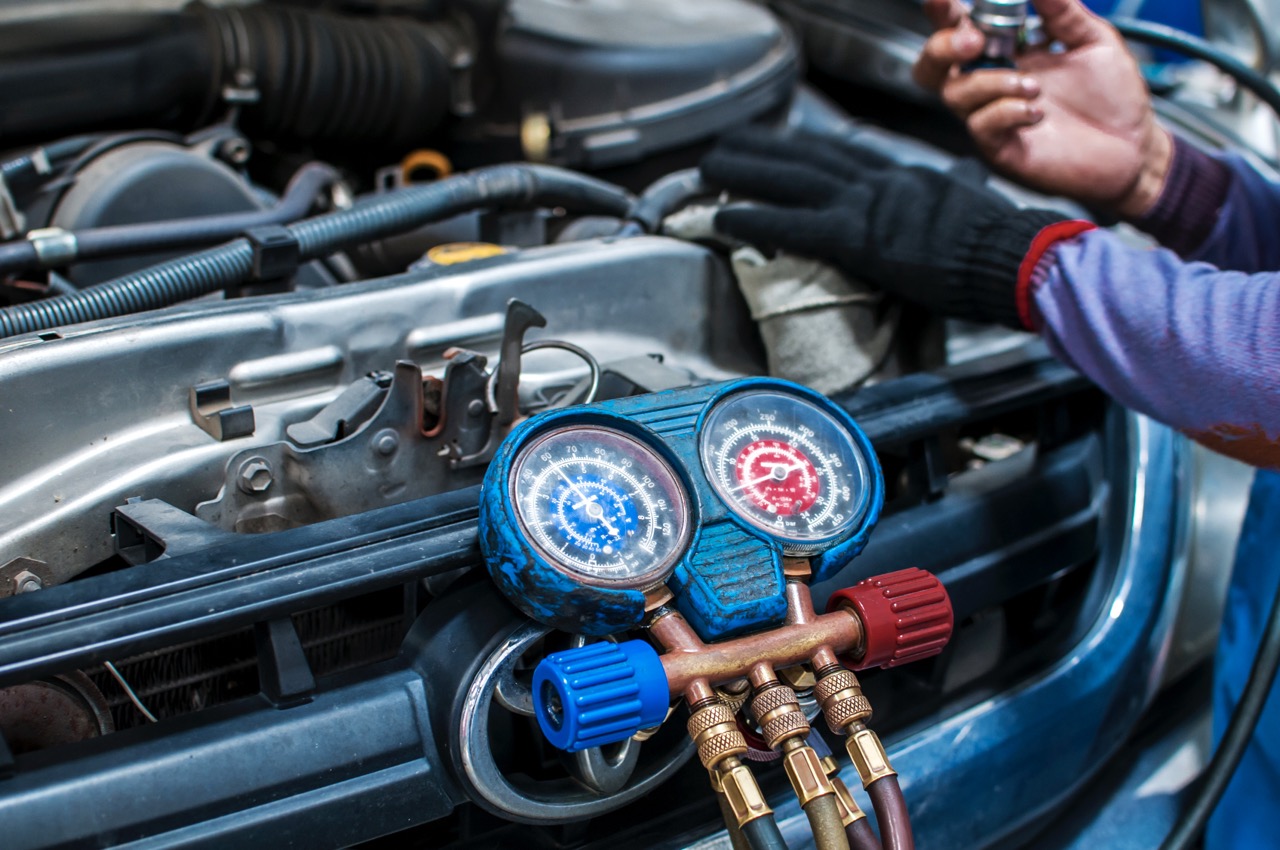
- Check Near the AC Compressor: In most vehicles, the AC pressure switch is located near the AC compressor. The compressor is typically located in the engine bay, driven by a belt connected to the engine. Look for a small component with an electrical connector and refrigerant lines in close proximity to the compressor.
- Look for the High-Pressure Line: The AC pressure switch is often connected to the high-pressure line of the AC system. This line carries the pressurized refrigerant from the compressor to the condenser. Trace the path of the high-pressure line from the compressor and look for a component with electrical connections along its route.
- Refer to the Vehicle’s Manual: If you are unable to locate the AC pressure switch using visual clues, consult your vehicle’s manual or online resources for specific instructions on its location. The manual will provide detailed diagrams and descriptions to help you find the switch.
- Identify the Electrical Connector: Once you have located the AC pressure switch, take note of the electrical connector attached to it. This connector may have wires leading to it and can be easily disconnected for testing purposes.
It is important to note that the AC pressure switch may be located in different positions for different vehicles. In some cases, it may be easily accessible, while in others, it may require the removal of other components or panels to reach it. Take your time to locate the AC pressure switch accurately to ensure a smooth testing process.
Keep in mind that if you are unsure about locating the AC pressure switch or need assistance, it is recommended to consult a professional technician who can guide you through the process. Their experience and expertise will help ensure that you find the AC pressure switch without causing any damage to the vehicle’s components.
When testing an AC pressure switch, use a multimeter to check for continuity across the switch terminals. If there is no continuity, the switch may be faulty and in need of replacement.
Step 3: Removing the Electrical Connector
After locating the AC pressure switch, the next step is to remove the electrical connector attached to it. This will allow you to isolate the switch and perform accurate testing. Follow these steps to remove the electrical connector:
- Ensure the Engine is Off: Before working on any electrical connections, make sure the engine is turned off and the ignition is in the off position. This will prevent any accidental electrical shocks during the process.
- Inspect the Electrical Connector: Take a close look at the AC pressure switch’s electrical connector. It is usually a plastic plug with multiple wires coming out of it. Identify any clips, latches, or locks holding the connector in place.
- Release the Connector Locks: If the connector has locks or latches, use your fingers or a small screwdriver to release them. Gently push or pull the locks in the designated direction to unlock the connector. Be careful not to force anything or apply excessive pressure, as this may damage the connector.
- Disconnect the Connector: Once the locks are released, firmly grasp the connector and pull it straight out. Be gentle but firm to ensure a smooth disconnection. Some connectors may be tight, so wiggling or twisting the connector slightly while pulling can help loosen it.
- Inspect the Connector and Wires: After removing the electrical connector, inspect it for any signs of damage, such as broken pins or corrosion. Similarly, examine the wires connected to the connector for any visible damage or fraying. If you notice any issues, it may be necessary to replace the connector or repair the wires before proceeding.
- Keep the Connector in a Safe Place: Once disconnected, it’s important to keep the electrical connector in a safe place. This will prevent it from getting damaged or misplaced during the testing process.
By following these steps, you can safely remove the electrical connector from the AC pressure switch. Remember to handle the connector with care to avoid any unnecessary damage. In the next step, we will discuss how to use a multimeter to test the AC pressure switch.
Note: If you are unsure about removing the electrical connector or need assistance, it’s always best to consult a professional technician who can guide you through the process and provide any necessary instructions or precautions specific to your vehicle’s make and model.
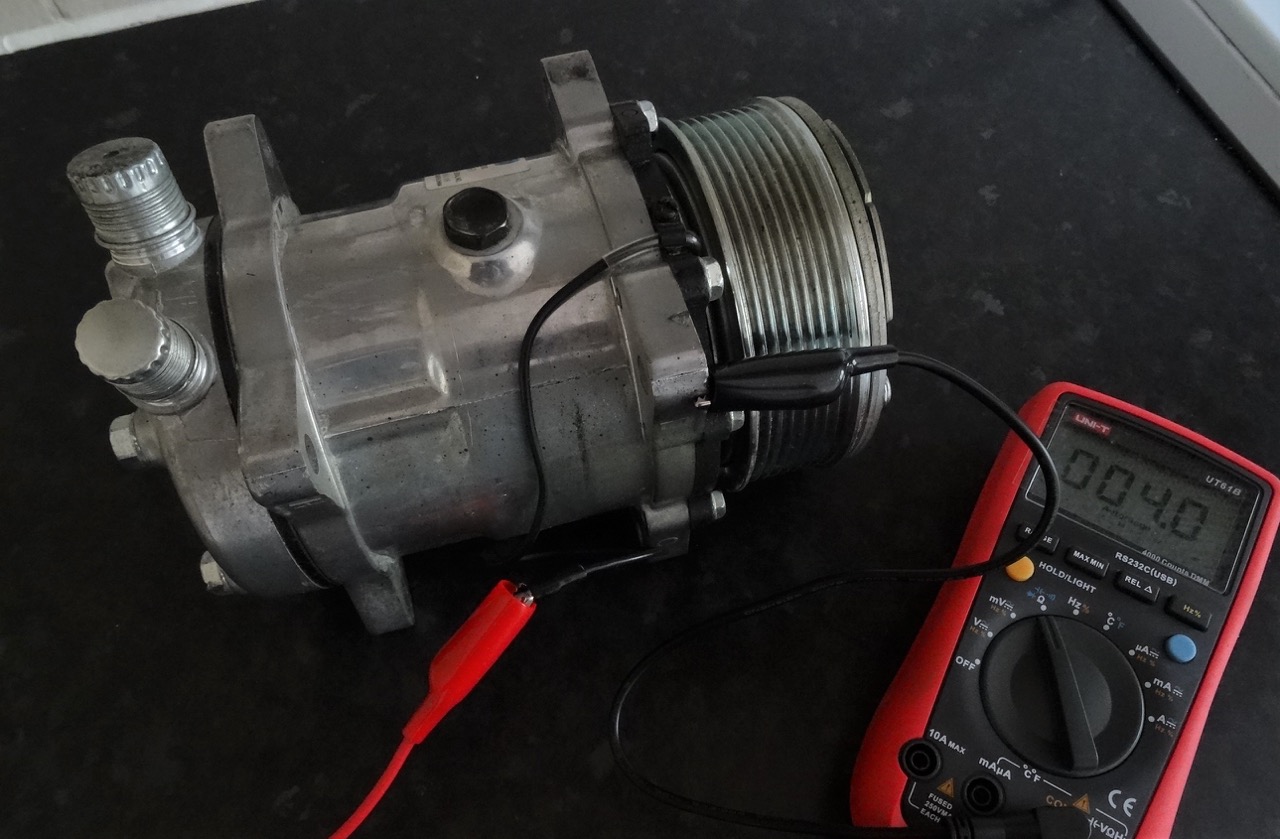
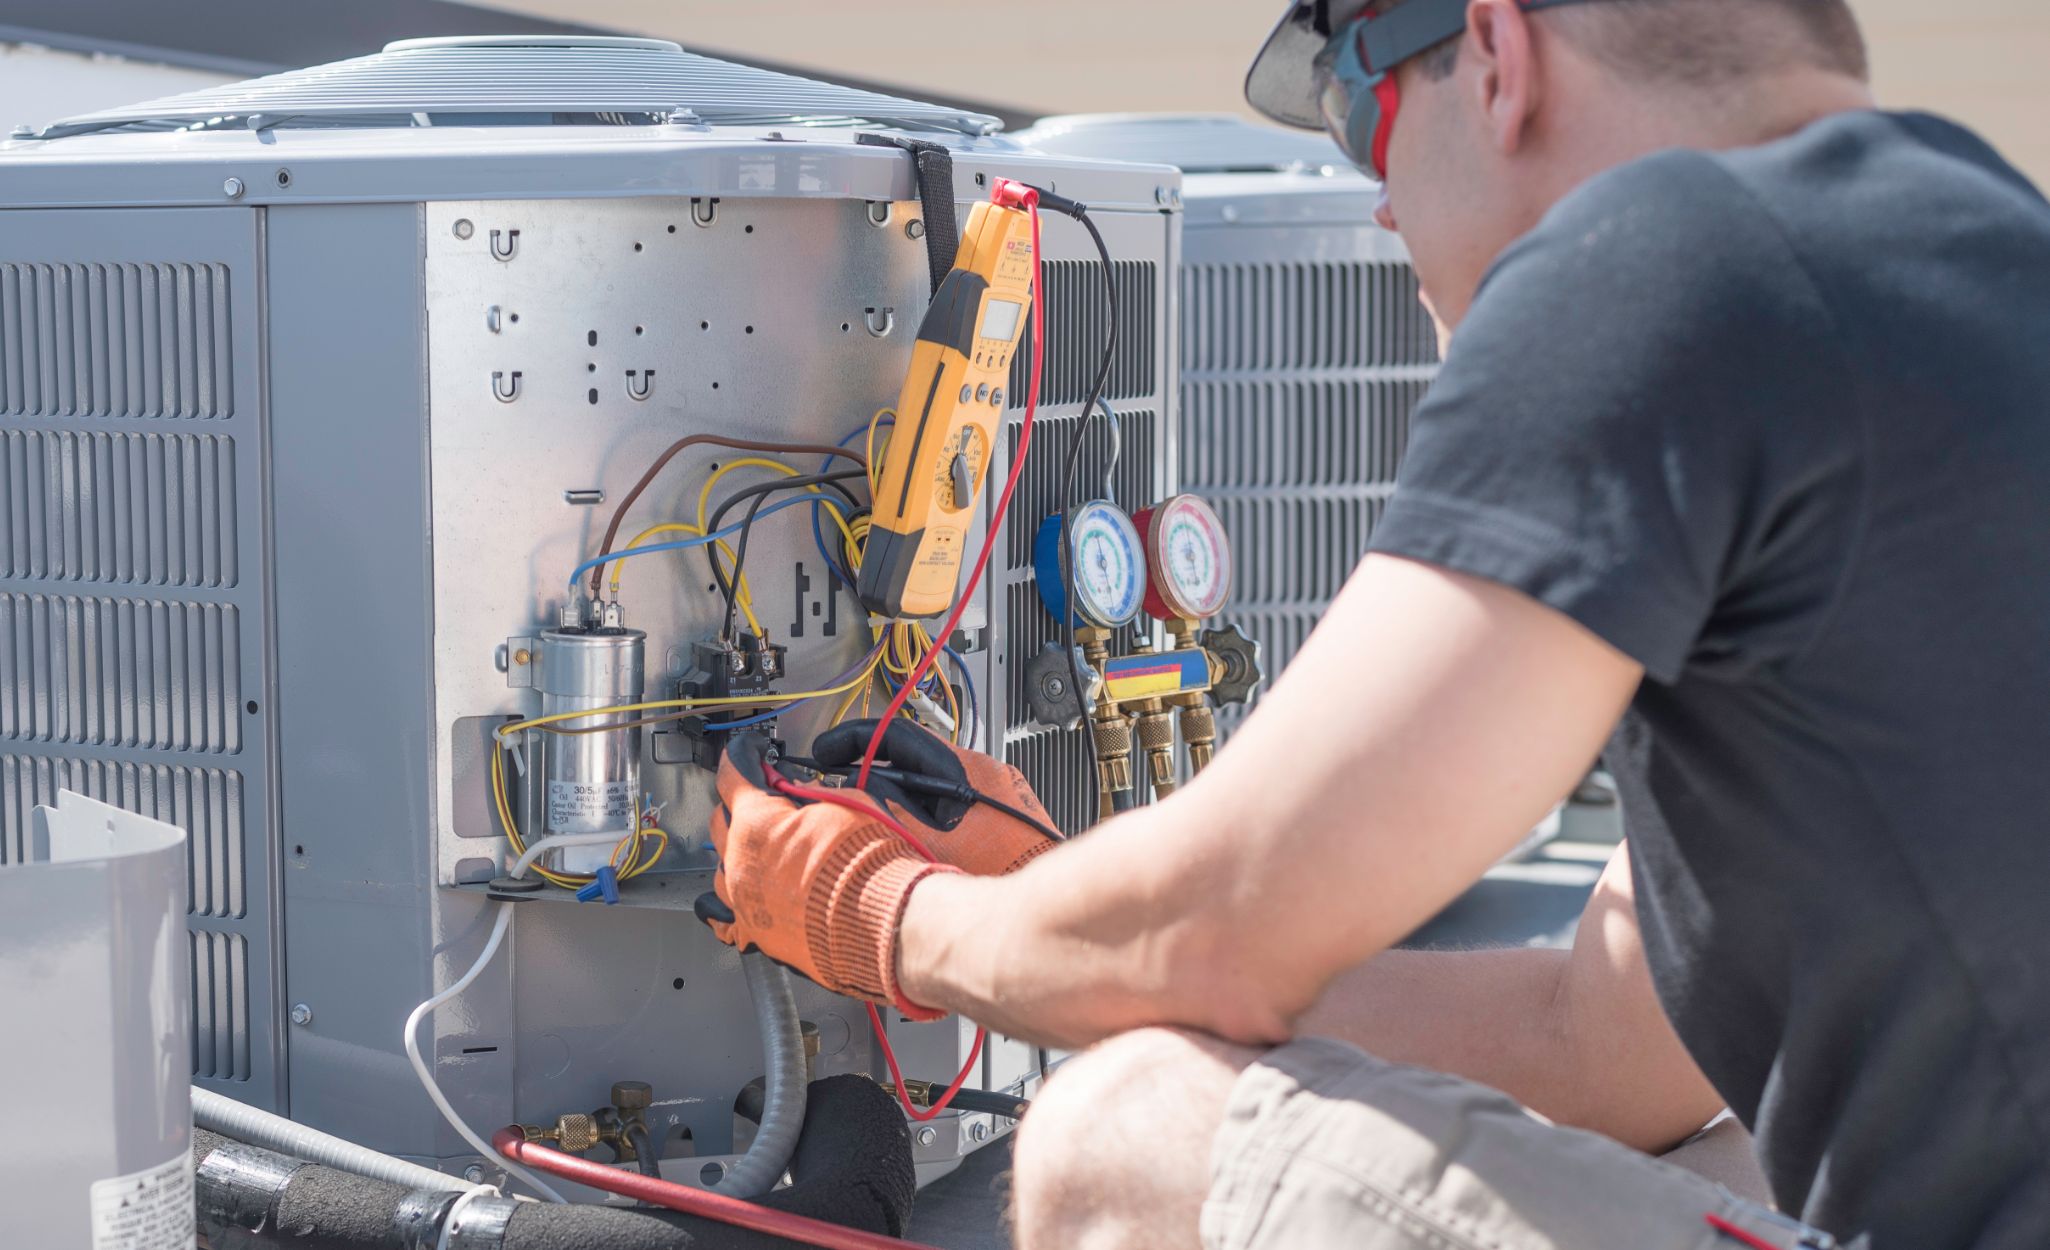
Step 4: Using a Multimeter for Testing
Once you have removed the electrical connector from the AC pressure switch, you can proceed to test the switch using a multimeter. A multimeter is a versatile tool that can measure voltage, resistance, and continuity, making it ideal for testing electrical components. Follow these steps to use a multimeter for testing the AC pressure switch:
- Select the Proper Settings: Set your multimeter to the appropriate settings for resistance testing. Depending on the multimeter model, this may be indicated by the symbol Ω (ohm) or a similar indicator. If unsure, refer to the multimeter’s user manual for guidance.
- Identify the Multimeter Probes: Your multimeter will have two probes – a red probe for the positive (+) connection and a black probe for the negative (-) connection. Familiarize yourself with these probes and ensure they are functioning properly.
- Connect the Multimeter Probes: First, connect the black probe to the common (COM) port on the multimeter. Then, connect the red probe to the resistance (Ω) port. It’s essential to connect the probes correctly to obtain accurate readings during testing.
- Measure the Resistance: Touch the multimeter probes to the terminals of the AC pressure switch where the electrical connector was attached. The switch will have two terminals, and you will measure the resistance between these two terminals. Place the probes firmly on the terminals without applying excessive force.
- Read the Multimeter Display: Look at the multimeter display to read the resistance value. If the switch is functioning correctly, you should see a specific resistance value within the acceptable range. This range can vary depending on the switch’s specifications, so refer to the vehicle’s manual or consult online resources for the specific resistance values for your vehicle’s AC pressure switch.
- Compare the Readings: Compare the measured resistance value to the acceptable range specified for your vehicle’s AC pressure switch. If the measured resistance falls within this range, it indicates that the switch is functioning correctly. However, if the resistance is significantly outside this range or if there is no resistance at all, it may indicate a faulty AC pressure switch that needs to be replaced.
- Record the Results: Take note of the resistance readings and any observations you make during the testing process. This documentation will be useful when interpreting the results and determining the condition of the AC pressure switch.
By using a multimeter for testing, you can accurately measure the resistance of the AC pressure switch and determine if it is within the acceptable range. Remember to handle the multimeter probes and the AC pressure switch terminals attentively to avoid any accidental damage. In the next step, we will discuss how to interpret the results of the testing process.
Note: If you are unfamiliar with using a multimeter or unsure about the testing process, it is recommended to seek the assistance of a professional technician who can guide you through the process and ensure accurate testing.
Step 5: Interpreting the Results
After testing the AC pressure switch with a multimeter, it’s time to interpret the results obtained. Understanding the readings will help you determine if the switch is functioning correctly or if it needs to be replaced. Follow these steps to interpret the results:
- Consider the Specified Range: Refer to the vehicle’s manual or consult online resources to determine the acceptable resistance range for your vehicle’s AC pressure switch. This range can vary depending on the switch’s specifications and the manufacturer’s recommendations.
- Compare the Measured Resistance: Compare the resistance value obtained from the multimeter to the specified range. If the measured resistance falls within this range, it suggests that the AC pressure switch is functioning correctly.
- Out-of-Range Readings: If the measured resistance is significantly higher or lower than the specified range, it indicates a problem with the AC pressure switch. A very high resistance reading may indicate an open circuit or a faulty switch, while a very low resistance reading may suggest a short circuit or a stuck switch.
- Consider Other Factors: While the resistance value is an important factor in evaluating the AC pressure switch, it is not the only consideration. Take into account any other observations or symptoms you have noticed with the AC system. For example, if the switch has a within-range resistance value but the AC system is still not functioning correctly, it may indicate other underlying issues.
- Document the Results: Record the resistance readings and any other relevant observations or symptoms for future reference. This documentation will be valuable when discussing the test results with a professional technician or when troubleshooting further if needed.
- Seek Professional Assistance if Necessary: If you are unsure about interpreting the results or if the readings indicate a faulty AC pressure switch, it is recommended to seek the assistance of a professional technician. They can provide expert advice and guidance, ensuring that the issue is properly diagnosed and resolved.
Interpreting the results accurately is crucial for determining the condition of the AC pressure switch. By considering the specified range, making comparisons, and taking into account any other relevant factors, you can make an informed decision about the switch’s functionality. Remember, it is always best to consult a professional if you have any doubts or concerns regarding the testing process or the interpretation of the results.
Read more: How To Jump 3 Wire AC Pressure Switch
Step 6: Replacing the AC Pressure Switch (if necessary)
If the testing results indicate that the AC pressure switch is faulty, it is important to replace it to ensure proper functioning of your air conditioning system. Here are the steps to follow when replacing the AC pressure switch:
- Gather the Required Materials: Before starting the replacement process, gather the necessary materials, including a new AC pressure switch that is compatible with your vehicle’s make and model. You may also need tools such as wrenches or pliers to remove and install the switch.
- Disconnect the Negative Battery Terminal: To ensure safety, always disconnect the negative terminal of the vehicle’s battery before working on any electrical components. This will prevent any chance of accidental electrical shocks during the replacement process.
- Locate the Faulty AC Pressure Switch: Refer to the previous steps to locate the AC pressure switch in your vehicle. Familiarize yourself with its position and the components surrounding it.
- Remove the Old AC Pressure Switch: Begin by carefully disconnecting any remaining electrical connectors or wires attached to the faulty pressure switch. Use the appropriate tools to remove any bolts or clamps securing the switch in place. Gently remove the old switch from its position, being mindful not to damage any surrounding components.
- Install the New AC Pressure Switch: Take the new AC pressure switch and position it correctly in the mounting area. Ensure that it is aligned properly and insert any bolts or clamps to secure it in place. Reconnect the electrical connectors or wires to the new switch, ensuring a secure and proper connection.
- Reconnect the Negative Battery Terminal: Once the new AC pressure switch is installed, reconnect the negative terminal of the vehicle’s battery. This will restore power to the electrical system.
- Test the AC System: After replacing the AC pressure switch, it is crucial to test the air conditioning system to ensure proper operation. Start the engine and turn on the AC, checking for cold air and proper cycling of the compressor. Monitor the system for any unusual behavior or signs of malfunction.
- Record the Replacement: Document the replacement process, including the date of replacement and any relevant details. This will help you keep track of maintenance and repairs performed on your vehicle’s AC system.
Replacing the AC pressure switch requires careful attention to detail and proper installation procedures. If you are unfamiliar or uncomfortable with performing this task, it is recommended to seek the assistance of a professional technician who can ensure a proper replacement and thorough testing of the system.
Remember, the replacement process may vary slightly depending on the specific make and model of your vehicle. Always consult the vehicle’s manual or reliable online resources for detailed instructions specific to your vehicle to ensure accuracy and prevent any potential damage.
Conclusion
Congratulations! You have successfully learned how to test the AC pressure switch. By following the step-by-step process outlined in this guide, you can accurately diagnose and address any issues with your air conditioning system. Understanding the importance of testing the AC pressure switch helps you ensure the optimal performance and longevity of your AC system.
The AC pressure switch plays a crucial role in monitoring and regulating the pressure of the refrigerant in the AC system. By testing the switch, you can determine if it is functioning correctly or if it needs to be replaced. A malfunctioning AC pressure switch can lead to various problems, such as poor cooling performance, compressor cycling issues, or potential damage to the AC system components.
Remember to prioritize safety throughout the testing process by following the recommended safety precautions. Wear appropriate safety gloves and glasses, work in a well-ventilated area, and disconnect the engine and battery before starting any work on the AC system. If you encounter any difficulties or uncertainties during testing, do not hesitate to seek professional assistance.
If the test results indicate a faulty AC pressure switch, replacing it is crucial for restoring the proper functioning of your AC system. Follow the recommended steps, gather the necessary materials, disconnect the negative battery terminal, remove the old switch, install the new switch, and reconnect the battery terminal. Finally, test the AC system to ensure correct operation.
Regularly testing and maintaining the AC pressure switch, along with the entire AC system, will help prevent major issues and keep your vehicle’s interior comfortable during hot weather. If you are unsure about any aspect of the testing process, it is always recommended to consult a professional technician with experience in automotive AC systems.
By having a clear understanding of how to test the AC pressure switch and confidently performing the necessary steps, you have taken an important step towards maintaining a properly functioning air conditioning system. Stay cool and enjoy the benefits of a reliable and efficient AC system in your vehicle!
Frequently Asked Questions about How To Test AC Pressure Switch
Was this page helpful?
At Storables.com, we guarantee accurate and reliable information. Our content, validated by Expert Board Contributors, is crafted following stringent Editorial Policies. We're committed to providing you with well-researched, expert-backed insights for all your informational needs.


0 thoughts on “How To Test AC Pressure Switch”