Articles
How To Install A Wall AC Unit
Modified: October 31, 2024
Learn how to properly install a wall AC unit in your home with our informative articles. Gain insight on the process and avoid common mistakes.
(Many of the links in this article redirect to a specific reviewed product. Your purchase of these products through affiliate links helps to generate commission for Storables.com, at no extra cost. Learn more)
Introduction
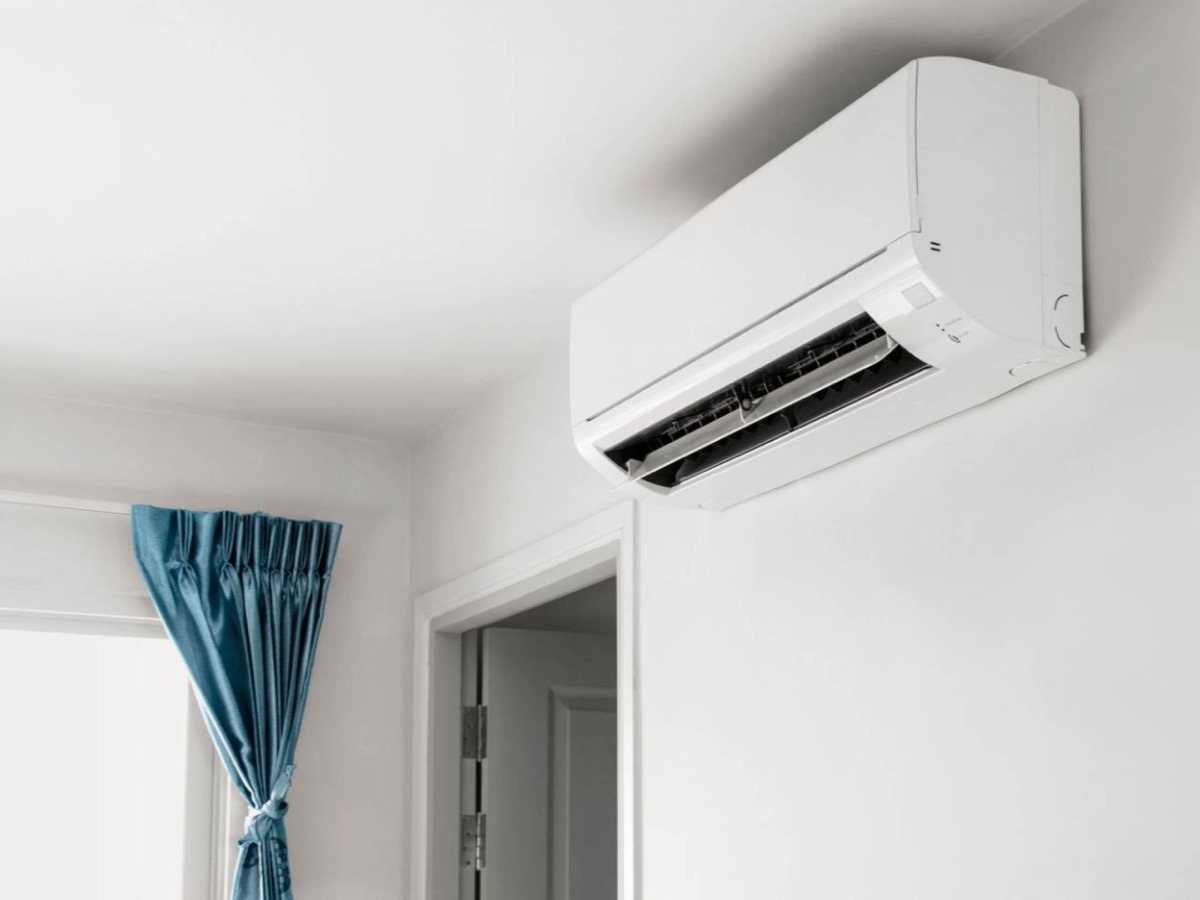
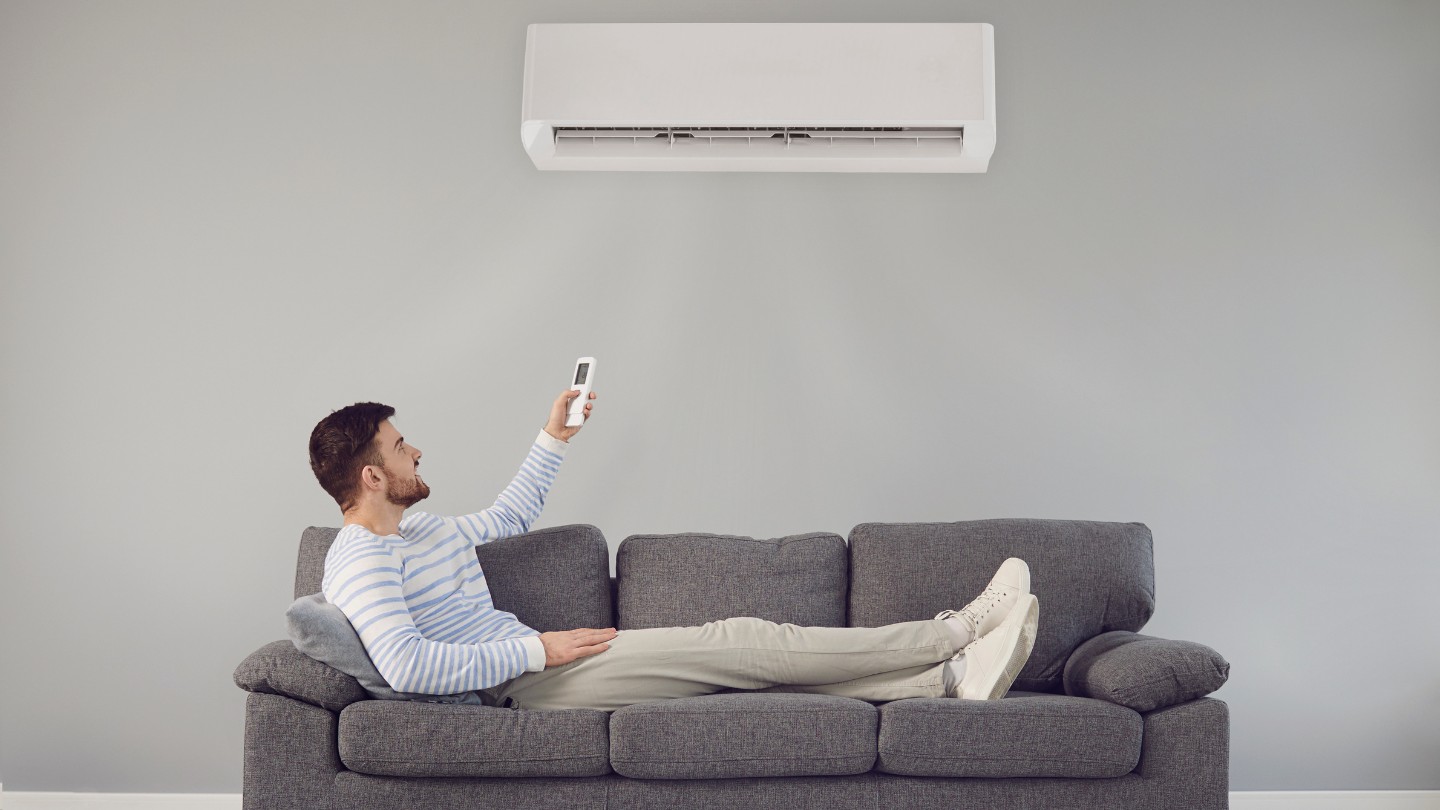
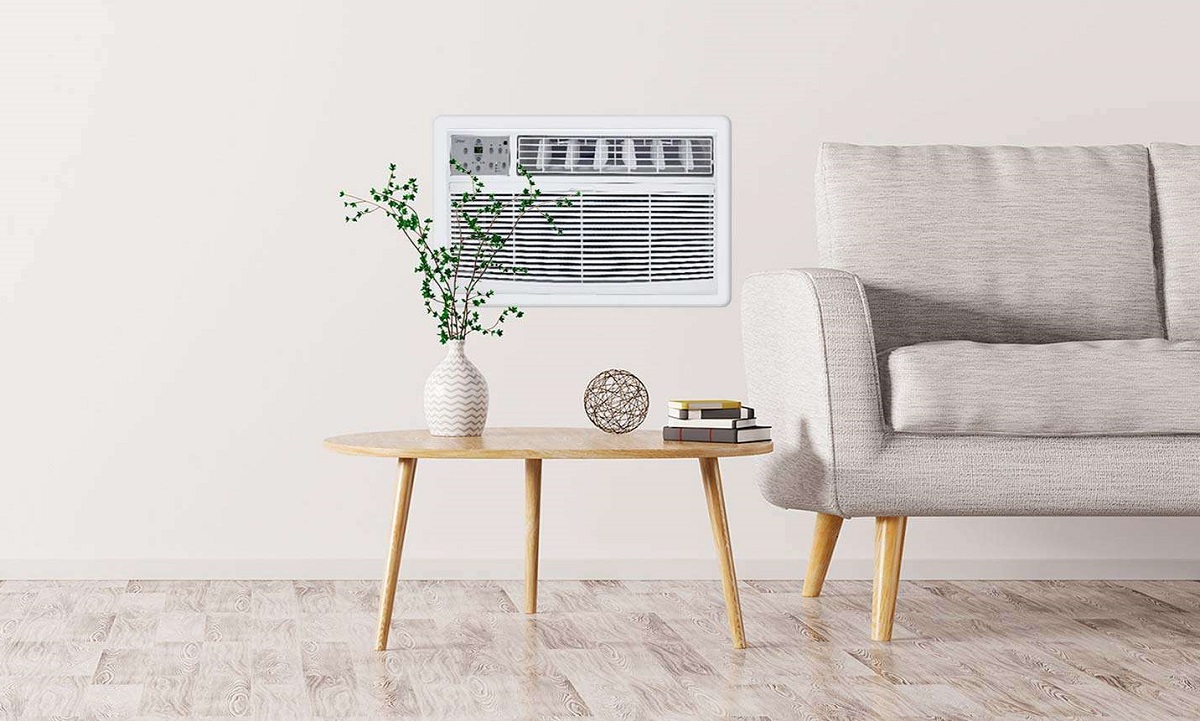
Welcome to the complete guide on how to install a wall AC unit in your home or office. Wall AC units, also known as through-the-wall air conditioners, are a great cooling solution for spaces where a central air conditioning system is not feasible or desired. Whether you want to cool a specific room or add extra cooling to your existing system, installing a wall AC unit is a practical and cost-effective option.
In this article, we will walk you through the step-by-step process of installing a wall AC unit. From planning and preparation to the final testing, we will cover all the necessary steps to ensure a successful installation. Before you begin, make sure to consult the manufacturer’s instructions for your specific AC unit model, as installation procedures may vary.
Installing a wall AC unit involves several important considerations, including choosing the right location, checking electrical requirements, and gathering the necessary tools. By following this comprehensive guide, you’ll be able to install your wall AC unit confidently and effectively.
Before we dive into the installation process, it’s essential to emphasize the importance of safety. Working with electrical equipment can be dangerous, so always take necessary precautions. If you are uncomfortable or unsure about any steps, it’s best to consult a professional HVAC technician for assistance.
Now that we’ve established the groundwork, let’s move on to the pre-installation steps, where we’ll discuss preparing for the installation process.
Key Takeaways:
- Proper planning, precise measurements, and attention to detail are essential for a successful wall AC unit installation. Choosing the right location, checking electrical requirements, and gathering necessary tools are crucial pre-installation steps.
- The step-by-step installation process, from cutting the opening to connecting electrical wiring, ensures a secure and efficient wall AC unit installation. Prioritizing safety, insulation, and thorough testing leads to a comfortable and reliable cooling system.
Read more: How To Clean Wall AC Unit
Pre-Installation Steps
Before you begin the installation process, there are a few key pre-installation steps you should take to ensure everything goes smoothly.
- Check your local regulations: It’s important to research and understand any building codes or regulations regarding the installation of wall AC units in your area. Some regions may have specific requirements or restrictions that need to be followed.
- Measure the room: Determine the size of the room where you plan to install the wall AC unit. This will help you choose the right size and capacity for your unit. Measure the length, width, and height of the room to calculate the total square footage.
- Assess insulation: Check the insulation of the room. Poor insulation can affect the efficiency of the AC unit. Consider adding insulation or sealing any air leaks before installation to maximize the cooling effectiveness.
- Evaluate electrical capacity: Make sure your electrical system has enough capacity to handle the additional load of the AC unit. Consult an electrician if necessary to ensure that your electrical system can safely support the unit.
- Consider drainage options: Determine how the condensate will be drained. Wall AC units typically produce condensation that needs to be drained properly. You can connect a hose to the unit for continuous drainage or collect the condensate in a pan and empty it manually.
- Check window accessibility: Check if there is enough clearance around the window or wall where the AC unit will be installed. Ensure that there are no obstructions such as furniture, curtains, or trees that could hinder the installation process.
- Review warranty and support: Familiarize yourself with the warranty terms and conditions provided by the manufacturer. Additionally, research the availability of support and service centers in your area in case you encounter any issues or need assistance in the future.
By completing these pre-installation steps, you’ll ensure that you’re well-prepared for the installation process. Now that you’re ready, let’s move on to choosing the right location for your wall AC unit.
Choosing the Right Location
Choosing the right location for your wall AC unit is crucial for its effectiveness and efficiency. Consider the following factors when selecting the optimal spot:
- Room layout: Assess the layout of the room to determine the best location for the AC unit. Consider factors such as furniture placement, windows, doors, and electrical outlets. Aim for a location that allows for even distribution of cool air throughout the space.
- Access to the exterior: Ideally, the wall where you plan to install the unit should have direct access to the exterior. This makes it easier to connect the unit’s vent and exhaust to the outside. However, if the desired location is on an interior wall, you may need to use additional ductwork or venting options to redirect the air outside.
- Avoiding direct sunlight: Try to choose a location that is not directly exposed to sunlight. Sunlight can increase the temperature inside the AC unit, making it less efficient. Additionally, direct sunlight can cause glare and affect the comfort level of the room.
- Avoiding obstructions: Ensure that there are no obstructions such as curtains, blinds, or furniture blocking the airflow from the unit. These obstructions can restrict the airflow, diminishing the cooling effect. Clear any obstacles and ensure there is sufficient clearance around the unit.
- Ductwork accessibility: If your wall AC unit requires ductwork, make sure the chosen location allows for easy installation and access to the required ductwork components. Plan the routing of the ductwork to ensure efficient airflow and minimal disruption to the surrounding walls and structure.
- Noise concerns: Consider the noise level of the AC unit when selecting the location, especially if it is installed in a bedroom or a quiet office space. Opt for a location away from bedrooms or areas where noise sensitivity is a concern.
- Visibility: Take into account the exterior aesthetics when choosing the location. The exterior appearance of the AC unit should blend in with the overall building design. If possible, select a location that is visually inconspicuous.
By carefully considering these factors, you can choose the optimal location for your wall AC unit. Once you’ve determined the right spot, you’re ready to move on to the next step – checking the electrical requirements.
Checking the Electrical Requirements
Before beginning the installation process, it’s crucial to ensure that your electrical system can support the power requirements of the wall AC unit. Here are the steps to check the electrical requirements:
- Refer to the manufacturer’s specifications: Consult the manufacturer’s instructions or specifications for your specific wall AC unit model. Look for the electrical requirements, including the voltage, amperage, and circuit breaker size that the unit requires.
- Check the existing electrical system: Examine your home or office’s electrical panel to determine if it has the necessary capacity to handle the additional load. Identify an available circuit breaker that corresponds to the required amperage for the AC unit.
- Consult an electrician if needed: If you are unsure about the capacity of your electrical system or need to make any modifications, it’s recommended to consult a licensed electrician. They will assess your electrical system and make any necessary upgrades or changes to accommodate the AC unit.
- Consider dedicated circuits: It’s ideal to have a dedicated circuit for the wall AC unit to avoid overloading existing circuits. This ensures that the unit receives consistent power without tripping the circuit breaker due to other appliances or devices on the same circuit.
- Provide proper grounding: Ensure that the electrical outlet where the unit will be plugged in is properly grounded. Grounding is essential for safety and to prevent electrical hazards. If the outlet is not grounded, it’s advisable to hire an electrician to install a grounded outlet.
- Use a surge protector: Consider using a surge protector to protect the AC unit from power surges, which can cause damage. A surge protector will help maintain a stable power supply and safeguard the unit against electrical fluctuations.
- Observe safety precautions: Always follow electrical safety guidelines when working with electricity. Make sure to turn off the power to the area where you’ll be working, and use appropriate safety equipment such as gloves and safety glasses.
By checking the electrical requirements and ensuring that your electrical system is properly configured, you’ll avoid potential electrical issues and ensure the safe and efficient operation of your wall AC unit. With the electrical requirements confirmed, it’s time to gather the necessary tools for the installation process.
Gathering the Necessary Tools
Before you begin the installation process, it’s essential to gather all the necessary tools and equipment. Having the right tools on hand will make the installation process smoother and more efficient. Here are the tools you’ll need:
- Tape measure: Use a tape measure to accurately measure the dimensions of the wall and window, ensuring a precise fit for the AC unit.
- Pencil or marker: These will be used to mark the measurements and cutting lines on the wall.
- Circular saw or reciprocating saw: Depending on the type of wall material, you may need a circular saw or reciprocating saw to cut the opening for the AC unit.
- Screwdriver or power drill: These tools will be necessary for removing any existing fixtures or fasteners and installing the brackets and screws for the AC unit.
- Level: Use a level to ensure that the AC unit and support brackets are installed horizontally and evenly.
- Hammer: A hammer is useful for knocking out any excess debris or creating small openings in the wall.
- Caulking gun: Use a caulking gun to apply sealant or caulk around the AC unit and any gaps in the wall, providing a weather-tight seal.
- Electrical tools: Depending on the electrical requirements of your specific AC unit, you may need wire strippers, wire connectors, electrical tape, and a voltage tester for electrical connections.
- Insulation materials: Gather insulation materials such as foam insulation tape or spray foam insulation to seal any gaps around the AC unit and prevent air leakage.
- Protective gear: It’s important to prioritize safety, so make sure to have safety glasses, gloves, and a dust mask to protect yourself during the installation process.
By having these essential tools readily available, you’ll be well-equipped to tackle the installation process and ensure a smooth and successful installation. With your tools in hand, it’s time to move on to the step-by-step installation process, starting with measuring and marking the wall.
Read more: How Much To Install AC In A House
Step 1: Measuring and Marking the Wall
The first step in installing a wall AC unit is to measure and mark the wall where the unit will be installed. Proper measurements are crucial for ensuring a precise fit. Here’s how to measure and mark the wall:
- Measure the dimensions: Use a tape measure to determine the width, height, and depth of the AC unit. Take note of these measurements as you’ll need them to mark the wall accurately.
- Identify the placement: Based on your chosen location, mark the placement of the AC unit on the wall. Use a pencil or marker to outline the dimensions of the unit, ensuring that the markings are level and straight.
- Mark the cutting lines: Measure and mark the cutting lines for the opening in the wall. These lines should be slightly larger than the dimensions of the AC unit, allowing for a proper fit. Use a level to ensure that the lines are straight and plumb.
- Mark the bracket placement: Identify the placement of the support brackets for the AC unit. Refer to the manufacturer’s instructions for the specific spacing and positioning of the brackets. Mark the locations for the brackets on the wall, ensuring that they are level and evenly spaced.
- Double-check the measurements: Before proceeding to the next step, double-check all the measurements and markings to ensure accuracy. Any errors in measurement can lead to complications during the installation process.
Remember to take your time and be precise when measuring and marking the wall. Accurate measurements and markings will ensure a seamless installation process and a professional-looking result.
Once you have measured and marked the wall, you’re ready to move on to the next step – cutting the opening.
Step 2: Cutting the Opening
After measuring and marking the wall for the AC unit, it’s time to cut the opening that will accommodate the unit. This step requires careful precision to ensure a clean and correctly sized opening. Follow these instructions to cut the opening:
- Gather the necessary tools: Before you start cutting, ensure you have the appropriate tools on hand. Depending on the wall material, you may need a circular saw, reciprocating saw, or a combination of both.
- Put on protective gear: Prioritize safety by wearing safety glasses, gloves, and a dust mask to protect yourself from flying debris and dust during the cutting process.
- Start cutting: Begin cutting along the marked lines using the appropriate saw. Take your time and make smooth and controlled cuts. If you’re using a circular saw, make sure to set the depth of the blade to the thickness of the wall to avoid cutting too deeply.
- Work in sections: If the wall material is particularly thick or challenging to cut through, consider working in smaller sections. This will make the process more manageable and precise.
- Remove the cut section: Once you’ve made all the necessary cuts, carefully remove the cut section of the wall. Set it aside for disposal or later use if applicable.
- Check the opening size: Before proceeding, ensure that the opening is the correct size to accommodate the AC unit. Verify the dimensions by comparing them to the markings you made on the wall. Make any necessary adjustments by trimming or widening the opening if needed.
- Prepare the edges: After cutting the opening, use sandpaper or a file to smooth any rough edges and remove any splinters. This will help create a clean and even surface for installing the AC unit.
Remember to take your time and exercise caution when cutting the opening in the wall. Double-check your measurements and ensure that the opening is the correct size and shape before moving on to the next step.
Now that the opening is cut and ready, it’s time to move on to Step 3: Installing the Support Brackets.
When installing a wall AC unit, make sure to properly seal any gaps around the unit with weatherstripping or foam to prevent air leaks and maximize energy efficiency.
Step 3: Installing the Support Brackets
Once you have cut the opening for the AC unit, the next step is to install the support brackets. These brackets provide stability and support for the unit. Follow these instructions to install the support brackets:
- Gather the necessary tools: Before you begin, make sure you have the required tools, including a screwdriver or power drill, screws or fasteners, and a level.
- Position the brackets: Place the support brackets on the inside of the wall, aligning them with the markings you made during the pre-installation steps. Ensure that the brackets are positioned evenly and level.
- Secure the brackets: Using your screwdriver or power drill, drive screws or fasteners through the holes in the brackets into the wall. Make sure the screws are properly tightened, but avoid overtightening, which can damage the wall or brackets.
- Check for stability: Once both brackets are installed, double-check their stability and levelness. Use a level to ensure that the brackets are perfectly horizontal or slightly tilted downward for proper condensate drainage.
- Adjust if necessary: If the brackets are not level or stable, make any necessary adjustments by loosening the screws and repositioning the brackets. Repeat step 3 to secure them in place again.
Installing the support brackets is a critical step in ensuring the proper installation and stability of the AC unit. Take your time to ensure that the brackets are securely fastened and level, as they will bear the weight of the unit.
With the support brackets installed, you’re one step closer to completing the installation process. The next step is Step 4: Mounting the AC Unit.
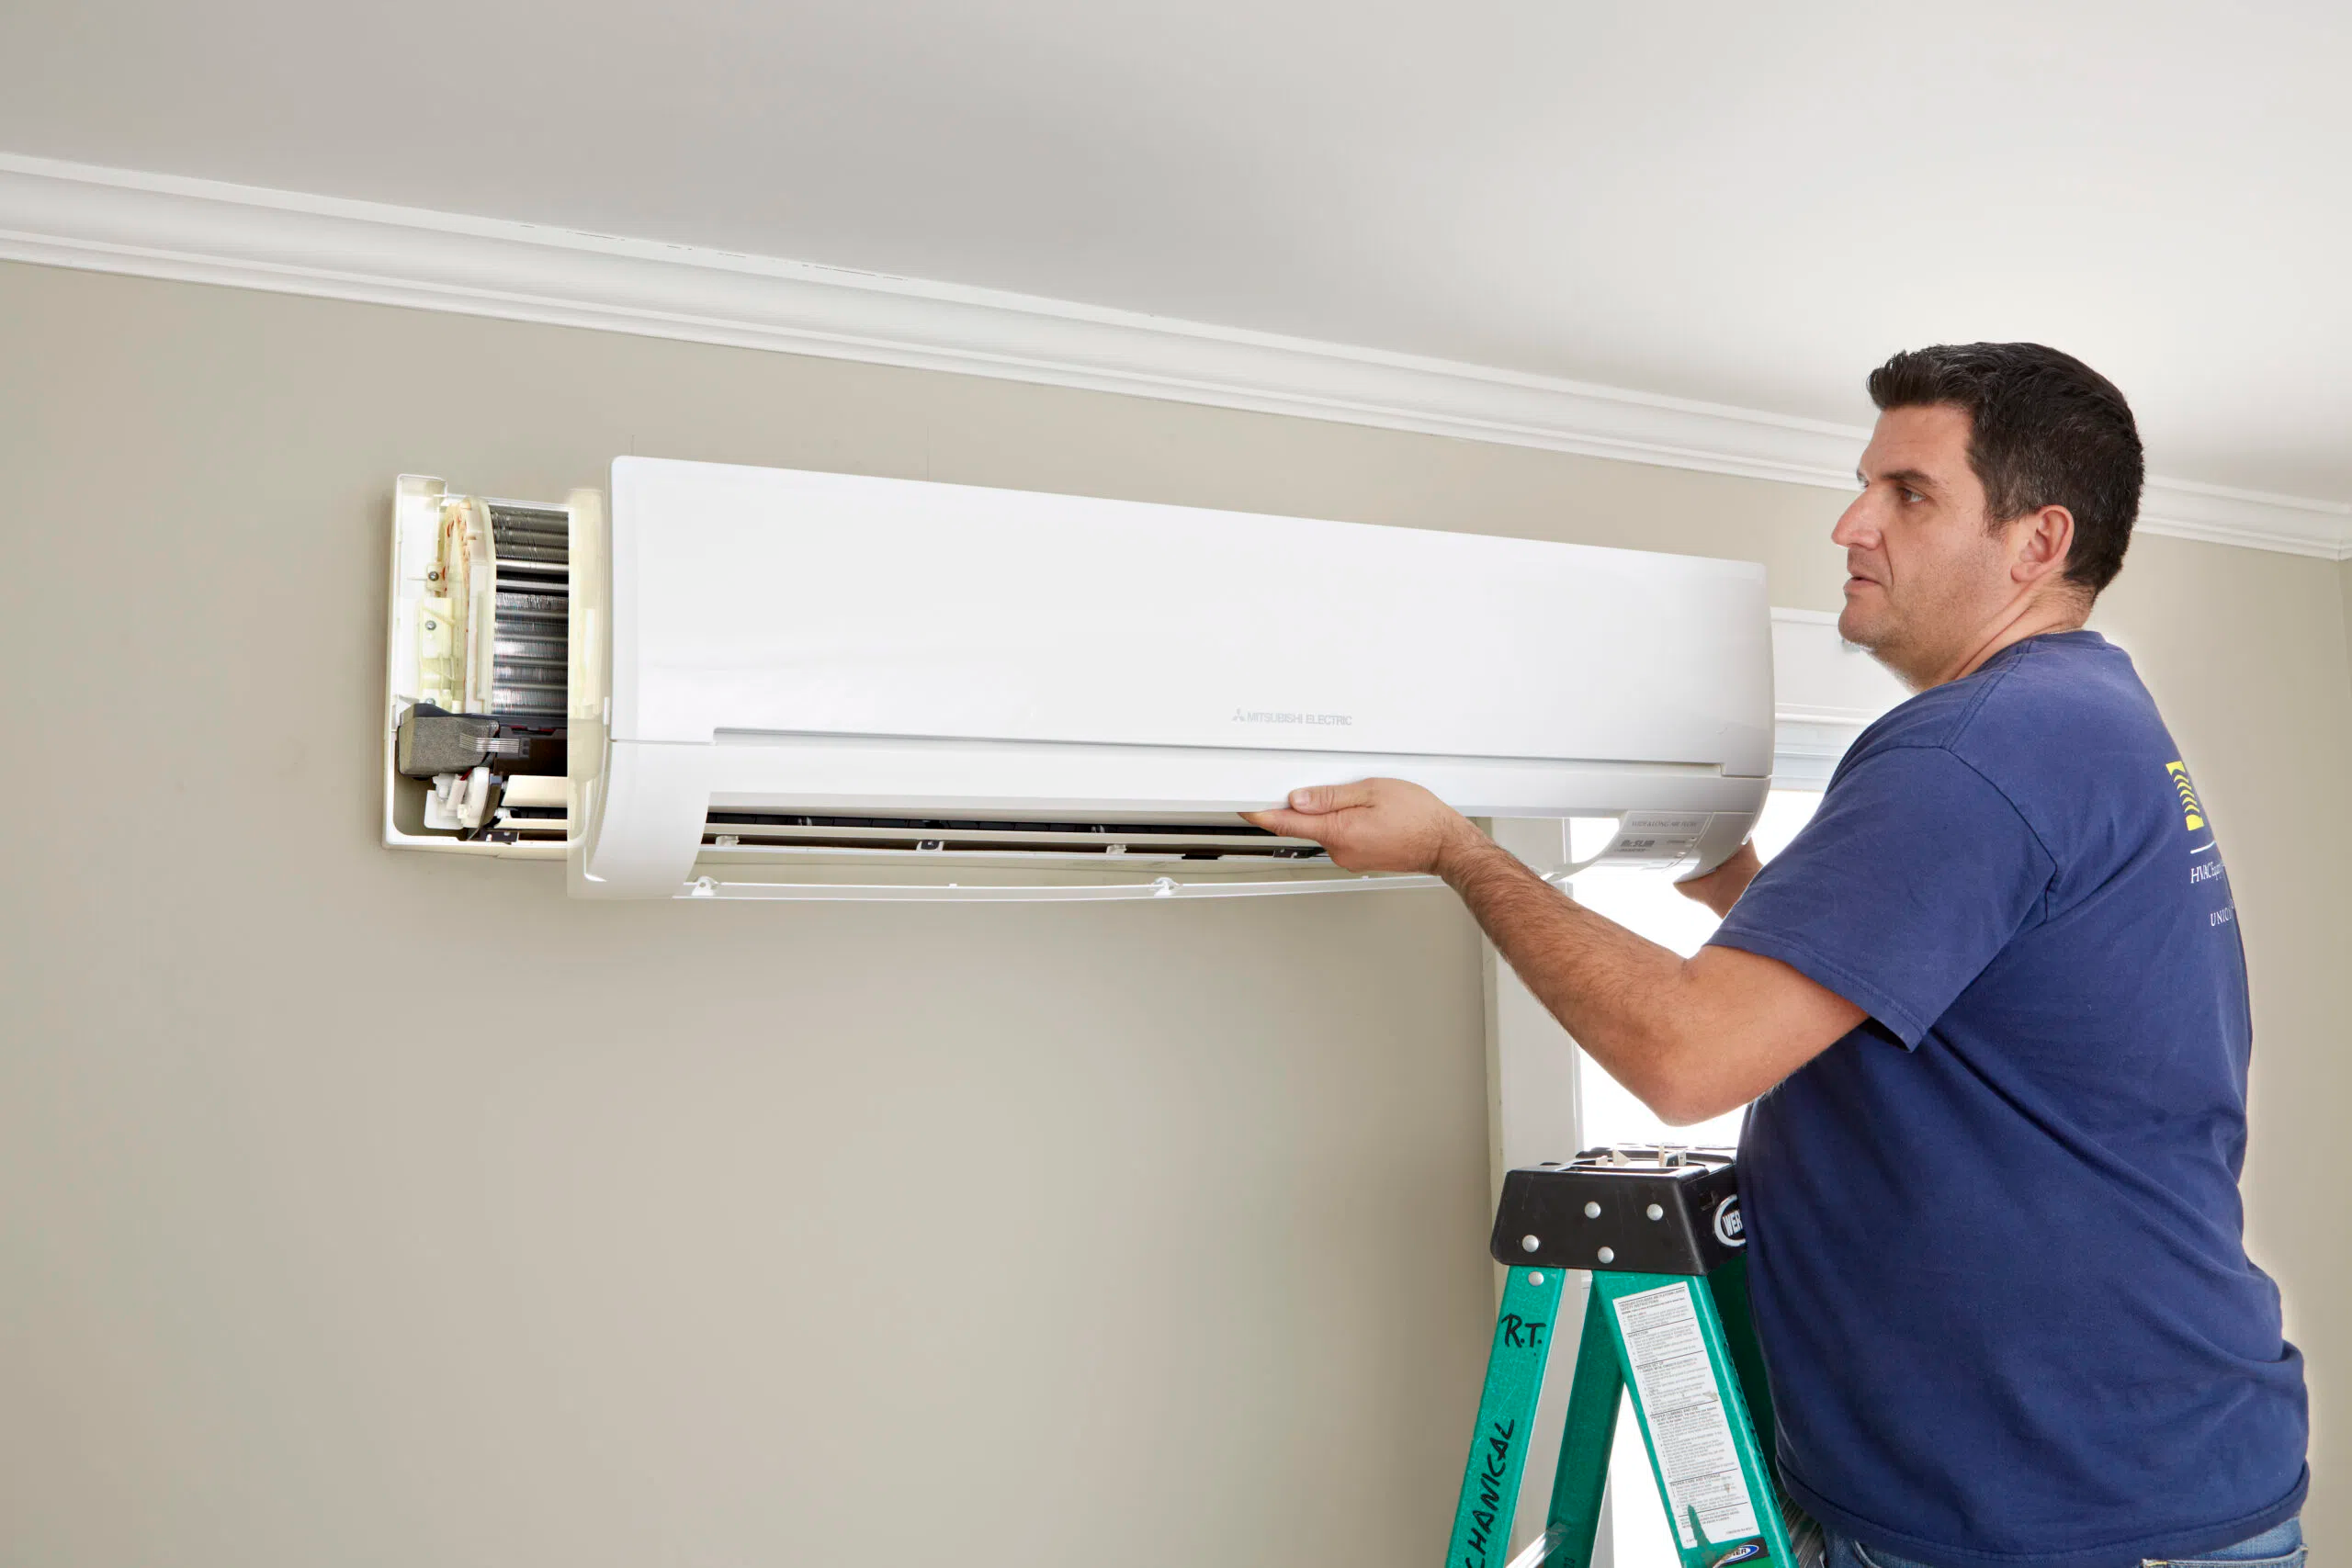
Step 4: Mounting the AC Unit
Now that the support brackets are securely installed, it’s time to mount the AC unit into the opening. Follow these instructions to properly mount the unit:
- Prepare the AC unit: Ensure that the AC unit is ready for installation. Remove any packaging materials, protective covers, or shipping screws in accordance with the manufacturer’s instructions.
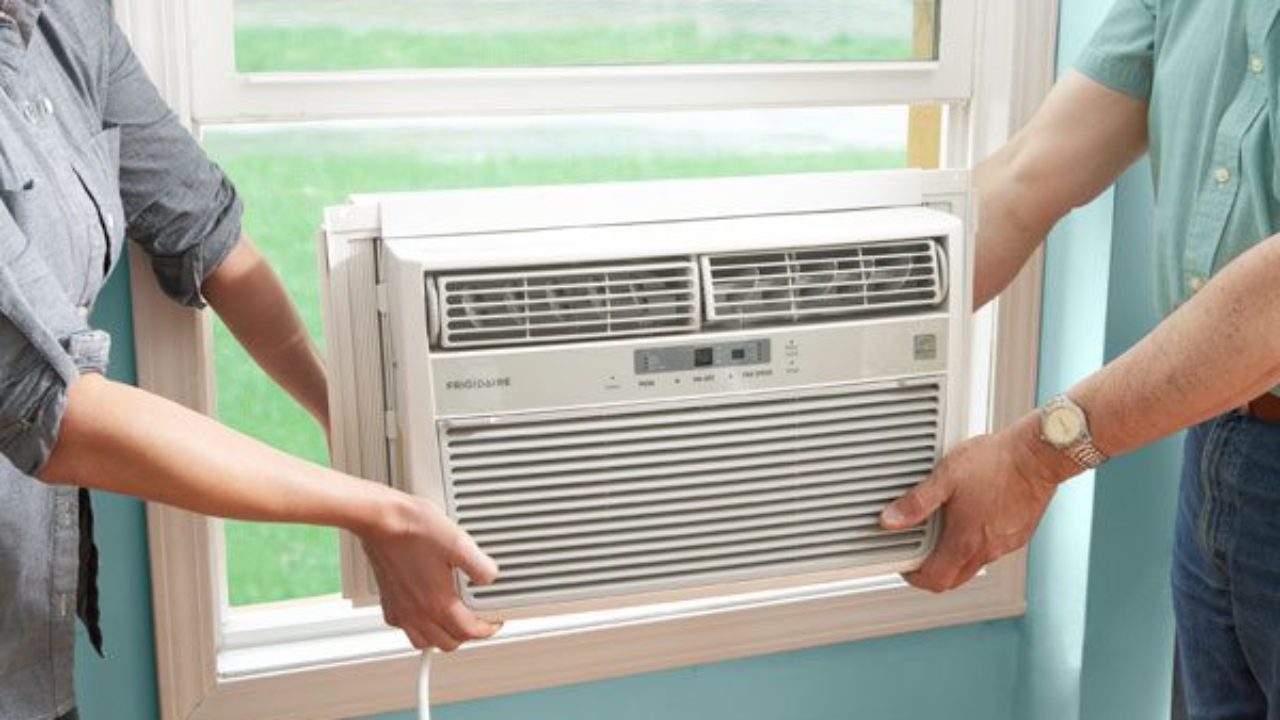
- Enlist a helper if needed: Wall AC units can be heavy and cumbersome to handle alone. If necessary, enlist the help of someone to assist you in lifting and positioning the unit.
- Position the unit: Carefully lift the AC unit and position it into the opening. Make sure the unit is oriented correctly, with the front facing the interior and the back facing the exterior.
- Align with the support brackets: Align the sides of the AC unit with the support brackets installed in Step 3. Ensure that the unit is centered and level within the opening.
- Secure the unit: Once the unit is properly aligned, use screws or fasteners provided by the manufacturer to secure the unit to the support brackets. Follow the manufacturer’s instructions for the specific mounting requirements of your unit.
- Double-check the positioning: Verify that the AC unit is securely mounted and level. Gently but firmly tug on the unit to ensure it is firmly seated and doesn’t move or wobble.
Mounting the AC unit requires attention to detail and ensuring that it is correctly positioned and secured. Taking the time to properly mount the unit will ensure its stability and effectiveness in cooling the designated space.
With the AC unit mounted, you’re ready to move on to Step 5: Securing the Unit and Insulating.
Read more: How To Install Split AC Unit
Step 5: Securing the Unit and Insulating
After mounting the AC unit, the next step is to secure it in place and insulate any gaps or spaces around it. This will enhance the unit’s performance and prevent air leakage. Follow these instructions to properly secure the unit and insulate:
- Check for gaps: Inspect the area between the AC unit and the wall opening for any gaps or spaces. These gaps can allow air to escape and affect the unit’s efficiency.
- Use foam insulation tape: Cut foam insulation tape into appropriate lengths and apply it to the sides and top of the AC unit. This foam tape will help create a snug fit and fill any gaps, minimizing air leakage.
- Apply caulk or sealant: Use a caulking gun to apply a bead of caulk or sealant around the perimeter of the AC unit. This will further seal any gaps and provide a weather-tight seal.
- Secure the unit: If specified by the manufacturer, use screws or fasteners to secure the AC unit to the support brackets. Follow the manufacturer’s instructions to ensure proper attachment and stability.
- Check for proper insulation: After securing the unit and applying insulation materials, double-check the area around the AC unit for any remaining gaps or spaces. Make any necessary adjustments or additions to ensure a tight and well-insulated seal.
Securing the AC unit and insulating any gaps or spaces is crucial to optimize its efficiency and prevent air leakage. This step will help maintain the desired temperature in the room and minimize energy wastage.
With the unit securely installed and properly insulated, you’re ready to move on to Step 6: Connecting the Electrical Wiring.
Step 6: Connecting the Electrical Wiring
Now that the AC unit is securely mounted and insulated, it’s time to connect the electrical wiring. This step involves ensuring a safe and proper electrical connection to provide power to the unit. Follow these instructions to connect the electrical wiring:
- Turn off the power: Before working with the electrical wiring, ensure that the power to the installation area is turned off at the main electrical panel.
- Locate the electrical junction box: Locate the electrical junction box on the AC unit. Depending on the model, it may be located on the back or bottom of the unit.
- Strip the electrical wires: Using wire strippers, carefully strip the insulation from the ends of the electrical wires. Be cautious not to damage the wires during this process.
- Connect the wires: Connect the corresponding wires from the AC unit to the electrical supply. Follow the manufacturer’s instructions for specific wiring connections. Typically, you’ll connect the black wire (hot) to the black wire, the white wire (neutral) to the white wire, and the green or bare wire (ground) to the ground wire.
- Secure the wire connections: After connecting the wires, use wire connectors or electrical tape to secure the wire connections. This will prevent them from coming loose or accidentally touching, ensuring a safe electrical connection.
- Verify the connections: Double-check that all wire connections are secure and properly insulated. Additionally, ensure that there are no loose wires or exposed electrical parts.
- Restore power: Once all electrical connections are verified and secure, restore power to the installation area by turning on the circuit breaker for the AC unit.
- Test the electrical system: After restoring power, test the AC unit to ensure it’s functioning correctly. Turn on the unit and check for proper operation, including the fan and cooling functions. If the unit doesn’t work or malfunctions, double-check the wiring connections and consult the manufacturer’s troubleshooting guide.
Connecting the electrical wiring correctly is essential for the safe and efficient operation of the AC unit. Take the time to ensure secure and well-insulated connections, reducing the risk of electrical hazards and ensuring the unit operates correctly.
With the electrical wiring connected, you’re onto the final step of the installation process: Step 7: Testing and Finalizing Installation.
Step 7: Testing and Finalizing Installation
With the AC unit mounted, properly secured, and electrical wiring connected, the final step is to test the unit and finalize the installation. Follow these instructions to complete the installation process:
- Turn on the AC unit: Once the electrical connections are verified and secure, turn on the AC unit using the controls provided. Allow the unit to run for a few minutes to ensure it’s functioning correctly.
- Test the cooling and fan functions: Switch on the cooling function of the AC unit and verify that cool air is coming out of the unit. Additionally, test the fan function to ensure proper air circulation. Monitor the unit for any unusual noises or vibrations.
- Check for proper airflow: Ensure that there is proper airflow from the AC unit into the room. Check for any hindrances or blockages that may impede the airflow, such as furniture, curtains, or obstructions near the unit.
- Inspect for air leakage: Carefully inspect the area around the installed AC unit for any signs of air leakage. Check along the edges, gaps, and insulation to ensure a proper seal. Make any necessary adjustments or additions to minimize air leakage.
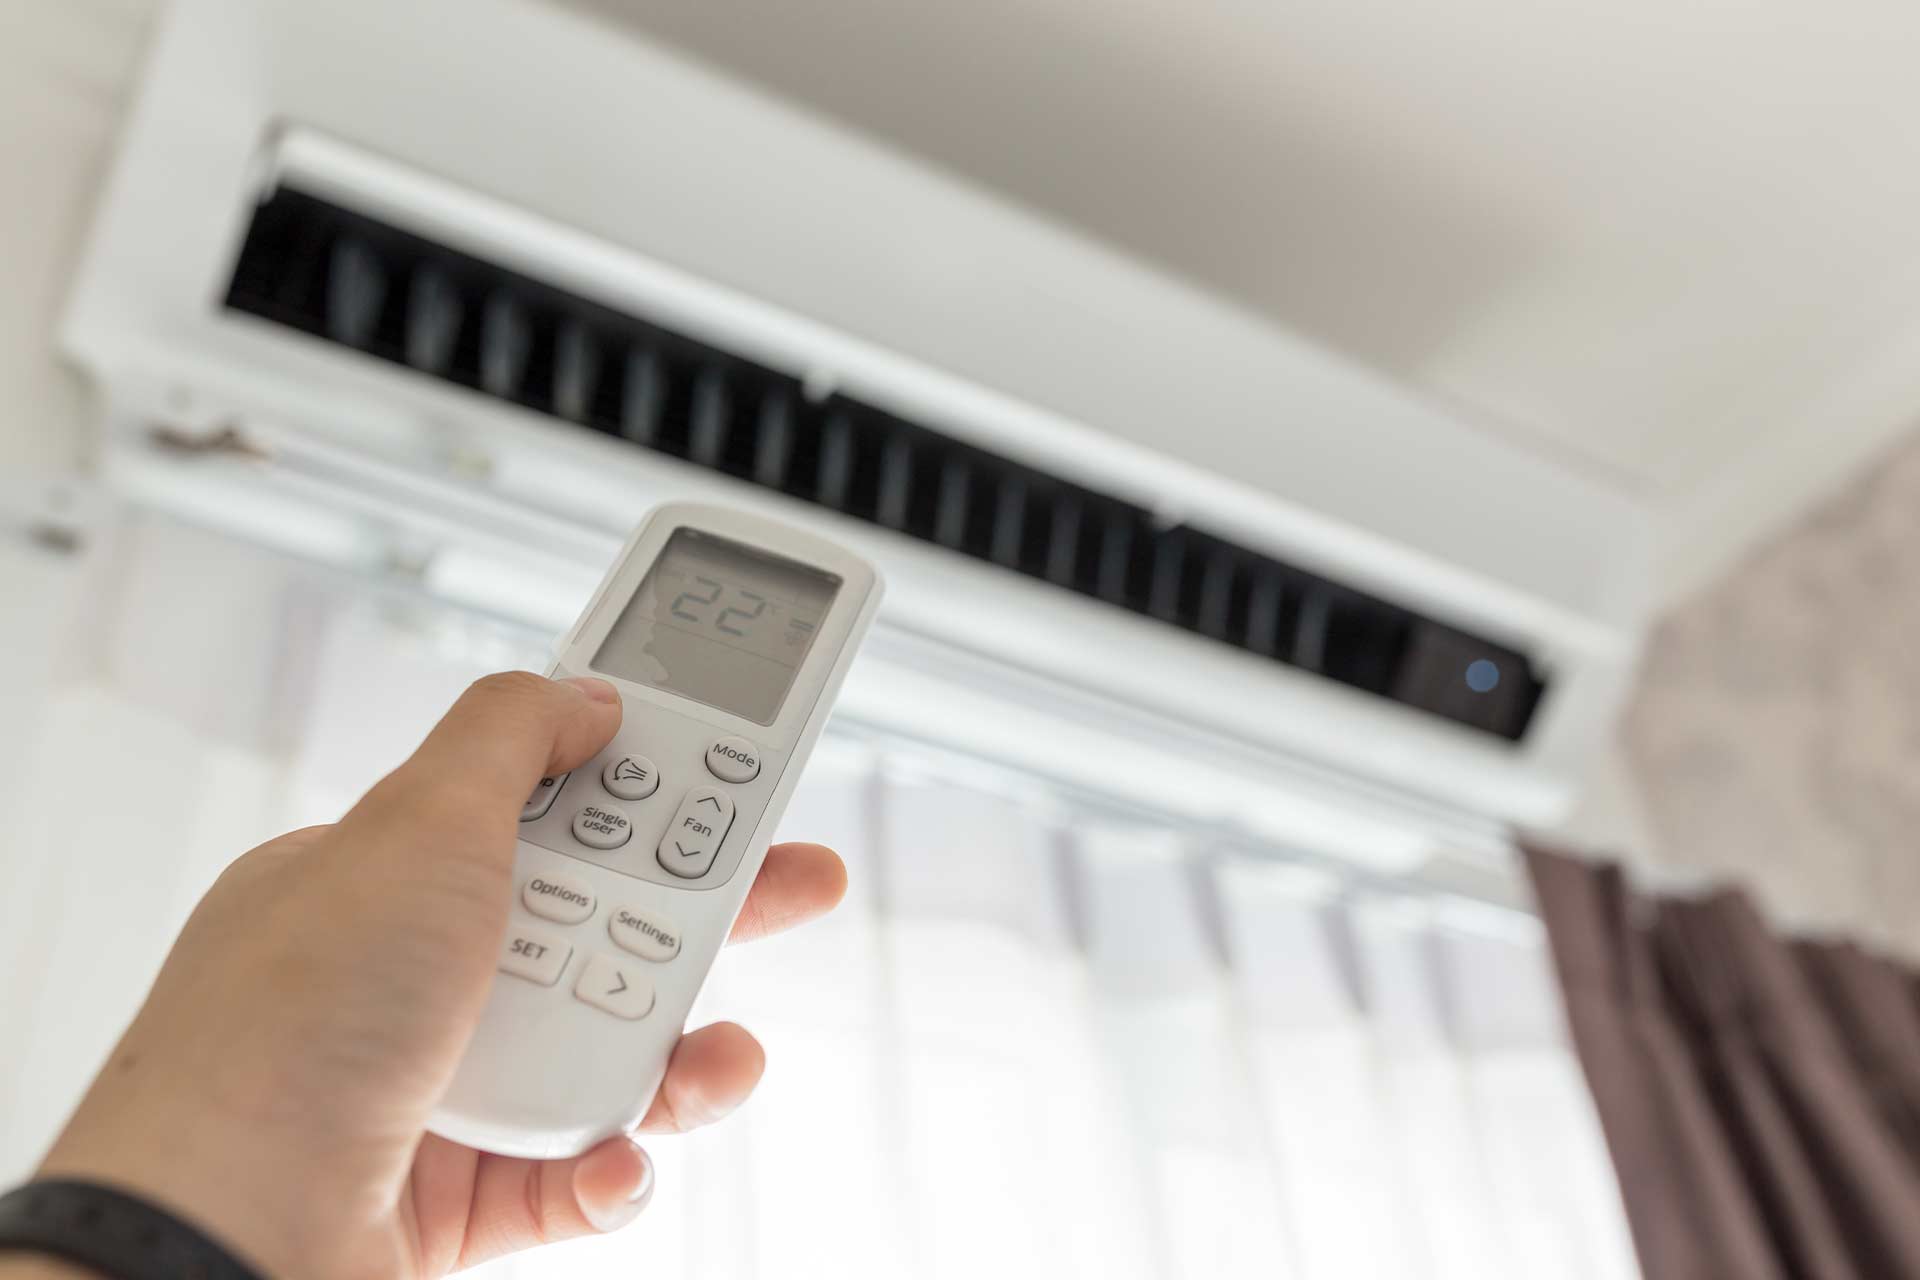
- Verify thermostat settings: Confirm that the thermostat settings on the AC unit are set to the desired temperature and cooling mode. Adjust the settings as needed to maintain the desired indoor climate.
- Clean up and finalize: Dispose of any packaging materials or debris from the installation process. Wipe down the AC unit and surrounding area to remove any dust or dirt. Take the time to appreciate your newly installed wall AC unit!
- Maintain regular maintenance: Keep your wall AC unit running smoothly by following the manufacturer’s instructions for regular maintenance. This may include cleaning or replacing filters, scheduling professional inspections, and performing routine maintenance tasks.
Finalizing the installation involves testing the unit to ensure proper functionality, checking for air leakage, and tidying up the installation area. By completing these final steps, you can enjoy the comfort and benefits provided by your newly installed wall AC unit.
Congratulations, you’ve successfully installed your wall AC unit and completed the installation process. Stay cool and enjoy the comfort provided by your new cooling system!
Note: If you encounter any issues or have concerns regarding the installation process, it’s advisable to consult a professional HVAC technician for guidance and assistance.
Conclusion
Installing a wall AC unit can provide cooling comfort and relief during hot summer months. By following the step-by-step guide outlined in this article, you can successfully install a wall AC unit in your home or office and create a more comfortable living or working environment.
We started by discussing the importance of proper planning and preparation, including checking local regulations, measuring the room, assessing the electrical requirements, and gathering the necessary tools.
Next, we covered choosing the right location for the AC unit, considering factors such as room layout, accessibility, sunlight exposure, and obstructions. Choosing an optimal location ensures proper functioning and efficient cooling.
We then moved on to checking the electrical requirements, including verifying voltage, amperage, and capacity. Ensuring that your electrical system can safely and adequately support the AC unit is crucial for its proper operation.
Gathering the necessary tools is essential for a smooth installation process. From tape measures and drills to levels and insulation materials, having the right tools on hand makes the installation process easier and more efficient.
We then walked through the step-by-step installation process, including measuring and marking the wall, cutting the opening, installing the support brackets, mounting the AC unit, securing and insulating, connecting the electrical wiring, and finally testing and finalizing the installation.
Each step plays a crucial role in ensuring safe and effective installation, proper attachment, and optimal cooling performance. By following these steps, you can confidently install your wall AC unit and enjoy its cooling benefits.
Remember to prioritize safety throughout the installation process and consult a professional if you are unsure or uncomfortable with any steps. Your safety is paramount.
Once your wall AC unit is installed, regularly maintain and clean it following the manufacturer’s instructions. This will help optimize its performance and ensure it provides reliable cooling for years to come.
Thank you for joining us on this installation journey. Stay cool and enjoy the comfort provided by your newly installed wall AC unit!
Frequently Asked Questions about How To Install A Wall AC Unit
Was this page helpful?
At Storables.com, we guarantee accurate and reliable information. Our content, validated by Expert Board Contributors, is crafted following stringent Editorial Policies. We're committed to providing you with well-researched, expert-backed insights for all your informational needs.
0 thoughts on “How To Install A Wall AC Unit”