Articles
How To Install Window AC Unit
Modified: September 2, 2024
Learn how to install a window AC unit with our step-by-step guide. Find helpful articles and tips to ensure a successful installation.
(Many of the links in this article redirect to a specific reviewed product. Your purchase of these products through affiliate links helps to generate commission for Storables.com, at no extra cost. Learn more)
Introduction
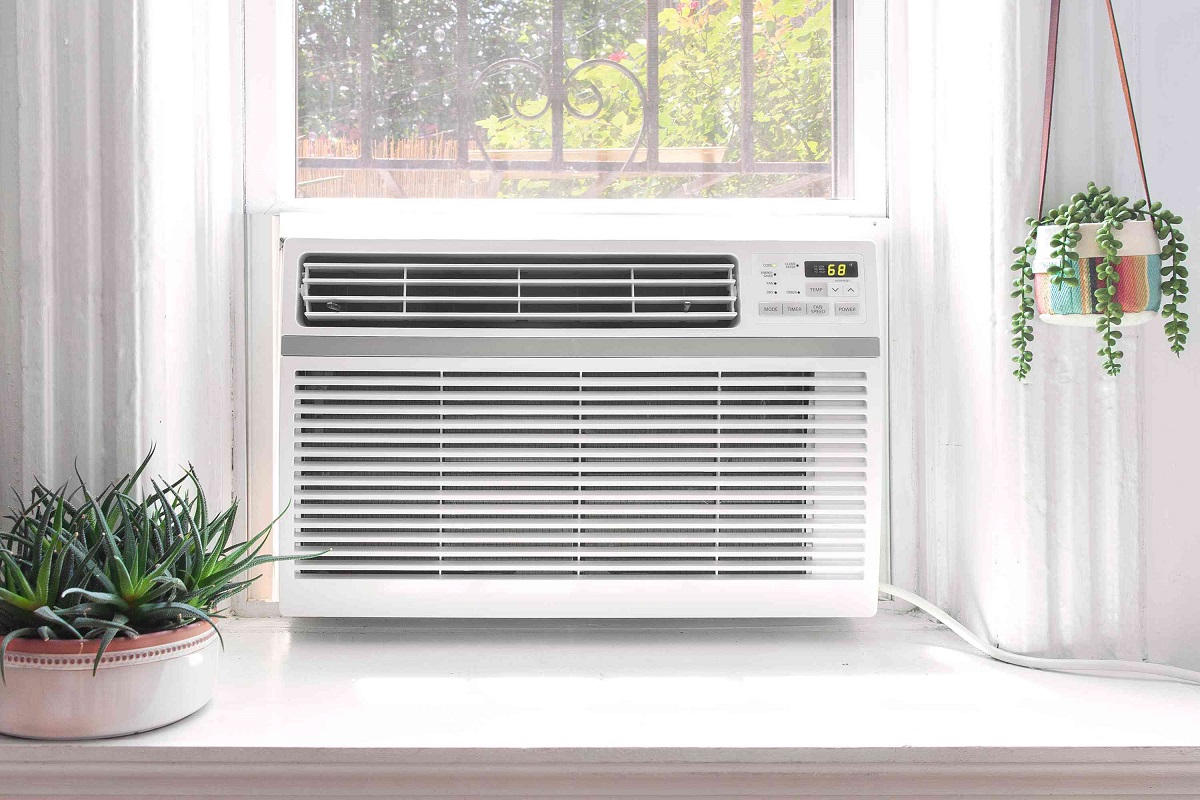
Welcome to our guide on how to install a window AC unit! With summer approaching and temperatures rising, having a reliable air conditioning system is a must. If you don’t have central air conditioning in your home, a window AC unit can provide the cooling relief you need. Installing a window AC unit is a fairly straightforward process that can be done on your own with the right tools and knowledge.
In this article, we will walk you through the step-by-step process of installing a window AC unit. We will cover everything from checking the window for compatibility to sealing and insulating the window to ensure optimal efficiency and performance. Whether you are a beginner or have some experience in DIY projects, this guide will provide you with all the essential information to successfully install a window AC unit.
Before we dive into the installation process, it is important to note that safety should always be your top priority. Make sure to read and understand the manufacturer’s instructions that come with your window AC unit, as well as any additional safety guidelines specific to your model. If you are unsure about any step or lack the necessary skills or tools, it is recommended to seek professional assistance.
Now that we’ve covered the basics, let’s move on to the first step: checking the window for compatibility.
Key Takeaways:
- Stay Cool and Comfortable
Installing a window AC unit is a straightforward DIY project that can bring cool relief to your home. From checking window compatibility to sealing and insulating, this guide has you covered for a comfortable summer. - Prioritize Safety and Efficiency
Ensure your window is compatible, gather the right tools, and follow the step-by-step process for a secure and efficient installation. Test the unit for proper airflow and cooling performance to enjoy a safe and comfortable environment.
Read more: How To Seal Window AC Unit
Checking the Window
Before you begin the installation process, it is important to ensure that your window is suitable for a window AC unit. Here are a few key factors to consider:
- Window Size: Measure the dimensions of your window opening to ensure it is wide and tall enough to accommodate the AC unit. Most window AC units are designed to fit standard-sized windows, but it is always best to check the measurements specified by the manufacturer.
- Window Type: Confirm that you have a double-hung, sliding, or casement window, as these are typically compatible with window AC units. Some units may also work with horizontal sliding windows, but make sure to double-check the manufacturer’s instructions.
- Window Condition: Inspect the window for any damage, such as cracks, loose frames, or rotting wood. It is crucial to have a sturdy and secure window frame to support the weight of the AC unit. If you notice any issues, consider repairing or reinforcing the window before proceeding with the installation.
- Electrical Outlet: Ensure there is a nearby electrical outlet that can provide the necessary power supply for the AC unit. The outlet should be grounded and able to handle the voltage required by the unit. If needed, consult an electrician to install a suitable outlet.
Once you have confirmed that your window meets these requirements, you can proceed with gathering the necessary tools and materials for the installation.
Gathering the Tools and Materials
Before you start installing the window AC unit, it’s important to gather all the necessary tools and materials. Having everything within reach will make the installation process smoother and more efficient. Here’s a list of what you’ll need:
- Window AC Unit: Purchase a window AC unit that matches the size and cooling capacity needed for your space. Consider factors such as the room’s square footage and insulation to determine the appropriate BTU (British Thermal Units) rating for the unit.
- Tape Measure: Use a tape measure to accurately measure the dimensions of your window opening, as well as any other areas that may require adjustments during the installation process.
- Screwdriver: You’ll need a screwdriver to remove any existing screws from the window frame and to secure the mounting bracket and the AC unit in place.
- Level: A level will help ensure that the AC unit is installed straight and level, which is important for proper functioning and drainage.
- Support Brackets: Some window AC units require additional support brackets to help distribute the weight and stabilize the unit. Check the manufacturer’s instructions to see if your unit requires these brackets.
- Foam Insulation Strips: Foam insulation strips are used to create a seal between the AC unit and the window frame, preventing air leaks and improving energy efficiency.
- Weatherstripping: Weatherstripping can help further seal the window and prevent drafts and air leakage when the AC unit is installed.
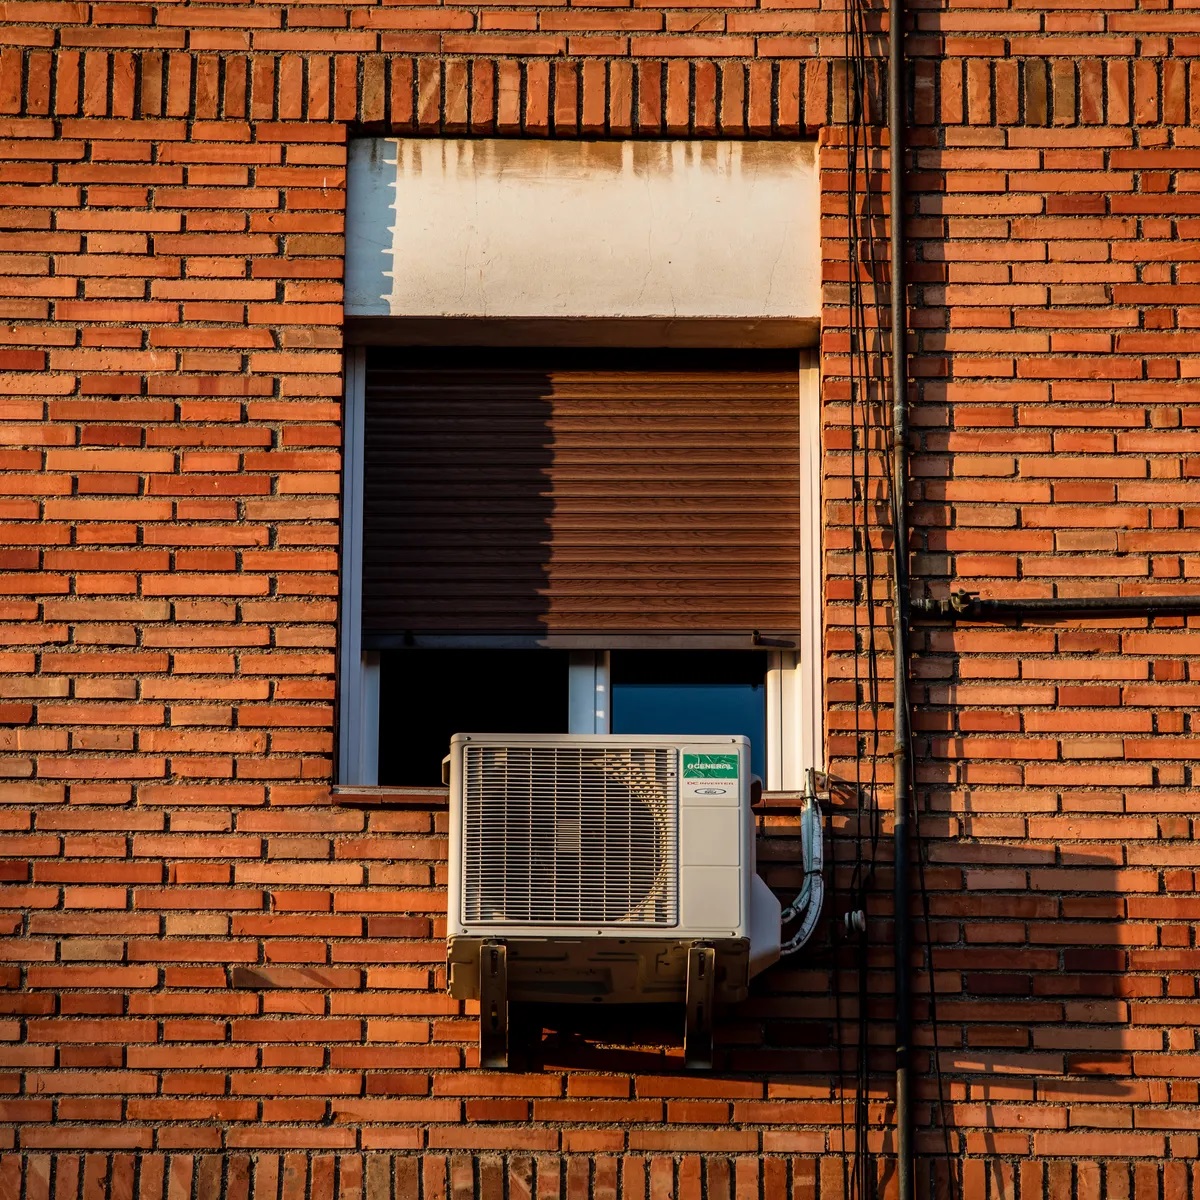
- Outdoor Mounting Hardware: If the AC unit is required to be mounted externally, make sure you have the necessary hardware, such as brackets or supports, to secure it safely.
- Extension Cord (If Needed): Depending on the proximity and accessibility of the electrical outlet, you may need an extension cord to connect the AC unit to a power source.
Having these tools and materials ready will save you time and ensure a more efficient installation process. With everything in hand, you’re now ready to prepare the window for the AC unit installation.
Preparing the Window
Before installing the window AC unit, it’s important to prepare the window and ensure it is clean and ready for the installation process. Follow these steps to properly prepare the window:
- Clean the Window: Start by cleaning both the interior and exterior surfaces of the window. Use a glass cleaner and a lint-free cloth to remove any dirt, dust, or debris. This will provide a clean surface for the AC unit to be mounted against.
- Remove Window Screens: If your window has screens, remove them before installing the AC unit. Screens can obstruct the airflow and reduce the effectiveness of the air conditioning system.
- Inspect the Window Frame: Carefully inspect the window frame for any signs of damage or deterioration. Repair or reinforce any weak areas, such as loose frames or rotted wood, before proceeding with the installation.
- Clear the Window Opening: Remove any obstructions or items from the window sill or surrounding area. This includes plants, curtains, blinds, or furniture that may interfere with the installation process.
- Check for Proper Drainage: Ensure that your window has a proper drainage mechanism in place. This will allow any condensation or water to drain properly from the AC unit during operation.
By taking the time to properly prepare the window, you’ll ensure a smooth and hassle-free installation process. With the window cleaned and cleared, you can now move on to installing the mounting bracket.
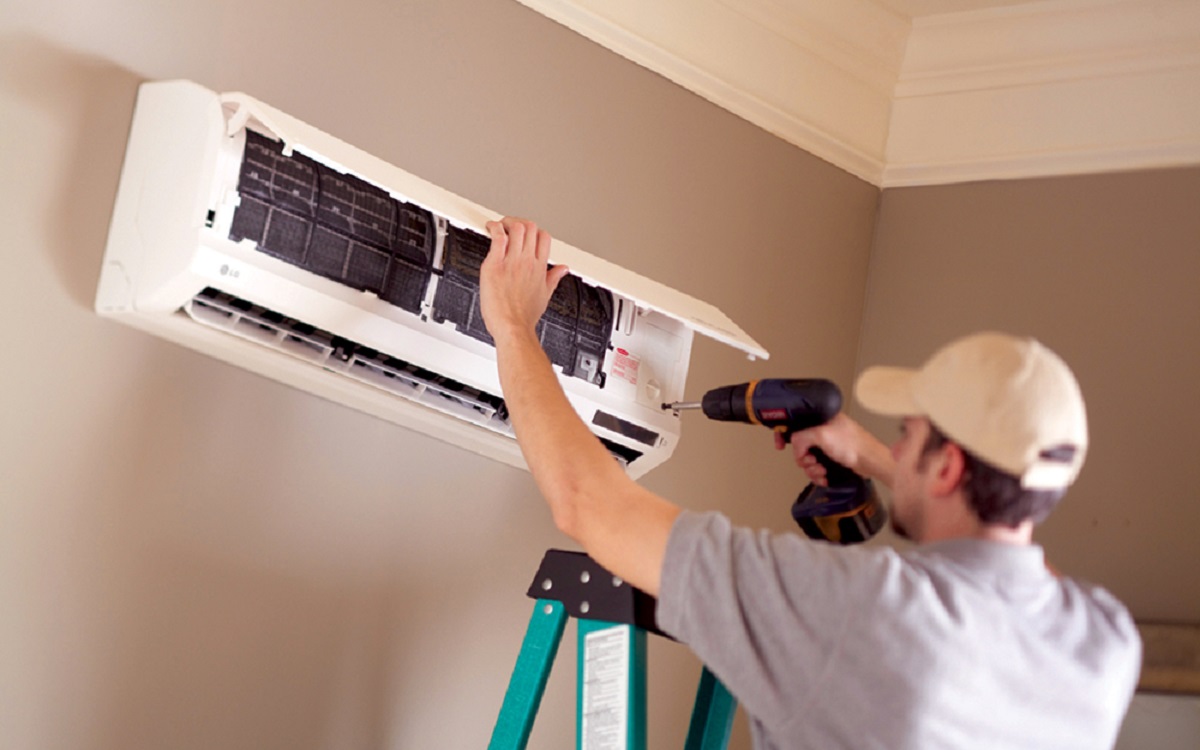
Installing the Bracket
Installing the mounting bracket is an essential step in securely attaching the window AC unit to the window. Follow these steps to properly install the bracket:
- Read the Instructions: Carefully read and familiarize yourself with the manufacturer’s instructions specific to your window AC unit. The instructions will provide you with details on the bracket installation process.
- Position the Bracket: Determine the appropriate location for the bracket. It should be installed on the exterior side of the window, as per the manufacturer’s instructions. Make sure the bracket aligns with the window frame and provides a stable and level base for the AC unit.
- Mark the Screw Holes: Using a pencil or marker, mark the screw hole locations on the window frame. These marks will guide you during the bracket installation process.
- Pre-Drill Pilot Holes: With the help of a power drill, pre-drill pilot holes at the marked locations. The size of the pilot holes should match the screws provided with the bracket. Be careful not to drill too deep or too wide.
- Secure the Bracket: Align the bracket with the pre-drilled holes and attach it to the window frame using the provided screws. Make sure the bracket is securely fastened and stable.
- Check for Level: Verify that the bracket is level using a spirit or bubble level. Adjust the bracket if necessary to ensure it is perfectly level, as this will facilitate the proper installation of the AC unit.
With the bracket securely installed, you are now ready to mount the window AC unit onto the bracket. This step will bring you closer to enjoying the cool comfort of your air-conditioned space.
Make sure to properly support the window AC unit with brackets or a mounting kit to prevent it from falling and causing damage or injury.
Read more: How To Remove A Window AC Unit
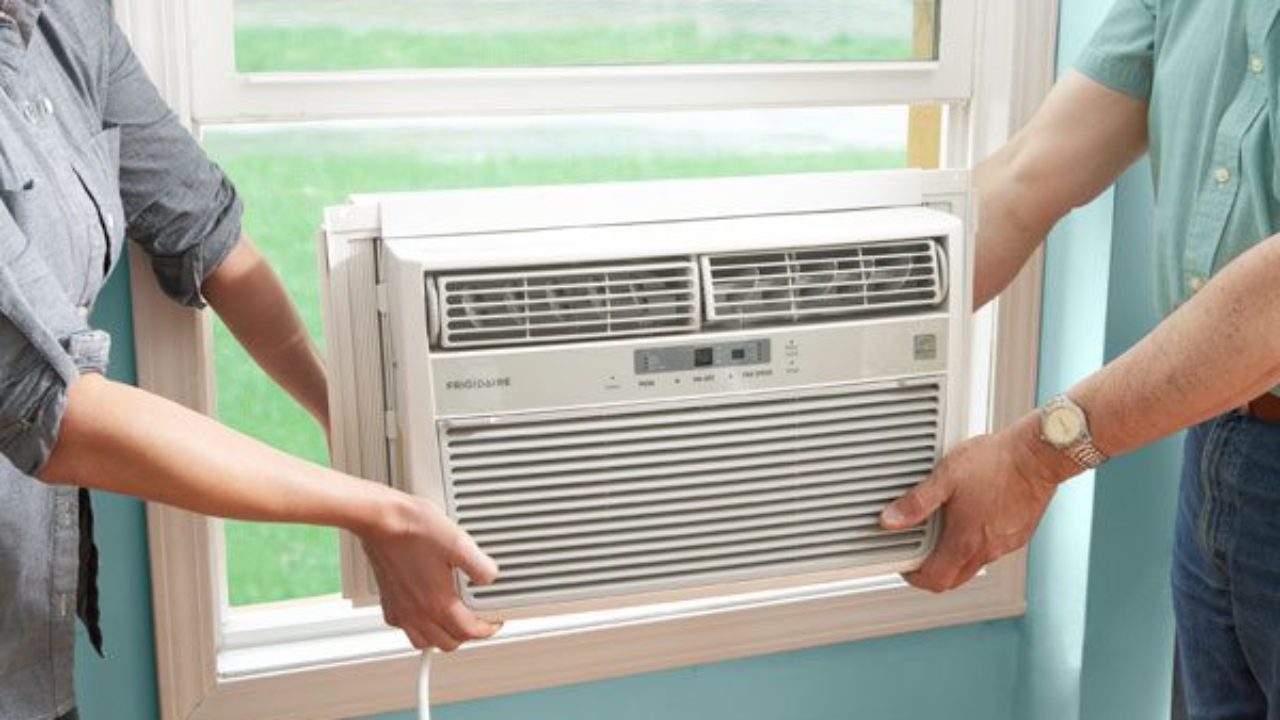
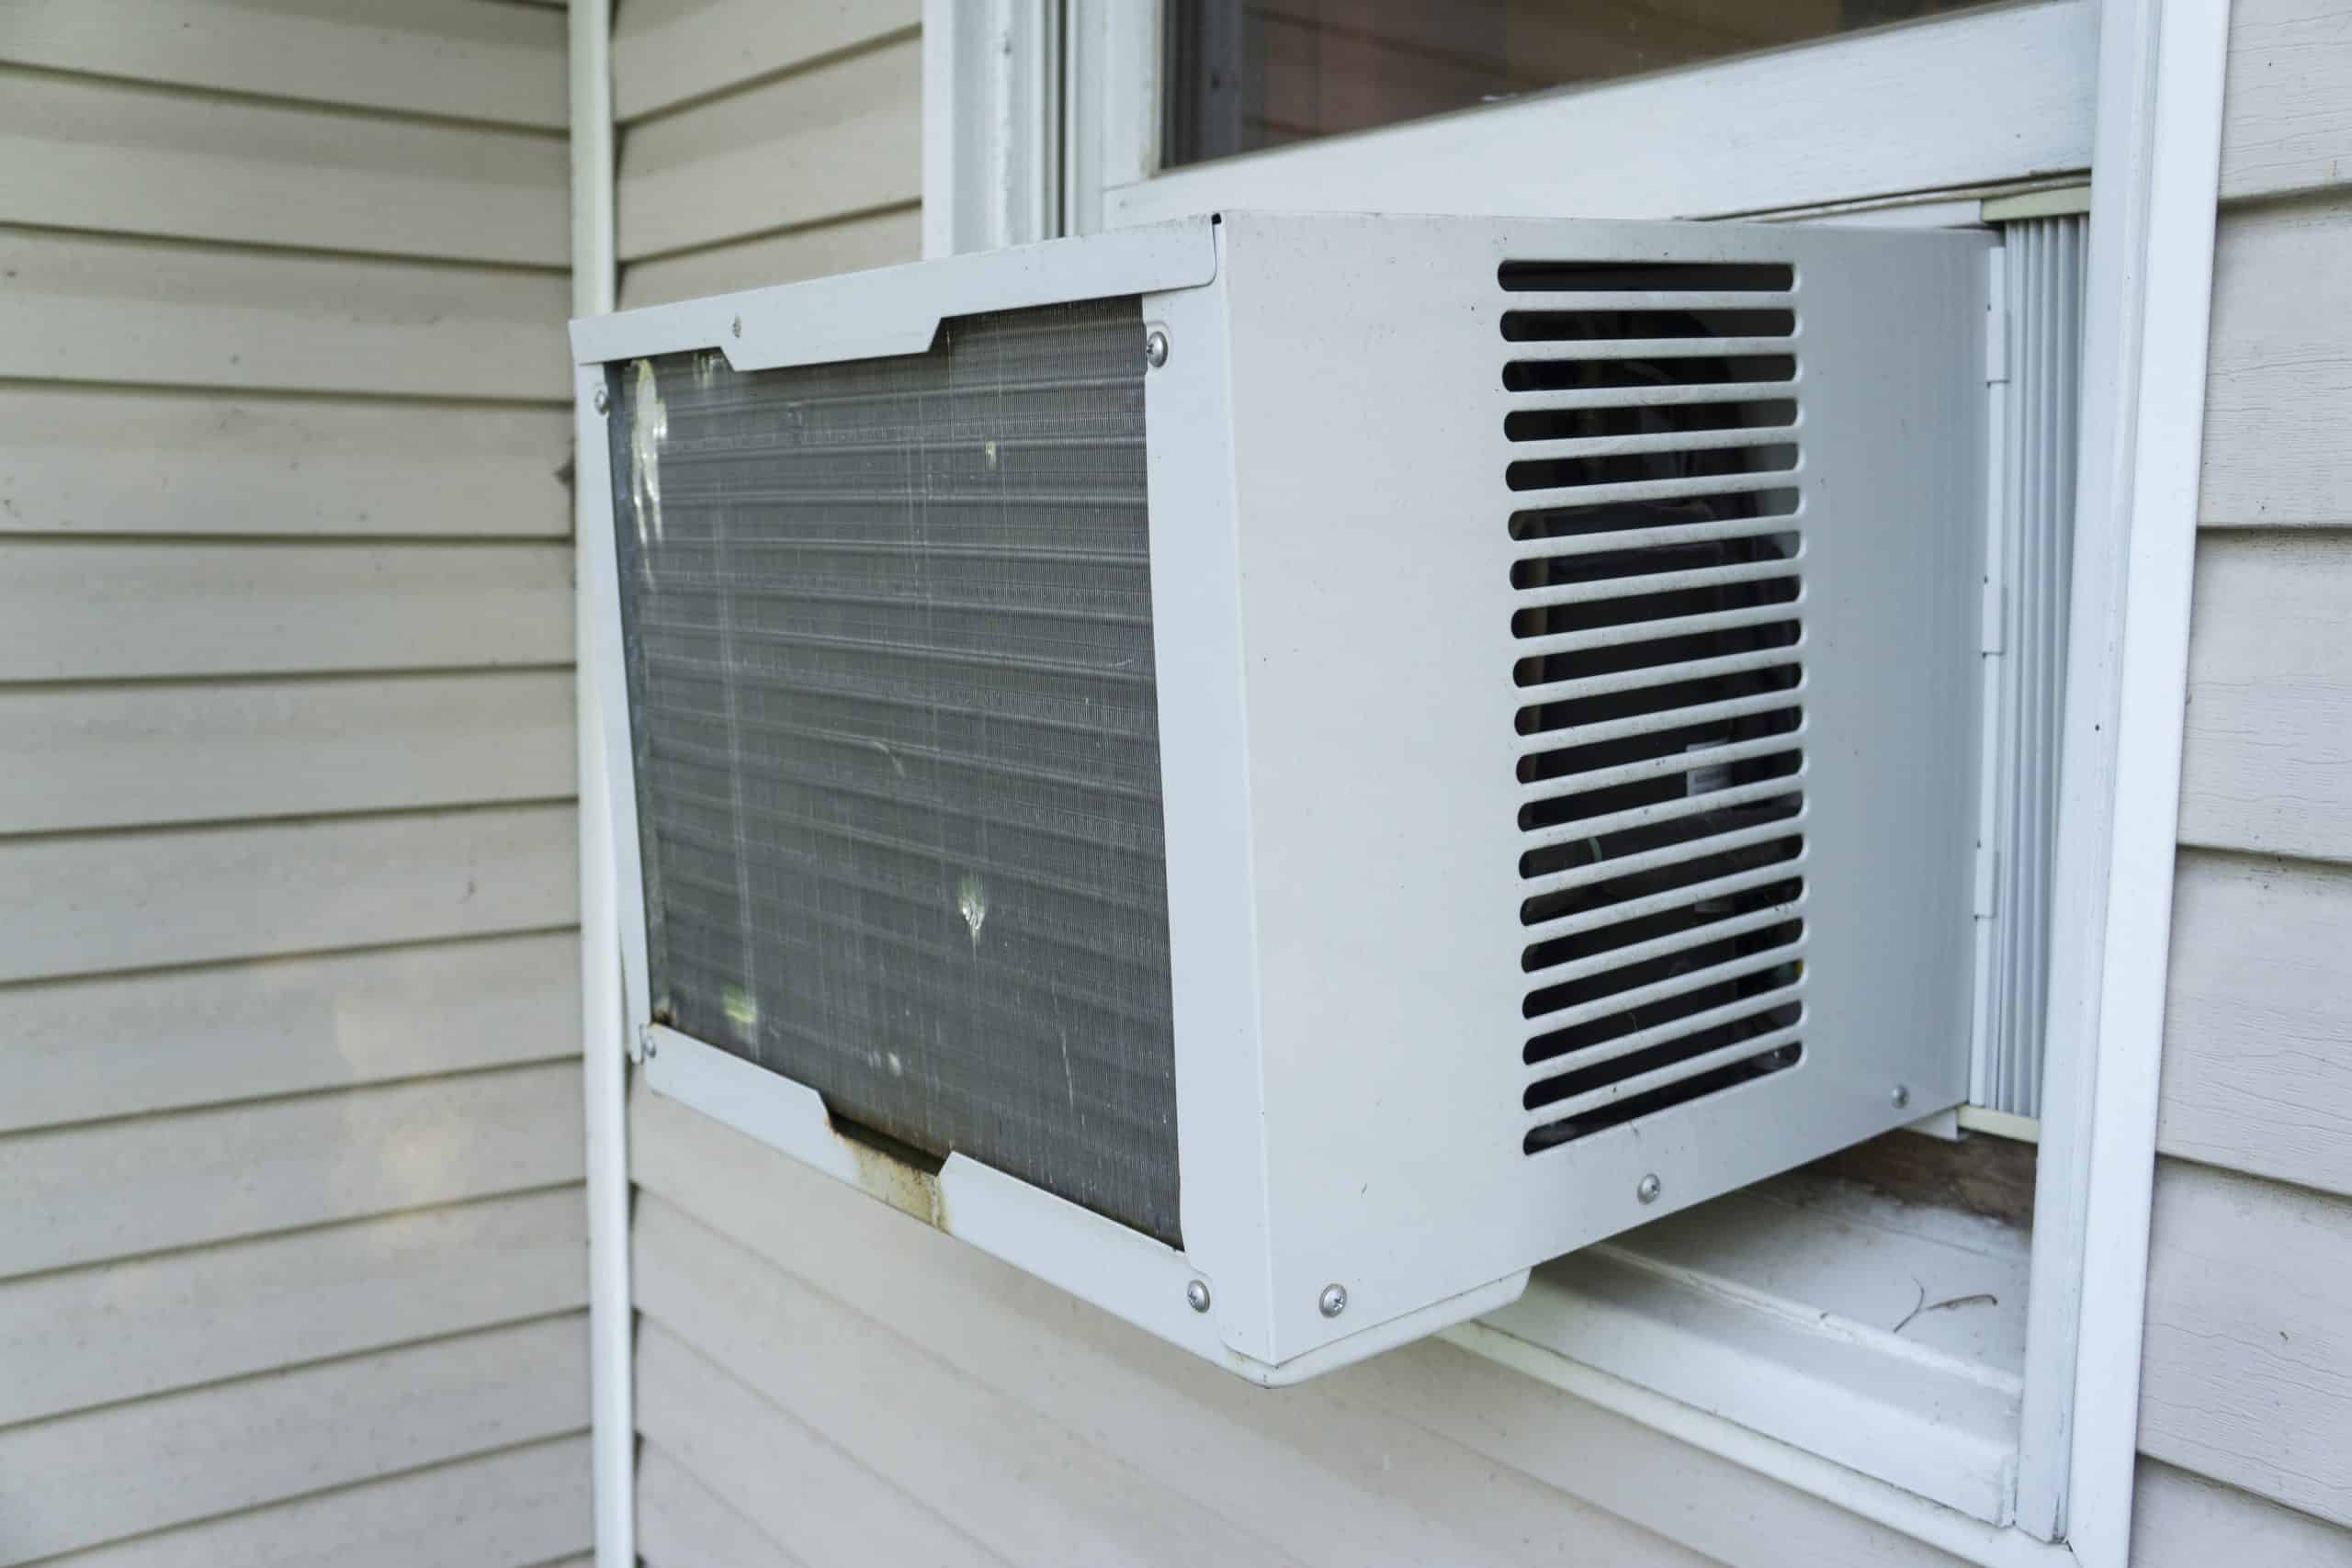
Mounting the Window AC Unit
Now that the bracket is securely installed, it’s time to mount the window AC unit onto the bracket. Follow these steps to properly mount the AC unit:
- Ensure Proper Alignment: Make sure the AC unit is positioned correctly and aligns with the bracket. The unit should fit snugly into the bracket, with the bottom of the unit resting on the bracket’s support ledge.
- Secure the Unit: Use the screws provided with the AC unit to attach it to the bracket. Depending on the model, the screws may need to be inserted through the top, sides, or bottom of the unit. Refer to the manufacturer’s instructions for guidance.
- Check for Stability: Once the unit is securely attached, give it a gentle shake to ensure stability. It should feel firm and not wobble or move excessively. If necessary, make adjustments to the bracket or screws to improve stability.
- Verify Clearance: Ensure that there is sufficient clearance between the AC unit and any nearby obstacles, such as window frames, walls, or curtains. This will ensure proper airflow and prevent any restrictions in the unit’s operation.
- Connect the Drainage System: Depending on the model, your window AC unit may have a drainage system to manage condensation. Make sure to connect any drainage hoses or tubes as per the manufacturer’s instructions.
- Attach the Window Panel: Install the window panel provided with the AC unit. This panel is designed to close the gap between the open window and the AC unit, enhancing the unit’s efficiency and preventing air leakage.
Once the window AC unit is securely mounted and the necessary components are in place, you can move on to the next step: securing the unit in place to prevent any accidental dislodging.
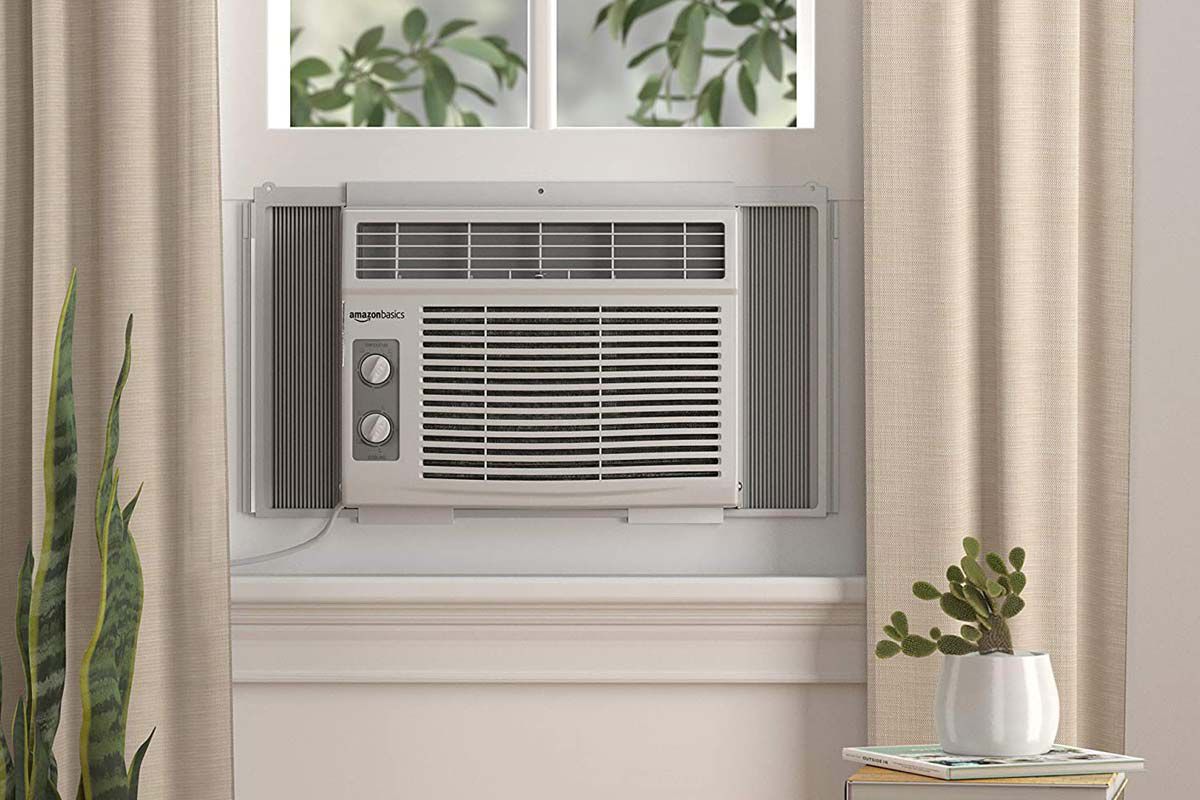
Securing the Unit in Place
After mounting the window AC unit, it is important to ensure it is securely held in place to prevent any accidental dislodging. Follow these steps to properly secure the unit:
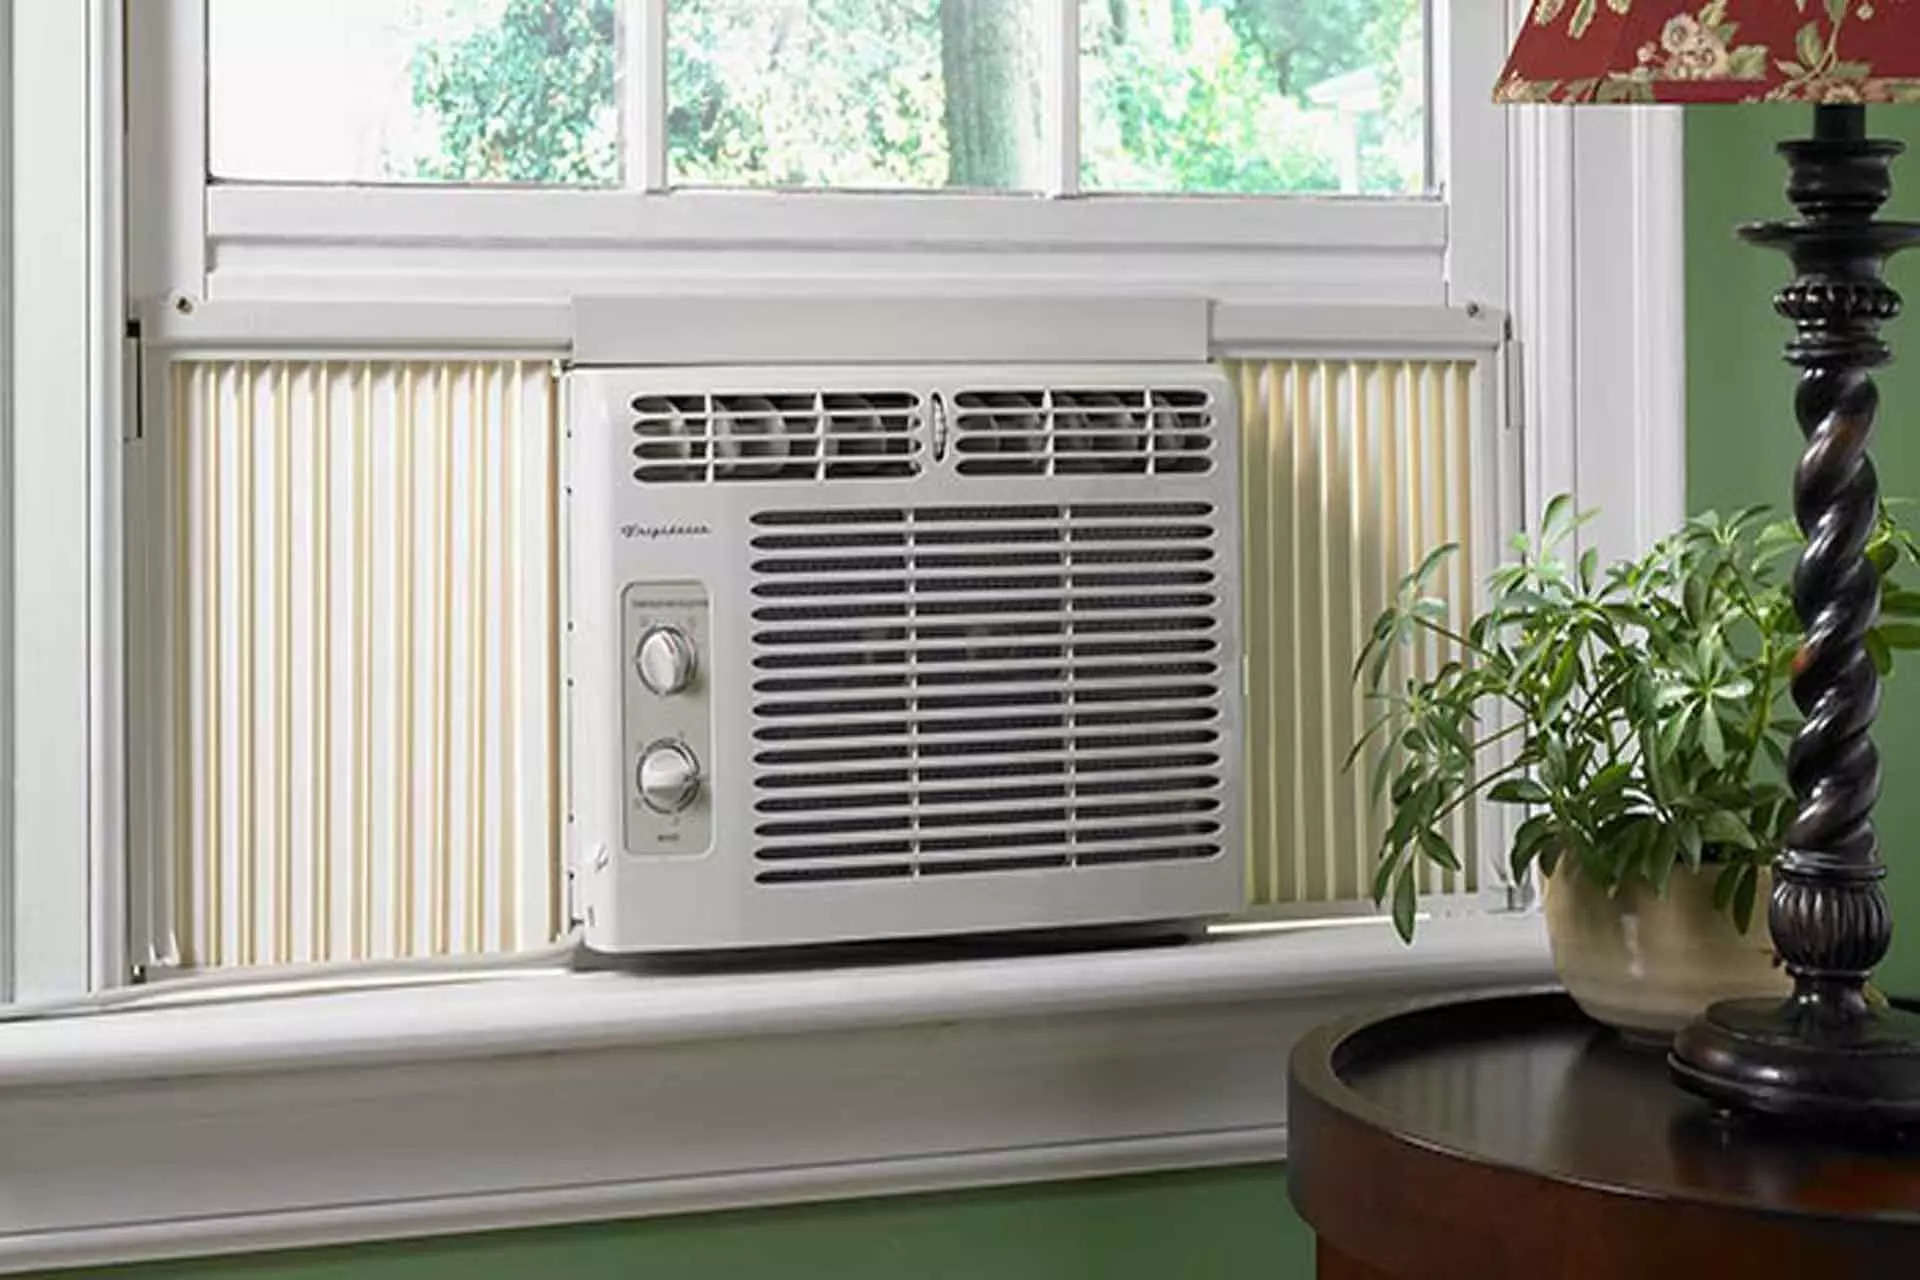
- Extend the Side Panels: Most window AC units come with adjustable side panels. Extend these panels to fill any gaps between the AC unit and the sides of the window. This will help provide a snug fit and prevent air leakage.
- Tighten the Support Brackets: If your unit requires additional support brackets, make sure they are tightened securely. These brackets will help distribute the weight of the AC unit and prevent it from tilting or falling.
- Use Support Rails (If Applicable): Some models may come with support rails that help add stability to the AC unit. If your unit has these rails, follow the manufacturer’s instructions to install and secure them properly.
- Reinforce with Foam Insulation Strips: To minimize air leaks and improve energy efficiency, place foam insulation strips between the window frame and the AC unit. Apply the strips along all edges where there may be gaps or spaces.
- Attach Weatherstripping: If necessary, attach weatherstripping to the window frame or the panel of the AC unit itself. This will further seal off any gaps and improve the overall insulation of the unit.
- Test for Stability: Once all the securing measures are in place, gently push the AC unit to ensure it is stable and firmly held in position. It should not move or shift easily.
By following these steps, you can ensure that your window AC unit is securely held in place, maximizing its performance and minimizing the risk of accidents or damage. With the unit now secure, it’s time to move on to sealing and insulating the window to optimize energy efficiency.
Sealing and Insulating the Window
Properly sealing and insulating the window is crucial for maximizing the energy efficiency of your window AC unit. This step helps prevent drafts, air leaks, and heat transfer, allowing the unit to operate more efficiently and effectively. Follow these steps to seal and insulate the window:
- Apply Foam Insulation Tape: Measure and cut foam insulation tape to fit along the edges of the window frame. Peel off the adhesive backing and press the tape firmly onto the window frame. This will create an airtight seal and prevent air leakage.
- Install Window Insulator Kit: If you want additional insulation, you can install a window insulator kit. These kits usually include a plastic film that you attach to the window using double-sided tape. Use a hairdryer to shrink the film and create a tight seal.
- Insulate Gaps and Cracks: Inspect the window for any noticeable gaps or cracks. Use caulk or weatherstripping to seal these areas, preventing air leaks and improving insulation. Pay close attention to the areas around the window frame, as well as any seams or joints.
- Check Window Sash: Make sure the window sash is properly closed and locked. This will help create a tighter seal and prevent air from escaping or entering through the window.
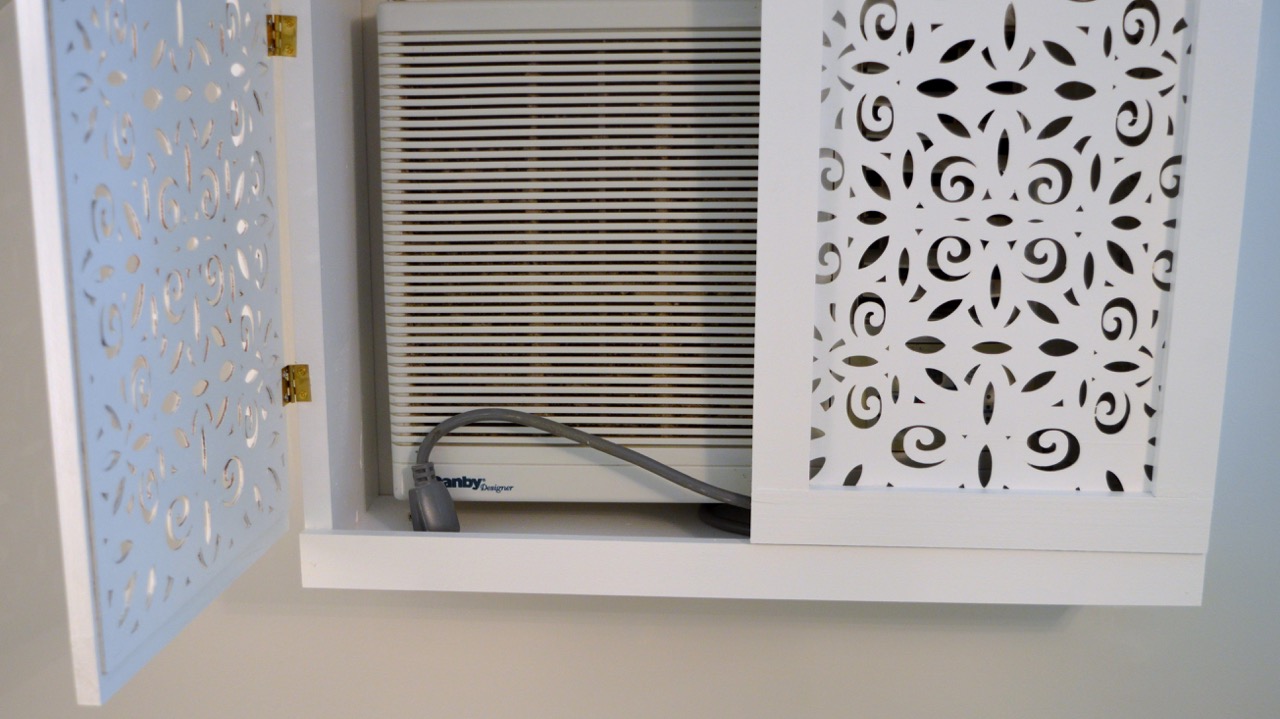
- Install Window Coverings: Use blinds, curtains, or window shades to further insulate the window. These coverings can help block out sunlight and reduce heat gain, improving the overall energy efficiency of the window and AC unit.
- Consider Exterior Awnings or Shading: If your window is exposed to direct sunlight for long periods, consider installing exterior awnings or shading devices. These can help reduce heat gain and keep your space cooler, reducing the workload on the AC unit.
By sealing and insulating the window, you will create a more controlled environment and enhance the efficiency of your window AC unit. With the window properly sealed and insulated, the next step is to test the AC unit to ensure it is functioning correctly.
Testing the AC Unit
After completing the installation and sealing process, it’s time to test the window AC unit to ensure it is functioning properly. Follow these steps to perform a thorough test:
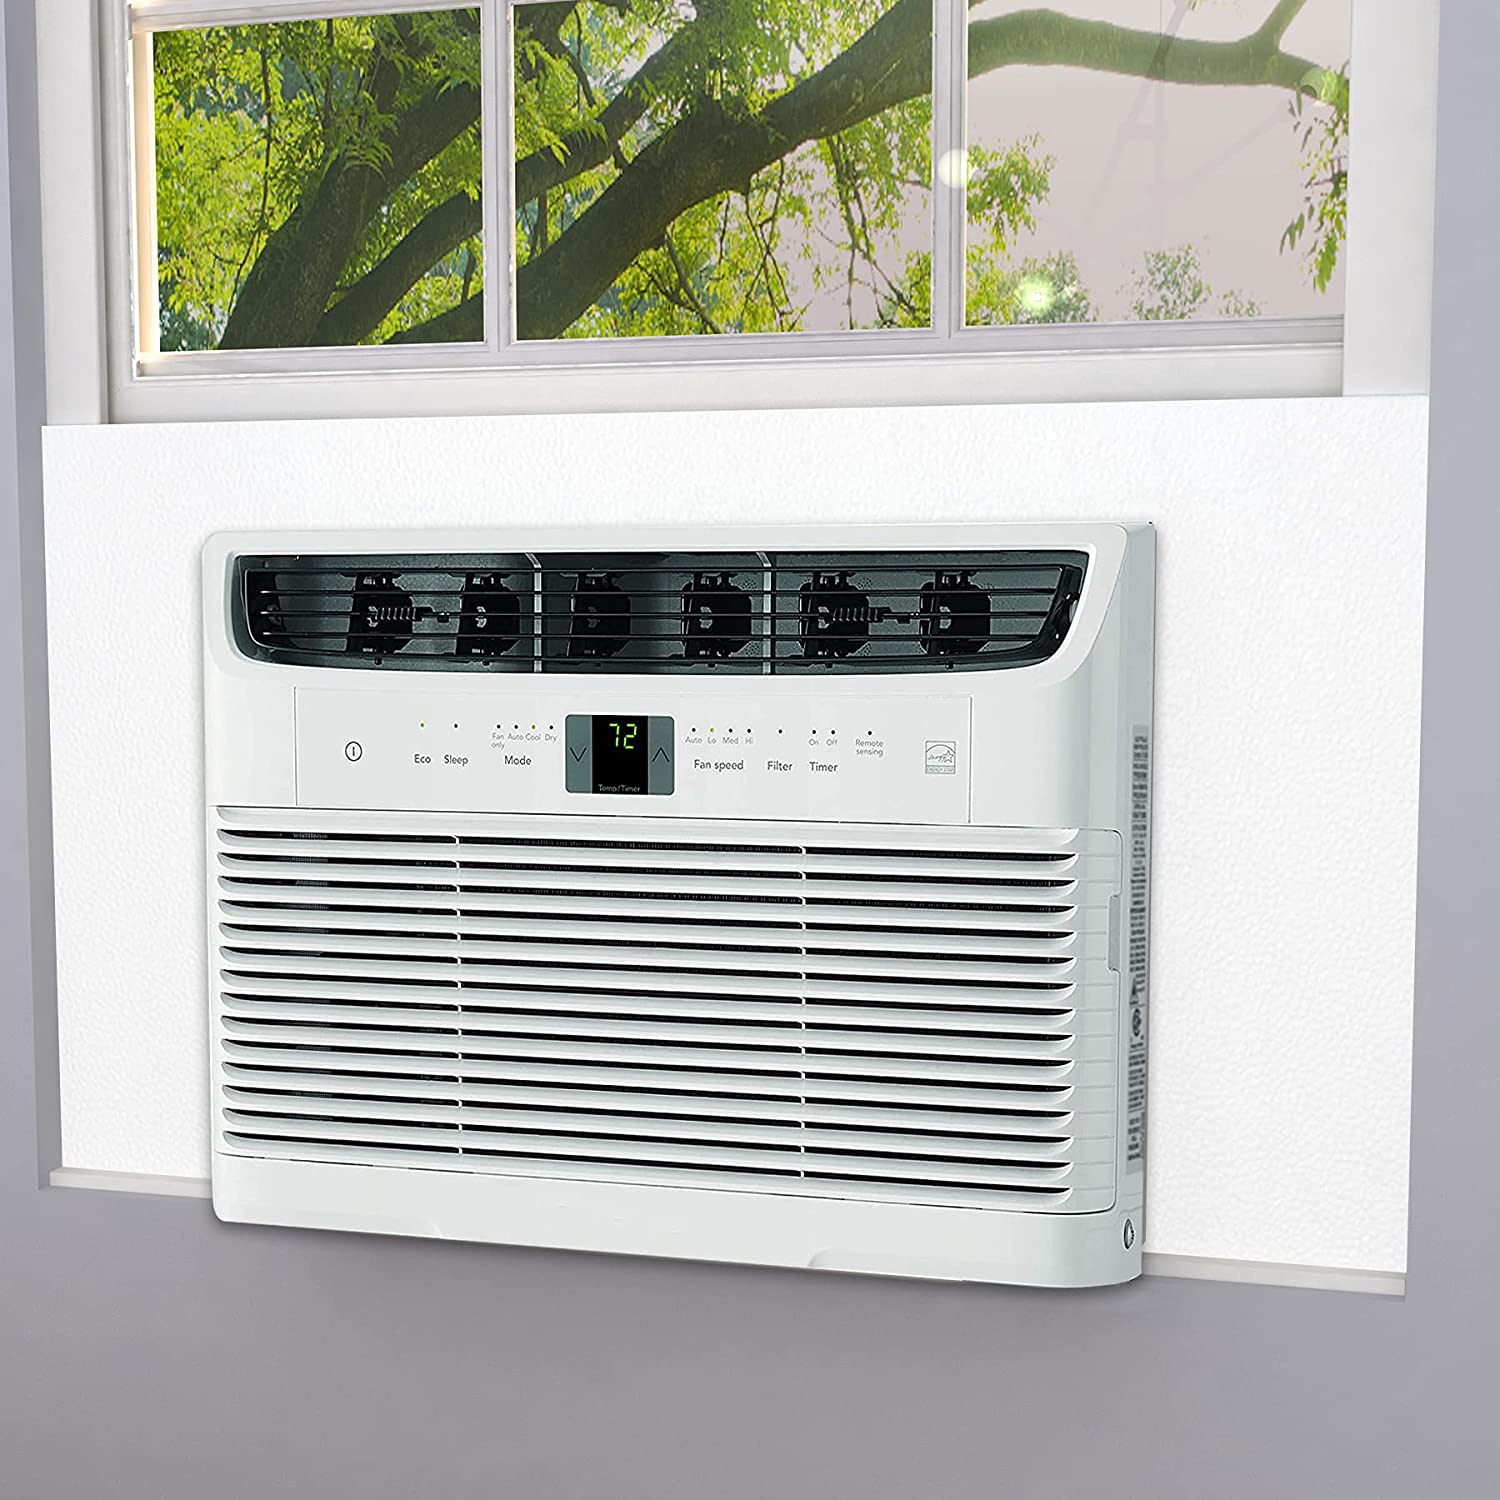
- Power On the Unit: Plug in the window AC unit to the nearby electrical outlet. Make sure the unit is securely connected and the power cord is not damaged.
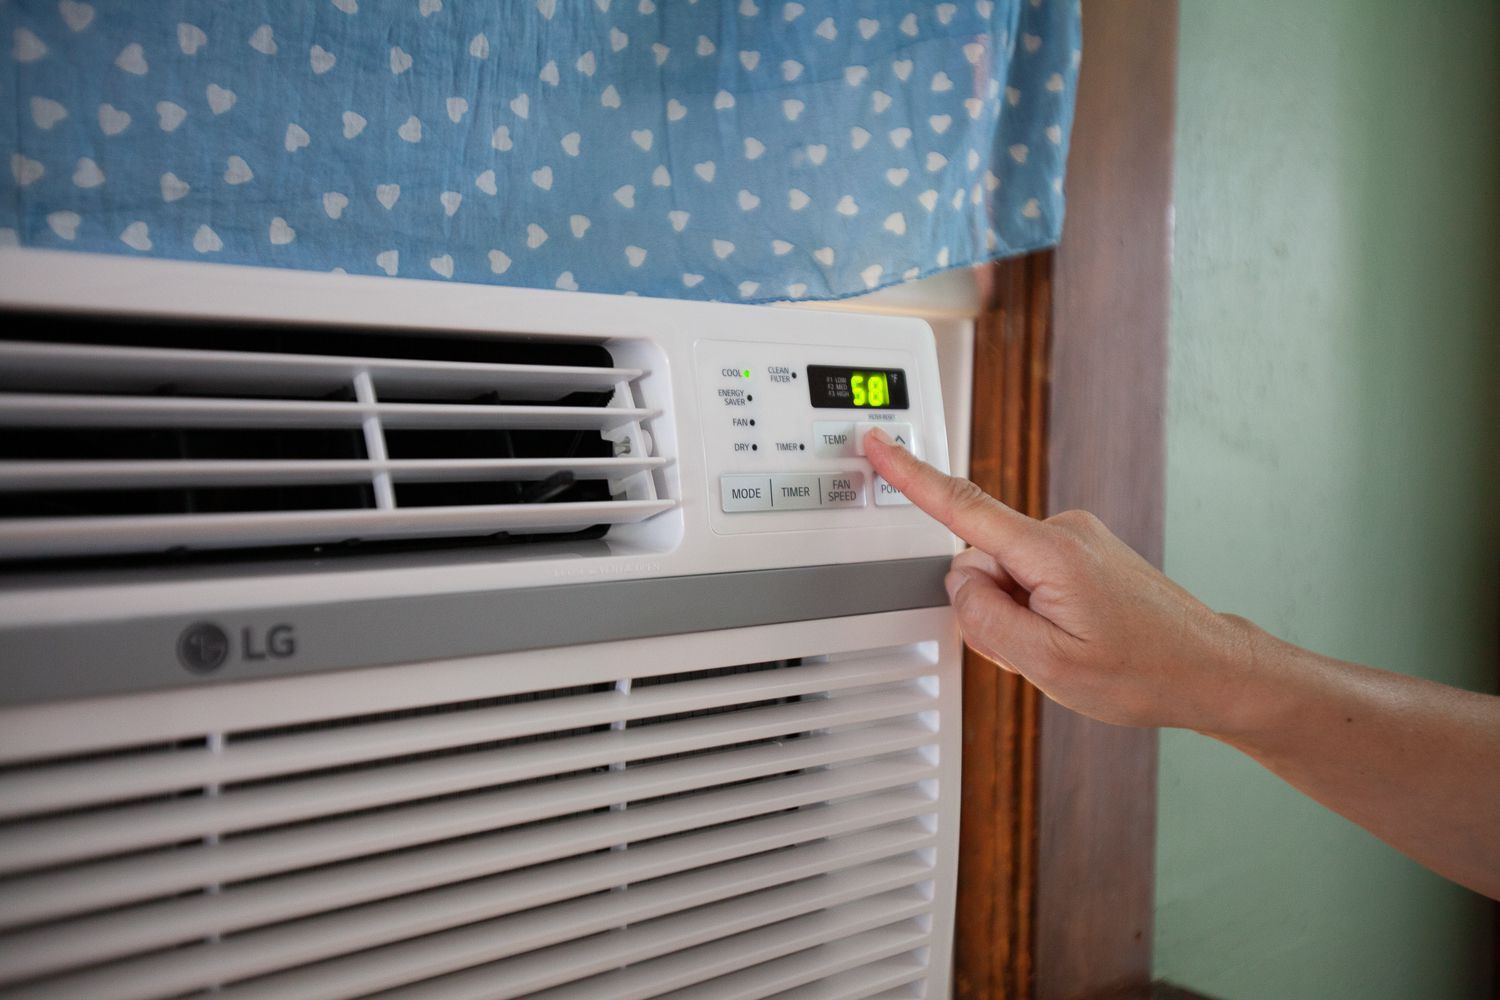
- Set the Desired Temperature: Use the controls on the AC unit to set the desired temperature. Allow the unit a few moments to start up and begin cooling.
- Check for Proper Airflow: Stand in front of the AC unit and feel the airflow. It should be steady, strong, and cool. If the airflow seems weak or warm, check for any obstructions, such as a dirty filter or blocked vents.
- Monitor Noise Levels: Pay attention to the noise levels produced by the AC unit. While some noise is expected, excessive or unusual noises could indicate a problem. If you notice any unusual sounds, contact the manufacturer or a qualified technician for assistance.
- Inspect for Leaks: Check around the AC unit, both inside and outside, for any signs of water leakage. This could indicate a drainage issue that needs to be addressed. If you notice any leaks, consult the manufacturer’s instructions or seek professional help.
- Verify Cooling Performance: Allow the AC unit to run for a while and monitor the cooling performance in the room. It should gradually cool down and maintain the desired temperature. If the unit struggles to cool the space or cannot reach the set temperature, there may be an issue that requires attention.
By following these testing steps, you can ensure that your window AC unit is functioning optimally and providing the cooling relief you need. If you encounter any issues during the testing process or are unsure about any aspect, it is recommended to consult the manufacturer’s instructions or seek professional help.
Congratulations! You have successfully installed and tested your window AC unit. Enjoy the cool and comfortable atmosphere in your space throughout the summer months!
Read more: How To Recharge Window AC Unit
Conclusion
Installing a window AC unit can be a rewarding DIY project that brings cool comfort to your home during the hot summer months. By following the step-by-step guide outlined in this article, you can successfully install and optimize the performance of your window AC unit.
We started by checking the window for compatibility, ensuring that it is the right size and type to accommodate the AC unit. After gathering the necessary tools and materials, we prepared the window by cleaning it and inspecting the frame for any damage. Then, we installed the mounting bracket securely, followed by mounting the AC unit onto the bracket.
To ensure stability, we secured the unit in place, making sure the side panels were extended, the support brackets were tightened, and the unit was properly aligned and connected to the drainage system. Next, we sealed and insulated the window using foam insulation tape, window insulator kits, weatherstripping, and other measures to prevent energy loss and air leaks.
Before wrapping up the installation process, we performed a thorough test of the AC unit. We checked for proper airflow, monitored noise levels, inspected for leaks, and verified the cooling performance of the unit.
Remember to always prioritize safety during the installation process. If you encounter any challenges or feel unsure about any step, consult the manufacturer’s instructions or seek professional assistance.
Now that you have successfully installed your window AC unit, you can enjoy the cool and comfortable environment it provides. Sit back, relax, and beat the summer heat with your newly installed window AC unit!
Now that you've tackled installing your window AC, why not keep your home in tip-top shape with other essential upkeep? Dive into our guide on essential home maintenance, where you'll find practical advice on keeping your living space pristine and functional year-round. From routine checks to unexpected repairs, you'll be well-equipped to handle it all, ensuring your sanctuary remains comfortable and cared for.
Frequently Asked Questions about How To Install Window AC Unit
Was this page helpful?
At Storables.com, we guarantee accurate and reliable information. Our content, validated by Expert Board Contributors, is crafted following stringent Editorial Policies. We're committed to providing you with well-researched, expert-backed insights for all your informational needs.


0 thoughts on “How To Install Window AC Unit”