
Articles
How To Load A Top Load Washer
Modified: January 6, 2024
Learn how to load a top load washer effectively with our helpful articles. Find step-by-step instructions and expert tips to optimize your laundry routine.
(Many of the links in this article redirect to a specific reviewed product. Your purchase of these products through affiliate links helps to generate commission for Storables.com, at no extra cost. Learn more)
Introduction
Welcome to this comprehensive guide on how to load a top load washer. Doing laundry is a regular chore for most individuals and families, and understanding the proper way to load a washing machine can make a significant impact on the cleanliness and longevity of your clothes. Although top load washers may seem straightforward, there are some important steps to follow to ensure optimal washing performance and garment care.
By learning the correct techniques for loading a top load washer, you can effectively remove stains, dirt, and grime from your clothes, while also preventing excessive wear and tear. This article will break down the process into simple, easy-to-follow steps, ensuring that you achieve the best possible results every time you do your laundry.
So, let’s get started and delve into the step-by-step process of loading a top load washer for efficient and effective laundry cleaning.
Key Takeaways:
- Properly preparing the top load washer, sorting laundry, and using the right detergent are crucial for achieving cleaner and fresher clothes with each wash. Follow the step-by-step process to optimize laundry results.
- Actively monitoring the wash cycle and promptly addressing any issues ensures a successful laundry load. Properly removing and drying the laundry completes the process, resulting in clean, fresh, and well-maintained clothes.
Read more: How To Load Top Load Washer Without Agitator
Step 1: Prepare the washer
Before you begin loading the washer, it is essential to ensure that the machine is prepared for the laundry. Here are the key steps to follow in order to properly prepare the washer:
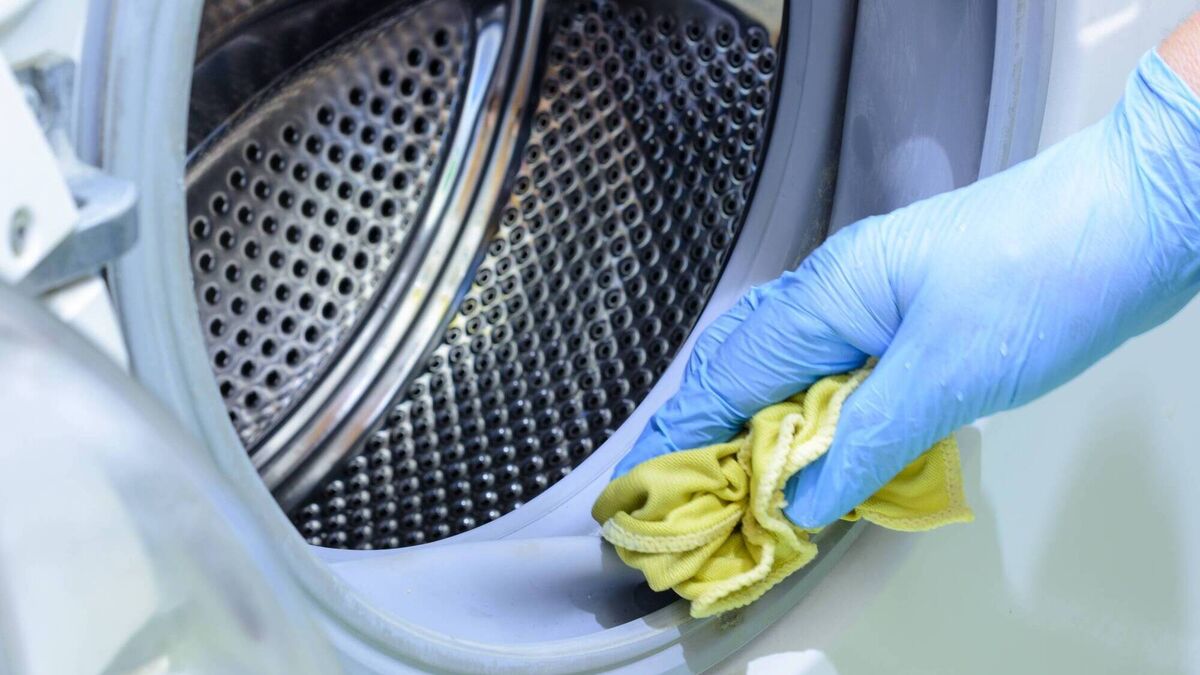
- Clean the drum: Check if there are any lingering dirt, debris, or residue from previous loads. Wipe it down with a damp cloth and mild detergent to remove any build-up.
- Inspect the machine: Take a moment to check for any damages, loose parts, or abnormalities in the machine. This will help prevent any potential issues during the wash cycle.
- Check the water supply: Ensure that the washer is properly connected to the water supply and that the water valves are fully open. Adequate water supply is essential for an effective wash cycle.
- Level the washer: Use a level to ensure that the washer is sitting on a level surface. If it is not, adjust the leveling feet, usually situated at the bottom corners of the machine, until it is balanced.
- Plug in the machine: Make sure the washer is properly plugged into a functioning electrical outlet. This will ensure it has the necessary power to operate.
By taking these initial steps to prepare the washer, you are setting the foundation for a successful and efficient laundry cycle. Remember to always consult the manufacturer’s manual for specific instructions and recommendations for your particular model.
Step 2: Sort the laundry
Sorting your laundry is an important step prior to loading it into the top load washer. This allows you to separate your clothes based on fabric type, color, and level of dirtiness. Sorting helps prevent color bleeding, damage to delicate fabrics, and ensures optimal cleaning results. Here’s how to sort your laundry effectively:
- Separate by color: Divide your laundry into separate piles according to color categories, such as whites, lights, and darks. This will prevent color bleeding and keep your clothes looking their best.
- Sort by fabric type: Group clothes together based on their fabric type, such as delicates, heavy-duty, or synthetics. This allows you to adjust the wash cycle settings accordingly for different types of fabric.
- Consider dirtiness: If you have heavily soiled items, separate them from lightly soiled ones. This allows you to use the appropriate amount of detergent and adjust the wash cycle settings accordingly for better cleaning.
- Check garment labels: Pay attention to the care labels on your clothing. Some items may require special care, such as hand washing or dry cleaning. Separate these items and treat them as needed.
Sorting your laundry not only helps protect your clothes but also allows for a more efficient washing process. It ensures that each load is appropriately handled, resulting in cleaner and fresher clothes after each wash. Once you have sorted your laundry, you are ready to proceed to the next step: adding detergent.
Step 3: Add detergent
Adding the right amount and type of detergent is crucial for optimal cleaning performance in your top load washer. Different detergents are designed for specific types of fabrics and water conditions. Here’s how to add detergent properly:
- Read the manufacturer’s instructions: Start by reading the instructions on the detergent bottle or box. This will give you a better understanding of the recommended amount of detergent to use for your load size and water hardness.
- Measure the detergent: Use a measuring cup or dispenser to accurately measure the detergent according to the instructions. Adding too much detergent can lead to residue build-up, while using too little may result in inadequate cleaning.
- Choose the right detergent: Select a detergent appropriate for your laundry needs, whether it’s a regular detergent, a color-safe option, or one designed specifically for sensitive skin.
- Place the detergent in the machine: Add the measured detergent to the designated dispenser in your top load washer. Most machines have a built-in compartment for detergent, fabric softener, and bleach. Refer to your machine’s manual for the specific location.
It’s important to note that excessive use of detergent does not necessarily result in cleaner clothes. In fact, using too much detergent can lead to detergent residue on your garments and decrease the longevity of your washer. Following the recommended measurements and using the appropriate detergent will help maintain the efficiency of your machine and keep your clothes fresh and clean.
With the detergent added, you’re now ready to move on to the next step: loading the washer with your sorted laundry.
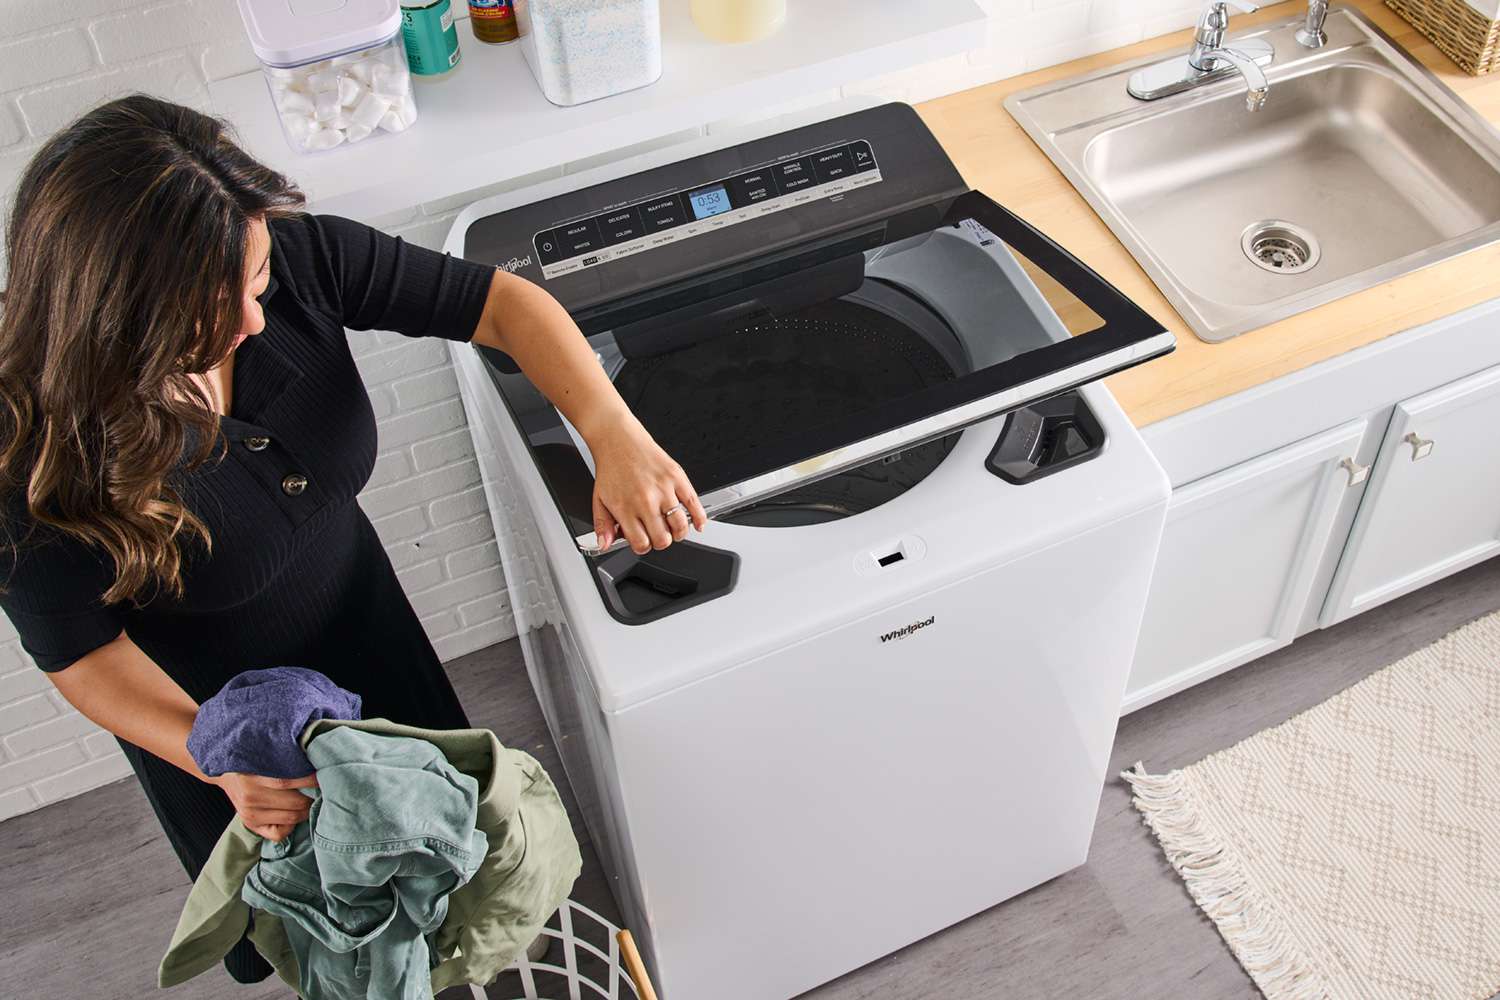
Step 4: Load the washer
Properly loading the top load washer is essential to ensure that your clothes are thoroughly cleaned and well-maintained. Here are the steps to follow when loading your laundry into the washer:
- Check the load capacity: Refer to your machine’s manual to determine its maximum load capacity. Overloading the washer can lead to inefficient washing and may cause damage to the machine.
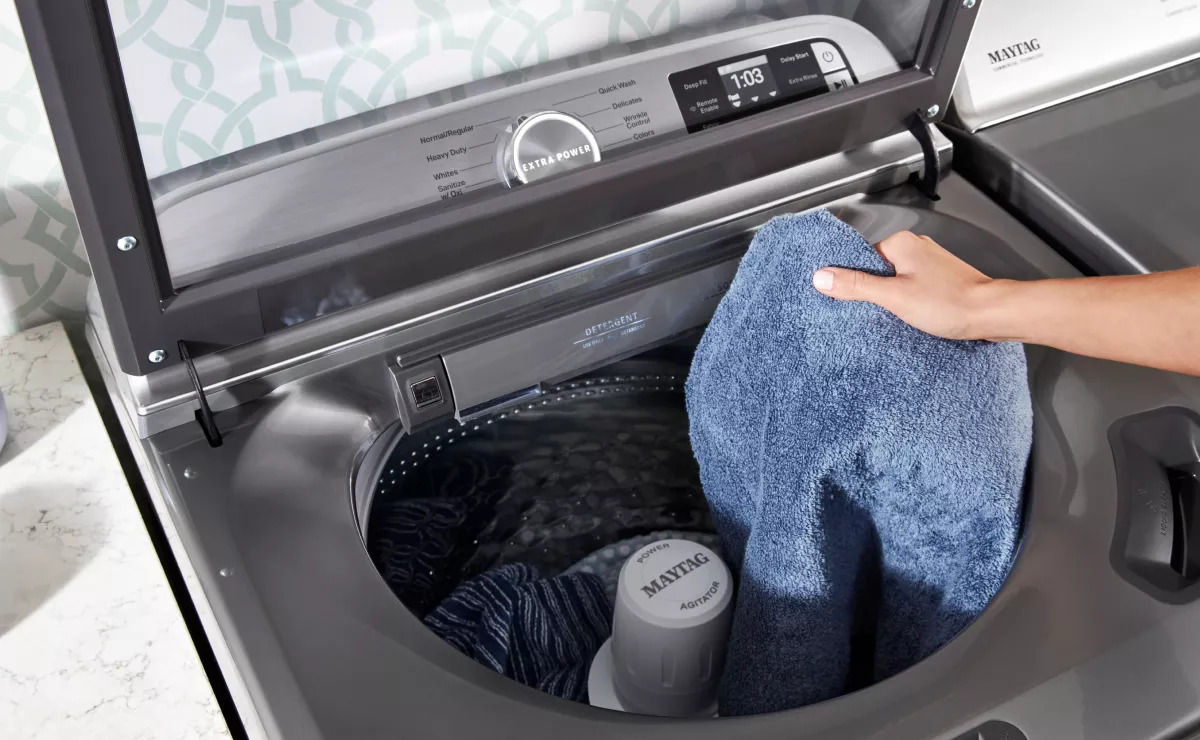
- Add bulky items first: If you have bulky items like bedding or towels, add them to the washer first. This prevents them from taking up too much space or covering other clothes during the wash cycle.
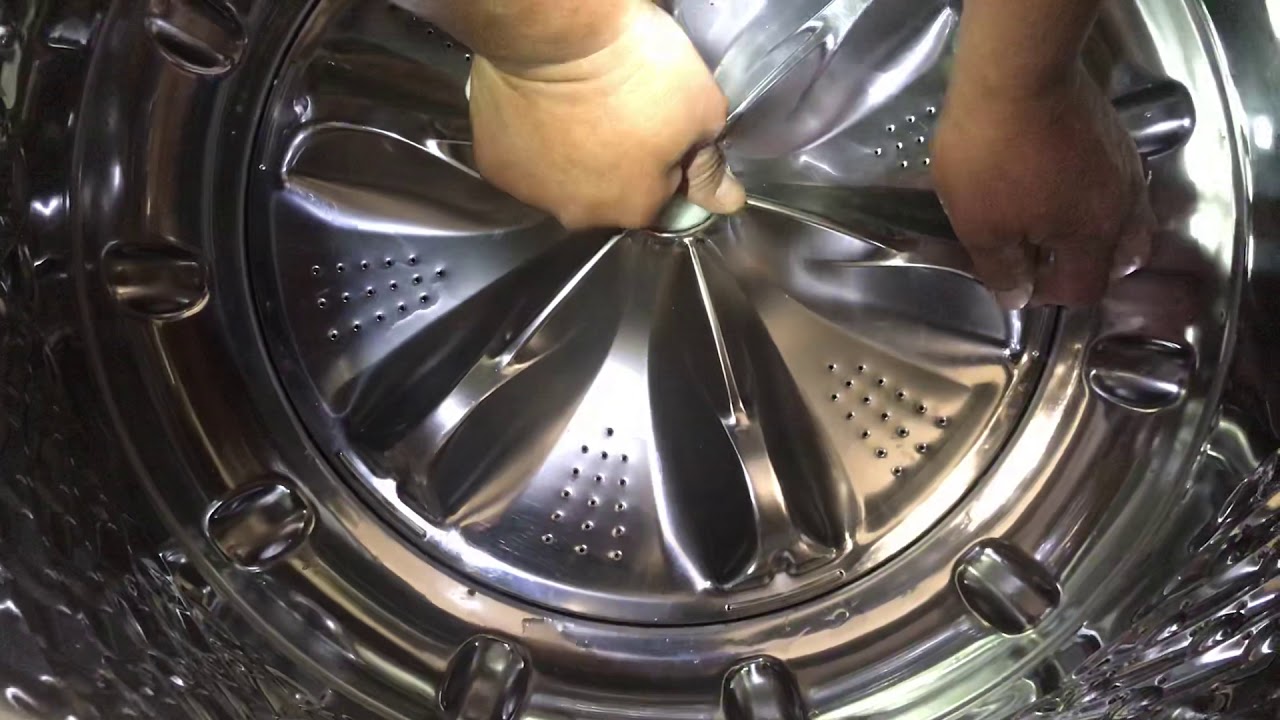
- Distribute the clothes evenly: Place small and medium-sized items evenly around the agitator or in the center of the drum. This distributes the weight and helps the machine perform optimally.
- Avoid tangling: To prevent clothes from getting tangled, alternate the direction of sleeves and pant legs, and avoid overstuffing the washer.
- Close the machine: Once you have evenly distributed the clothes, close the lid or door of your top load washer securely. Make sure it locks properly before proceeding.
By following these steps, you will ensure that your clothes have enough space to move around freely during the wash cycle, allowing the detergent to penetrate and clean them effectively. Overloading the washer can lead to poor cleaning results and increased wear and tear on your clothes, so it’s important to load it correctly.
Now that you’ve loaded the washer, it’s time to move on to the next step: starting the wash cycle.
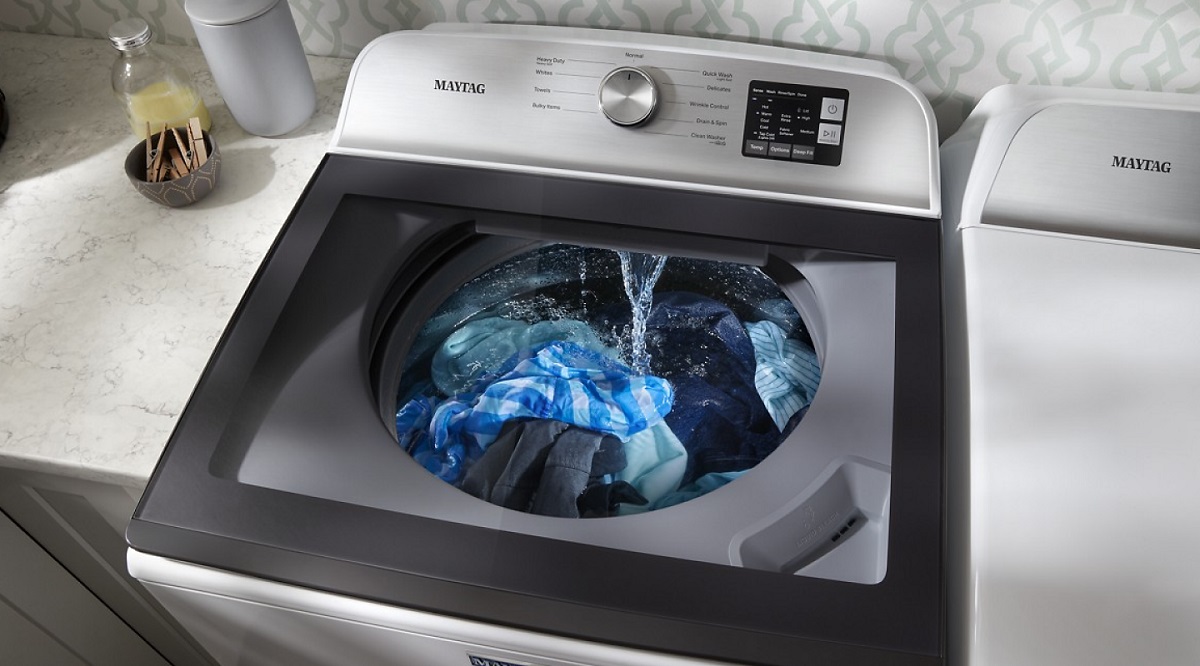
Make sure to distribute the clothes evenly around the agitator to prevent unbalanced loads and ensure a thorough clean.
Read more: How To Put Detergent In Top Load Washer
Step 5: Start the wash cycle
Starting the wash cycle on your top load washer is the next crucial step in achieving clean and fresh laundry. Follow these steps to begin the wash cycle:
- Select the wash cycle: Refer to your machine’s control panel and choose the appropriate wash cycle for your laundry load. Common options include delicate, normal, heavy-duty, and soak cycles.
- Adjust the water level: Depending on the size of your laundry load, you may need to adjust the water level. Some machines have an automatic sensor that detects the load size and adjusts the water level accordingly.
- Choose the water temperature: Consider the fabric type and the level of dirtiness when selecting the water temperature. Typically, cold water is suitable for delicate fabrics, while warm or hot water is effective for stains and heavily soiled items.
- Additional cycle options: If your washer offers additional cycle options such as pre-soak, extra rinse, or stain removal, select the ones that are appropriate for your laundry needs.
- Press start: Once you have selected the desired settings, press the start button to begin the wash cycle. The machine will start agitating or rotating to clean your clothes.
During the wash cycle, it’s important to allow the machine to complete the full cycle without interruption for optimal cleaning results. Some washers have an estimated time display, so you can track the progress of the cycle. Resist the temptation to open the lid or door while the machine is in operation, as this can disrupt the washing process and potentially cause damage to the machine.
With the wash cycle underway, it’s time to move on to the next step: monitoring the wash cycle.
Step 6: Monitor the wash cycle
Monitoring the wash cycle of your top load washer is an important step to ensure that the cleaning process is running smoothly and to address any issues that may arise. Here’s what you need to do while the washer is in operation:
- Stay nearby: While the washer is running, make sure to stay within earshot or sight of the machine. This allows you to be aware of any unusual noises, leaks, or other abnormalities that may occur.
- Check for balance: Occasionally, the clothes in the washer may become unbalanced, causing the machine to shake or vibrate excessively. If you notice excessive movement, pause the wash cycle and redistribute the load to create a more balanced arrangement.
- Address any issues: If you notice any issues, such as an error code or abnormal sounds, consult your machine’s manual for troubleshooting steps. It’s important to address any problems promptly to prevent further damage to the machine or clothes.
- Be mindful of time: Keep track of the wash cycle’s estimated time or use a timer if necessary. This will help you plan your time and ensure that you don’t leave the wet clothes sitting in the machine for too long.
By actively monitoring the wash cycle, you can address any issues early on and take the necessary steps for a successful laundry load. Remember to always follow the manufacturer’s recommendations and instructions for your specific machine model.
Once the wash cycle is complete, it’s time for the final step: removing and drying the laundry.
Step 7: Remove and dry the laundry
The final step in the laundry process is removing the clothes from the top load washer and properly drying them. Follow these steps to ensure that your laundry is dried efficiently and ready to be worn:
- Open the lid or door: Once the wash cycle has completed, carefully open the lid or door of the washer. Be cautious as some items may still be damp and could drip water.
- Remove clothes promptly: Quickly remove the clothes from the machine to prevent them from becoming wrinkled or developing a musty smell due to prolonged moisture exposure.
- Inspect the clothes: Take a moment to inspect your garments. Check for any remaining stains or spots that may require additional treatment before drying.
- Sort for drying: Separate your laundry into items that are suitable for tumble drying or air drying. Delicate fabrics, such as lingerie or knitwear, may require air drying to prevent damage.
- Choose the drying method: If using a dryer, follow the manufacturer’s instructions for load size and drying settings. For air drying, use a drying rack or hang clothes on a clothesline in a well-ventilated area.
- Allow clothes to fully dry: Whether using a dryer or air drying, make sure that your clothes are completely dry before folding or wearing them. This helps prevent mold or mildew growth and ensures that your clothes are ready to be stored or worn.
It’s important to note that certain fabrics and garments may require special care or different drying methods. Always refer to the care labels on your clothing for specific instructions on drying techniques.
By following these steps, you will ensure that your laundry is properly dried and ready for use. Remember to clean the lint trap in your dryer regularly and maintain good ventilation when air drying to achieve the best drying results.
Congratulations! You have now completed all the necessary steps to load a top load washer and successfully do your laundry. By following these guidelines, you can achieve clean, fresh, and well-maintained clothes with every wash.
Thank you for reading our comprehensive guide. Happy washing!
Conclusion
Doing laundry is a regular task that can be made much more efficient and effective by following the proper steps to load a top load washer. By preparing the washer, sorting the laundry, adding the right amount of detergent, and loading the washer correctly, you can ensure cleaner and fresher clothes after each wash. Monitoring the wash cycle and promptly addressing any issues that arise further contribute to a successful laundry load. Finally, removing and drying the laundry properly ensures that your clothes are ready to be worn or stored.
Through this comprehensive guide, we have provided you with a step-by-step process to load a top load washer. By following these guidelines, you can achieve optimal cleaning performance, prevent damage to your clothes, and extend the lifespan of your washer. It’s important to remember to consult your machine’s manual for any specific instructions or recommendations that may vary between models.
By implementing these techniques, you can make your laundry routine more efficient, save time and energy, and enjoy the benefits of clean and fresh clothes. So, the next time you load your top load washer, remember the importance of proper preparation, sorting, detergent usage, and careful loading.
Thank you for reading our guide on how to load a top load washer. We hope that you found it informative and helpful. Happy washing!
Frequently Asked Questions about How To Load A Top Load Washer
Was this page helpful?
At Storables.com, we guarantee accurate and reliable information. Our content, validated by Expert Board Contributors, is crafted following stringent Editorial Policies. We're committed to providing you with well-researched, expert-backed insights for all your informational needs.






0 thoughts on “How To Load A Top Load Washer”