Home>Home Appliances>Laundry Appliances>How To Use A Top-Loading Washing Machine
Laundry Appliances
How To Use A Top-Loading Washing Machine
Modified: August 27, 2024
Learn how to efficiently use a top-loading washing machine for your laundry needs. Get expert tips and tricks for laundry appliances.
(Many of the links in this article redirect to a specific reviewed product. Your purchase of these products through affiliate links helps to generate commission for Storables.com, at no extra cost. Learn more)
Understanding the Control Panel
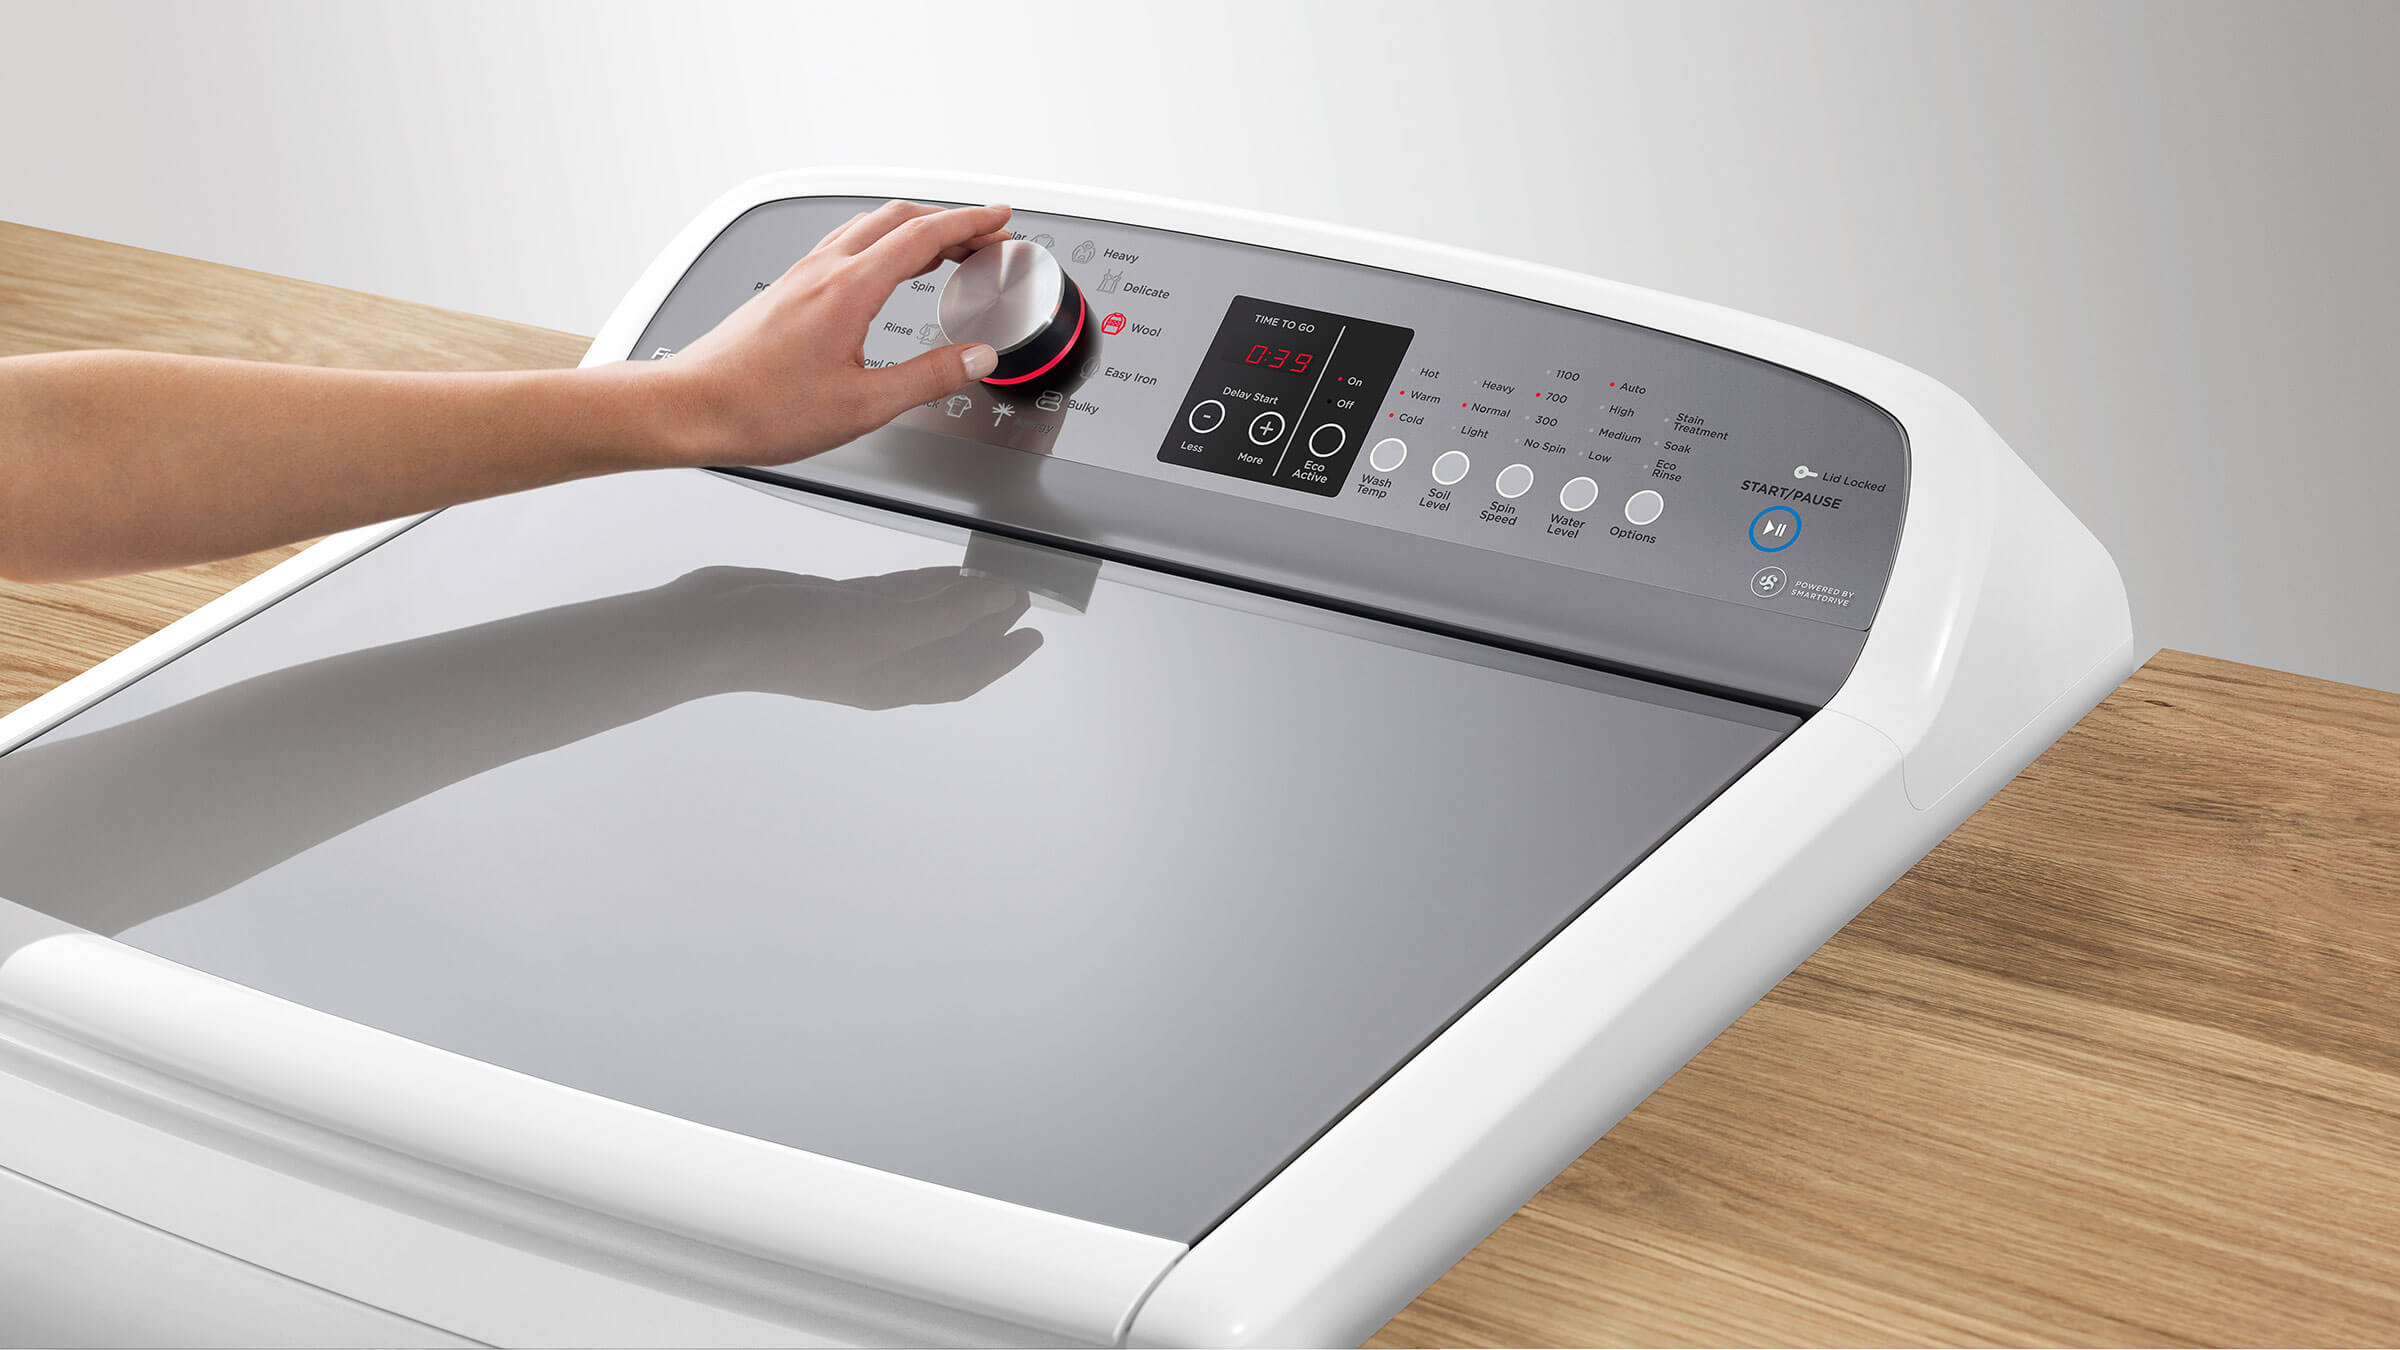
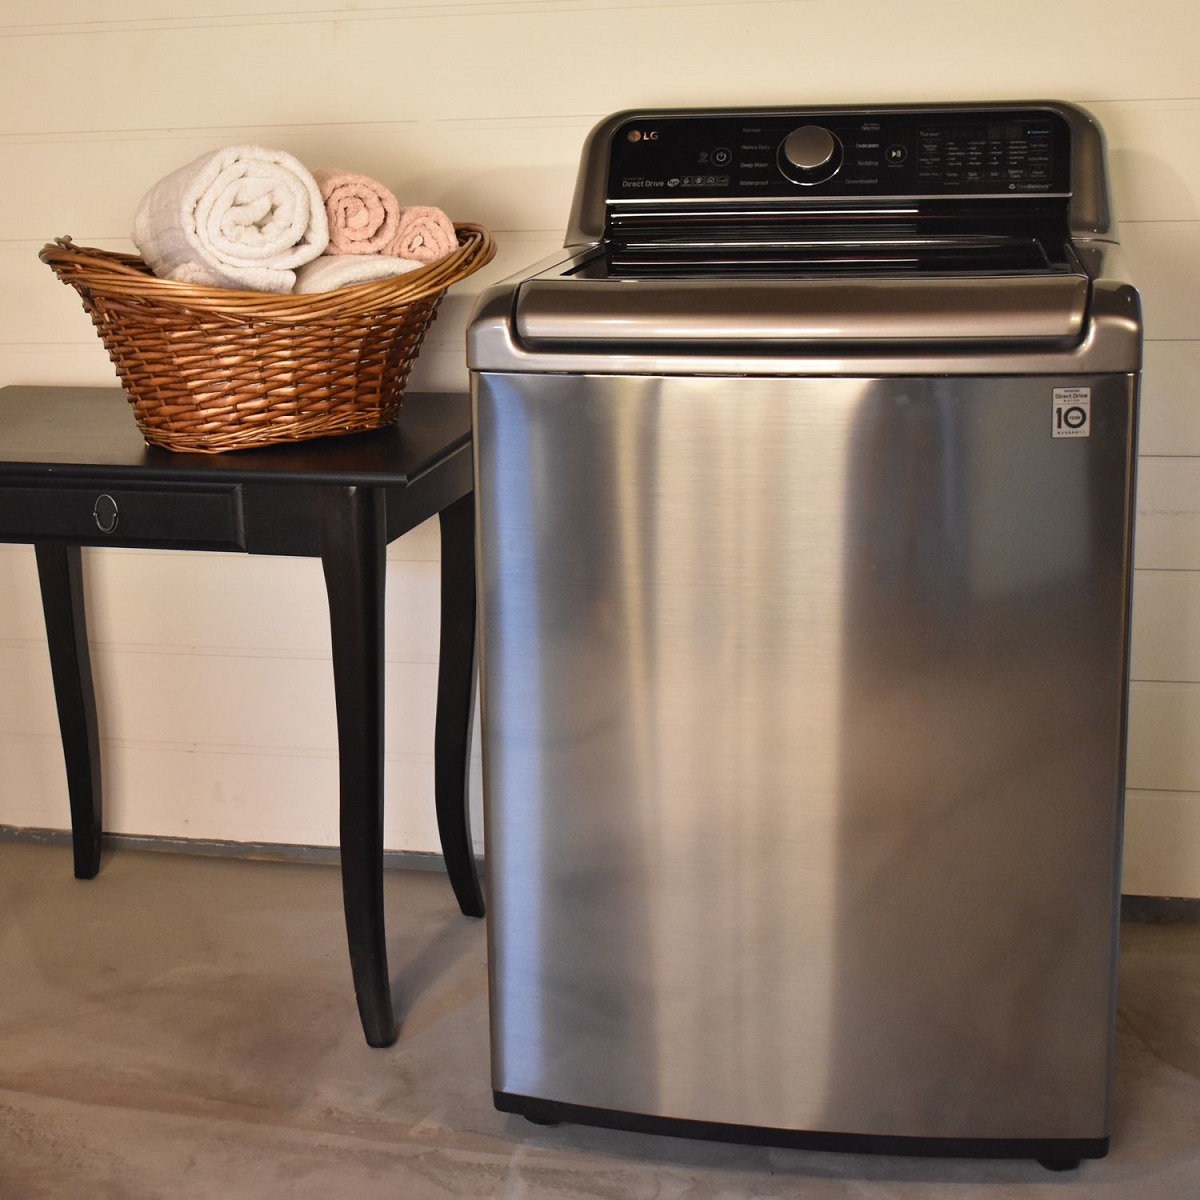
The control panel of a top-loading washing machine may appear daunting at first glance, with its array of buttons, dials, and indicators. However, once you understand the functions of each component, operating the machine becomes a breeze. Let's delve into the various elements of the control panel and their respective roles.
-
Power Button: This button serves as the primary switch for the washing machine. Pressing it activates the machine, allowing you to proceed with the washing process.
-
Cycle Selector: The cycle selector allows you to choose the type of wash cycle you desire. Common options include normal, delicate, heavy-duty, and quick wash. Each cycle is tailored to accommodate specific fabric types and soil levels, ensuring optimal cleaning results.
-
Water Temperature Control: This feature enables you to adjust the temperature of the water used during the wash cycle. Options typically include hot, warm, and cold settings. Selecting the appropriate temperature is crucial for preserving the quality of your garments while effectively removing stains and dirt.
-
Load Size Selector: By adjusting the load size selector, you inform the washing machine about the quantity of clothes being washed. This information helps the machine optimize water usage and agitation, promoting efficient cleaning while conserving resources.
-
Soil Level Selector: The soil level selector allows you to specify the degree of soiling on your laundry. Whether it's lightly soiled items or heavily stained garments, this setting ensures that the washing machine adapts its cleaning intensity accordingly.
-
Start/Pause Button: Once you've configured the desired settings, the start/pause button initiates the wash cycle. In the event of a need to interrupt the cycle, pressing this button again halts the operation, allowing for adjustments or the addition of forgotten items.
-
Display Panel: The display panel provides valuable information such as the selected cycle, remaining time, and any relevant alerts or error codes. This visual feedback keeps you informed throughout the washing process, enhancing convenience and control.
Understanding the control panel of a top-loading washing machine empowers you to tailor each wash cycle to suit your specific laundry needs. By mastering the functions of these components, you can optimize the cleaning process while prolonging the lifespan of your garments.
Key Takeaways:
- Master your top-loading washing machine’s control panel to customize wash cycles, conserve resources, and keep garments in top condition for longer-lasting freshness and cleanliness.
- Sort and load clothes thoughtfully to ensure thorough cleaning, prevent damage, and optimize the washing process for cleaner, fresher laundry every time.
Read more: How To Load Top Load Washer Without Agitator
Sorting and Loading Clothes
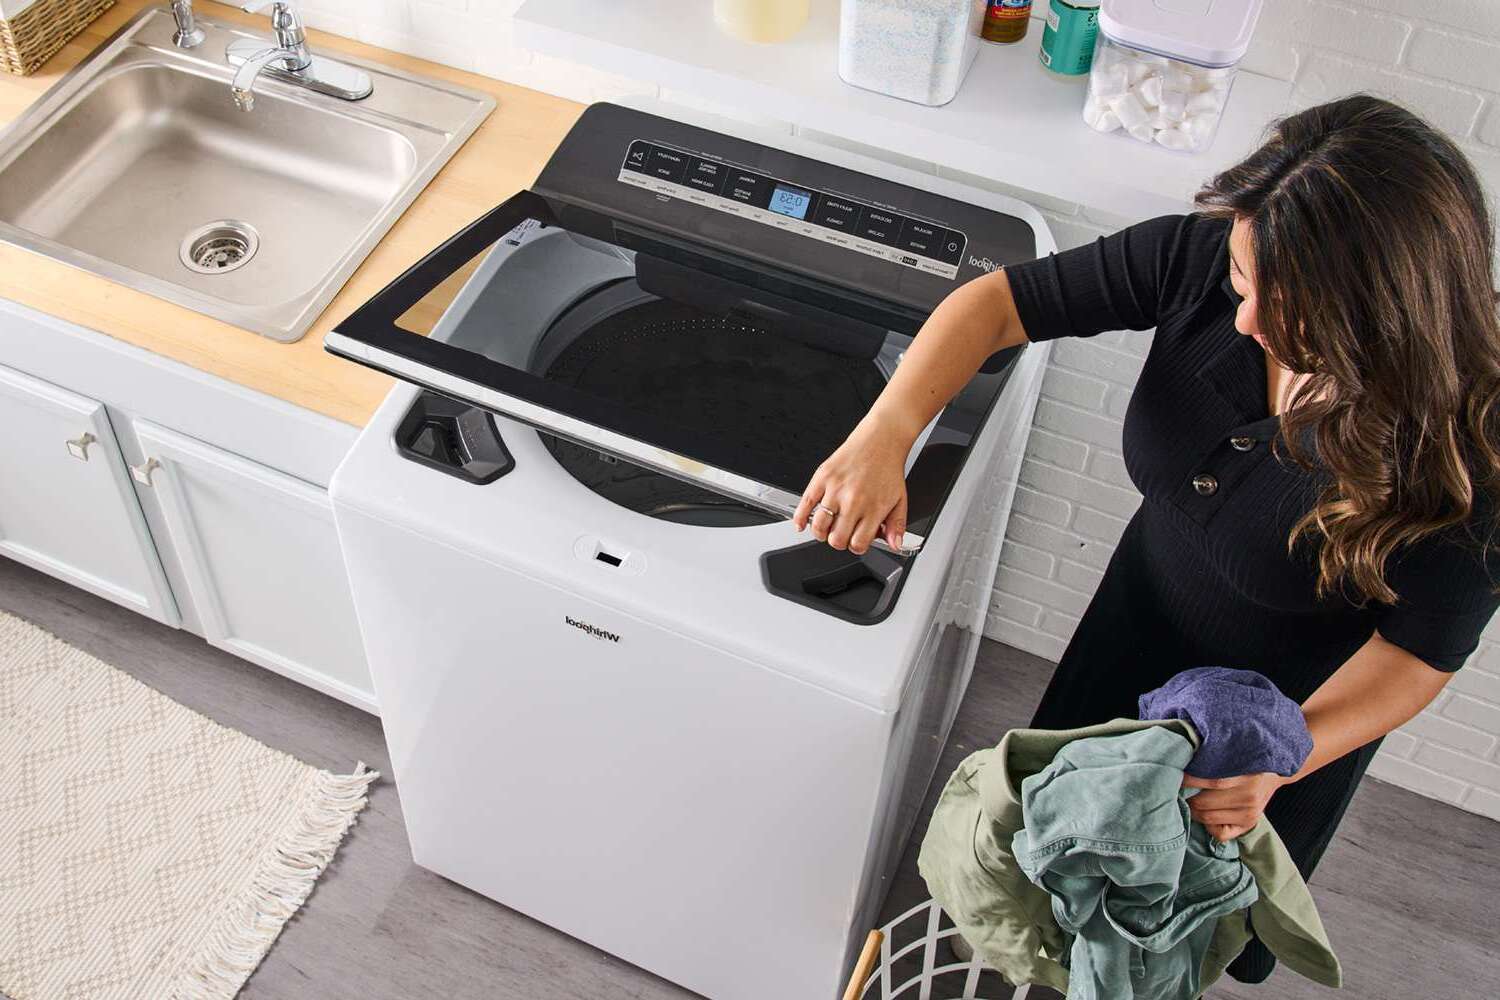
Sorting and loading clothes into a top-loading washing machine is a crucial step that sets the foundation for a successful laundry cycle. By carefully organizing and placing your garments, you can ensure thorough cleaning and prevent potential damage. Here's a detailed guide on how to effectively sort and load clothes into your washing machine:
-
Sort by Color and Fabric Type: Begin by sorting your laundry based on color and fabric type. This practice prevents color bleeding and ensures that delicate fabrics receive the appropriate treatment. Sort whites, lights, and darks into separate piles, and consider further categorizing items made of delicate fabrics such as silk or lace.
-
Check Pockets and Fastenings: Before loading the clothes, remember to check the pockets for any items such as coins, keys, or tissues. Additionally, fasten zippers, buttons, and hooks to prevent them from snagging or causing damage to other garments during the wash cycle.
-
Turn Garments Inside Out: For items prone to fading or those with decorative elements, turning them inside out can help preserve their appearance. This simple step minimizes friction between the fabric's surface and the agitator, reducing the likelihood of color loss or damage to embellishments.
-
Load Larger Items First: When loading the washing machine, start with larger items such as bed linens, towels, and blankets. Placing these items at the bottom helps distribute the weight evenly, promoting balanced agitation and efficient cleaning.
-
Add Smaller Items and Garments: After the larger items are in place, add smaller garments such as shirts, pants, and undergarments. Distribute these items evenly around the agitator to prevent the load from becoming unbalanced during the wash cycle.
-
Avoid Overcrowding: While it may be tempting to maximize the load size, overcrowding the washing machine can hinder the cleaning process. Leave ample space for the water and detergent to circulate freely among the garments, allowing for thorough soil removal and effective rinsing.
-
Mind the Load Size: Be mindful of the recommended load size for your specific washing machine model. Overloading the machine can strain its components and compromise cleaning efficiency, while underloading may lead to excessive water usage.
By following these guidelines, you can optimize the sorting and loading process, setting the stage for a successful wash cycle. This thoughtful approach not only ensures cleaner and fresher laundry but also helps preserve the condition of your garments for the long term.
Adding Detergent and Fabric Softener
Adding detergent and fabric softener to your top-loading washing machine is a fundamental aspect of achieving clean, fresh-smelling laundry. The proper application of these products ensures effective soil removal, odor elimination, and fabric care. Here's a comprehensive guide on how to add detergent and fabric softener to your washing machine for optimal results.
Detergent Application
-
Selecting the Right Detergent: Choose a high-quality laundry detergent suitable for the fabric types and soil levels of your laundry. For heavily soiled items, consider using a detergent formulated for deep cleaning, while opting for a gentle detergent for delicate fabrics.
-
Measuring the Detergent: Refer to the manufacturer's guidelines on the detergent packaging to determine the appropriate amount for your load size. Using too much detergent can result in residue buildup and may require additional rinsing, while using too little may compromise cleaning efficacy.
-
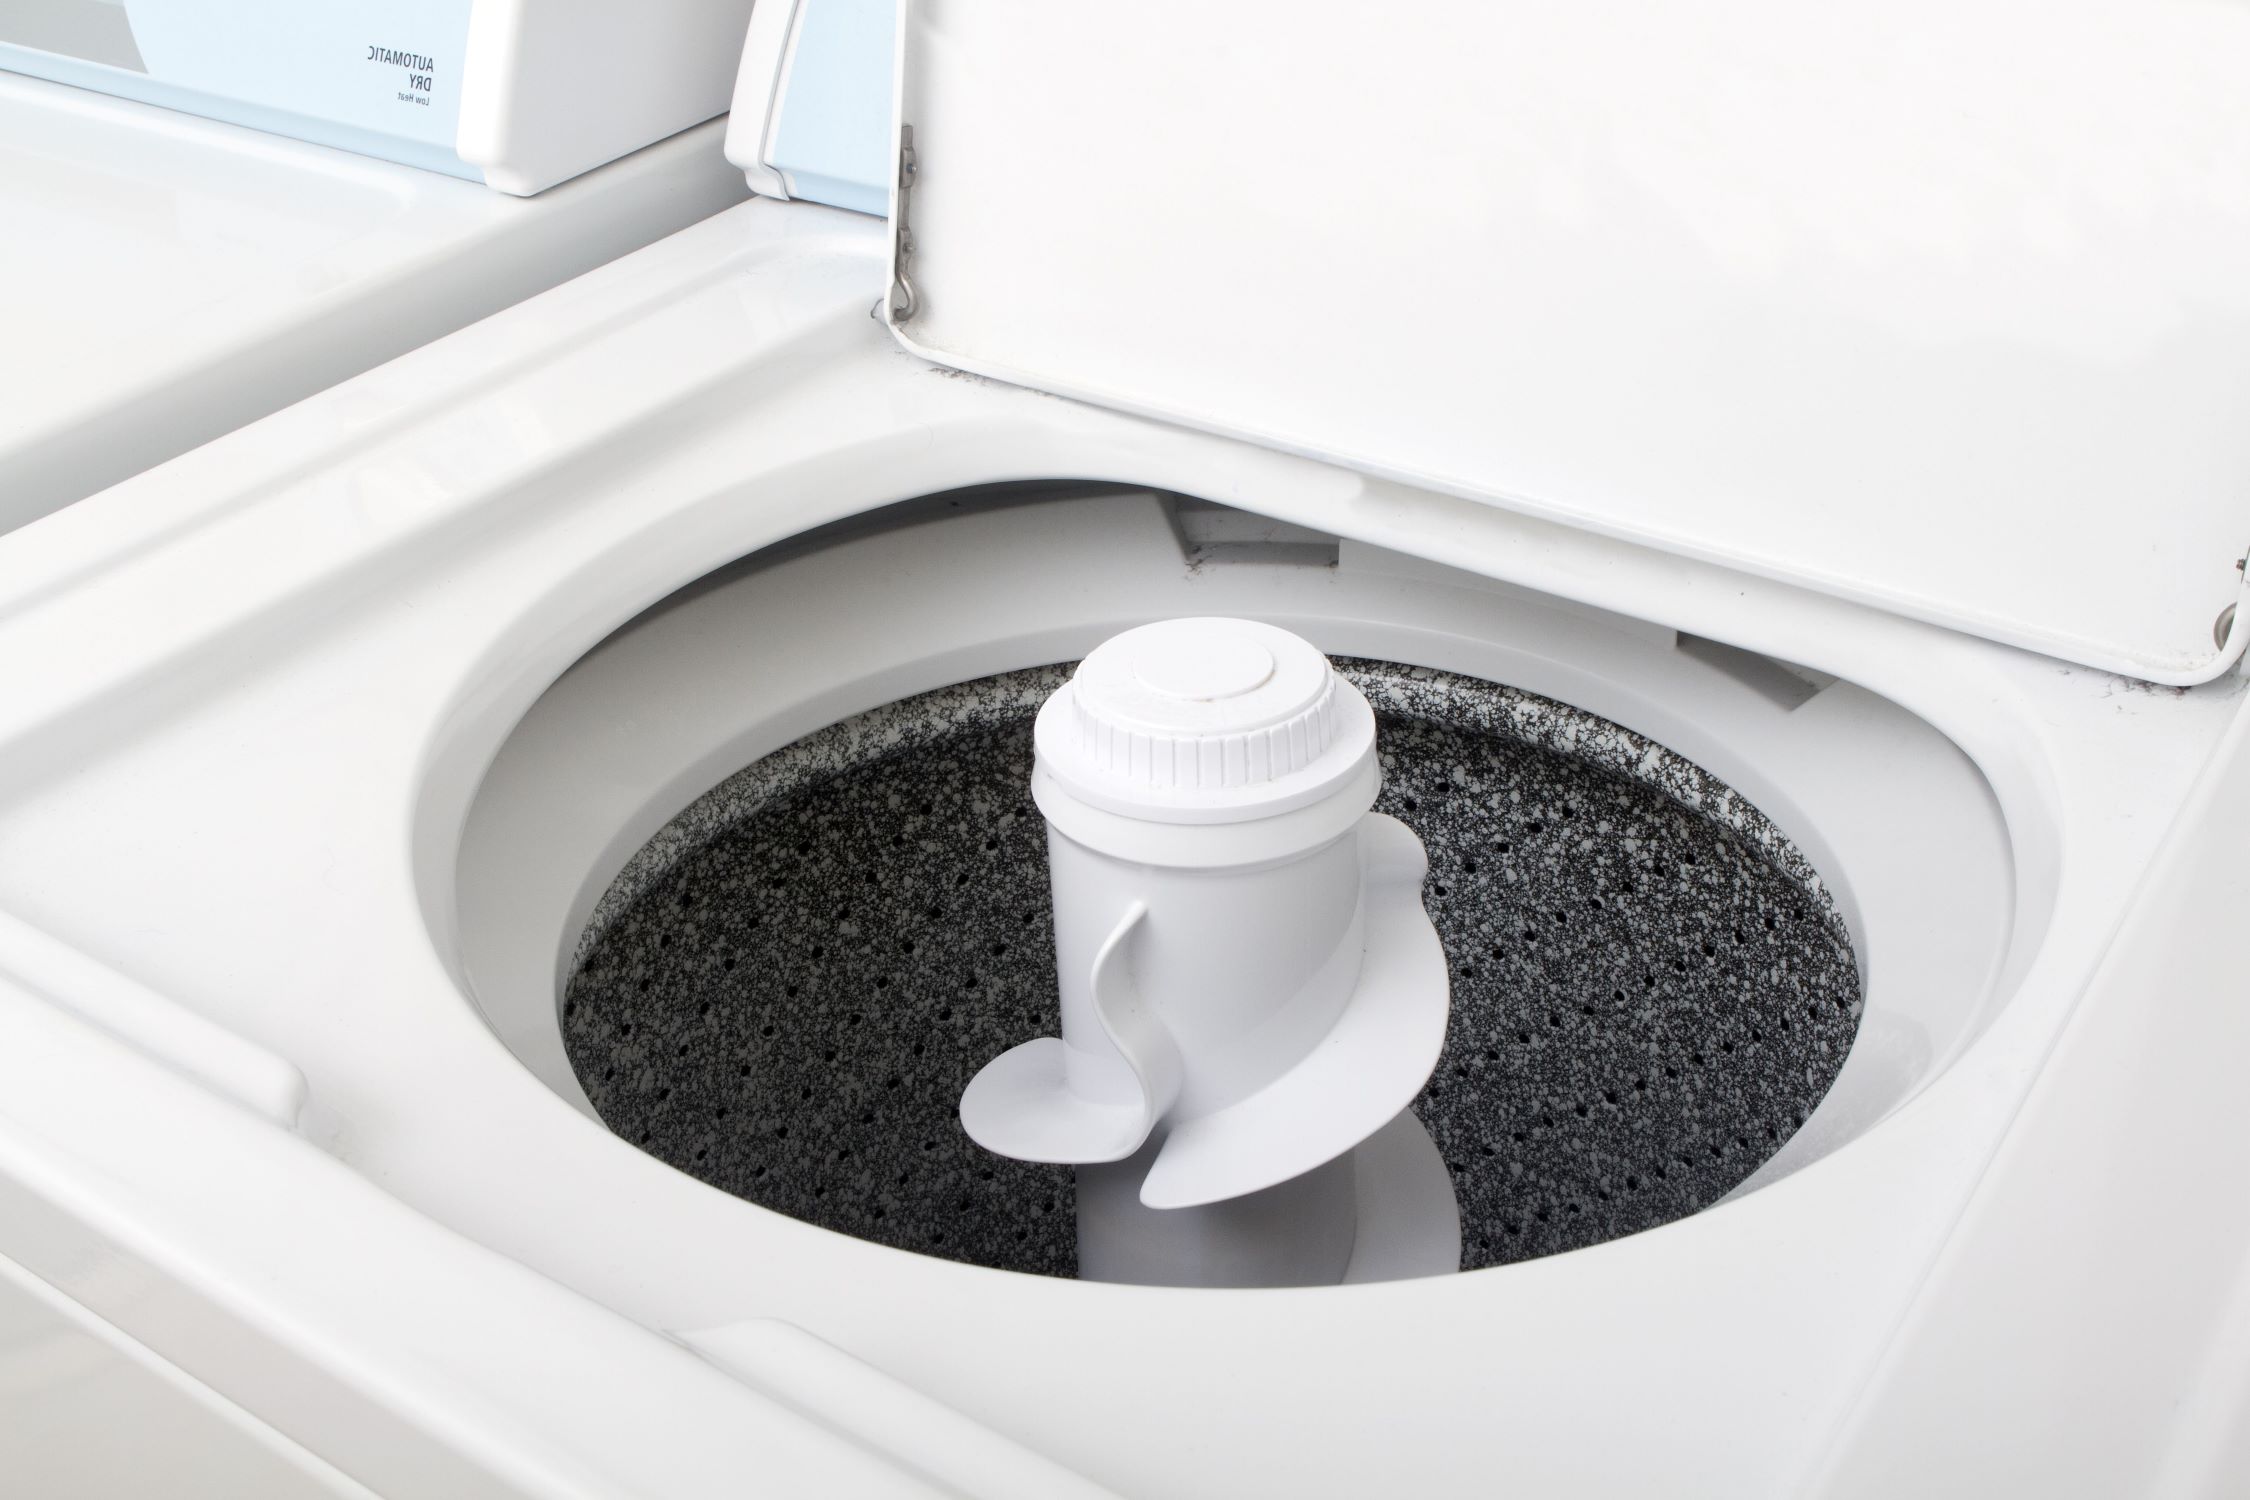
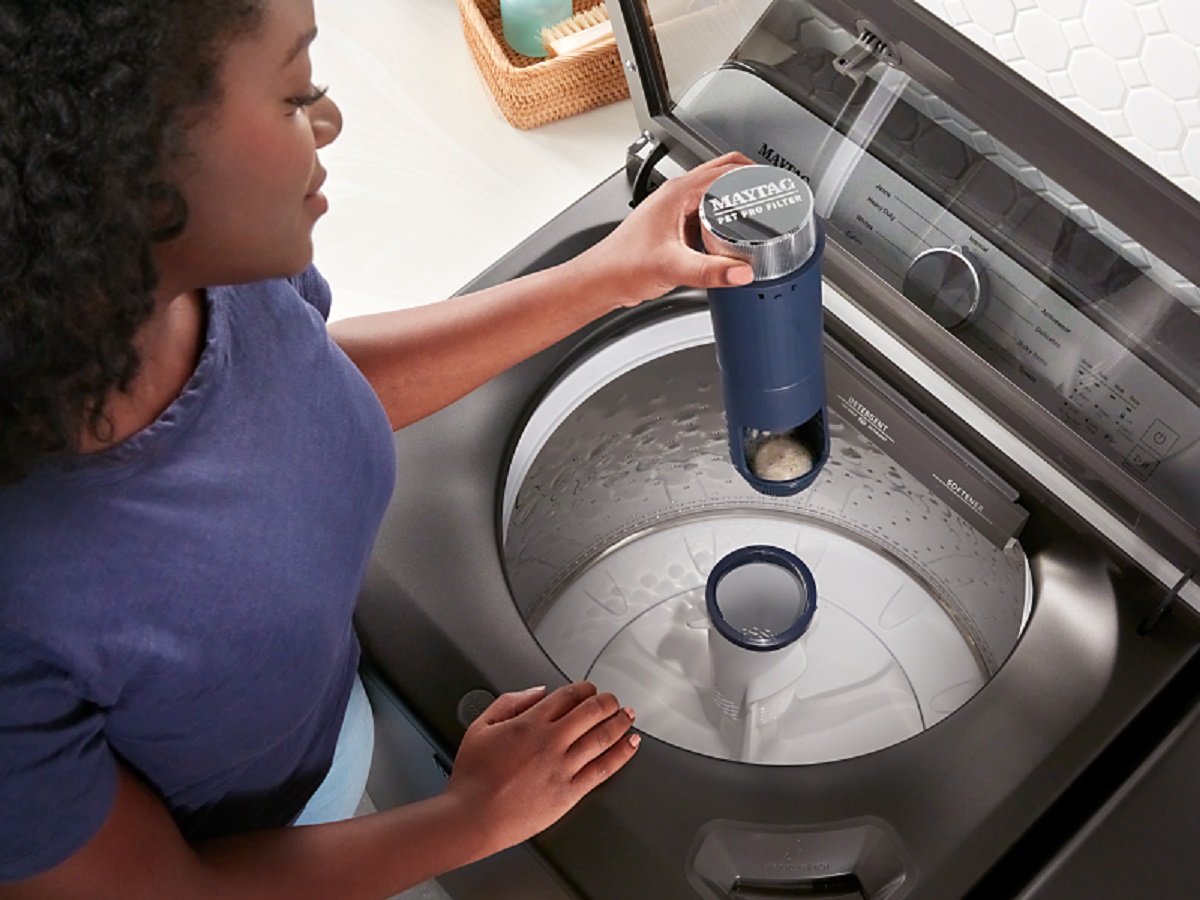
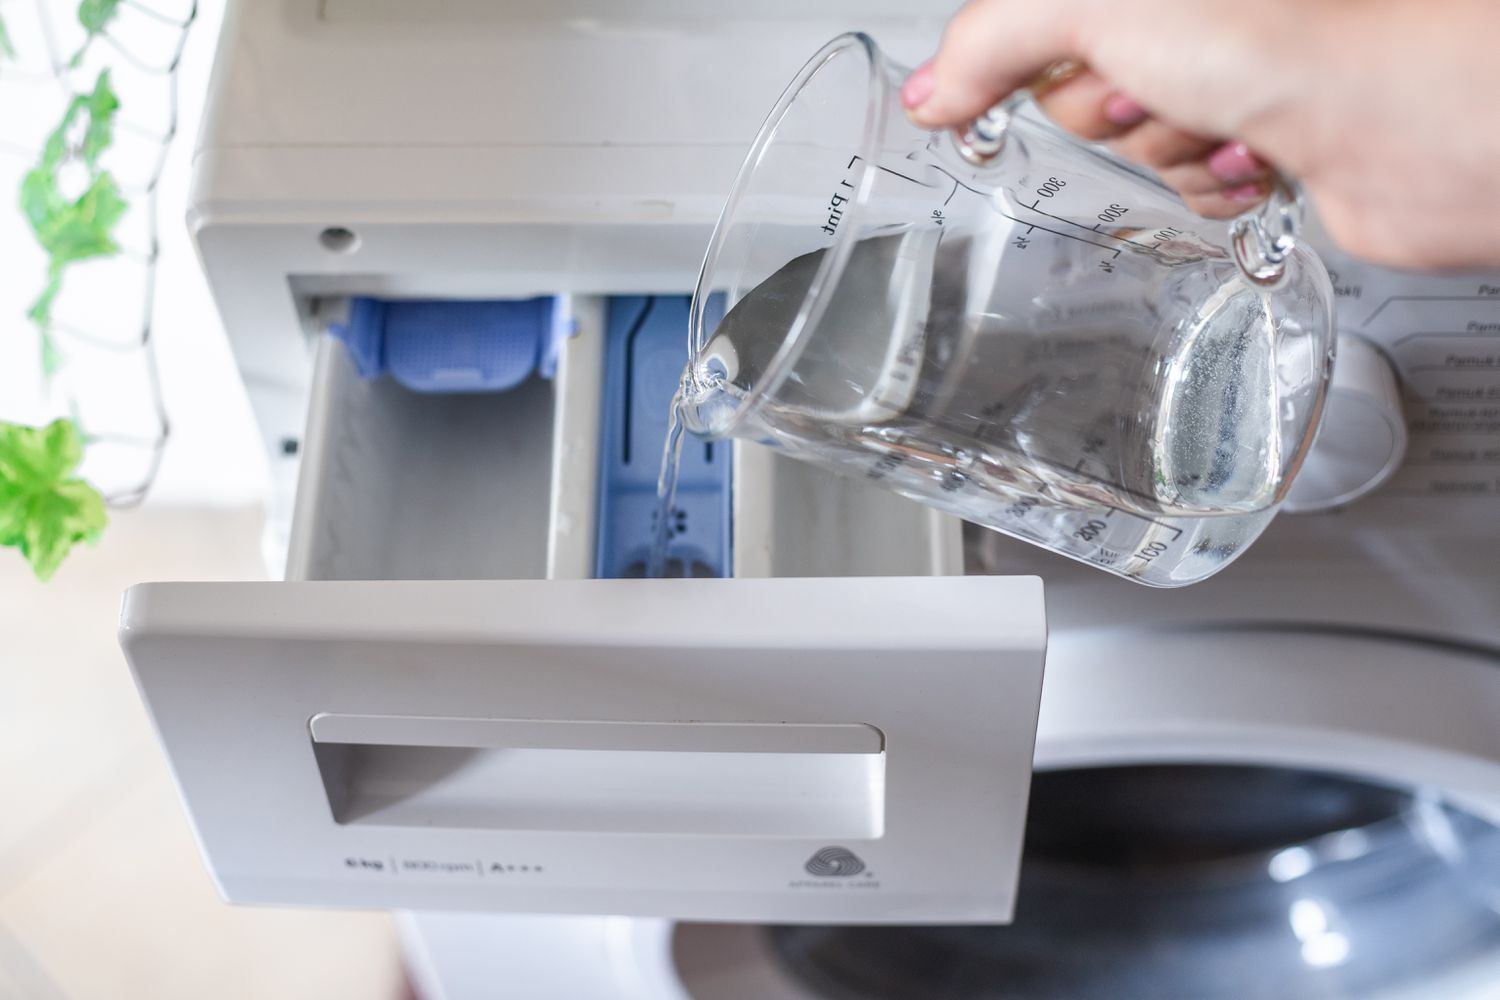
Dispensing the Detergent: Open the washing machine lid and locate the detergent dispenser or agitator. Pour the measured detergent into the designated compartment, ensuring that it is compatible with your machine's design. Some models feature separate compartments for pre-wash and main wash detergents, so be sure to pour the detergent into the correct slot.
-
Avoiding Direct Contact: To prevent potential staining or damage to the garments, avoid pouring the detergent directly onto the laundry. Dispensing it through the designated compartment allows for even distribution and thorough incorporation into the wash water.
Fabric Softener Application
-
Choosing a Fabric Softener: If desired, select a fabric softener that suits your preference for softness and fragrance. Fabric softeners help reduce static, impart a pleasant scent, and contribute to the overall comfort of your laundry.
-
Adding the Fabric Softener: After loading the laundry and dispensing the detergent, locate the fabric softener dispenser within the washing machine. Pour the recommended amount of fabric softener into the designated compartment, typically located near the agitator or at the top of the tub.
-
Timing the Addition: Some washing machines feature an automatic fabric softener dispenser that releases the product at the appropriate stage of the wash cycle. If your machine does not have this feature, wait until the rinse cycle begins before adding the fabric softener to ensure optimal distribution.
By following these steps, you can effectively add detergent and fabric softener to your top-loading washing machine, enhancing the cleanliness, softness, and fragrance of your laundry. This meticulous approach to product application contributes to the overall satisfaction and longevity of your garments, elevating the laundry experience for you and your family.
Selecting the Right Cycle
Choosing the appropriate wash cycle for your laundry is a pivotal step in ensuring optimal cleaning results while preserving the integrity of your garments. Top-loading washing machines offer a range of cycle options tailored to address various fabric types, soil levels, and laundry needs. Understanding the available cycles and their respective functions empowers you to make informed decisions that align with your specific laundry requirements.
Normal Cycle
The normal cycle is a versatile option suitable for a wide range of fabrics and soil levels. It provides thorough cleaning and efficient rinsing, making it ideal for everyday laundry such as t-shirts, jeans, and linens. This cycle strikes a balance between cleaning intensity and fabric care, catering to garments with moderate to light soiling.
Delicate Cycle
Designed for fragile fabrics such as silk, lace, and lingerie, the delicate cycle employs gentle agitation and lower spin speeds to minimize the risk of damage. This cycle is characterized by shorter wash times and reduced mechanical action, safeguarding delicate items while effectively removing light soil and maintaining fabric softness.
Heavy-Duty Cycle
When faced with heavily soiled or larger items such as towels, bedding, and workwear, the heavy-duty cycle rises to the occasion. It delivers robust agitation and extended wash times to tackle stubborn stains and deep-seated dirt, ensuring a thorough clean without compromising fabric integrity.
Quick Wash Cycle
For situations that demand a swift yet effective cleaning solution, the quick wash cycle offers expedited performance. This cycle is optimized for lightly soiled garments that require a rapid turnaround, delivering a speedy wash and rinse process without sacrificing cleaning efficacy.
Bulky Items Cycle
When washing bulky items like comforters, pillows, and large blankets, the bulky items cycle provides the necessary space, water, and agitation to ensure comprehensive cleaning. This cycle is tailored to accommodate oversized loads, promoting even distribution of water and detergent for thorough soil removal.
Towels and Sheets Cycle
Specifically tailored for towels, sheets, and other linens, this cycle optimizes water levels and agitation to address the unique requirements of these items. By incorporating extended rinse cycles, it effectively removes residual detergent and maintains the absorbency and softness of towels and linens.
By familiarizing yourself with the available wash cycles and their intended applications, you can confidently select the right cycle for each laundry load, maximizing cleaning efficiency and garment care. This thoughtful approach ensures that your garments receive the tailored treatment they deserve, resulting in fresh, clean laundry with every wash.
Starting the Wash Cycle
Once you have sorted and loaded your laundry, added the appropriate detergent and fabric softener, and selected the desired wash cycle, it's time to initiate the wash cycle. This pivotal step sets the cleaning process in motion, allowing the washing machine to perform its designated functions and deliver fresh, clean laundry. Here's a detailed guide on starting the wash cycle and ensuring a seamless and effective cleaning operation.
-
Close the Lid: Before commencing the wash cycle, ensure that the washing machine's lid is securely closed. Many top-loading machines feature a safety mechanism that prevents the cycle from initiating unless the lid is properly shut. This precautionary measure promotes user safety and prevents water spillage during the wash cycle.
-
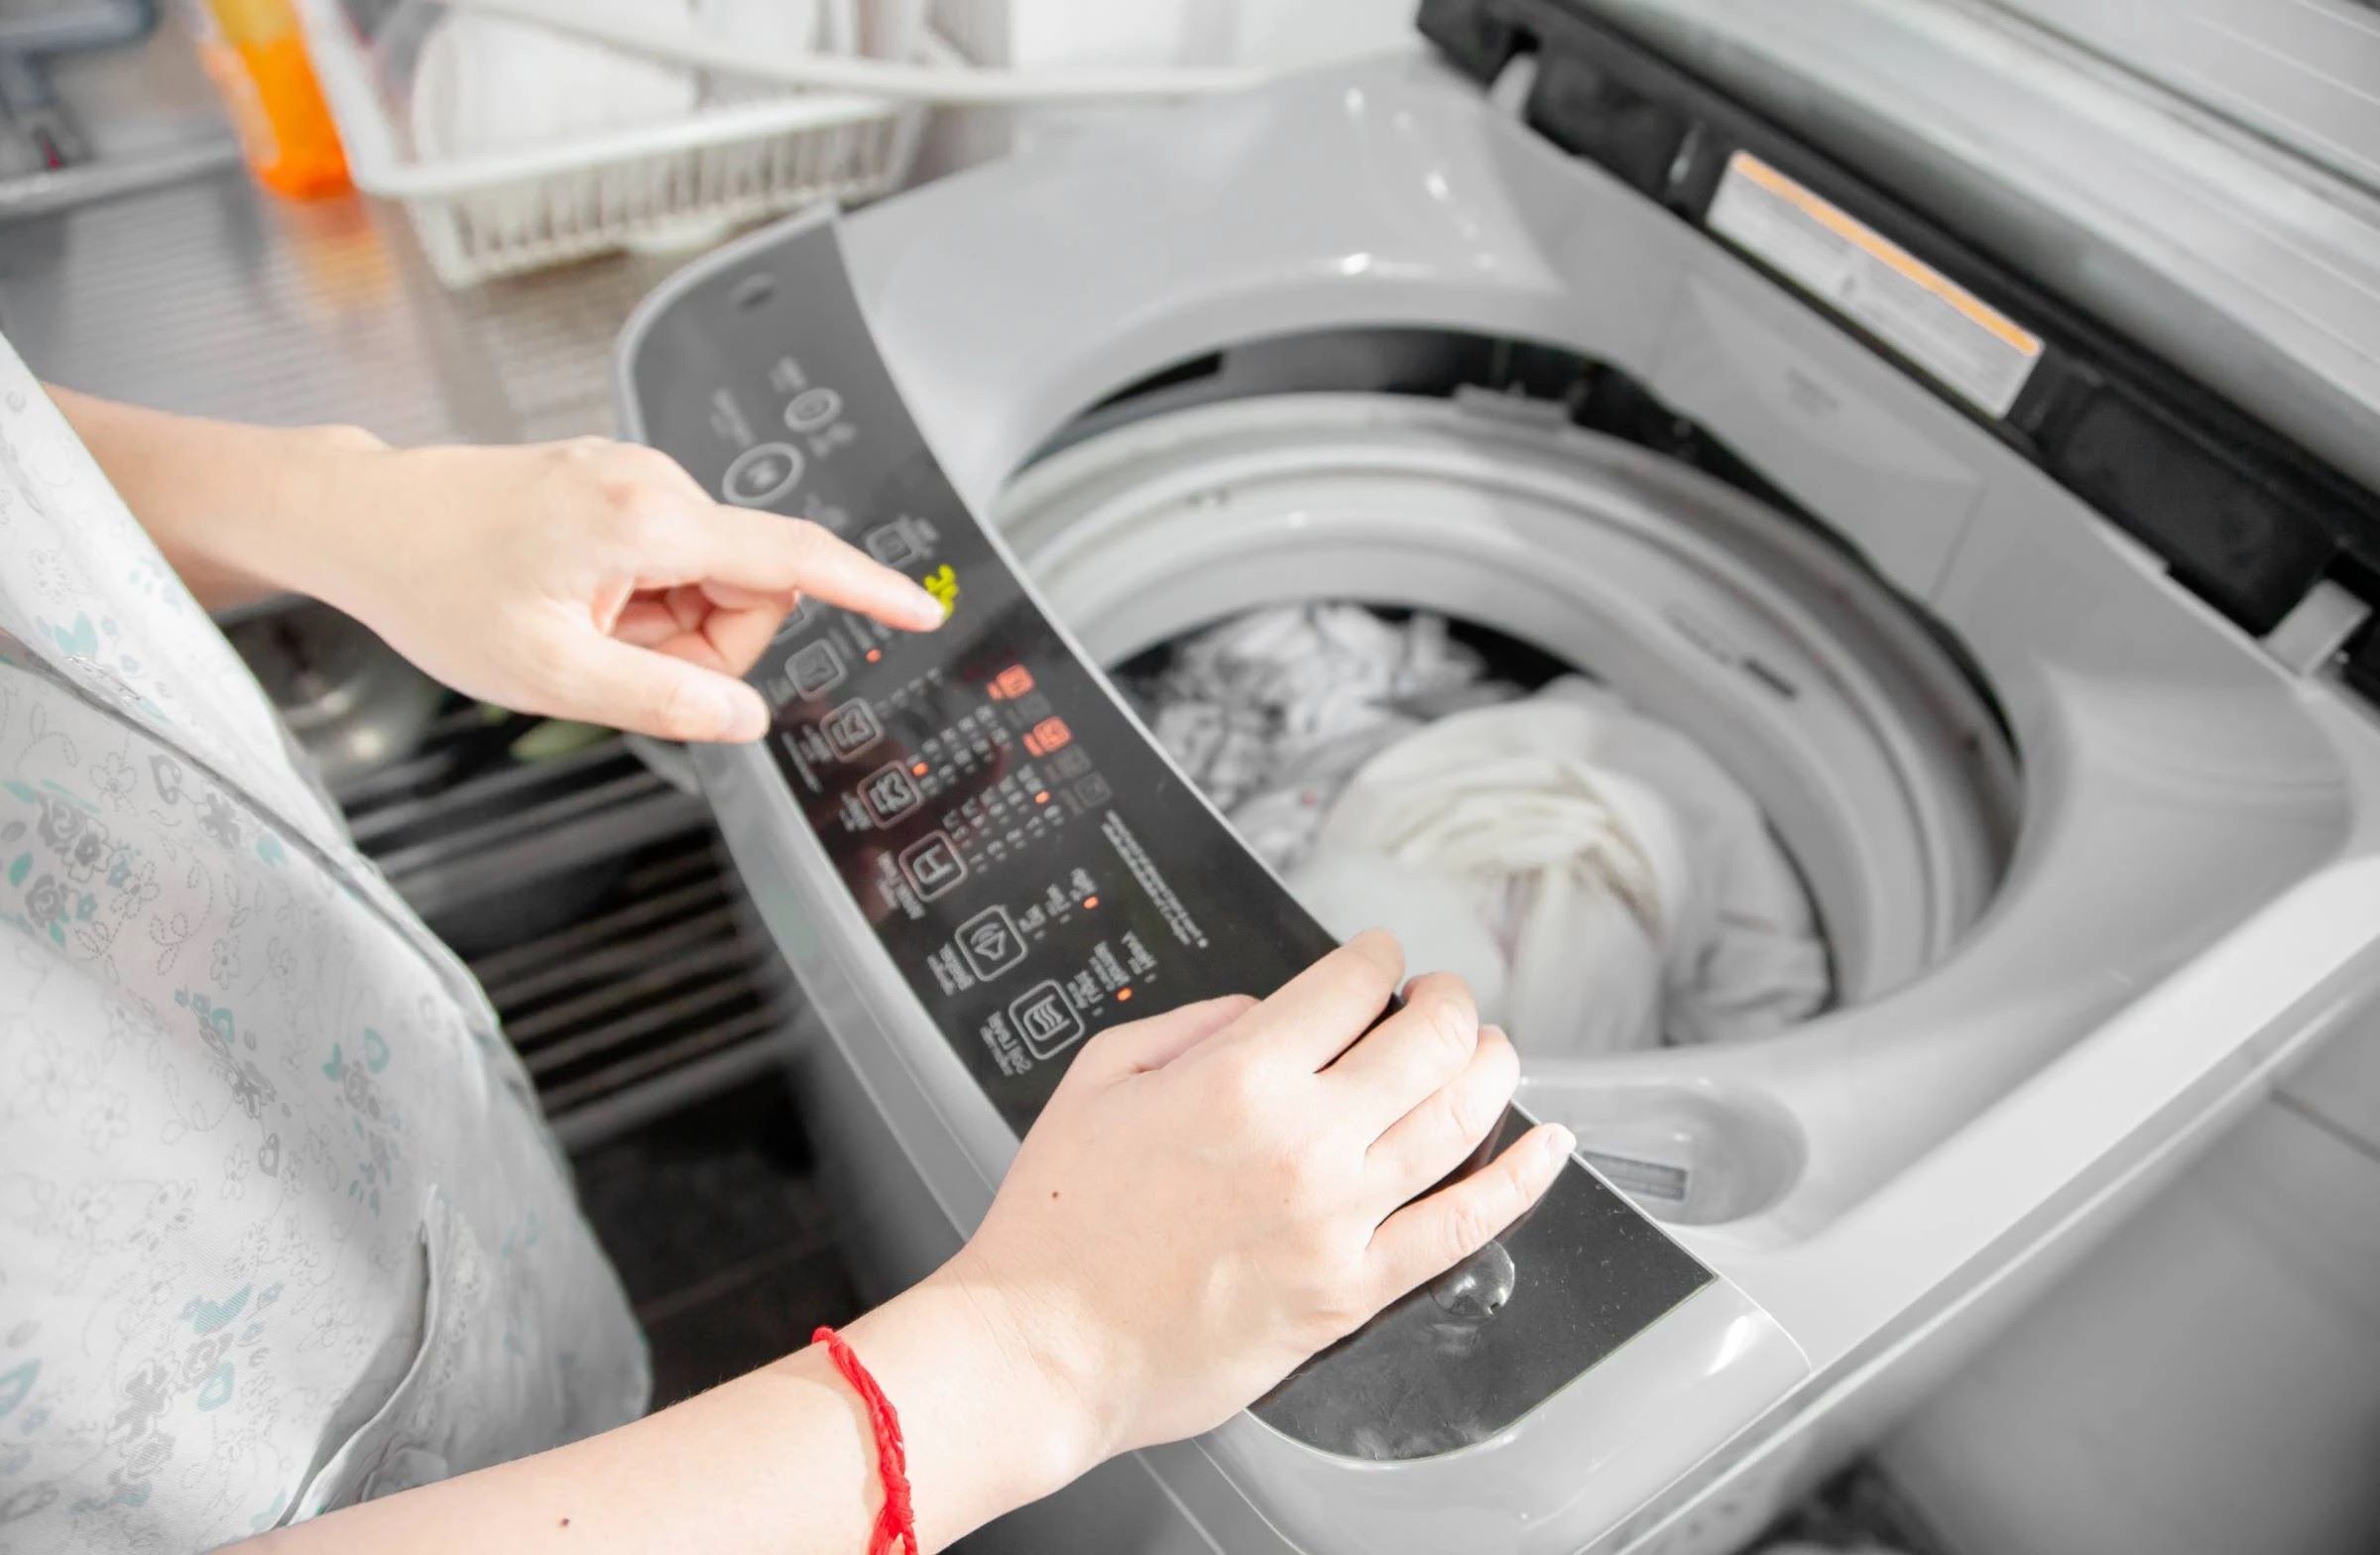
Double-Check Settings: Take a moment to review the selected wash cycle, water temperature, and other relevant settings on the control panel. Confirm that the cycle aligns with the fabric type and soil level of your laundry, and verify that the water temperature is suitable for the garments being washed. This quick review minimizes the likelihood of errors and ensures that the cycle is tailored to your specific laundry needs.
-
Press the Start Button: With the lid closed and the settings confirmed, press the designated start button to initiate the wash cycle. As the machine springs to life, you may hear the sound of water entering the tub, signaling the beginning of the cleaning process. Some models feature a digital display that provides real-time updates on the cycle's progress, keeping you informed throughout the operation.
-
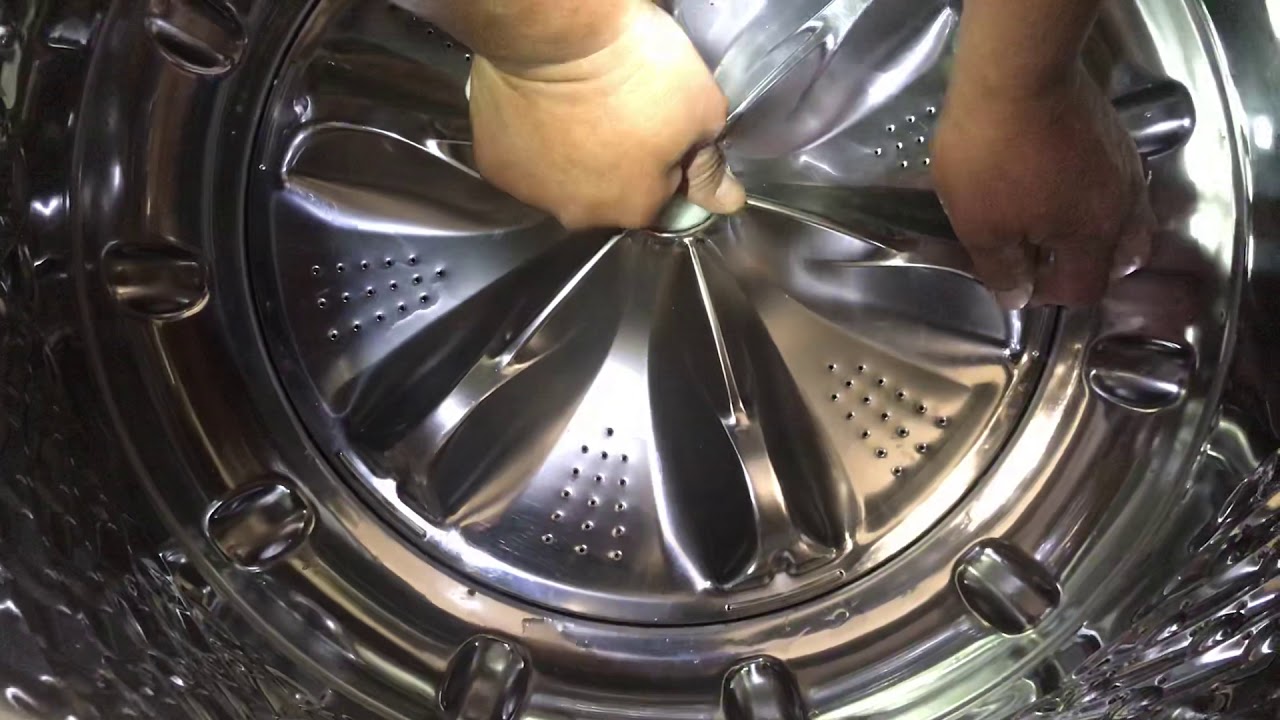
Monitor the Cycle: Once the wash cycle is underway, take a moment to observe the machine's operation during the initial stages. Pay attention to the sound of the agitator or impeller as it begins to agitate the laundry, facilitating the distribution of water and detergent for thorough cleaning. This monitoring allows you to ensure that the machine is functioning as expected and provides an opportunity to address any irregularities promptly.
-
Avoid Interruptions: While the wash cycle is in progress, it's important to refrain from opening the lid or interrupting the operation unless necessary. Doing so can disrupt the cleaning process and compromise the cycle's effectiveness. If an urgent adjustment or addition is required, some machines offer a pause function that allows for temporary interruption without canceling the entire cycle.
By following these steps, you can confidently start the wash cycle, setting the stage for a successful and efficient cleaning process. This meticulous approach ensures that your laundry receives the tailored treatment it deserves, resulting in fresh, clean garments ready for the next phase of the laundry routine.
Read more: How To Deep Clean Top Load Washer
Removing and Drying Clothes
After the wash cycle is complete, the next crucial steps involve removing the freshly cleaned laundry from the washing machine and preparing it for the drying process. This phase marks the culmination of the washing process, and it is essential to handle the garments with care to maintain their cleanliness and integrity. Here's a detailed guide on how to effectively remove and dry clothes from a top-loading washing machine.
Removing the Laundry
-
Open the Lid: Once the wash cycle concludes, carefully open the washing machine's lid. Some models may feature a signal or indicator to alert you when the cycle is finished, providing a convenient prompt to proceed with the next steps.
-
Retrieve the Garments: Reach into the washing machine and gently remove the freshly cleaned laundry. Exercise caution to avoid tugging or pulling on the garments, especially delicate items, to prevent stretching or damage.
-
Check for Forgotten Items: Before transferring the laundry to the dryer or drying area, take a moment to inspect the washing machine's interior for any overlooked items. It's not uncommon for small garments or accessories to remain lodged in the machine, and retrieving them at this stage prevents them from being inadvertently left behind.
Preparing for Drying
-
Shake Out Garments: Lightly shake each garment to release any wrinkles and facilitate the drying process. This simple action helps garments maintain their shape and reduces the need for extensive ironing or pressing after drying.
-
Sort by Drying Method: Depending on your preferred drying method, separate the laundry into categories such as air-dry, machine dry, or delicate items that require special care. This organization streamlines the drying process and ensures that each garment receives the appropriate treatment.
-
Transfer to the Dryer or Drying Area: For machine drying, transfer the applicable garments to the dryer, taking care not to overload the machine to allow for proper air circulation. Alternatively, for air-drying, arrange the items on a drying rack or designated area, ensuring adequate spacing between garments to promote efficient drying.
Drying the Laundry
-
Select Drying Settings: If using a dryer, select the appropriate drying settings based on the fabric type and garment care labels. Adjust the heat level, cycle duration, and additional options such as wrinkle release or delicate care to align with the specific requirements of the laundry load.
-
Monitor the Drying Process: Throughout the drying cycle, periodically check the progress of the garments to prevent over-drying or ensure that air-dried items are exposed to adequate ventilation. This attentive approach helps maintain the quality and appearance of the laundry.
-
Fold and Store: Once the garments are completely dry, promptly remove them from the dryer or drying area. Fold or hang the items according to their respective storage preferences, ensuring that they remain fresh and ready for use.
By following these meticulous steps for removing and drying clothes from a top-loading washing machine, you can uphold the cleanliness and quality of your laundry while preparing it for storage or immediate use. This thoughtful approach ensures that the garments emerge from the washing process in optimal condition, ready to be enjoyed and worn with confidence.
Frequently Asked Questions about How To Use A Top-Loading Washing Machine
Was this page helpful?
At Storables.com, we guarantee accurate and reliable information. Our content, validated by Expert Board Contributors, is crafted following stringent Editorial Policies. We're committed to providing you with well-researched, expert-backed insights for all your informational needs.


0 thoughts on “How To Use A Top-Loading Washing Machine”