Home>Home Appliances>Laundry Appliances>How To Level A Top Load Washing Machine
Laundry Appliances
How To Level A Top Load Washing Machine
Modified: August 17, 2024
Learn how to properly level a top load washing machine for optimal performance and efficiency. Get expert tips and tricks for maintaining your laundry appliances.
(Many of the links in this article redirect to a specific reviewed product. Your purchase of these products through affiliate links helps to generate commission for Storables.com, at no extra cost. Learn more)
Introduction
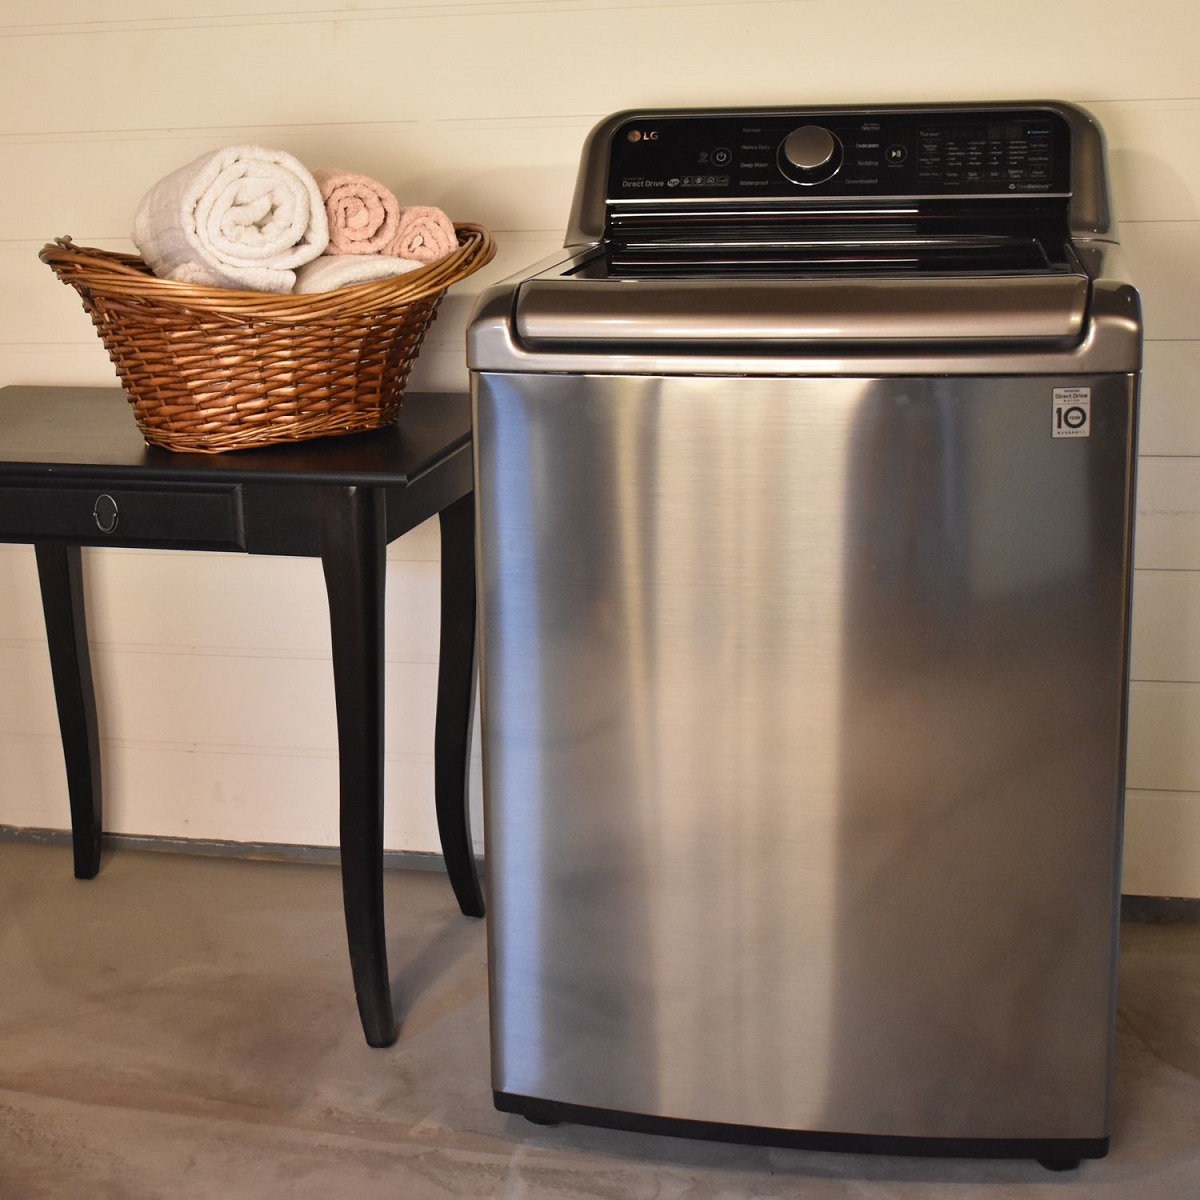
Ensuring that your top load washing machine is properly leveled is crucial for its optimal performance and longevity. A level washing machine not only prevents excessive vibrations and noise during the laundry cycles but also helps in efficient cleaning and prevents potential damage to the appliance.
In this comprehensive guide, we will walk you through the step-by-step process of leveling a top load washing machine. Whether you are setting up a new appliance or adjusting an existing one, this article will equip you with the necessary knowledge and techniques to achieve a perfectly balanced washing machine.
Properly leveling a top load washing machine is a relatively simple task that can be accomplished with basic tools and a systematic approach. By following the instructions outlined in this guide, you can ensure that your washing machine operates smoothly and remains stable during each laundry cycle.
Now, let's delve into the tools and materials you will need to get started with the leveling process.
Key Takeaways:
- Keep your washing machine stable and quiet by leveling it properly. Use basic tools and follow the steps to ensure optimal performance and prevent damage.
- After leveling, test your washing machine for stability and performance. A well-leveled machine operates smoothly, minimizes vibrations, and delivers clean laundry.
Read more: How To Load Top Load Washer Without Agitator
Tools and Materials Needed
Before embarking on the task of leveling your top load washing machine, it's essential to gather the necessary tools and materials. Here's what you'll need:
Tools:
- Adjustable Wrench: This versatile tool will be used to loosen and tighten the locking nuts on the washing machine's legs.
- Bubble Level: A small bubble level is crucial for accurately determining the levelness of the washing machine. It will help you ensure that the appliance is perfectly balanced from side to side and front to back.
- Pliers: Pliers may be required to provide additional grip when adjusting the legs of the washing machine.
- Protective Gloves: It's always a good idea to wear protective gloves to safeguard your hands during the leveling process.
Materials:
- Wooden Shims: These thin, wedge-shaped pieces of wood are used to provide additional support and stability under the washing machine's legs. They are essential for making fine adjustments to achieve perfect levelness.
- Cleaning Cloth: Before starting the leveling process, it's advisable to clean the floor beneath the washing machine to ensure a clear and debris-free surface for accurate leveling.
- Owner's Manual: While not a physical tool, the owner's manual for your washing machine is an invaluable resource. It contains specific instructions and guidelines for leveling your particular model of washing machine.
By having these tools and materials at your disposal, you'll be well-prepared to carry out the leveling process with precision and efficiency. Now that you have everything you need, let's move on to the next steps in preparing the washing machine for leveling.
Preparing the Washing Machine
Before you begin the process of leveling your top load washing machine, it's important to take a few preparatory steps to ensure a smooth and effective leveling process.
-
Unplug the Washing Machine: Safety should always be a top priority when working with any electrical appliance. Start by unplugging the washing machine from the power outlet to eliminate the risk of electric shock during the leveling process.
-
Clear the Area: Clear the space around the washing machine to allow easy access to the appliance. Remove any items or obstacles that may obstruct your movement or hinder the leveling process.
-
Clean the Floor: Use a cleaning cloth to wipe the floor beneath the washing machine. Removing any dust, dirt, or debris from the floor will provide a clean and level surface for the appliance. This step is crucial for accurate leveling and stability.
-
Refer to the Owner's Manual: Take a moment to review the owner's manual that came with your washing machine. The manual contains specific instructions and recommendations for leveling your particular model of washing machine. Familiarizing yourself with the manufacturer's guidelines will ensure that you approach the leveling process in accordance with the appliance's specifications.
By following these preparatory steps, you'll create an optimal environment for leveling your top load washing machine. With the area cleared, the floor cleaned, and the necessary precautions taken, you are now ready to proceed with adjusting the legs of the washing machine to achieve perfect levelness.
Adjusting the Legs
Adjusting the legs of your top load washing machine is a critical step in achieving proper levelness. The legs of the washing machine are designed to be adjustable, allowing you to compensate for uneven flooring and ensure that the appliance sits level and stable. Here's a detailed guide on how to adjust the legs of your washing machine:
-
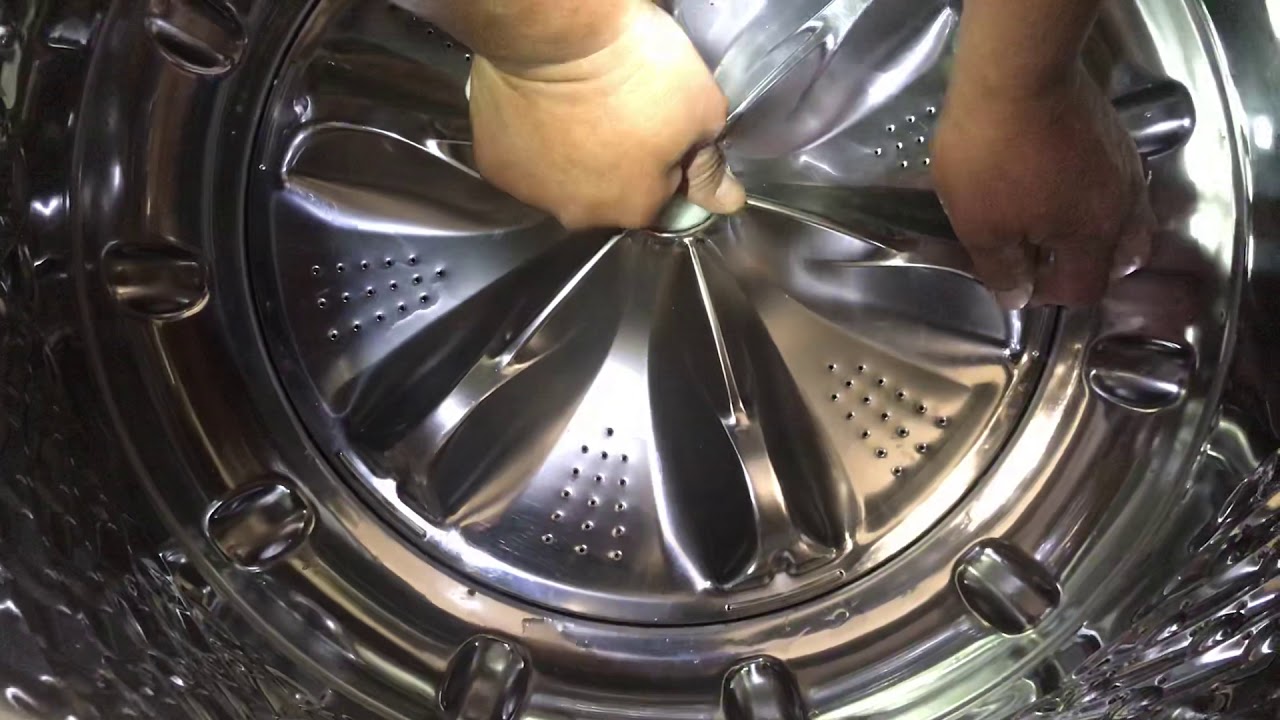
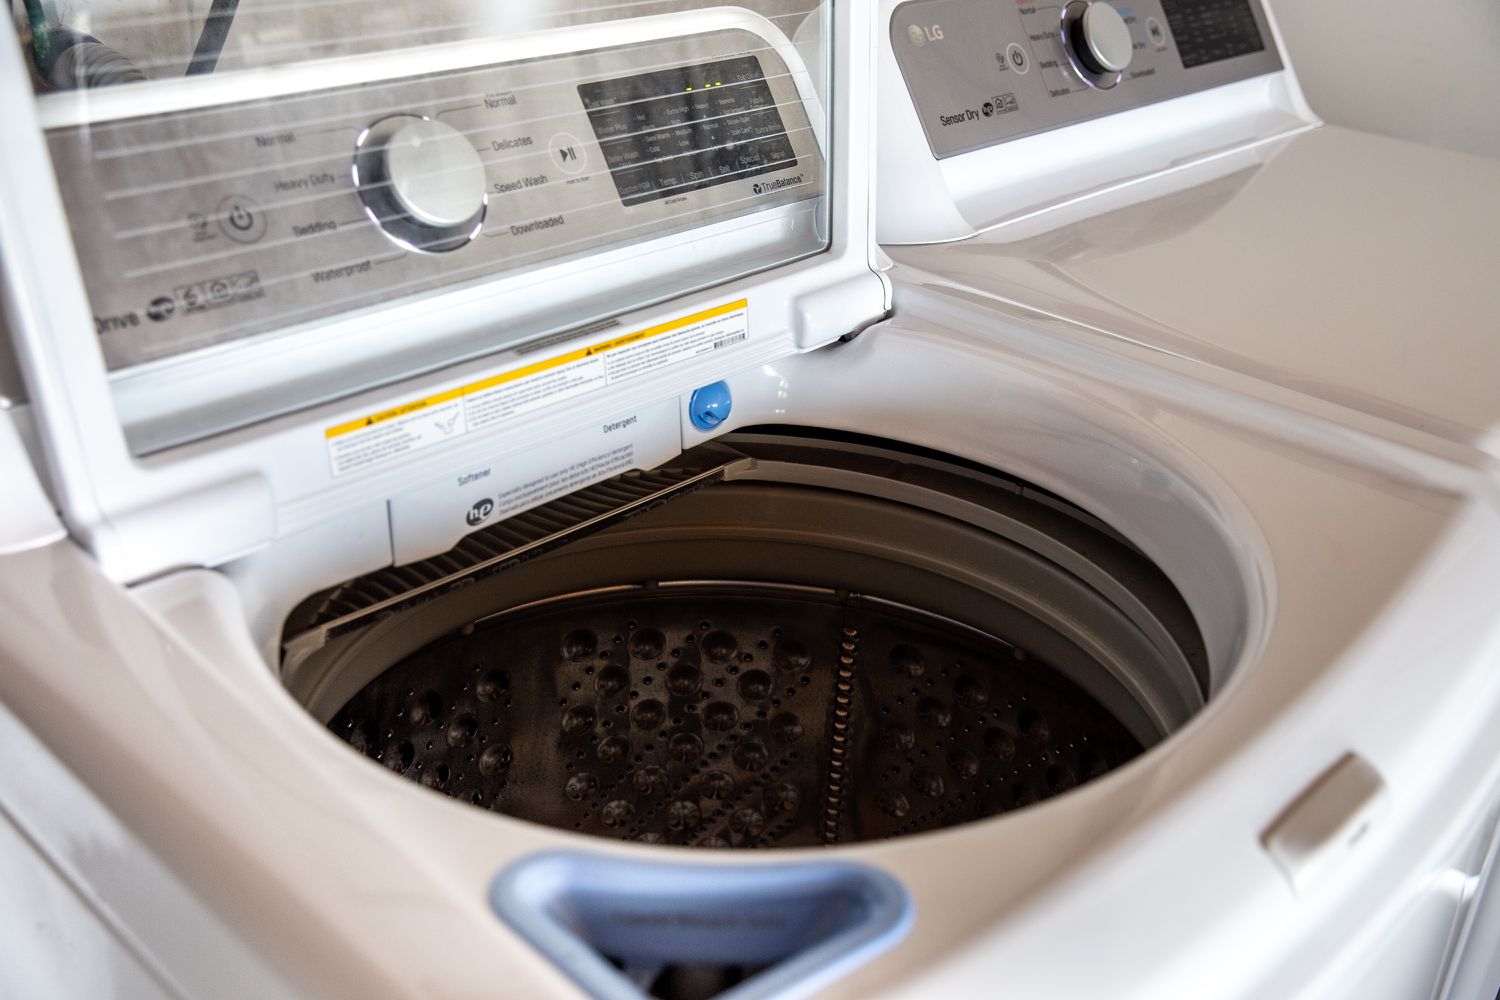
Locate the Legs: Start by identifying the leveling legs of your washing machine. These are typically located at the front and rear corners of the appliance. In most models, the legs can be accessed by tilting the washing machine slightly forward or backward.
-
Use a Bubble Level: Place a bubble level on top of the washing machine to determine its current levelness. Check both the side-to-side and front-to-back orientations to assess any imbalance. If the bubble level indicates that the machine is not level, proceed to adjust the legs accordingly.
-
Adjusting the Legs: Using an adjustable wrench, rotate the legs of the washing machine to either raise or lower them. Turning the legs clockwise will typically raise them, while turning them counterclockwise will lower them. Make gradual adjustments, periodically checking the levelness with the bubble level.
-
Fine-Tuning with Shims: In some cases, simply adjusting the legs may not be sufficient to achieve perfect levelness. This is where wooden shims come into play. If a particular corner of the washing machine requires additional support, place a wooden shim under the leg to provide the necessary elevation. Continue using the bubble level to ensure that the machine is perfectly balanced.
-
Stabilizing the Legs: Once you have adjusted the legs to achieve levelness, use a wrench to tighten the locking nuts on each leg. This will secure the adjusted position and prevent the legs from shifting during the washing machine's operation.
-
Recheck the Levelness: After stabilizing the legs, recheck the levelness of the washing machine using the bubble level. Ensure that the bubble is centered in all orientations, indicating that the appliance is perfectly level from all angles.
By following these steps and paying close attention to the levelness of the washing machine, you can effectively adjust the legs to achieve optimal stability and performance. With the legs properly adjusted, the washing machine will operate smoothly and quietly, enhancing the overall laundry experience.
Now that you have successfully adjusted the legs of your top load washing machine, it's time to move on to the next crucial step: checking for levelness to confirm that the appliance is perfectly balanced.
Use a bubble level to check if the machine is balanced. Adjust the feet at the bottom of the machine until it is level in all directions.
Checking for Levelness
Once you have adjusted the legs of your top load washing machine, it's essential to verify that the appliance is perfectly level from all angles. Checking for levelness ensures that the washing machine is stable and balanced, which is crucial for its optimal performance and longevity. Here's a detailed guide on how to check for levelness:
-
Bubble Level Verification: Place the bubble level on top of the washing machine once again, ensuring that it is positioned in both the side-to-side and front-to-back orientations. Observe the bubble within the level and carefully adjust the position of the washing machine if necessary.
-
Observing the Bubble: As you place the bubble level on different areas of the washing machine, pay close attention to the position of the bubble within the level. A perfectly level washing machine will result in the bubble being centered within the level in all orientations. If the bubble is off-center, it indicates that the machine requires further adjustments.
-
Fine-Tuning Adjustments: If the bubble level indicates any imbalance, revisit the legs of the washing machine and make additional adjustments as needed. Use the adjustable wrench to raise or lower the legs, ensuring that each corner of the appliance is precisely positioned to achieve levelness.
-
Utilizing Shims: In cases where minor discrepancies persist, wooden shims can be strategically placed under the legs to provide incremental support and fine-tune the levelness. Carefully insert shims as necessary and recheck the levelness using the bubble level.
-
Repeating the Verification: After making any additional adjustments, reposition the bubble level on the washing machine and verify the levelness once more. Repeat this process until the bubble remains centered in the level in all orientations, indicating that the washing machine is perfectly level.
By meticulously checking for levelness and making any required adjustments, you can ensure that your top load washing machine is impeccably balanced and stable. This meticulous approach to verifying levelness will contribute to the smooth operation of the appliance and minimize vibrations and noise during laundry cycles.
With the washing machine now perfectly level, the final step involves testing the machine to confirm its stability and performance. Let's proceed to the next crucial phase of this process.
Testing the Machine
With the top load washing machine now perfectly leveled, it's time to proceed with testing the appliance to confirm its stability and performance. This critical step ensures that the adjustments made have resulted in a balanced and well-functioning washing machine. Here's a detailed guide on how to effectively test the machine:
-
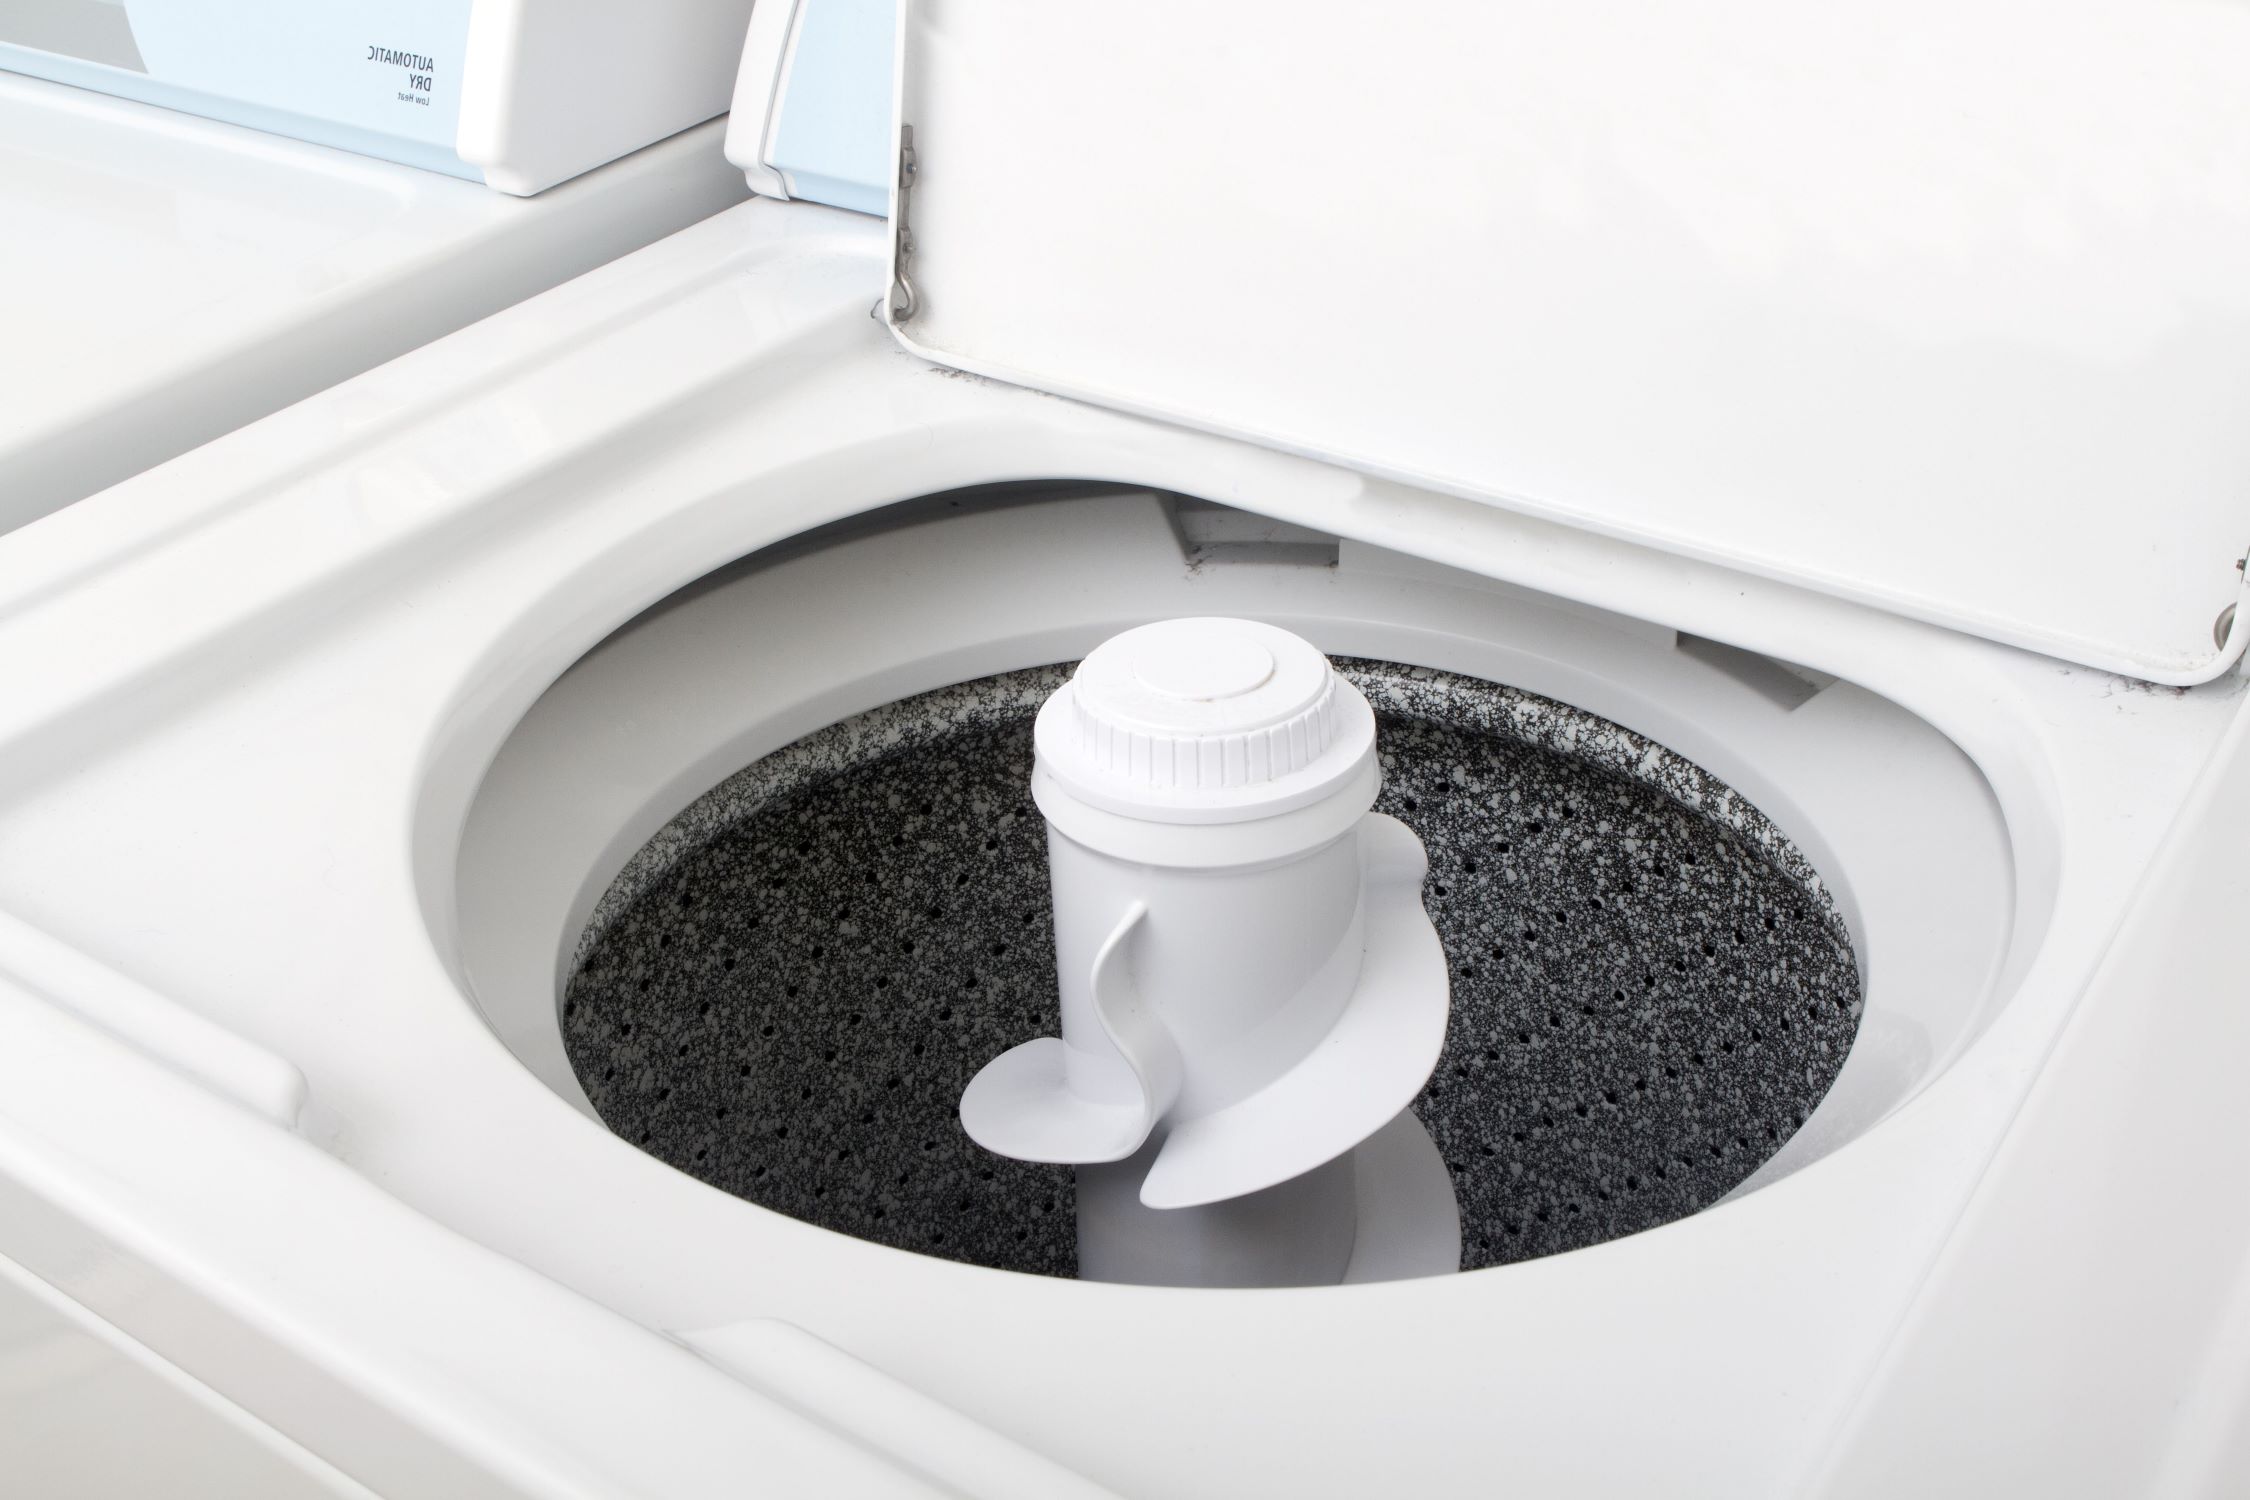
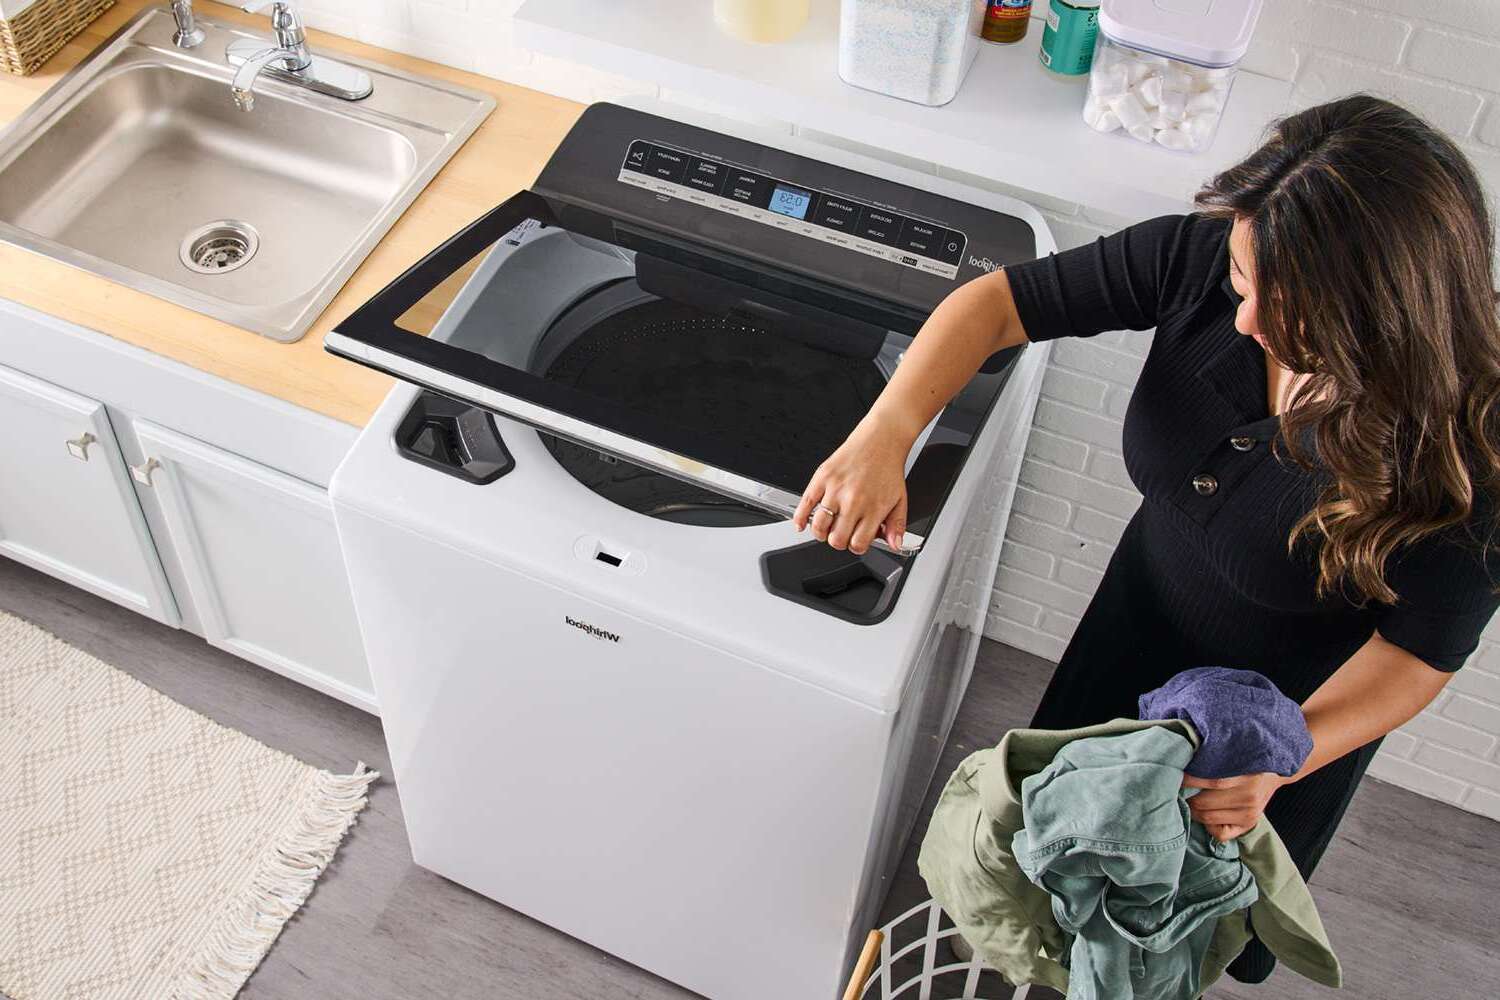
Load the Washing Machine: Begin by loading the washing machine with a typical laundry load. Ensure that the load is distributed evenly within the drum to simulate real-world washing conditions. An evenly distributed load will provide an accurate assessment of the machine's stability during operation.
-
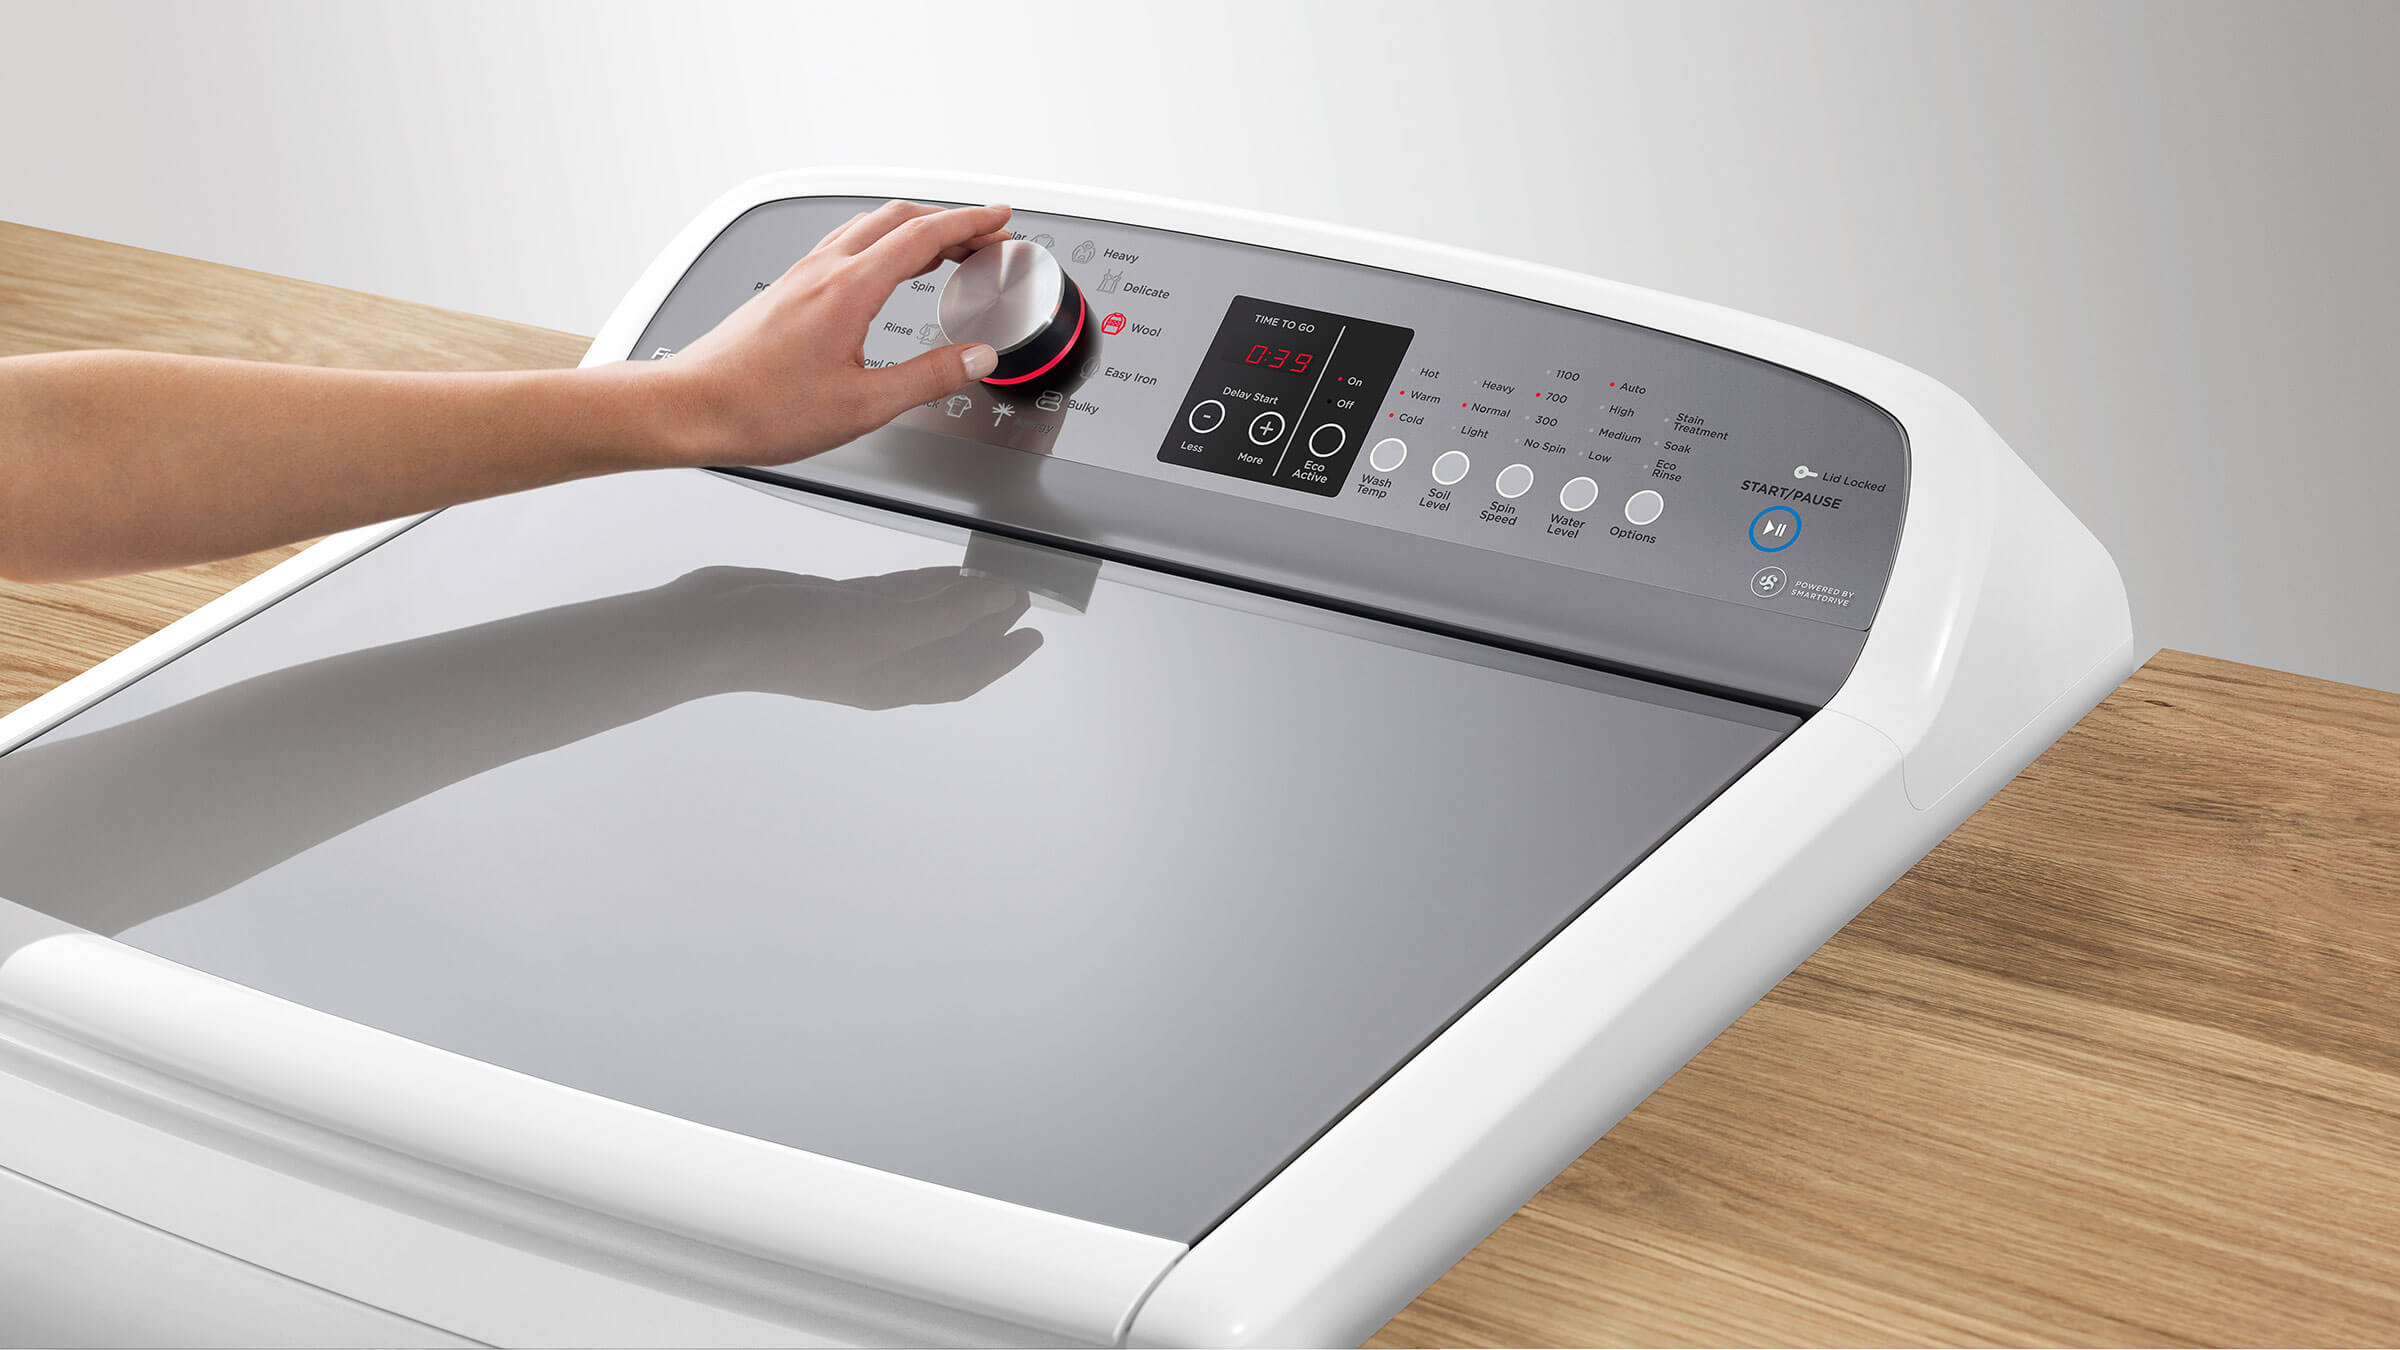
Select a Wash Cycle: Choose a standard wash cycle on the washing machine's control panel. It's advisable to select a cycle that involves both washing and spinning to evaluate the machine's performance under varying conditions. Initiating a complete wash cycle will allow you to observe the machine's behavior throughout the entire process.
-
Observe the Operation: As the washing machine begins its cycle, carefully observe its operation. Pay attention to any excessive vibrations, unusual noises, or erratic movements. A well-leveled washing machine should operate smoothly and quietly, with minimal to no discernible vibrations during the washing and spinning phases.
-
Monitor the Spin Cycle: During the spin cycle, closely monitor the washing machine for any signs of imbalance. A balanced machine will spin without excessive wobbling or shaking. If the machine exhibits significant vibrations or movements during the spin cycle, it may indicate that further adjustments are necessary to achieve optimal balance.
-
Assess the Results: Once the wash cycle is complete, assess the results of the test. Examine the laundry load to ensure that it has been thoroughly cleaned and rinsed. Additionally, inspect the area around the washing machine for any signs of movement or displacement during the cycle. A well-leveled washing machine will deliver clean laundry without causing disturbances to its surroundings.
-
Repeat if Necessary: If the initial test reveals any issues such as excessive vibrations or instability, consider repeating the leveling process and testing the machine again. Making fine adjustments to the legs and retesting the machine will help in achieving the desired stability and performance.
By following these steps and conducting a thorough test of the washing machine, you can ensure that the appliance operates as intended, delivering efficient cleaning performance while maintaining stability and minimizing disruptions. A successfully leveled washing machine will contribute to a more pleasant and hassle-free laundry experience, providing peace of mind and long-term durability for the appliance.
Frequently Asked Questions about How To Level A Top Load Washing Machine
Was this page helpful?
At Storables.com, we guarantee accurate and reliable information. Our content, validated by Expert Board Contributors, is crafted following stringent Editorial Policies. We're committed to providing you with well-researched, expert-backed insights for all your informational needs.


0 thoughts on “How To Level A Top Load Washing Machine”