Articles
How To Make A Cardboard Chimney
Modified: January 23, 2024
Learn how to make a cardboard chimney with these step-by-step articles. Create a unique DIY project for your home with easy-to-follow instructions.
(Many of the links in this article redirect to a specific reviewed product. Your purchase of these products through affiliate links helps to generate commission for Storables.com, at no extra cost. Learn more)
Introduction
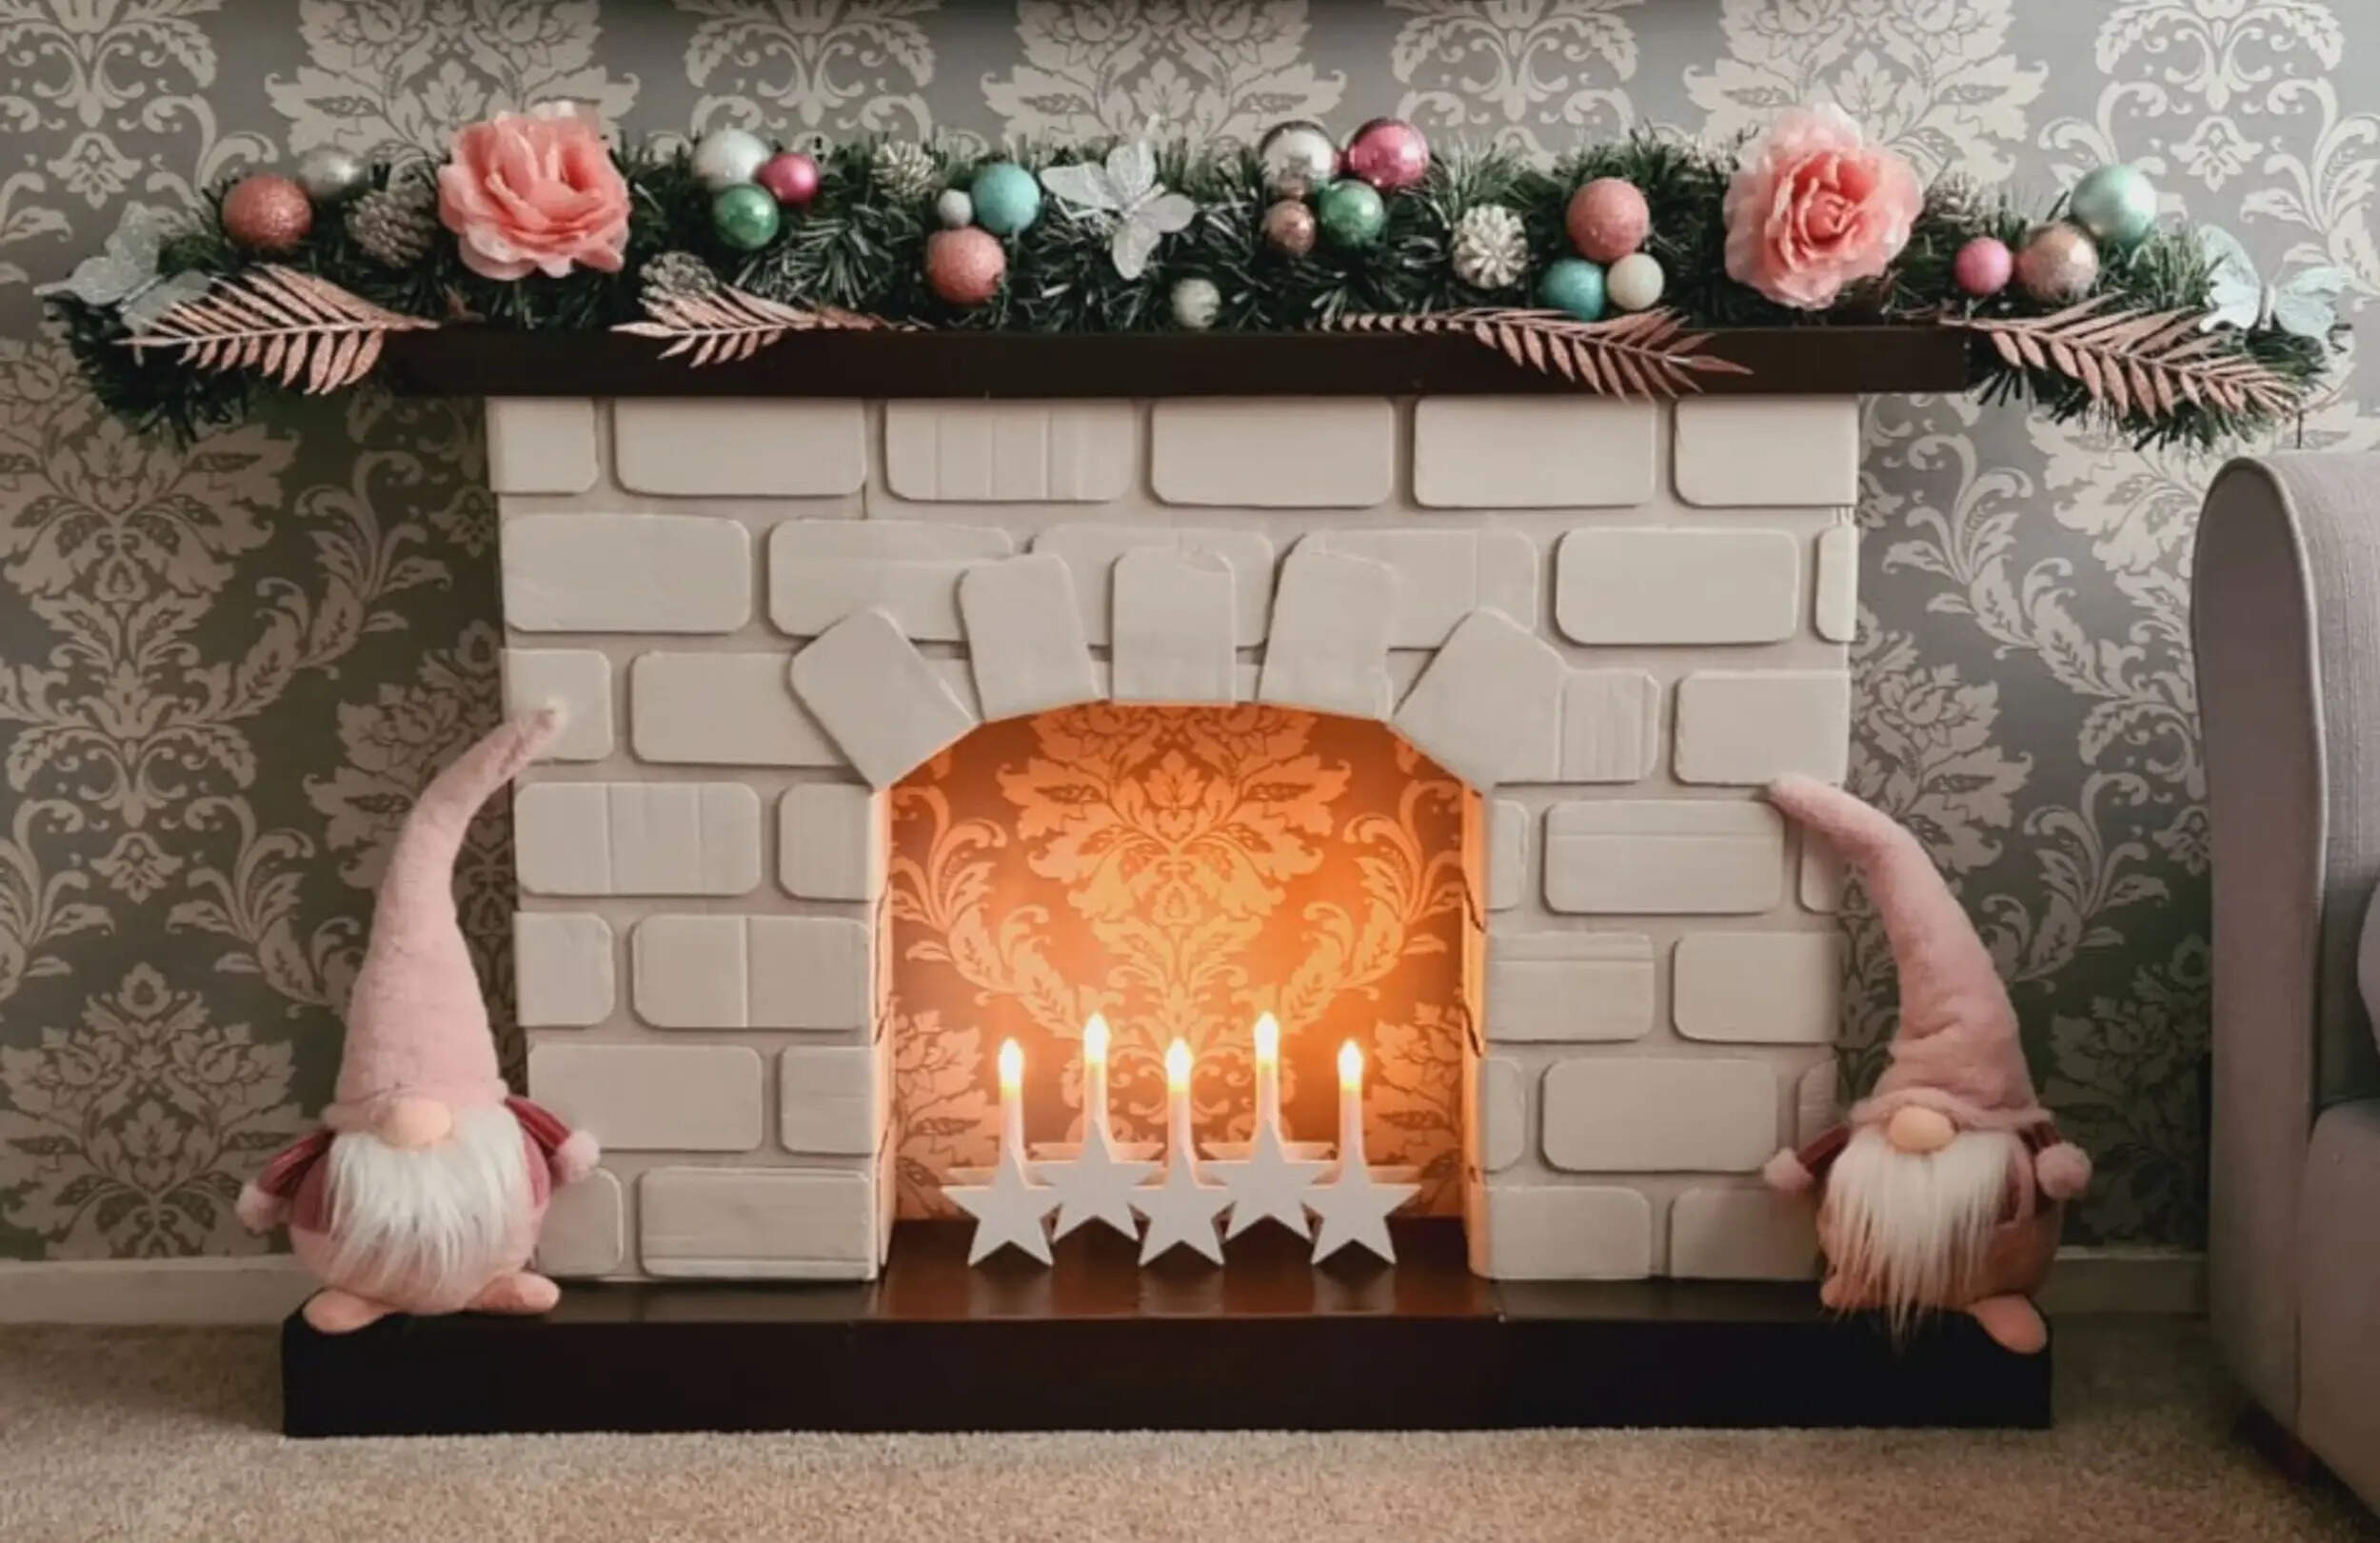
Adding a chimney to your cardboard house or playset can bring a whole new level of realism and fun to your imaginative playtime. Whether you’re building a cardboard castle or a cozy little cottage, a cardboard chimney can be the perfect finishing touch.
In this step-by-step guide, we’ll walk you through how to make a cardboard chimney that looks just like the real thing. Not only will this project spark creativity and provide hours of entertainment, but it’s also a great way to recycle cardboard materials and engage in a hands-on DIY activity.
From measuring and cutting the cardboard pieces to assembling and decorating the chimney, we’ll cover everything you need to know. So grab your scissors, glue, and paint, and let’s get started on crafting your very own cardboard chimney.
Key Takeaways:
- Spark creativity and sustainability by crafting a realistic cardboard chimney for playsets or decorative use. Engage in a fun DIY project using easily accessible materials and unleash your imagination.
- Transform cardboard into a sturdy and visually appealing chimney. Personalize with paint and decorations, then proudly display in your cardboard world for hours of imaginative play and enjoyment.
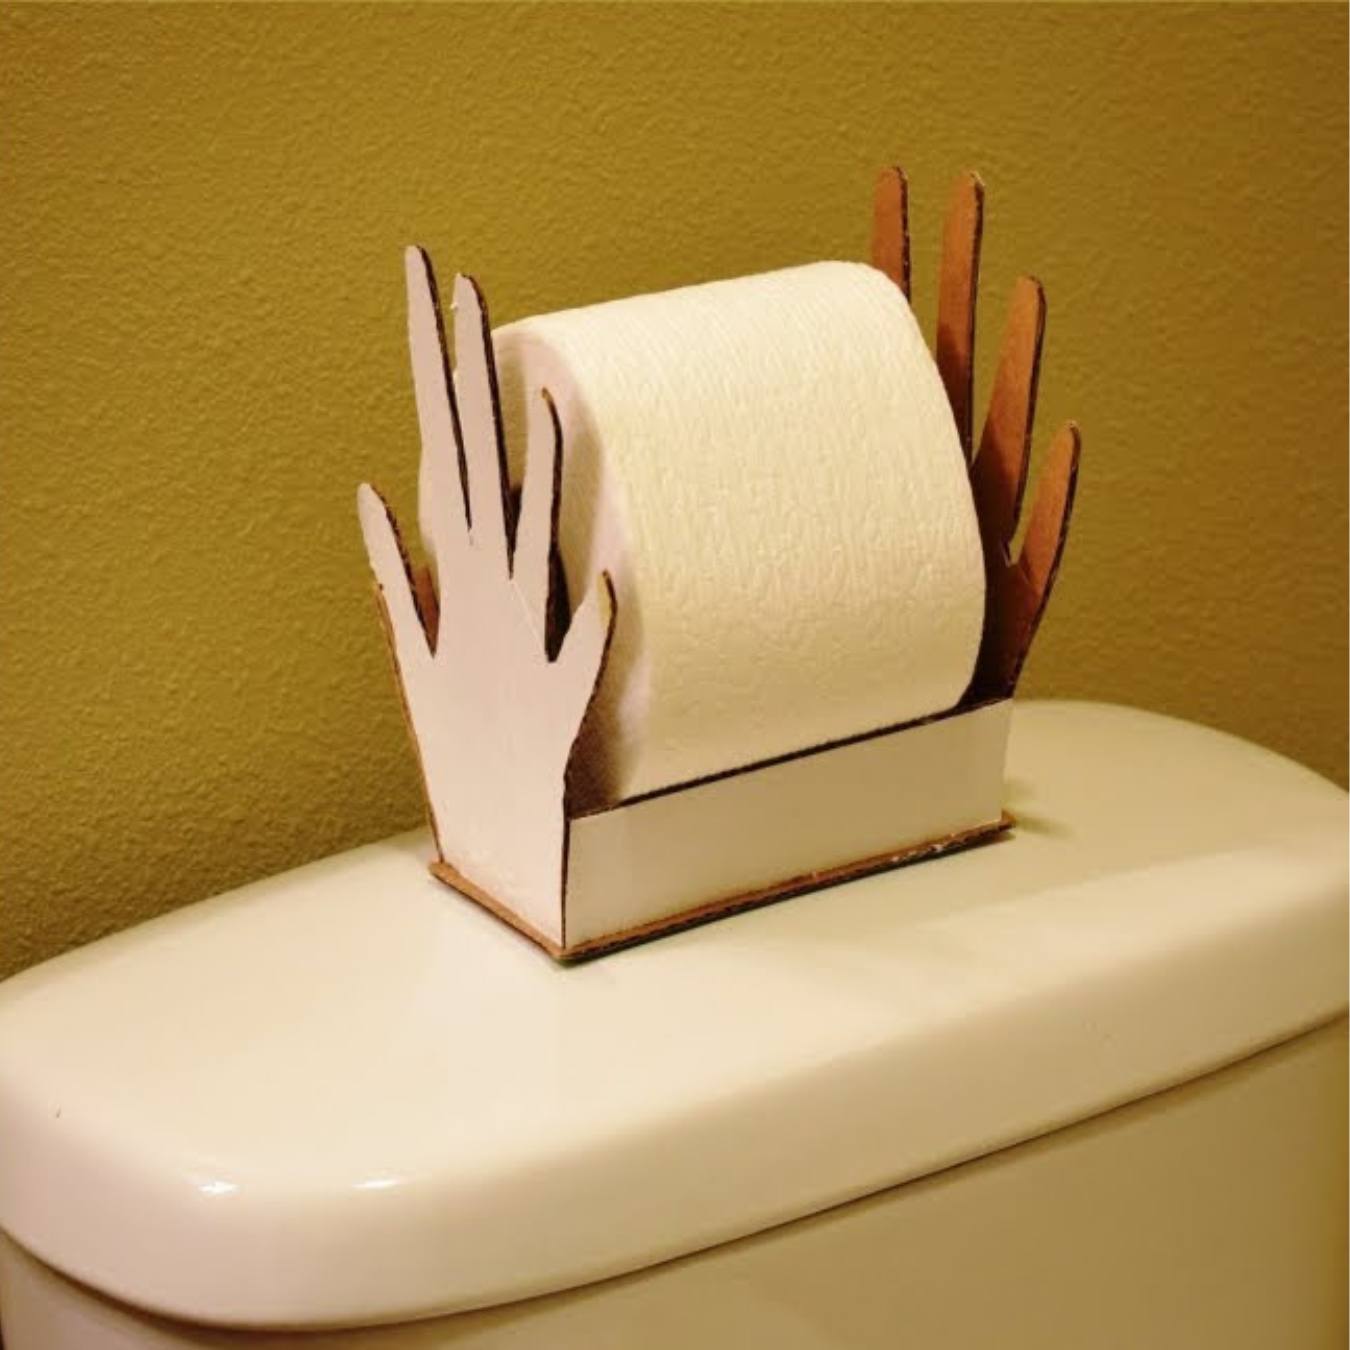
Read more: What To Make Out Of Cardboard Boxes
Materials Needed
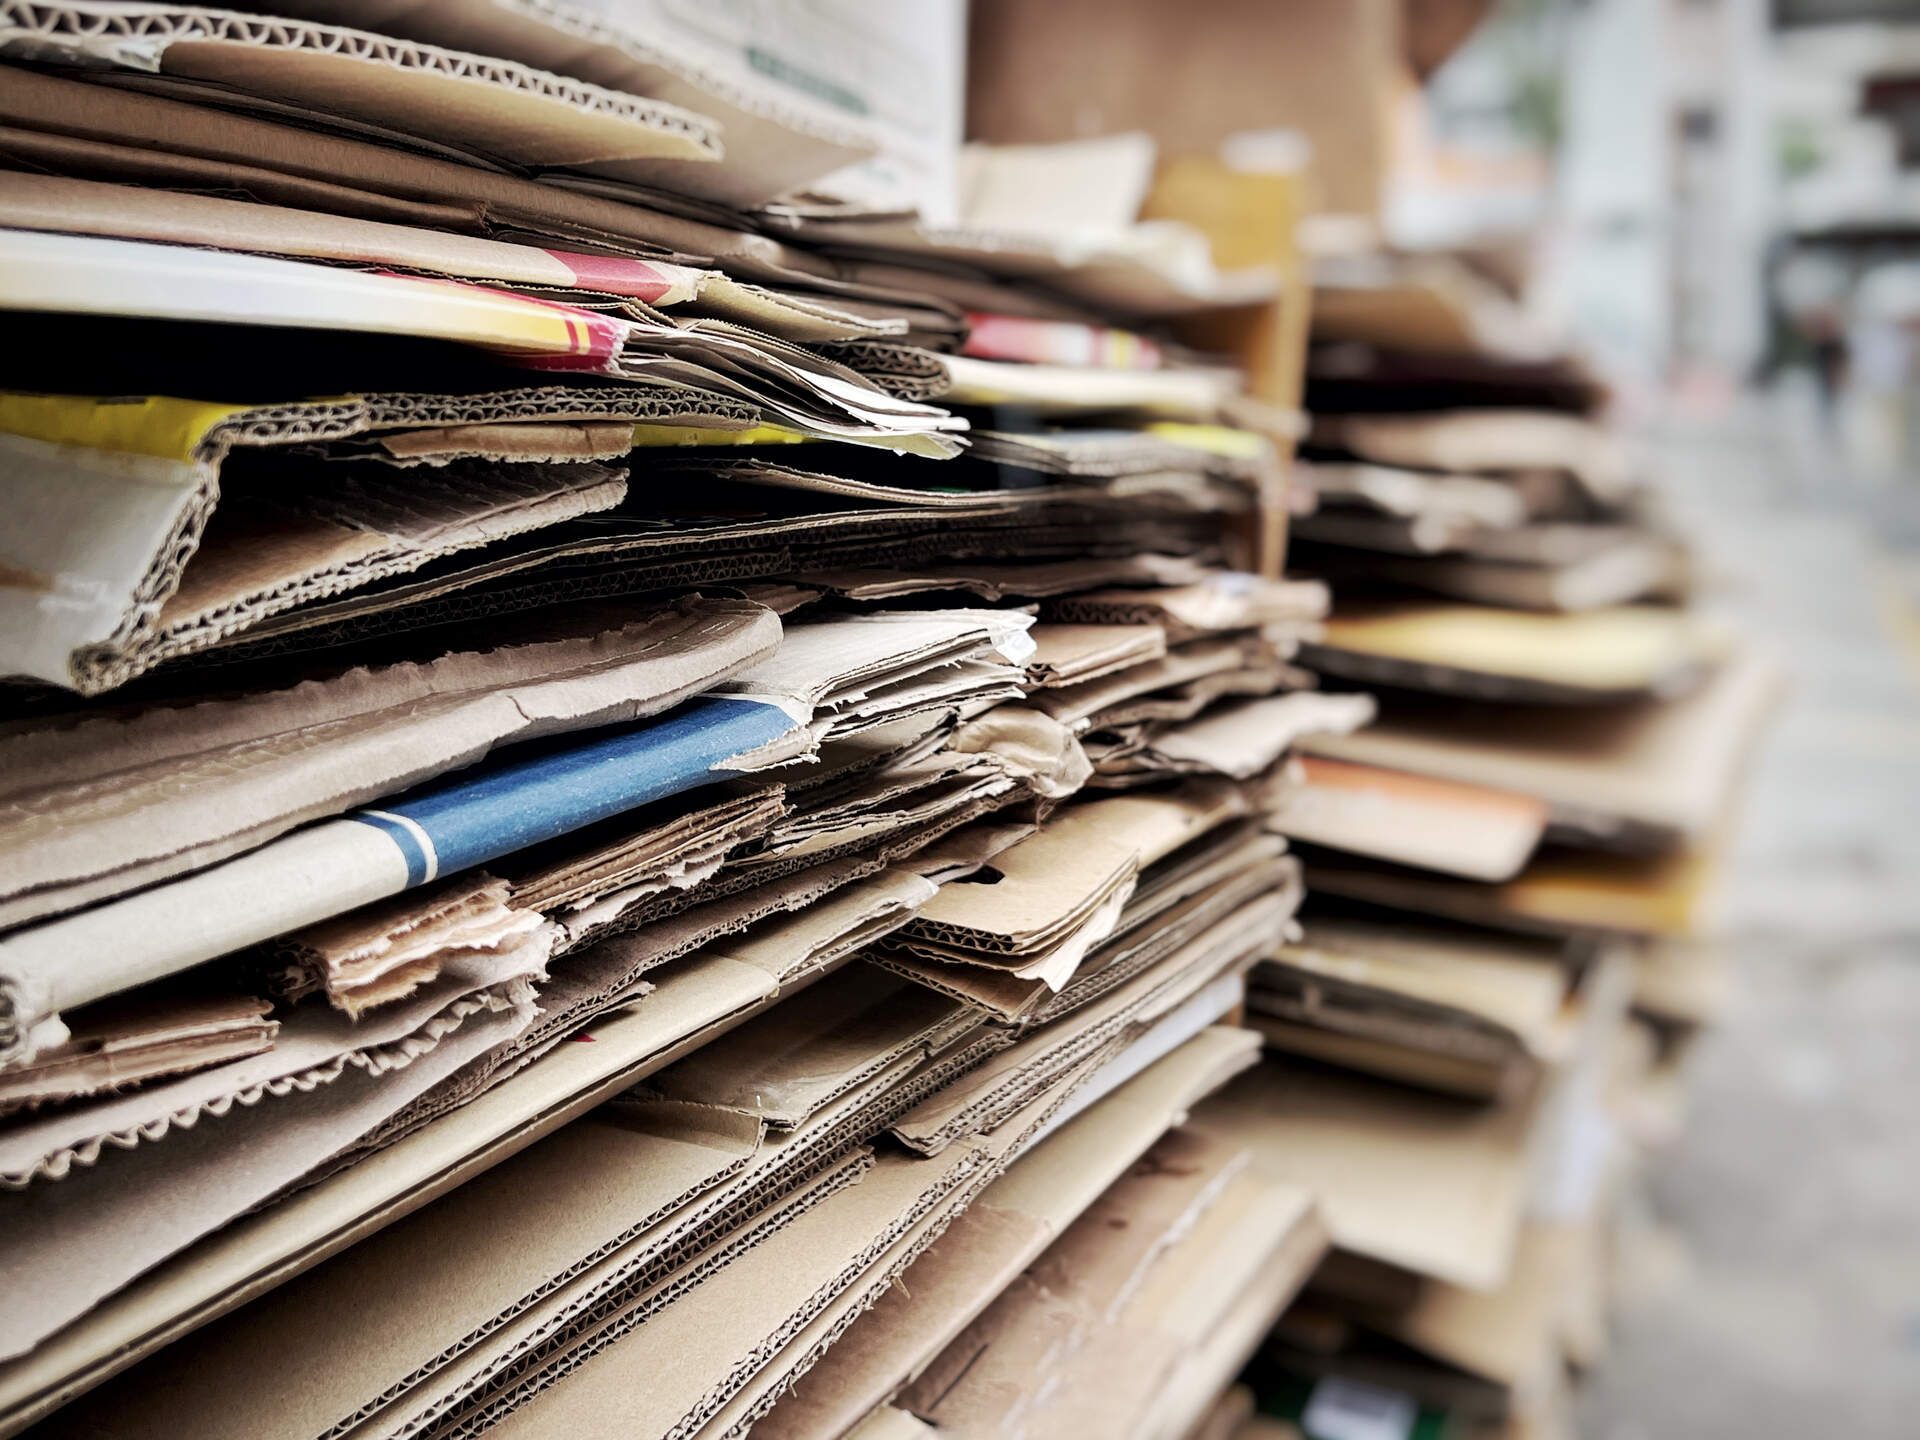
- Cardboard sheets
- Scissors
- Glue or tape
- Ruler or measuring tape
- Pencil
- Paint and paintbrushes
- Optional: Decorative elements like stickers, markers, or faux brick wallpaper
Before you begin making your cardboard chimney, it’s essential to gather all the necessary materials. Most of these items are readily available in your home or easy to find at a local arts and crafts store. Here’s a list of what you’ll need:
First and foremost, you’ll need some cardboard sheets. These can be old boxes or any sturdy cardboard material you have on hand. The thickness of the cardboard will determine the durability of your chimney, so opt for thicker sheets if possible.
Next, make sure you have a pair of scissors that can cut through the cardboard. It’s important to have sharp scissors that can handle the task smoothly.
You’ll also need glue or tape to assemble the cardboard pieces. Choose an adhesive that is strong enough to hold the chimney together but also dries clear for a neat finish.
A ruler or measuring tape will come in handy for accurately measuring and cutting the cardboard pieces. A pencil will be used for marking measurements and guidelines on the cardboard.
To add some color and personality to your chimney, gather some paint and paintbrushes. Acrylic or tempera paint works well on cardboard surfaces.
Lastly, you can choose to embellish your chimney with decorative elements like stickers, markers, or faux brick wallpaper. These can add a realistic touch or fun designs to your cardboard chimney.
Now that you have all the necessary materials, let’s move on to the next step: measuring and cutting the cardboard pieces for your chimney.
Step 1: Measure and Cut the Cardboard Pieces
Before you can start assembling your cardboard chimney, you’ll need to measure and cut the necessary pieces. Proper measurements ensure that your chimney fits seamlessly and securely together. Here’s how to get started:
- Take your ruler or measuring tape and measure the width, height, and length of the chimney you want to create. These measurements will determine the size of your cardboard pieces.
- Using a pencil, mark the measurements on your cardboard sheets. Remember to mark the front and back sides of the cardboard, as well as any folds or angles you want to incorporate into your chimney design.
- Using your scissors, carefully cut along the marked lines to create the individual pieces for your chimney. Take your time to ensure clean and precise cuts.
- Double-check your measurements and adjust if necessary. It’s better to measure twice and cut once to avoid any errors.
- Once you have all the required pieces cut, set them aside and move on to the next step of assembling the base of the chimney.
That’s it for Step 1! By measuring and cutting the cardboard pieces, you’re one step closer to finishing your cardboard chimney. Now, let’s move on to Step 2: assembling the base of the chimney.
Step 2: Assemble the Base of the Chimney
Now that you have the cardboard pieces cut to the appropriate sizes, it’s time to start assembling the base of your cardboard chimney. This step will provide a sturdy foundation for the rest of the chimney structure. Follow these instructions to ensure a secure and stable base:
- Take one of the larger cut pieces of cardboard that will serve as the bottom of the chimney. Apply glue or tape along one of the longer edges.
- Carefully fold the cardboard along the glued edge, creating a rectangular tube shape. Press firmly to ensure the adhesive sticks well.
- If necessary, reinforce the joint with additional tape or glue on the inside and outside for added stability.
- Reinforce the bottom of the chimney base by cutting and attaching additional cardboard pieces to the inside of the structure. This will provide extra support and prevent the base from collapsing.
- Once the base is secure and stable, set it aside momentarily and move on to the next step of creating the chimney sides.
Be sure to let the adhesive dry fully before proceeding to the next step. This will ensure that the base of your cardboard chimney is strong enough to support the weight of the rest of the structure. Now that the base is assembled, let’s move on to Step 3: creating the chimney sides and attaching them.
Step 3: Create the Chimney Sides and Attach
In Step 3, we will be creating the chimney sides and attaching them to the base that we assembled in the previous step. The chimney sides will give height and shape to your cardboard chimney. Here’s how to proceed:
- Take one of the taller cut pieces of cardboard that will serve as the side of the chimney. Apply glue or tape along one of the shorter edges.
- Carefully attach the glued edge of the cardboard to one side of the chimney base. Press firmly to ensure a secure attachment. Repeat this step with the remaining side piece, attaching it to the opposite side of the chimney base.
- If desired, you can also attach additional shorter pieces of cardboard to create a more detailed design or add architectural elements to your chimney. For example, you can cut triangular pieces to create a sloped or angled roofline.
- Reinforce the attached seams with extra glue or tape on the inside and outside of the chimney. This will ensure that the sides are firmly secured to the base and provide structural integrity.
- Allow the adhesive to dry completely before moving on to the next step. This will give the chimney sides time to set and strengthen the overall structure.
Now that you have successfully created and attached the chimney sides, your cardboard chimney is starting to take shape. In Step 4, we will add the chimney top to complete the structure. Keep up the good work!
When making a cardboard chimney, ensure that the cardboard is sturdy and fire-resistant. Use a template to ensure the proper shape and size, and reinforce the structure with additional layers of cardboard for stability.
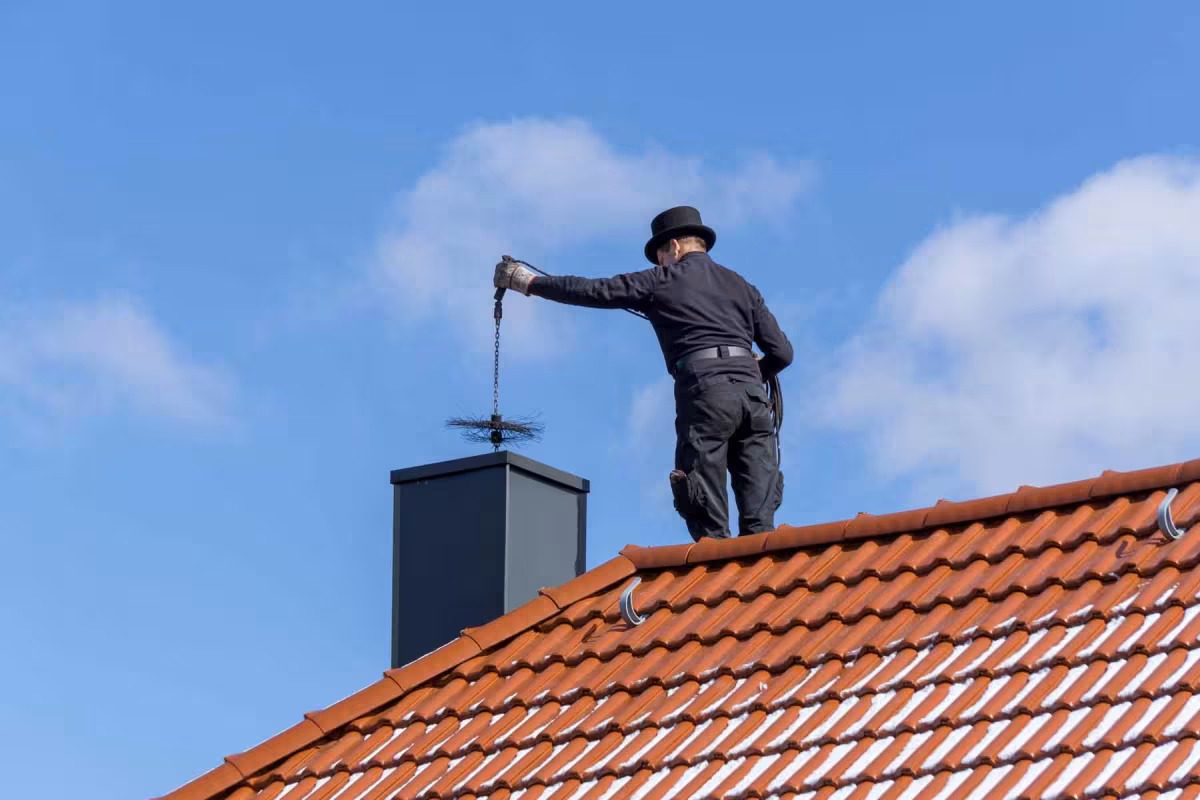
Read more: How To Make Chimney Sweep Broom
Step 4: Add the Chimney Top
In Step 4, we will be adding the chimney top to complete the overall look of your cardboard chimney. The chimney top not only adds visual interest but also serves as a functional element to allow smoke or air to escape. Follow these steps to add the finishing touch:
- Measure and cut a piece of cardboard that will serve as the chimney top. The size of the top will depend on the dimensions of your chimney and your personal preference.
- Once you have the top piece cut, apply glue or tape along the top edges of the chimney sides.
- Carefully attach the top piece to the glued or taped edges of the chimney sides. Press firmly to create a secure bond.
- If desired, you can add embellishments to the chimney top, such as decorative trim or faux brickwork, using additional cardboard or craft materials.
- Allow the adhesive to dry completely before moving on to the next step. This will ensure that the chimney top is securely attached and will not come off during play or display.
With the chimney top in place, your cardboard chimney is almost complete! In the next step, Step 5, we will explore how to decorate and paint the chimney to give it a realistic and personalized look. So let’s add some color and creativity to bring your chimney to life!
Step 5: Decorate and Paint the Chimney
Step 5 is where you can let your creativity shine by decorating and painting your cardboard chimney. Whether you want a classic brick design or a whimsical pattern, this is your chance to make your chimney unique. Here’s how to bring your creation to life:
- Start by preparing the surface of the cardboard chimney for painting. You can lightly sand the cardboard to create a smoother texture, which will help the paint adhere better.
- Choose your desired color scheme or design for the chimney. You can opt for a traditional brick pattern, a stone texture, or even a bold and vibrant color of your choice.
- Using acrylic or tempera paint, begin applying the base coat to the cardboard chimney. Use a paintbrush to evenly cover the surface, ensuring all areas are well coated. Allow the base coat to dry completely.
- If you want to create a brick or stone effect, use a smaller brush and a different color to paint the individual bricks or stones. You can also use a sponge dipped in paint to create textured effects.
- While the paint is drying, consider adding additional decorative elements to the chimney. You can use stickers, markers, or cut out shapes from colored paper to create unique patterns or designs.
- Allow the paint and any added decorations to dry thoroughly before moving or using the chimney. This will prevent smudging or smearing.
By decorating and painting your cardboard chimney, you can make it look like a realistic architectural feature or a whimsical addition to your playset. Let your imagination guide you, and don’t be afraid to experiment with different colors and designs to make your chimney truly stand out.
Now that your cardboard chimney is beautifully decorated, it’s time for the final step: placing it in your desired location.
Step 6: Place the Cardboard Chimney in your desired location
Congratulations! You’ve completed all the previous steps and now it’s time to find the perfect spot to showcase your cardboard chimney. Consider the following as you determine the ideal location:
- Choose a stable and secure surface to place your cardboard chimney. It can be a table, shelf, or even the floor, depending on the size and height of your chimney.
- Ensure that the area where you plan to place the chimney is clear of any potential hazards or obstructions. This will prevent accidental damage to your creation.
- Consider the overall theme or setting where your cardboard chimney will be placed. Does it complement the style of your cardboard house or playset? Can it be easily seen and appreciated by others?
- If you’re creating a cardboard house or playset, position the chimney in a logical place, such as near the roof or at the corner of the structure.
- Take into account the stability of your cardboard chimney and ensure that it is securely placed. If needed, you can use additional adhesive or tape to reinforce the chimney’s attachment to the surface or the structure it is placed on.
- Finally, step back and admire your work! Take a moment to appreciate the creativity and effort you’ve put into making your very own cardboard chimney.
Once you have chosen the perfect spot for your chimney, you can enjoy the visual appeal it adds to your cardboard house or playset. Whether it’s for playtime or as a decorative element, your cardboard chimney is sure to be a focal point that enhances the overall experience.
As a final touch, consider incorporating other accessories or decorations around the chimney to complete the scene and create a realistic atmosphere. Enjoy your newly placed cardboard chimney!
With Step 6 complete, you have successfully finished making and placing your cardboard chimney. Now, sit back and enjoy the fruits of your creativity and craftsmanship. From recycling cardboard materials to engaging in a fun DIY project, you’ve accomplished something truly special.
Thank you for following this step-by-step guide on how to make a cardboard chimney. Happy building and may your imagination soar!
Conclusion
Building a cardboard chimney is not only a creative and enjoyable activity but also a great way to repurpose materials and add a touch of authenticity to your cardboard house or playset. By following the step-by-step guide outlined in this article, you have learned how to measure, cut, assemble, decorate, and place your very own cardboard chimney.
Throughout the process, you’ve exercised your imagination, honed your DIY skills, and contributed to a more sustainable approach to crafting. The materials used, such as cardboard sheets, scissors, glue or tape, ruler, paint, and optional decorative elements, are easily accessible and affordable, making this project accessible to anyone who wants to embark on it.
Remember, when building your chimney, it’s important to strike a balance between functionality and creativity. The chimney should not only look visually appealing but also serve as a stable and secure structure. Proper assembly techniques, reinforced joints, and a sturdy base ensure that your chimney will withstand playtime or display.
Once your chimney is complete, take the opportunity to personalize its appearance. Whether you choose a classic brick design, a whimsical pattern, or something entirely unique, let your creativity soar. Painting, adding textures, and incorporating decorative elements allow you to infuse your own style and personality into the finished product.
Finally, find the perfect spot to showcase your cardboard chimney. Consider the overall design, stability, and thematic integration with your cardboard house or playset. Take pride in your creation and appreciate the effort and artistry that went into making it.
Now that you have successfully built, decorated, and placed your cardboard chimney, the stage is set for countless hours of imaginative play and enjoyment. Let the chimney become a focal point of your cardboard world, adding a touch of realism and charm to your playtime adventures.
Thank you for joining us on this DIY journey. We hope you found this guide helpful and inspiring. Happy crafting!
Frequently Asked Questions about How To Make A Cardboard Chimney
Was this page helpful?
At Storables.com, we guarantee accurate and reliable information. Our content, validated by Expert Board Contributors, is crafted following stringent Editorial Policies. We're committed to providing you with well-researched, expert-backed insights for all your informational needs.
0 thoughts on “How To Make A Cardboard Chimney”