
Articles
How To Insulate Chimney
Modified: February 24, 2024
Learn how to properly insulate your chimney with our informative articles. Get expert tips and advice to improve energy efficiency and prevent drafts.
(Many of the links in this article redirect to a specific reviewed product. Your purchase of these products through affiliate links helps to generate commission for Storables.com, at no extra cost. Learn more)
Introduction
Welcome to our comprehensive guide on how to insulate a chimney. In this article, we will explore the importance of chimney insulation, the materials needed, step-by-step instructions, and tips for a successful insulation project. Whether you have a wood-burning fireplace or a gas-fueled chimney, proper insulation is essential for energy efficiency, reducing heat loss, and preventing moisture-related issues.
A well-insulated chimney not only keeps your home warm in the winter and cool in the summer but also saves you money on energy bills. It helps maintain a consistent indoor temperature, minimizing the workload on your heating and cooling systems. Additionally, insulation creates a barrier that prevents condensation and moisture buildup, which can lead to structural damage and costly repairs.
Before we delve into the specifics of insulating a chimney, it is important to understand the different components involved. A chimney consists of the flue, a passage that directs exhaust gases from the fireplace or stove to the outside; the masonry or metal structure that surrounds the flue; and the chimney cap or crown, which protects the chimney from water intrusion.
Now that we have established the importance of chimney insulation and the various components, let’s move on to the materials you will need for this project.
Key Takeaways:
- Properly insulating your chimney can improve energy efficiency, regulate indoor temperatures, and prevent moisture-related issues, ultimately saving you money on energy bills and protecting your home’s structure.
- Choosing the right insulation method and materials, following safety precautions, and addressing potential issues promptly are essential for a successful chimney insulation project. Regular maintenance and professional consultation can ensure long-term effectiveness.
Read more: How To Insulate A Chimney Liner
Understanding the Importance of Insulating a Chimney
Insulating your chimney is a crucial step in maintaining energy efficiency and preventing potential issues. Without proper insulation, heat can escape through the chimney during colder months, resulting in higher heating costs and a less comfortable living space. Additionally, an uninsulated chimney can contribute to condensation problems and moisture buildup, leading to deterioration of the chimney structure.
One of the main benefits of insulating a chimney is improving energy efficiency. As warm air from your home rises and escapes through the chimney, it creates a vacuum effect that pulls in cold air from outside. The constant exchange of air can make your heating system work harder to maintain a consistent indoor temperature. By insulating your chimney, you create a barrier that prevents heat loss and reduces energy waste.
Insulation also helps regulate indoor temperatures. In the summer, when your air conditioning system is running, insulating the chimney can prevent hot outdoor air from entering your home. This keeps your living space cooler and reduces the strain on your cooling system.
In addition to energy efficiency, chimney insulation helps prevent moisture-related issues. When warm air meets the cold surface of an uninsulated chimney, condensation can occur. This moisture not only damages the chimney structure but can also lead to mold and mildew growth. Insulation acts as a barrier, preventing the warm air from coming into contact with the cold chimney and reducing the risk of condensation.
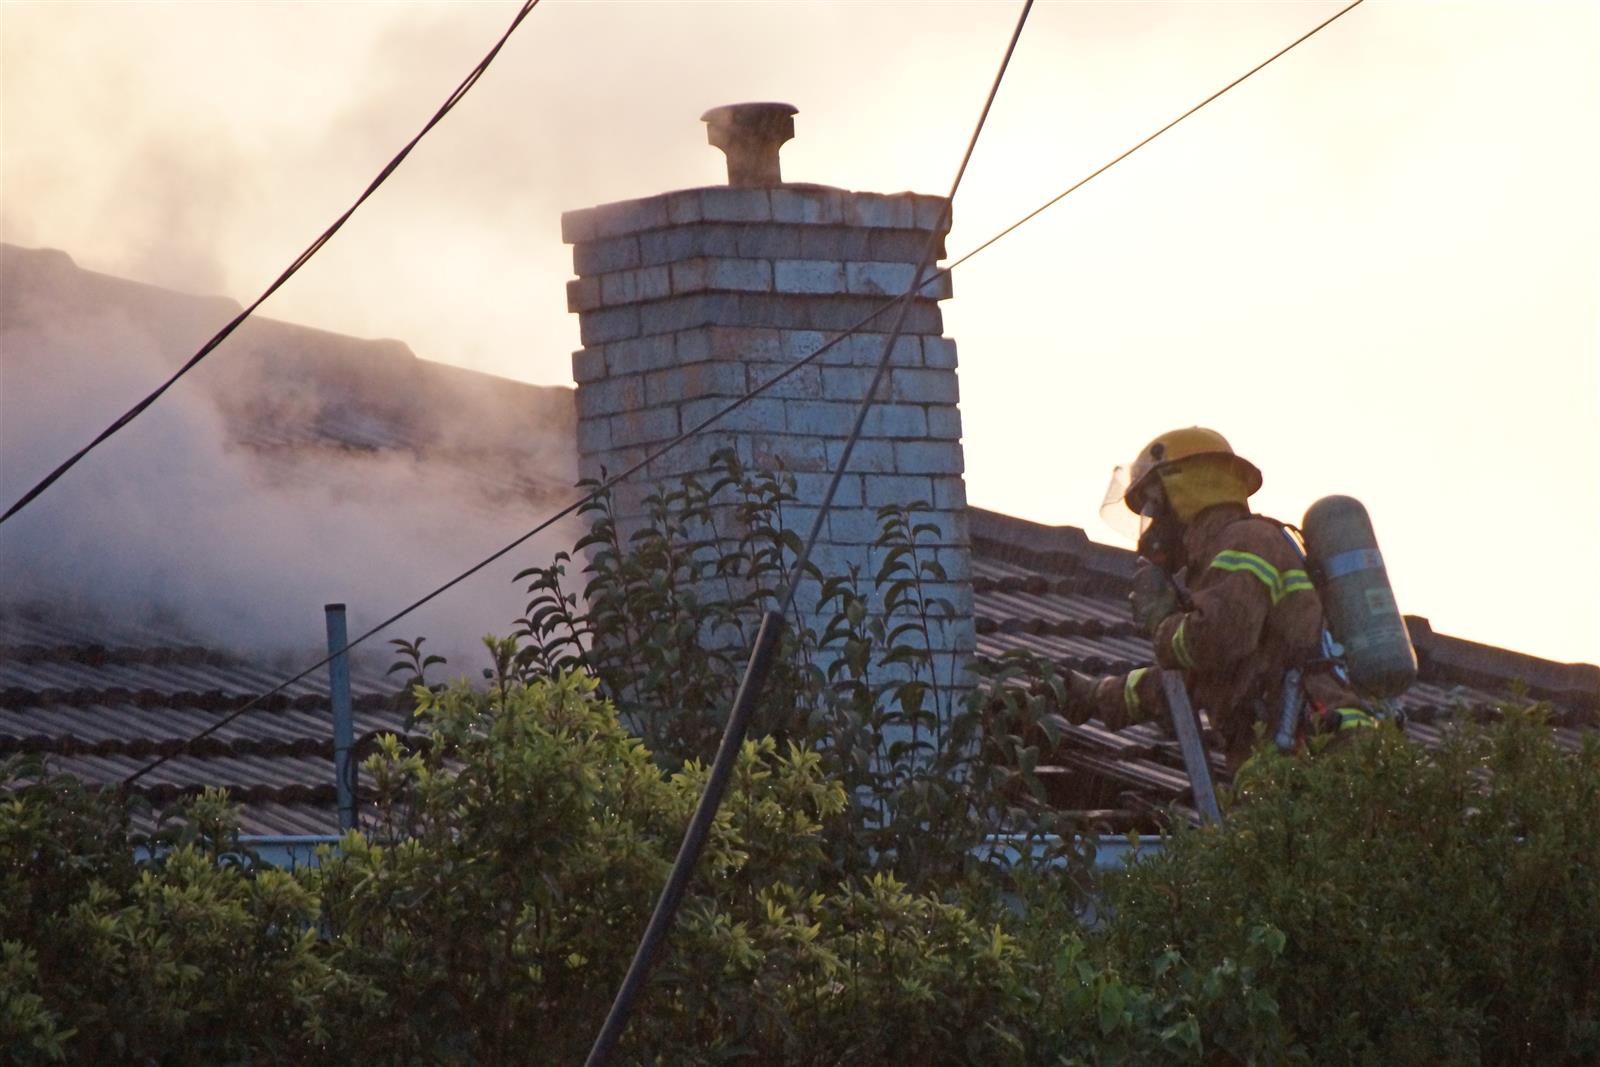
Furthermore, insulation provides added protection against chimney fires. When creosote, a flammable substance produced by burning wood, builds up inside the chimney, the risk of a fire outbreak increases. Insulation can help keep the temperature inside the chimney within safe limits, reducing the likelihood of a chimney fire.
Lastly, insulating your chimney can help minimize noise pollution. If your chimney is located near a busy street or a noisy area, insulation can act as a sound barrier, reducing the level of noise that enters your home.
Now that we understand the importance of chimney insulation, let’s move on to the materials needed for the insulation process.
Materials Needed for Insulating a Chimney
Before starting the insulation process, it is essential to gather all the necessary materials. Here is a list of items you will need:
- Insulation material: The type of insulation material you choose will depend on various factors, such as the type of chimney and the intended use of the chimney. Common options include rock wool, vermiculite, perlite, or foam insulation boards. Make sure to select insulation material that is suitable for chimney use and offers good thermal resistance.
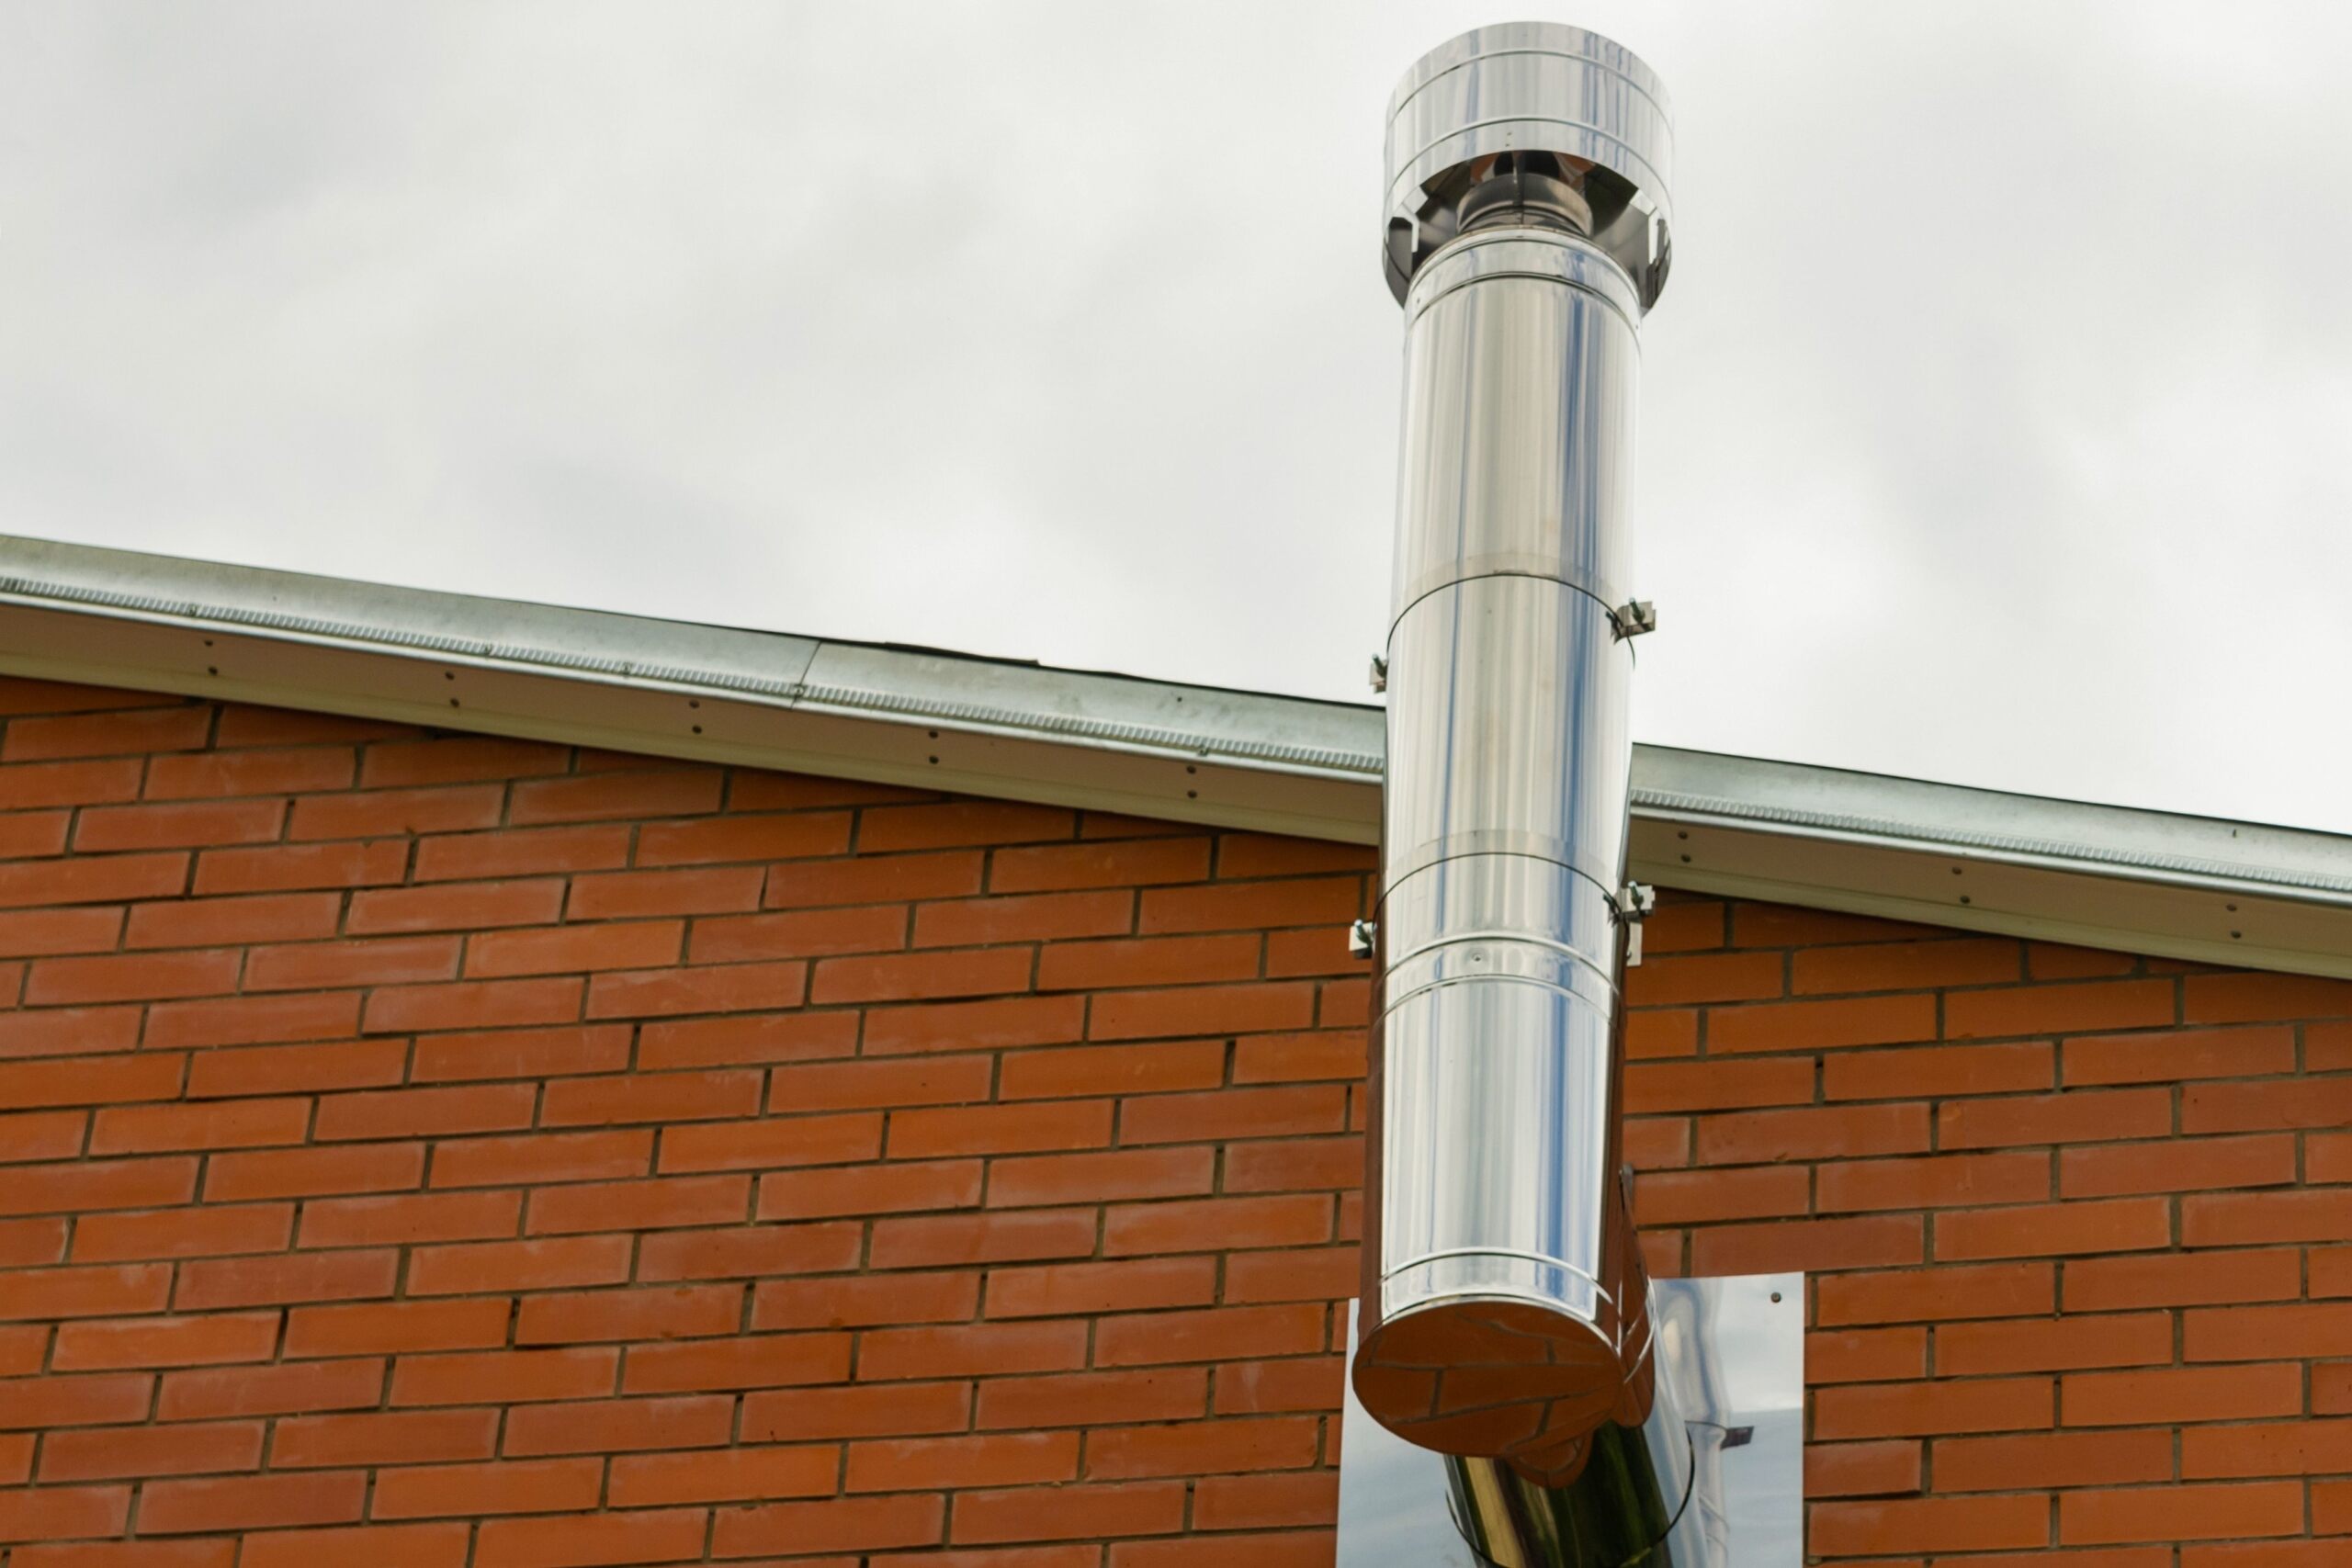
- Insulation liner: An insulation liner is a protective layer that is installed between the insulation material and the chimney flue. It helps to contain the insulation and protects it from the high temperatures generated by the combustion process. Use an insulation liner made of stainless steel or other suitable materials.
- Chimney insulation wrap: A chimney insulation wrap is a reflective barrier used to surround the chimney flue. It helps to enhance the insulation properties and prevent heat transfer. Look for a high-quality, fire-resistant chimney insulation wrap.
- Insulation adhesive: You will need an adhesive to attach the insulation material and the insulation liner to the chimney. Choose a high-temperature adhesive that is suitable for the materials you are working with.
- Measuring tape: A measuring tape will be essential for accurately measuring the dimensions of your chimney and determining the amount of insulation material needed.
- Utility knife: A utility knife will come in handy for cutting the insulation material, insulation liner, and chimney insulation wrap to the appropriate sizes.
- Protective gear: Insulation work can be messy, so it’s important to wear protective gear such as gloves, safety glasses, and a dust mask to protect yourself from insulation fibers and dust.
- Ladder: Depending on the height of your chimney, you may need a ladder or scaffolding to reach the top safely.
- Sealant: It may be necessary to use a sealant to fill any gaps or cracks in the chimney to ensure proper insulation and prevent air leaks. Choose a high-temperature sealant that is compatible with the chimney material.
- Firestop mortar: For added fire protection, you may need firestop mortar to seal any gaps or openings around the chimney. This will help prevent the spread of fire within your home’s structure.
Before beginning the insulation process, double-check that you have all the necessary materials on hand. This will help ensure a smooth and efficient chimney insulation project.
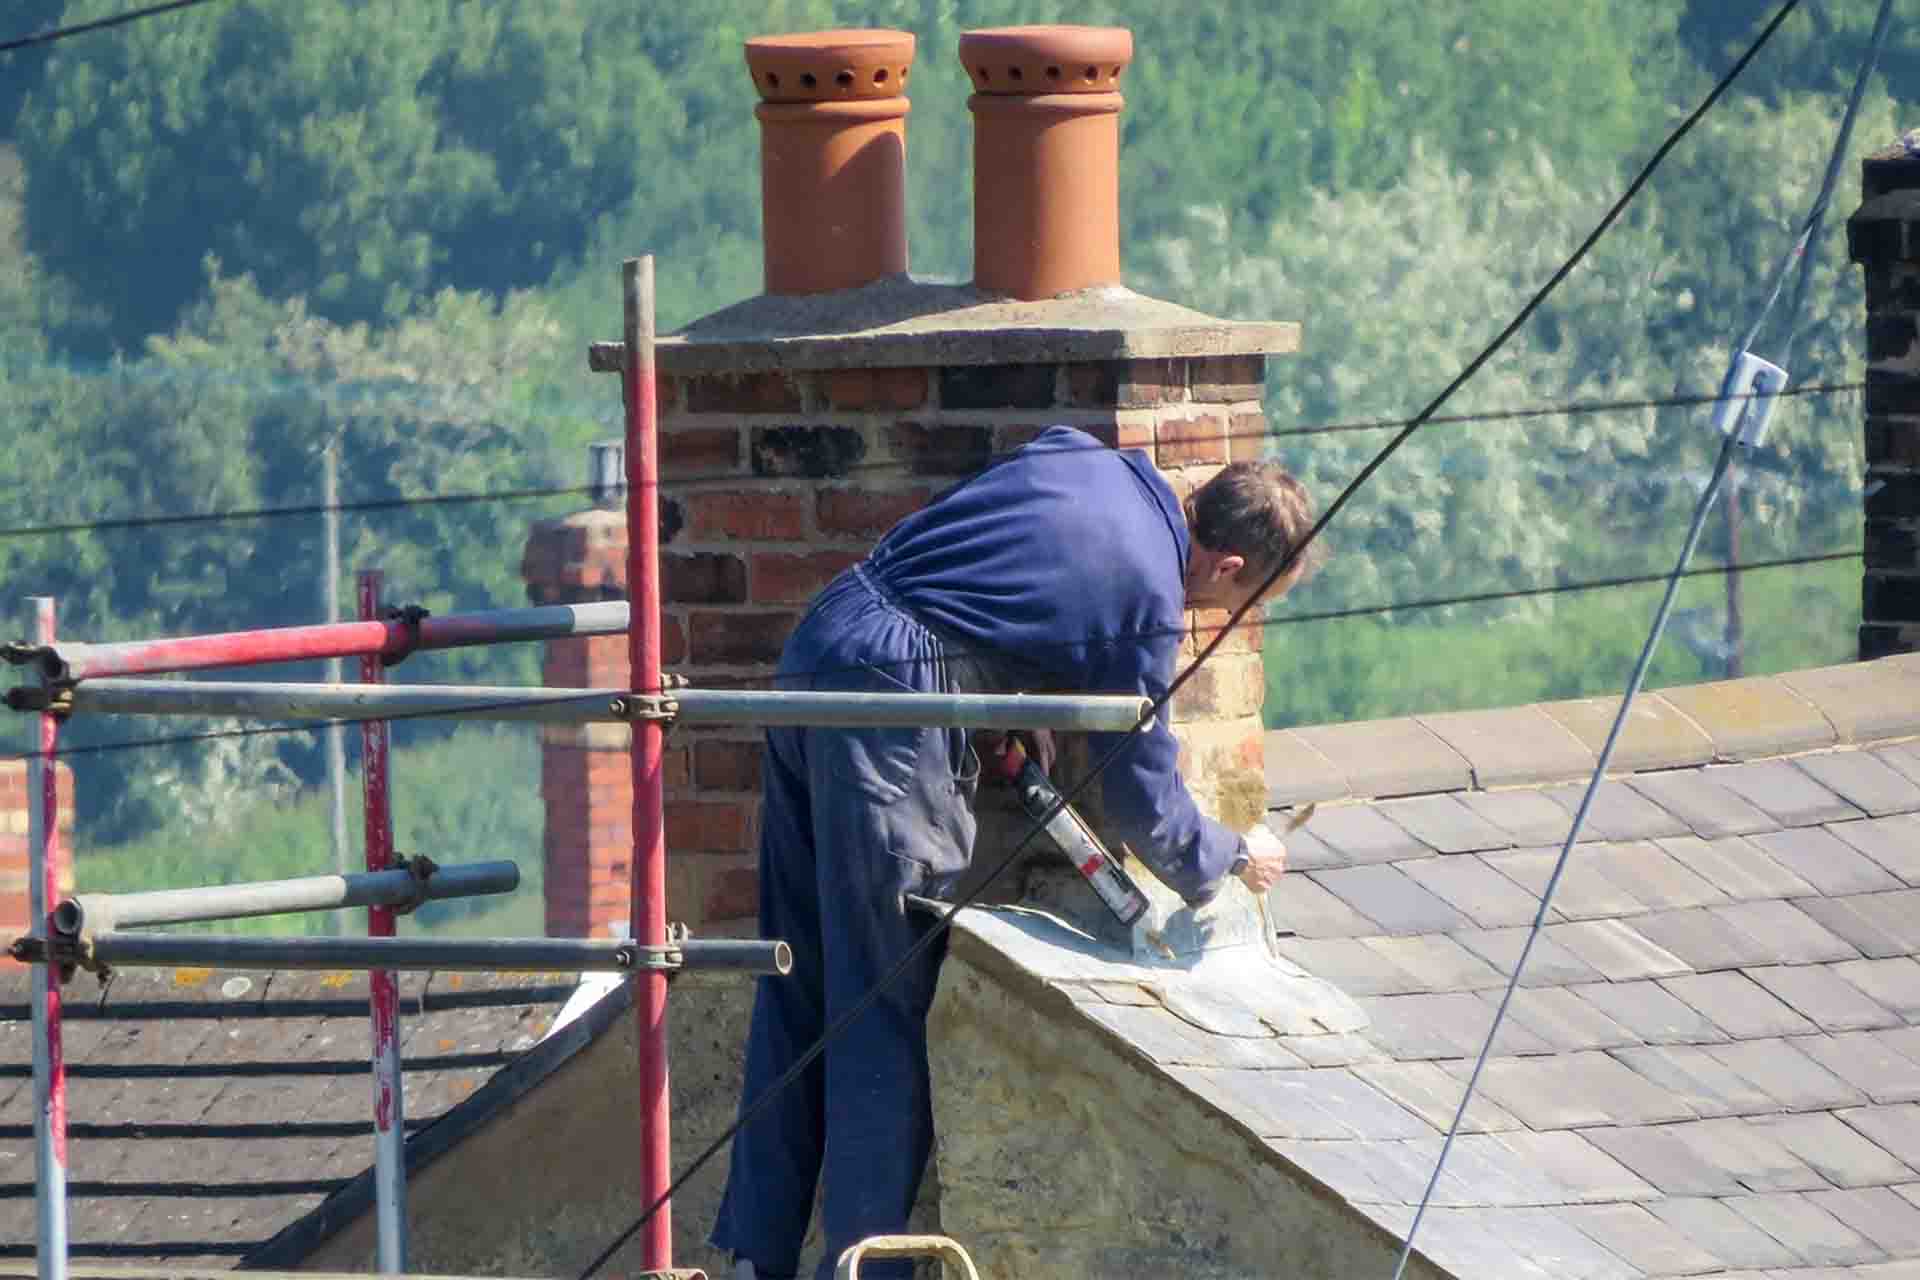
Preparing the Chimney for Insulation
Before you can start insulating your chimney, it is crucial to properly prepare it. Here are the steps to follow to get your chimney ready for insulation:
- Clean the chimney: Begin by thoroughly cleaning the chimney, both inside and outside. Remove any debris, soot, or creosote buildup from the flue and the surrounding masonry or metal structure. This will ensure a clean surface for the insulation to adhere to and allow for maximum effectiveness.
- Inspect for damage: Take the time to inspect the chimney for any cracks, gaps, or other damage that may need repairs. Addressing any structural issues beforehand will help maintain the integrity of the chimney and ensure a successful insulation job.
- Seal gaps and cracks: Use a high-temperature sealant to fill in any gaps or cracks in the chimney. This step is crucial to prevent air leaks and ensure proper insulation. Pay particular attention to areas where the chimney meets the roof or wall, as these are common areas for air infiltration.
- Apply firestop mortar: For added fire protection, apply firestop mortar around the chimney. This will help seal any openings or gaps that could allow fire to spread within the structure of your home. Follow the manufacturer’s instructions for proper application.
- Inspect the chimney cap or crown: Check the condition of your chimney cap or crown. It should be in good repair, with no cracks or signs of deterioration. If any issues are present, repair or replace the chimney cap before proceeding with the insulation process to ensure proper protection against water intrusion.
- Measure the chimney: Use a measuring tape to measure the dimensions of your chimney accurately. Take note of the height, width, and diameter of the chimney, as these measurements will be essential when cutting and installing the insulation material.
- Ensure proper ventilation: It is crucial to ensure that your chimney has proper ventilation after insulation. Check that there are no obstructions in the flue or chimney cap that could impede the flow of exhaust gases. The insulation process should not interfere with the chimney’s ventilation system.
By following these steps and properly preparing your chimney, you will create an optimal environment for the insulation process. Taking the time to clean, inspect, seal, and measure the chimney will help ensure a successful insulation project that provides maximum energy efficiency and protection.
Choosing the Right Insulation Method
When it comes to insulating a chimney, there are various methods to choose from. The right insulation method for your chimney will depend on factors such as the type of chimney, the desired level of insulation, and your specific needs and preferences. Here are some common insulation methods to consider:
- Pour-in loose-fill insulation: This method involves pouring loose insulation material such as rock wool, vermiculite, or perlite down the chimney to fill the void between the chimney liner and the masonry or metal structure. It is an effective way to insulate older chimneys with irregular shapes or chimneys without a liner. The loose-fill insulation provides a continuous layer of insulation around the flue.
- Insulation wrap: Insulation wrap is a popular method for insulating chimneys. It involves wrapping a reflective barrier around the chimney flue, which helps to enhance insulation and prevent heat transfer. The insulation wrap is typically secured using adhesive or metal strapping. It is a versatile method that can be used for both masonry and metal chimneys.
- Rigid insulation boards: Rigid insulation boards, such as foam boards, are another option for chimney insulation. These boards provide excellent thermal resistance and are easy to cut and install. They can be secured to the chimney using adhesive, mechanical fasteners, or both. Rigid insulation boards are ideal for chimneys with straight and smooth surfaces.
- Insulation mix and pour: This method involves creating an insulation mixture by combining a lightweight aggregate material, such as expanded clay or vermiculite, with a bonding agent. The mixture is then poured or pumped into the space between the chimney liner and the masonry or metal structure. It provides a custom-fit insulation layer that conforms to the shape of the chimney.
- Spray foam insulation: Spray foam insulation is a versatile method that can be used for both interior and exterior chimney insulation. It involves spraying a mixture of polyurethane foam onto the chimney surface. The foam expands and hardens, creating a seamless insulation layer. Spray foam insulation is effective for sealing gaps and cracks in the chimney and providing excellent thermal resistance.
When choosing the right insulation method for your chimney, consider factors such as the chimney type, ease of installation, insulation effectiveness, and cost. It is recommended to consult with a professional chimney inspector or insulation contractor to determine the most suitable method for your specific chimney.
Remember, regardless of the insulation method you choose, it is crucial to follow the manufacturer’s instructions and industry best practices to ensure a safe and effective insulation installation.
When insulating a chimney, use a non-combustible insulation material such as mineral wool or vermiculite. Ensure the insulation is installed properly to prevent heat loss and reduce the risk of condensation and creosote buildup.Read also: 9 Unbelievable Chimney Insulation For 2024
Step-by-Step Guide to Insulating a Chimney
Insulating your chimney can be a rewarding DIY project that improves energy efficiency and protects your home. Here is a step-by-step guide to help you through the insulation process:
- Clean and prepare the chimney: Start by thoroughly cleaning the chimney, removing any debris, soot, or creosote buildup. Inspect the chimney for cracks or damage and address any necessary repairs. Seal any gaps or cracks with high-temperature sealant, and apply firestop mortar as needed for added fire protection.
- Measure and cut the insulation material: Measure the dimensions of your chimney accurately using a measuring tape. Use these measurements to cut the insulation material to the appropriate size. Follow the manufacturer’s instructions and safety precautions when cutting the insulation material.
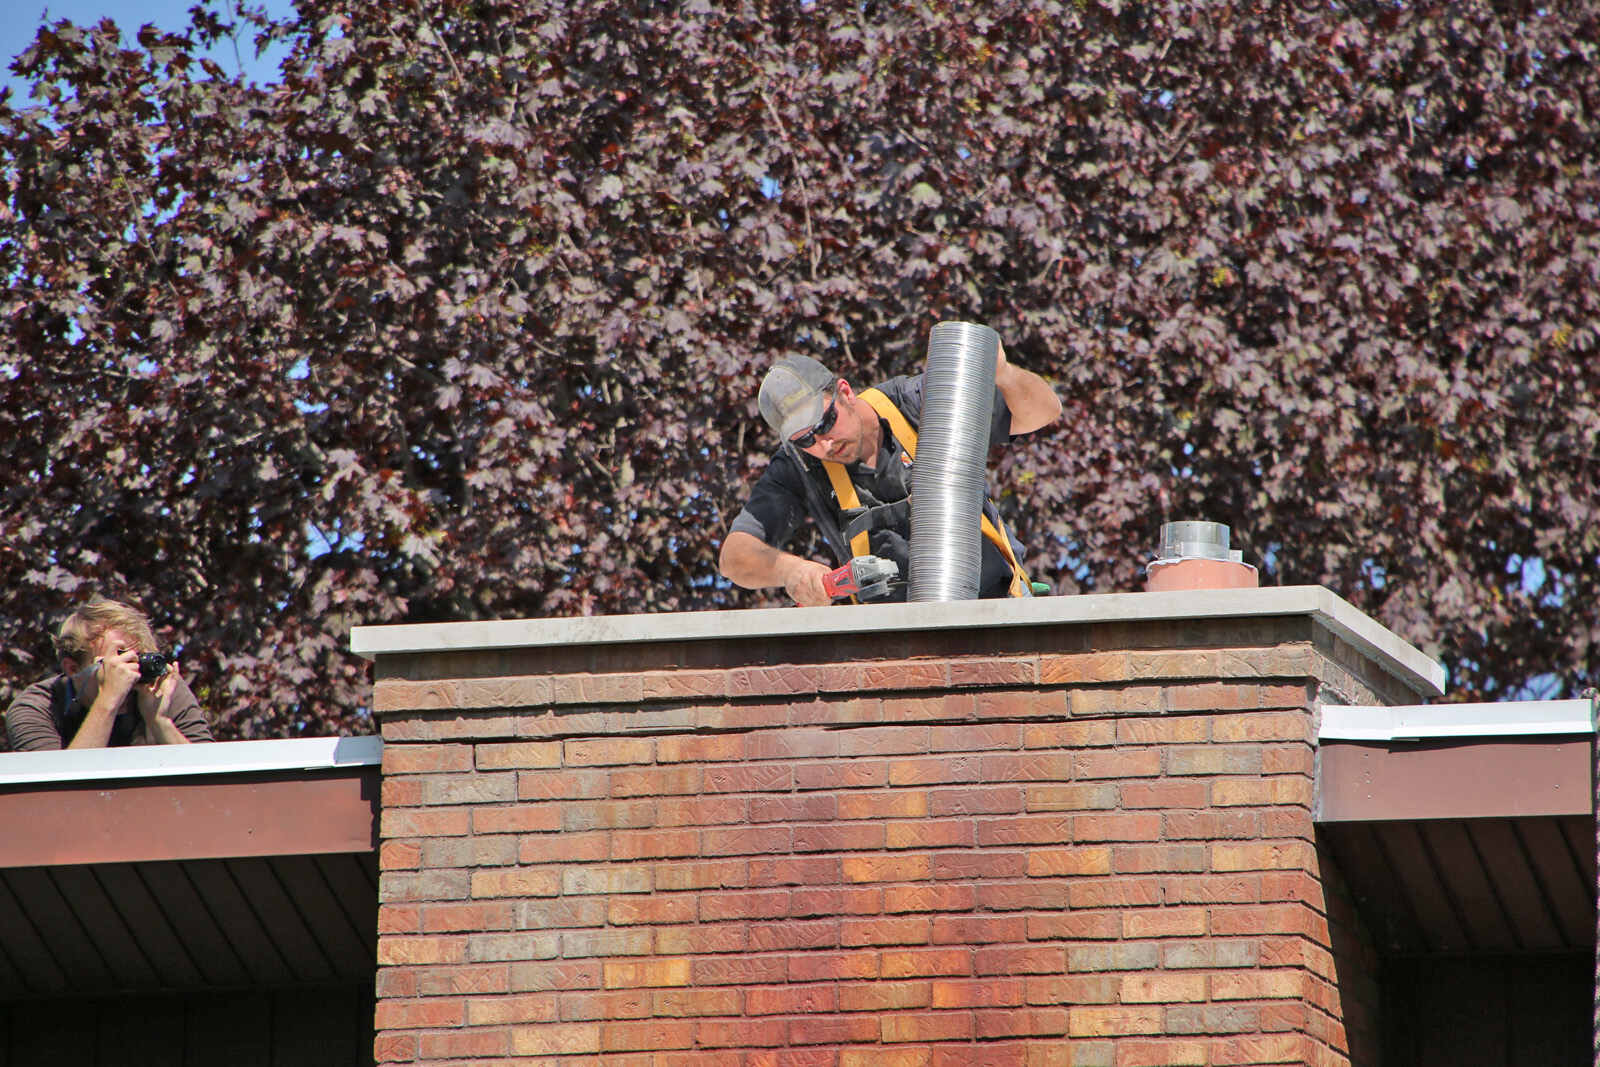
- Install the insulation liner: If using an insulation liner, carefully install it inside the chimney. The liner should fit snugly and cover the entire interior surface. Secure it using an appropriate adhesive or mechanical fasteners, following the manufacturer’s guidelines.
- Attach the insulation material: If using insulation material such as loose-fill or rigid insulation boards, attach it to the chimney exterior or chimney liner. Use adhesive or mechanical fasteners as recommended by the manufacturer. Ensure the insulation material covers the entire chimney surface evenly.
- Wrap with insulation barrier: If using a chimney insulation wrap, carefully wrap it around the chimney flue, ensuring proper coverage. Secure the wrap using adhesive or metal strapping as directed. Pay attention to any overlapping instructions provided by the manufacturer.
- Seal gaps and seams: Inspect the insulation installation for any gaps or seams that may have formed. Use high-temperature sealant to seal any openings, ensuring a tight seal. Properly sealed insulation will help prevent air leakage and maximize insulation efficiency.
- Reinstall chimney cap or crown: Once the insulation is in place, reinstall the chimney cap or crown, making sure it is securely fastened. The cap or crown helps protect the chimney from water intrusion and other external elements.
- Check for proper ventilation: After the insulation installation, ensure that the chimney has proper ventilation. Check that there are no obstructions in the flue or chimney cap that could impede the flow of exhaust gases. Proper ventilation is essential for the safe operation of your chimney.
- Clean up and inspect: Clean up any debris or insulation material that may have accumulated during the installation process. Inspect the insulation installation to ensure it is uniform, without any loose or misplaced sections. Make any necessary adjustments or repairs as needed.
It is important to note that chimney insulation installation can vary depending on the type of insulation method used. Always follow the manufacturer’s instructions and refer to industry best practices to ensure a safe and effective installation.
By following this step-by-step guide, you can successfully insulate your chimney and enjoy the energy-saving benefits it provides.
Tips and Best Practices for Insulation
Insulating a chimney requires attention to detail and adherence to best practices to ensure a successful and effective insulation installation. Here are some tips and best practices to keep in mind:
- Choose the right insulation materials: Select insulation materials that are specifically designed for chimney use and offer good thermal resistance. Consider factors such as the type of chimney, insulation effectiveness, and suitability for your specific needs.
- Follow safety precautions: Insulation work can involve handling hazardous materials and working at heights. Ensure you wear proper protective gear, such as gloves, safety glasses, and a dust mask, to protect yourself from insulation fibers and dust. Use caution when working on ladders or scaffolding and follow safety guidelines at all times.
- Properly prepare the chimney: Clean the chimney thoroughly, removing any debris, soot, or creosote buildup. Inspect for cracks or damage and address necessary repairs before starting the insulation process. Properly sealing gaps and cracks and applying firestop mortar will enhance insulation effectiveness and ensure safety.
- Take accurate measurements: Measure the dimensions of your chimney accurately to ensure the insulation material fits properly. Use a measuring tape and record the height, width, and diameter of the chimney. Accurate measurements will help minimize waste and ensure a precise installation.
- Secure insulation securely: Use appropriate adhesives, mechanical fasteners, or metal strapping to secure the insulation material, insulation liner, or insulation wrap. Proper attachment is essential to ensure the insulation remains in place and performs effectively.
- Seal gaps and seams: Inspect the insulation installation for any gaps or seams that may have formed. Use high-temperature sealant to seal any openings thoroughly. Good sealing prevents air leakage and maximizes the insulation’s efficiency.
- Ensure proper ventilation: Maintain proper ventilation for your chimney after insulation. Check that the chimney flue and cap are clear of obstructions that could hinder the flow of exhaust gases. Adequate ventilation is crucial for the safe operation of your chimney.
- Regularly inspect and maintain your chimney: Even with insulation, it is essential to inspect and maintain your chimney regularly. Schedule routine inspections to detect any signs of damage or issues with the insulation. Clean the chimney as needed to prevent buildup and ensure optimal performance.
- Consult professionals if needed: If you are uncertain about any aspect of the insulation process or encounter complex chimney issues, consult with professionals, such as chimney inspectors or insulation contractors. They can provide expert guidance and ensure a safe and effective insulation installation.
By following these tips and best practices, you can enhance the effectiveness and longevity of your chimney insulation. Remember, proper insulation contributes to energy efficiency, protects your home from moisture-related issues, and improves the overall performance of your chimney system.
Potential Issues and How to Address Them
While insulating a chimney can bring numerous benefits, there are potential issues that may arise during or after the insulation process. It is important to be aware of these issues and know how to address them to ensure the effectiveness and safety of your chimney insulation. Here are some common issues and their solutions:
- Condensation and moisture buildup: If condensation or moisture buildup occurs after insulating the chimney, it may indicate an insulation problem or inadequate ventilation. Ensure proper insulation installation and check that the chimney has adequate ventilation. If the issue persists, consult with a professional chimney inspector to identify and address any underlying problems.
- Creosote buildup: Insulation materials can potentially contribute to creosote buildup inside the chimney. Regular chimney cleaning and maintenance are essential to remove excess creosote and prevent chimney fires. Schedule professional chimney cleanings at least once a year, or as recommended for your particular heating system.
- Insulation material settling or shifting: Over time, insulation materials may settle or shift, potentially compromising their effectiveness. Regularly inspect the insulation installation and address any signs of settling or shifting. This may involve repositioning or adding additional insulation if necessary.
- Animal intrusion: Insulated chimneys may attract animals seeking shelter. To prevent animal intrusion, ensure that the chimney cap or crown is intact and secure. Install chimney caps or screens to prevent animals from entering and nesting in the chimney. Regularly inspect and maintain these protective features to avoid any blockages or damage.
- Damage to the insulation: Insulation materials can become damaged due to external factors such as extreme temperatures, weather conditions, or physical impact. Regularly inspect the insulation for any signs of damage, such as tears, gaps, or deterioration. Replace or repair damaged insulation promptly to maintain the chimney’s insulation effectiveness.
- Inadequate insulation: If you notice a lack of significant improvement in energy efficiency or comfort after insulating your chimney, it may indicate inadequate insulation. Double-check your insulation installation to ensure proper coverage and address any insulation gaps or seams. Consider consulting with a professional to assess the insulation’s effectiveness and explore potential solutions if needed.
- Improper installation: Poor insulation installation can lead to reduced effectiveness and potential safety hazards. If you suspect that your insulation was improperly installed, consult with a professional chimney inspector or insulation contractor. They can assess the installation and recommend appropriate corrections to ensure proper insulation and safety.
By being aware of these potential issues and addressing them promptly and effectively, you can maintain the optimal performance and safety of your chimney insulation. Regular maintenance and inspections, along with prompt action when issues arise, are key to enjoying the full benefits of a well-insulated chimney.
Conclusion
Insulating your chimney is a valuable investment that can significantly improve energy efficiency, reduce heat loss, and prevent moisture-related issues. By creating a barrier between the inside of your home and the outside elements, chimney insulation helps maintain consistent indoor temperatures, lowers energy bills, and protects your chimney structure.
In this comprehensive guide, we have discussed the importance of chimney insulation and provided a step-by-step process for insulating your chimney. We have explored various insulation methods, materials needed, and tips for a successful installation. It is essential to choose the right insulation method and materials suitable for your chimney type and specific needs.
Throughout the insulation process, proper preparation, measurement, and secure attachment of insulation materials are crucial. Regular inspections and maintenance of your chimney, including cleaning and addressing any issues promptly, will help ensure the long-term effectiveness of your insulation.
While there may be potential issues that can arise, such as condensation, creosote buildup, or insulation settling, regular inspections, prompt attention, and consultation with professionals when necessary can help resolve these issues and maintain the efficiency and safety of your chimney insulation.
In conclusion, by insulating your chimney, you are taking a proactive step towards energy efficiency, cost savings, and protecting your home. Whether you choose loose-fill insulation, insulation wrap, rigid insulation boards, or other methods, proper insulation will provide numerous benefits for years to come.
Remember to follow the manufacturer’s instructions, industry best practices, and consult with professionals as needed throughout your chimney insulation journey. By doing so, you can enjoy a well-insulated chimney that enhances your home’s comfort, reduces energy consumption, and provides peace of mind.
Frequently Asked Questions about How To Insulate Chimney
Was this page helpful?
At Storables.com, we guarantee accurate and reliable information. Our content, validated by Expert Board Contributors, is crafted following stringent Editorial Policies. We're committed to providing you with well-researched, expert-backed insights for all your informational needs.


0 thoughts on “How To Insulate Chimney”