Articles
How To Make Chimney Cap
Modified: December 7, 2023
Learn how to make a chimney cap with our informative articles. Protect your chimney from debris and ensure proper ventilation.
(Many of the links in this article redirect to a specific reviewed product. Your purchase of these products through affiliate links helps to generate commission for Storables.com, at no extra cost. Learn more)
Introduction
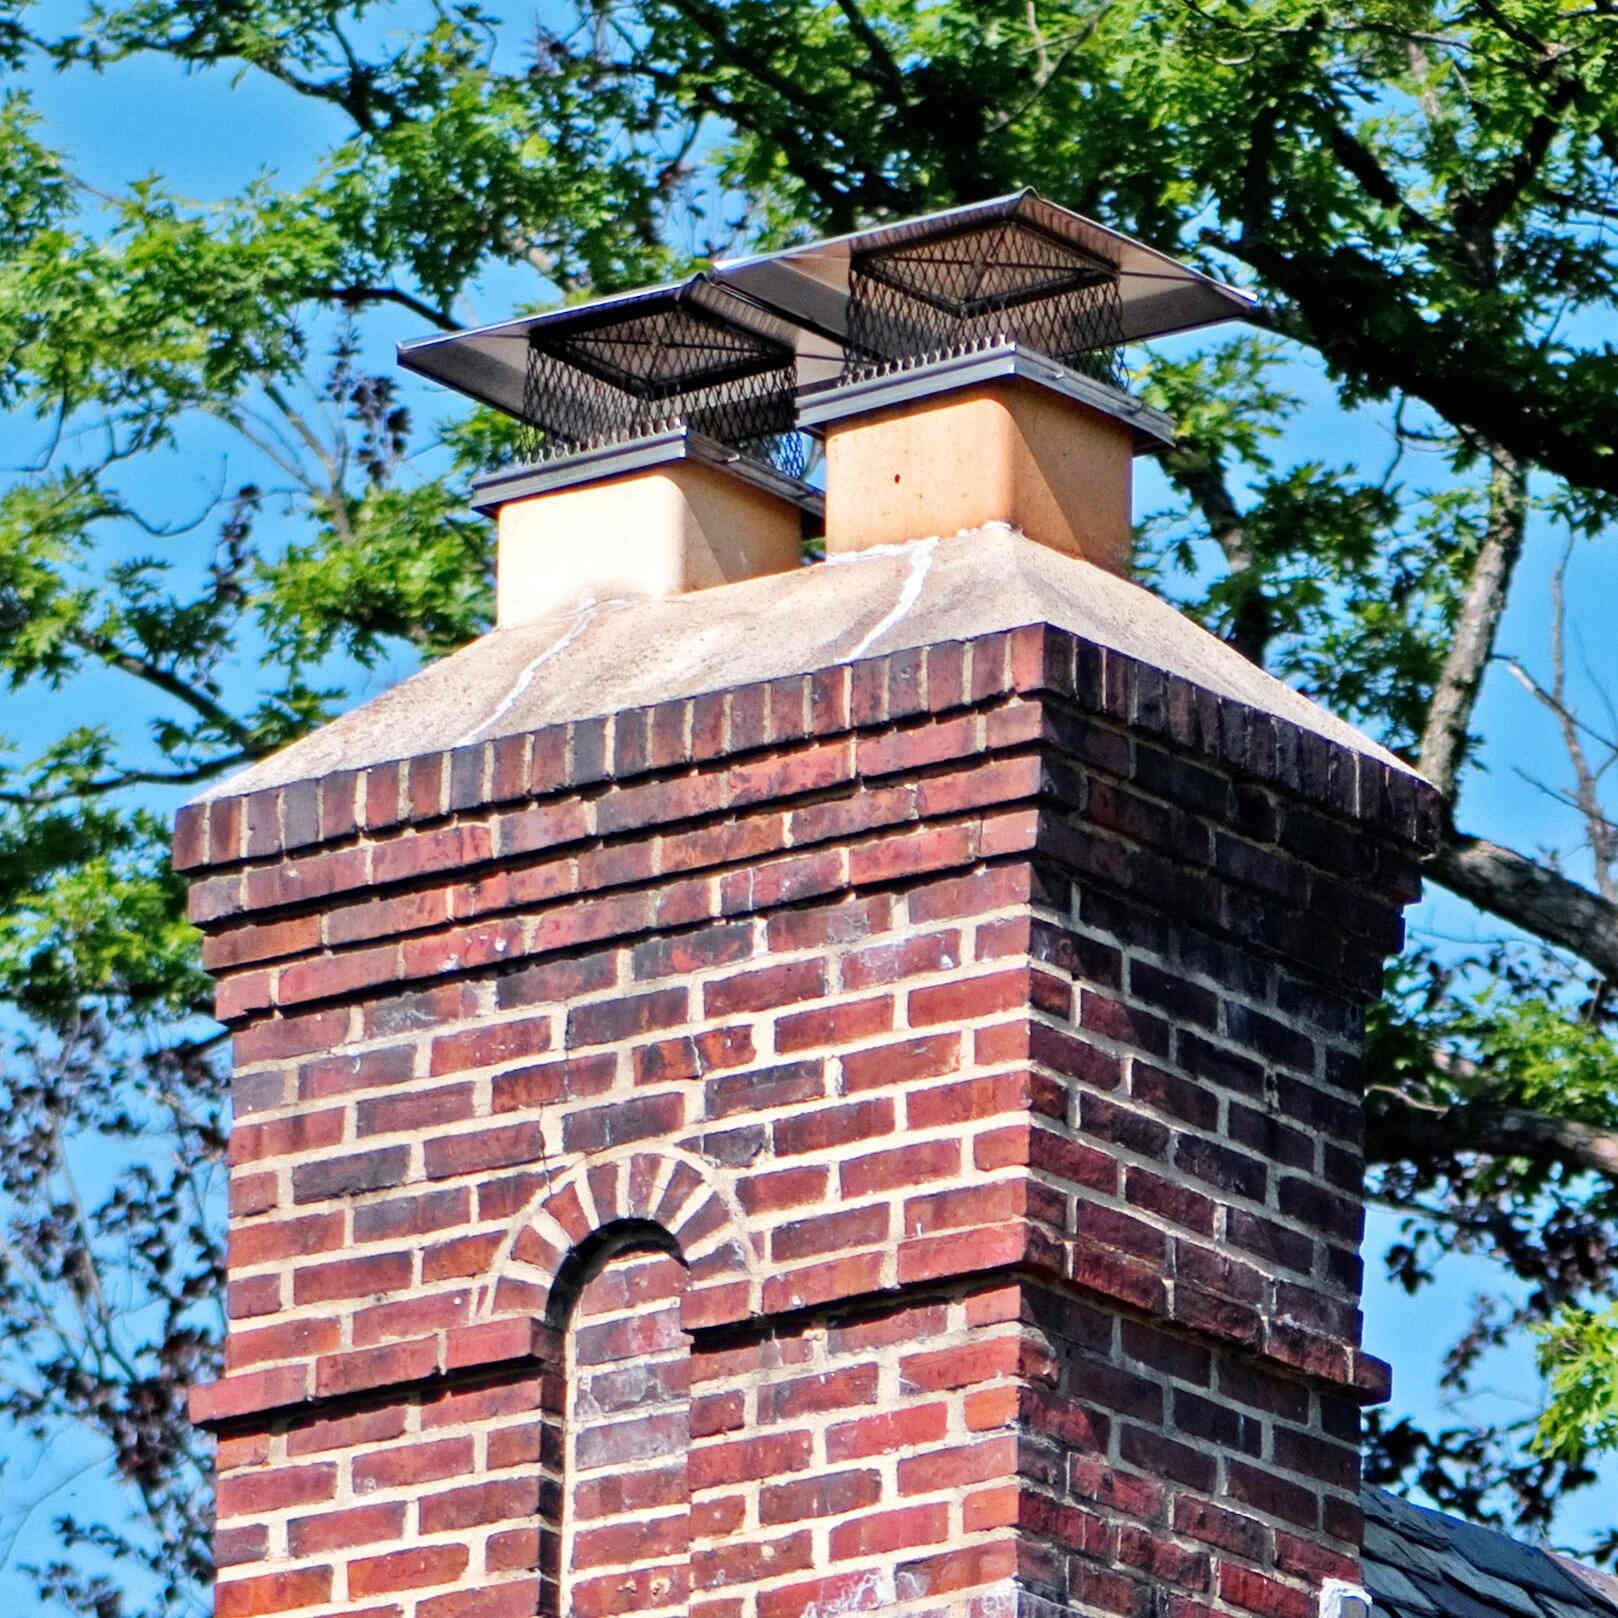
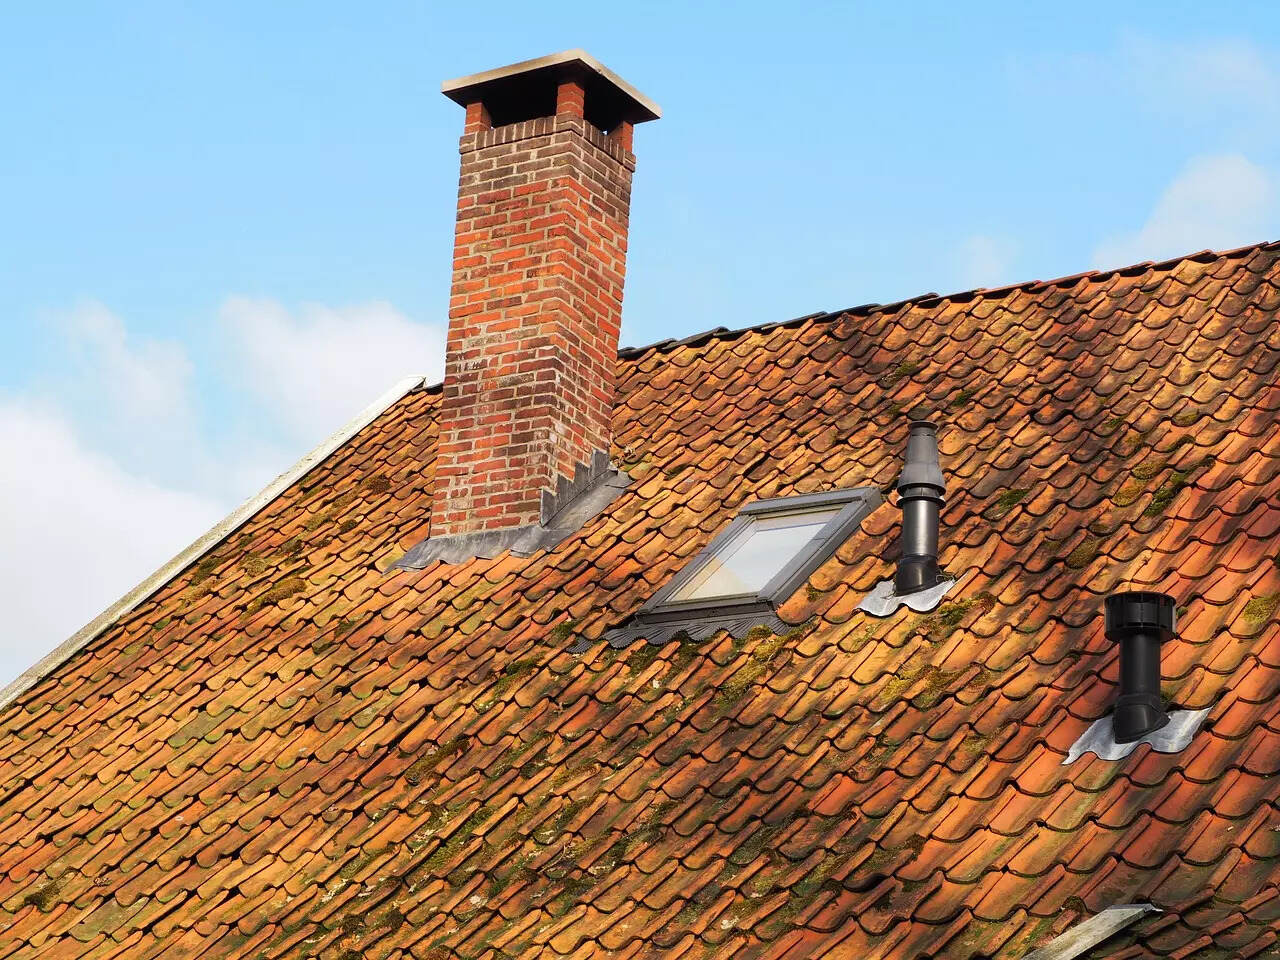
When it comes to protecting your chimney from debris, rain, and wildlife, installing a chimney cap is a smart and essential investment. A chimney cap not only serves as a barrier against unwanted elements but also helps improve the overall functionality and longevity of your chimney system.
In this article, we will guide you through the step-by-step process of how to make a chimney cap. By following these instructions and using the right materials, you can create a custom chimney cap to fit your specific chimney dimensions and enhance the aesthetic appeal of your home.
Before we get started, it’s important to note that working with chimneys can be dangerous, and proper safety precautions should always be followed. If you are uncertain or uncomfortable performing any of the tasks outlined in this article, it’s recommended to consult with a professional chimney service provider.
Now, let’s gather the necessary materials and get started on creating your own chimney cap.
Key Takeaways:
- Protect your chimney and enhance your home’s aesthetics by crafting a custom chimney cap using simple materials and step-by-step instructions. Prioritize safety and enjoy the benefits of a well-maintained chimney system.
- By measuring, cutting, and attaching the cap, you can create a functional and visually appealing chimney cap. Regular maintenance ensures longevity and peace of mind. If unsure, seek professional assistance.
Read more: How To Measure A Chimney Cap
Materials Needed
- Measuring tape
- Sheet metal
- Wire mesh screen
- Tin snips
- Drill and screws
- Paint and paintbrush
- Gloves and safety goggles
Before starting the project, make sure you have all the necessary materials to construct your chimney cap. These materials can be easily obtained from your local hardware store or specialized chimney supply store.
The measuring tape is essential for accurately measuring the dimensions of your chimney, ensuring a proper fit for the chimney cap. It’s important to choose a sheet metal that is durable and weather-resistant, such as galvanized steel or aluminum, to withstand the outdoor elements. The wire mesh screen will prevent birds and other animals from entering the chimney while allowing proper airflow.
Tin snips, a specialized tool for cutting metal, will be needed to shape the sheet metal according to your chimney’s measurements. The drill and screws will be used to securely attach the chimney cap to the chimney. Additionally, you’ll need paint and a paintbrush to give the chimney cap a finished look while providing additional weather protection.
Lastly, it’s crucial to prioritize safety during the construction process. Wearing gloves and safety goggles will help protect your hands and eyes from any sharp edges or flying debris.
Now that you have gathered all the necessary materials, let’s move on to the first step – measuring your chimney.
Step 1: Measuring the Chimney
Before you can start constructing your chimney cap, you need to accurately measure the dimensions of your chimney. This step is crucial to ensure that the cap fits snugly and securely.
Begin by climbing onto your roof using the appropriate safety equipment, such as a sturdy ladder and a harness. Make sure you have someone on the ground to assist you if needed.
Once you are on the roof, carefully measure the length and width of your chimney using a measuring tape. Take measurements at both the bottom and the top of the chimney to account for any variations in size. It’s important to note that your chimney cap will need to have a slight overhang to ensure adequate coverage.
Record the measurements and use them as a guide for cutting the sheet metal in the next step.
Remember, safety should always be your top priority when working at heights. Take precautions to prevent falls and follow all safety guidelines.
With the measurements in hand, we can now move on to choosing the right materials for constructing the chimney cap.
Step 2: Choosing the Right Materials
Now that you have measured your chimney, it’s time to choose the right materials for constructing your chimney cap. Selecting the appropriate materials will ensure the durability and effectiveness of your cap.
When it comes to the sheet metal, it’s recommended to use galvanized steel or aluminum. These materials are weather-resistant and provide excellent protection against the elements. They are also sturdy enough to withstand the heat and any potential impacts.
In addition to the sheet metal, you will need wire mesh screen that is specifically designed for chimney caps. This mesh will prevent birds, squirrels, and debris from entering your chimney while allowing for proper ventilation.
When purchasing the sheet metal and wire mesh, make sure to choose sizes that match the measurements of your chimney. It’s better to have slightly larger materials that can be trimmed down as needed.
Lastly, consider using stainless steel screws and hardware for attaching the chimney cap. Stainless steel is highly resistant to rust and corrosion, ensuring the longevity of your chimney cap.
By selecting high-quality materials, you can create a chimney cap that not only fits securely but also stands up to the test of time and withstands various weather conditions.
Now that you have the materials ready, let’s move on to the next step: cutting the cap base.
Step 3: Cutting the Cap Base
With the materials selected and the chimney measurements in hand, it’s time to start crafting the cap for your chimney. In this step, we will be cutting the cap base out of the sheet metal.
Start by laying the sheet metal flat on a sturdy surface, ensuring that you have enough space to work comfortably. Use your measuring tape and a pencil to mark the dimensions of the cap base onto the sheet metal. Be sure to account for the necessary overhang based on your chimney measurements.
Once you have marked the dimensions, take your tin snips and carefully cut along the lines. Tin snips are ideal for cutting through sheet metal, providing you with clean and precise cuts. Take your time and use steady, controlled movements to achieve the desired shape.
Make sure to wear protective gloves while cutting the sheet metal to avoid any potential injuries from sharp edges.
Once you have cut out the cap base, double-check the measurements and make any necessary adjustments. It’s better to trim the sheet metal slightly if needed, rather than having a cap that is too large for your chimney.
Now that you have successfully cut the cap base, you are ready to move on to the next step: adding the mesh to your chimney cap.
When making a chimney cap, be sure to measure the dimensions of your chimney accurately to ensure a proper fit. Use durable materials such as stainless steel or copper for longevity and weather resistance.
Read more: How To Install A Chimney Cap
Step 4: Adding the Mesh
Adding a wire mesh screen to your chimney cap is essential to prevent animals, debris, and large particles from entering your chimney while still allowing proper airflow. In this step, we will guide you through the process of attaching the mesh to your cap base.
Take your wire mesh screen and place it on top of the cap base, ensuring that it covers the entire surface area. Use a sharp pair of scissors or wire cutters to trim the mesh to match the shape and size of the cap base if necessary.
Once the mesh is aligned and trimmed, begin securing it to the cap base. Start in one corner and use a staple gun or screws to attach the mesh to the sheet metal. Make sure the staples or screws are evenly spaced, ensuring that the mesh is securely fastened.
Continue working your way around the cap base, attaching the mesh at regular intervals until it is fully secured. Take care to avoid creating any gaps or loose spots in the mesh.
As you attach the mesh, periodically check that there are no wrinkles or folds in the screen. Smooth out any imperfections to ensure a tight and uniform fit.
Once you have finished attaching the wire mesh, inspect the cap to ensure that the mesh is securely and evenly fastened. This will prevent any animals or debris from finding their way into your chimney.
Now that you have successfully added the mesh to your chimney cap, it’s time to move on to the next step: attaching the cap to your chimney.
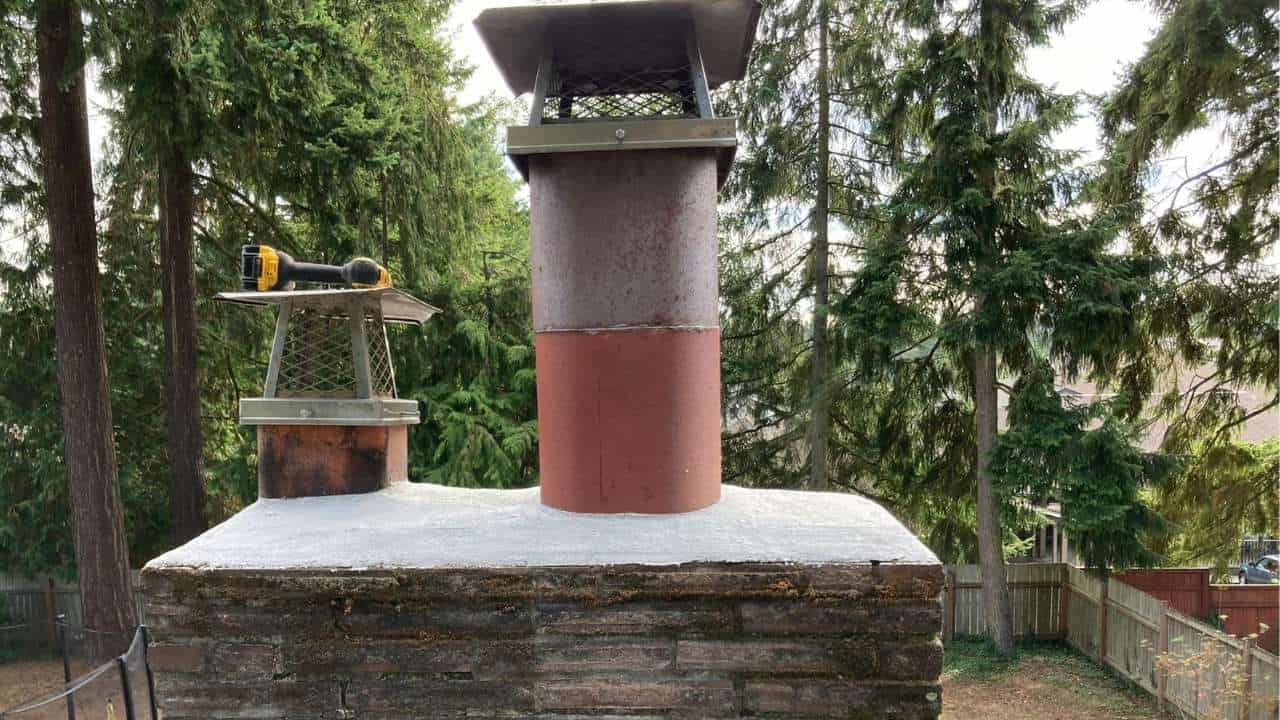
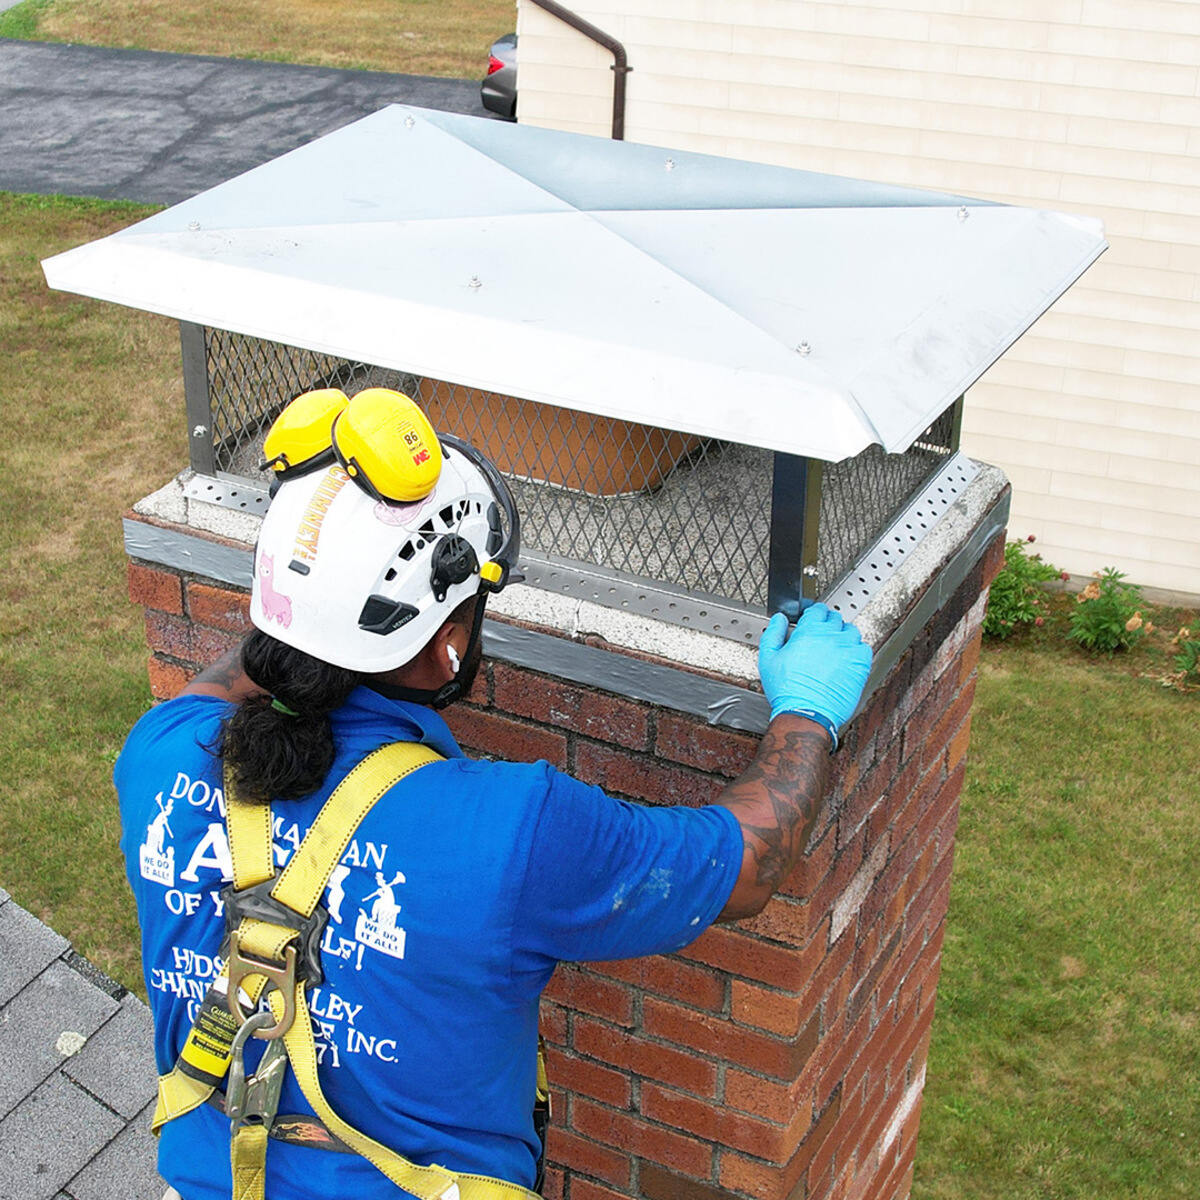
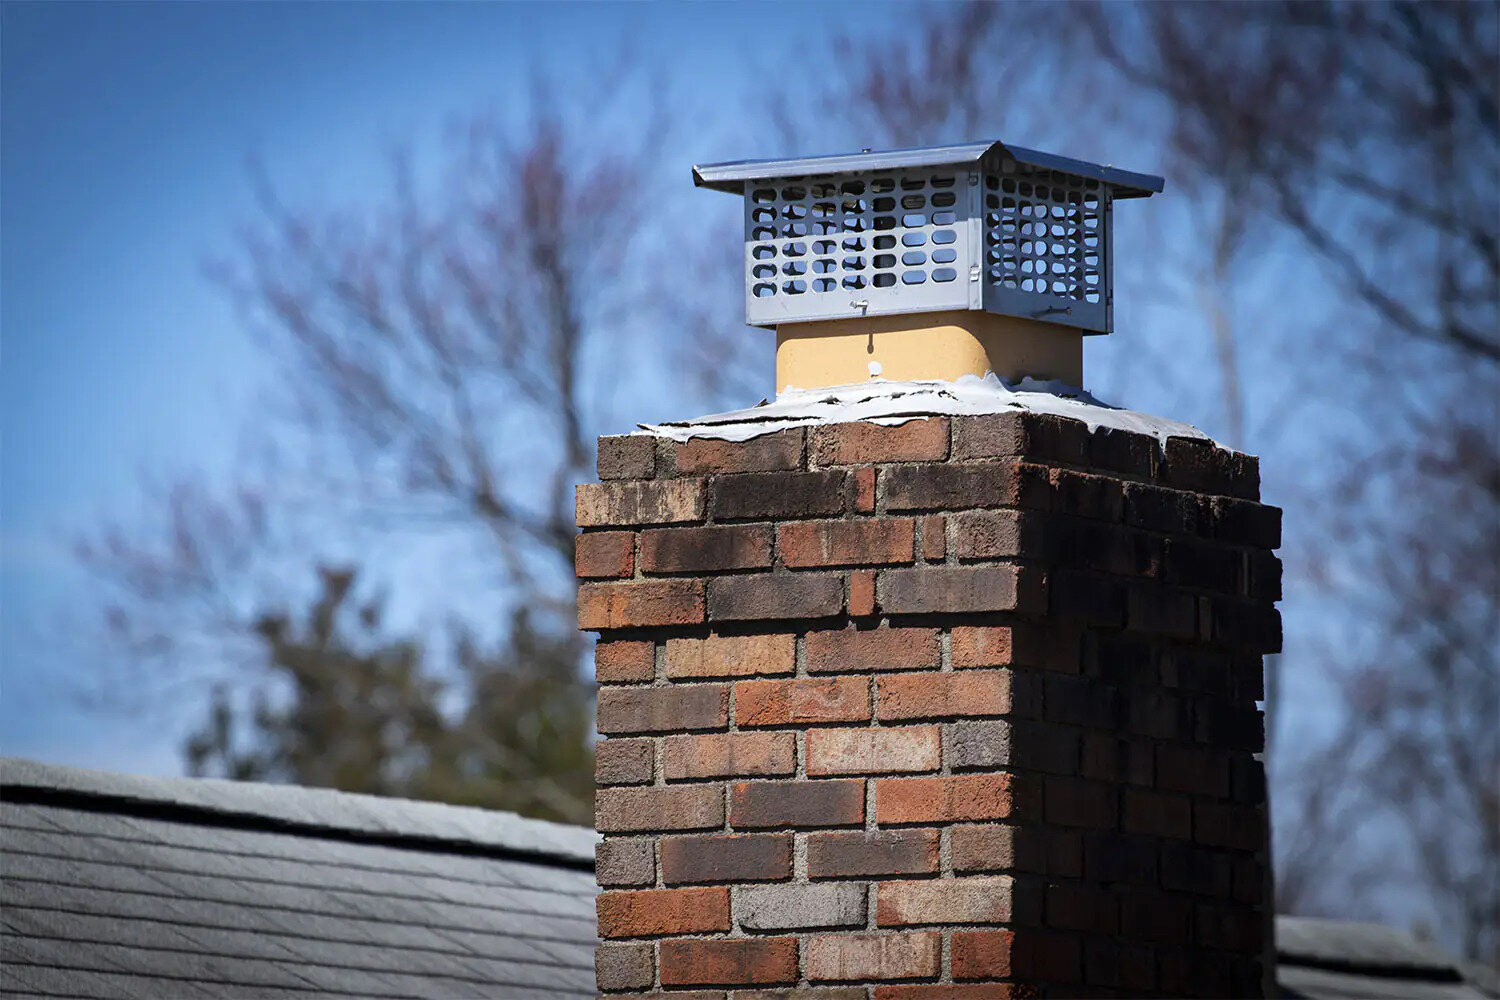
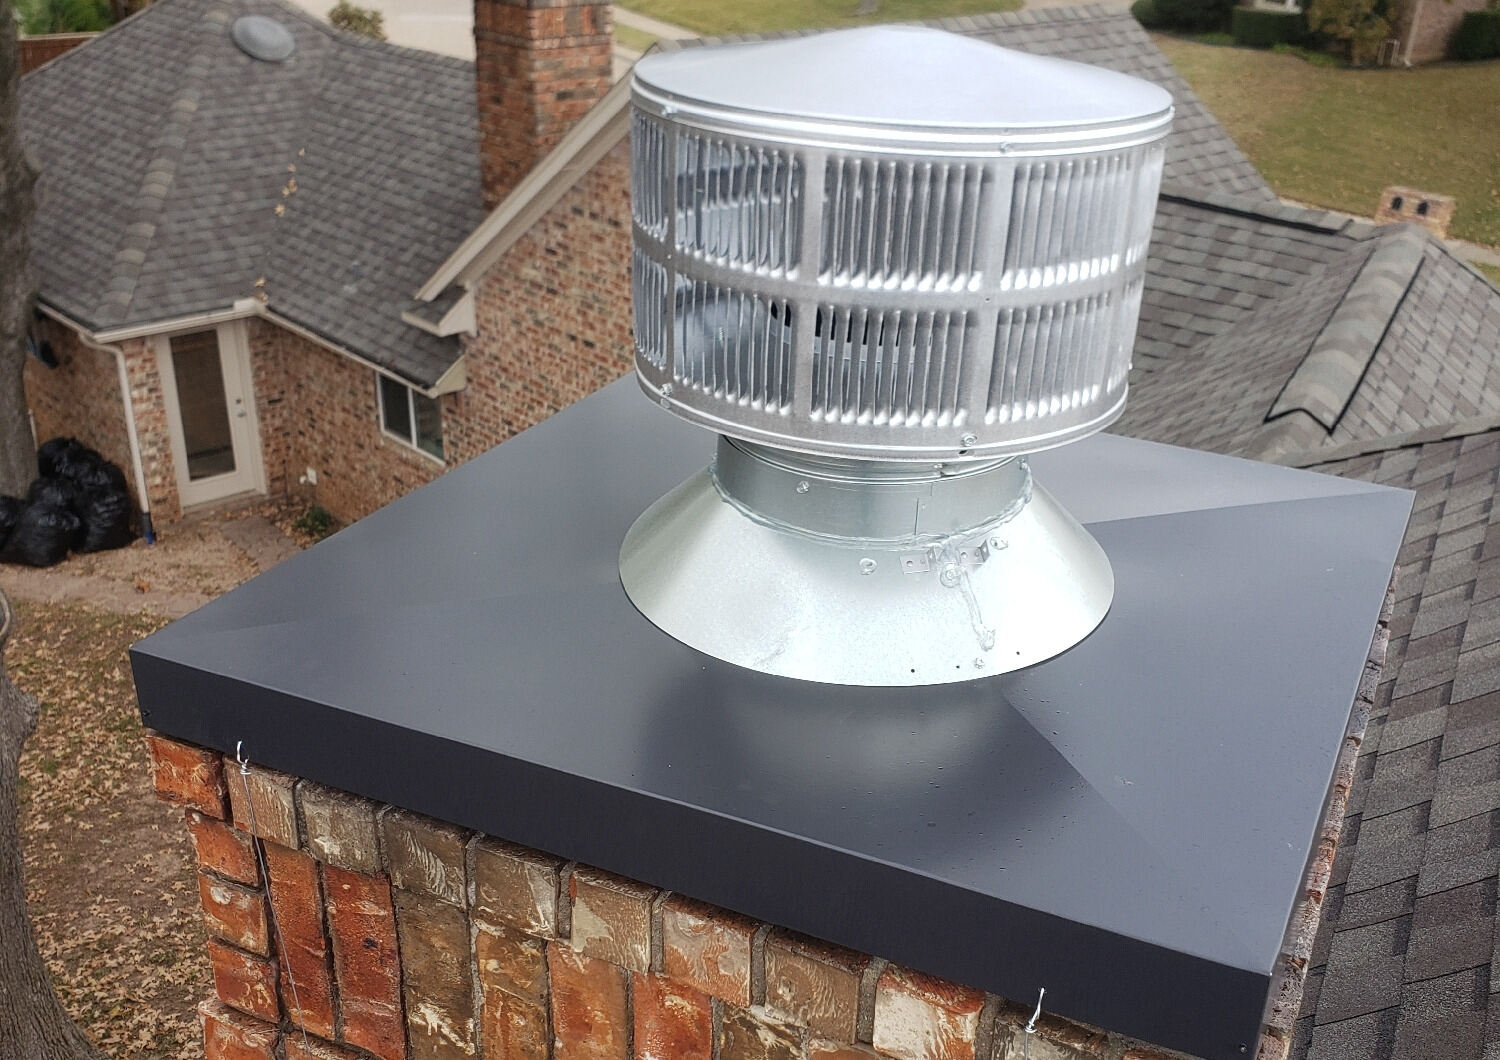
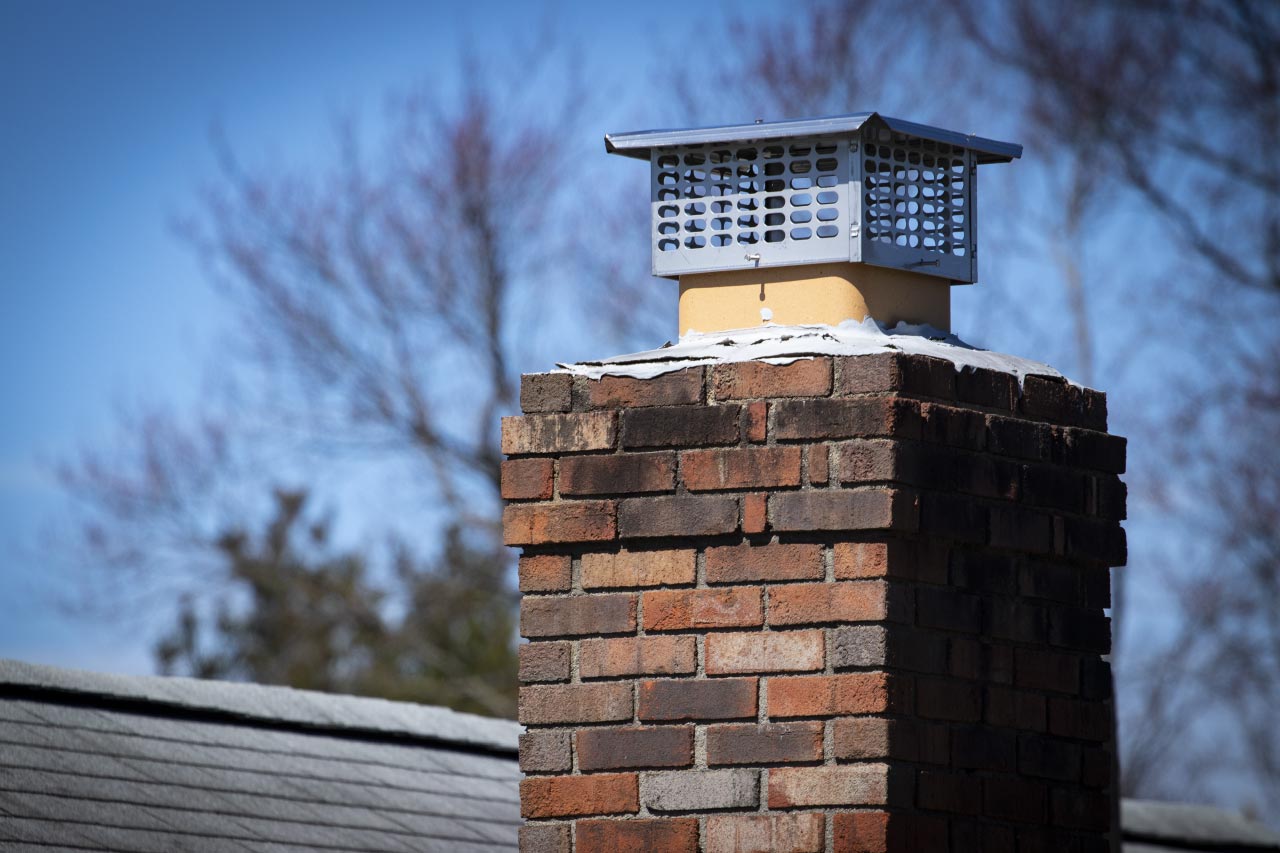
Step 5: Attaching the Cap to the Chimney
Now that you have constructed the base of your chimney cap and attached the mesh, it’s time to securely fasten the cap to your chimney. This step will ensure that the cap stays in place and provides effective protection for your chimney system.
Start by carefully positioning the chimney cap onto the top of your chimney. Ensure that it is centered and aligned properly. If needed, have someone assist you in holding the cap in place while you secure it.
Using a drill, create pilot holes on the edges of the cap base. These pilot holes will serve as guides for screw placement and prevent the sheet metal from cracking or splitting.
Once the pilot holes are created, insert stainless steel screws through the holes and into the chimney structure. Make sure to use screws that are long enough to provide a secure attachment but not too long to penetrate through the cap base and interfere with the mesh.
Tighten the screws until the cap is snugly secured to the chimney. Be careful not to overtighten and risk damaging the sheet metal.
After the cap is securely attached, double-check that it is level and sits flat on the chimney. This will ensure proper functionality and aesthetics.
Once you are satisfied with the positioning and attachment of the chimney cap, move on to the final step: painting and applying finishing touches.
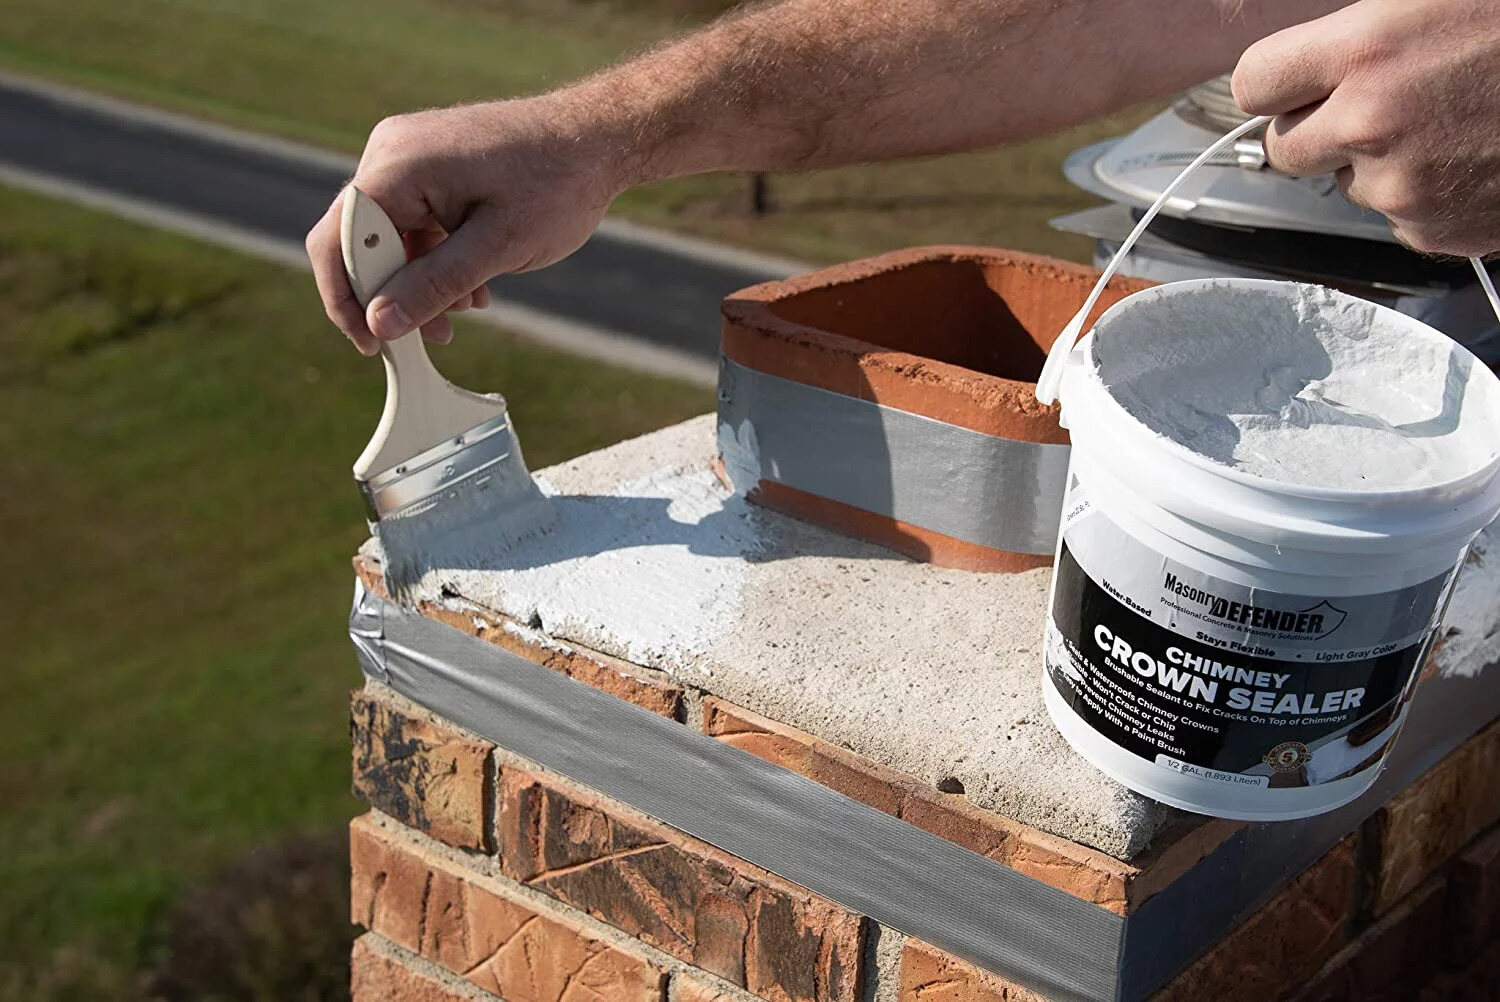
Step 6: Painting and Finishing Touches
Now that your chimney cap is securely attached, it’s time to give it a professional and polished appearance by painting and adding finishing touches.
Start by cleaning the surface of the cap base to remove any dust, dirt, or grease. This will ensure that the paint adheres properly to the metal.
Choose a high-quality paint that is specifically designed for metal surfaces and is resistant to outdoor elements. Select a color that complements your home’s exterior or matches your personal preference.
Using a paintbrush, apply an even coat of paint to the cap base. Make sure to cover all exposed areas, including the edges and the mesh. Allow the first coat to dry completely before applying a second coat if necessary.
While painting, pay attention to any nooks or crevices where water or debris might accumulate. Ensure that these areas are properly sealed and protected with paint.
Once the paint is dry, inspect the chimney cap for any rough edges or sharp corners. Use sandpaper or a file to smooth out any imperfections, ensuring a safe and polished finish.
Finally, step back and admire your newly constructed and aesthetically pleasing chimney cap. Not only does it provide protection for your chimney, but it also adds a touch of sophistication to your home’s exterior.
Remember to periodically inspect and maintain your chimney cap to ensure its effectiveness and longevity. Clean off any debris that may accumulate on the mesh and check for any signs of damage or wear.
Congratulations! You have successfully completed the process of making and installing your own chimney cap. Your fireplace and chimney system are now well-protected and ready to provide warmth and comfort for years to come.
Before concluding, it’s important to remind you that the construction and installation of a chimney cap involve potential risks and safety hazards. If you are uncertain or uncomfortable performing any of the tasks described in this article, it is better to consult with a professional chimney service provider.
With proper maintenance and care, your chimney cap will stand as a reliable and functional addition to your chimney system.
Thank you for following this guide, and we hope it has been helpful in your chimney cap journey. Enjoy the peace of mind and the enhanced functionality that your new chimney cap offers!
Conclusion
Installing a chimney cap is a crucial step in protecting your chimney from debris, rain, and wildlife. By following the step-by-step process outlined in this article, you have learned how to make a custom chimney cap that fits your specific chimney dimensions and enhances the overall appearance of your home.
Throughout the construction process, we emphasized the importance of safety. Working with chimneys can be dangerous, so it is crucial to take proper precautions, such as wearing safety gear and consulting with professionals if needed.
By measuring your chimney, choosing the right materials, cutting the cap base, adding the mesh, attaching the cap to the chimney, and applying the finishing touches, you have created a chimney cap that is not only functional but also visually appealing.
Regular maintenance and inspections are essential to ensure the longevity and effectiveness of your chimney cap. Cleaning off debris from the mesh and monitoring for any signs of damage or wear will help keep your chimney system in optimal condition.
We hope this guide has provided you with the knowledge and confidence to create your own chimney cap. Remember, if you are unsure or uncomfortable with any step, it is always best to seek professional assistance.
Enjoy the benefits of your newly installed chimney cap, including improved chimney functionality, enhanced protection, and the peace of mind that comes with a well-maintained chimney system.
Thank you for joining us on this chimney cap journey. Now, sit back, relax, and enjoy the cozy warmth your fireplace brings.
Frequently Asked Questions about How To Make Chimney Cap
Was this page helpful?
At Storables.com, we guarantee accurate and reliable information. Our content, validated by Expert Board Contributors, is crafted following stringent Editorial Policies. We're committed to providing you with well-researched, expert-backed insights for all your informational needs.


0 thoughts on “How To Make Chimney Cap”