Home>Articles>How To Make A Chocolate Milkshake With A Blender
Articles
How To Make A Chocolate Milkshake With A Blender
Modified: August 25, 2024
Learn how to make a delicious chocolate milkshake using a blender with our step-by-step guide. Check out our articles for more tasty recipes and tips!
(Many of the links in this article redirect to a specific reviewed product. Your purchase of these products through affiliate links helps to generate commission for Storables.com, at no extra cost. Learn more)
Introduction
Are you craving a creamy and indulgent treat? Look no further than a homemade chocolate milkshake! With just a few simple ingredients and a blender, you can whip up a deliciously rich and satisfying milkshake right at home.
A chocolate milkshake is a classic American dessert beloved by people of all ages. It’s the perfect combination of velvety chocolate flavor and smooth, creamy texture. Whether you’re enjoying it on a hot summer day or as a comforting treat during the colder months, a chocolate milkshake is sure to satisfy your sweet tooth.
In this article, we’ll guide you through the step-by-step process of making a chocolate milkshake using a blender. We’ll cover everything from gathering the necessary ingredients to adding the finishing touches. So let’s get started and indulge in the goodness of a homemade chocolate milkshake!
Before we dive into the recipe, let’s take a look at the key ingredients you’ll need:
Key Takeaways:
- Indulge in the joy of creating a creamy homemade chocolate milkshake with just a blender and a few simple ingredients. Customize and savor this delightful treat for a moment of self-indulgence and relaxation.
- Elevate your chocolate milkshake experience by adding whipped cream and toppings, creating a visually stunning and flavorful masterpiece. Savor every sip and appreciate the balance of sweetness and creaminess in this delightful treat.
Read more: How To Make A Milkshake In A Blender
Ingredients
To make a delicious chocolate milkshake, you’ll need the following ingredients:
- 2 cups of chocolate ice cream
- 1 cup of milk (any type – whole, 2%, or skim)
- 2 tablespoons of chocolate syrup
- Whipped cream (optional, for topping)
- Chocolate shavings or sprinkles (optional, for garnish)
These ingredients can be easily found in your local grocery store. You can also customize your milkshake by adding additional ingredients like chocolate chips, peanut butter, or even a splash of vanilla extract for extra flavor.
Now that you have your ingredients ready, let’s move on to the step-by-step process of making a chocolate milkshake.
Step 1: Gathering your supplies
Before you begin making your chocolate milkshake, it’s important to gather all the necessary supplies. This step will ensure a smooth and efficient preparation process. Here’s what you’ll need:
- A blender: Choose a blender with a large enough capacity to hold the ingredients and blend them smoothly. A high-speed blender is ideal, but a regular blender will work just fine.
- A measuring cup and spoons: You’ll need these to measure the milk and chocolate syrup accurately.
- A spoon or spatula: Use a spoon or spatula to scoop the ice cream and mix the ingredients.
- A glass to serve the milkshake: Select a tall glass that can hold the entire milkshake and leave room for toppings.
- Toppings (optional): Consider toppings like whipped cream, chocolate shavings, or sprinkles to add extra visual appeal and flavor to your milkshake.
Once you have all these supplies ready, you’re now prepared to move on to the next step: preparing the chocolate syrup.
Step 2: Preparing the chocolate syrup
Before we start blending the ingredients for our chocolate milkshake, let’s first prepare the chocolate syrup. This will enhance the rich chocolate flavor in our milkshake. Follow these simple steps:
- Take a small microwave-safe bowl and add two tablespoons of chocolate syrup.
- Place the bowl in the microwave and heat it for about 15-20 seconds, or until the syrup becomes slightly warm and runny.
- Remove the bowl from the microwave and give the syrup a quick stir to ensure it’s well mixed and smooth.
- Set the chocolate syrup aside for now, as we will be adding it to the blender later.
Now that our chocolate syrup is ready to be used, it’s time to move on to the next step: adding the ice cream and milk to the blender.
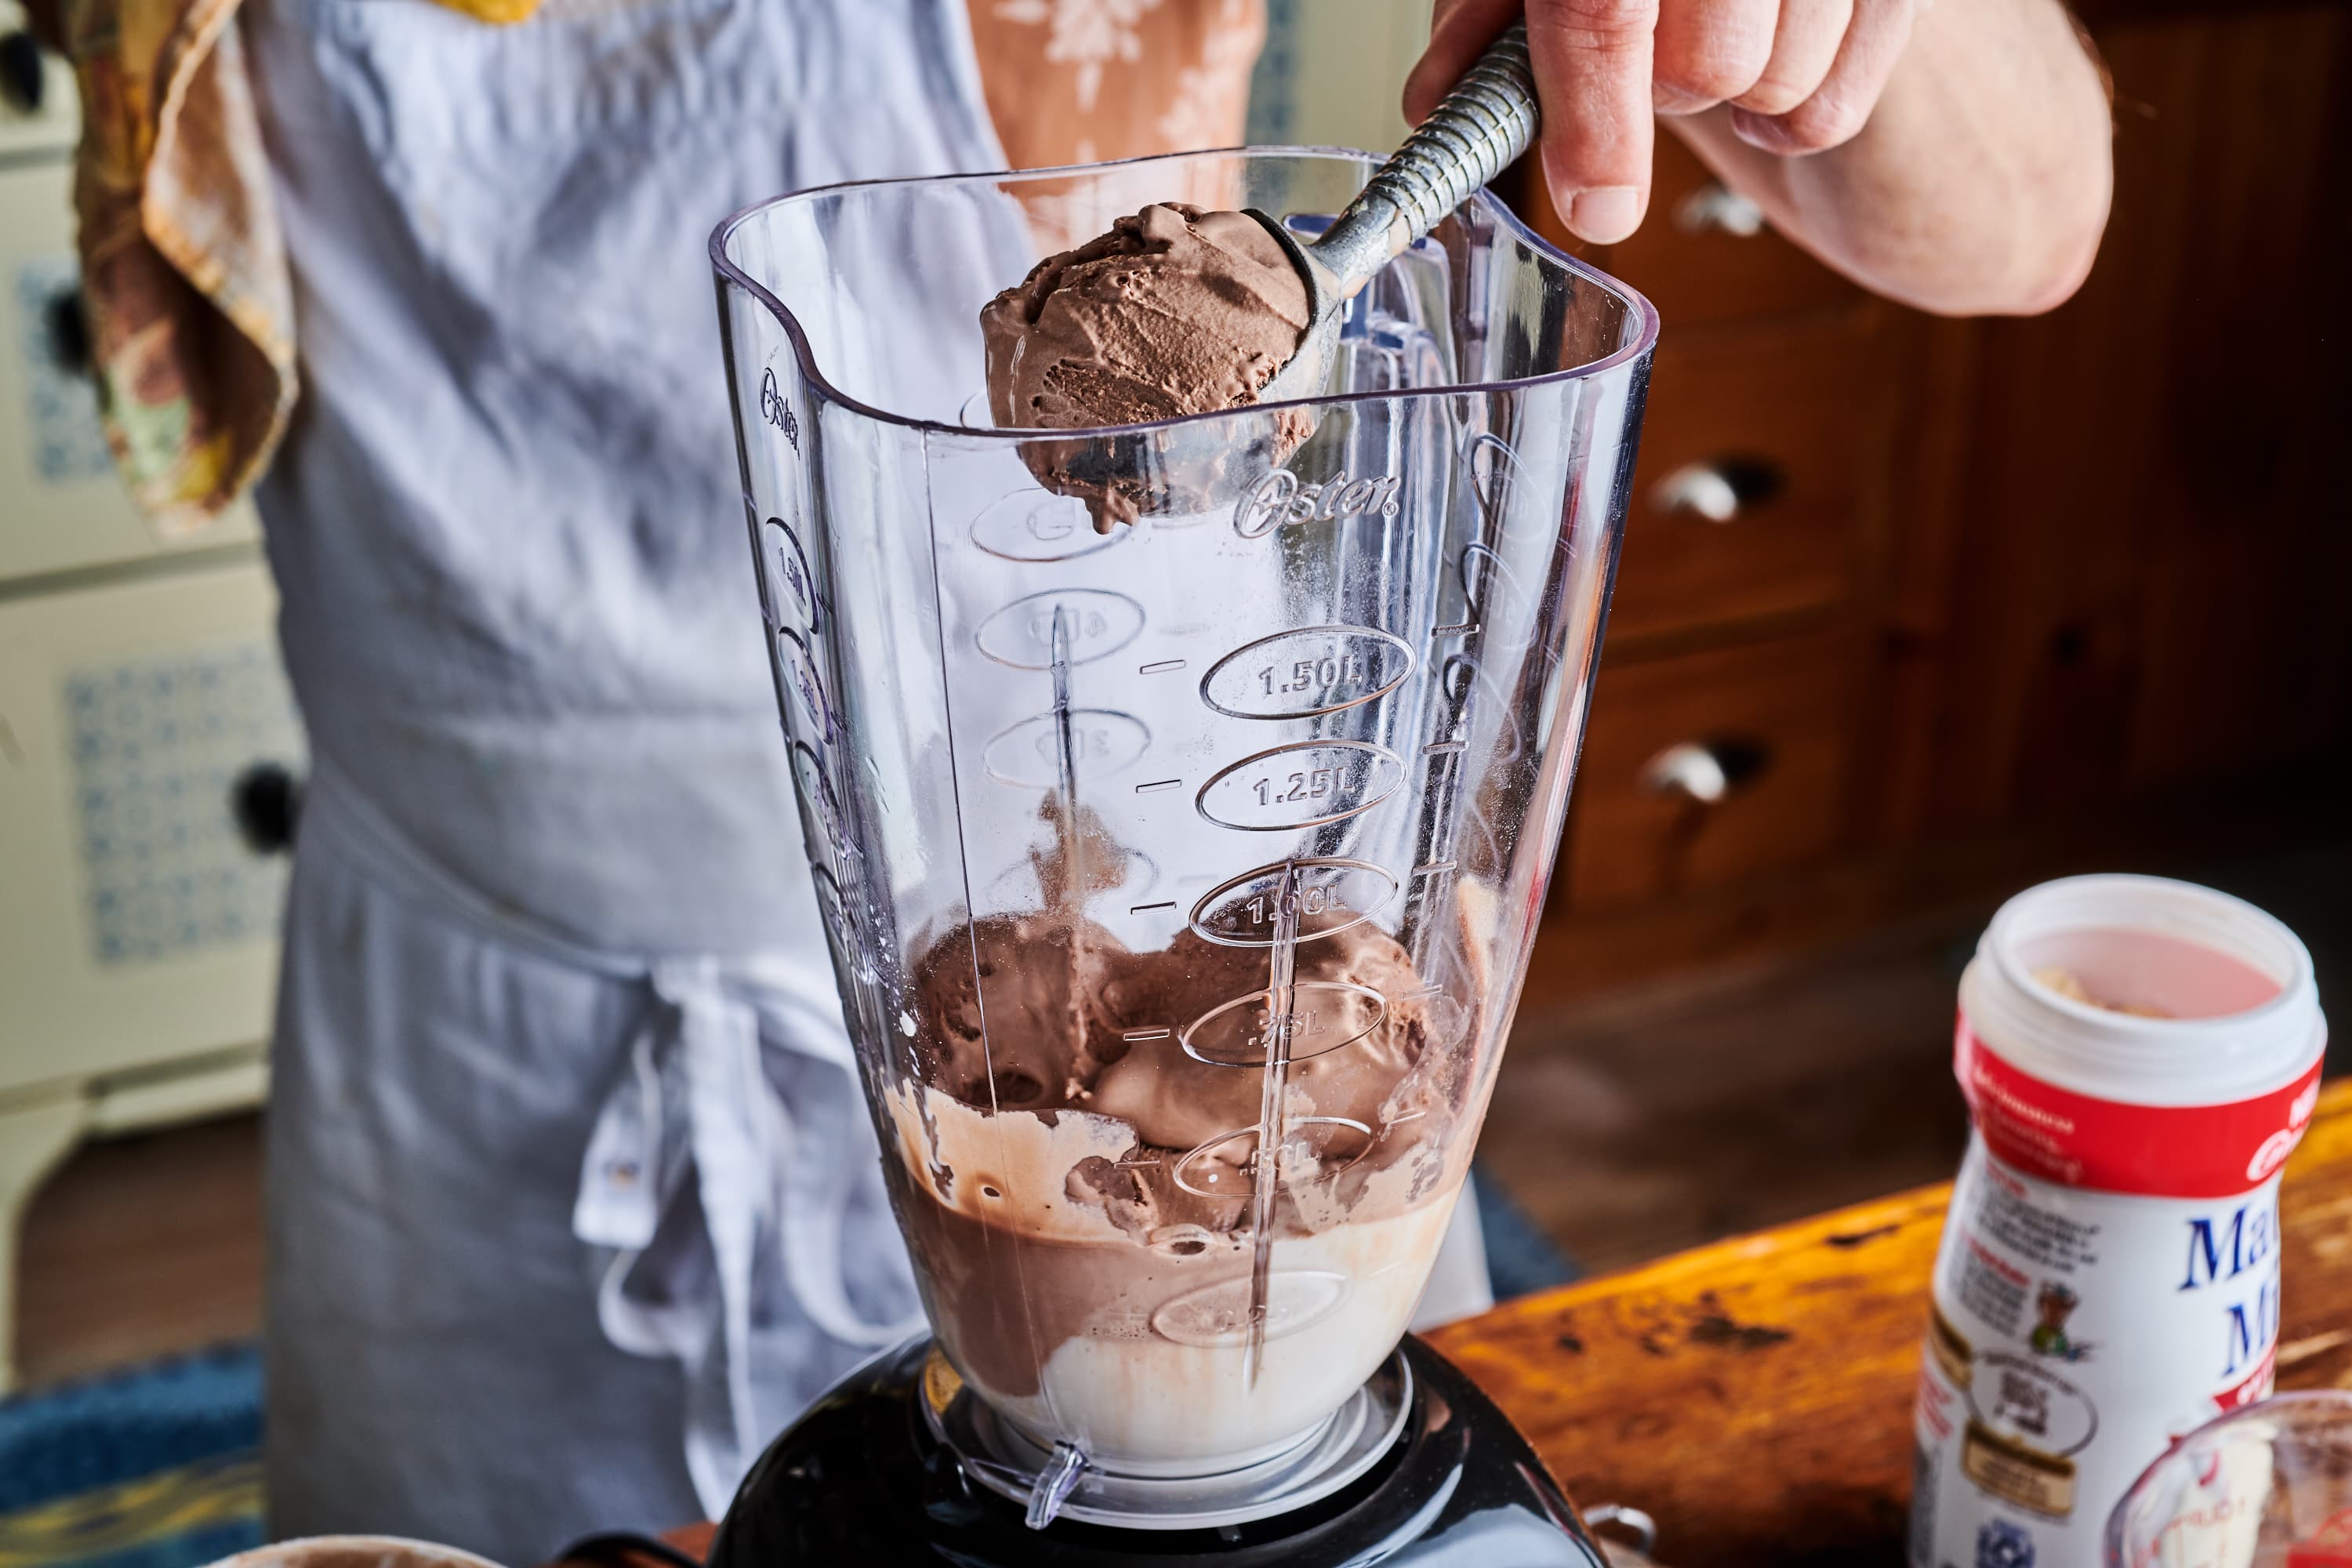
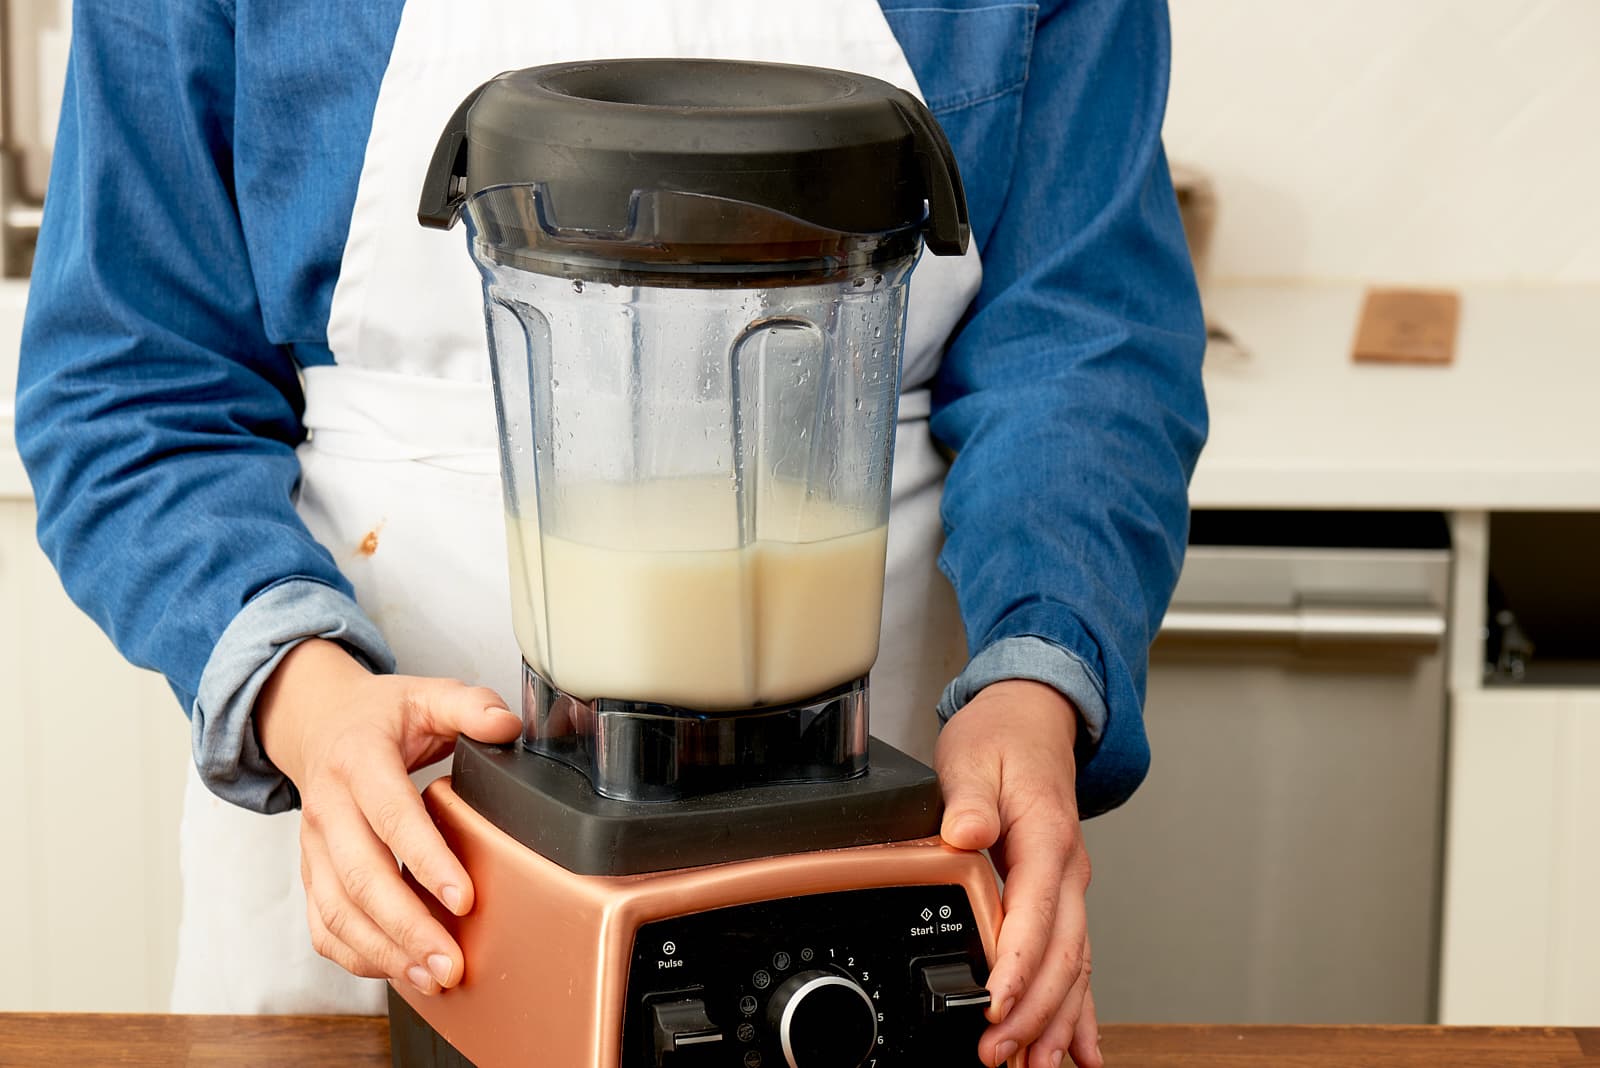
Step 3: Adding ice cream and milk to the blender
Now that we have our chocolate syrup ready, it’s time to gather the star ingredients of our milkshake – the ice cream and milk. This combination will create a creamy base for our delicious chocolate milkshake. Here’s what you need to do:
- Take your blender and remove the lid.
- Add 2 cups of chocolate ice cream into the blender. If you prefer a stronger chocolate flavor, you can use chocolate chocolate chip or double chocolate ice cream.
- Pour 1 cup of milk into the blender, ensuring that it’s poured directly over the ice cream.
By pouring the milk over the ice cream, you will help the blending process by allowing the liquids to mix more efficiently.
Now that the ice cream and milk are in the blender, it’s time to move on to the next step: blending the ingredients together.
To make a chocolate milkshake with a blender, start by adding 2 cups of vanilla ice cream, 1/2 cup of milk, and 1/4 cup of chocolate syrup to the blender. Blend until smooth and creamy, then pour into a glass and enjoy!
Read more: How To Make Milkshake In A Blender
Step 4: Blending the ingredients together
Now that you have added the ice cream and milk to your blender, it’s time to blend them together to create a smooth and creamy chocolate milkshake. Follow these simple steps:
- Secure the lid on your blender tightly to prevent any spills.
- Turn on the blender and start with a low speed setting to initially mix the ingredients together.
- Gradually increase the speed to a medium-high setting and blend for about 1-2 minutes or until the mixture becomes smooth and well combined.
- If you prefer a thicker consistency, you can add less milk or blend the ingredients for a shorter duration. On the other hand, if you prefer a thinner consistency, you can add more milk or blend the ingredients for a longer duration.
Keep an eye on the mixture as you blend to ensure that it reaches your desired consistency. Once you’re satisfied with the texture, it’s time to move on to the next step: pouring the milkshake into a glass.
Step 5: Pouring the milkshake into a glass
After blending the ingredients to a smooth and creamy consistency, it’s time to pour your delicious homemade chocolate milkshake into a glass. Follow these steps to ensure a flawless pour:
- Choose a tall glass that can accommodate the entire milkshake.
- Hold the glass at a slight angle and slowly pour the milkshake into it. This technique helps to avoid any excess splashing or spills.
- Continue pouring until the glass is filled, leaving a bit of room at the top for toppings and decorations.
Take a moment to admire the rich chocolate color and creamy texture of your milkshake as it fills the glass. The visual appeal of a perfectly poured milkshake is part of the joy of enjoying this delightful treat.
Now that you have poured your milkshake into the glass, it’s time to move on to the final step: adding whipped cream and toppings to add that extra touch of indulgence.
Step 6: Adding whipped cream and toppings
Now that your chocolate milkshake is ready in the glass, it’s time to take it to the next level by adding some delicious whipped cream and toppings. This step is all about personalization and adding a touch of visual appeal to your milkshake. Follow these steps to create a visually stunning and flavorful masterpiece:
- Take a can of whipped cream and shake it well before using. This will ensure a light and fluffy texture.
- Hold the can about 6 inches above the milkshake and start spraying the whipped cream in a circular motion on top of the milkshake. Create a generous layer, covering the entire surface.
- Now, it’s time to add some toppings according to your preference. You can sprinkle some chocolate shavings, add a drizzle of chocolate syrup, or even place a few chocolate sprinkles on top of the whipped cream. Get creative and have fun with it!
Adding whipped cream and toppings not only enhances the visual appeal of your milkshake but also adds extra flavor and texture. It’s like putting the cherry on top of your dessert, taking it to a whole new level of indulgence.
With the whipped cream and toppings added, your homemade chocolate milkshake is now complete and ready to be enjoyed!
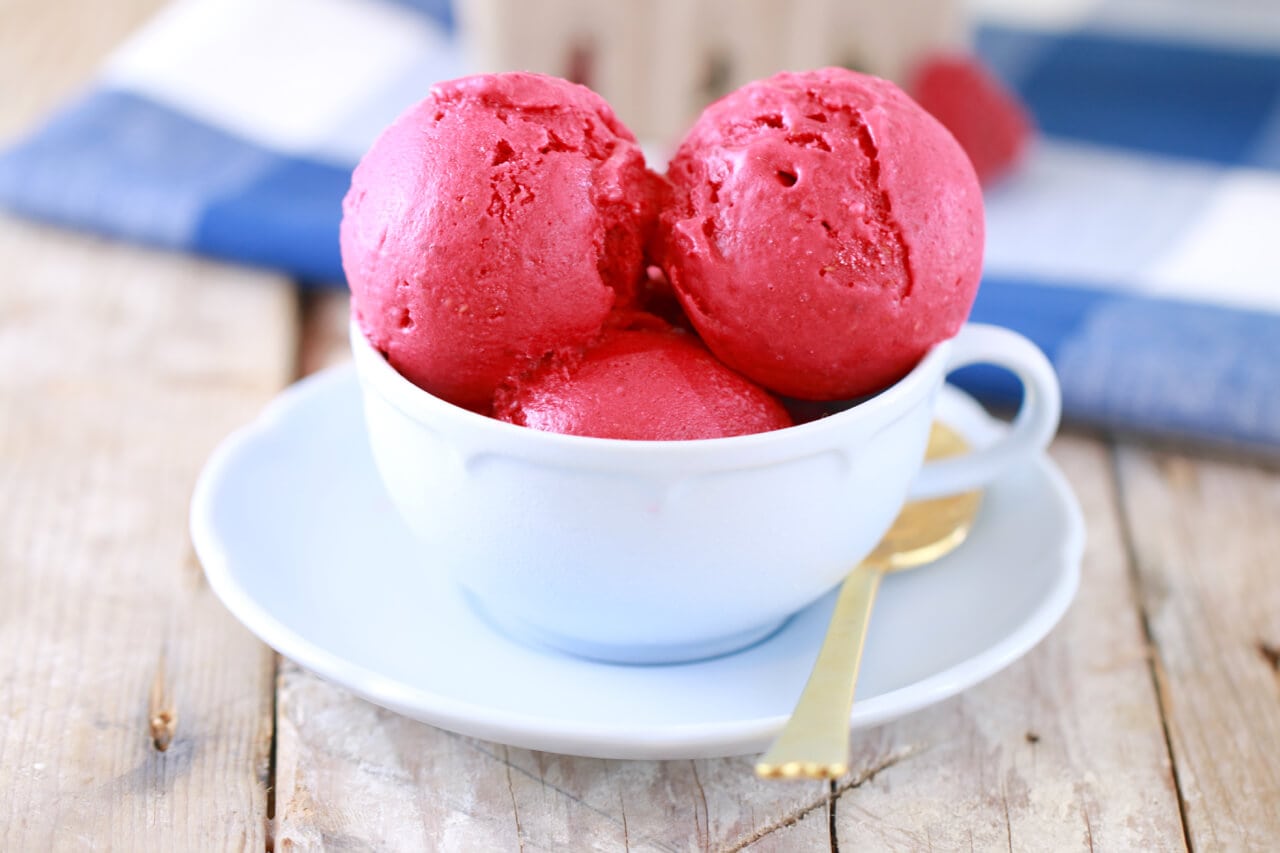
Step 7: Enjoying your delicious homemade chocolate milkshake!
Congratulations! You have successfully made a mouthwatering homemade chocolate milkshake. It’s now time to sit back, relax, and savor every sip of this creamy and indulgent treat. Here’s how to enjoy your milkshake to the fullest:
- Pick up your glass and take a moment to appreciate the enticing aroma and beautiful presentation of your milkshake.
- Take a sip and let the rich chocolate flavor engulf your taste buds. Notice the creamy texture and how it melts in your mouth with every sip.
- As you continue to enjoy your milkshake, take note of the balance between the sweetness of the chocolate and the creaminess of the ice cream. Allow yourself to be fully immersed in the delightful experience.
- Feel free to use a straw or a long spoon to reach every delicious drop at the bottom of the glass.
Remember, a homemade chocolate milkshake is not just a delightful treat, but also a moment of self-indulgence and relaxation. Take the time to unwind and enjoy this sweet escape from the hustle and bustle of everyday life.
Now that you have the recipe and the steps to make a delicious chocolate milkshake, you can recreate this delightful treat anytime you want. Experiment with different flavors, add your favorite mix-ins, and make each milkshake a unique creation of your own.
So go ahead, raise your glass, and toast to the joy of homemade chocolate milkshakes. Cheers!
Frequently Asked Questions about How To Make A Chocolate Milkshake With A Blender
Was this page helpful?
At Storables.com, we guarantee accurate and reliable information. Our content, validated by Expert Board Contributors, is crafted following stringent Editorial Policies. We're committed to providing you with well-researched, expert-backed insights for all your informational needs.


0 thoughts on “How To Make A Chocolate Milkshake With A Blender”