Articles
How To Make Ice Cream With Ninja Blender
Modified: November 2, 2024
Learn how to make delicious ice cream using your Ninja Blender with these helpful articles. Find step-by-step instructions and tips to create the perfect frozen treat at home.
(Many of the links in this article redirect to a specific reviewed product. Your purchase of these products through affiliate links helps to generate commission for Storables.com, at no extra cost. Learn more)
Introduction
Craving for a delicious homemade ice cream? Look no further! In this article, we will show you how to make creamy and flavorful ice cream using a Ninja Blender. Gone are the days when making ice cream required fancy equipment; now, all you need is your trusty blender and a few simple ingredients. Whether you’re a seasoned dessert enthusiast or a novice in the kitchen, this guide will help you create a frozen treat that will impress your family and friends.
Ice cream is a versatile dessert that can be enjoyed throughout the year. It’s perfect for cooling down on a hot summer day, but it’s also a delightful treat to indulge in during the chilly winter months. The best part? You have complete control over the flavors and ingredients, allowing you to customize your ice cream just the way you like it.
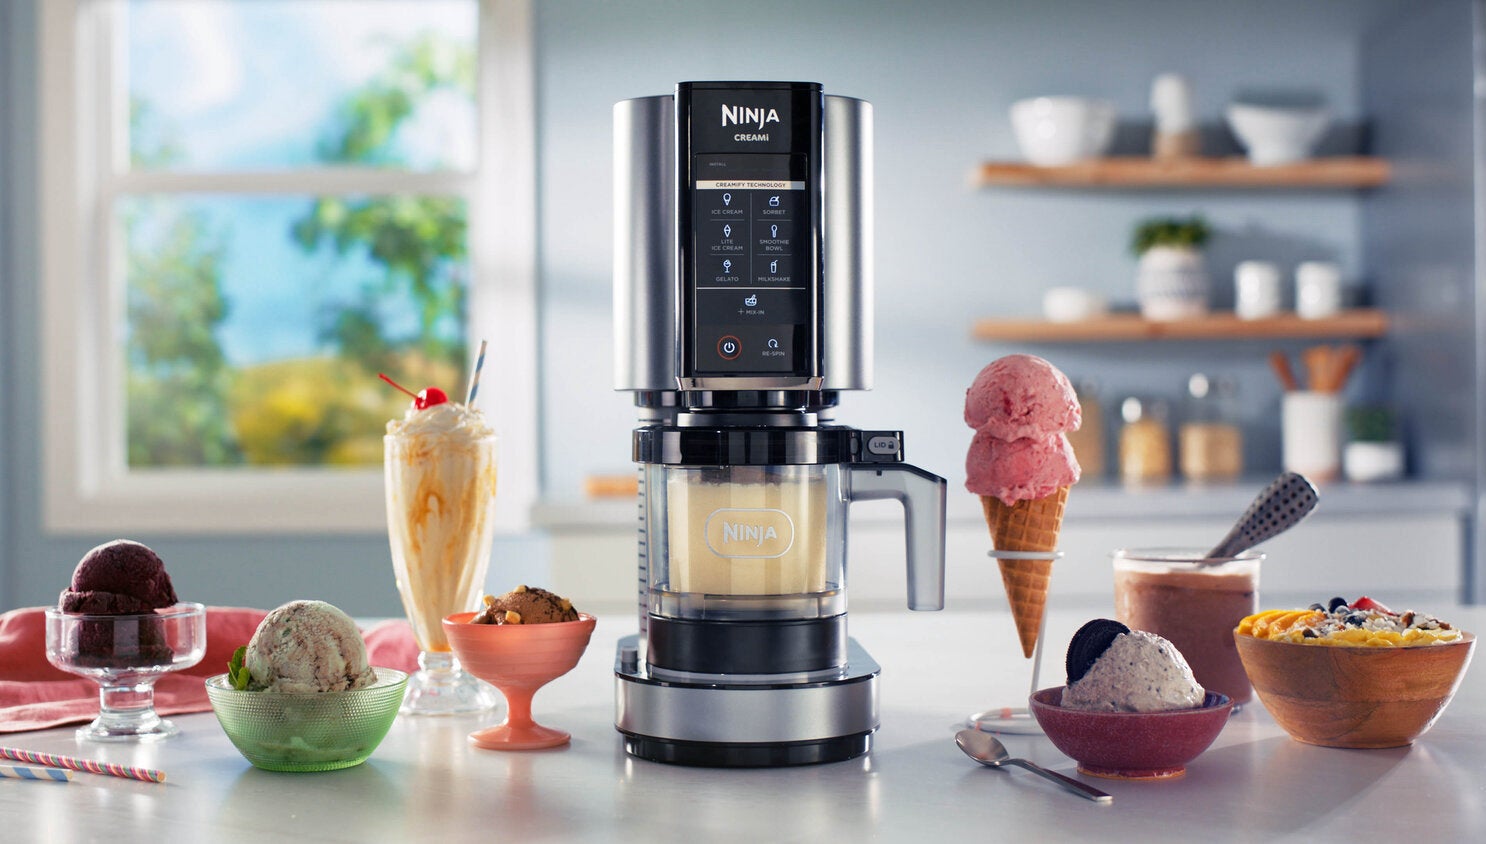
With the Ninja Blender’s powerful motor and sharp blades, you can churn out smooth and creamy ice cream in no time. No more waiting for hours for your ice cream to freeze, thanks to this innovative kitchen appliance. So, let’s dive into the world of homemade ice cream and discover how you can become an ice cream master!
Before we start, it’s essential to gather all the necessary equipment and ingredients. Having everything ready beforehand will ensure a smooth and hassle-free ice cream-making process. So, let’s move on to the next section to find out what you need.
Key Takeaways:
- Create creamy, flavorful homemade ice cream with a Ninja Blender using simple ingredients and easy steps. Customize flavors, follow tips, and enjoy endless serving options for a delightful treat.
- Elevate your ice cream game with Ninja Blender. Experiment with flavors, serve in creative ways, and share the joy of homemade ice cream with family and friends.
Read more: How To Make Ice Cream In A Blender
Equipment needed
Making ice cream with a Ninja Blender is a convenient and efficient way to enjoy this delightful treat. To get started, you’ll need a few essential pieces of equipment:
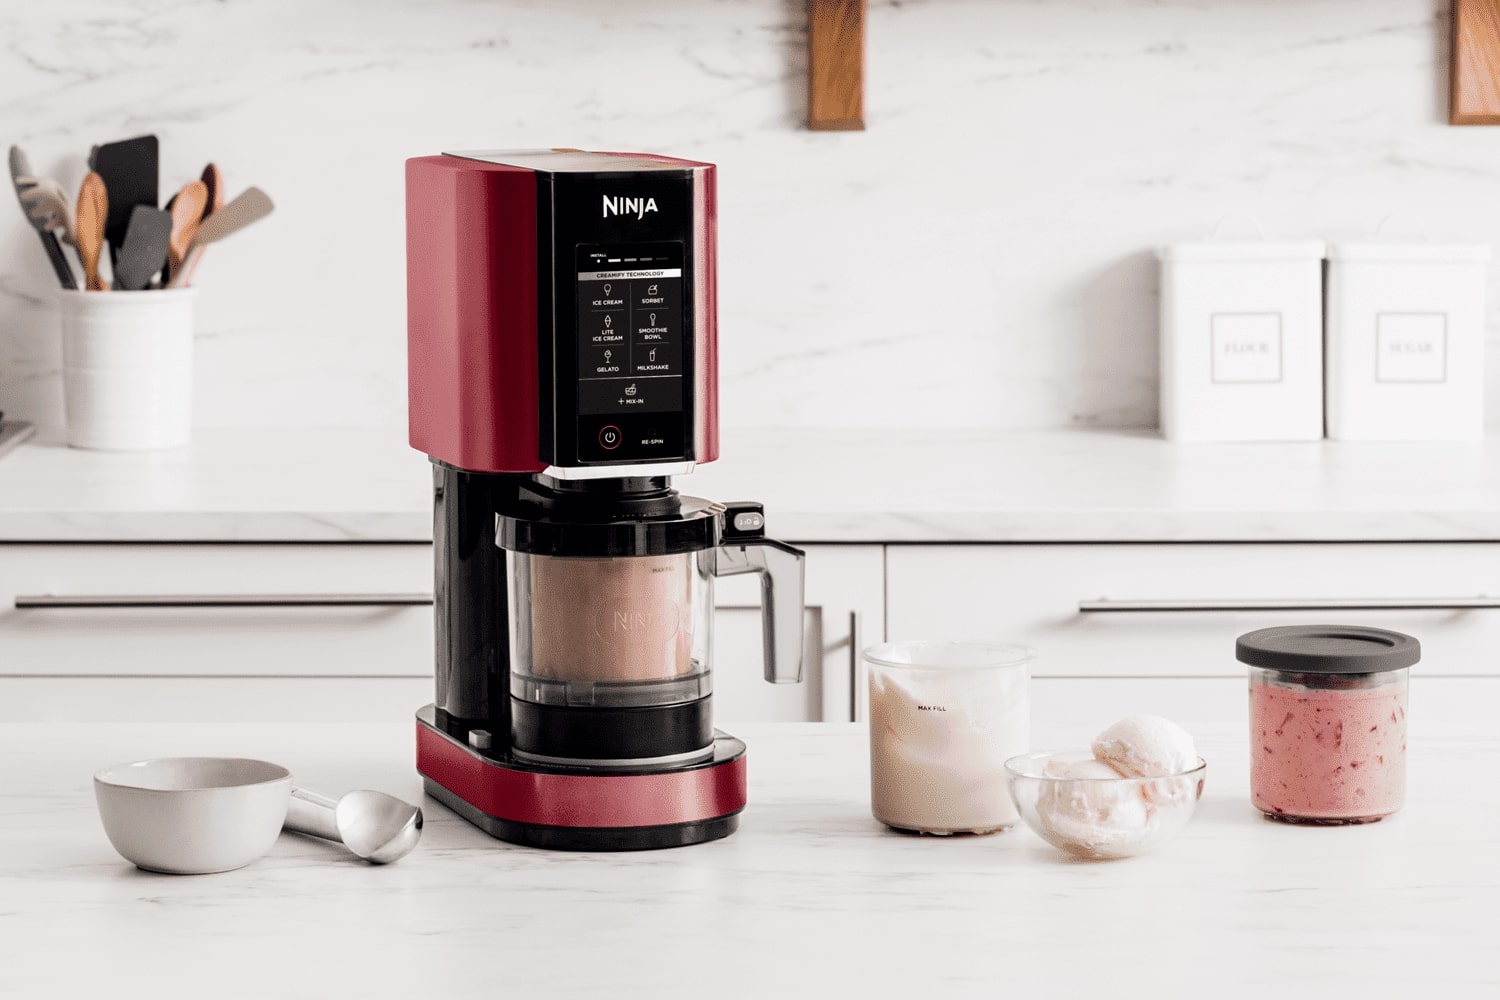
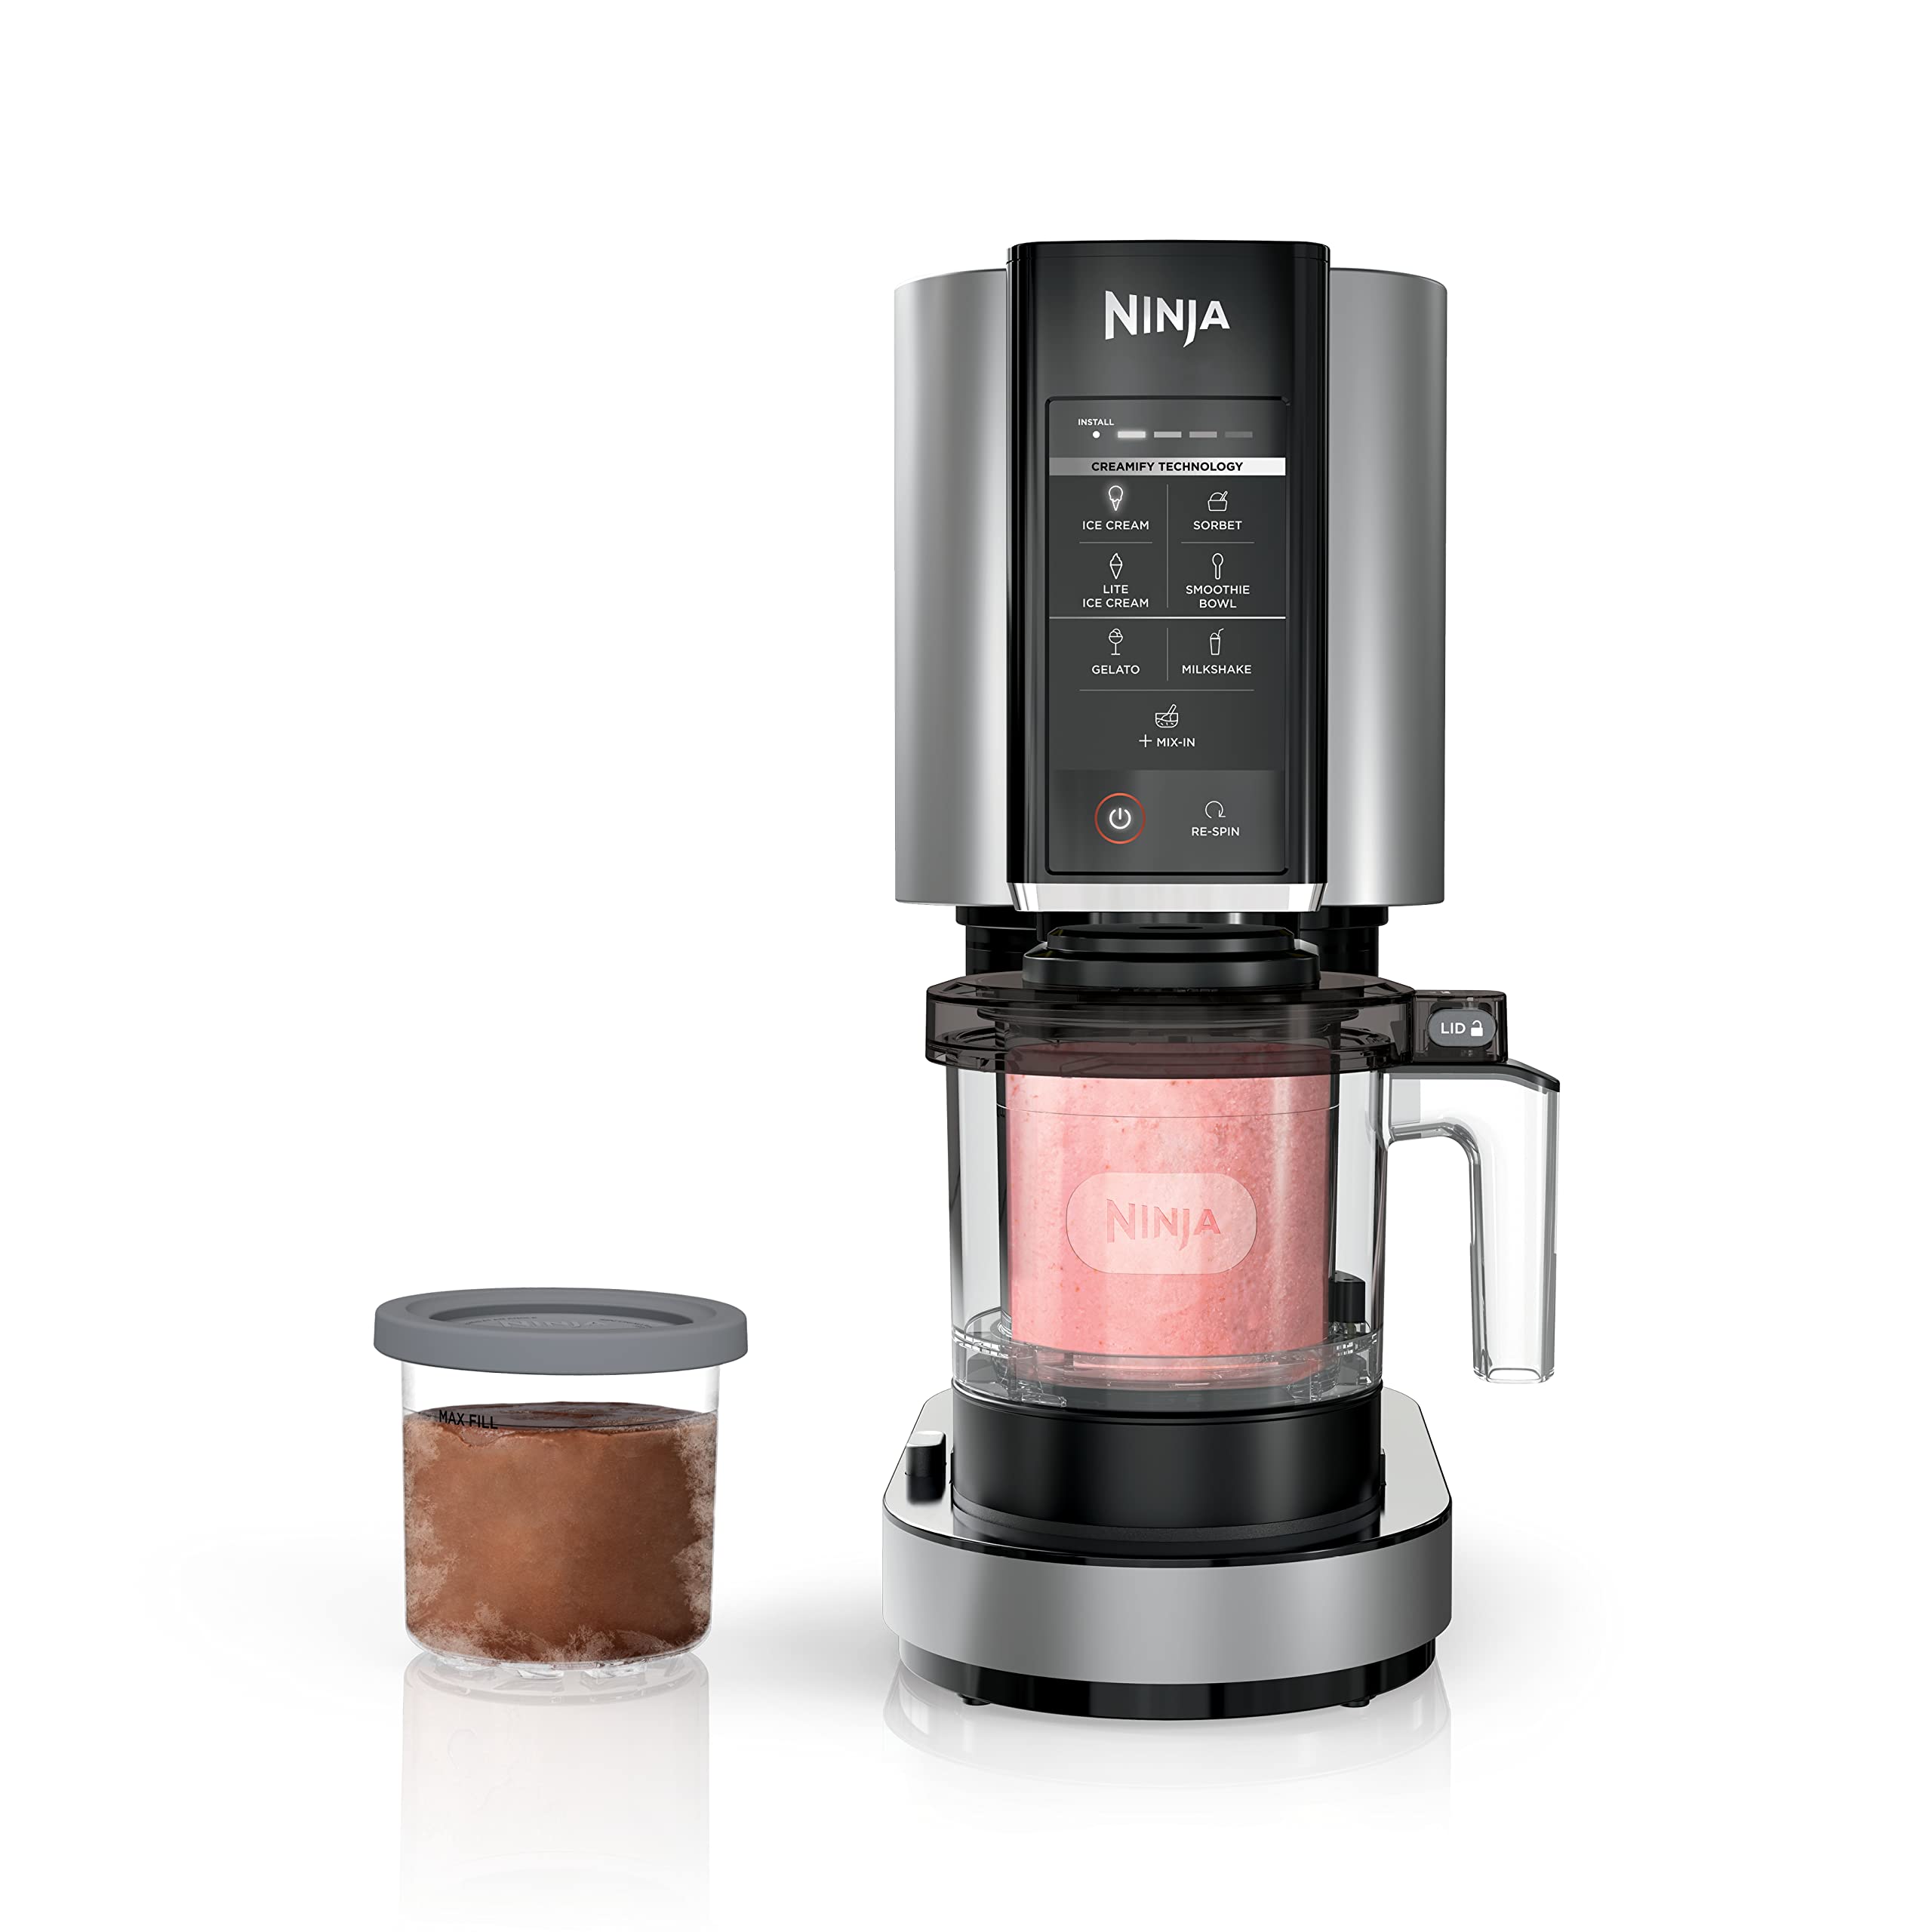
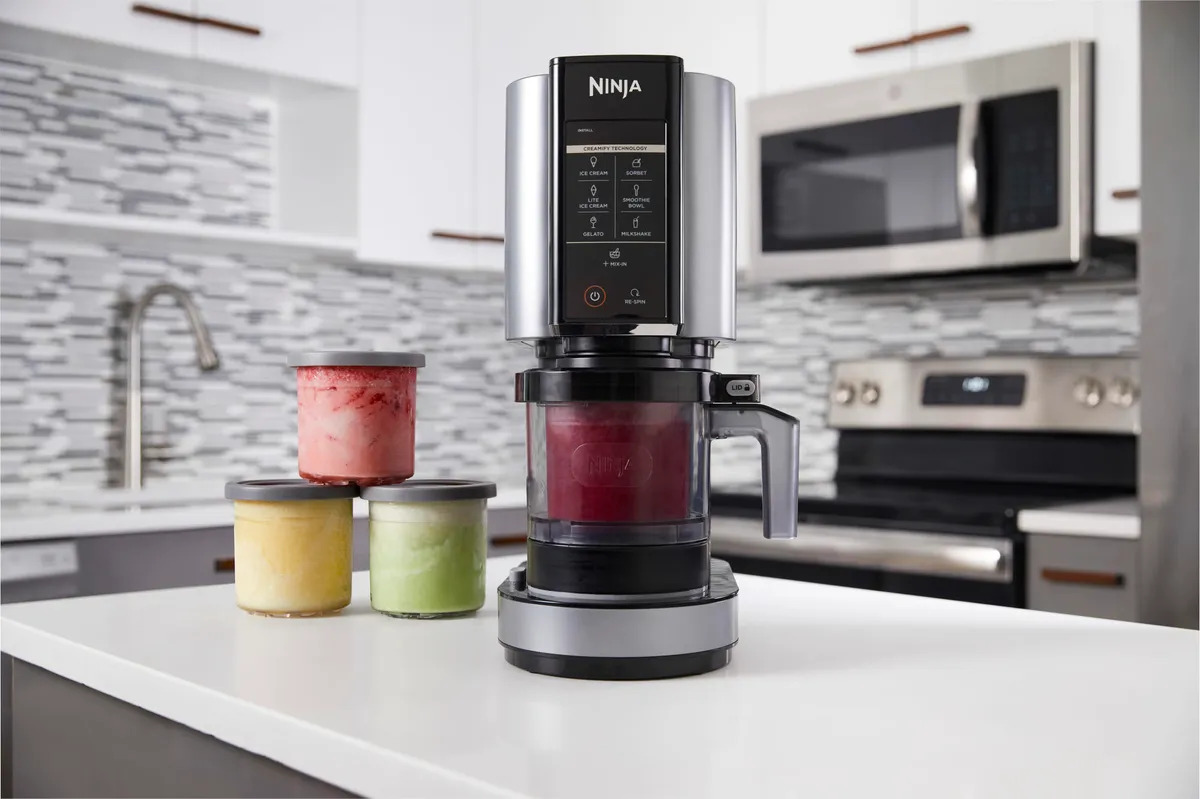
- Ninja Blender: The star of the show! Ensure you have a Ninja Blender with a powerful motor and sharp blades. This will ensure that your ice cream mixture is blended to perfection.
- Freezer-safe containers: You’ll need containers with lids to store the ice cream once it’s made. Look for containers that are specifically designed for freezer use. They should be airtight to prevent freezer burn and maintain the freshness of the ice cream.
- Measuring cups and spoons: Accurate measurements are essential when it comes to making ice cream. Have a set of measuring cups and spoons on hand to ensure you add the right amount of ingredients.
- Spatula: A spatula will come in handy for scraping down the sides of the blender and ensuring all the ingredients are well incorporated.
- Ice cream scoop: An ice cream scoop with a sturdy handle and a sharp edge will assist in scooping out perfect portions of ice cream.
Now that you have all the necessary equipment, it’s time to gather the ingredients and start making your homemade ice cream. The next section will walk you through the ingredients required for a basic ice cream recipe.
Ingredients
To make delicious ice cream with your Ninja Blender, you’ll need the following ingredients:
- Heavy cream: 2 cups
- Whole milk: 1 cup
- Granulated sugar: 3/4 cup
- Egg yolks: 4 large
- Vanilla extract: 1 teaspoon
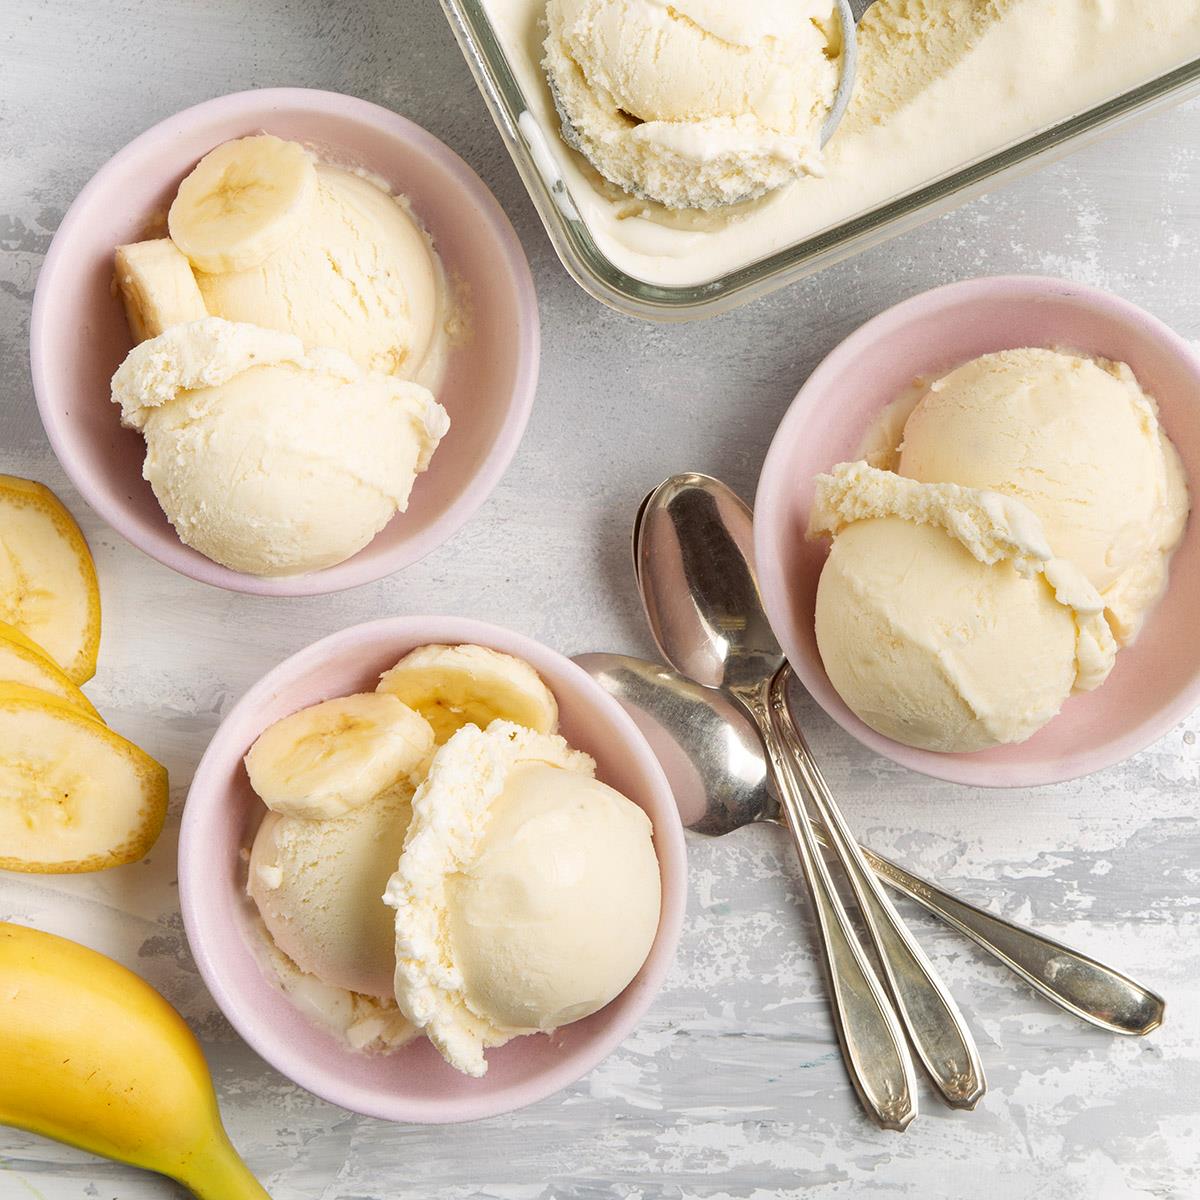
These ingredients form the base for a classic vanilla ice cream recipe. However, feel free to experiment with different flavors by adding additional ingredients like chocolate chips, fruit puree, or crushed cookies. The possibilities are endless!
Now that you have all the ingredients ready, let’s move on to the next section to learn the step-by-step process of making ice cream with your Ninja Blender.
Steps to make ice cream with Ninja Blender
Making ice cream with a Ninja Blender is a breeze. Follow these simple steps to create creamy and delicious homemade ice cream:
- Step 1: Prep your ingredients
- Step 2: Blend the ice cream base
- Step 3: Chill the mixture
- Step 4: Freeze the mixture
- Step 5: Blend and freeze
- Step 6: Store and serve
Measure out the heavy cream, whole milk, granulated sugar, egg yolks, and vanilla extract. Make sure the ingredients are at room temperature for smooth blending.
Pour the heavy cream, whole milk, granulated sugar, egg yolks, and vanilla extract into the Ninja Blender. Secure the lid tightly and blend on medium speed for about 1-2 minutes until the mixture is smooth and well combined.
Transfer the ice cream base to a bowl and cover it with plastic wrap, ensuring the wrap touches the surface of the mixture to prevent a skin from forming. Place the bowl in the refrigerator and let it chill for at least 4 hours or overnight.
Once the ice cream base is chilled, remove it from the refrigerator. Give it a quick stir to ensure all the ingredients are evenly distributed. Pour the mixture into the frozen Ninja Blender canister, leaving about an inch of space at the top to allow for expansion. Attach the blade assembly lid and place the canister in the freezer.
Keep the canister in the freezer for about 30 minutes to an hour, depending on the desired consistency of your ice cream. Then, remove the canister from the freezer and attach it to the Ninja Blender base. Blend on low speed for about 30 seconds or until the ice cream reaches the desired texture.
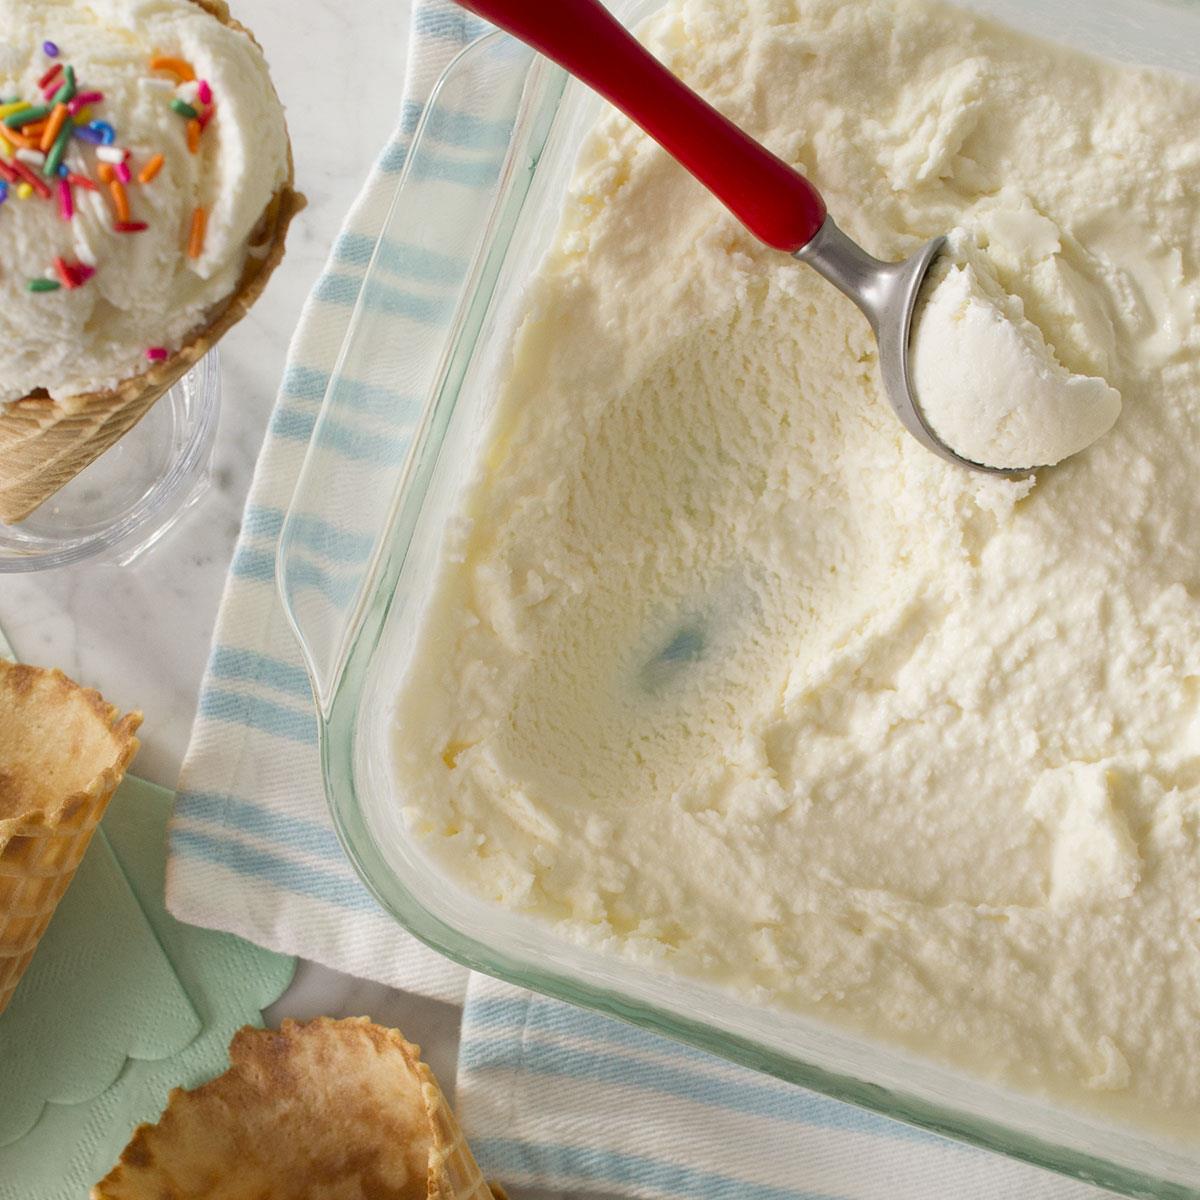
Transfer the freshly made ice cream into freezer-safe containers, seal them tightly, and place them back in the freezer for a few hours to allow the ice cream to firm up. When ready to serve, use an ice cream scoop to portion out the delicious homemade treat into bowls or cones.
Now that you know the step-by-step process, let’s move on to some tips and tricks to ensure your homemade ice cream turns out perfectly every time.
To make ice cream with a Ninja Blender, freeze your favorite fruits, then blend them with a splash of milk or yogurt until smooth. Add sweetener if desired, then freeze for a few hours for a creamy treat.
Tips and tricks
Creating homemade ice cream with a Ninja Blender is a fun and rewarding experience. To elevate your ice cream game, here are some tips and tricks to keep in mind:
- Chill your ingredients: Before blending, make sure your dairy ingredients (heavy cream and whole milk) are properly chilled. This will help prevent the mixture from curdling and result in a smoother texture.
- Add mix-ins: Get creative with your ice cream by adding mix-ins like chocolate chips, crushed cookies, nuts, or fruit puree. Add them into the blender during the last few seconds of blending to evenly distribute them throughout the ice cream.
- Freeze the blender canister: For optimal results, freeze the Ninja Blender canister overnight before using it. A frozen canister helps in achieving a quicker freezing time and a creamier texture.
- Don’t overblend: Avoid overblending the ice cream mixture, as this can lead to excessive aeration and a less dense texture. Blend the mixture just until it reaches your desired consistency.
- Store properly: When storing the ice cream in freezer-safe containers, press a sheet of plastic wrap directly onto the surface of the ice cream before sealing the container. This will help prevent ice crystals from forming and keep the ice cream fresh.
- Experiment with flavors: While vanilla is a classic choice, don’t be afraid to experiment with different flavors. Add cocoa powder for chocolate ice cream, fruit puree for a fruity twist, or coffee extract for a coffee-flavored treat.
- Let it soften: If the ice cream feels too firm after being stored in the freezer for a while, let it sit out at room temperature for a few minutes to soften before serving.
By keeping these tips and tricks in mind, you’ll be well on your way to creating delectable ice cream masterpieces with your Ninja Blender.
Next, let’s explore some variations and flavor ideas to inspire your ice cream creations.
Read more: How To Make Ice Cream In Vitamix Blender
Variations and flavor ideas
When it comes to homemade ice cream, the possibilities for flavor combinations are endless. Here are some variations and flavor ideas to spark your creativity:
- Chocolate lovers delight: Add cocoa powder or melted chocolate to your ice cream base for a rich and indulgent chocolate flavor. Mix in chocolate chunks or swirl in some chocolate fudge sauce for an extra level of decadence.
- Fruity sensations: Experiment with different fruits to create refreshing and vibrant flavors. Blend in fresh or frozen berries, such as strawberries, blueberries, or raspberries, for a burst of fruity goodness. For a tropical twist, consider adding pureed mango, pineapple, or passion fruit.
- Nutty creations: Add a crunchy and nutty element to your ice cream by incorporating chopped nuts. Popular choices include toasted almonds, walnuts, pecans, or pistachios. You can also mix in some peanut butter or almond butter for a creamy and nutty flavor.
- Cookies and cream: Crush your favorite cookies, such as Oreos, chocolate chip cookies, or graham crackers, and fold them into the ice cream base. The combination of creamy ice cream and crunchy cookie pieces is guaranteed to be a hit with kids and adults alike.
- Minty fresh: Add a refreshing twist to your ice cream with a hint of mint flavor. You can use mint extract or blend in fresh mint leaves for a natural flavor. For an extra delight, mix in some chocolate chips for a mint chocolate chip ice cream.
- Coffee addict’s dream: Brew a strong batch of coffee and let it cool before adding it to the ice cream base. You can also dissolve instant coffee granules in a small amount of warm milk and blend it in for a quick coffee infusion.
- Exotic spices: Experiment with spices like cinnamon, nutmeg, or cardamom to create unique and aromatic flavors. These spices work well with flavors like pumpkin, apple, or even caramel.
Feel free to mix and match these flavor ideas or come up with your own combinations. Don’t be afraid to get creative and explore different tastes and textures. The best part of making homemade ice cream is the ability to customize it to suit your preferences.
Now that you have a variety of flavor ideas, let’s move on to discussing serving suggestions.
Serving suggestions
Once you have your homemade ice cream ready, it’s time to think about how to serve and enjoy it to the fullest. Here are some serving suggestions to make your ice cream experience even more delightful:
- Classic cones: Scoop your homemade ice cream into a crispy cone for the ultimate nostalgic treat. Whether it’s a sugar cone, waffle cone, or a classic wafer cone, the combination of the smooth ice cream and the crunchy cone is pure bliss.
- Decadent sundaes: Take your ice cream to the next level by creating an elaborate sundae. Drizzle it with hot fudge or caramel sauce, top it with whipped cream, sprinkle on some nuts or sprinkles, and finish it off with a cherry on top. The possibilities for toppings are endless, so get creative and have fun!
- Ice cream sandwiches: Sandwich your homemade ice cream between your favorite cookies to create a delicious ice cream sandwich. Use chocolate chip cookies, oatmeal cookies, or even brownies as the outer layers. You can even roll the edges in crushed nuts or mini chocolate chips for an added touch.
- Milkshakes and floats: Blend your homemade ice cream with some milk to create a thick and creamy milkshake. For an added twist, mix in some flavored syrups or fruit puree. If you’re feeling adventurous, make an ice cream float by combining your ice cream with soda or carbonated beverages.
- Ice cream cakes: Impress your guests with a homemade ice cream cake for special occasions. Layer your ice cream with cake, cookies, or brownies in a springform pan. Freeze it until firm, then remove from the pan and decorate as desired.
- Simple bowls: Sometimes, all you need is a simple bowl to savor the creamy goodness of your homemade ice cream. Enhance the experience by adding a sprinkle of your favorite toppings, such as crushed nuts, chocolate shavings, or a dusting of cocoa powder.
Remember to have fun and get creative when serving your homemade ice cream. Feel free to experiment with different presentation styles and share the joy with your loved ones.
Now that you’re equipped with various serving ideas, it’s time to wrap up this article.
Conclusion
Congratulations! You’ve learned how to create delicious homemade ice cream using a Ninja Blender. Making ice cream at home has never been easier or more enjoyable. With just a few simple ingredients and the power of the Ninja Blender, you can whip up creamy, flavorful ice cream in no time.
From classic vanilla to indulgent chocolate, fruity variations, and unique flavor combinations, the possibilities for homemade ice cream are endless. Don’t be afraid to experiment, add mix-ins, and create your own signature flavors. The Ninja Blender’s versatility and power allow you to customize your ice cream to suit your taste preferences.
Remember to follow the steps carefully, chill your ingredients, and freeze the blender canister for optimal results. Use the tips and tricks provided to achieve the perfect creamy texture and prevent any mishaps along the way.
When it comes to serving your homemade ice cream, let your imagination run wild. Enjoy it in a classic cone, create elaborate sundaes, make ice cream sandwiches, or even incorporate it into milkshakes and floats. The choice is yours!
Whether you’re making ice cream for a special occasion or simply treating yourself on a sunny afternoon, homemade ice cream is always a delightful and satisfying treat. Share it with family and friends, create memories, and enjoy the sweet rewards of your culinary skills.
So, why wait? Grab your Ninja Blender, gather your ingredients, and start creating your own signature flavors of homemade ice cream today. Let your taste buds rejoice and indulge in the creamy goodness that only homemade ice cream can offer.
Happy blending and savoring!
Craving more frozen delights? If you've mastered making ice cream with a Ninja blender, why not broaden your culinary skills by learning how to whip up ice cream using any standard blender? You'll find that transforming simple ingredients into a creamy treat is just as thrilling without specific equipment. Dive into our next guide where you can pick up practical advice and innovative ideas for making blender ice cream at home. You're sure to impress friends and family with your versatile dessert-making prowess!
Frequently Asked Questions about How To Make Ice Cream With Ninja Blender
Was this page helpful?
At Storables.com, we guarantee accurate and reliable information. Our content, validated by Expert Board Contributors, is crafted following stringent Editorial Policies. We're committed to providing you with well-researched, expert-backed insights for all your informational needs.


0 thoughts on “How To Make Ice Cream With Ninja Blender”