Articles
How To Make A Milkshake In A Blender
Modified: August 28, 2024
Learn how to make a creamy milkshake in a blender with our easy-to-follow articles. Discover delicious recipes and tips for the perfect milkshake!
(Many of the links in this article redirect to a specific reviewed product. Your purchase of these products through affiliate links helps to generate commission for Storables.com, at no extra cost. Learn more)
Introduction
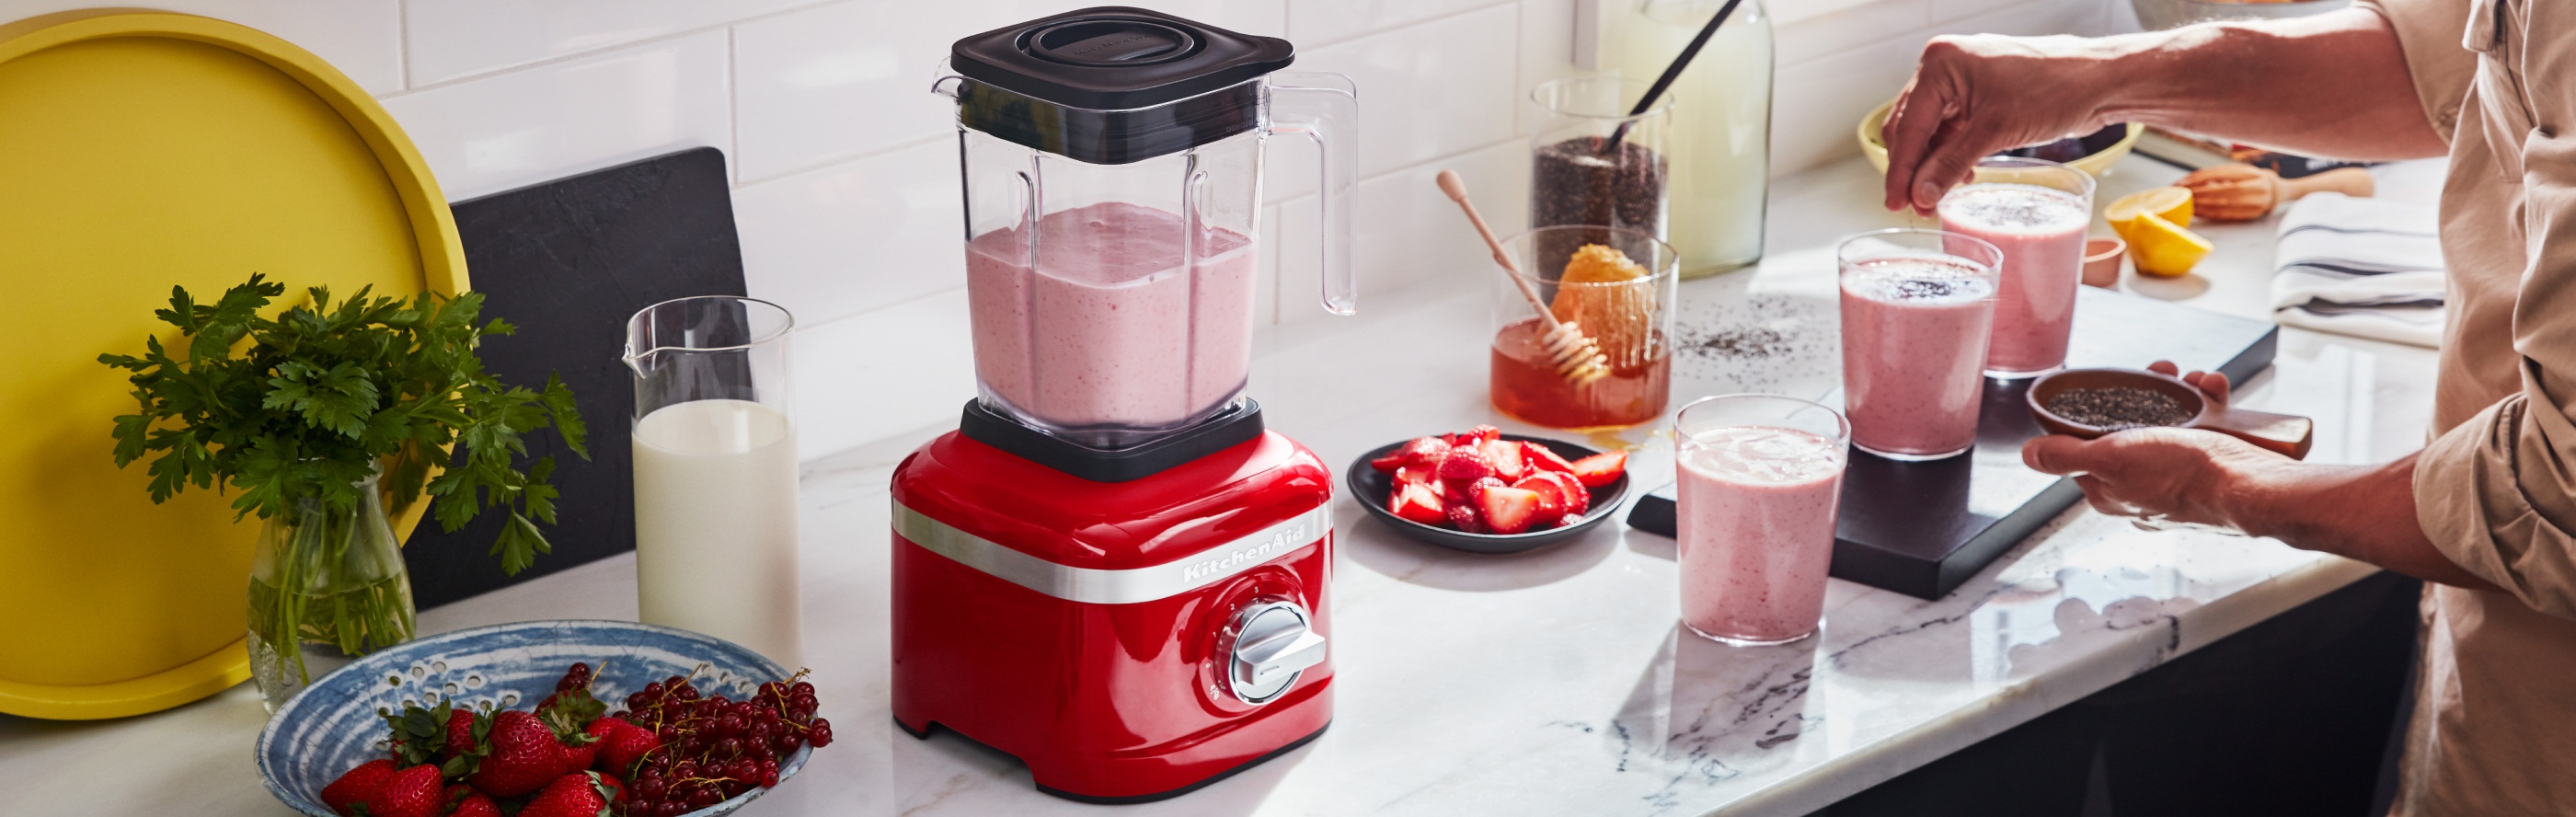
There’s nothing quite like indulging in a creamy, delicious milkshake, especially on a hot summer day. Whether you’re a fan of classic vanilla, rich chocolate, or adventurous flavors like strawberry or cookies and cream, making a milkshake at home is a simple and satisfying treat. All you need is a blender, a few basic ingredients, and a desire to whip up a sweet and refreshing beverage.
In this article, we will guide you through the step-by-step process of making a milkshake in a blender. From gathering your ingredients to adding flavorful twists, we will ensure that you have all the information you need to create a perfect milkshake every time. Get ready to take your taste buds on a delightful adventure!
Before we dive into the details, let’s take a moment to appreciate the versatility of a milkshake. Not only is it an enjoyable dessert, but it can also be a great way to incorporate various flavors and ingredients. Whether you want to stick to the classics or experiment with unique combinations, making a milkshake allows you to unleash your creativity and tailor it to your personal preferences.
So, without further ado, let’s grab our blenders and get ready to make the creamiest, dreamiest milkshake you’ve ever had!
Key Takeaways:
- Indulge in the versatility of homemade milkshakes by experimenting with flavors, textures, and garnishes to create a personalized treat that satisfies your cravings and unleashes your creativity.
- Master the art of crafting the perfect milkshake in a blender, from gathering quality ingredients to blending to creamy perfection, and enjoy the endless possibilities of flavor combinations and variations.
Read more: How To Make Milkshake In A Blender
Ingredients
Before we start blending, let’s gather all the necessary ingredients to make a delicious milkshake. The beauty of making milkshakes at home is that you have full control over the quality and quantity of each ingredient. Here are the basic ingredients you’ll need:
- Ice cream: Choose your favorite flavor of ice cream as the base for your milkshake. Whether it’s classic vanilla, chocolate, or something more exotic like mint chocolate chip or rocky road, the choice is yours.
- Milk: Milk is an essential component of a milkshake. It helps to achieve the desired consistency and adds creaminess to the drink. You can use whole milk or opt for alternatives like almond milk or soy milk if you prefer.
- Flavorings: To enhance the taste of your milkshake, you can add various flavorings. Popular options include chocolate syrup, caramel sauce, fruit purees, or even a spoonful of peanut butter. Get creative and experiment with different combinations.
- Whipped cream: While not necessary, whipped cream adds a delightful finishing touch to any milkshake. You can use store-bought whipped cream or whip up your own by beating heavy cream with a touch of sugar until light and fluffy.
- Garnishes: To truly elevate your milkshake experience, consider adding some fun garnishes. Whether it’s sprinkles, crushed cookies, a drizzle of sauce, or a maraschino cherry on top, these extras can add visual appeal and a burst of flavor.
Remember, the quantities of each ingredient can vary depending on your desired taste and thickness of the shake. Feel free to adjust and experiment until you find the perfect balance for your palate.
Now that we have all the necessary ingredients, let’s move on to the step-by-step process of making a milkshake in a blender.
Step 1: Gather your ingredients
Before we begin the milkshake-making process, it’s essential to gather all the ingredients you’ll need. This step ensures that we have everything readily available and saves us from any last-minute scrambling. Here’s what you’ll need:
- Ice cream: Choose your favorite flavor or a combination of flavors that you’re craving. Consider classics like vanilla, chocolate, or strawberry, or opt for more unique flavors like cookies and cream, mint chocolate chip, or salted caramel.
- Milk: Select the type of milk that suits your taste and dietary preferences. Whole milk provides a rich and creamy texture, while skim milk offers a lighter option. If you’re lactose intolerant or prefer a plant-based alternative, you can use almond milk, soy milk, or any other non-dairy milk.
- Flavorings: This is where you can get creative and customize your milkshake. You can add chocolate syrup, caramel sauce, fruit purees, espresso powder, peanut butter, or even a splash of your favorite liqueur for an adult twist.
- Whipped cream: While optional, whipped cream adds a fluffy and decadent touch to the milkshake. You can use store-bought whipped cream or whip up your own by beating heavy cream with a bit of sugar until soft peaks form.
- Garnishes: To make your milkshake visually appealing and even more enjoyable, consider adding some toppings and garnishes. Sprinkles, crushed cookies or candies, chocolate shavings, or a cherry on top are popular choices.
Once you have gathered all the ingredients, make sure they are fresh and of high quality. Check the expiration date of the ice cream and give the milk a sniff test to ensure its freshness. Having everything organized and within reach will make the milkshake-making process much smoother and enjoyable.
Now that we have our ingredients ready, let’s move on to the next step: adding the ice cream to the blender.
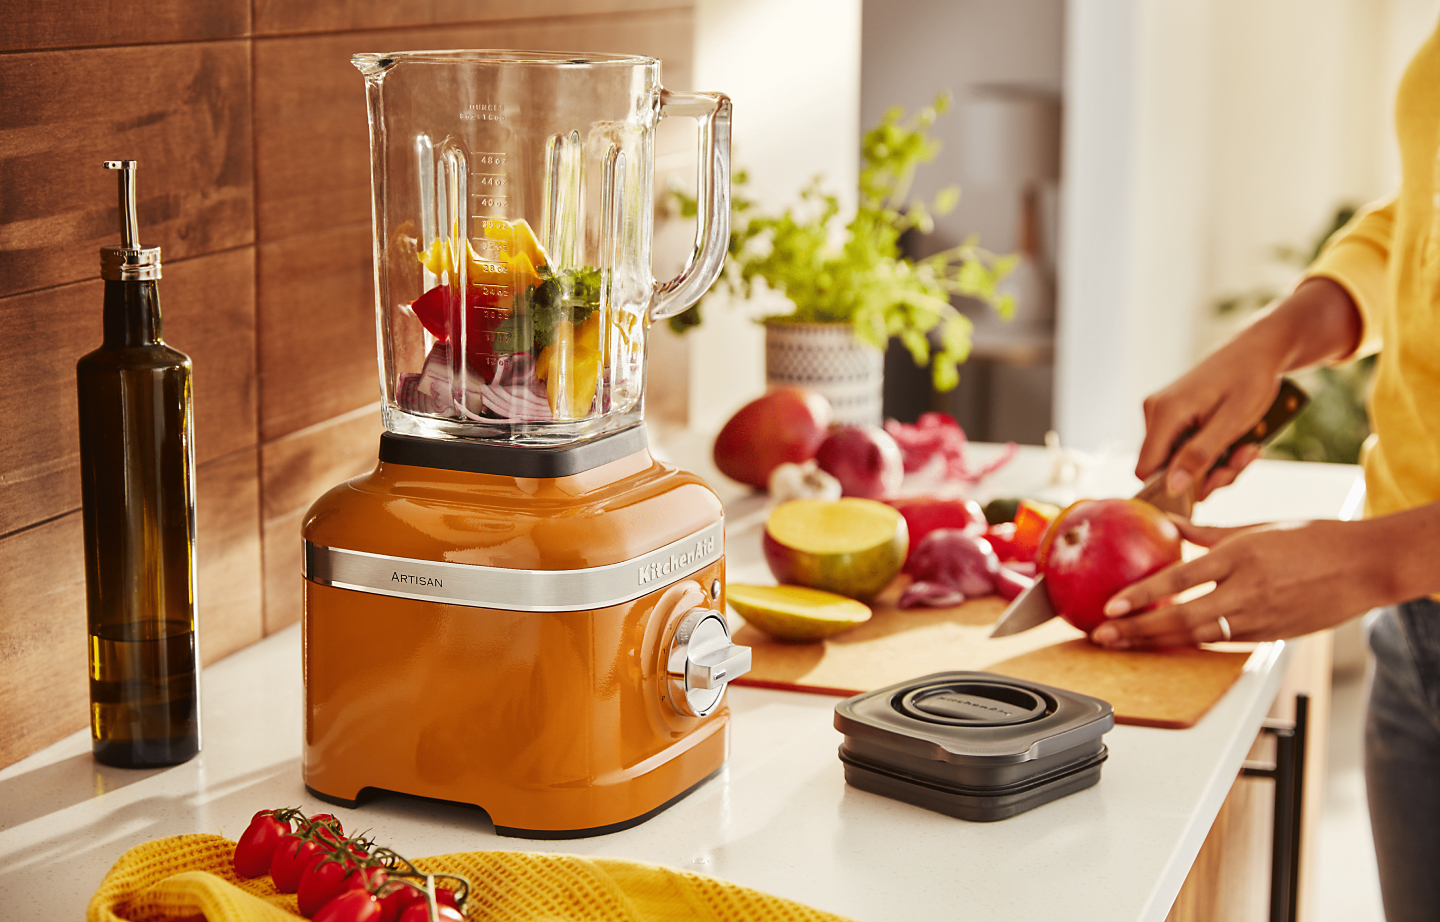
Step 2: Add ice cream to the blender
Now that we have all our ingredients gathered, it’s time to start assembling our milkshake! The first step is to add the star of the show – the ice cream – to the blender. Follow these simple instructions:
- Take your desired amount of ice cream out of the freezer and allow it to soften slightly for a few minutes. This will make it easier to scoop and blend.
- Using an ice cream scoop or a large spoon, add the softened ice cream to the blender pitcher. The amount of ice cream you use will depend on how thick and creamy you want your milkshake to be. Start with 2-3 scoops for a single serving and adjust accordingly.
- Make sure the lid of the blender is securely in place to prevent any spills or messes.
Adding the ice cream as the first ingredient ensures that it blends smoothly with the other components and sets the foundation for a creamy milkshake. The cold temperature of the ice cream also helps to keep the milkshake chilled throughout the process.
Now that the ice cream is in the blender, we can move on to the next step: adding the milk to create a luscious texture.
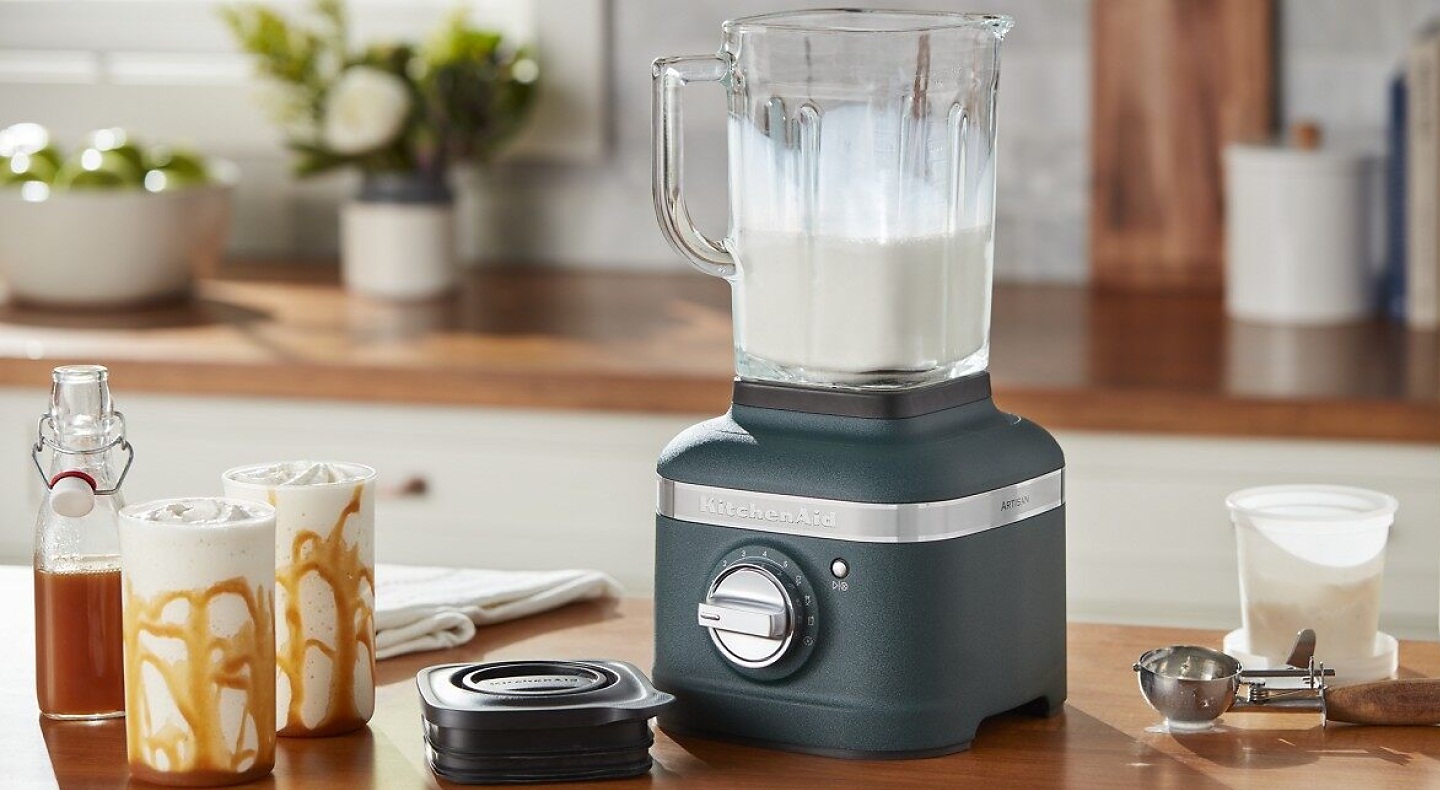
Step 3: Pour in milk
Now that we have our ice cream in the blender, it’s time to add the next essential ingredient: milk. Milk helps to create a smooth and creamy consistency in the milkshake. Follow these steps to add the perfect amount of milk:
- Choose the type of milk you prefer, whether it’s whole milk, skim milk, almond milk, or any other non-dairy alternative.
- Measure out the desired amount of milk that will complement the quantity of ice cream you added. Generally, a ratio of 1:1 or 1:2 of ice cream to milk is a good starting point. You can adjust the amounts based on your personal preference for a thicker or thinner milkshake.
- Slowly pour the milk into the blender over the ice cream. Be careful not to overfill the blender pitcher, as the milkshake will expand when blending.
The milk acts as a liquid base to help blend the ice cream smoothly and create a creamy texture. It also helps to achieve the desired thickness and consistency of the milkshake. You can always add more milk if you prefer a thinner consistency or less milk for a thicker and more indulgent shake.
With the ice cream and milk combined, it’s time to move on to the fun part: adding flavorings and creating unique milkshake variations!
Read more: How To Make Milkshake In Ninja Blender
Step 4: Add desired flavorings
Now that we have the ice cream and milk blended together, it’s time to add some flavor to our milkshake! This step allows us to get creative and customize the taste of our drink. Here’s how to add your desired flavorings:
- Choose from a variety of flavorings to enhance your milkshake. Some popular options include chocolate syrup, caramel sauce, fruit purees, coffee or espresso powder, peanut butter, or even a splash of your favorite liqueur for an adult twist.
- Add your chosen flavoring to the blender pitcher with the ice cream and milk. The amount you add will depend on your personal preference and the desired intensity of the flavor. Start with a small amount and adjust to taste.
- If you’re using a thick or chunky flavoring like peanut butter or caramel sauce, it’s a good idea to swirl or drizzle it around the sides of the blender pitcher. This will help it blend evenly into the milkshake.
Adding flavorings not only adds a burst of taste but also allows you to create unique milkshake combinations. You can experiment with different flavors and mix-ins to suit your mood and cravings. Whether you like it rich and chocolatey, fruity and refreshing, or even with a hint of spice, the choice is yours!
Now that we’ve added our desired flavorings, it’s time to blend everything together and bring our milkshake to life!
Add the ice cream, milk, and any flavorings (such as chocolate syrup or fruit) to the blender. Blend on high speed until smooth and creamy. Pour into a glass and enjoy!
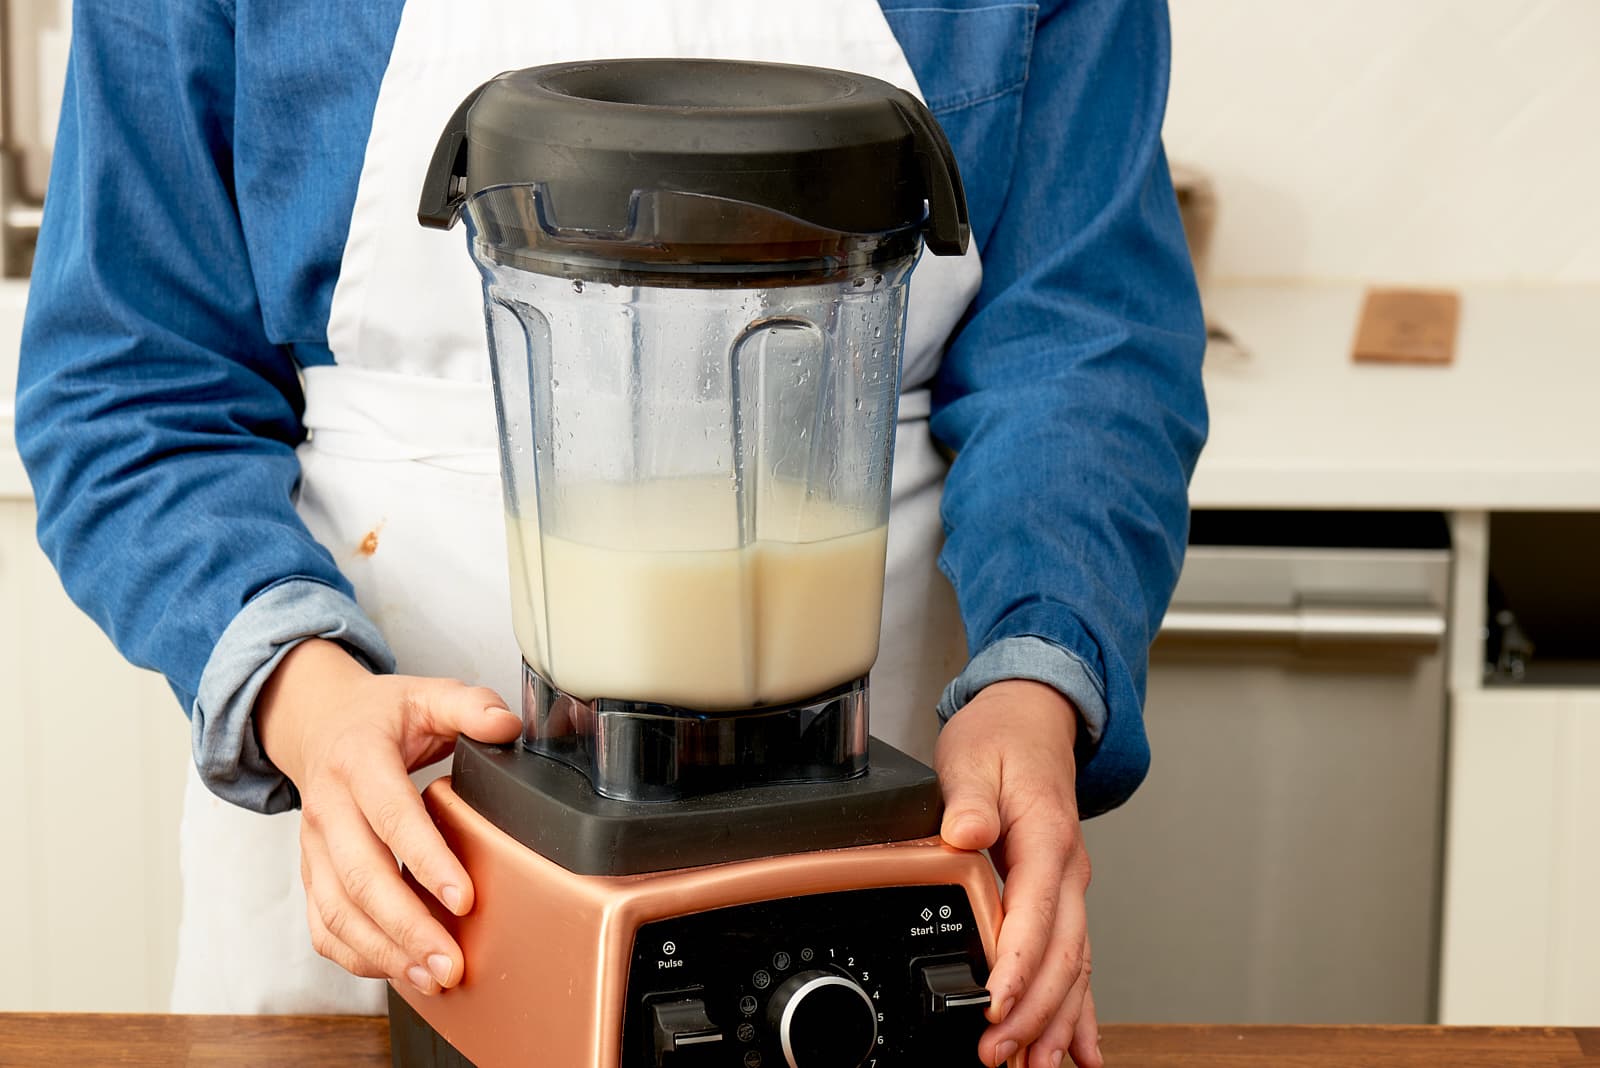
Step 5: Blend until smooth
With all the ingredients added to the blender, it’s time to blend everything together into a smooth and creamy milkshake. Follow these steps to ensure your milkshake reaches the perfect consistency:
- Secure the lid tightly onto the blender pitcher to prevent any spills or leaks.
- Turn the blender on at a low speed to start the blending process. This prevents any splattering or flying ingredients.
- Gradually increase the speed of the blender until you reach a medium-high setting. Continue blending for about 30-60 seconds or until all the ingredients are fully combined and the milkshake is smooth and creamy.
- If necessary, pause the blending process and scrape down the sides of the blender pitcher with a spatula. This will help incorporate any stray ingredients and ensure an evenly blended milkshake.
- Resume blending for a few more seconds to guarantee a perfectly smooth texture.
- Once the milkshake is thoroughly blended and has reached your desired consistency, turn off the blender and remove the pitcher from the base.
Blending the milkshake not only combines all the ingredients but also helps to aerate it, resulting in a light and fluffy texture. Keep an eye on the thickness of the milkshake as you blend, adjusting the blending time or adding more milk if needed.
Now that our milkshake is blended to perfection, it’s time to serve and enjoy the fruits of our labor!
Step 6: Serve and enjoy!
Congratulations! You’ve reached the final step of making a delicious milkshake in a blender – it’s time to serve and indulge in your creation. Follow these steps to ensure a delightful milkshake experience:
- Prepare your serving glasses or cups by giving them a quick chill in the freezer. This helps to keep the milkshake cold and refreshing.
- Give the blended milkshake a quick stir with a spoon to ensure all the flavors are evenly distributed.
- Pour the milkshake into your chilled glasses, filling them up to your desired level.
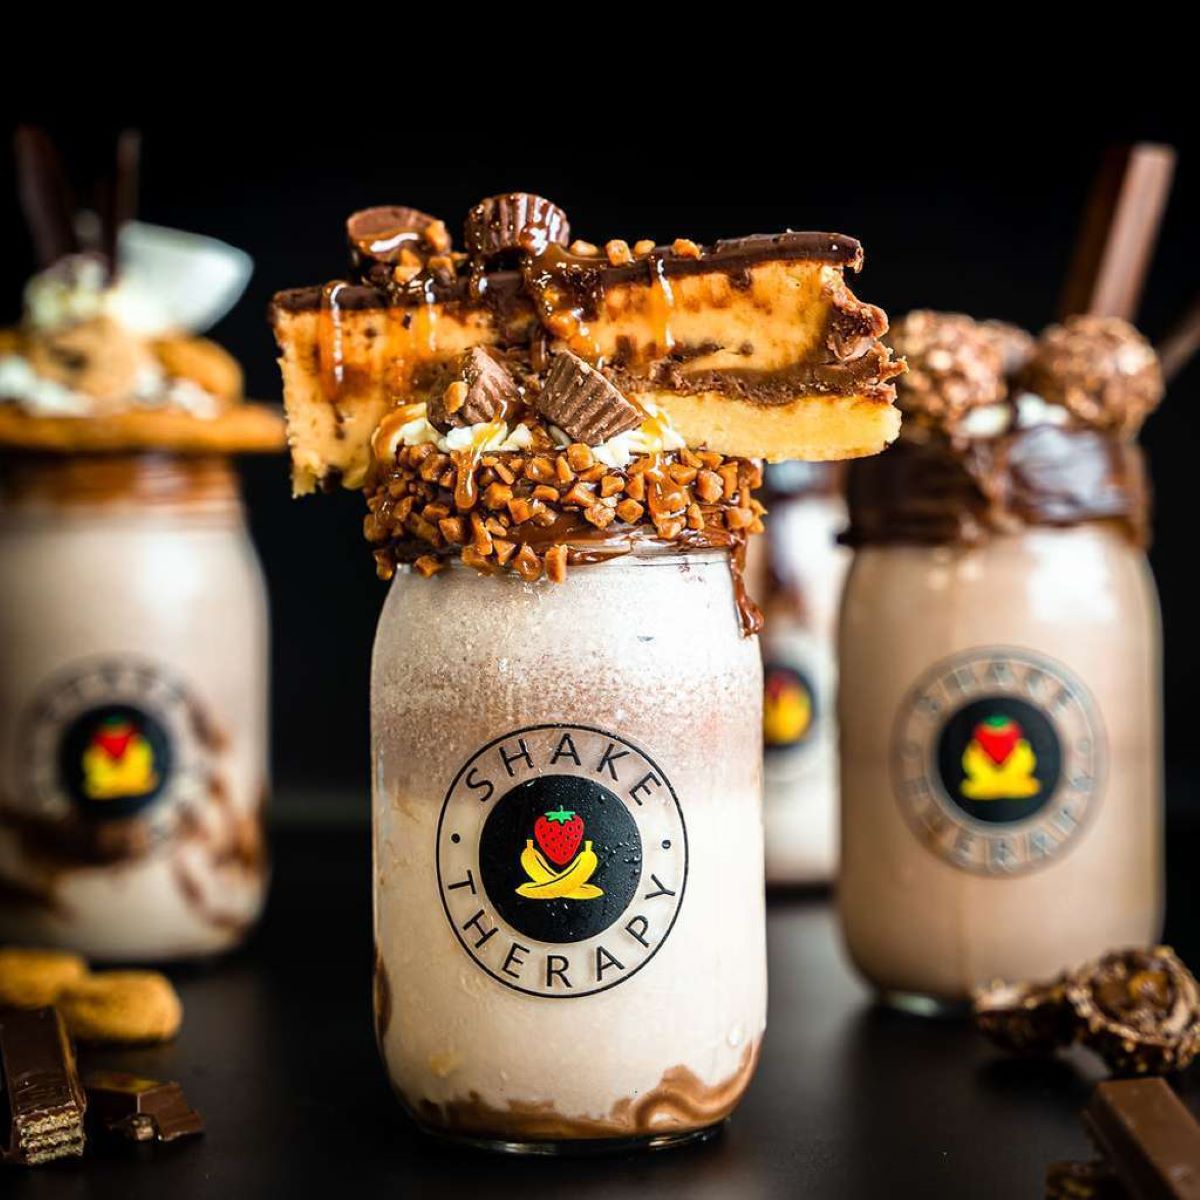
- If desired, add a dollop of whipped cream on top of each milkshake, and garnish with your favorite toppings like sprinkles, crushed cookies, or a drizzle of chocolate sauce.
- Finish off by inserting a straw into each glass, allowing for easy sipping and enjoyment.
Now, it’s time to savor the creamy goodness of your homemade milkshake. Take a moment to appreciate the flavors, textures, and the effort you put into creating it. Enjoy every sip and let it awaken your taste buds with its sweet, cool, and refreshing taste.
Feel free to experiment and create different milkshake variations using different flavors of ice cream, unique mix-ins, and toppings. You can even serve your milkshake with a side of cookies, brownies, or fresh fruit for an extra treat.
Remember, making a milkshake in a blender is a fun and versatile process that allows you to customize your drink exactly to your liking. So, sit back, relax, and savor the creamy deliciousness of your homemade masterpiece!
Enjoy your milkshake, and cheers to your milkshake-making success!
Tips and Variations
Now that you know how to make a basic milkshake in a blender, let’s explore some tips and variations to take your milkshake-making skills to the next level:
Tips:
- For an extra creamy milkshake, use slightly softened ice cream.
- If your milkshake turns out too thick, add a splash of milk and blend again until desired consistency is reached.
- For a thicker milkshake, add less milk or use a higher ratio of ice cream to milk.
- Experiment with different flavor combinations by mixing different flavors of ice cream or adding various mix-ins and sauces.
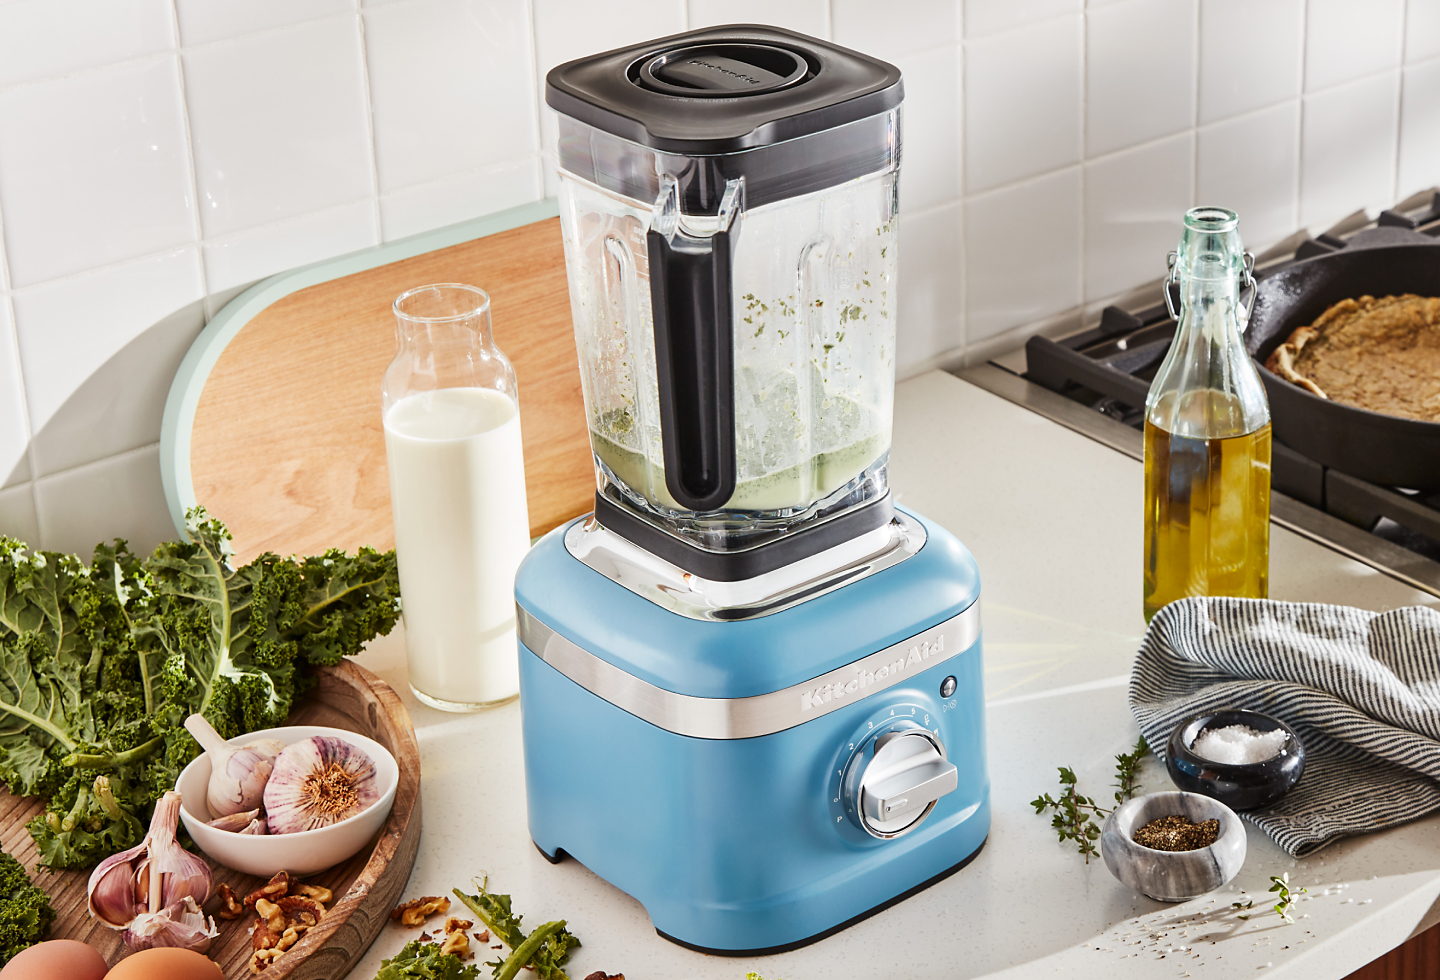
- Use a high-quality blender that can handle the thick texture of milkshakes. A blender with a strong motor and sharp blades will result in a smoother milkshake.
- To make it extra indulgent, top your milkshake with a scoop of additional ice cream or a swirl of whipped cream.
Variations:
- Chocolate lovers: Add a tablespoon of cocoa powder to the blender for a rich and chocolaty milkshake.
- Fruit lovers: Blend in your favorite fresh or frozen fruits like strawberries, bananas, or mangoes for a fruity twist.
- Cookies and cream: Crush your favorite sandwich cookies and mix them into the blender for a delightful cookies and cream milkshake.
- Healthier options: Use low-fat or frozen yogurt instead of ice cream and sweeten it with natural sweeteners like honey or maple syrup.
- Adult indulgence: Add a splash of your preferred liqueur, such as Baileys, Kahlúa, or Amaretto, for a boozy milkshake treat.
- Vegan delights: Use dairy-free ice cream and plant-based milk alternatives for a vegan-friendly milkshake.
Remember, the key to creating the perfect milkshake is to have fun and experiment with flavors and textures. Don’t be afraid to get creative and customize your milkshake to suit your taste preferences.
Now that you have these tips and variations in your repertoire, you can take your milkshake game to new heights. So, let your imagination run wild and enjoy the endless possibilities that a milkshake in a blender can offer!
Conclusion
Congratulations! You’ve mastered the art of making a delicious milkshake in a blender. By following the step-by-step guide, gathering the right ingredients, and adding your desired flavorings, you can create a creamy and refreshing treat that satisfies your cravings. Making milkshakes at home allows you to unleash your creativity and tailor the drink to your personal preferences. Whether you prefer classic flavors like vanilla or chocolate, or you enjoy experimenting with unique combinations, the possibilities are endless.
Remember, the key to a perfect milkshake is finding the right balance of ice cream, milk, and flavorings. Adjust the quantities to achieve your desired consistency and flavor intensity. Don’t forget to blend everything together until smooth and creamy, and feel free to get creative with garnishes and toppings to add that extra touch of visual appeal.
With the tips and variations provided, you have the tools to take your milkshake-making skills to the next level. From indulgent chocolate creations to fruity delights, there’s something to please every palate. And don’t be afraid to experiment and create your own signature milkshake by trying different flavors, mix-ins, or even adding a splash of your favorite liqueur.
So, the next time you’re craving a sweet and refreshing treat, don’t hesitate to reach for your blender and whip up a homemade milkshake. Enjoy the process, savor every sip, and let the delightful flavors transport you to a world of pure bliss. Cheers to your milkshake-making success!
Frequently Asked Questions about How To Make A Milkshake In A Blender
Was this page helpful?
At Storables.com, we guarantee accurate and reliable information. Our content, validated by Expert Board Contributors, is crafted following stringent Editorial Policies. We're committed to providing you with well-researched, expert-backed insights for all your informational needs.

0 thoughts on “How To Make A Milkshake In A Blender”