Articles
How To Make Tiebacks For Drapes
Modified: December 7, 2023
Learn how to make beautiful tiebacks for your drapes with our step-by-step articles. Enhance your home decor and add a touch of elegance.
(Many of the links in this article redirect to a specific reviewed product. Your purchase of these products through affiliate links helps to generate commission for Storables.com, at no extra cost. Learn more)
Introduction
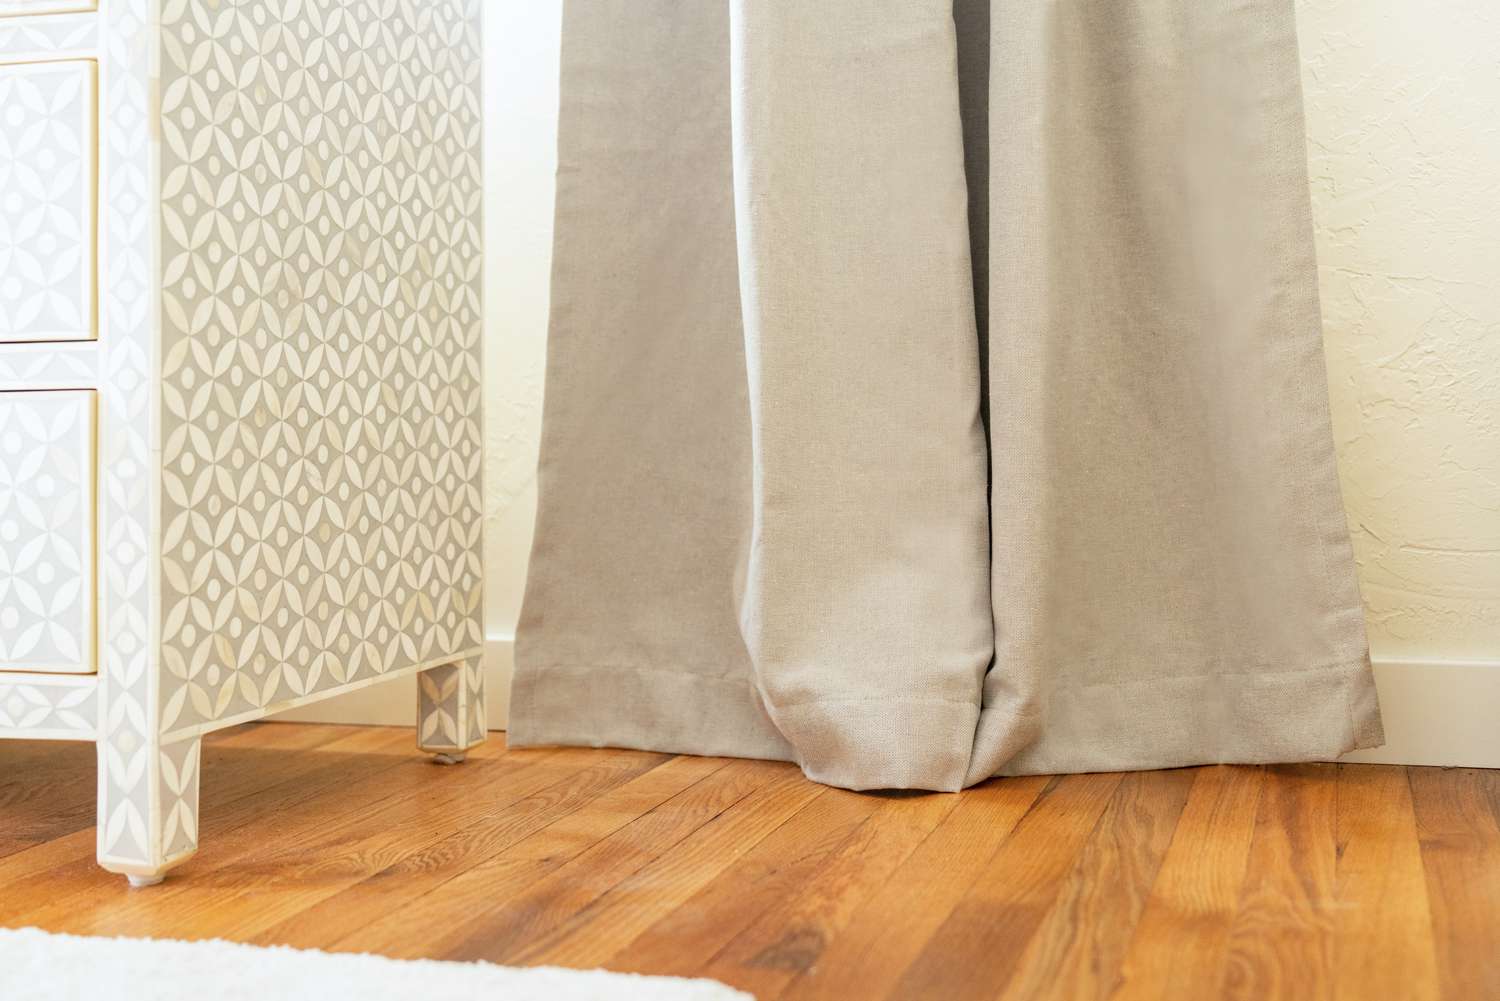
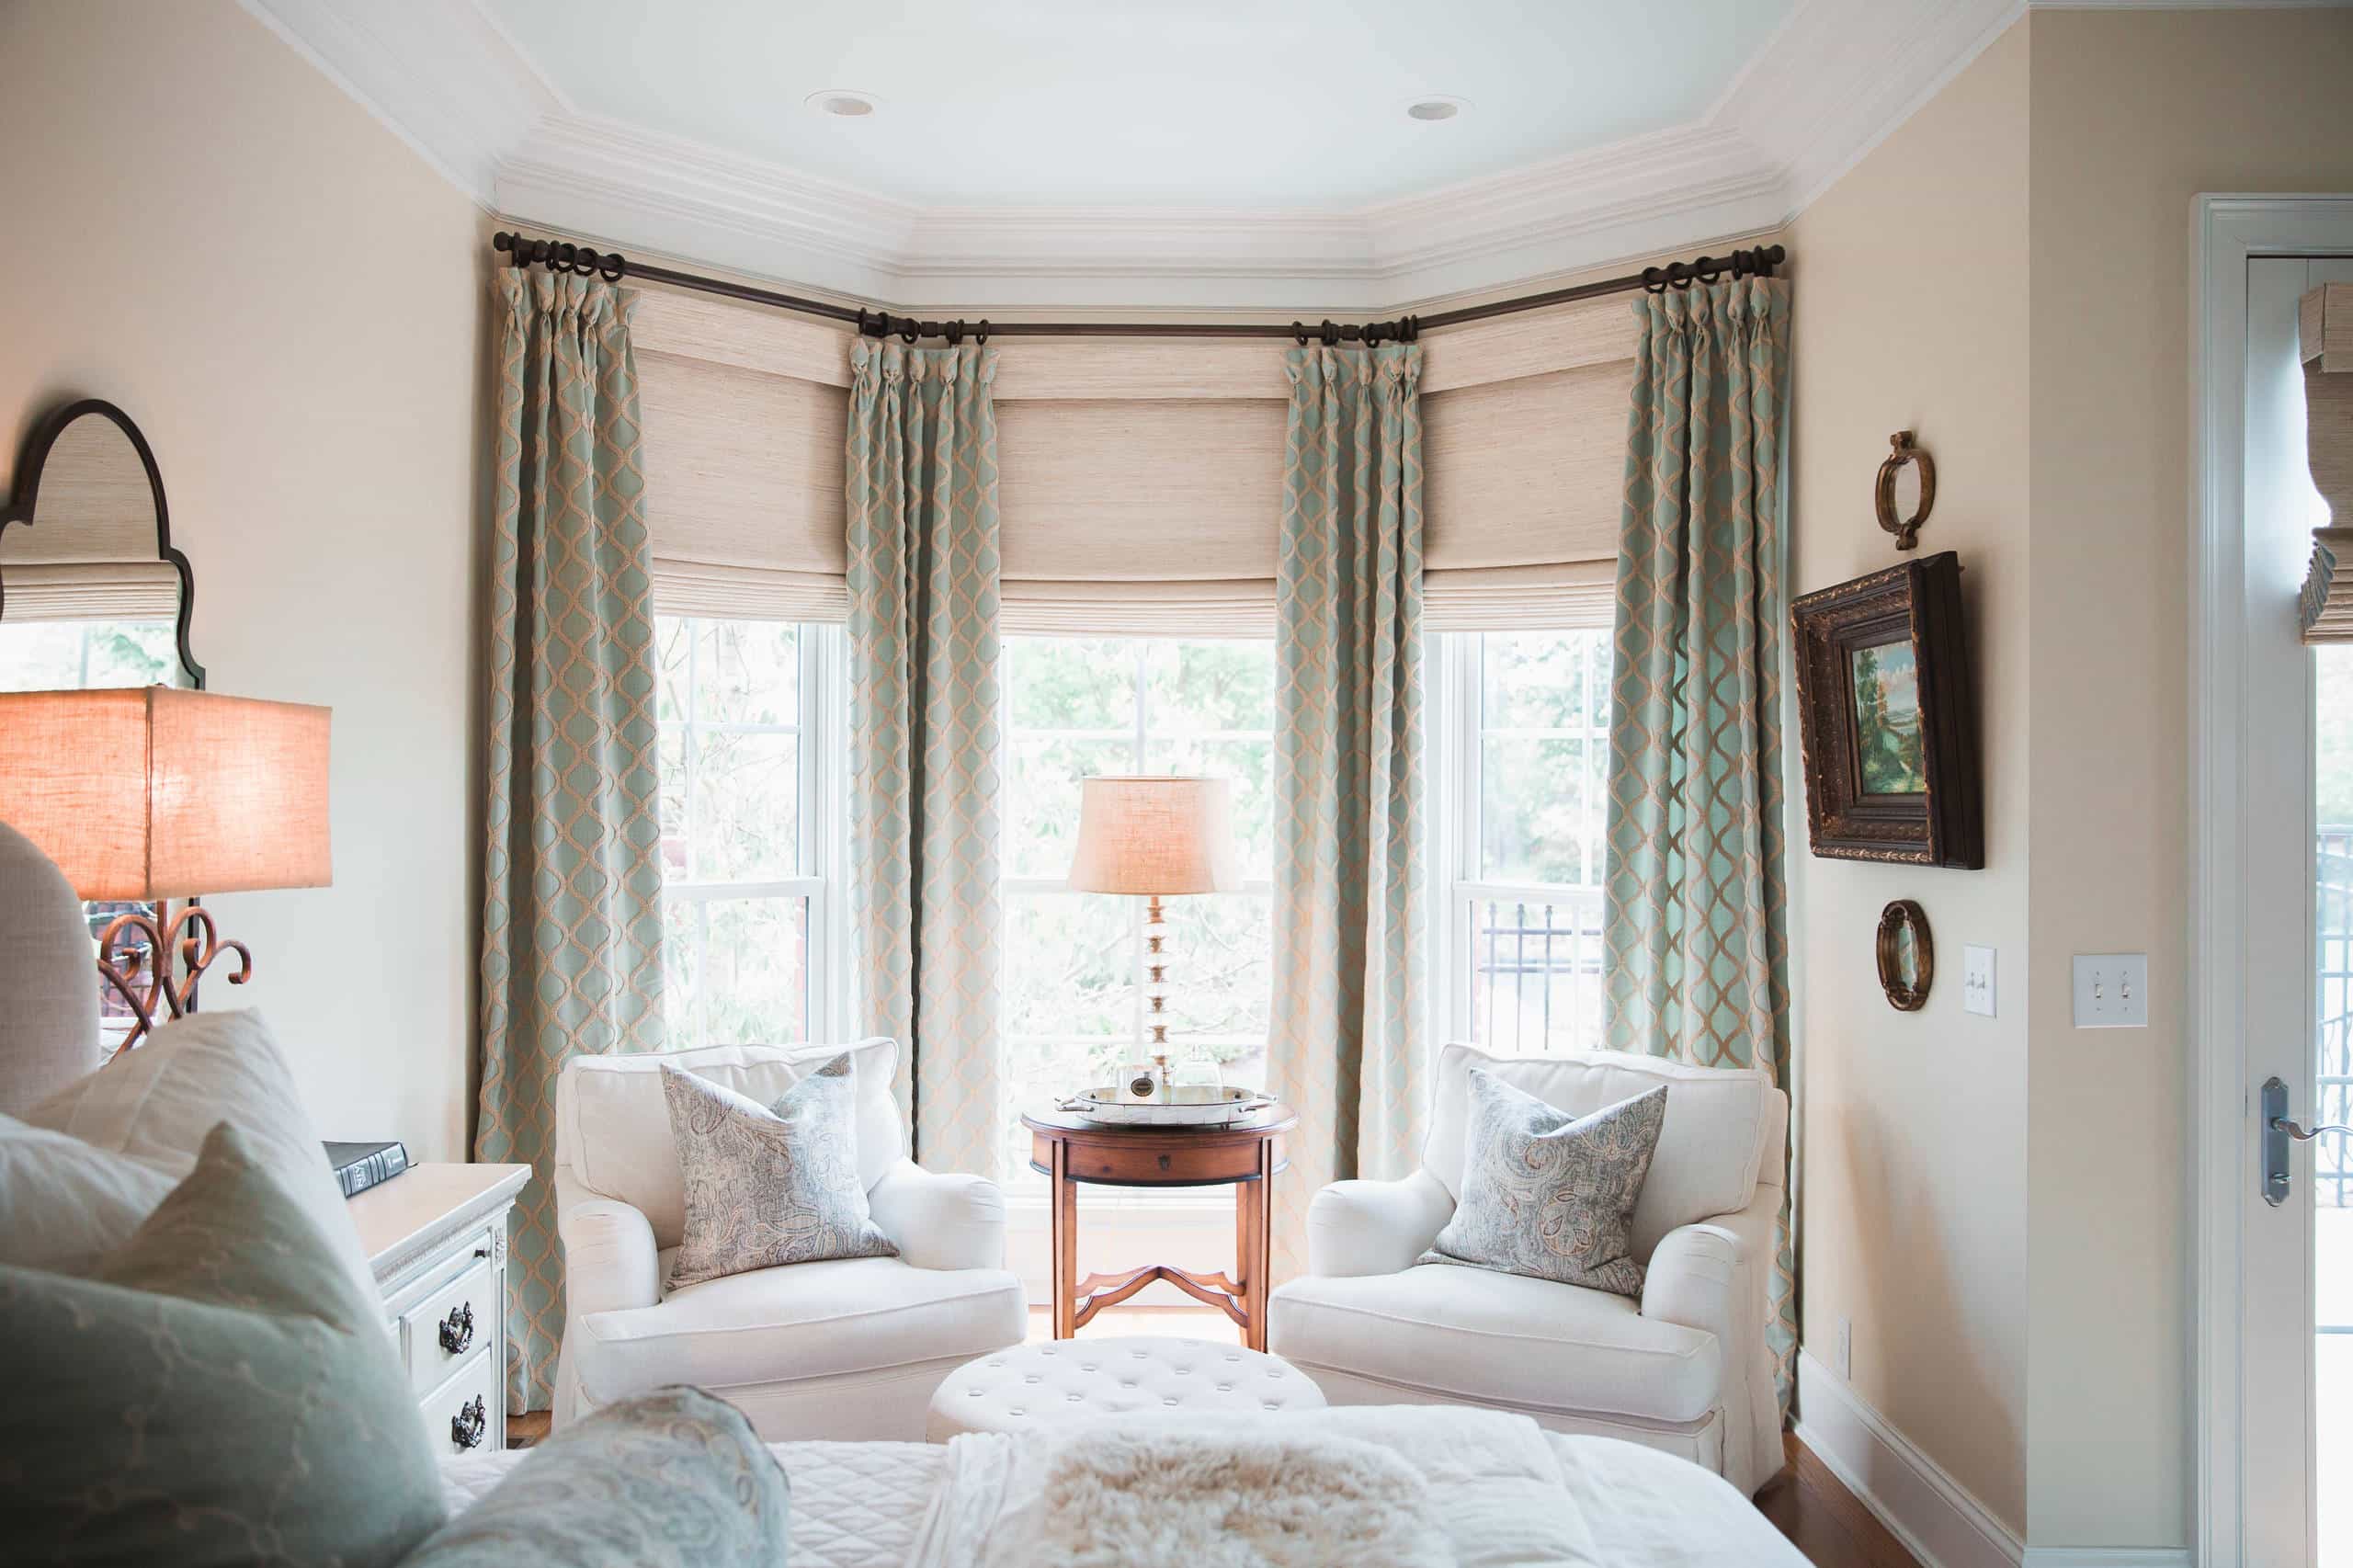
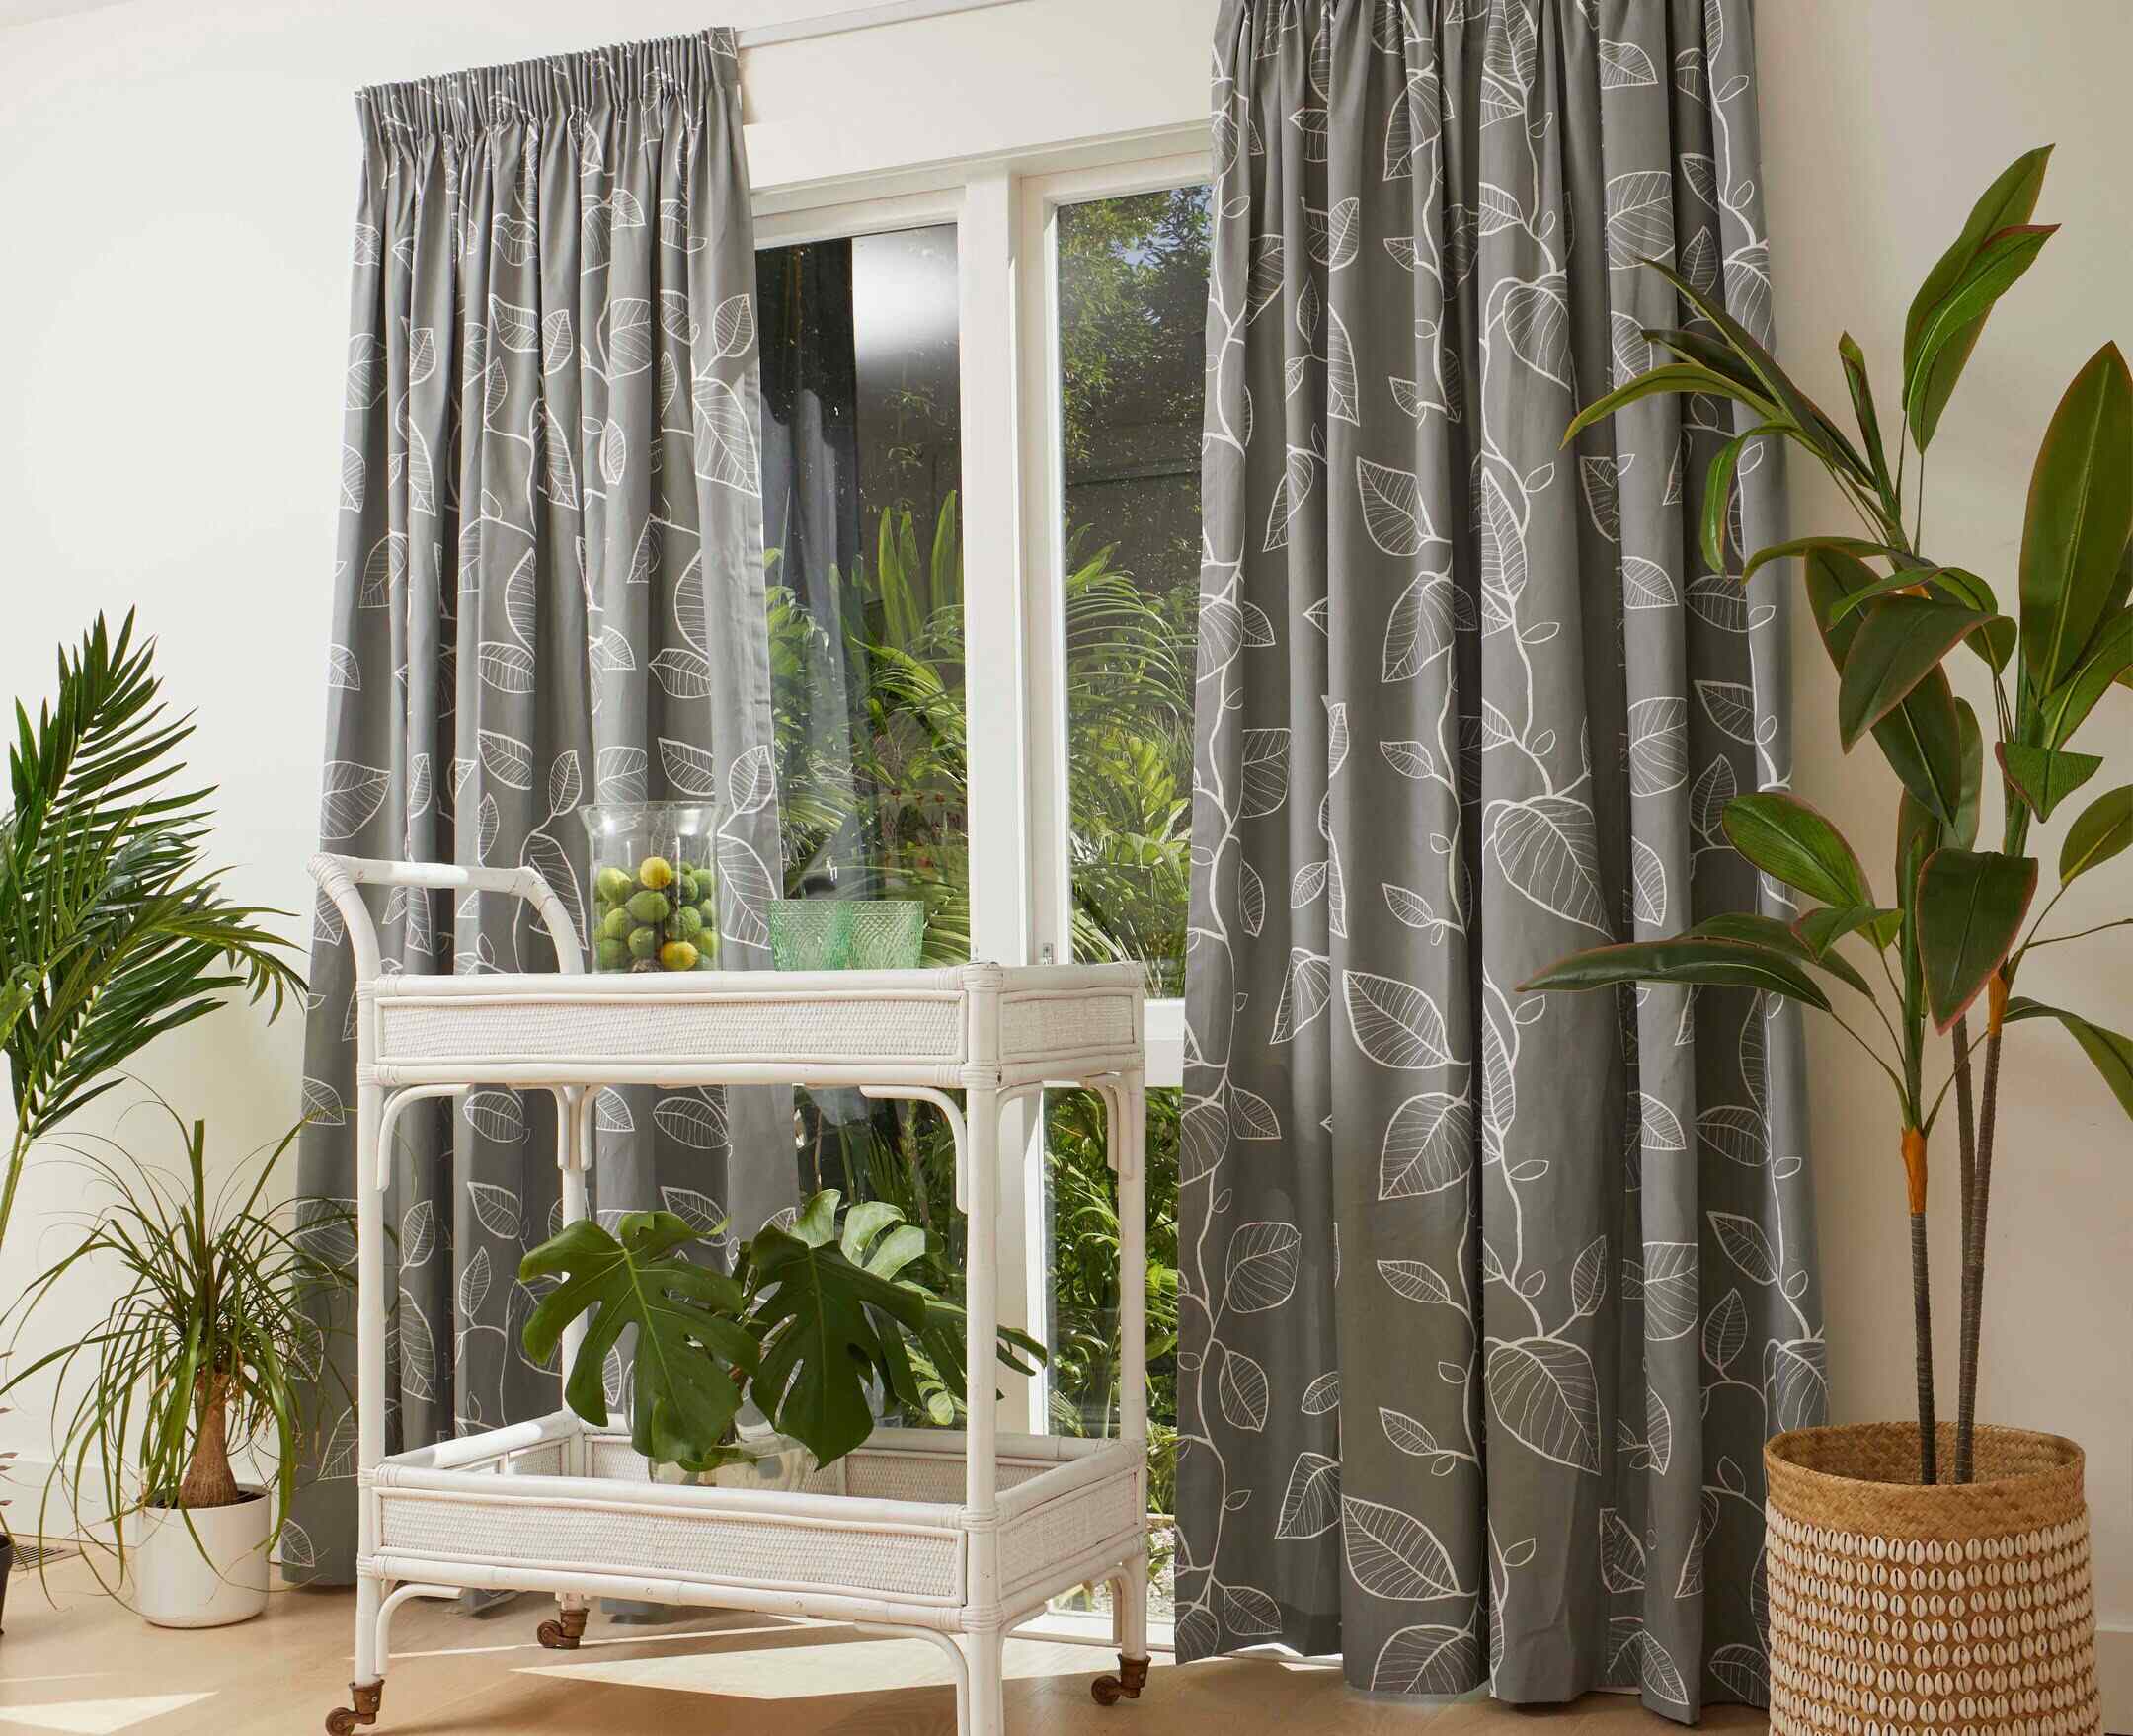
Welcome to this step-by-step guide on how to make tiebacks for drapes! Tiebacks are a functional and stylish accessory for your curtains or draperies, allowing you to create elegant swags and hold your curtains open to let in natural light. Making your own tiebacks not only gives you the flexibility to customize them to match your decor but also adds a personal touch to your window treatments.
In this article, we will walk you through the process of creating tiebacks for your drapes. From selecting the materials to attaching the tiebacks to the curtains, we will cover each step in detail, ensuring that you have all the information you need to successfully complete this DIY project.
Before we dive into the instructions, let’s take a look at the materials you will need for this project:
Key Takeaways:
- Elevate your window treatments with personalized tiebacks that add a touch of elegance and functionality to your drapes. Get creative with fabrics, embellishments, and styles to express your unique taste and improve your home’s aesthetic.
- Transform your drapes into stylish statement pieces by crafting custom tiebacks. Enjoy the process of measuring, cutting, sewing, and adding embellishments to create functional and decorative accessories that reflect your creativity and enhance your home decor.
Read more: How To Make Grommet Drapes
Materials Needed
Before you begin making tiebacks for your drapes, gather the following materials:
- Fabric: Choose a fabric that complements your curtains and is sturdy enough to hold the weight of the drapes. Approximately 1 yard of fabric should be sufficient for a pair of tiebacks.
- Scissors or Rotary Cutter: These tools will be used to cut the fabric to the desired size.
- Measuring Tape: You’ll need this to measure the length and width of your desired tiebacks.
- Ruler: A ruler will help you achieve precise measurements and straight lines when cutting the fabric.
- Thread: Select a thread color that matches the fabric. A sewing machine and hand sewing needle will both be useful for this project.
- Pins: Pins will hold the fabric in place as you sew.
- Iron and Ironing Board: These are essential for pressing the fabric and creating crisp edges.
- Embellishments (optional): If you want to add a decorative touch to your tiebacks, consider gathering beads, buttons, ribbons, or any other embellishments of your choice.
Once you have gathered all the necessary materials, you’re ready to move on to the next steps of the process.
Step 1: Measure and Cut
The first step in making tiebacks for your drapes is to measure and cut the fabric. Follow these steps:
- Measure the Length: Determine the desired length of your tiebacks. This will depend on how much you want the drapes to be held back. Generally, tiebacks are around 1/3 or 1/2 the length of the drapes. Use a measuring tape to measure and mark the length on the fabric, and add an extra inch for seam allowance.
- Measure the Width: Decide on the width of the tiebacks. This can vary depending on the style you prefer. For a standard tieback, a width of 3-4 inches is suitable. Use a ruler to measure and mark the width on the fabric.
- Cut the Fabric: Using scissors or a rotary cutter, carefully cut along the marked measurements to create rectangular pieces of fabric for each tieback.
Ensure that you have a matching pair of fabric pieces for both tiebacks.
Once you have cut the fabric to the desired size, proceed to the next step of folding and sewing.
Step 2: Fold and Sew
Now that you have your fabric pieces cut to size, it’s time to fold and sew them to create the structure of the tiebacks. Follow these steps:
- Fold the Fabric: Take one fabric piece and fold it in half lengthwise, with the right sides of the fabric facing each other. Make sure the edges align perfectly.
- Pin the Edges: Use pins to secure the folded edges in place. This will help to keep the fabric aligned during the sewing process.
- Sew the Seam: Using a sewing machine or a hand sewing needle, sew a straight stitch along the open edge of the fabric, about 1/4 inch from the edge. Backstitch at the beginning and end to secure the seam. If using a sewing machine, set the stitch length to a medium setting for a secure hold.
- Trim Excess Fabric: Trim any excess fabric and threads from the seam allowance to create a clean edge.
- Repeat for the Second Tieback: Repeat the folding and sewing process for the second fabric piece to create the matching tieback.
Once you have folded and sewn both fabric pieces, proceed to the next step of attaching the loop.
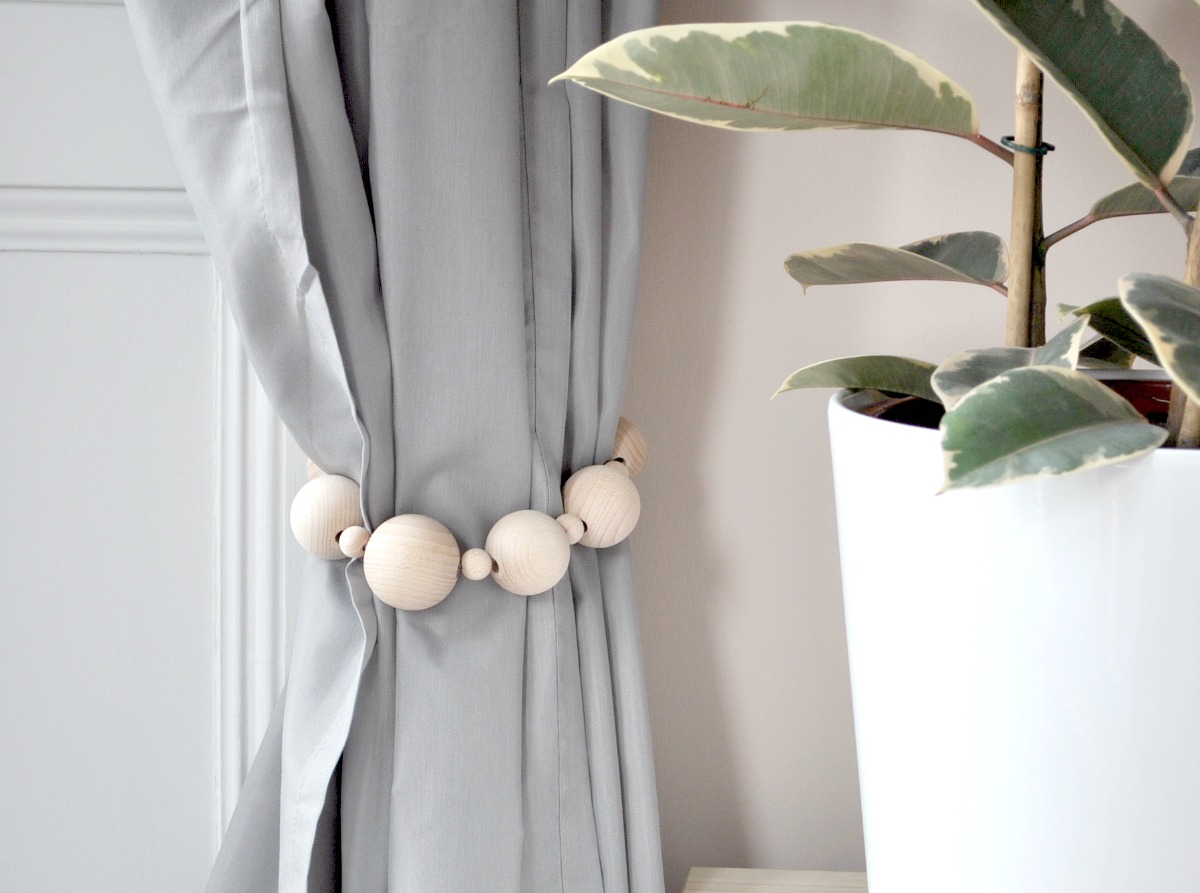
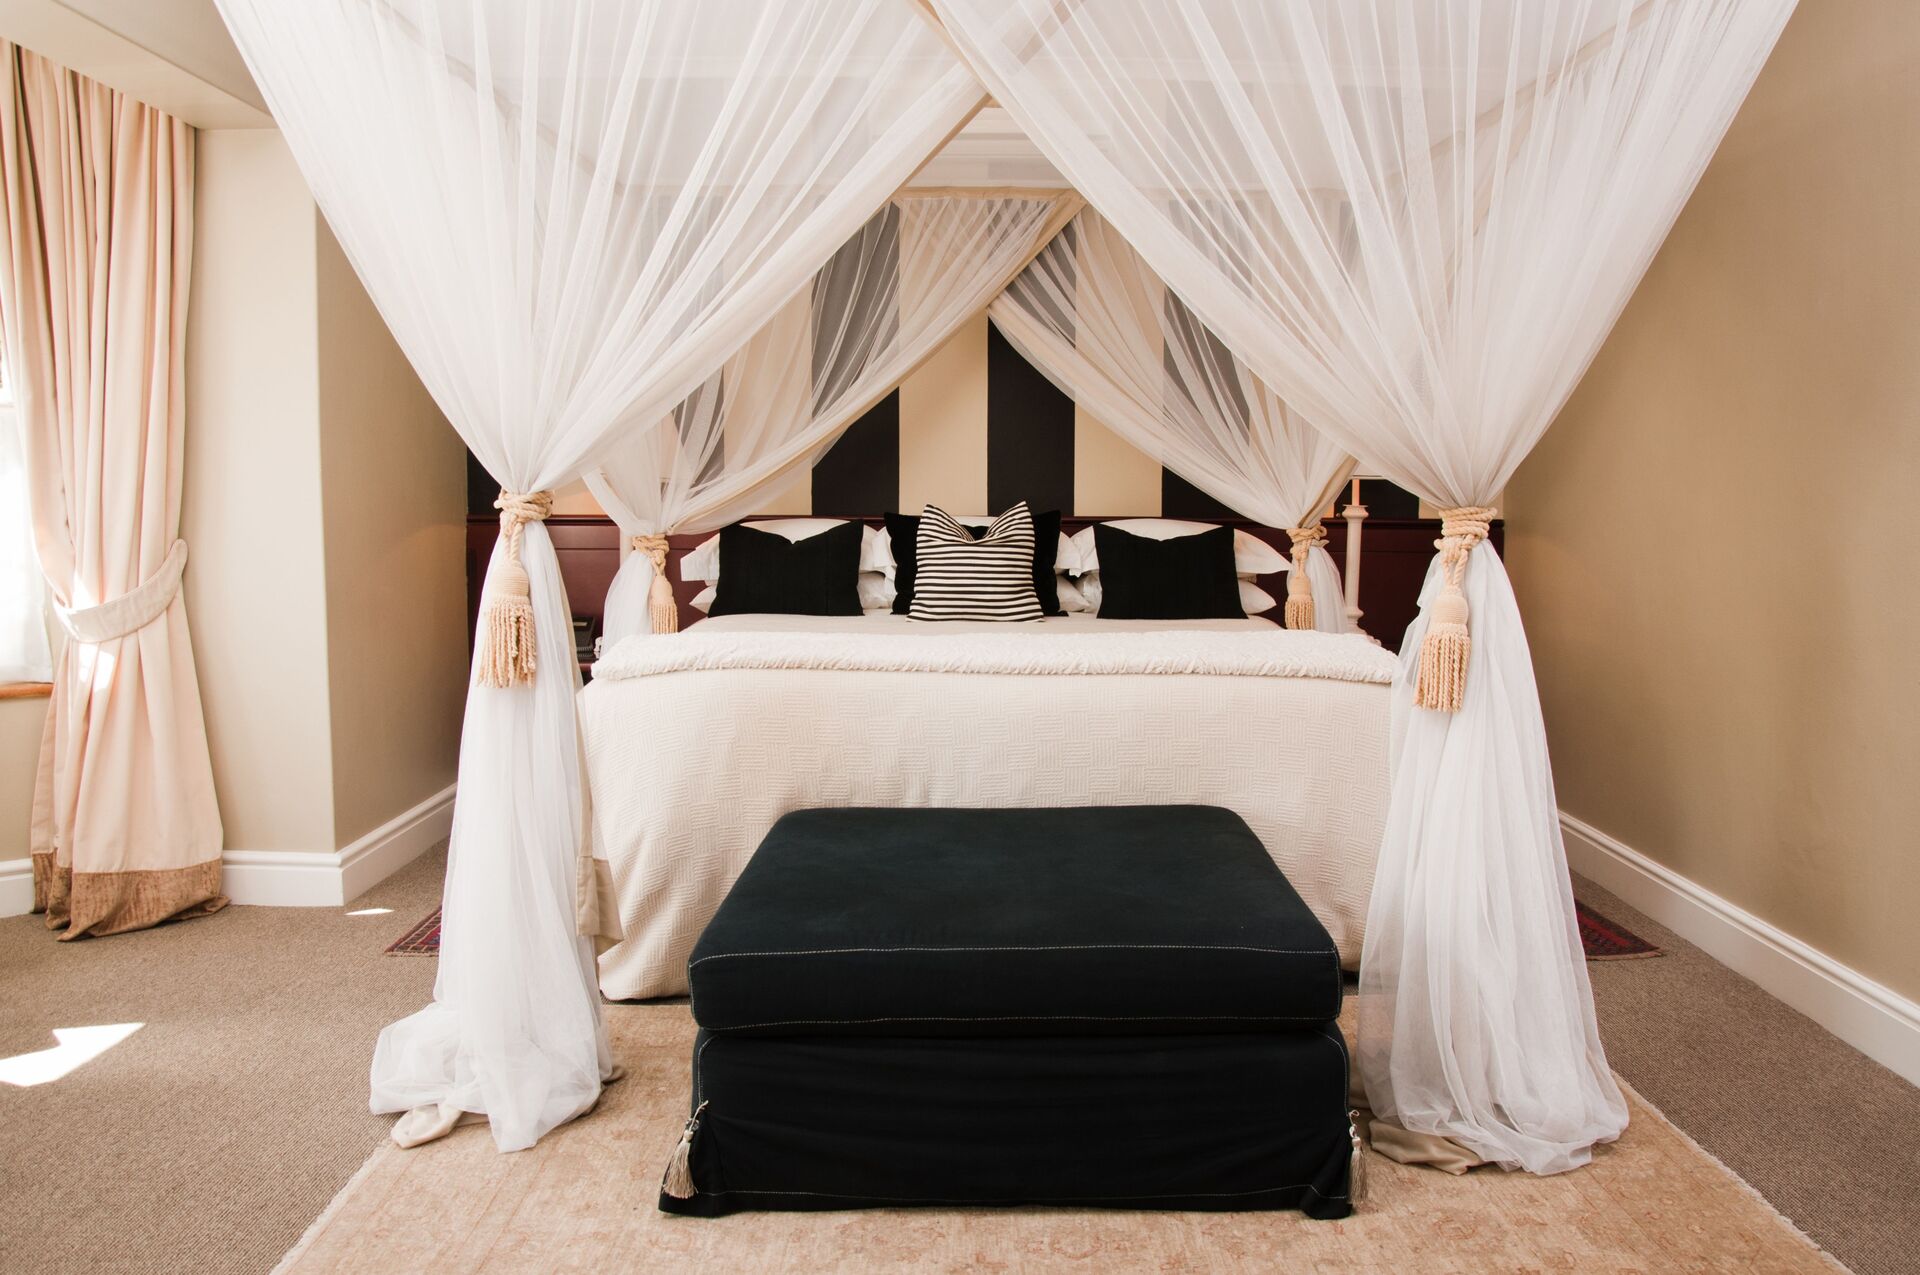
When making tiebacks for drapes, consider using decorative rope or ribbon to add a stylish touch. Measure the desired length and secure the tieback with a simple knot or decorative hook.
Step 3: Attach the Loop
In this step, you will be attaching a loop to each tieback, which will be used to secure it to a hook or curtain rod. Follow these steps:
- Measure and Cut the Loop: Decide on the size of the loop you want for your tiebacks. A loop with a diameter of about 2-3 inches is common. Measure and cut a strip of fabric approximately 6 inches long and 2-3 inches wide for each tieback.
- Fold and Sew the Loop: Take one strip of fabric and fold it in half lengthwise, with the right sides together. Pin the long open edge in place. Sew a straight stitch along the open edge, about 1/4 inch from the edge, leaving both ends open.
- Trim Excess Fabric: Trim any excess fabric and threads from the seam allowance to create a clean edge.
- Turn the Loop Right Side Out: Use a turning tool or a safety pin to turn the fabric strip right side out. Push the fabric through the open ends until the loop is fully turned, and use a blunt object to carefully push out the corners for a neat finish.
- Press the Loop: Use an iron on low heat to press the loop flat, ensuring that the seam is centered on one side of the loop.
- Attach the Loop: Position one end of the loop on the inside of the tieback, aligning it with the seam. Fold the raw edges of the loop under and pin it in place. Sew a few stitches across the folded end of the loop to secure it to the tieback. Repeat this process with the other end of the loop, making sure it is aligned with the other side of the tieback.
Once you have attached the loops to both tiebacks, proceed to the next step of adding embellishments, if desired.
Read more: How To Make Swag Drapes
Step 4: Add Embellishments (optional)
If you want to add a decorative touch to your tiebacks, this step is for you. Adding embellishments can elevate the style of your tiebacks and give them a personalized look. Here’s how you can add embellishments to your tiebacks:
- Select Your Embellishments: Choose the embellishments you want to use, such as beads, buttons, ribbons, or any other decorative elements that match your decor style.
- Plan the Placement: Decide where you want to place the embellishments on your tiebacks. You can place them at the ends, in the center, or in a symmetrical pattern across the fabric. Experiment with different arrangements to find the look you like.
- Attach the Embellishments: Using a needle and thread or a hot glue gun, carefully attach the embellishments to the fabric. If using a needle and thread, sew through the fabric and secure the embellishment with a knot at the back. If using a hot glue gun, apply a small amount of glue to the back of the embellishment and press it onto the fabric.
- Secure Loose Threads: Trim any loose threads from the embellishments or sewing, ensuring a clean and polished look.
Remember, embellishments are optional, and it’s entirely up to you to decide how minimal or elaborate you want your tiebacks to be. Once you have added the desired embellishments, proceed to the final step of attaching the tiebacks to the drapes.
Step 5: Attach the Tieback to the Drapes
Now that your tiebacks are complete, it’s time to attach them to your drapes. Follow these steps to secure the tiebacks:
- Position the Drapes: Hang your drapes or curtains in their desired position. Take note of where you want to hold them back.
- Wrap the Tieback Around: Hold one end of the tieback in your hand and bring it around the front of the drape, positioning it at the desired height.
- Create a Loop: Take the other end of the tieback and thread it through the loop you created in Step 3. Pull it tightly to create a secure loop around the drape.
- Adjust the Placement: Adjust the position of the tieback and the amount of fabric held back until you achieve the desired look. You can create a simple loop or create a more decorative swag effect.
- Repeat for the Second Tieback: Repeat the process for the second tieback, ensuring that they are evenly spaced and symmetrical.
Take a step back and admire your beautifully crafted tiebacks holding back your drapes. Adjust them as needed to achieve the desired look and ensure the drapes are held securely.
With the tiebacks in place, you can now enjoy the functional and decorative benefits they provide to your window treatments!
Conclusion
Congratulations! You have successfully learned how to make tiebacks for your drapes. By following the steps outlined in this guide, you have created functional and stylish accessories that add a personal touch to your window treatments.
Remember, making your own tiebacks allows you to customize them to match your decor and express your creativity. Whether you opt for a minimalist design or embellish them with decorative elements, your tiebacks will enhance the overall look of your curtains while providing functionality.
With just a few materials and some basic sewing skills, you can transform the way your drapes look and create a polished and elegant window display. The measurements, folds, and sewing techniques outlined in this guide ensure that your tiebacks are durable and secure.
Don’t be afraid to experiment with different fabrics, colors, and embellishments to suit your personal style and preferences. Get creative and have fun with the process of making tiebacks that truly reflect your unique taste.
Now that you know how to make tiebacks for your drapes, you can improve the overall aesthetic of your home and enjoy a more open and airy ambiance. So, go ahead and explore your creativity by making beautiful tiebacks that will impress and inspire.
Happy crafting!
Frequently Asked Questions about How To Make Tiebacks For Drapes
Was this page helpful?
At Storables.com, we guarantee accurate and reliable information. Our content, validated by Expert Board Contributors, is crafted following stringent Editorial Policies. We're committed to providing you with well-researched, expert-backed insights for all your informational needs.


0 thoughts on “How To Make Tiebacks For Drapes”