
Articles
How To Make A Tobacco Pipe With Hand Tools
Modified: August 31, 2024
Learn how to create a tobacco pipe using only hand tools with our informative articles. Discover the satisfaction of crafting your own smoking instrument.
(Many of the links in this article redirect to a specific reviewed product. Your purchase of these products through affiliate links helps to generate commission for Storables.com, at no extra cost. Learn more)
Introduction
Welcome to the world of pipe making! Making your own tobacco pipe with hand tools can be a rewarding and satisfying experience. Not only will you have a unique and personal pipe to enjoy, but you will also gain a deeper appreciation for the craftsmanship and artistry that goes into this ancient tradition.
In this article, we will guide you through the step-by-step process of making a tobacco pipe using only hand tools. Whether you are a seasoned woodworker or a beginner with a desire to create something beautiful, this article will provide you with the essential knowledge and techniques needed to craft your own handcrafted pipe.
Before diving into the process, it’s essential to gather all the necessary materials and tools. For this project, you will need a block of briar wood, a drill, carving knives, sandpaper, a file, pipe cleaner, and a buffing wheel. These tools can be found at most woodworking supply stores or online retailers.
Now that you have your materials ready, let’s begin the pipe making journey!
Key Takeaways:
- Crafting a tobacco pipe with hand tools is a fulfilling journey that requires patience, attention to detail, and a passion for craftsmanship. From designing and shaping to assembling and smoking, each step offers a unique and rewarding experience.
- Making your own handcrafted pipe allows for personalization and self-expression, reflecting your individual style and preferences. Embrace the art of pipe making, experiment with different materials and designs, and enjoy the satisfaction of smoking from a pipe crafted with your own hands.
Read more: How To Store Pipe Tobacco At Home
Step 1: Gather Materials
Before you dive into the pipe-making process, it’s important to gather all the necessary materials and tools. Here’s a list of what you’ll need:
- Briar wood block: Briar wood is the most common material used for making tobacco pipes. It is known for its durability, heat resistance, and natural beauty. Look for a high-quality briar block that is suitable for pipe making.
- Drill with bits: You’ll need a drill with the appropriate sized bits to create the draft hole. A drill press is recommended, but a handheld drill can work as well.
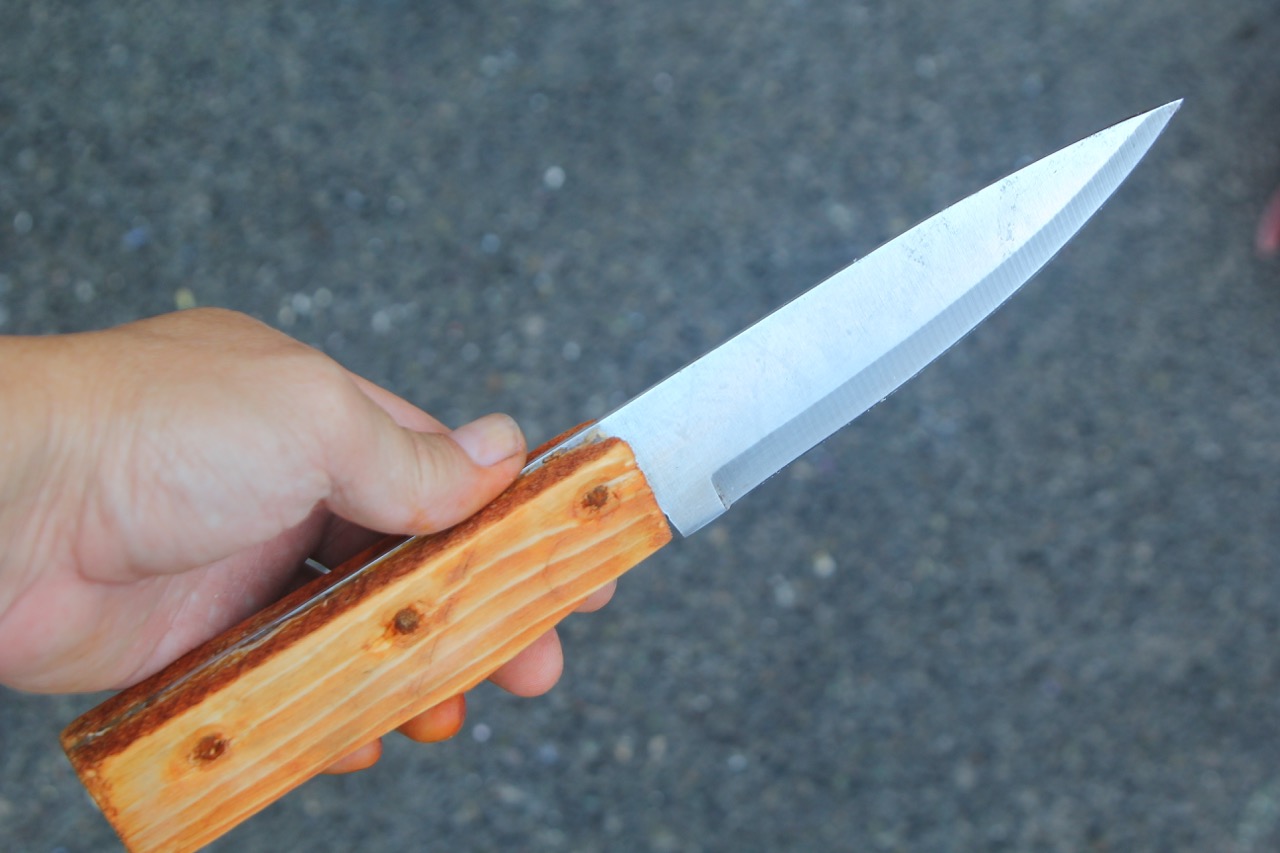
- Carving knives: Choose a set of carving knives that are sharp and comfortable to hold. These will be used to shape and carve the pipe bowl and stem.
- Sandpaper: Get a variety of sandpaper grits, ranging from coarse to fine. This will be used to smooth out the surfaces and achieve a polished finish.
- File: A file will come in handy for shaping and refining the pipe bowl and stem.
- Pipe cleaner: This is essential for maintaining and cleaning your pipe after use. Make sure to have a pack or two of pipe cleaners on hand.
- Buffing wheel: A buffing wheel attached to a drill or a bench grinder will help you achieve a smooth and shiny finish on your pipe.
Once you have gathered all the materials, find a well-ventilated workspace where you can comfortably work on your pipe-making project. It’s also a good idea to have a workbench or a sturdy table to secure the materials and tools.
Remember, pipe making requires patience and attention to detail. Take your time in selecting the right materials and tools, as they will greatly contribute to the quality and success of your finished pipe. Now that you have everything ready, let’s move on to the next step: designing your pipe!
Step 2: Designing the Pipe
Designing your pipe is an important step in the pipe-making process. It’s where your creativity comes into play, allowing you to personalize your pipe and create a design that reflects your style and preferences. Here are a few key points to consider when designing your pipe:
- Shape: Think about the overall shape of your pipe. Do you prefer a classic, straight shape, or a more unique and intricate design? Consider factors such as comfort in holding the pipe and how the shape will affect the smoking experience.
- Bowl size: Decide on the size of the bowl you want. A larger bowl can hold more tobacco, allowing for a longer smoking session, while a smaller bowl may be more suitable for quick, casual smokes.
- Stem style: Consider the style and length of the stem. Do you prefer a traditional tapered stem or a more modern, straight design? Keep in mind that the stem should be comfortable to hold and fit well in your mouth.
- Ornamentation: Determine if you want to incorporate any decorative elements into your pipe design. This can include carving patterns, inlays, or accent materials like silver or brass rings.
Sketch out your design on paper or use a design software if you’re comfortable with it. This will help you visualize your pipe and make any necessary adjustments before you start carving.
Remember, the design is a personal choice, so don’t be afraid to get creative and experiment. Once you have finalized your design, it’s time to move on to the next step: cutting and shaping the bowl.
Step 3: Cutting and Shaping the Bowl
Now that you have your design in place, it’s time to start cutting and shaping the bowl of your pipe. The bowl is the part of the pipe where the tobacco is packed and lit. Follow these steps to create the perfect bowl:
- Marking the bowl: Use a pencil to mark the outline of the bowl on the briar wood block. Make sure to include the dimensions and shape according to your design.
- Cutting the bowl: Using a bandsaw, carefully cut out the marked shape of the bowl from the briar wood block. Take your time to ensure accurate and clean cuts.
- Shaping the bowl: With the rough cut bowl in hand, use carving knives and a file to shape the bowl according to your design. Smooth out any rough edges and gradually shape the bowl to achieve the desired contours and curves.
Keep in mind that the bowl needs to be hollowed out to create the tobacco chamber. You can use a spoon gouge or a small round file to carefully remove wood from the inside of the bowl. Take it slow and check the depth as you go to ensure you don’t go too deep or too shallow.
Throughout the cutting and shaping process, it’s important to constantly refer back to your design and make adjustments as needed. Pay close attention to the dimensions and proportions to ensure a balanced and visually pleasing result.
Once the bowl is satisfactorily shaped and hollowed, use sandpaper of varying grits to smoothen the surface. Start with coarse grits to remove any tool marks and gradually work your way up to finer grits for a polished finish.
Congratulations! You now have a beautifully shaped bowl ready for the next step: drilling the draft hole.
Step 4: Drilling the Draft Hole
Drilling the draft hole is a crucial step in the pipe-making process as it ensures proper airflow and smoking experience. Here’s how you can drill the draft hole for your pipe:
- Choose the right drill bits: Select a drill bit that matches the size of your stem tenon. The stem tenon is the part of the stem that will fit into the draft hole. It’s important to have a snug fit for a seamless assembly.
- Mark the drill entry point: Using a pencil, mark the desired location on the base of the bowl where you want the draft hole to be. Aim for the center of the bottom of the bowl for optimal airflow.
- Secure the bowl: Use a clamp or a vice to secure the bowl in place. This will prevent any movement during the drilling process.
- Drill the draft hole: Carefully align the drill bit with the marked entry point and slowly drill into the bowl. Take your time and apply gentle pressure to avoid any mishaps. Be mindful of the depth and angle of the drill to ensure a precise and accurate hole.
- Clean the draft hole: After drilling the draft hole, use a pipe cleaner or a small brush to remove any wood chips or debris. This will ensure that the hole is clean and free from obstructions.
It’s important to note that the size and angle of the draft hole can greatly affect the smoking characteristics of the pipe. A proper draft hole will allow for a smooth and even burn, while an improperly drilled hole can lead to uneven combustion and a challenging smoking experience.
Once you have successfully drilled the draft hole, you are ready to move on to the next step: carving the stem. This will give your pipe its distinctive look and feel.
When carving a tobacco pipe with hand tools, start with a block of briar wood for best results. Briar wood is heat-resistant and has a natural resistance to fire, making it an ideal choice for a tobacco pipe.
Read more: Who Makes Milwaukee Hand Tools?
Step 5: Carving the Stem
Carving the stem is an integral part of creating a well-crafted tobacco pipe. The stem not only adds to the functionality of the pipe but also contributes to its overall aesthetic appeal. Follow these steps to carve the stem of your pipe:
- Select the stem material: Choose a material that is suitable for carving, such as Ebonite or acrylic. These materials are durable and can withstand the heat of smoking.
- Shape the stem: Using a carving knife or a file, start shaping the stem according to your design. Pay attention to the length, thickness, and curvature, ensuring a comfortable grip and an aesthetically pleasing look.
- Drill the tenon hole: Create a tenon hole at the end of the stem that will fit into the draft hole of the pipe bowl. Use a drill bit that matches the size of the tenon for a snug fit.
- Test the fit: Check the fit of the stem in the draft hole. It should be snug but not too tight. Make any necessary adjustments to ensure a proper fit.
- Shape the mouthpiece: Carve the mouthpiece end of the stem to create a comfortable and functional bite zone. Smooth out any rough edges and ensure a cohesive transition from the stem to the mouthpiece.
As you carve the stem, refer back to your design and make any necessary adjustments to achieve the desired shape and style. Remember to take your time and work with care to create a stem that complements the overall design of your pipe.
Once the stem is carved to your satisfaction, it’s time to move on to the next step: sanding and finishing. This will give your pipe its final smooth and polished appearance.
Step 6: Sanding and FinishingSanding and finishing are crucial steps in creating a beautifully polished pipe that not only feels smooth in your hand but also showcases the natural beauty of the materials used. Follow these steps to achieve a refined and elegant finish:
- Sand the pipe: Start with sandpaper at a coarse grit and gradually work your way to finer grits. Begin by sanding the bowl, stem, and shank. Use circular motions and apply even pressure to remove any tool marks, imperfections, or rough surfaces. Be careful not to oversand and preserve the shape and contours of the pipe.
- Smooth out the stem: Pay extra attention to sanding the stem, ensuring a comfortable and seamless transition from the bowl to the mouthpiece. Use a higher grit sandpaper for the stem to achieve a smooth and polished finish.
- Buff the pipe: Once the sanding is complete, use a buffing wheel attached to a drill or a bench grinder to buff the surfaces of the pipe. Apply a polishing compound to the buffing wheel and gently run the pipe against it to achieve a glossy shine.
- Apply a finish: Consider applying a finish to enhance the appearance and protect the wood. Options for finishes include wax, oil, or varnish. Research the best finish for the type of wood you’re using and apply it according to the manufacturer’s instructions. This will give your pipe a long-lasting and lustrous finish.
Throughout the sanding and finishing process, periodically inspect the pipe for any imperfections that may need to be addressed. Take your time and be meticulous, ensuring that every surface is smooth and flawless.
Once the sanding and finishing are complete, your pipe will emerge with a refined and professional look. Now, it’s time to assemble the different components and prepare for your first smoke! Continue to the next step: assembling the pipe.
Step 7: Assembling the Pipe
Assembling the different components of your pipe is an exciting stage of the pipe-making process. It involves bringing together the bowl, stem, and any additional decorative elements to create a functional and visually appealing pipe. Follow these steps to properly assemble your pipe:
- Ensure a clean fit: Make sure both the draft hole in the bowl and the tenon on the stem are clean and free from any debris or obstructions.
- Apply adhesive (optional): If desired, apply a small amount of epoxy or other pipe glue to the tenon before inserting it into the bowl. This will provide added stability and security, especially for pipes that will be frequently used.
- Insert the stem: Carefully insert the stem tenon into the draft hole of the pipe bowl. Gently twist and push the stem until it fits snugly and securely in place. Be cautious not to force or wiggle the stem too much, as it can cause damage or misalignment.
- Test the fit: Ensure that the stem is aligned properly with the bowl and that there are no gaps or unevenness in the connection. The mouthpiece should sit comfortably in your mouth, allowing for a comfortable smoking experience.
- Make adjustments if necessary: If the fit is not perfect, make minor adjustments by sanding or filing down the tenon or the draft hole until the desired fit is achieved. Take your time to ensure a precise and secure assembly.
Once the pipe is properly assembled and you are satisfied with the fit and alignment, give it a final polish using a cloth or microfiber cloth to remove any fingerprints or smudges. Admire your craftsmanship and get ready to enjoy your handcrafted pipe!
Before lighting your pipe for its inaugural smoke, it’s important to keep a few tips in mind. Continue to the next step for insights on smoking and maintaining your pipe.
Step 8: Smoking and Maintenance Tips
Now that your handcrafted pipe is assembled and ready for use, it’s important to know how to properly smoke and maintain it for optimal performance and longevity. Here are some helpful tips:
- Choose the right tobacco: Select a high-quality tobacco blend that suits your taste preferences. Experiment with different blends to find the ones that you enjoy the most.
- Pack the bowl correctly: Take your time to pack the tobacco in the bowl evenly. Avoid packing it too tightly or too loosely, as this can affect the airflow and burn rate. Achieving the right packing technique may require some trial and error.
- Smoke slowly and gently: Take slow and gentle draws on the pipe to allow the tobacco to burn evenly and avoid excessive heat buildup. Puffing too vigorously may lead to hot spots and a harsh smoking experience.
- Clean your pipe after each use: To maintain the optimal performance of your pipe, it’s essential to clean it thoroughly after each smoking session. Use a pipe cleaner to remove any residue or moisture from the bowl and stem. Allow your pipe to fully dry before using it again.
- Rotate your pipes: If you have multiple pipes in your collection, it’s best to rotate their usage. This allows each pipe to rest and dry out between uses and helps prevent the buildup of excessive moisture and residue.
- Store your pipe properly: Consider investing in a pipe rack or a pipe stand to keep your pipe upright and ensure proper airflow. Store it in a cool, dry place away from direct sunlight and extreme temperatures.
- Periodic maintenance: Over time, the bowl may develop a layer of cake, which is a carbon buildup from smoking tobacco. Use a pipe reamer or a small knife to carefully remove excess cake as needed. This will help maintain optimal airflow and prevent the bowl from overheating.
By following these smoking and maintenance tips, you will not only enhance your smoking experience but also prolong the lifespan of your handcrafted pipe.
Congratulations on completing the steps to make a tobacco pipe with hand tools! Your hard work and dedication have paid off, and now you can enjoy the pleasure of smoking from a pipe that you crafted yourself. Remember to continue exploring and refining your pipe-making skills, as there is always room for further growth and creativity in this timeless craft.
Happy smoking!
Read more: How To Make A Bow With Hand Tools
Conclusion
Crafting a tobacco pipe with hand tools is a truly rewarding experience. From selecting the materials and designing the pipe to shaping the bowl, carving the stem, and assembling the components, every step requires patience, attention to detail, and a passion for craftsmanship.
Throughout this article, we have guided you through the step-by-step process of making your own handcrafted pipe. We started by gathering the necessary materials and tools, followed by designing the pipe to reflect your personal style and preferences. We then moved on to cutting and shaping the bowl, drilling the draft hole, and carving the stem. After sanding and finishing, we learned how to properly assemble the pipe. Finally, we explored smoking and maintenance tips to enjoy your handcrafted pipe to the fullest.
Remember, pipe making is an art form that encourages creativity and self-expression. With each pipe you make, you have the opportunity to create a unique piece that reflects your individuality. Embrace the journey of pipe making, and don’t be afraid to experiment with different shapes, materials, and finishes.
Making a tobacco pipe with hand tools requires dedication and practice. As you continue honing your skills, you’ll gradually refine your techniques and produce even more exquisite pipes. Whether you become an avid pipe maker or simply enjoy the occasional project, the satisfaction of smoking from a pipe that you have crafted with your own hands is unparalleled.
So, gather your tools, unleash your creativity, and embark on this fulfilling journey of making your own tobacco pipes. Enjoy the process, savor the craftsmanship, and revel in the pleasure of smoking from a pipe that is truly one-of-a-kind.
Happy pipe making!
Frequently Asked Questions about How To Make A Tobacco Pipe With Hand Tools
Was this page helpful?
At Storables.com, we guarantee accurate and reliable information. Our content, validated by Expert Board Contributors, is crafted following stringent Editorial Policies. We're committed to providing you with well-researched, expert-backed insights for all your informational needs.


0 thoughts on “How To Make A Tobacco Pipe With Hand Tools”