Articles
How To Make Trim Using Hand Tools
Modified: October 20, 2024
Learn the basics of using trim hand tools with our informative articles. Enhance your woodworking skills and create professional-looking trim work.
(Many of the links in this article redirect to a specific reviewed product. Your purchase of these products through affiliate links helps to generate commission for Storables.com, at no extra cost. Learn more)
Introduction
Welcome to the world of DIY woodworking! If you’re looking to add a touch of elegance and charm to your home, one way to achieve that is by installing trim. Trim adds architectural detail and enhances the overall aesthetic of a room. While you can always purchase pre-made trim, there’s something special about creating your own custom trim hand tools. In this article, we’ll guide you through the process of making your own trim hand tools, providing you with the satisfaction of crafting something unique and functional.
Creating your own trim hand tools allows you to customize and personalize the design according to your preferences. Whether you’re aiming for a classic, Victorian-inspired look, or a more modern and minimalist style, making your own trim hand tools will give you the freedom to achieve the exact look you desire. Plus, it’s a cost-effective alternative to purchasing pre-made tools.
To get started, you’ll need a few essential tools and materials. Don’t worry, we’ll guide you through the entire process, from choosing the right wood for your trim to attaching it to the desired surface. So, grab your woodworking gear and let’s dive into the world of trim hand tools!
Key Takeaways:
- Crafting your own trim hand tools allows for personalized, cost-effective, and unique woodworking creations. From choosing the right wood to attaching the trim, this DIY project offers a satisfying and elegant touch to any home.
- Proper maintenance and care are essential for preserving the beauty and functionality of homemade trim hand tools. Regular cleaning, protection from moisture and sunlight, and periodic inspections will ensure their longevity and enhance the overall aesthetic of the living space.
Read more: How To Make A Cutting Board Using Hand Tools
Tools and Materials Needed
Before you begin making your own trim hand tools, it’s important to gather all the necessary tools and materials. Here’s a list of what you’ll need:
- Wood: Choose a high-quality wood that is durable and easy to work with. Common options include pine, oak, and maple.
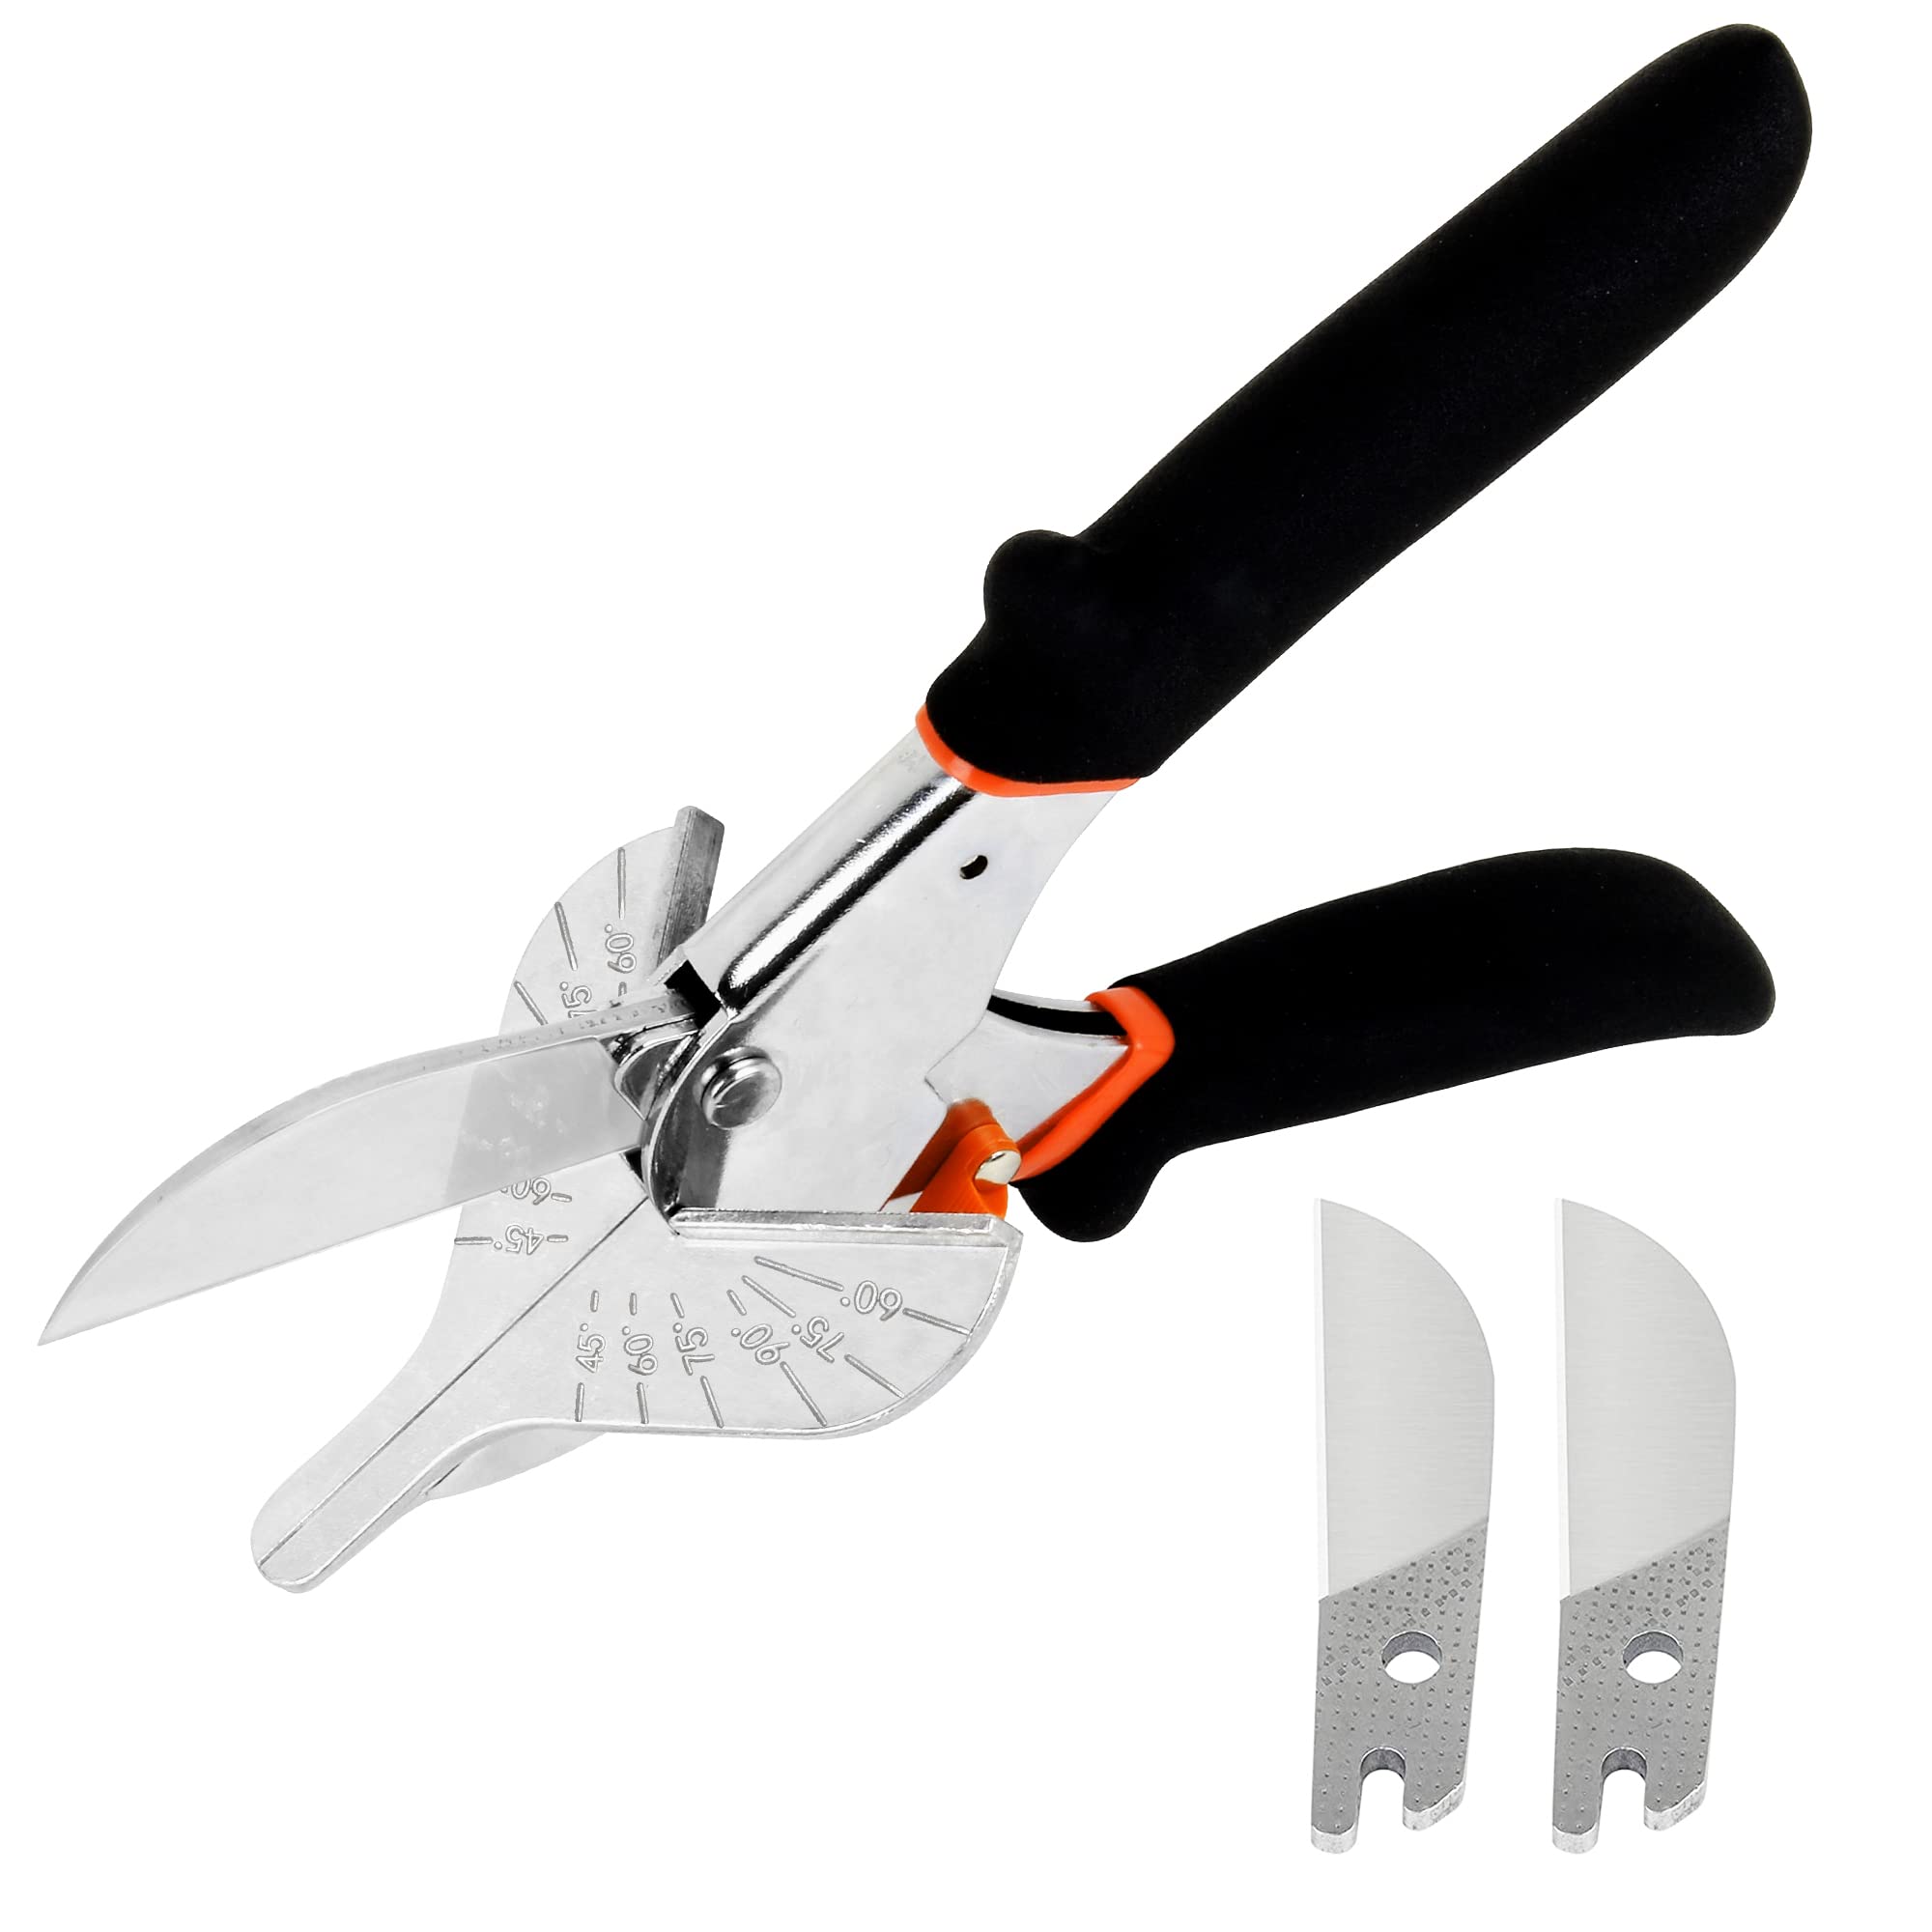
- Saw: You’ll need a saw to cut the wood into the desired shapes for your trim hand tools. A miter saw or a hand saw will work well for this purpose.
- Sandpaper: To achieve smooth and polished edges on your trim hand tools, have various grits of sandpaper on hand, ranging from coarse to fine.
- Woodworking Tools: Depending on the design of your trim hand tools, you may need additional woodworking tools such as chisels, rasps, and files to refine the shapes and details.
- Measuring Tools: Precise measurements are crucial when creating trim hand tools. Make sure you have a tape measure, ruler, and marking tools like pencils or markers.
- Clamps: Clamps will come in handy to secure the wood pieces in place while you work on shaping and attaching them together.
- Wood Glue: Use a strong wood glue to bond the different pieces of your trim hand tools together. Make sure to choose a glue that dries clear for a seamless finish.
- Finishing Materials: Depending on your preference, you may want to apply a finish or paint to your trim hand tools. Have paintbrushes, stains, varnishes, or sealants ready for this step.
Remember to prioritize safety while working with tools. Wear appropriate safety gear, such as protective eyewear and gloves, and work in a well-ventilated area.
Now that you have all the necessary tools and materials, it’s time to move on to the next step: choosing the right wood for your trim hand tools.
Step 1: Choosing the Right Wood for Trim
When it comes to selecting the wood for your trim hand tools, there are a few factors to consider. The type of wood you choose will affect the overall durability, appearance, and ease of working with your tools. Here are some considerations to keep in mind:
1. Durability: Opt for a wood species that is known for its durability to ensure that your trim hand tools will withstand regular use and last for years to come. Hardwoods like oak and maple are excellent choices due to their strength and resistance to wear and tear.
2. Workability: Consider the ease of working with the wood. Some woods are less prone to splintering and are easier to shape and carve. Pine, for example, is a softwood that is commonly used for trim due to its workability and affordability.
3. Aesthetic Appeal: Think about the overall look and feel you want to achieve with your trim hand tools. Different wood species have distinct grains, colors, and finishes. Choose a wood that complements the style of your home and matches your personal taste.
4. Availability and Cost: Consider the availability of the wood species in your area and how it fits within your budget. Some rare or exotic woods may be harder to find and more expensive. If you’re on a tight budget, there are plenty of affordable options available that still offer excellent quality.
5. Sustainability: It’s always a good idea to consider the environmental impact of your wood choices. Look for lumber that is sustainably sourced or certified by organizations such as the Forest Stewardship Council (FSC), which ensure responsible forestry practices.
Ultimately, the choice of wood will depend on your specific needs and preferences. Visit local lumberyards or specialty wood suppliers to see and feel the different types of wood available. Take your time to compare their features and consult with the experts to make an informed decision.
Now that you have selected the perfect wood for your trim hand tools, it’s time to move on to the next step: measuring and planning.
Step 2: Measuring and Planning
Before you begin cutting the wood for your trim hand tools, it’s crucial to take accurate measurements and plan out your design. This step will ensure that your tools fit perfectly and achieve the desired aesthetic. Here’s how to proceed:
1. Measure the Area: Start by measuring the area where you intend to install the trim. Whether it’s along the edges of walls, windows, or doors, take precise measurements to determine the length and width needed for your tools.
2. Sketch Your Design: Use graph paper or a design software to sketch your trim hand tools. Decide on the overall shape, size, and decorative elements you want to incorporate. This will serve as a visual guide throughout the process.
3. Determine the Profiles: Consider the profile or cross-sectional shape of your trim hand tools. Common options include flat, rounded, or beveled edges. Experiment with different profiles to see what best suits your design and the architectural style of your space.
4. Plan the Joinery: If your trim hand tools require multiple pieces to be attached together, plan the joinery method you will use. Mortise and tenon, lap joints, or pocket screws are commonly employed techniques. Ensure that the joinery method you choose is both strong and visually appealing.
5. Consider the Details: Take into account any decorative details or embellishments you’d like to add to your trim hand tools. These could include intricate carvings, moldings, or routed patterns. Plan where these details will be placed and how they will enhance the overall design.
6. Trim Allowances: Keep in mind that you might need to trim the edges of your pieces slightly during the fitting process. Allow for a small margin to ensure a snug fit when installing the trim.
By taking the time to measure accurately and plan out your design, you’ll save yourself from any potential errors or wasted materials. Once you’re confident in your measurements and design, it’s time to move on to the next step: cutting the wood for your trim hand tools.
Step 3: Cutting the Trim Pieces
Now that you have a well-thought-out plan and precise measurements, it’s time to cut the wood into the desired shapes for your trim hand tools. This step requires careful attention to detail and proper cutting techniques. Here’s how to proceed:
1. Set Up Your Workstation: Prepare a clean and organized workspace where you can safely cut the wood. Ensure that your tools and materials are easily accessible and that you have enough room to maneuver the wood pieces.
2. Mark the Measurements: Transfer the measurements from your plan onto the wood pieces. Use a pencil or marking tool to mark the areas where you will make your cuts. Double-check the measurements to avoid any errors.
3. Secure the Wood: Use clamps or a vise to securely hold the wood in place while you make your cuts. This will prevent the wood from slipping or moving during the cutting process, ensuring clean and accurate cuts.
4. Choose the Right Saw: Depending on your design and the thickness of the wood, select the appropriate saw for the job. A miter saw or a hand saw with fine teeth is typically used for cutting trim pieces.
5. Follow Your Markings: Carefully align the saw blade with the marked lines and make your cuts. Take your time and apply steady pressure as you guide the saw through the wood. Ensure that your cuts are clean, straight, and match the measurements you’ve marked.
6. Cut Multiple Pieces: If your trim hand tools require multiple pieces, repeat the cutting process for each piece. Take extra care to ensure consistency in size and shape among all the pieces.
7. Refine the Edges: After cutting the pieces, you may notice rough edges or splintering. Use sandpaper to smooth out the edges and achieve a clean finish. Start with a coarse grit sandpaper and gradually move to finer grits to achieve the desired level of smoothness.
Remember to wear proper safety gear, such as safety goggles and gloves, and follow all safety precautions while cutting the wood. Once you’ve cut all the trim pieces, you’re ready to move on to the next step: sanding and smoothing the edges.
When making trim hand tools, ensure that the edges are sharp and precise for clean cuts. Use high-quality materials and regularly maintain and sharpen the tools for optimal performance.
Read more: Who Makes Milwaukee Hand Tools?
Step 4: Sanding and Smoothing the Edges
Now that you have cut the wood into the desired shapes for your trim hand tools, it’s time to sand and smooth the edges for a professional and polished finish. Sanding not only removes any roughness or splintering but also prepares the wood for painting or staining. Follow these steps to achieve smooth and refined edges:
1. Gather Your Sanding Materials: You’ll need sandpaper or sanding blocks of varying grits. Start with a coarser grit (around 80 or 120) to remove any rough edges or imperfections and then progress to finer grits (such as 220 or 320) for a smoother finish.
2. Sand the Edges: Hold the trim piece securely in place and begin sanding the edges. Use a back-and-forth or circular motion to sand evenly along the edges. Take care not to press too hard to avoid sanding away too much material.
3. Smooth the Surfaces: In addition to the edges, sand the surfaces of the trim pieces to ensure an even finish. Use long, smooth strokes to sand along the length of the wood, following the grain. This will help achieve a consistent and polished look.
4. Gradually Progress to Finer Grits: As you move to finer grit sandpaper, continue sanding the edges and surfaces of the trim pieces. The finer grits will help remove any remaining roughness and provide a smooth touch. Be sure to blend the areas where different grits of sandpaper were used for a seamless finish.
5. Remove Dust: After sanding, wipe away any dust or debris using a clean cloth or brush. It’s essential to remove all traces of particles before applying any finishes or paints to ensure a flawless result.
6. Check for Smoothness: Run your fingers along the edges and surfaces of the trim pieces to ensure they feel smooth and free from any roughness. If you notice any areas that still require additional sanding, go over them with a finer grit sandpaper until you achieve the desired level of smoothness.
By taking the time to properly sand and smooth the edges, you’ll not only improve the overall appearance of your trim hand tools but also enhance their functionality and durability. Once you’ve completed this step, it’s time to move on to the exciting part: attaching the trim to the desired surface.
Step 5: Attaching the Trim to the Desired Surface
Now that you have prepared and refined your trim pieces, it’s time to attach them to the desired surface. This step requires precision and careful attention to detail to ensure a secure and seamless installation. Here’s how to proceed:
1. Prepare the Surface: Before attaching the trim, ensure that the surface is clean and free from any dust, dirt, or debris. This will allow for better adhesion and a smooth installation.
2. Dry Fit the Trim: Place the trim pieces in their intended positions without adhesive or fasteners. This step allows you to visualize the final look and make any necessary adjustments or modifications before permanently attaching the trim.
3. Apply Adhesive: Depending on the type and size of the trim pieces, you can use an appropriate adhesive, such as wood glue or construction adhesive. Apply the adhesive to the back of the trim pieces, ensuring even coverage.
4. Secure the Trim: Press the trim pieces firmly against the surface, aligning them with the desired positioning. Use clamps or tape to hold the trim in place while the adhesive cures. Follow the manufacturer’s instructions regarding the drying time for the adhesive.
5. Add Fasteners (if necessary): In some cases, you may need to reinforce the trim with additional fasteners, such as nails or screws. If using fasteners, ensure they are properly positioned and countersunk to achieve a flush surface. Use a nail punch or a screwdriver to set the fasteners below the wood’s surface.
6. Fill and Sand: If there are any noticeable gaps or unevenness between the trim and the surface, use wood filler to fill them. Once the filler is dry, sand the filled areas to achieve a smooth and seamless transition.
7. Remove Excess Adhesive: After the adhesive has fully cured, carefully remove any excess adhesive using a putty knife or a scraper. Take care not to damage the trim or the surface while removing the excess adhesive.
8. Touch-up and Finish: If necessary, touch up any filled areas or imperfections with paint or stain that matches the trim. Apply the finish with a brush or cloth following the manufacturer’s instructions. Allow the finish to dry before moving on to the final step.
By following these steps, you can ensure that your trim is securely and beautifully attached to the desired surface. Now, let’s move on to the next step: finishing and painting the trim to enhance its appearance even further.
Step 6: Finishing and Painting the Trim
Finishing and painting your trim hand tools is an essential step in enhancing their appearance and protecting the wood from wear and tear. Whether you prefer a natural wood finish or a splash of color, following the right technique will result in a professional and aesthetically pleasing outcome. Here’s how to proceed:
1. Choose a Finish: Decide on the type of finish you want for your trim hand tools. Options include natural wood finishes like varnish or oil, or a painted finish for a pop of color. Consider the style and décor of the room where the trim will be installed to select an appropriate finish.
2. Prepare the Surface: If you chose a natural wood finish, ensure that the trim surface is smooth and free from any dust or imperfections. Use fine-grit sandpaper or steel wool to gently smooth the surface before applying the finish.
3. Apply the Finish: Follow the manufacturer’s instructions for your chosen finish. Using a brush or cloth, apply an even coat of the finish, working with the grain of the wood. Allow the finish to penetrate and dry according to the recommended drying time.
4. Sand between Coats: If you are applying multiple coats of finish, lightly sand the surface with fine-grit sandpaper between coats to smooth out any imperfections. Wipe away any dust before applying the next coat.
5. Paint (if desired): If you prefer a painted finish, ensure that the wood surface is clean and free from dust. Apply a primer to the trim before painting to enhance adhesion and achieve a more even finish. Once the primer is dry, apply your chosen paint color in thin and even coats, allowing each coat to dry before proceeding with the next.
6. Touch-ups and Detailing: After the finish or paint has dried, inspect the trim for any areas that require touch-ups. Use a fine brush to carefully touch up any imperfections or areas where the finish may have worn off during handling or installation.
7. Seal the Finish: Once you are satisfied with the finish or paint, you can choose to seal it for added protection. Apply a clear sealant or topcoat according to the manufacturer’s instructions. This will help protect the finish and extend the life of your trim hand tools.
Remember to allow sufficient drying time between each application and handle the trim with care to avoid smudges or damage to the finish. With the finishing touches complete, your trim hand tools are almost ready to be admired and enjoyed! In the final step, we’ll go over some maintenance and care tips to keep your trim looking its best.
Step 7: Maintenance and Care Tips
Proper maintenance and care are crucial for preserving the beauty and functionality of your trim hand tools. With regular upkeep, you can ensure that they remain in excellent condition for years to come. Here are some maintenance and care tips to follow:
1. Cleaning: Regularly dust and clean your trim hand tools to remove any dirt or debris that may accumulate on the surface. Use a soft cloth or a duster to gently wipe away dust, and avoid using harsh chemicals or abrasive cleaners that may damage the finish.
2. Avoid Excessive Moisture: Moisture can cause wood to swell, warp, or rot. Avoid exposing your trim hand tools to excessive moisture, such as direct contact with water or high humidity environments. Promptly wipe off any spills or moisture that may come into contact with the trim.
3. Protect from Sunlight: Prolonged exposure to sunlight can cause the wood to fade or darken over time. If your trim hand tools are installed in an area that receives direct sunlight, consider using curtains or blinds to block out harmful UV rays or use a protective sealant that includes UV inhibitors.
4. Prevent Scratches: Take precautions to prevent scratches on your trim hand tools. Use protective pads or felt on furniture or items that come into contact with the trim to avoid unintentional damage. Use caution when moving objects around to prevent accidental bumps or scratches.
5. Check for Damage: Regularly inspect your trim hand tools for any signs of damage, such as cracks, dents, or loose pieces. Address any issues promptly to prevent further damage and maintain the structural integrity of the trim. Repair or replace damaged pieces as necessary.
6. Maintain the Finish: Depending on the type of finish you applied, periodic maintenance may be required. Follow the manufacturer’s guidelines for reapplication or touch-ups to keep the finish looking fresh and protective. If you notice any wear or unevenness, consider sanding and refinishing the affected areas.
7. Store Properly (if removable): If your trim hand tools are removable, store them in a dry and temperature-controlled environment when not in use. Protect them from excessive heat, moisture, or direct sunlight to prevent damage and prolong their lifespan.
By following these maintenance and care tips, you can keep your trim hand tools in optimal condition and enjoy their beauty for many years to come. Remember, regular care and attention will go a long way in preserving the craftsmanship and functionality of your homemade trim hand tools.
With all these steps complete, you can step back and admire your handiwork. Congratulations on successfully making and installing your own custom trim hand tools!
Enjoy the elegant and personalized touch they bring to your home.
Happy woodworking!
Conclusion
Congratulations! You have successfully completed the journey of making your own trim hand tools. By following the steps outlined in this article, you have learned how to choose the right wood, measure and plan your design, cut and shape the trim pieces, sand and smooth the edges, attach the trim to the desired surface, finish and paint it, and maintain and care for your handcrafted tools.
Creating your own trim hand tools not only allows you to add a unique and personal touch to your home but also gives you the satisfaction of crafting something functional and beautiful with your own hands. The ability to customize the design and choose the materials allows you to perfectly complement the architectural style and décor of your space.
Remember to prioritize safety throughout the process and use the appropriate tools and protective gear. Taking the time to measure accurately, refine the edges, and apply a quality finish will result in a professional and polished end result.
By maintaining and caring for your trim hand tools properly, you can ensure their longevity and enjoy their beauty for many years to come. Regular cleaning, protection from moisture and sunlight, and periodic inspections will help preserve the integrity and appearance of your handcrafted tools.
Now that you have completed your trim hand tools, it’s time to admire your craftsmanship and enjoy the elegant touch they bring to your home. Whether you’ve installed them along the edges of walls, windows, doorways, or any other area, take pride in the fact that you’ve added a special and personalized element to your living space.
Keep the knowledge and skills you’ve gained through this project in mind for future woodworking endeavors. The world of DIY woodworking is vast and exciting, filled with endless possibilities for creating and customizing beautiful pieces.
So, embrace your creativity, grab your tools, and venture into the world of woodworking. With your newfound skills and passion, you’ll be amazed at what you can create.
Happy woodworking!
Frequently Asked Questions about How To Make Trim Using Hand Tools
Was this page helpful?
At Storables.com, we guarantee accurate and reliable information. Our content, validated by Expert Board Contributors, is crafted following stringent Editorial Policies. We're committed to providing you with well-researched, expert-backed insights for all your informational needs.


0 thoughts on “How To Make Trim Using Hand Tools”