Articles
How To Make 80 Percent Lower With Hand Tools
Modified: August 31, 2024
Learn how to make an 80 percent lower using just hand tools with these informative articles. Transform your firearms with ease and precision.
(Many of the links in this article redirect to a specific reviewed product. Your purchase of these products through affiliate links helps to generate commission for Storables.com, at no extra cost. Learn more)
Introduction
Building your own firearm can be a rewarding and fulfilling experience. It allows you to have a deeper understanding of how guns work and gives you the opportunity to customize your weapon to suit your needs. One popular project among firearms enthusiasts is the creation of an 80 percent lower receiver, a crucial component in building an AR-15 or other firearm. In this article, we will guide you through the process of making an 80 percent lower using hand tools.
Before we dive into the details, let’s clarify what an 80 percent lower receiver is. An 80 percent lower is essentially an unfinished firearm receiver. It gets its name from the fact that it is only 80 percent complete, requiring some additional work to be fully operational. This level of completion allows individuals to legally build their own firearms without going through a licensed manufacturer.
Now, keep in mind that the process of making your own firearm carries certain legal implications depending on your jurisdiction. It is essential to familiarize yourself with local laws and regulations surrounding homemade firearms before embarking on this project. Once you’ve ensured that you’re operating within the boundaries of the law, let’s dive into the tools and materials you’ll need.
Key Takeaways:
- Takeaway 1: Crafting an 80 percent lower receiver with hand tools is a legal and rewarding DIY project, requiring precision, patience, and adherence to local firearm regulations for a safe and personalized firearm.
- Takeaway 2: Prioritize safety, precision, and compliance with local laws when embarking on the journey of creating a custom lower receiver, ensuring a fulfilling and responsible DIY firearm project.
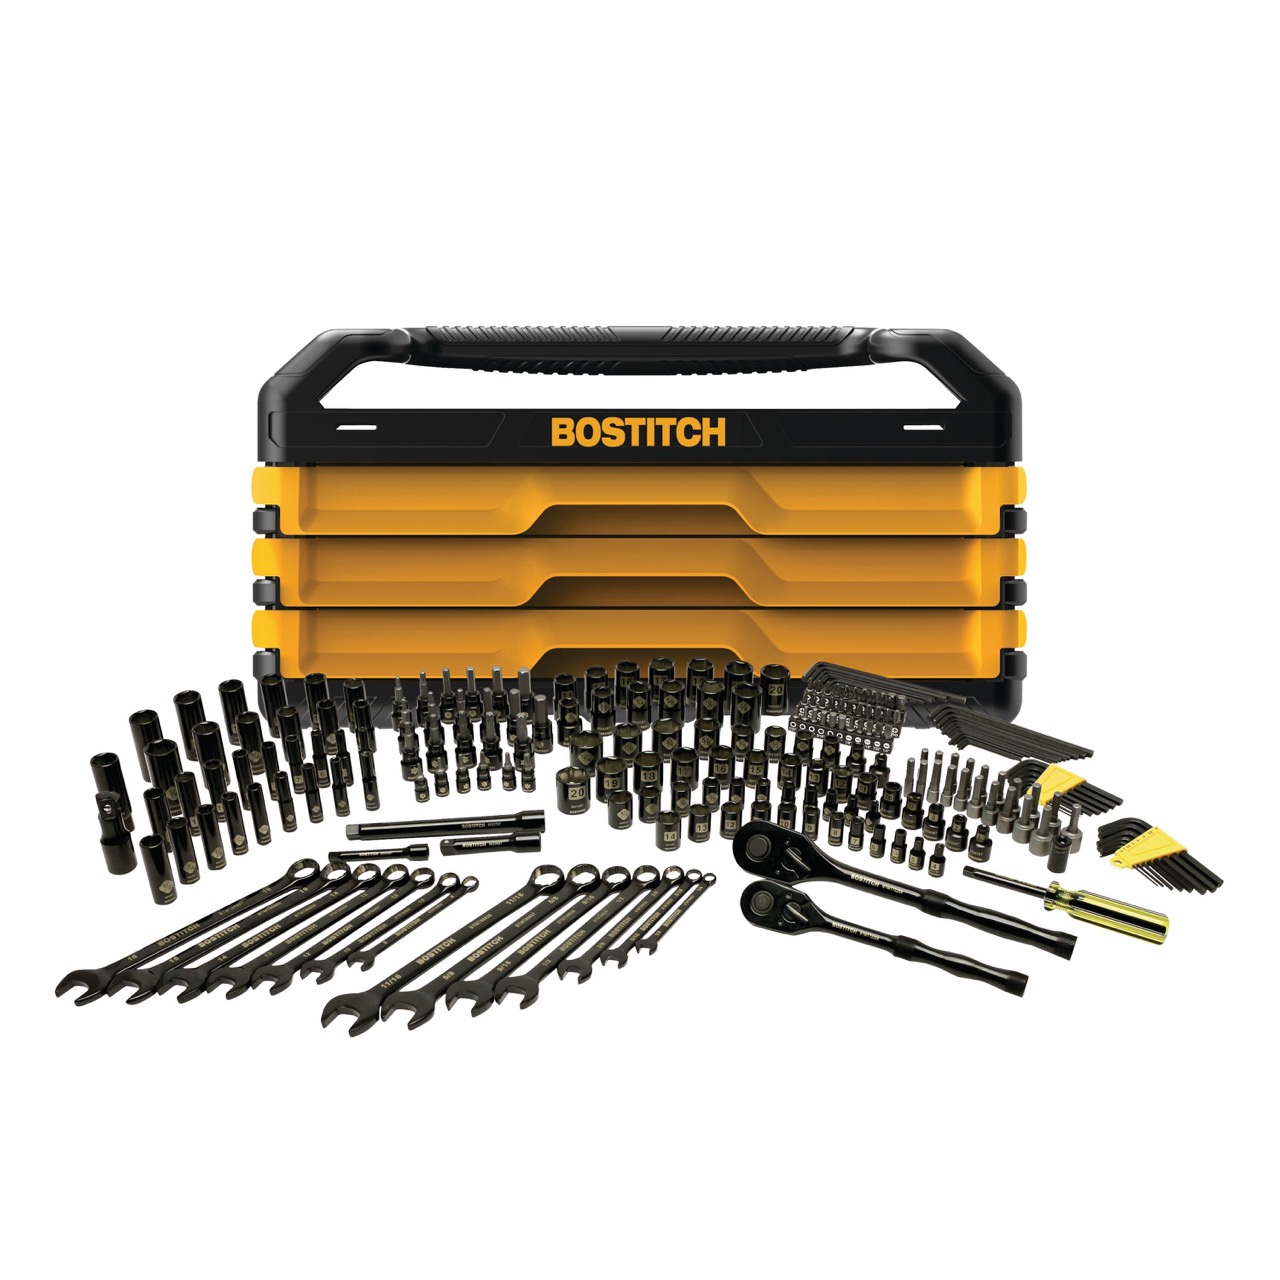
Tools and Materials Needed
Building an 80 percent lower receiver requires specific tools and materials. While it is possible to use power tools, this article will focus on using hand tools to complete the project. Here is a list of what you’ll need:
- Vise
- Drill press or hand drill
- Drill bits (various sizes)
- End mill bit
- Files (round, flat, and triangular)
- Cutting fluid or oil
- Calipers
- Pen or marker
- Safety glasses
- 80 percent lower receiver blank
The vise will hold the lower receiver securely while you work on it. A drill press is recommended for better precision, but a hand drill can also be used if you take caution. The drill bits will be used to create the necessary holes and cavities in the receiver. The end mill bit is crucial for milling the fire control group pocket. Files are necessary for shaping and smoothing the receiver, while cutting fluid or oil will help with the cutting process.
Using calipers will help you measure and ensure accuracy during the different steps, while a pen or marker will be used to mark the receiver for cutting and drilling. Safety glasses are a must to protect your eyes during the process. Finally, you’ll need an 80 percent lower receiver blank, which can be purchased online or at your local firearms supply store.
With these tools and materials ready, you’re now set to start the process of making your 80 percent lower receiver. Let’s move on to the first step: acquiring the 80 percent lower.
Step 1: Acquiring the 80 Percent Lower
The first step in making your 80 percent lower receiver is to acquire the actual receiver blank. As mentioned earlier, you can purchase these blanks online or from a local firearms supply store. Before making a purchase, it’s essential to do your research and ensure that you’re buying from a reputable source.
When selecting an 80 percent lower receiver, you have several options to consider. The most common material options include aluminum and polymer. Aluminum receivers are durable and offer excellent strength, while polymer receivers are lightweight and cost-effective. Choose the material that best suits your needs and preferences.
Additionally, consider the type of lower receiver you want. The most popular option is the AR-15 lower receiver, but there are other options available depending on the firearm you plan to build. Make sure to select the correct receiver for your intended build.
Once you have acquired your 80 percent lower receiver blank, carefully inspect it for any defects or inconsistencies. Check for any visible damage or imperfections, as these may affect the functionality of the completed firearm. If you find any issues, contact the supplier to discuss a replacement or refund.
It’s important to note that the receiver blank itself is not considered a firearm and does not require any kind of background check or registration. It is classified as a piece of unregulated material until completion, at which point it becomes a functional firearm. Therefore, it is your responsibility to adhere to all local laws and regulations when completing the receiver and assembling your firearm.
With the 80 percent lower receiver in your possession, you’re ready to proceed to step 2: preparing the lower for the machining process.
Step 2: Preparing the Lower
Now that you have acquired your 80 percent lower receiver blank, it’s time to prepare it for the machining process. This step involves cleaning the receiver and getting it ready for drilling and milling.
Begin by thoroughly examining the receiver for any burrs, rough edges, or excess material. Use a file to carefully remove any imperfections and ensure that the receiver is smooth and even. Take your time during this step as it is crucial to have a clean and properly prepared surface for the machining process.
Next, thoroughly clean the receiver using a degreaser or solvent to remove any oils, dirt, or debris. This will help prevent any interference with the drilling and milling tools, ensuring smooth and precise operation. Use a brush or cloth to apply the degreaser, paying attention to all the nooks and corners of the receiver.
After cleaning the receiver, it’s a good idea to mark the areas where you’ll be drilling and milling. Use a pen or marker to indicate the trigger pocket, fire control group pocket, and any other critical areas that need to be machined. This will serve as a guide throughout the process, ensuring accuracy and preventing any mistakes.
Lastly, prepare your work area by securing the 80 percent lower receiver in a vise. Make sure it is held firmly and securely, allowing you to work on it comfortably without any movement. This will provide stability and maintain consistency during the drilling and milling processes.
Once you’ve completed these steps, you’re now ready to move on to the exciting part: drilling the trigger pocket. This step will bring you closer to having a fully functional lower receiver for your firearm build.
Step 3: Drilling the Trigger Pocket
Now that you have prepared the lower receiver, it’s time to start the machining process by drilling the trigger pocket. This step involves creating the cavity that will house the trigger components of your firearm.
The first thing you will need is a properly sized drill bit. Consult the instructions or specifications provided with your 80 percent lower receiver to determine the correct drill bit size for the trigger pocket. It’s crucial to use the right size to ensure a proper fit for the trigger components.
Secure the receiver in a vise, ensuring it is stable and can’t move during the drilling process. Start by marking the center of the trigger pocket on the receiver using a pen or marker. This will serve as a guide to ensure accuracy while drilling.
Now, carefully align the drill bit with the mark on the receiver and slowly start drilling. Apply gentle pressure while keeping the drill perpendicular to the receiver’s surface. Do not rush this step, as it requires precision and control.
As you drill, periodically withdraw the bit to clear any chips or debris. This will prevent the bit from getting clogged and ensure a smooth drilling operation. Take your time and proceed slowly to avoid any mistakes or damage to the receiver.
Continue drilling until you have reached the appropriate depth for the trigger pocket. Again, refer to the instructions or specifications provided with your receiver for the correct depth measurement. It’s important to drill to this depth to ensure proper functionality of the trigger components.
Once you have finished drilling the trigger pocket, inspect the cavity for any rough edges or burrs. Use a file to carefully remove any imperfections and smooth the surface. This will help prevent any interference with the trigger components and ensure a proper fit.
With the trigger pocket drilled and cleaned, you’ve completed a significant step in machining your 80 percent lower receiver. The next step involves milling the fire control group pocket, bringing you closer to assembling your firearm. Stay tuned for step 4, where we’ll guide you through the milling process.
When drilling the fire control cavity on an 80 percent lower receiver with hand tools, make sure to use a drill press jig to ensure precise and accurate drilling. This will help prevent any mistakes and ensure a proper fit for the trigger components.
Read more: Who Makes Milwaukee Hand Tools?
Step 4: Milling the Fire Control Group Pocket
Congratulations on successfully drilling the trigger pocket! Now, let’s move on to the next step in machining your 80 percent lower receiver: milling the fire control group (FCG) pocket. This step involves creating the space necessary for the fire control components, such as the trigger, hammer, and disconnector, to fit securely.
To begin, you will need an end mill bit for this process. Make sure you have the appropriate size end mill bit based on the specifications provided with your 80 percent lower receiver. This will ensure proper fitment of the fire control components.
Secure the lower receiver in a vise, making sure it is stable and cannot move during the milling process. Begin by marking the center of the fire control group pocket on the receiver using a pen or marker. This mark will help guide you as you begin milling.
Now, carefully align the end mill bit with the marked center of the fire control group pocket. Start milling by slowly moving the end mill bit into the receiver, making sure to stay within the marked area. Take your time and proceed with caution to maintain accuracy and prevent any mistakes.
As you mill, periodically remove the bit to clear any chips and debris. This will prevent any buildup and ensure smooth and precise milling. It’s essential to maintain a steady pace and avoid rushing through this step.
Continue milling until you have reached the appropriate depth for the fire control group pocket. Ensure that you refer to the instructions or specifications provided with your receiver to determine the correct depth. Accuracy in depth is vital for the proper function and fitment of the fire control components.
After milling, carefully inspect the fire control group pocket for any rough edges or burrs. Use a file to remove any imperfections and smooth out the surface. This will help ensure smooth operation and prevent any interference with the fire control components.
With the fire control group pocket milled and cleaned, you’re now one step closer to completing your 80 percent lower receiver. In step 5, we’ll guide you through cutting the rear shelf, an important process in the finalization of your receiver. Keep reading to learn more!
Step 5: Cutting the Rear Shelf
You’re making great progress in machining your 80 percent lower receiver! Now, let’s move on to step 5: cutting the rear shelf. This step involves removing the material from the rear end of the lower receiver to accommodate the rear takedown pin.
To begin, you’ll need a file and a steady hand. The rear shelf is an important feature of the lower receiver, so take your time to ensure accuracy during this step.
Before cutting the rear shelf, make sure your lower receiver is securely mounted in a vise. This will provide stability and allow you to work on it comfortably.
Start by marking the area where you need to remove material for the rear shelf. Typically, this area will be indicated by a slot or groove on the receiver. Use a pen or marker to mark the boundaries of the rear shelf.
Using a file, carefully remove the material within the marked boundaries. Take slow and controlled strokes to gradually create the necessary space for the rear takedown pin. It’s important to maintain a flat and even surface during this process.
While filing, periodically check the fit of the rear takedown pin to ensure that it slides in smoothly. Make any necessary adjustments until the pin fits snugly without any excessive play.
As you file, be mindful of the rear shelf’s depth. Refer to the instructions or specifications provided with your receiver to determine the correct depth. It’s crucial to file within the specified depth to ensure proper function and alignment of the rear takedown pin.
Once you have finished cutting the rear shelf, use a file or sandpaper to smooth out any rough edges or burrs. Ensure that the rear shelf is even and level, providing a solid platform for the rear takedown pin.
With the rear shelf successfully cut, sanded, and smoothed, you’re inching closer to completing your 80 percent lower receiver. In the next step, we’ll guide you through some finishing touches to ensure the finalization of your receiver. Stay tuned for step 6!
Step 6: Finishing Touches
Congratulations! You’ve reached the final step in machining your 80 percent lower receiver. Now it’s time to add some finishing touches to complete the receiver and prepare it for assembly.
First, inspect the entire receiver for any remaining rough edges or imperfections. Use a file or sandpaper to smooth out any uneven surfaces and ensure a clean finish. Pay attention to areas like the magazine well, trigger guard, and any other edges that may need refinement.
Next, apply a protective coating to the receiver to prevent corrosion and wear. There are various options available for finishing, such as air-dry spray-on finishes or heat-cured coatings. Choose a method that suits your preferences and follow the manufacturer’s instructions for a proper application.
Take care to mask off any areas that shouldn’t be coated, such as the fire control group pocket and the receiver’s internal components. This will ensure that the coating is applied only to the external surfaces, leaving the crucial areas unaffected.
Once the coating has dried or cured, give the receiver a final inspection to ensure it meets your standards. Check for any blemishes or inconsistencies in the finish and make any necessary touch-ups to achieve the desired appearance.
Lastly, it’s essential to reference the specific guidelines and requirements set forth by your local firearms laws and regulations. Depending on your jurisdiction, there may be specific engraving or marking requirements for homemade firearms. Ensure that you comply with these regulations to stay within the bounds of the law.
With the finishing touches complete, you now have a fully machined 80 percent lower receiver ready for assembly. Remember to exercise caution and follow all necessary safety procedures when assembling your firearm. With proper care and attention, you’ll have a personalized firearm that you can be proud of.
Thank you for following this guide on how to make an 80 percent lower receiver with hand tools. We hope this article has been informative and helpful for your DIY firearm project. Happy building!
Conclusion
Building your own firearm can be a rewarding and fulfilling experience, and making an 80 percent lower receiver with hand tools allows you to take control of the process. By following the steps outlined in this guide, you’ve learned how to create a functional and personalized lower receiver for your AR-15 or other firearm.
Throughout the process, it’s important to prioritize safety and adhere to all applicable laws and regulations in your jurisdiction. Familiarize yourself with local firearm legislation, obtain any necessary permits or licenses, and ensure that you comply with engraving or marking requirements.
Remember, the process of machining an 80 percent lower receiver requires patience, precision, and attention to detail. Take your time during each step and double-check your work to ensure the proper functioning and fitment of the receiver components.
While this guide focused on using hand tools, it’s worth noting that there are power tools and specialized equipment available for those who prefer a different approach. Consider your skill level, comfort with tools, and available resources when deciding which method to use.
Building a firearm is a serious responsibility, and it’s crucial to treat it as such. Educate yourself on proper firearm handling, maintenance, and storage. Prioritize safety at all times, both during the building process and when using your completed firearm.
By making your own firearm, you have the opportunity to customize it to your preferences and gain a deeper understanding of how it functions. It’s a testament to the spirit of innovation and self-sufficiency within the firearms community.
We hope this guide has provided you with the knowledge and confidence to embark on your own 80 percent lower receiver project. Enjoy the process, stay safe, and remember to always follow the laws and regulations in your area.
Happy building and shooting!
Frequently Asked Questions about How To Make 80 Percent Lower With Hand Tools
Was this page helpful?
At Storables.com, we guarantee accurate and reliable information. Our content, validated by Expert Board Contributors, is crafted following stringent Editorial Policies. We're committed to providing you with well-researched, expert-backed insights for all your informational needs.


0 thoughts on “How To Make 80 Percent Lower With Hand Tools”