Home>Garden Essentials>How To Make Seed Paper Without A Screen
Garden Essentials
How To Make Seed Paper Without A Screen
Modified: October 20, 2024
Learn how to make seed paper in your garden without using a screen. Discover eco-friendly techniques for creating beautiful, sustainable paper infused with plant seeds.
(Many of the links in this article redirect to a specific reviewed product. Your purchase of these products through affiliate links helps to generate commission for Storables.com, at no extra cost. Learn more)
Introduction
Welcome to the world of seed paper! If you’re a gardening enthusiast or simply want to add an eco-friendly and creative touch to your crafting projects, making seed paper is a fantastic endeavor. Seed paper, also known as plantable paper, is a unique type of handmade paper embedded with seeds. It not only serves as a sustainable alternative to traditional paper but also allows you to grow beautiful plants and flowers.
In this article, we will guide you through the process of making seed paper without using a screen. While some methods require specialized equipment, this technique is perfect for DIY enthusiasts who want to try their hand at seed paper making with minimal resources. So gather your materials and let’s get started!
Key Takeaways:
- Turn old paper into plantable paper by blending it with seeds. Enjoy the process and watch your creations bloom into beautiful plants and flowers!
- Share the joy of making seed paper with loved ones and contribute to a greener environment. Let your creativity bloom while reducing waste.
Read more: How To Make Bird Seed Blocks Without Gelatin
Materials Needed
Before you embark on your seed paper making journey, it’s important to gather all the necessary materials. Here’s a list of items you’ll need:
- Recycled paper – Instead of throwing away old newspapers, scrap paper, or junk mail, repurpose them by using them as the base for your seed paper.
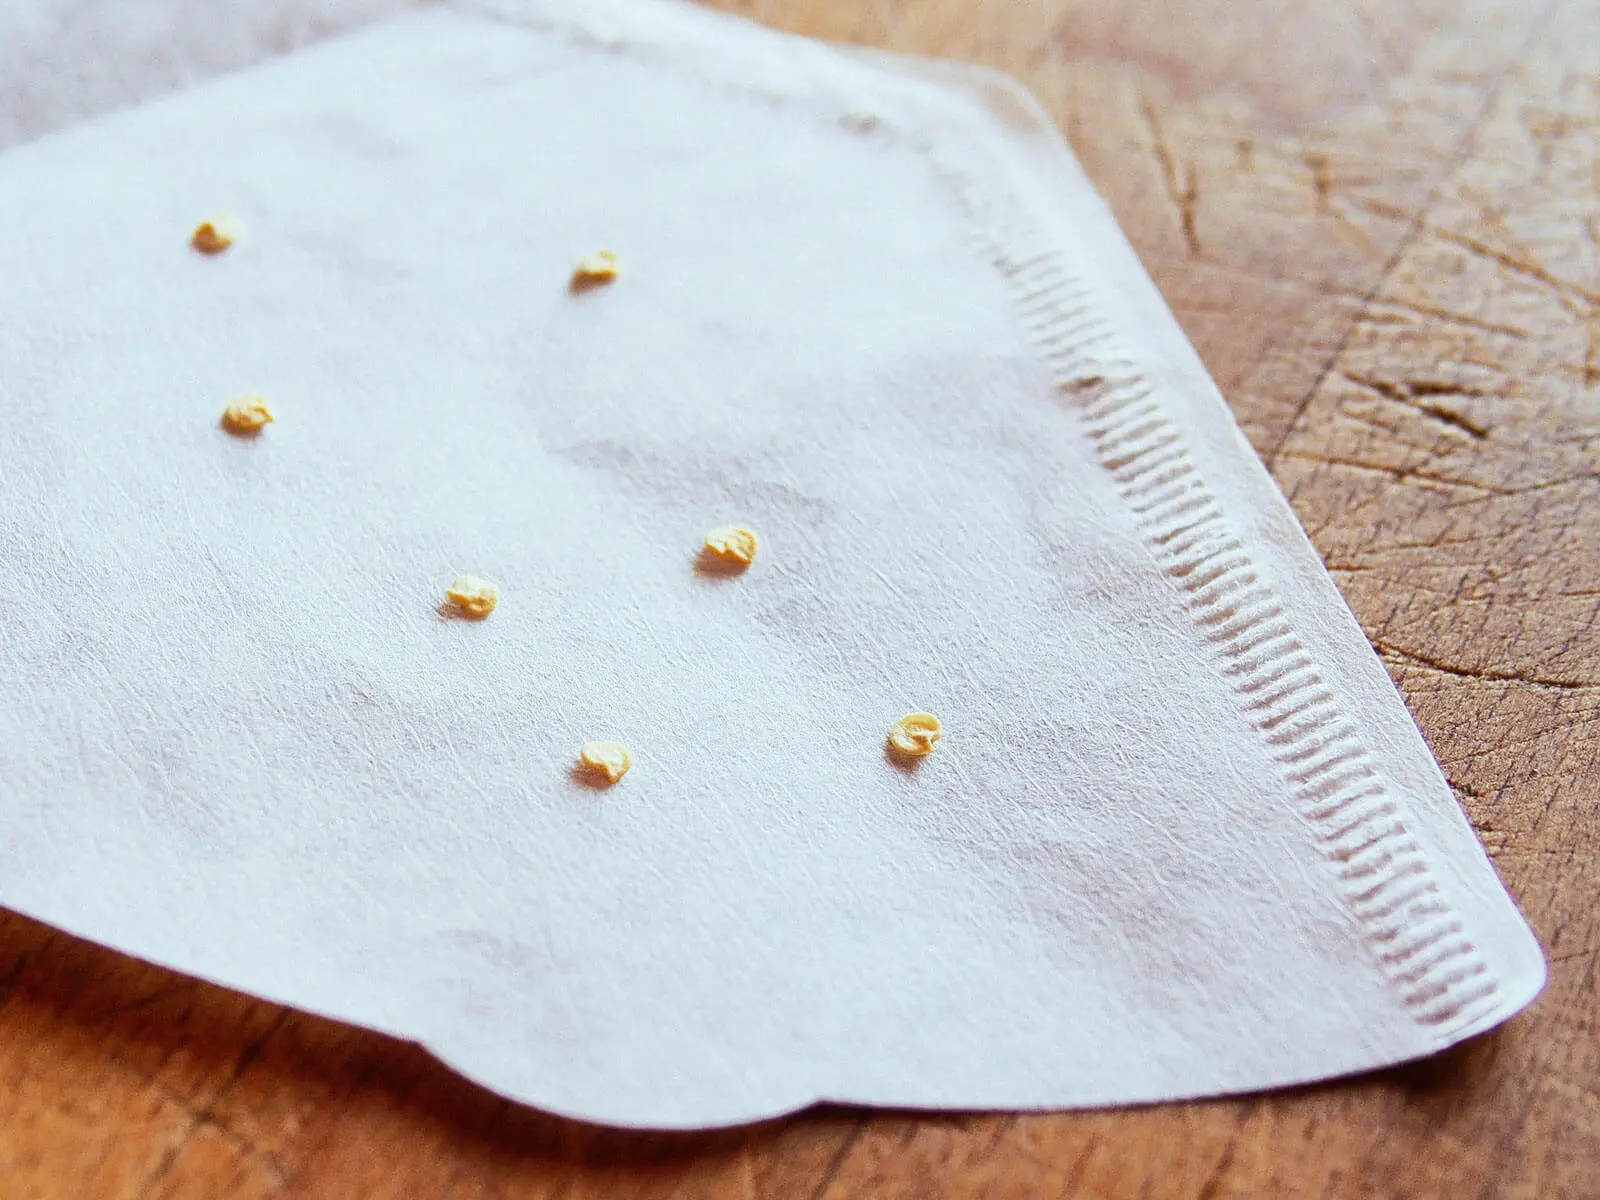
- Seeds – Choose seeds of plants or flowers that are suitable for your climate and growing conditions. Popular choices include wildflowers, herbs, and vegetables.
- Blender – A blender or food processor will be used to turn the recycled paper into pulp.
- Shallow container or tub – This will be used to hold the blended paper suspension.
- Cloth or cheesecloth – You’ll need a piece of cloth to strain and shape the paper pulp into desired shapes.
- Water – Sufficient water will be needed to blend the paper and create the pulp.
- Towels or absorbent paper – These will be used for drying the seed paper.
- Weights or heavy objects – To press and flatten the drying seed paper.
Once you’ve gathered all the necessary materials, it’s time to move on to the seed paper making process itself.
Step 1: Preparation
Before you start making seed paper, it’s important to prepare your workspace and materials. Here’s how to get ready:
- Find a well-ventilated area – Choose a space where you can work comfortably and where the seed paper can dry undisturbed.
- Cover your work surface – Protect your work surface by laying down newspaper or a plastic sheet.
- Tear the recycled paper into small pieces – Start by tearing the recycled paper into small, manageable pieces. This will make it easier to blend later on.
- Soak the torn paper – Place the torn paper into a container or tub and cover it with water. Allow the paper to soak for several hours or overnight. This will soften the paper fibers, making it easier to blend into pulp.
Once you’ve completed these preparations, you’re ready to move on to the next step: blending the paper into pulp.
Step 2: Blend the Paper
Now that your paper is properly soaked, it’s time to transform it into pulp. Follow these steps to blend the paper:
- Drain excess water from the soaked paper – Carefully pour out the excess water from the container, leaving the soaked paper behind.
- Add the soaked paper to the blender – Place a small portion of the soaked paper into the blender. Don’t overload the blender; blend in small batches to ensure a smooth pulp.
- Add water – Add a small amount of water to the blender to help facilitate the blending process. The exact amount of water needed may vary, but aim for a smooth and pourable consistency.
- Blend until smooth – Start blending the paper on a low to medium speed, gradually increasing the speed until the paper turns into a smooth pulp. This process may take a few minutes, so be patient.
- Repeat with the remaining soaked paper – Empty the pulp from the blender into a separate container and continue blending the remaining soaked paper until it is all transformed into pulp.
Now that you have a smooth pulp, it’s time to move on to the next step: adding seeds to the pulp.
Step 3: Add Seeds to the Pulp
With the pulp ready, it’s time to infuse it with the magic of seeds. Follow these steps to add seeds to the pulp:
- Prepare the seeds – Take your selected seeds and prepare them for mixing with the pulp. Depending on the size of the seeds, you may choose to use a small amount or mix multiple varieties together.
- Gently mix the seeds with the pulp – Pour the pulp into a shallow container or tub, then sprinkle the prepared seeds evenly over the pulp. Use a spoon or your hands to gently mix the seeds into the pulp, ensuring they are well-distributed.
- Avoid overmixing – Be careful not to overmix the seeds or mash them into the pulp. The goal is to evenly incorporate the seeds without damaging them.
Adding seeds to the pulp is an essential step in making seed paper. It ensures that once the paper is dried and planted, the seeds will have the opportunity to germinate and grow into beautiful plants or flowers. Now that the seeds are mixed in, it’s time to shape the paper.
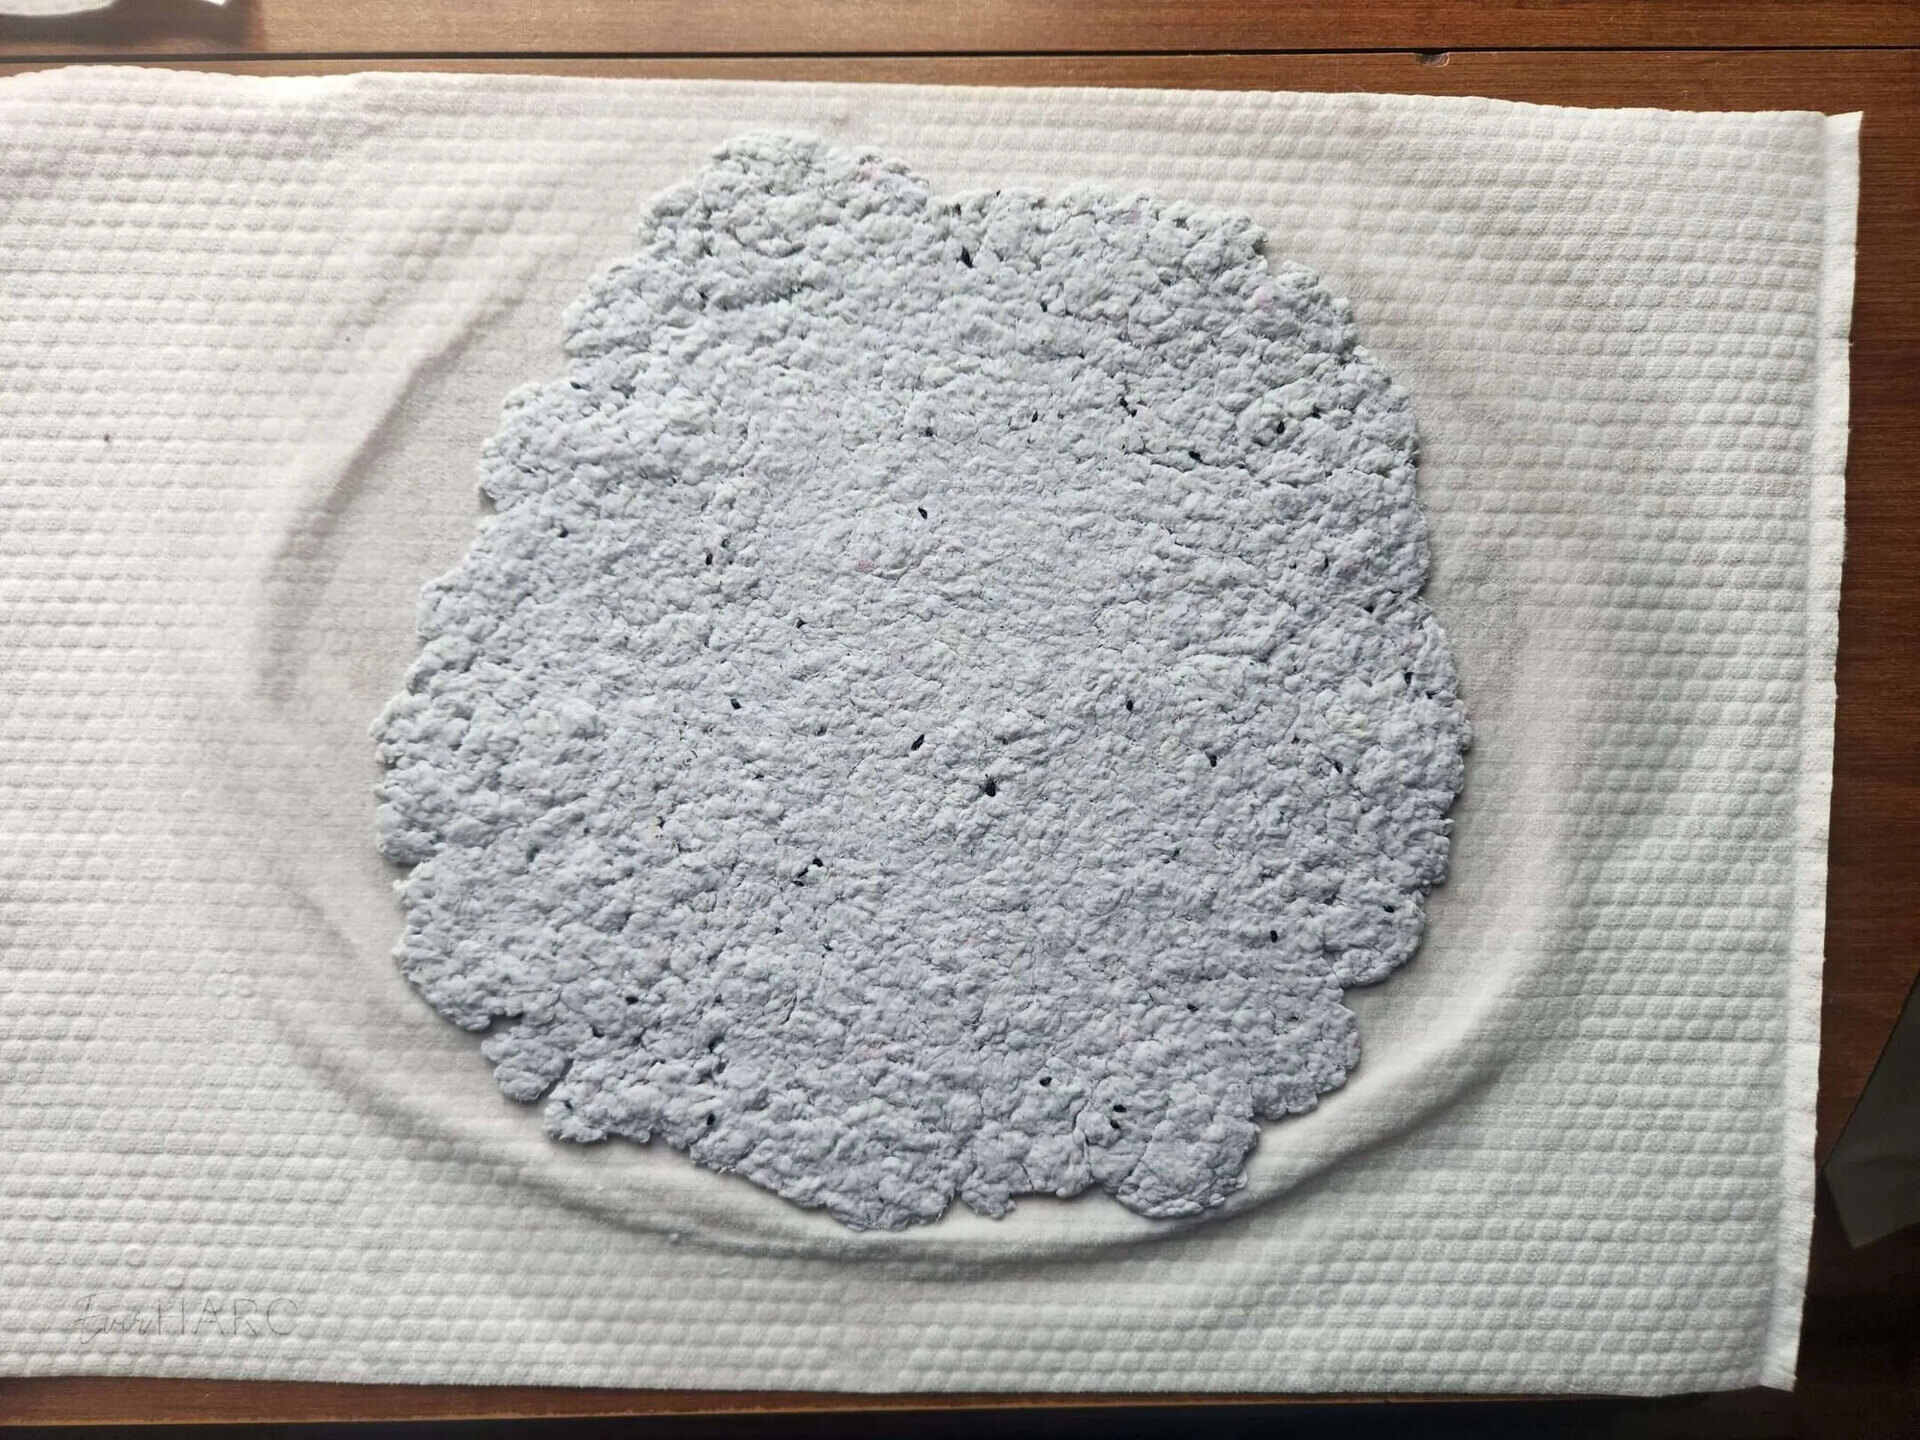
After blending the paper pulp and seeds, spread the mixture evenly on a flat surface using a rolling pin or a flat board to create a smooth and uniform seed paper without a screen.
Read more: How To Start Seeds In A Paper Towel
Step 4: Shape the Paper
Now that your pulp is infused with seeds, it’s time to shape the seed paper. Follow these steps to shape the paper into your desired form:
- Prepare your cloth or cheesecloth – Lay out a piece of cloth or cheesecloth on your work surface. This will be used to strain and shape the paper pulp.
- Pour the pulp onto the cloth – Carefully pour the seed-infused pulp onto the cloth, spreading it out evenly to create a thin layer. The size and shape of the paper are up to you, whether it be small squares, rectangles, or fun shapes like hearts or stars.
- Press out excess water – Gently press down on the pulp with your hands or use a clean cloth to absorb excess water. This will help compact the pulp and remove any excess moisture.
- Smooth the surface – Use a rolling pin or any flat object to smooth the surface of the pulp, ensuring an even distribution and a smooth texture.
Once you’ve shaped the paper, it’s time to move on to the next step: drying the seed paper.
Step 5: Drying Process
After shaping the seed paper, it’s important to dry it properly to ensure the seeds are not damaged and that the paper holds its form. Follow these steps to dry your seed paper:
- Carefully transfer the shaped paper to a flat surface – Gently lift the cloth or cheesecloth, supporting the paper, and transfer it to a flat surface like a drying rack or a tray.
- Allow the paper to air dry – Place the paper in a well-ventilated area, away from direct sunlight. Air drying will slowly evaporate the remaining moisture from the pulp.
- Patience is key – Depending on the humidity and the thickness of the paper, drying can take a few days or even up to a week. Be patient and resist the temptation to rush the process by using external heat sources.
- Flip the paper halfway through drying – After a day or two, flip the paper over to ensure even drying on both sides. This will help prevent curling or warping of the paper.
Remember, the drying process is crucial for the seed paper to retain its shape and allow the seeds to remain intact. Once the paper is completely dry, it’s time for the final step: using and storing your handmade seed paper.
Step 6: Use and Store
Congratulations! Your seed paper is now dry and ready to be used or stored for future projects. Follow these steps to make the most of your handmade seed paper:
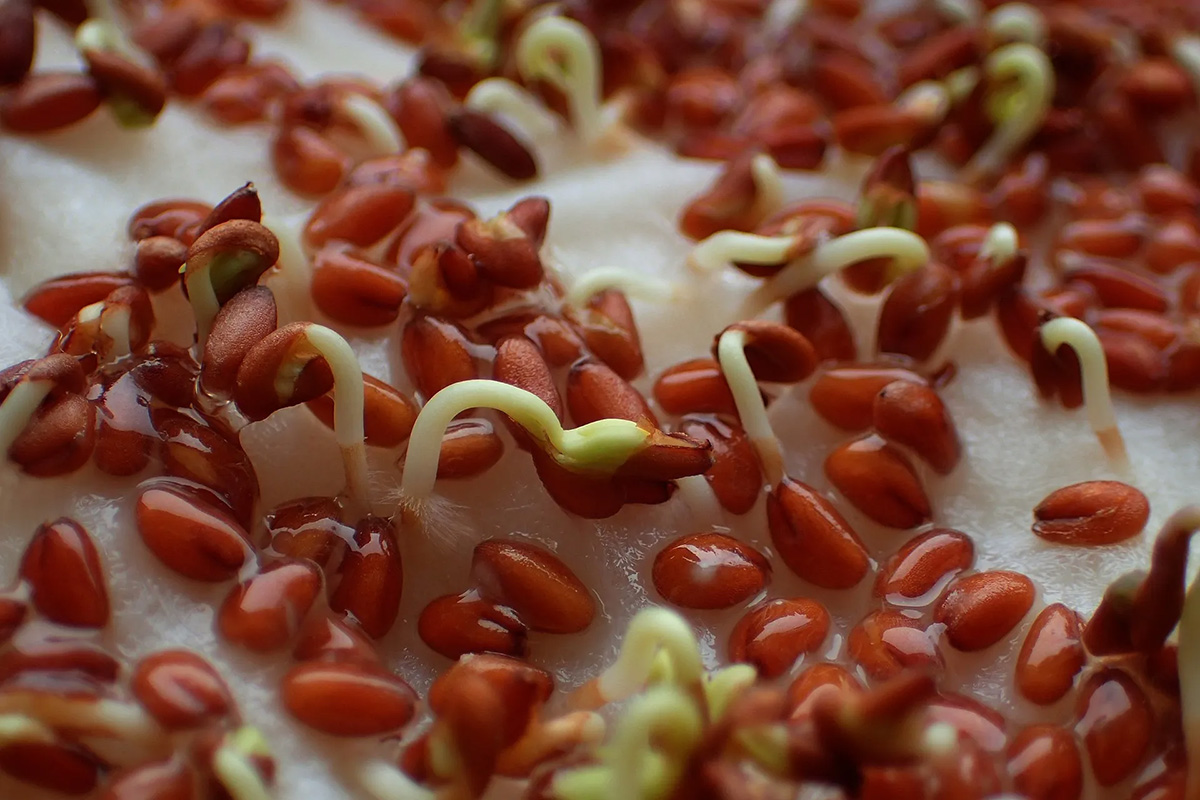
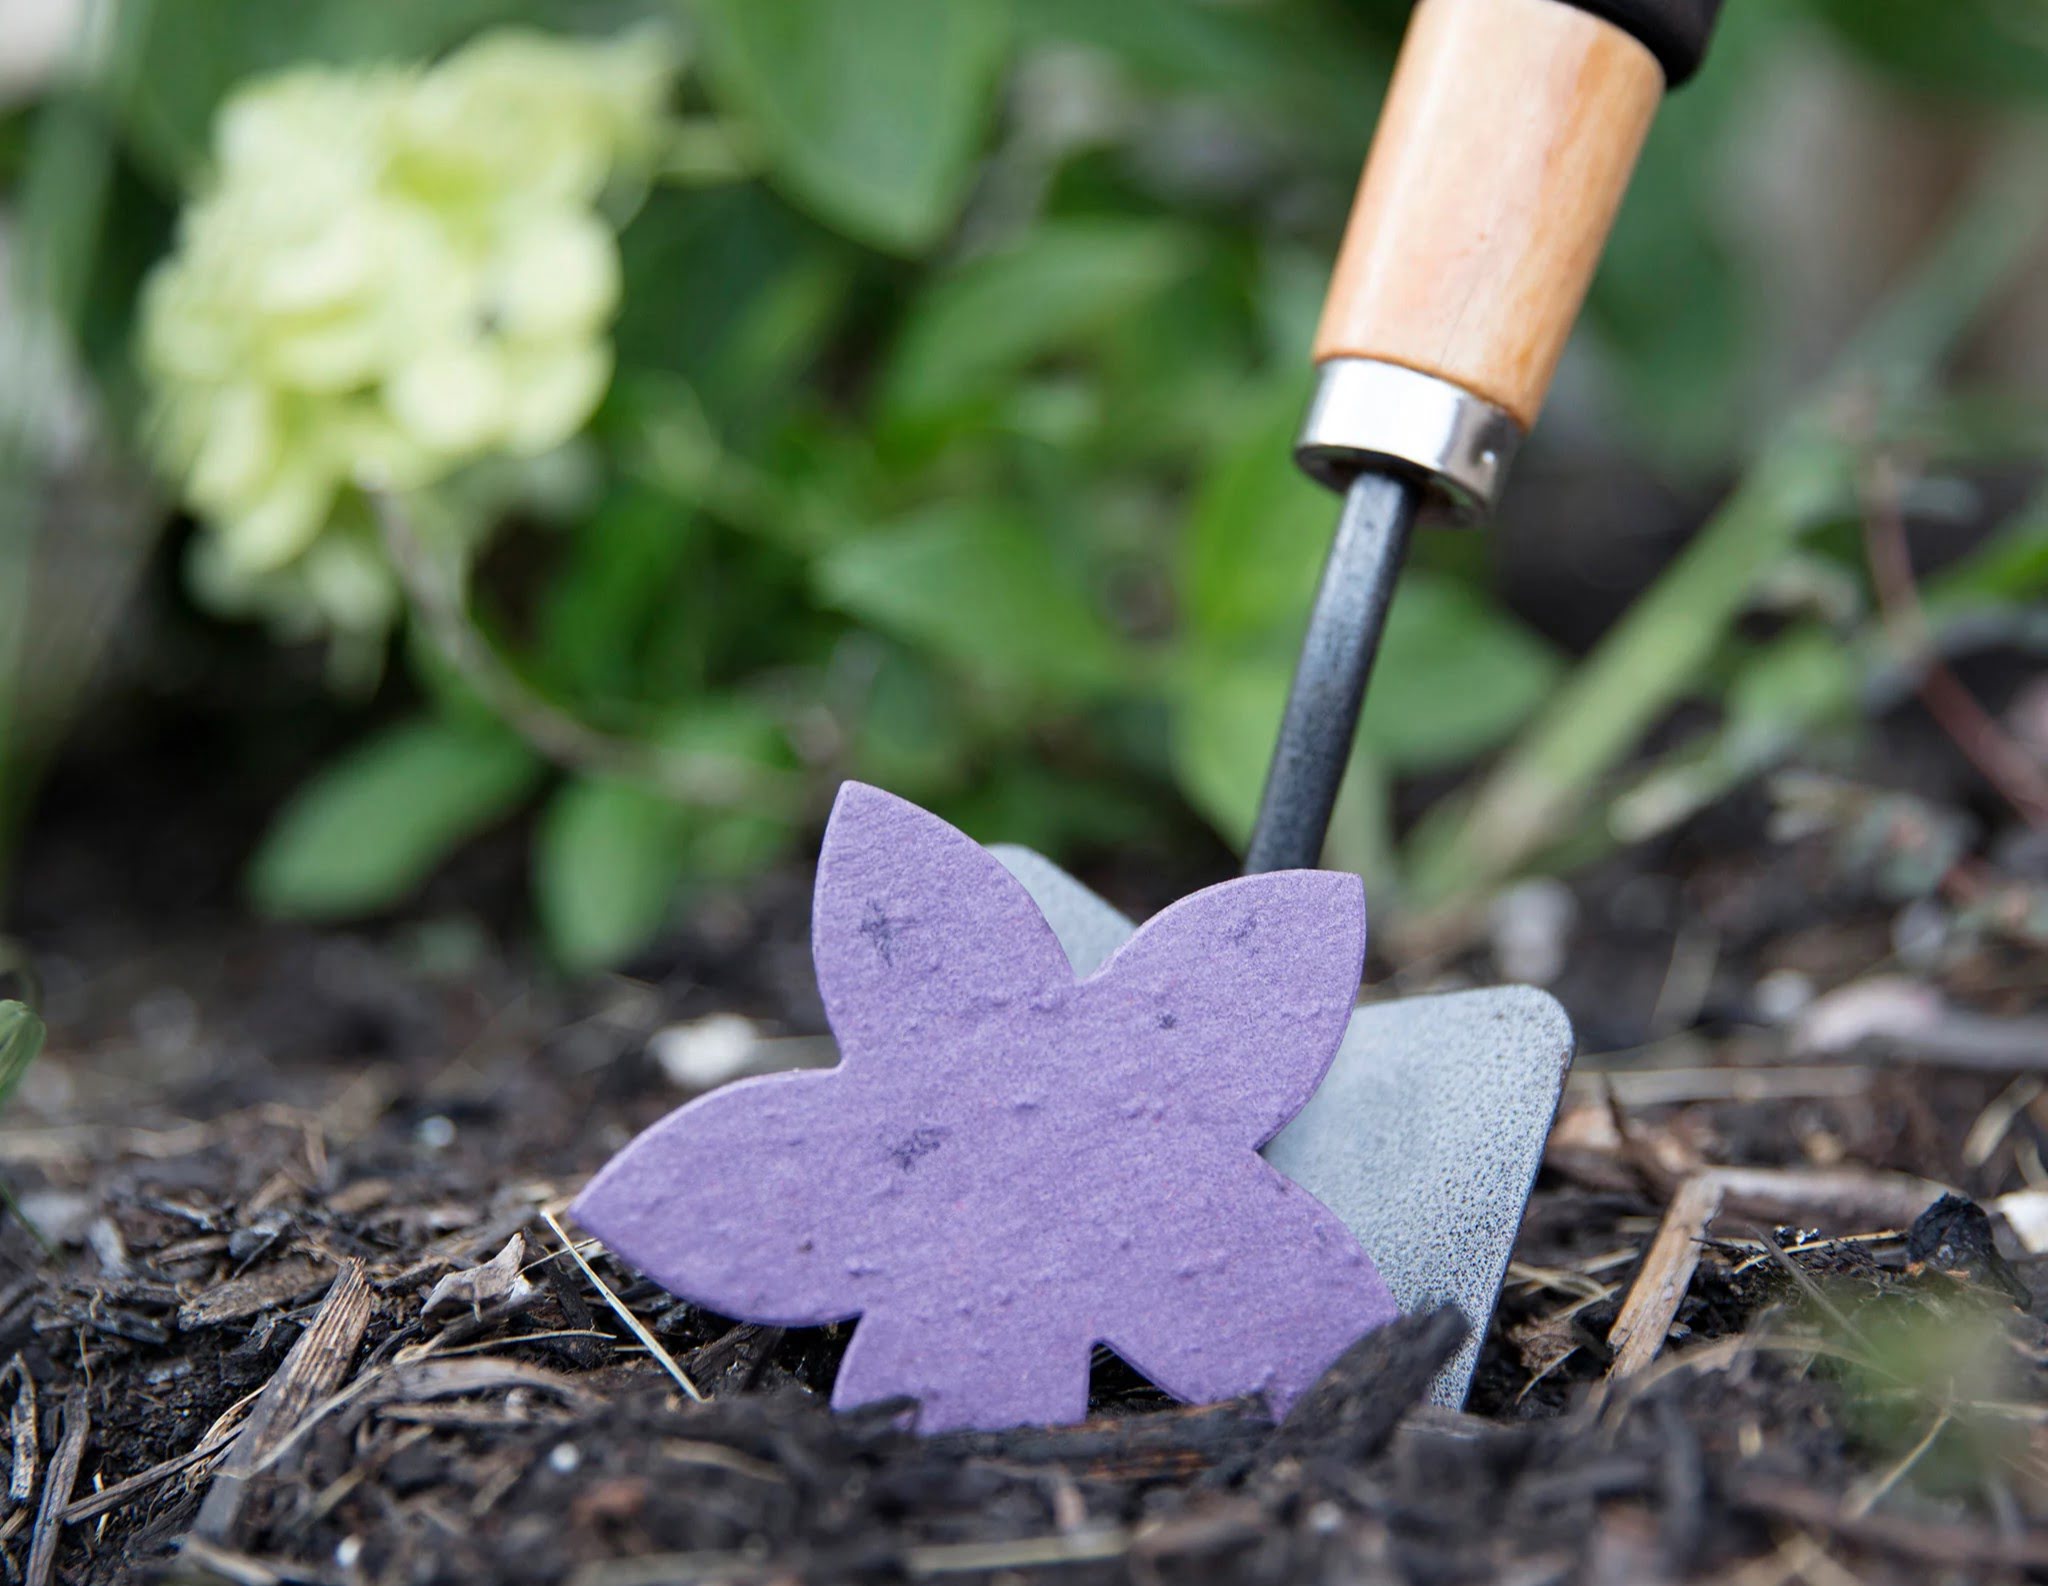
- Plant and grow – Choose a suitable location in your garden or a pot and gently bury the seed paper under a thin layer of soil. Water the area regularly and watch as the seeds sprout and grow into beautiful plants or flowers.
- Gift or share – Use your seed paper to create unique and eco-friendly gifts for your loved ones. Write a heartfelt note on the paper and give it as a special card or bookmark.
- Store for future use – If you’re not ready to use your seed paper immediately, store it in a cool, dry place. Place it in an airtight container or seal it in a plastic bag to protect it from moisture and pests.
Keep in mind that the viability of the seeds may decrease over time, so it’s best to use your seed paper within a year or two for optimal germination. However, don’t let that stop you from experimenting and creating beautiful seed paper projects!
With this simple method of making seed paper without a screen, you can enjoy the process of recycling paper, incorporating seeds, and witnessing the growth of plants from your own creations. So go ahead and embark on your seed paper making journey, and let your creativity bloom!
Remember to have fun, be mindful of the environment, and share your experiences with others. Happy seed paper making!
Conclusion
Creating seed paper without a screen is a wonderful way to combine your love for gardening with your passion for crafting. By repurposing recycled paper and embedding it with seeds, you not only reduce waste but also contribute to the growth of beautiful plants and flowers.
In this article, we’ve provided you with a step-by-step guide on how to make seed paper without a screen. From preparing the materials to shaping the pulp and drying the paper, each step is essential in creating a successful batch of seed paper.
Remember to choose seeds that are suitable for your climate and take your time throughout the process. Patience is key when it comes to air drying the seed paper, as rushing it may compromise the quality and viability of the seeds.
Once your seed paper is dry, the possibilities are endless. You can plant the paper directly in your garden or give it as a unique and eco-friendly gift to loved ones. The joy of watching the seeds sprout and grow is truly rewarding.
So, gather your materials, let your creativity flow, and enjoy the process of making seed paper without a screen. This sustainable and artistic endeavor allows you to leave a positive impact on the environment while adding a touch of natural beauty to your life.
Remember, every sheet of paper you make is an opportunity to make a difference. So, go ahead and explore the world of seed paper making. Happy crafting and gardening!
Frequently Asked Questions about How To Make Seed Paper Without A Screen
Was this page helpful?
At Storables.com, we guarantee accurate and reliable information. Our content, validated by Expert Board Contributors, is crafted following stringent Editorial Policies. We're committed to providing you with well-researched, expert-backed insights for all your informational needs.


0 thoughts on “How To Make Seed Paper Without A Screen”