Articles
How To Make Mirrors Look Vintage
Modified: January 5, 2024
Learn the art of making mirrors look vintage with these easy-to-follow articles. Transform your space with a touch of timeless elegance.
(Many of the links in this article redirect to a specific reviewed product. Your purchase of these products through affiliate links helps to generate commission for Storables.com, at no extra cost. Learn more)
Introduction
Welcome to the world of vintage aesthetics! If you’re looking to add a touch of charm and character to your home decor, one way to achieve that is by making your mirrors look vintage. Vintage mirrors can bring a unique and timeless appeal to any space, adding a sense of nostalgia and sophistication.
Whether you have an old mirror that needs a makeover or you want to create a vintage look from scratch, this article will guide you through the process. With a few simple techniques and some creativity, you can transform an ordinary mirror into a vintage treasure.
Before we dive into the step-by-step instructions, it’s essential to understand that achieving a vintage look requires attention to detail and a careful balance between distressing and preserving the mirror’s integrity. It’s important to ensure that the mirrored surface remains undamaged during the process. With that in mind, let’s explore how to make your mirrors look vintage.
Key Takeaways:
- Transform ordinary mirrors into vintage treasures by distressing the frame, adding a patina, and applying a vintage finish. Enhance the vintage look with embellishments and seal the mirror for long-lasting charm.
- Vintage mirrors bring timeless elegance to any space. Find the right mirror, prepare, distress, add a patina, and seal for a stunning vintage transformation. Infuse creativity and personal style for a unique vintage masterpiece.
Read more: How To Make A Room Look Bigger With Mirrors
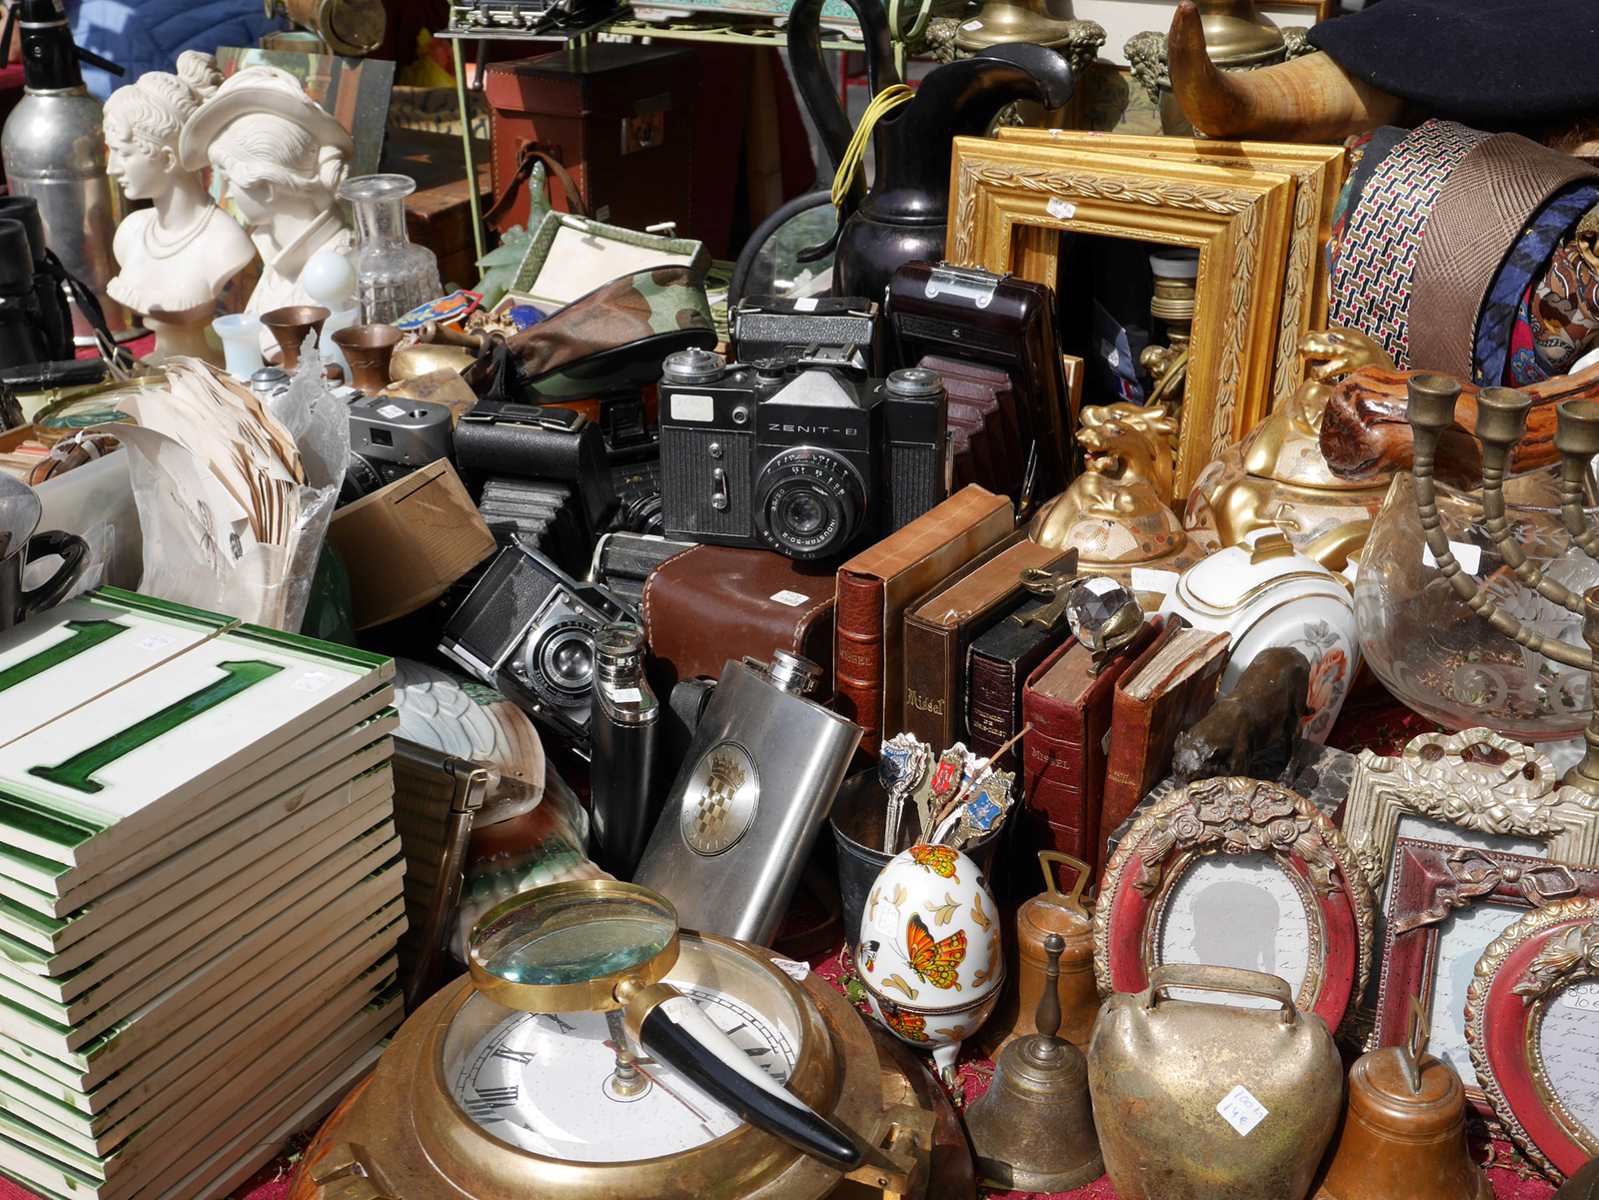
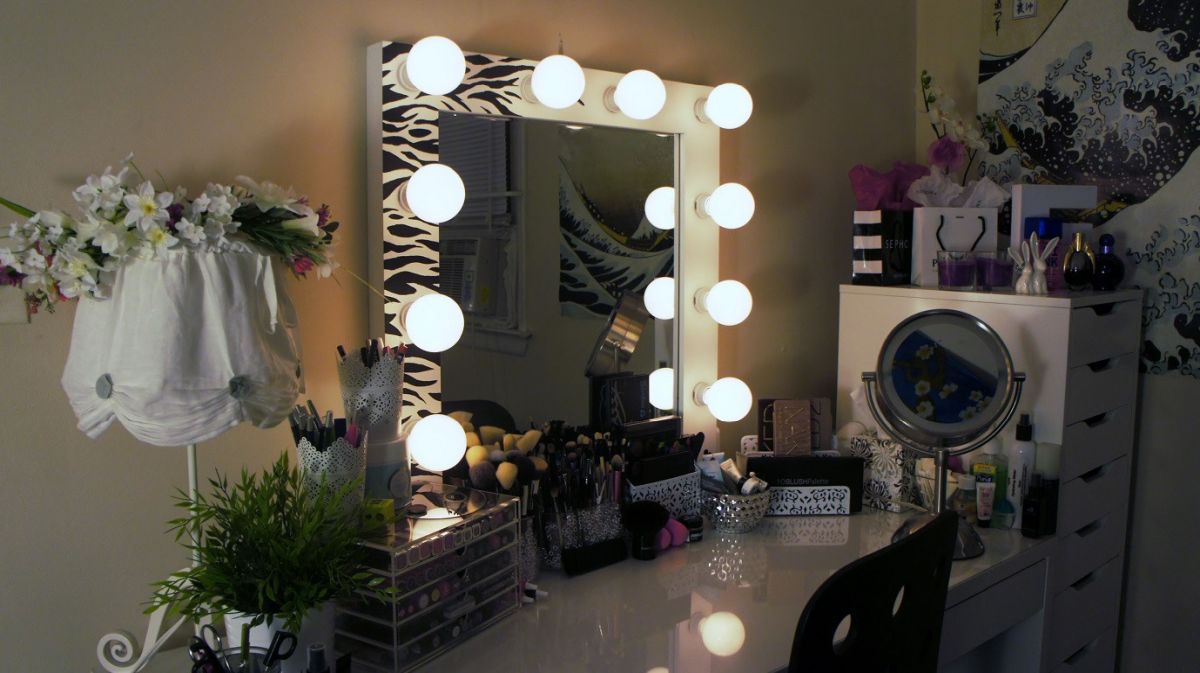
Finding the Right Mirror
The first step in making your mirror look vintage is to find the right mirror for the project. Look for mirrors with a frame that fits the vintage aesthetic you want to achieve. Antique shops, flea markets, and online marketplaces are great places to search for unique and old-style mirrors.
Pay attention to the shape, style, and size of the mirror. Vintage mirrors often feature ornate frames with intricate detailing such as filigree, carving, or embossing. Popular vintage styles include Victorian, Art Deco, and Baroque. Consider the overall theme and decor of your space to ensure the vintage mirror will blend harmoniously with the surroundings.
You can also opt for a plain mirror without a frame and later add a vintage-looking frame or repurpose an old frame to give it a new life. This allows for more customization and creativity in achieving your desired vintage look.
Another factor to consider is the mirror’s condition. Look for mirrors with minimal damage or signs of wear and tear. While some aging and patina can add to the vintage charm, excessive damage may make the mirror difficult to restore.
Remember, the goal is to find a mirror that provides a solid foundation for your vintage transformation. Look for mirrors that speak to your personal style and have the potential to become a stunning vintage piece.
Preparing the Mirror
Once you’ve found the perfect mirror for your vintage project, it’s important to properly prepare it before applying any distressing or aging techniques. Preparing the mirror will ensure better adhesion of paint or finishes and protect the mirrored surface.
Start by cleaning the mirror thoroughly to remove any dirt, dust, or residue. Use a gentle glass cleaner or a mixture of equal parts vinegar and water. Wipe it down with a soft, lint-free cloth or paper towel, ensuring there are no streaks or smudges left behind.
If the mirror has any adhesive residue or sticky spots, you can use a mild adhesive remover or rubbing alcohol to clean it. Be careful not to use any abrasive cleaners or tools that could scratch the mirrored surface.
Next, protect the mirrored surface by covering it with masking tape or painter’s tape. This will prevent any accidental damage or paint splatters during the distressing process.
If the mirror has a frame, you may choose to remove it temporarily to make the distressing and finishing process easier. However, if you decide to keep the frame in place, ensure that it is securely taped off to avoid any unwanted distressing or paint on the frame.
By properly preparing the mirror, you create a clean and protected surface ready for the next steps of the vintage transformation process. Taking this extra step will help ensure a professional-looking result that showcases your attention to detail.
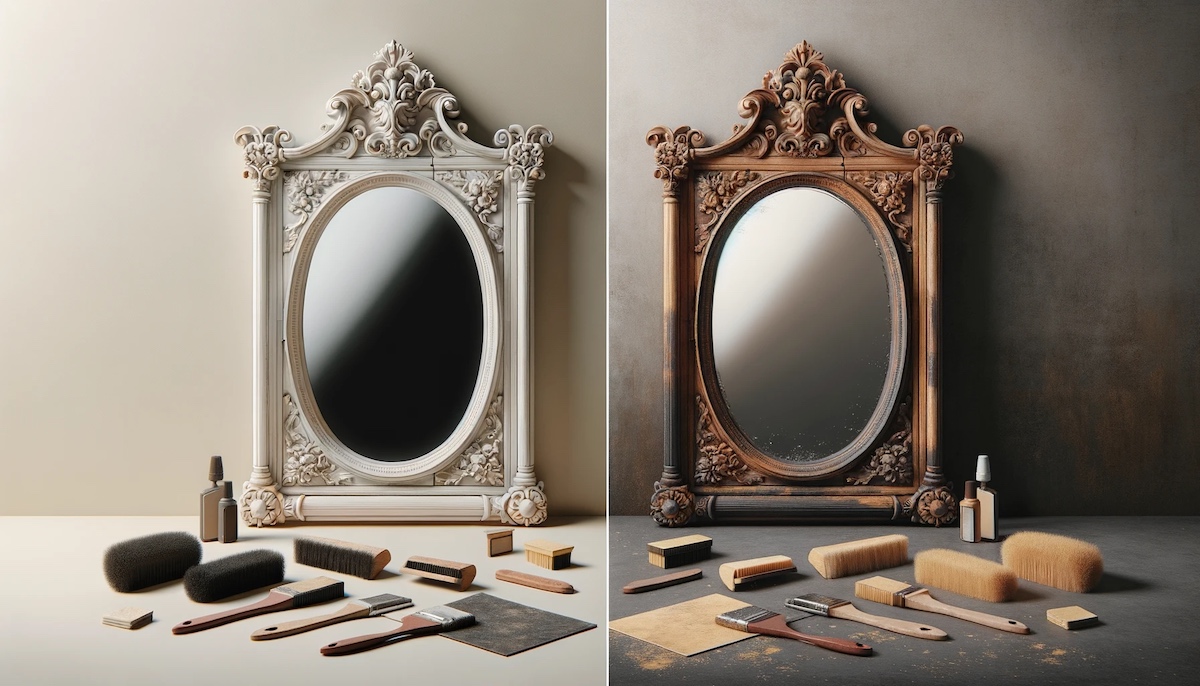
Distressing the Frame
Now that your mirror is cleaned and prepared, it’s time to start distressing the frame to give it that vintage, aged appearance. Distressing techniques simulate the natural wear and tear that occurs over time, adding character and charm to the mirror.
One of the easiest distressing techniques is sanding. Using a fine-grit sandpaper or sanding block, gently rub the frame in areas where natural wear would occur, such as corners, edges, and raised details. Focus on creating a slightly worn, uneven finish. Be careful not to sand too aggressively, as you don’t want to damage the frame or remove too much of the existing finish.
You can also use a hammer or a chain to create dents and dings in the frame. Ensure that the frame is sturdy enough to withstand this technique without breaking. Lightly tap the frame in random areas to achieve a weathered, aged effect.
If your mirror frame has layers of paint or a glossy finish, consider using a chemical stripper to remove some or all of the existing coating. Follow the instructions provided with the stripper and make sure to work in a well-ventilated area. Once the stripper has done its job, use a scraper or steel wool to gently remove the softened paint or finish.
For a more rustic and worn appearance, you can also try using a crackle medium. Apply the crackle medium over the existing finish and follow the instructions provided. As the crackle medium dries, it creates a cracked pattern, adding to the vintage look of the frame.
Remember, the goal is to achieve a distressed look while maintaining the structural integrity of the frame. Take your time, step back occasionally to assess the progress, and make adjustments as needed. The distressing process is an art form itself, so let your creativity guide you in creating a frame that exudes vintage charm.
Adding Patina
Now that you’ve distressed the mirror frame, it’s time to add a patina to further enhance its vintage appeal. Patina is a layer of discoloration or oxidation that develops over time on various metals, giving them a beautiful aged look. Adding a patina to your mirror frame can help achieve an authentic vintage appearance.
One common method for creating a patina is using a patina solution or paste. These products contain chemicals that react with the metal surface, creating a natural-looking discoloration. Copper and bronze are popular choices for achieving a vintage look, as they naturally develop a rich patina over time.
Before applying the patina solution or paste, make sure the frame is clean and free from any dust or residue. Follow the manufacturer’s instructions for the specific product you’re using, as application methods may vary.
Apply the patina solution evenly to the frame using a brush or a soft cloth. Allow it to sit for the recommended amount of time, typically a few minutes to an hour, depending on the desired effect. As the solution reacts with the metal, you’ll start to see the patina developing.
If you prefer a subtle patina, you can remove some of the solution with a cloth or paper towel before it fully develops. For a more pronounced effect, you can reapply the patina solution or leave it on for a longer duration.
Keep in mind that the patina process may take some experimentation to achieve the desired look. You can always start with a small test area on the back of the frame or on a separate piece of metal to see how the patina develops before applying it to the entire frame.
Adding a patina is a fantastic way to add depth and authenticity to your vintage mirror frame. With a little patience and experimentation, you’ll be able to achieve a beautifully aged and weathered appearance.
To make mirrors look vintage, try using a mixture of equal parts water and vinegar to gently distress the mirror surface. Use a soft cloth to apply the mixture and then wipe it off for an aged look.
Read more: Why Do Gym Mirrors Make You Look Good
Applying a Vintage Finish
With the distressed frame and the added patina, it’s time to apply a vintage finish to complete the transformation of your mirror. The vintage finish will give the frame an antique look, further enhancing its vintage appeal.
There are several techniques you can use to achieve a vintage finish, depending on the desired effect and the materials you have. One common method is using a glaze or antiquing medium. These products are specifically designed to give surfaces an aged look.
To begin, choose a glaze or antiquing medium that complements the color and style of your mirror frame. Apply the product onto the frame using a brush, working it into all the crevices and details. Then, using a clean cloth or sponge, gently wipe away the excess glaze, leaving behind a subtle layer of color and giving the frame an aged appearance.
Another technique to consider is dry brushing. This involves dipping a dry brush into a small amount of paint and then removing most of the paint by wiping it on a paper towel or cloth. With a light hand, brush the paint onto the frame, focusing on the raised areas and edges. This will create a slightly worn and faded effect, adding to the vintage charm of the mirror.
You can also experiment with different painting techniques, such as stippling or sponging, to achieve a textured or mottled look. These techniques can be used in combination with glazes or antiquing mediums to add depth and dimension to the finish.
Remember that the vintage finish should be applied in a way that complements the overall style and character of the mirror frame. Take your time, step back periodically, and make adjustments as needed to achieve the desired vintage effect.
By applying a vintage finish, you’ll be able to create a mirror frame that looks like a cherished antique heirloom, adding a touch of history and elegance to your space.
Enhancing the Vintage Look
Now that you’ve distressed the frame, added a patina, and applied a vintage finish, it’s time to take your mirror’s vintage look to the next level. Enhancing the vintage aesthetic involves adding additional elements and details to further capture the essence of bygone eras and create a truly nostalgic atmosphere.
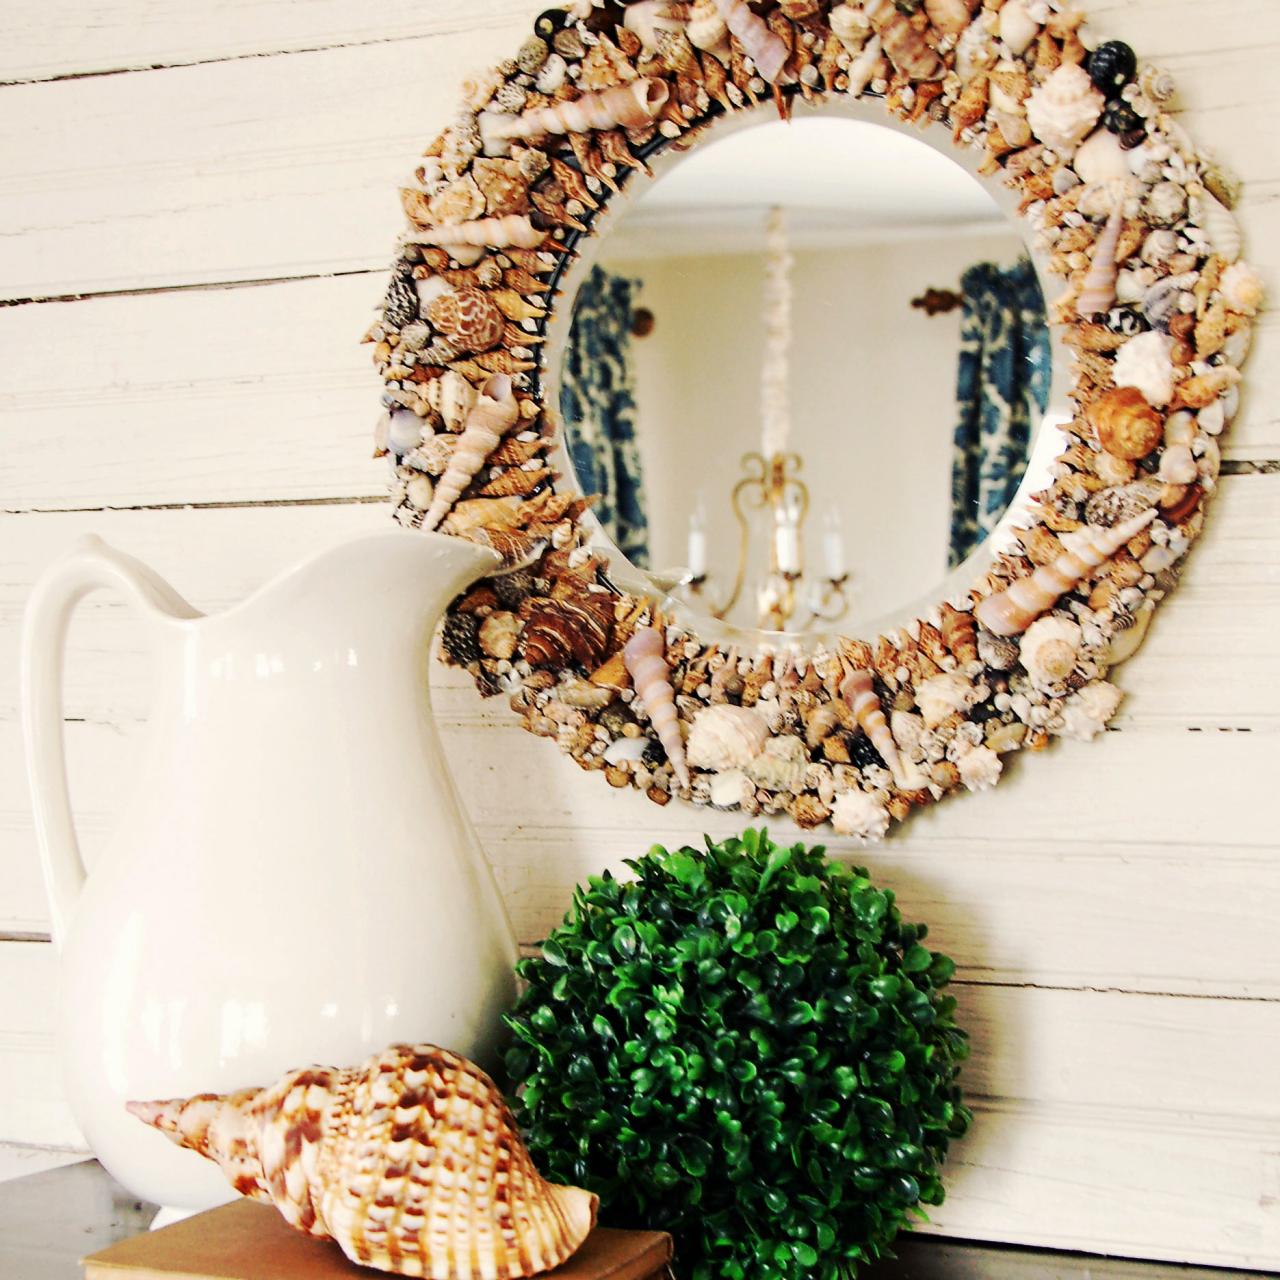
One way to enhance the vintage look is by adding embellishments to the mirror frame. Consider incorporating vintage-inspired ornaments, such as decorative resin appliques or metal accents, onto the frame. These can be glued or secured with small nails or screws. Choose pieces that complement the style and era you’re aiming to replicate, such as elegant flourishes for a Victorian look or geometric shapes for an Art Deco vibe.
Another way to enhance the vintage look is by incorporating aging effects such as crackling or distressing into the mirror itself. There are kits available that allow you to create an aged or antiqued appearance on the mirror surface. These kits typically include chemicals or solutions that react with the mirror, producing a vintage effect. Follow the instructions provided with the kit carefully to avoid damaging the mirror.
Consider using antique-inspired glass paints to add decorative details to the mirror itself. These paints can be used to create delicate patterns, borders, or even small illustrations. Use stencils or templates to ensure precision, or try your hand at freehand designs for a more unique and artistic touch.
Additionally, you can enhance the vintage look by incorporating antique or vintage-style accessories and accents around the mirror. For instance, old-fashioned candle sconces, vintage picture frames, or vintage-inspired wall art can complement the mirror beautifully and create a cohesive vintage atmosphere in the space.
Finally, pay attention to the lighting surrounding the mirror. Vintage-style lighting fixtures, such as ornate sconces or vintage-inspired pendant lights, can add a touch of old-world charm and further enhance the vintage aesthetic. Choose warm, soft lighting to create a cozy and inviting ambiance.
By focusing on the details and incorporating vintage-inspired elements and accents, you’ll be able to enhance the overall vintage look of your mirror, creating a stunning focal point that transports you back in time.
Sealing the Mirror
After putting in the effort to distress the frame, add patina, apply a vintage finish, and enhance the overall vintage look of your mirror, it’s crucial to protect your hard work by sealing the mirror. Sealing not only adds a layer of protection but also enhances the durability and longevity of the vintage transformation.
When it comes to sealing a mirror, there are a few options to consider based on your preferences and the type of finish you’ve applied to the frame. Here are some common sealing methods:
1. Clear Topcoat: Applying a clear topcoat over the frame helps protect the finish from scratches, moisture, and fading. Choose a topcoat that is compatible with the type of paint or finish you used. Apply the topcoat according to the manufacturer’s instructions, ensuring even coverage. Let it dry completely before handling or displaying the mirror.
2. Wax Finish: Wax is an excellent option for sealing vintage finishes, especially if you want to maintain a natural or rustic look. Apply a thin coat of wax using a soft cloth or brush, following the direction of the wood grain or texture of the frame. Allow the wax to dry, then buff it gently with a clean cloth for a smooth finish.
3. Varnish or Polyurethane: Varnish or polyurethane can provide a hard and durable protective coating for your vintage mirror. Apply multiple thin coats, allowing each coat to dry completely before adding the next. Sand lightly between coats for a smooth finish. Keep in mind that varnish or polyurethane may slightly alter the appearance of the vintage finish, potentially intensifying or darkening the color.
Regardless of the sealing method you choose, it’s important to ensure that the mirror surface remains undamaged during the process. Cover the mirror carefully with masking or painter’s tape to protect it from any accidental drips or spills.
Sealing the mirror not only preserves the vintage look you’ve achieved but also makes it easier to clean and maintain in the future. Regular dusting and occasional cleaning with a soft, lint-free cloth will help keep your vintage mirror looking its best.
By sealing your mirror, you can confidently display and enjoy your vintage masterpiece for years to come, knowing that it’s well-protected and ready to evoke nostalgia and charm in any space.
Conclusion
Creating a vintage look for your mirrors can breathe new life into your home decor, adding a touch of timeless elegance and nostalgia. By following the steps outlined in this article, you can transform an ordinary mirror into a stunning vintage piece that exudes character and charm.
Start by finding the right mirror, whether it’s an antique find or a plain mirror ready for a vintage makeover. Prepare the mirror by cleaning it and protecting the mirrored surface. Distress the frame to give it an aged and weathered appearance, and add a patina to further enhance its vintage look.
Next, apply a vintage finish using techniques such as glaze, dry brushing, or crackling to achieve the desired antique aesthetic. Enhance the vintage look by adding embellishments, aging effects on the mirror surface, or incorporating vintage-inspired accessories around the mirror.
Finally, seal the mirror to protect the finish and ensure its longevity. Choose the appropriate method for sealing based on your preferences and the type of finish you’ve applied. Whether it’s a clear topcoat, wax finish, or varnish, sealing the mirror will help preserve its beauty and make it easier to clean and maintain over time.
Remember, achieving a vintage look for your mirrors is a creative process that allows you to infuse your own style and personality. Take your time, experiment with different techniques, and don’t be afraid to let your creativity shine through. The end result will be a remarkable vintage mirror that becomes the centerpiece of your space.
So, go ahead and embark on this exciting journey of transforming your mirrors into vintage treasures. Let the allure of bygone eras fill your home and create an atmosphere that transports you to a different time. Enjoy the process and the satisfaction of creating something beautiful and unique.
Frequently Asked Questions about How To Make Mirrors Look Vintage
Was this page helpful?
At Storables.com, we guarantee accurate and reliable information. Our content, validated by Expert Board Contributors, is crafted following stringent Editorial Policies. We're committed to providing you with well-researched, expert-backed insights for all your informational needs.

0 thoughts on “How To Make Mirrors Look Vintage”