Home>Furniture & Design>Bathroom Accessories>How To Make Bathtub Look New
Bathroom Accessories
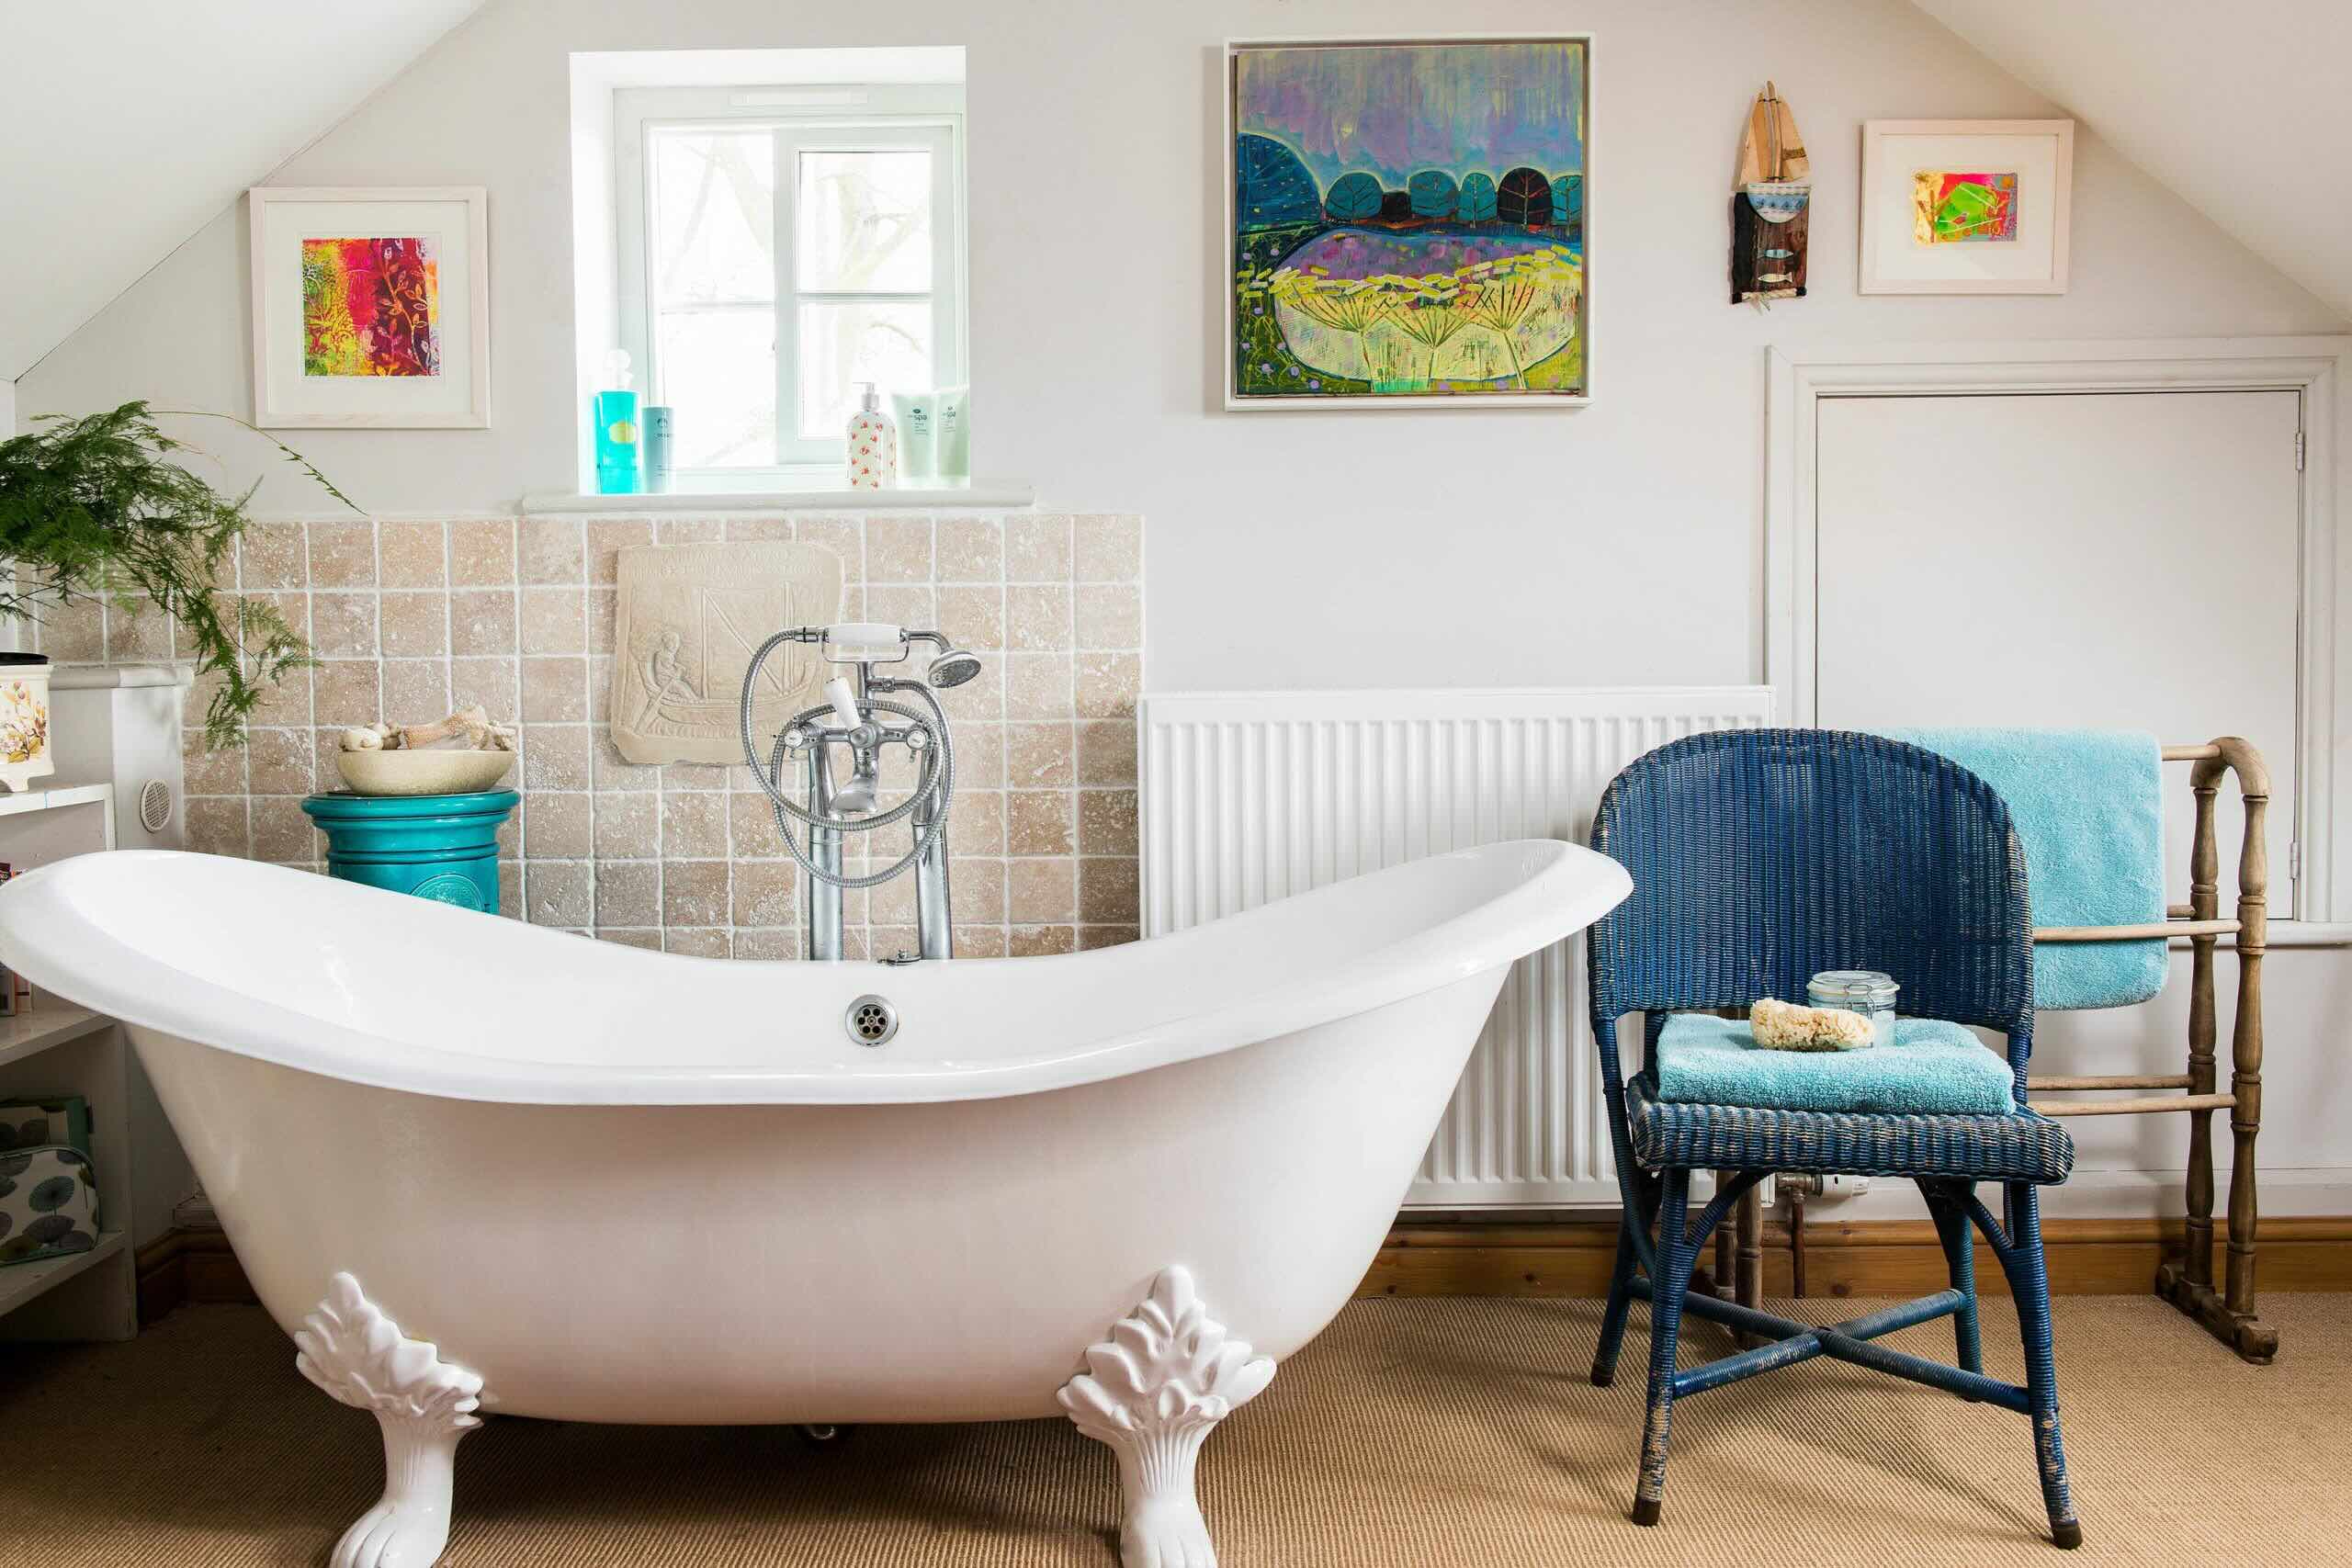
How To Make Bathtub Look New
Modified: August 27, 2024
Transform your bathroom with our top tips on how to make your bathtub look brand new. Discover the best bathroom accessories and renovation ideas.
(Many of the links in this article redirect to a specific reviewed product. Your purchase of these products through affiliate links helps to generate commission for Storables.com, at no extra cost. Learn more)
Introduction
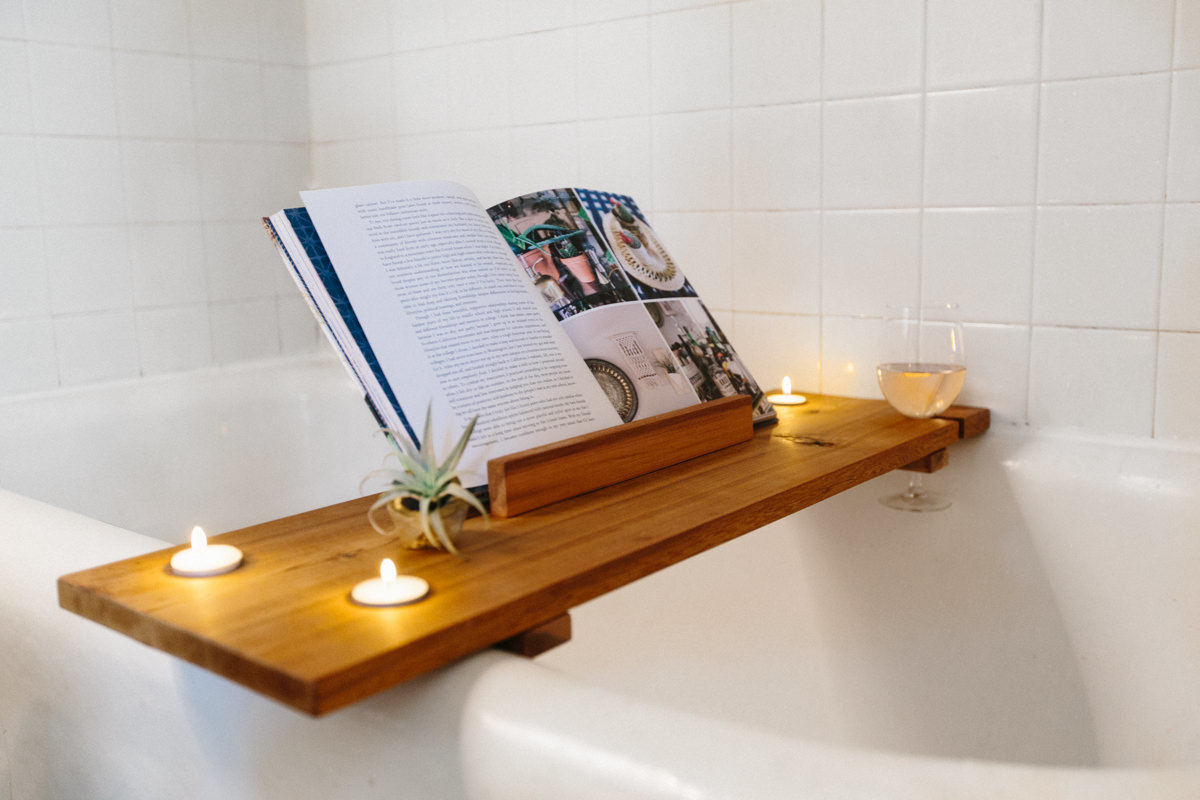
A bathtub is not just a functional fixture in your bathroom; it's also a place of relaxation and rejuvenation. Over time, however, the wear and tear of daily use can take a toll on its appearance, leaving it looking worn and lackluster. Fortunately, there are several effective ways to restore your bathtub to its former glory and make it look brand new again.
In this comprehensive guide, we will explore various techniques and tips to revitalize your bathtub, from thorough cleaning and stain removal to repairing chips and scratches, replacing caulk and grout, and even refinishing the surface. By following these steps, you can transform your bathtub into a sparkling centerpiece of your bathroom once more.
Whether your bathtub is made of porcelain, acrylic, fiberglass, or another material, the methods discussed here can be tailored to suit your specific needs. With a little effort and the right approach, you can achieve remarkable results and enjoy a rejuvenated bathtub that enhances the overall appeal of your bathroom.
So, if you're ready to roll up your sleeves and give your bathtub the attention it deserves, let's dive into the step-by-step process of making your bathtub look new again. Whether you're a seasoned DIY enthusiast or a first-time homeowner looking to spruce up your living space, this guide will equip you with the knowledge and techniques to breathe new life into your bathtub and create a refreshing oasis within your home.
Key Takeaways:
- Revitalize your bathtub by cleaning, removing stains, repairing chips, and replacing caulk. Refinishing the surface can transform it into a like-new centerpiece, enhancing your bathroom’s appeal and comfort.
- Maintain your bathtub’s fresh look with regular cleaning, avoiding damaging habits, prompt repairs, protective measures, and periodic professional maintenance. These practices will preserve its rejuvenated appearance for years to come.
Read more: How To Make Brick Look New
Cleaning the Bathtub
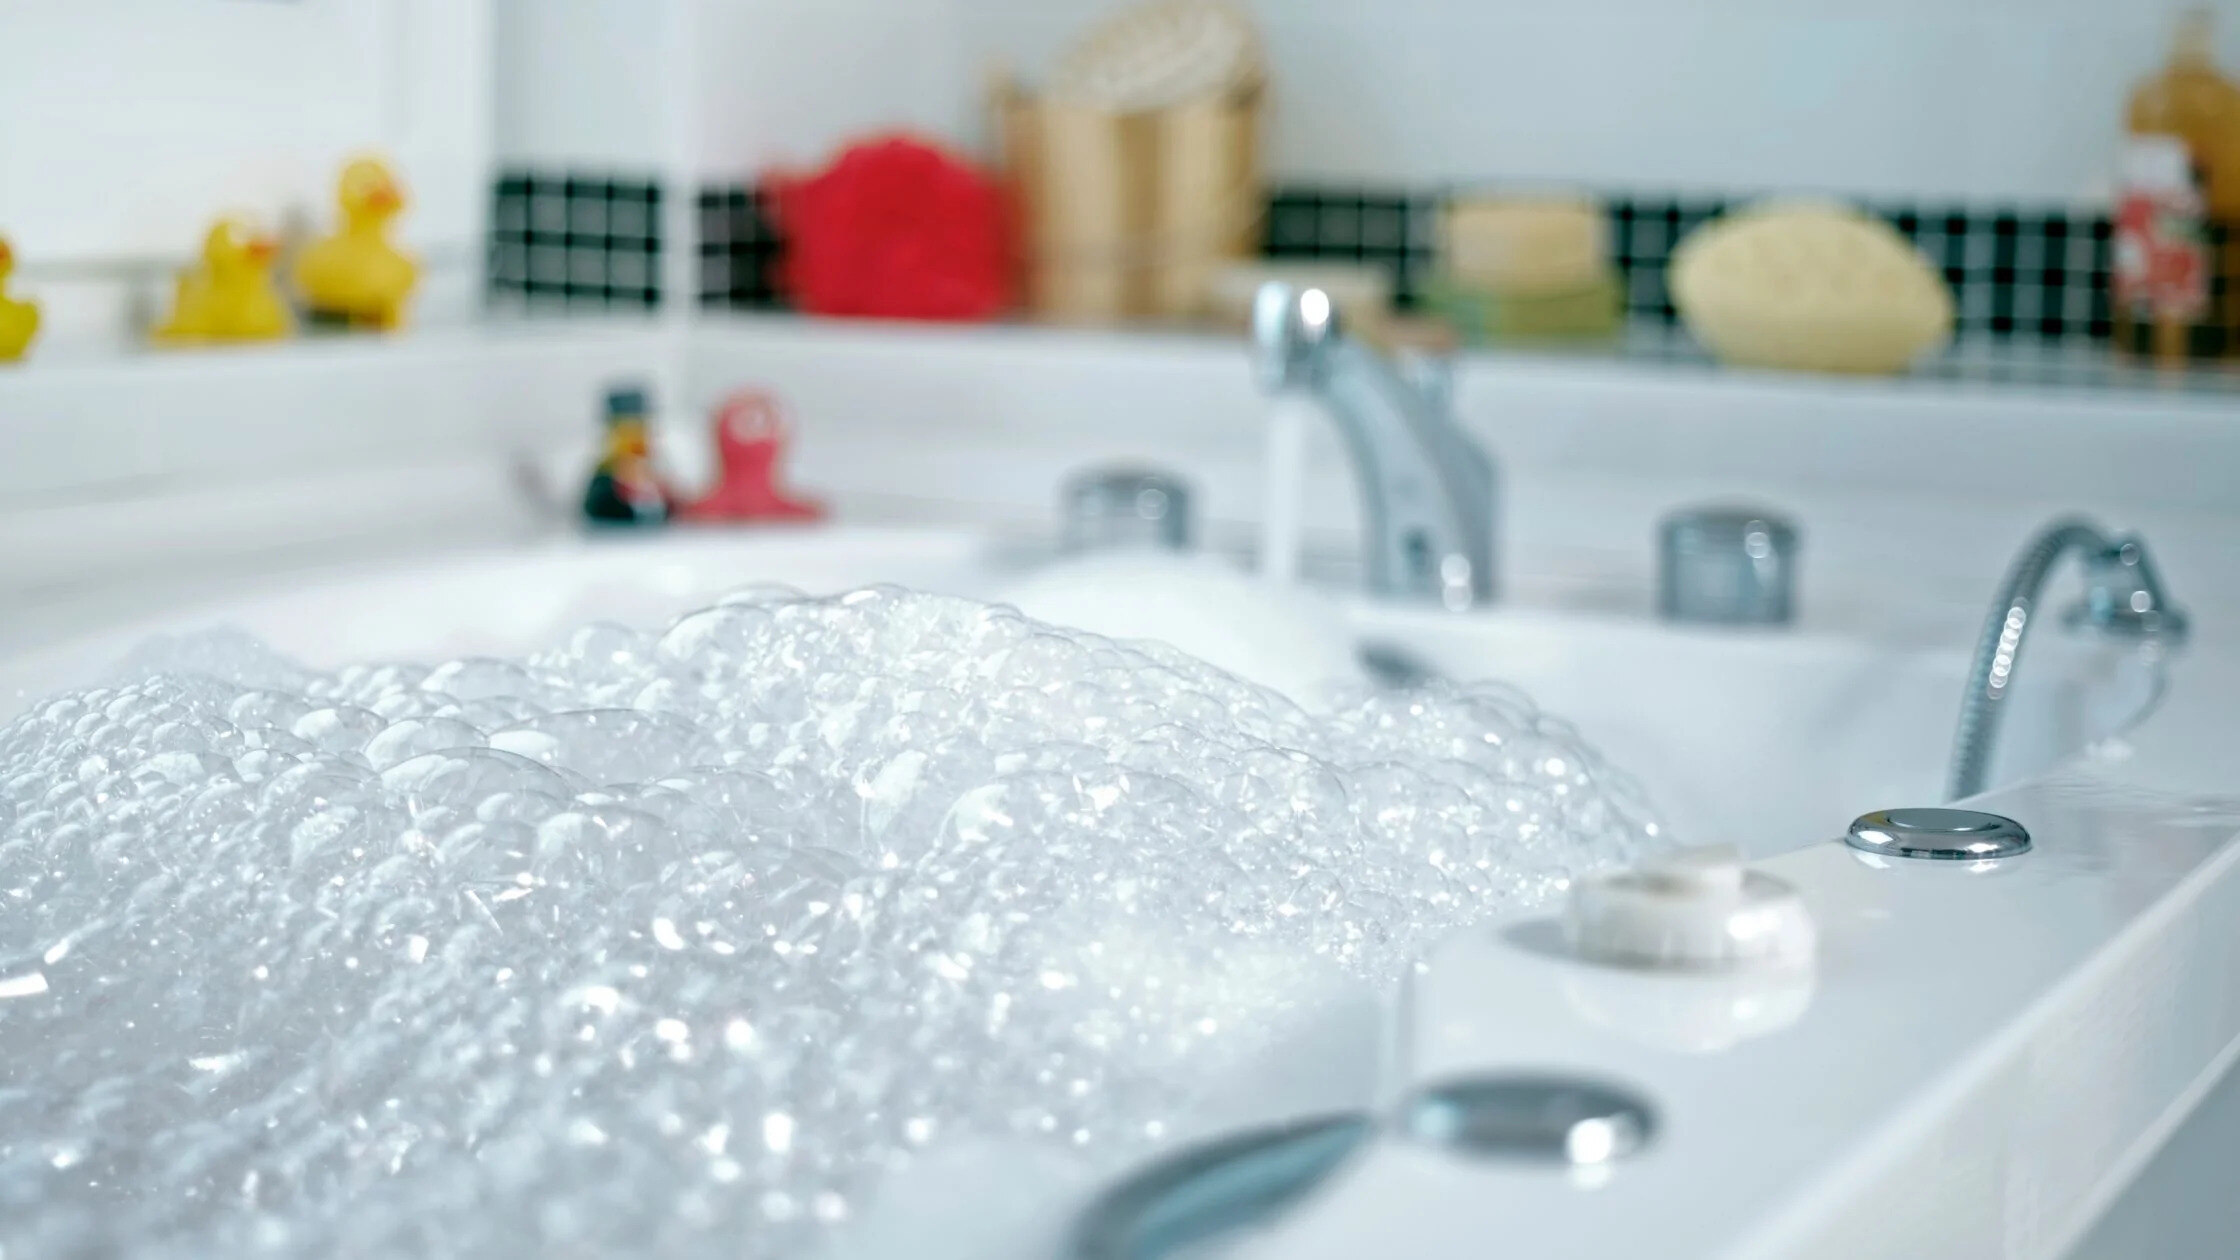
Cleaning your bathtub is the first crucial step in restoring its luster and making it look new again. Over time, soap scum, mineral deposits, and grime can accumulate, leaving the surface dull and unappealing. To begin the rejuvenation process, start by thoroughly cleaning the bathtub using the following steps:
-
Gather Your Supplies: Before you begin, gather the necessary cleaning supplies, including a non-abrasive sponge or cloth, a gentle bathtub cleaner or a mixture of baking soda and water, white vinegar, and a spray bottle.
-
Remove Debris: Clear the bathtub of any items such as shampoo bottles, soap dishes, or bath toys. This will allow you to access all areas of the tub and ensure a thorough cleaning.
-
Pre-Treatment: For stubborn stains and soap scum, consider pre-treating the surface by spraying it with a solution of equal parts white vinegar and water. Let the solution sit for a few minutes to help loosen the buildup.
-
Scrubbing: Using a non-abrasive sponge or cloth, apply the bathtub cleaner or baking soda mixture to the surface. Gently scrub the entire bathtub, paying special attention to areas with visible stains or discoloration. For tough spots, you may need to apply a bit more elbow grease.
-
Rinse Thoroughly: Once you've scrubbed the entire surface, rinse the bathtub thoroughly with clean water. Ensure that all traces of the cleaning solution are completely removed.
-
Dry the Surface: Use a clean, dry cloth to wipe down the bathtub and remove any excess water. This will prevent water spots and help reveal the true condition of the surface.
By following these steps, you can effectively remove dirt, grime, and soap scum, unveiling a cleaner and more vibrant bathtub surface. This initial cleaning sets the stage for the subsequent steps in the rejuvenation process, allowing you to address specific issues such as stains, scratches, and worn-out caulk with greater precision and effectiveness.
Removing Stains and Buildup
Stains and buildup can significantly detract from the appearance of your bathtub, making it look aged and worn. Fortunately, there are effective methods to tackle these common issues and restore the pristine look of your tub.
Addressing Stains:
Stains on the bathtub surface can be caused by hard water, mineral deposits, or the accumulation of soap residue. To combat these unsightly marks, consider using a specialized bathtub stain remover or a DIY solution of hydrogen peroxide and cream of tartar. Apply the cleaner to the stained areas and let it sit for a few minutes to penetrate the buildup. Then, gently scrub the stains with a non-abrasive sponge or brush. For tougher stains, you may need to repeat the process or use a stronger cleaning solution. Always follow the manufacturer's instructions when using commercial cleaners.
Dealing with Buildup:
Buildup, such as soap scum and mineral deposits, can create a dull, hazy appearance on the bathtub surface. To effectively remove buildup, consider using a mixture of white vinegar and water. Spray the solution onto the affected areas and let it sit for a few minutes to loosen the buildup. Then, scrub the surface with a non-abrasive sponge or brush to lift the residue. For stubborn buildup, a paste of baking soda and water can be applied to the affected areas and gently scrubbed to break down the buildup.
Read more: How To Make Old Glass Look New
Preventive Measures:
Once you've successfully removed stains and buildup from your bathtub, consider implementing preventive measures to maintain its newly restored appearance. Regularly wiping down the tub after each use can help prevent the accumulation of soap residue and mineral deposits. Additionally, using a squeegee to remove excess water after bathing can minimize water spots and maintain the tub's cleanliness.
By addressing stains and buildup, you can significantly improve the overall look of your bathtub, bringing it one step closer to looking brand new. These targeted cleaning methods can effectively rejuvenate the surface, providing a fresh and inviting appeal to your bathroom space.
Repairing Chips and Scratches
Chips and scratches not only mar the appearance of your bathtub but can also lead to further deterioration if left unaddressed. Fortunately, there are effective methods to repair these imperfections and restore the smooth, flawless surface of your tub.
Addressing Chips:
Small chips in the bathtub surface can be unsightly and may compromise the integrity of the material. To repair minor chips, consider using a bathtub repair kit specifically designed for the material of your tub, such as porcelain, acrylic, or fiberglass. These kits typically contain epoxy or filler that can be applied to the chipped area to fill in the gap and create a seamless finish. Follow the manufacturer's instructions carefully to ensure proper application and a durable repair.
For larger chips or deep gouges, it may be necessary to seek professional assistance to achieve a seamless and long-lasting repair. A professional bathtub refinishing service can effectively address more extensive damage, restoring the surface to its original smoothness and appearance.
Dealing with Scratches:
Surface scratches on the bathtub can detract from its overall aesthetic appeal. To address minor scratches, consider using a gentle abrasive cleaner or a specialized bathtub polish to buff out the imperfections. Apply the cleaner or polish to the scratched areas and gently buff in a circular motion using a soft cloth. This process can help diminish the appearance of superficial scratches, restoring a smoother and more uniform surface.
For deeper scratches or a more extensive area of damage, professional refinishing or reglazing may be the most effective solution. Refinishing can not only repair scratches but also provide a fresh, glossy finish to the entire bathtub, creating a like-new appearance.
Read more: How To Make Old Glass Look New
Preventive Measures:
Once you've repaired chips and scratches on your bathtub, implementing preventive measures can help maintain the restored surface. Avoid using abrasive cleaners or harsh scrubbing tools that can exacerbate damage. Instead, opt for gentle cleaning solutions and soft cloths to preserve the repaired areas. Additionally, placing a non-slip mat in the tub can help prevent future scratches and chips caused by abrasive materials or heavy objects.
By addressing chips and scratches, you can effectively restore the smooth, flawless appearance of your bathtub, enhancing its overall visual appeal and prolonging its lifespan. These targeted repair methods can breathe new life into your tub, creating a refreshed and inviting focal point in your bathroom.
Replacing Caulk and Grout
The condition of the caulk and grout around your bathtub can significantly impact its overall appearance. Over time, these materials can become discolored, cracked, or mildewed, detracting from the cleanliness and visual appeal of the tub area. Replacing the caulk and grout is a crucial step in rejuvenating your bathtub and creating a fresh, polished look.
Assessing the Condition
Before replacing the caulk and grout, carefully assess their current condition. Look for signs of discoloration, mold, mildew, or cracking. Discolored or moldy caulk and grout not only look unsightly but can also indicate the presence of moisture and potential water damage. Cracked or deteriorating grout can compromise the integrity of the tile or bathtub surround, leading to further issues if left unaddressed.
Removing Old Caulk and Grout
To begin the replacement process, thoroughly remove the old caulk and grout. Use a utility knife or a specialized caulk removal tool to carefully cut and scrape away the old caulk from the joint between the bathtub and the surrounding tiles or wall. For grout removal, a grout saw or rotary tool with a grout removal attachment can be used to carefully eliminate the old grout from between the tiles.
Read more: What To Look For In Buying A New Mattress
Cleaning and Preparing the Surface
Once the old caulk and grout have been removed, it's essential to clean the exposed surfaces thoroughly. Use a mildew-resistant cleaner or a mixture of water and white vinegar to clean the joint and tile surfaces. Ensure that all traces of old caulk, grout, and any mold or mildew are completely removed. Allow the surfaces to dry completely before proceeding with the replacement.
Applying New Caulk and Grout
Select a high-quality silicone caulk that is specifically designed for use in wet areas such as bathtubs and showers. Carefully apply the caulk to the joint between the bathtub and the surrounding tiles or wall, ensuring a smooth and even bead. Use a caulking tool or a damp finger to smooth the caulk and create a seamless finish.
For grout replacement, choose a grout color that complements the tiles and the overall aesthetic of the bathroom. Mix the grout according to the manufacturer's instructions and apply it to the joints between the tiles using a grout float. Ensure that the grout lines are filled evenly and smoothly.
Sealing and Finishing
Once the new caulk and grout have been applied, it's important to seal the joints to prevent moisture infiltration and maintain the integrity of the installation. Use a silicone-based sealer to seal the caulked joint, ensuring a watertight and durable finish. For grout, a grout sealer can be applied to protect the grout from staining and moisture penetration.
By replacing the caulk and grout around your bathtub, you can effectively refresh the appearance of the tub area, creating a clean and polished look. Properly installed and maintained caulk and grout not only enhance the visual appeal of the bathtub but also contribute to the overall cleanliness and longevity of the surrounding surfaces. This essential step in bathtub rejuvenation can significantly elevate the aesthetic and functional aspects of your bathroom space.
Refinishing the Surface
Refinishing the surface of your bathtub is a transformative process that can breathe new life into an aging or worn-out fixture, effectively restoring its appearance and functionality. Whether your bathtub is made of porcelain, acrylic, fiberglass, or another material, refinishing offers a cost-effective and efficient way to revitalize the surface, creating a like-new finish without the need for a full replacement.
Read more: How To Make A Bathtub Caddy
Surface Preparation
Before embarking on the refinishing process, thorough surface preparation is essential to ensure optimal results. Begin by cleaning the bathtub surface using a mild detergent or a specialized bathtub cleaner to remove any residual soap scum, oils, or contaminants. Once the surface is clean and dry, carefully sand the entire bathtub to create a smooth and uniform texture. This step is crucial for promoting adhesion and ensuring the longevity of the refinished surface.
Repairing Imperfections
During the preparation phase, take the opportunity to address any imperfections such as chips, scratches, or dents in the bathtub surface. Utilize a high-quality epoxy or filler specifically designed for the material of your tub to fill in any damaged areas and create a seamless finish. By addressing these imperfections before refinishing, you can achieve a flawless and uniform surface that resembles a brand-new bathtub.
Application of Refinishing Coating
Once the surface is properly prepared and any imperfections are repaired, the application of the refinishing coating can commence. Select a high-quality bathtub refinishing kit that is designed for the specific material of your tub, whether it's porcelain, acrylic, or fiberglass. Follow the manufacturer's instructions meticulously to ensure proper mixing and application of the refinishing coating.
Apply the refinishing coating evenly and smoothly, using a high-volume, low-pressure (HVLP) spray gun for optimal results. This method ensures a consistent and professional finish, minimizing the appearance of brush or roller marks. Multiple coats may be necessary to achieve the desired level of coverage and durability, so be sure to allow adequate drying time between each application.
Curing and Final Touches
After the refinishing coating has been applied, allow the bathtub surface to cure thoroughly according to the manufacturer's recommendations. This curing period is essential for the coating to harden and bond effectively to the underlying material, creating a durable and long-lasting finish. Once the surface is fully cured, inspect it carefully for any imperfections or uneven areas.
If necessary, lightly sand any rough spots or imperfections and apply a final coat of refinishing coating to achieve a flawless and uniform appearance. Once the final coat has dried and cured, the bathtub surface will be transformed, boasting a smooth, glossy finish that closely resembles a brand-new fixture.
Read more: How To Make An Outdoor Bathtub
Maintenance and Care
To preserve the newly refinished surface of your bathtub, it's essential to implement proper maintenance and care practices. Avoid using abrasive cleaners or harsh scrubbing tools that can damage the coating. Instead, opt for gentle, non-abrasive cleaners and soft cloths to clean the bathtub. Additionally, refrain from using bathmats with suction cups, as they can potentially damage the refinished surface.
By following these refinishing steps and maintaining the refinished surface, you can effectively rejuvenate your bathtub, creating a fresh and inviting centerpiece in your bathroom. Refinishing offers a budget-friendly and sustainable alternative to replacing the entire fixture, allowing you to enjoy the benefits of a like-new bathtub without the hassle and expense of a full renovation.
Maintaining the New Look
Once you have successfully rejuvenated your bathtub and achieved a fresh, like-new appearance, it's essential to implement consistent maintenance practices to preserve the revitalized look and ensure the longevity of the improvements. By incorporating simple yet effective maintenance routines, you can prolong the pristine condition of your bathtub and continue to enjoy its renewed aesthetic appeal for years to come.
Regular Cleaning
Consistent and thorough cleaning is paramount to maintaining the new look of your bathtub. After the rejuvenation process, make it a habit to clean the bathtub regularly using gentle, non-abrasive cleaners that are suitable for the specific material of your tub. Avoid harsh chemicals and abrasive tools that can compromise the refinished surface. By wiping down the bathtub after each use and performing a deeper cleaning on a weekly basis, you can prevent the accumulation of grime, soap scum, and mineral deposits, preserving the fresh appearance of the tub.
Avoiding Damaging Habits
To safeguard the newly refinished surface of your bathtub, it's important to avoid certain damaging habits. Refrain from using abrasive scrubbing tools, harsh chemicals, or abrasive cleaners that can scratch or dull the refinished coating. Additionally, be mindful of the items you place in the bathtub, avoiding heavy or sharp objects that can potentially cause scratches or chips. By adopting gentle cleaning practices and being mindful of the items used in the tub, you can protect the new look of the surface.
Prompt Repairs
Addressing any signs of wear or damage promptly is crucial for maintaining the new look of your bathtub. If you notice any chips, scratches, or areas of wear on the refinished surface, take immediate action to repair and restore these areas. Utilize appropriate repair kits or seek professional assistance to address any imperfections before they escalate into more extensive issues. By staying proactive and attentive to the condition of the bathtub, you can preserve its fresh appearance and prevent further deterioration.
Protective Measures
Implementing protective measures can significantly contribute to maintaining the new look of your bathtub. Consider using a non-slip mat inside the tub to prevent accidental damage and minimize the risk of scratches or chips caused by abrasive materials. Additionally, using a squeegee to remove excess water after bathing can help prevent water spots and maintain the cleanliness of the tub's surface. By incorporating these protective measures into your routine, you can safeguard the refinished surface and prolong its pristine appearance.
Professional Maintenance
Periodic professional maintenance and inspections can further ensure the longevity and optimal condition of your refinished bathtub. Consider scheduling regular check-ups with a professional refinishing service to assess the state of the bathtub surface and address any emerging issues. Professional maintenance can include resealing the caulk, inspecting the integrity of the refinishing coating, and performing any necessary touch-ups to maintain the new look of the bathtub.
By adhering to these maintenance practices and being proactive in caring for your refinished bathtub, you can effectively preserve its new look and enjoy a rejuvenated centerpiece in your bathroom for years to come. With consistent care and attention, your bathtub will continue to exude a fresh, like-new appearance, enhancing the overall aesthetic and comfort of your bathroom space.
Frequently Asked Questions about How To Make Bathtub Look New
Was this page helpful?
At Storables.com, we guarantee accurate and reliable information. Our content, validated by Expert Board Contributors, is crafted following stringent Editorial Policies. We're committed to providing you with well-researched, expert-backed insights for all your informational needs.


0 thoughts on “How To Make Bathtub Look New”