Articles
How To Make A Wall Of Mirrors
Modified: January 5, 2024
Learn how to create a stunning wall of mirrors with our informative articles. Find tips, ideas, and inspiration to transform your space.
(Many of the links in this article redirect to a specific reviewed product. Your purchase of these products through affiliate links helps to generate commission for Storables.com, at no extra cost. Learn more)
Introduction
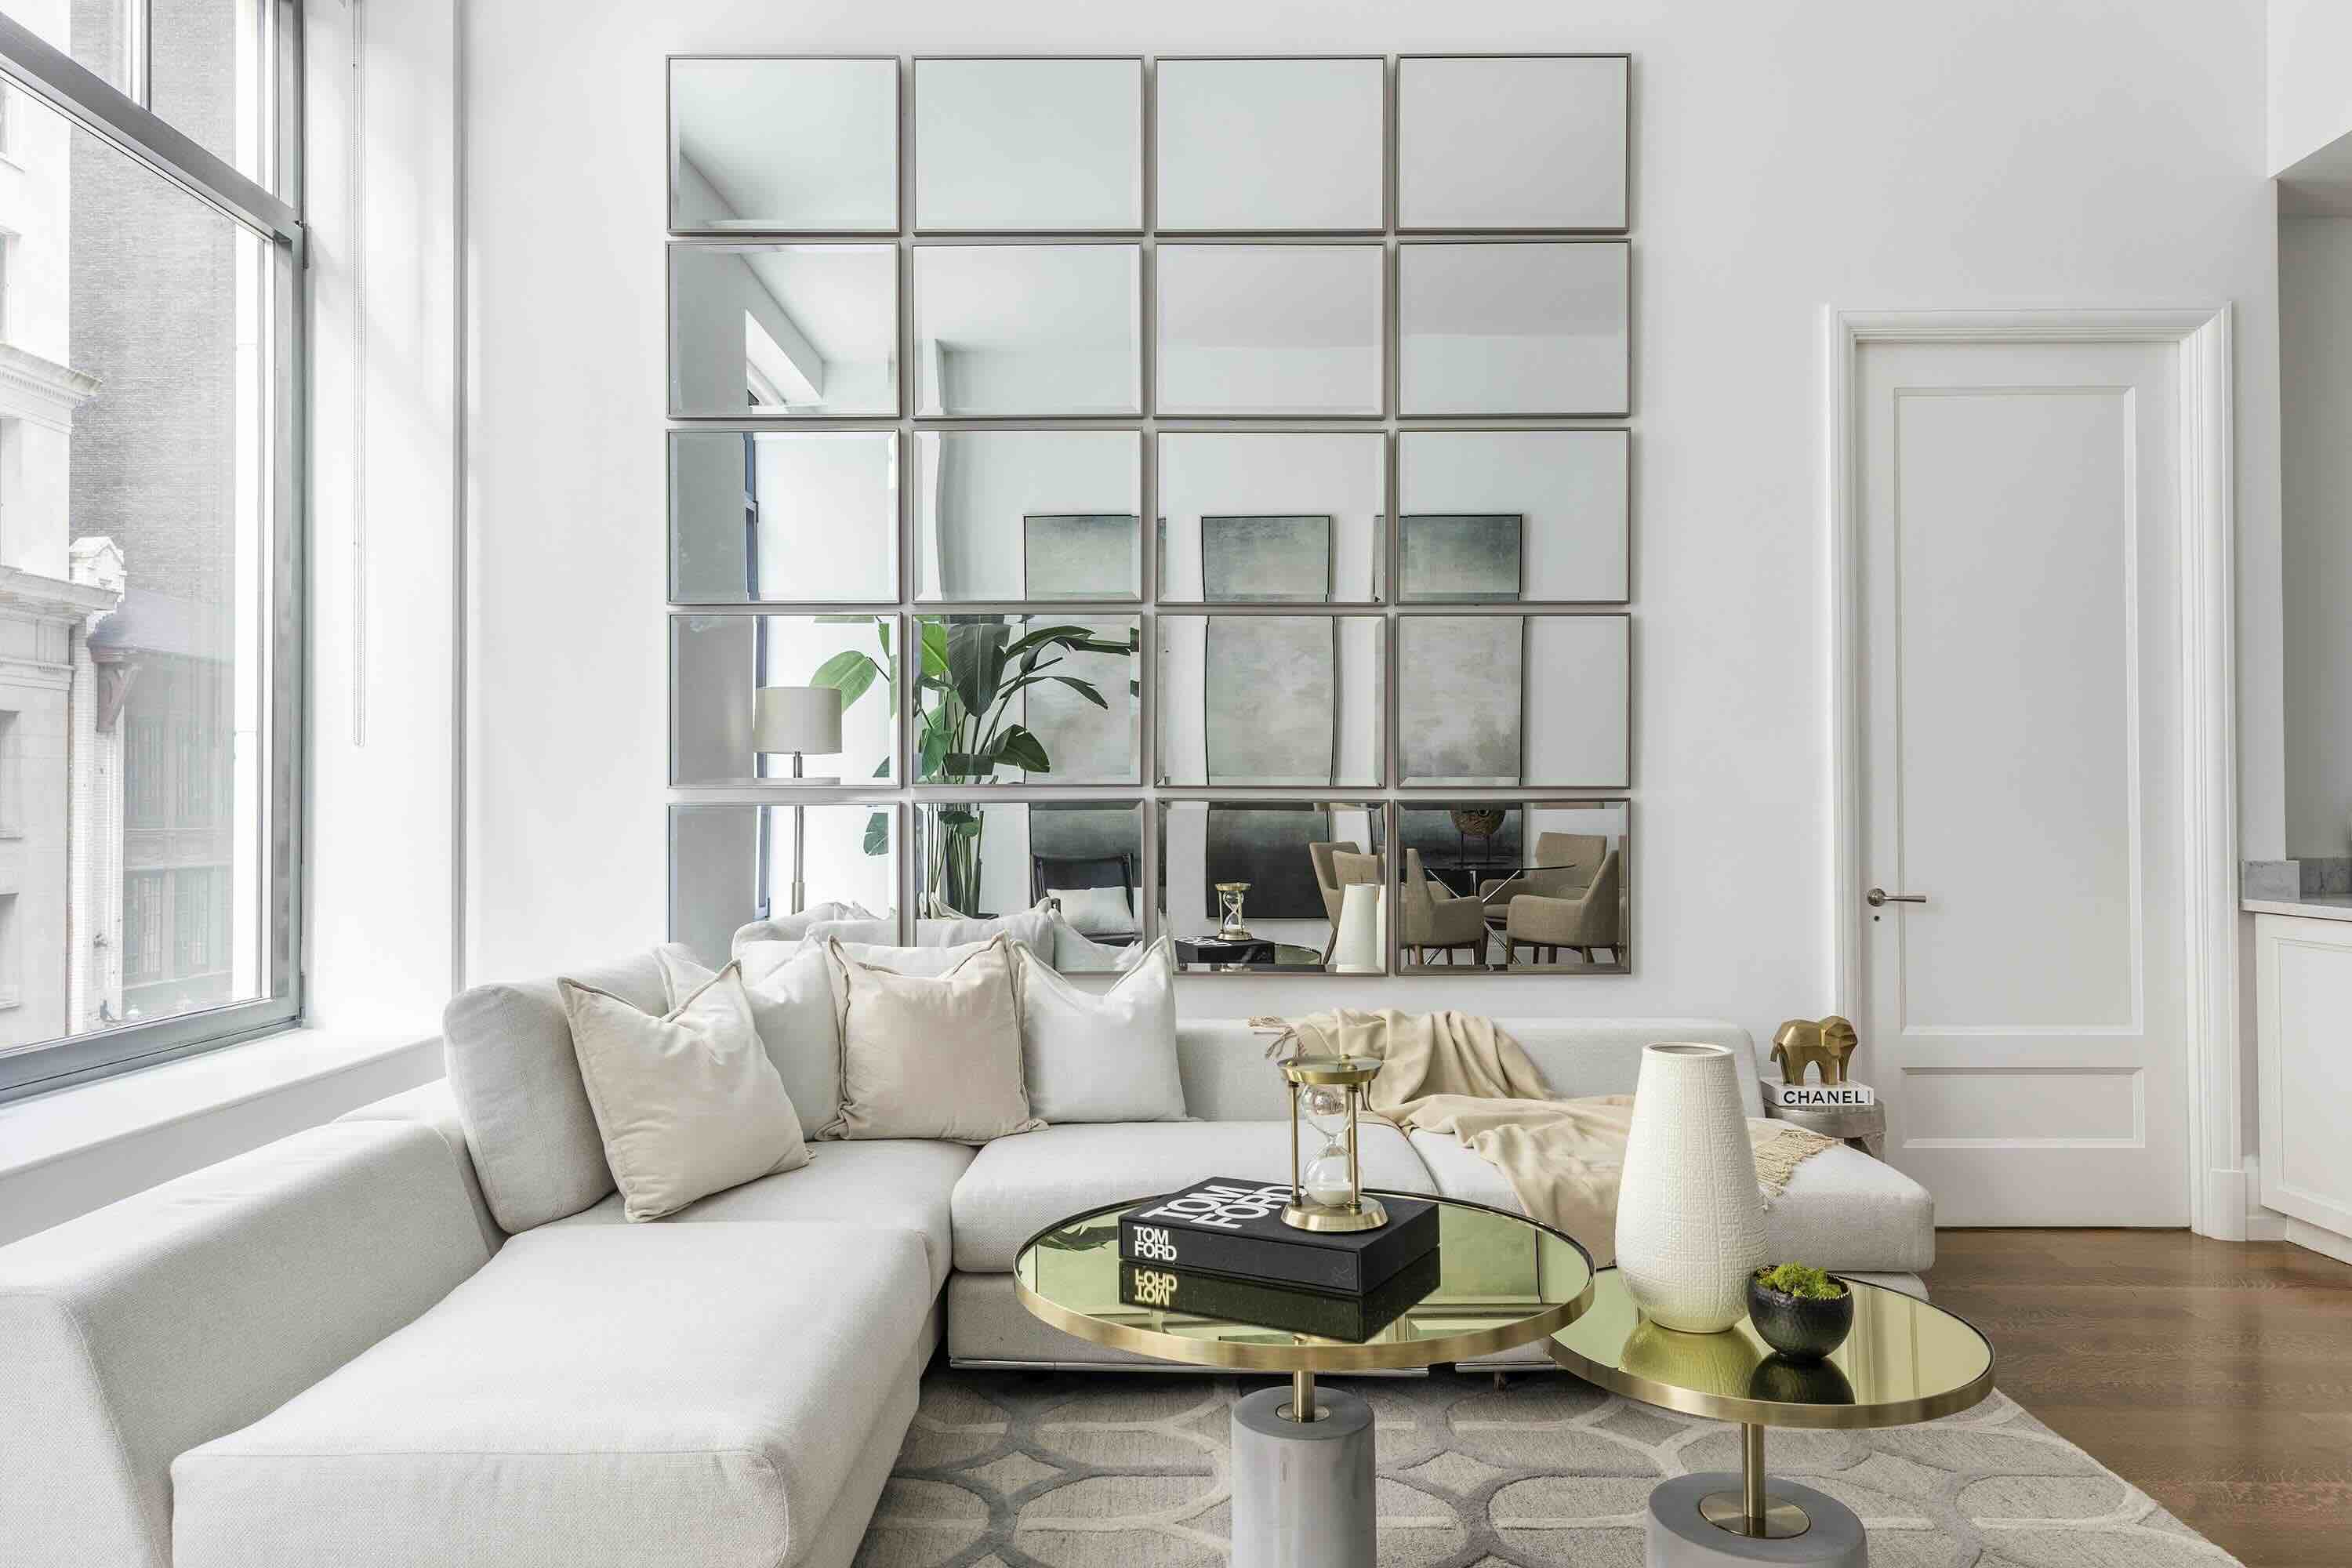
Adding a wall of mirrors to your home can instantly transform any room into a stylish and spacious oasis. Mirrors not only create the illusion of more space, but they also reflect light and add a touch of elegance to any decor. Whether you want to make a bold statement in your living room or create a glamorous dressing area in your bedroom, building a wall of mirrors is a simple and affordable DIY project that can yield stunning results.
In this article, we will guide you through the step-by-step process of creating your own wall of mirrors. From measuring and planning to installation and finishing touches, we will cover all the essential aspects to ensure a successful and visually striking result. So, grab your tools and let’s get started!
Before we dive into the nitty-gritty of building a wall of mirrors, let’s first go over the materials you will need for this project. Having everything prepared beforehand will save you time and ensure a smooth and efficient process.
Key Takeaways:
- Elevate any room’s aesthetic with a DIY wall of mirrors. Follow step-by-step guidance to create a stylish and spacious oasis, adding elegance and functionality to your living space.
- Transform your space into a stylish sanctuary with a wall of mirrors. Reflect light, create the illusion of space, and add a touch of sophistication to your decor with this simple and affordable DIY project.
Read more: How To Remove Wall Mirrors
Materials Needed
Before you begin your mirror wall project, gather the following materials:
- Measuring tape
- Pencil
- Level
- Wall anchors
- Mirror adhesive
- Caulk gun
- Putty knife
- Microfiber cloth
- Safety goggles
- Gloves
It’s essential to have the proper tools and safety equipment to ensure a successful and safe project. Make sure you have these materials on hand before you begin the installation process.
Now that you have all the necessary materials, let’s proceed to the first step: measuring and planning your mirror wall.
Step 1: Measure and Plan
The first step in creating a wall of mirrors is to accurately measure the wall and plan the layout of the mirrors. This will ensure that the mirrors fit perfectly and create an aesthetically pleasing arrangement.
Start by measuring the height and width of the wall where you want to install the mirrors. Use a measuring tape and record the measurements in inches or centimeters.
Next, consider the layout and arrangement of the mirrors. You can choose a symmetrical design with equal-sized mirrors, or you can opt for a more eclectic look by using mirrors of different sizes and shapes. Sketch out your desired layout on a piece of paper or use a digital design tool to visualize the arrangement.
Once you have your measurements and layout finalized, mark the wall with a pencil where each mirror will be positioned. Use a level to ensure that the lines are straight and evenly spaced. This step is crucial to ensure an accurate installation and a professional-looking finish.
With the measurements taken and the layout planned, you’re now ready to move on to the next step: choosing the size and shape of your mirrors.
Step 2: Choose the Mirror Size and Shape
Choosing the size and shape of your mirrors is an important part of creating a visually appealing wall of mirrors. The right selection can enhance the overall design aesthetic of the space and create the desired impact.
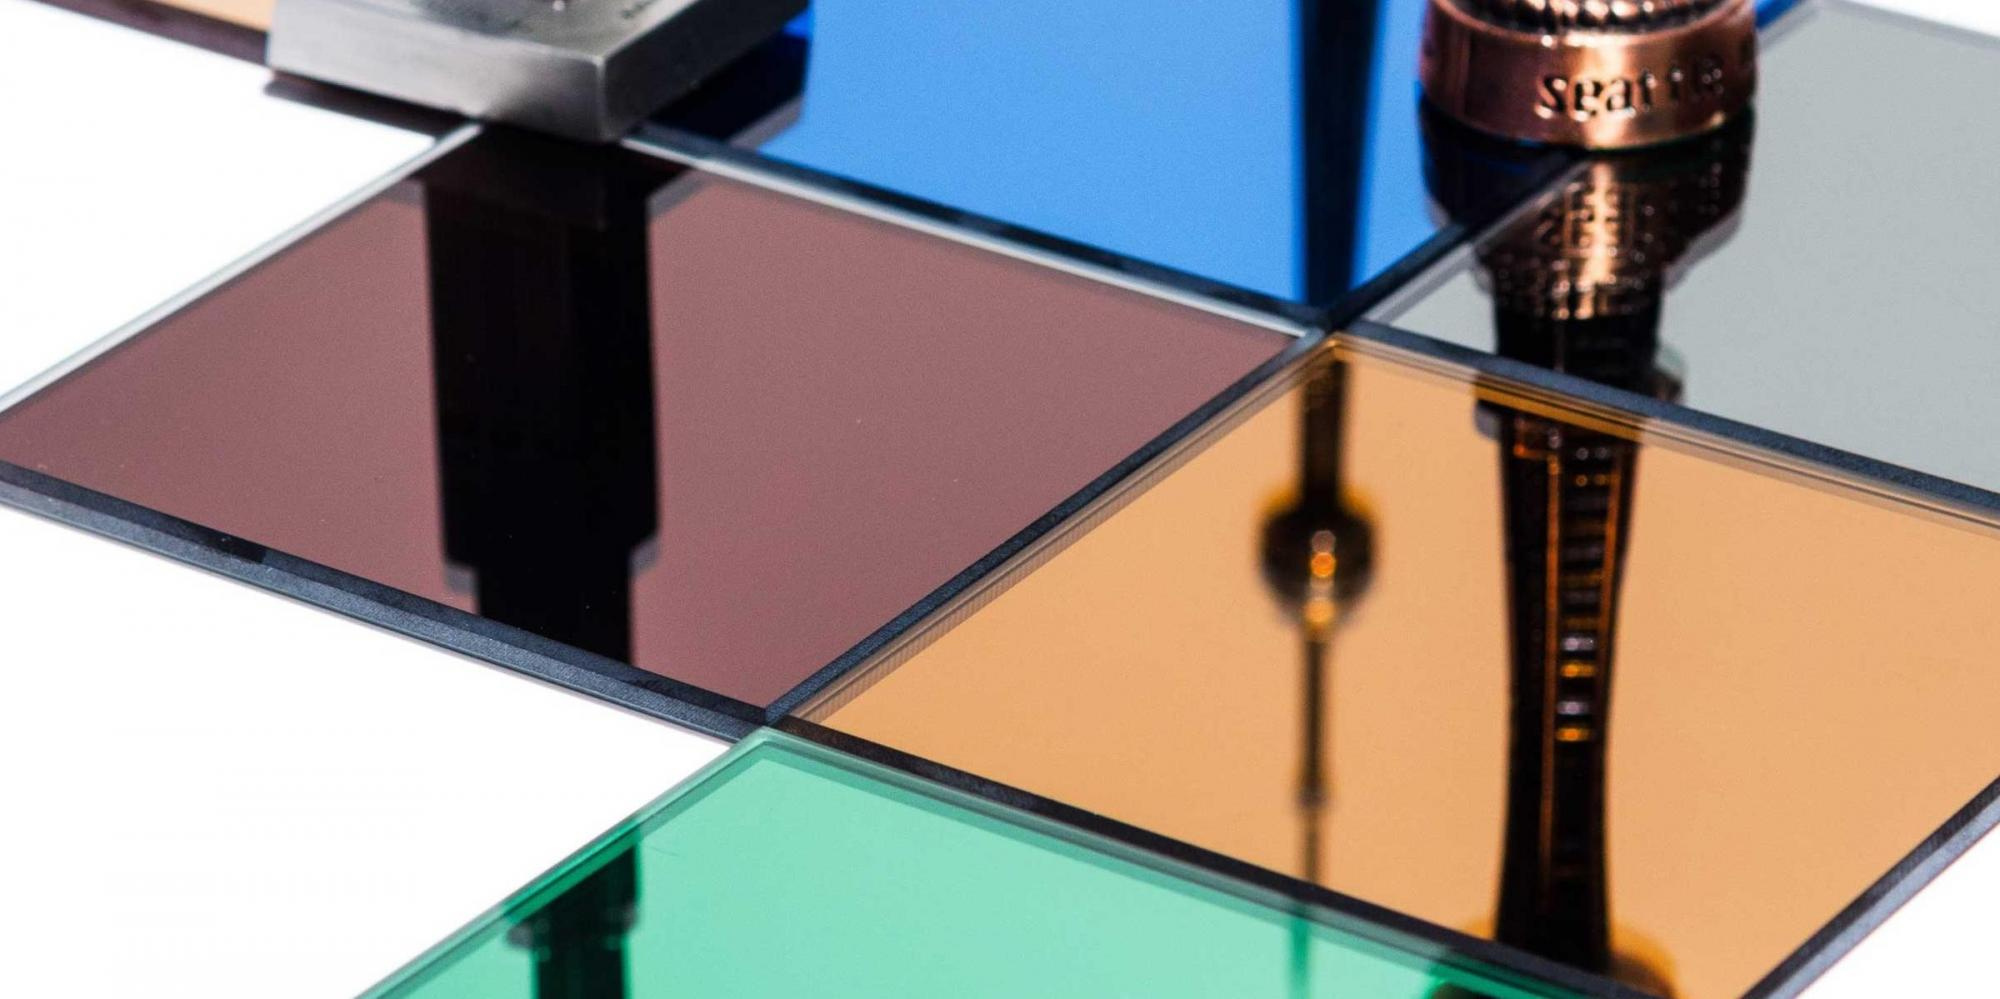
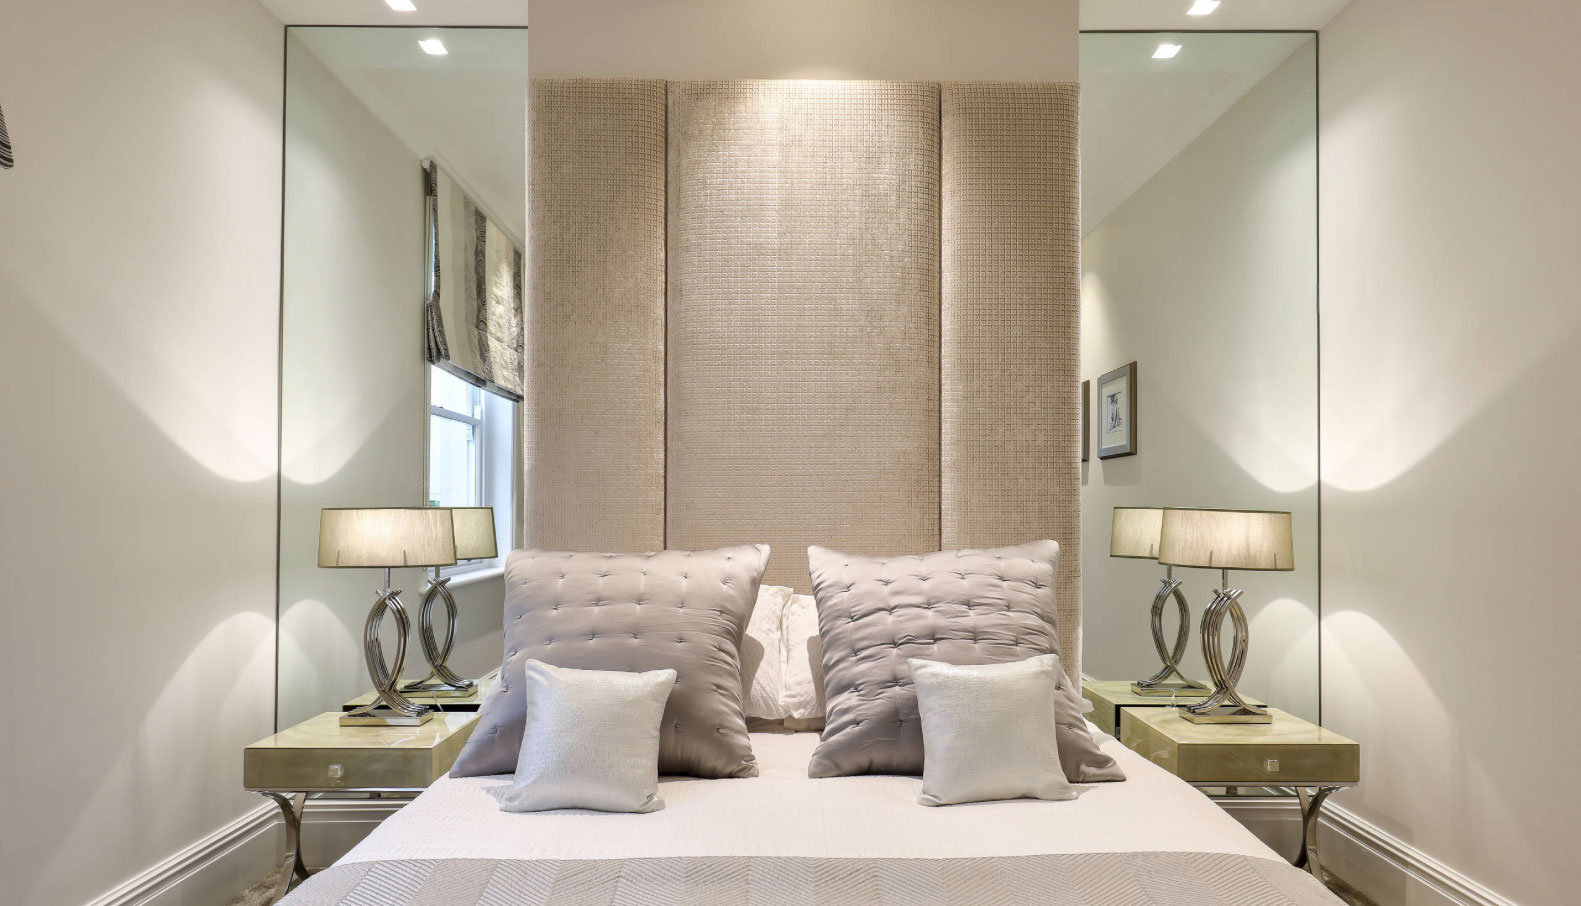
Consider the dimensions of the wall and the surrounding décor when selecting the mirror size. Larger mirrors can create a dramatic effect and make a small room appear larger, while smaller mirrors can be used to create a more intricate and eclectic look.
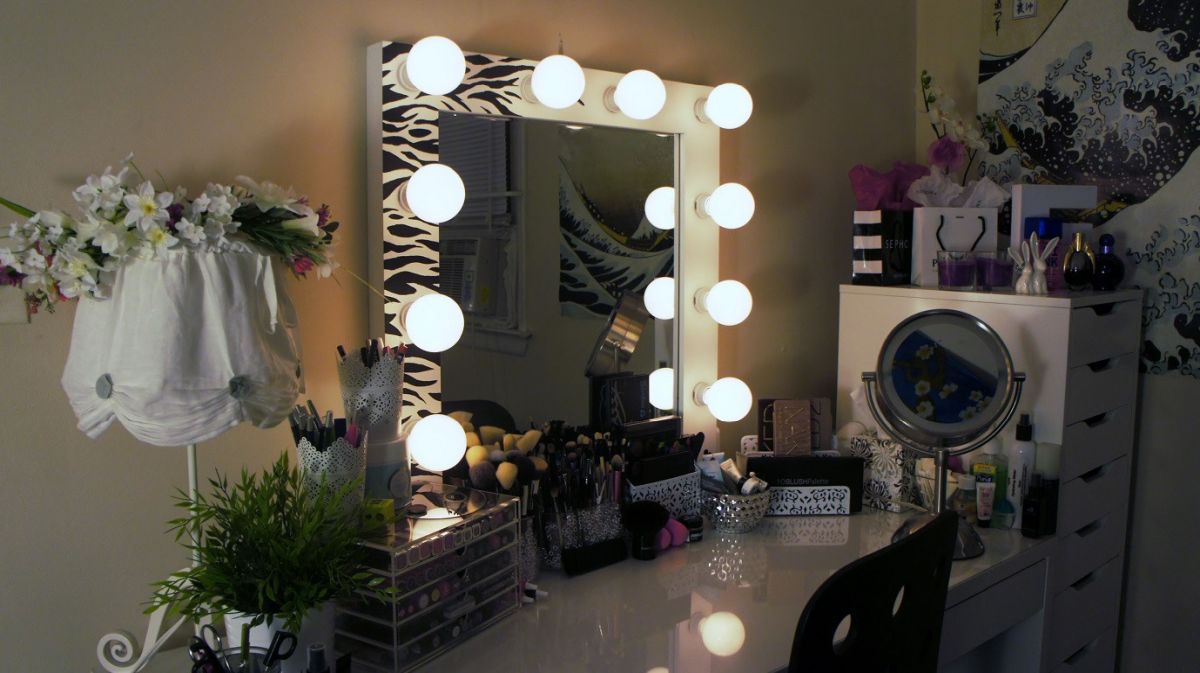
Think about the purpose of the wall of mirrors as well. If you’re using it as a functional mirror for dressing or grooming, ensure that the mirrors are positioned at an appropriate height and provide a clear reflection.
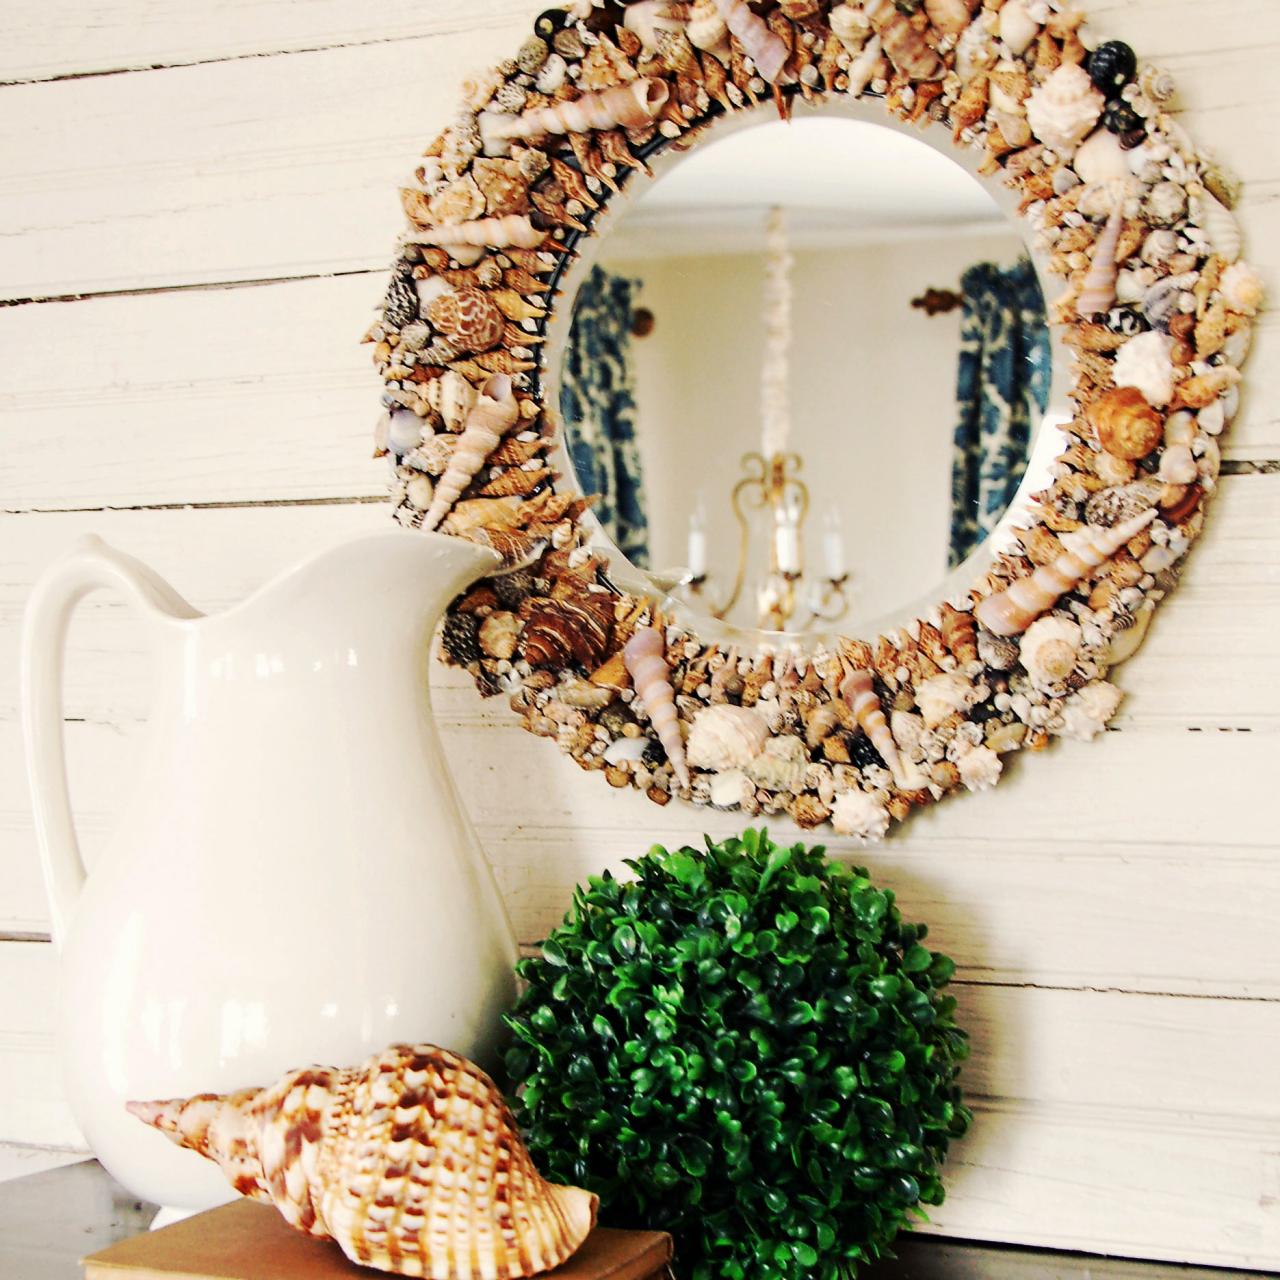
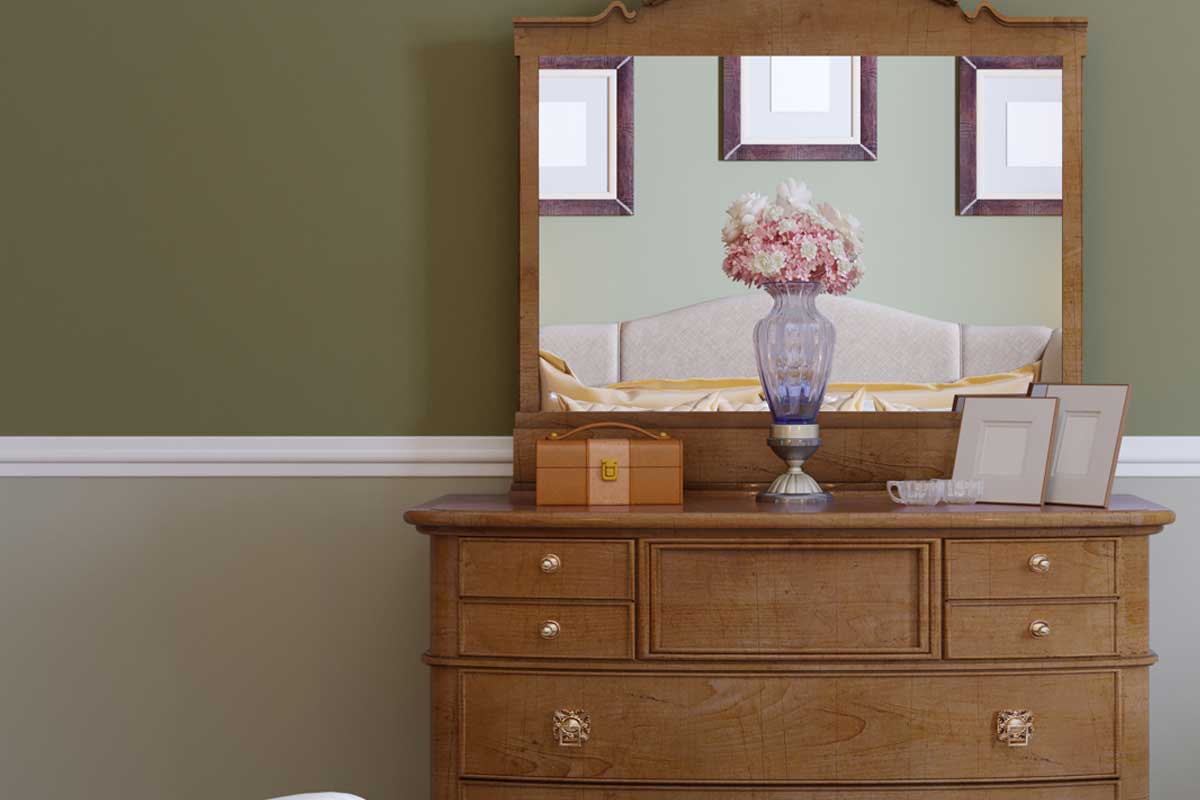
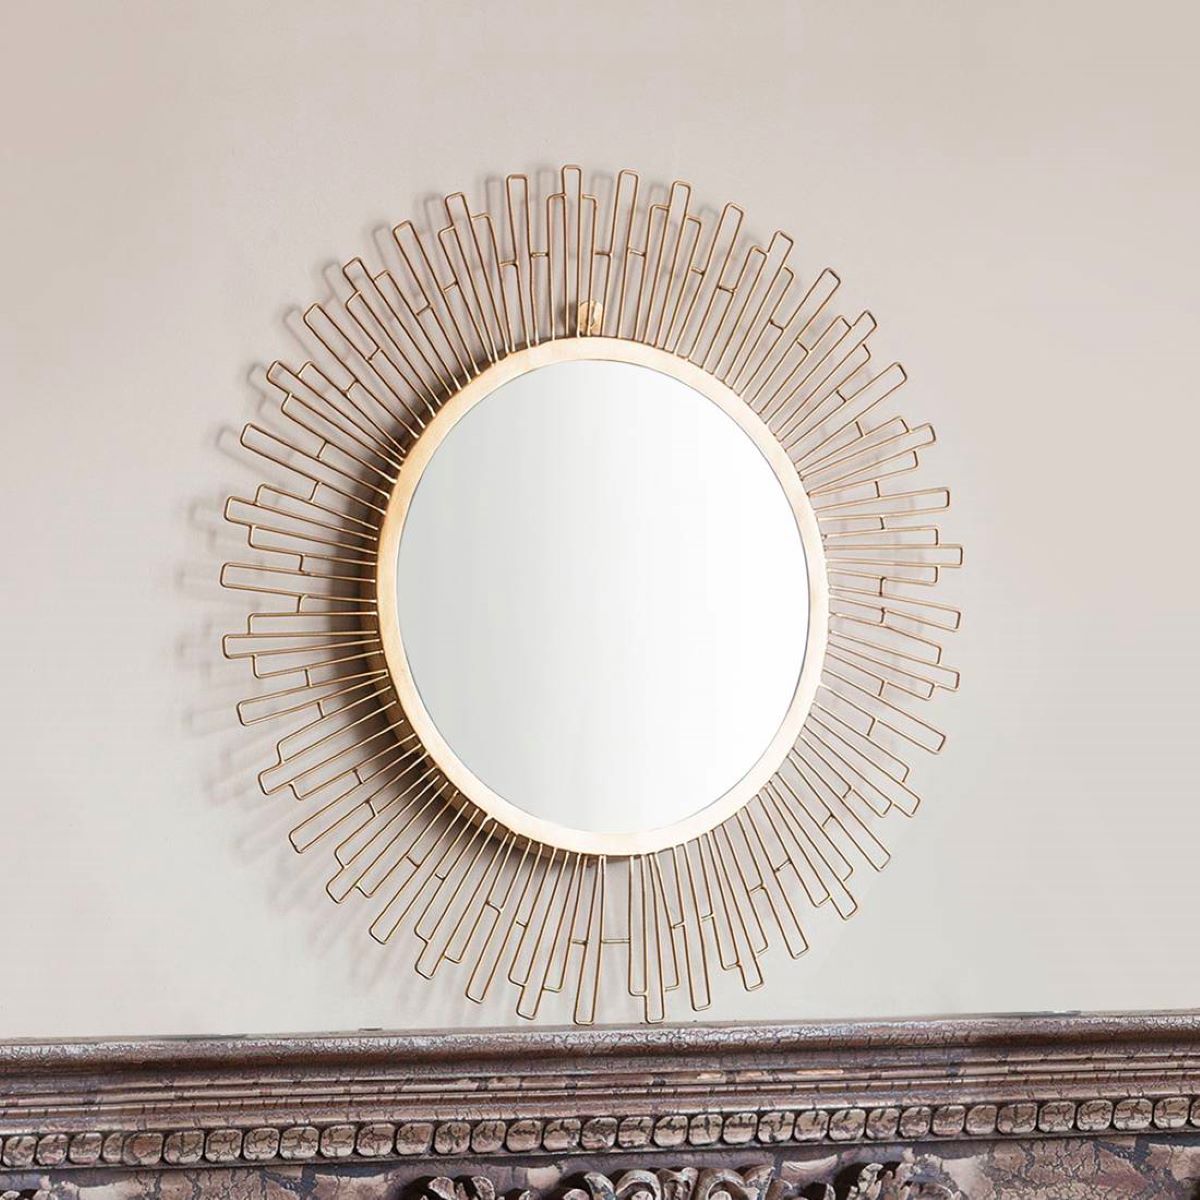
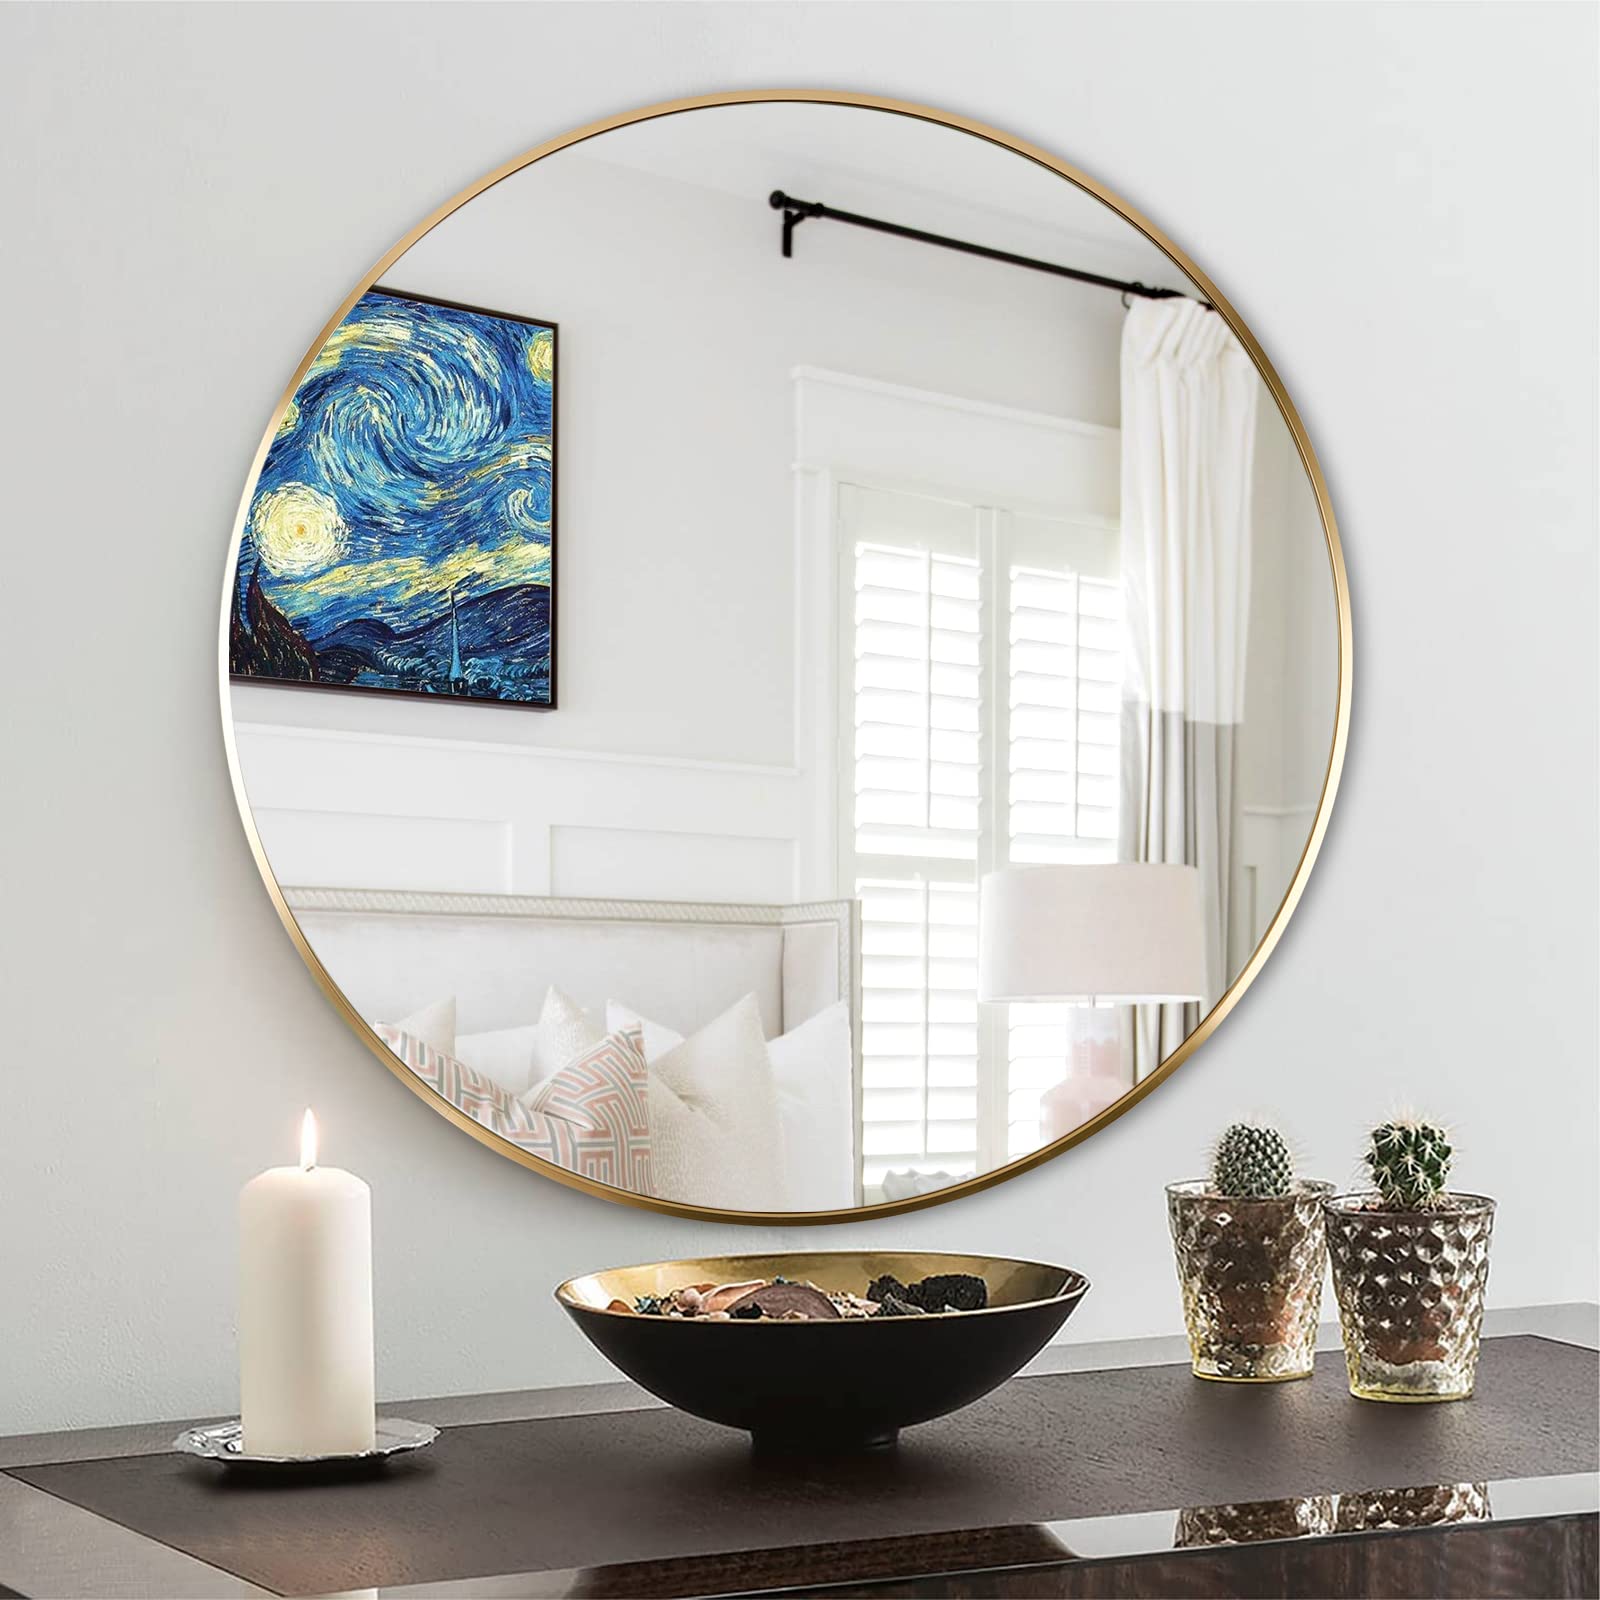
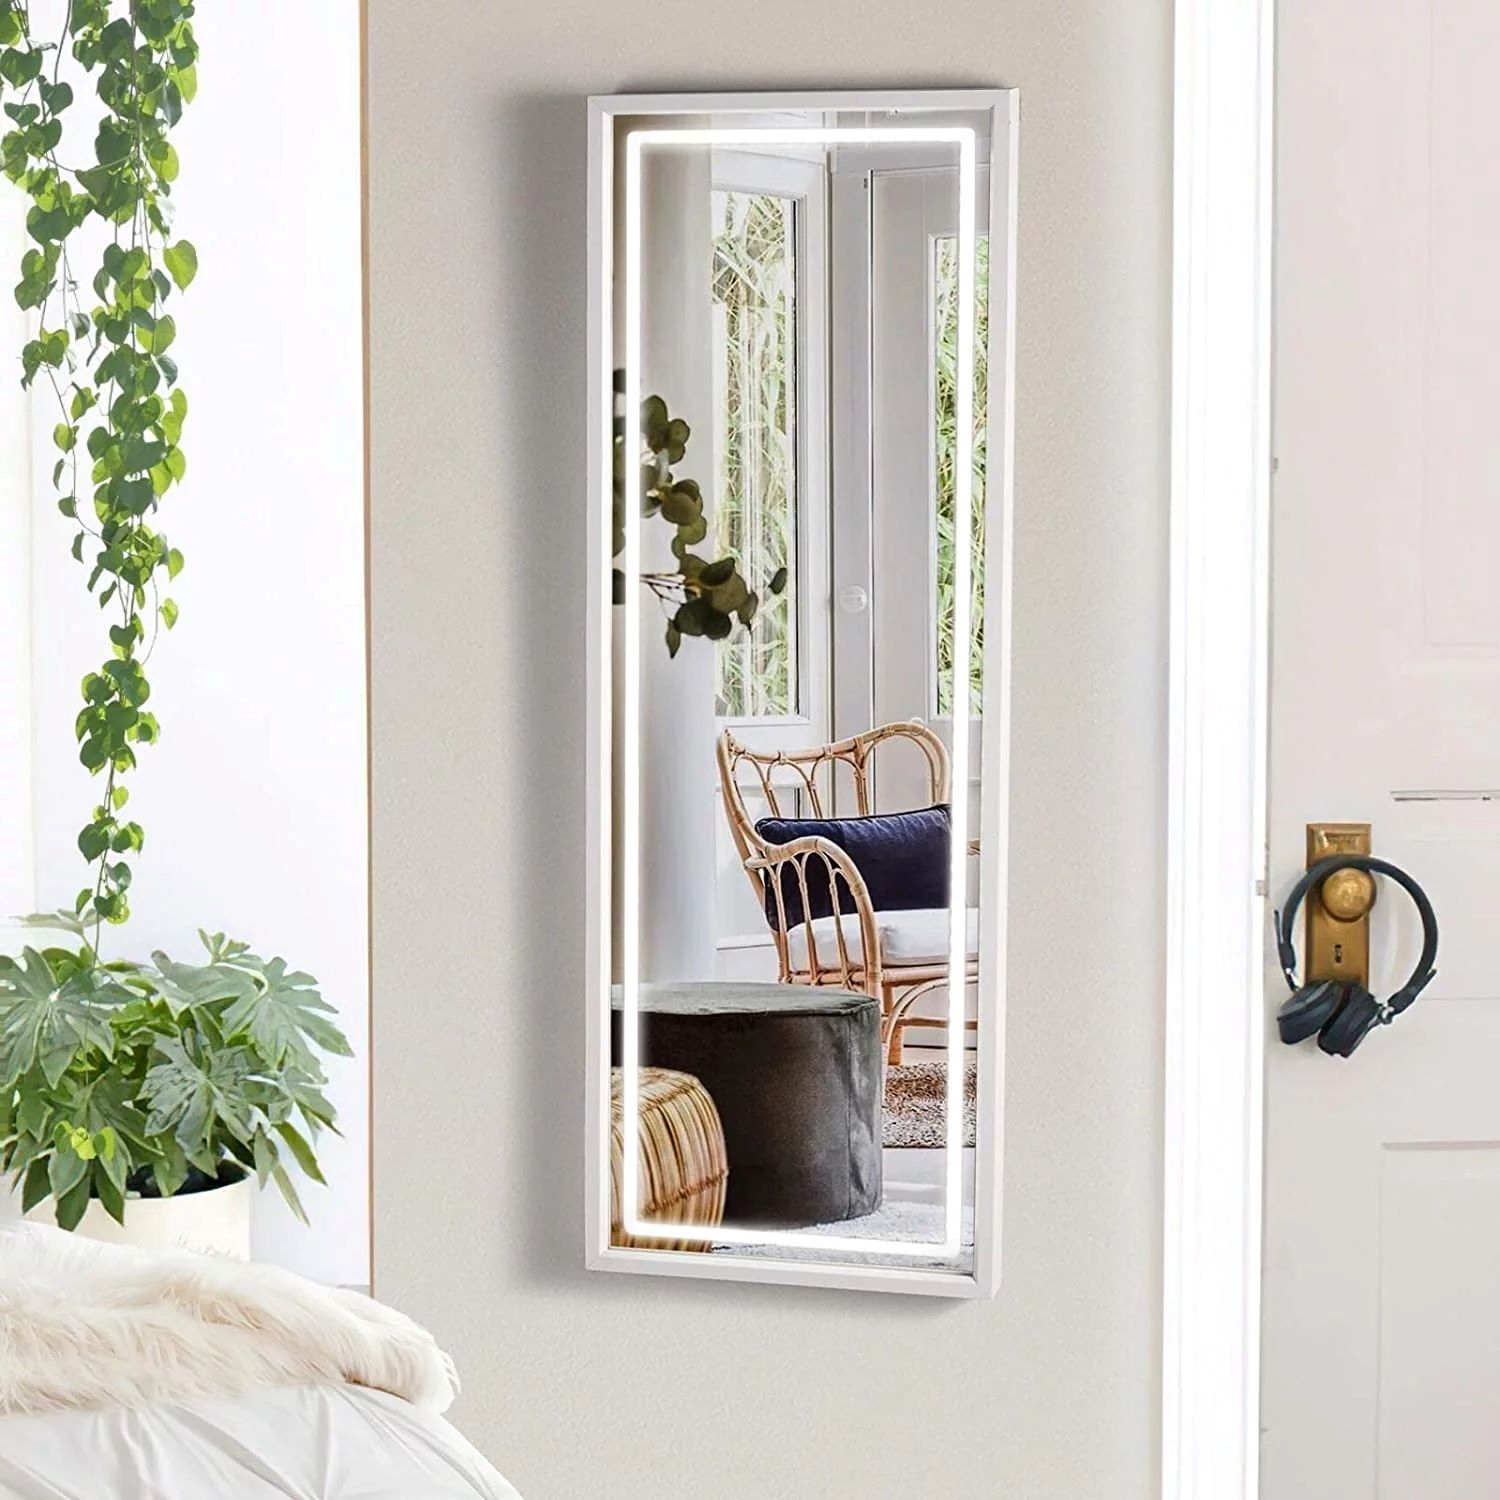
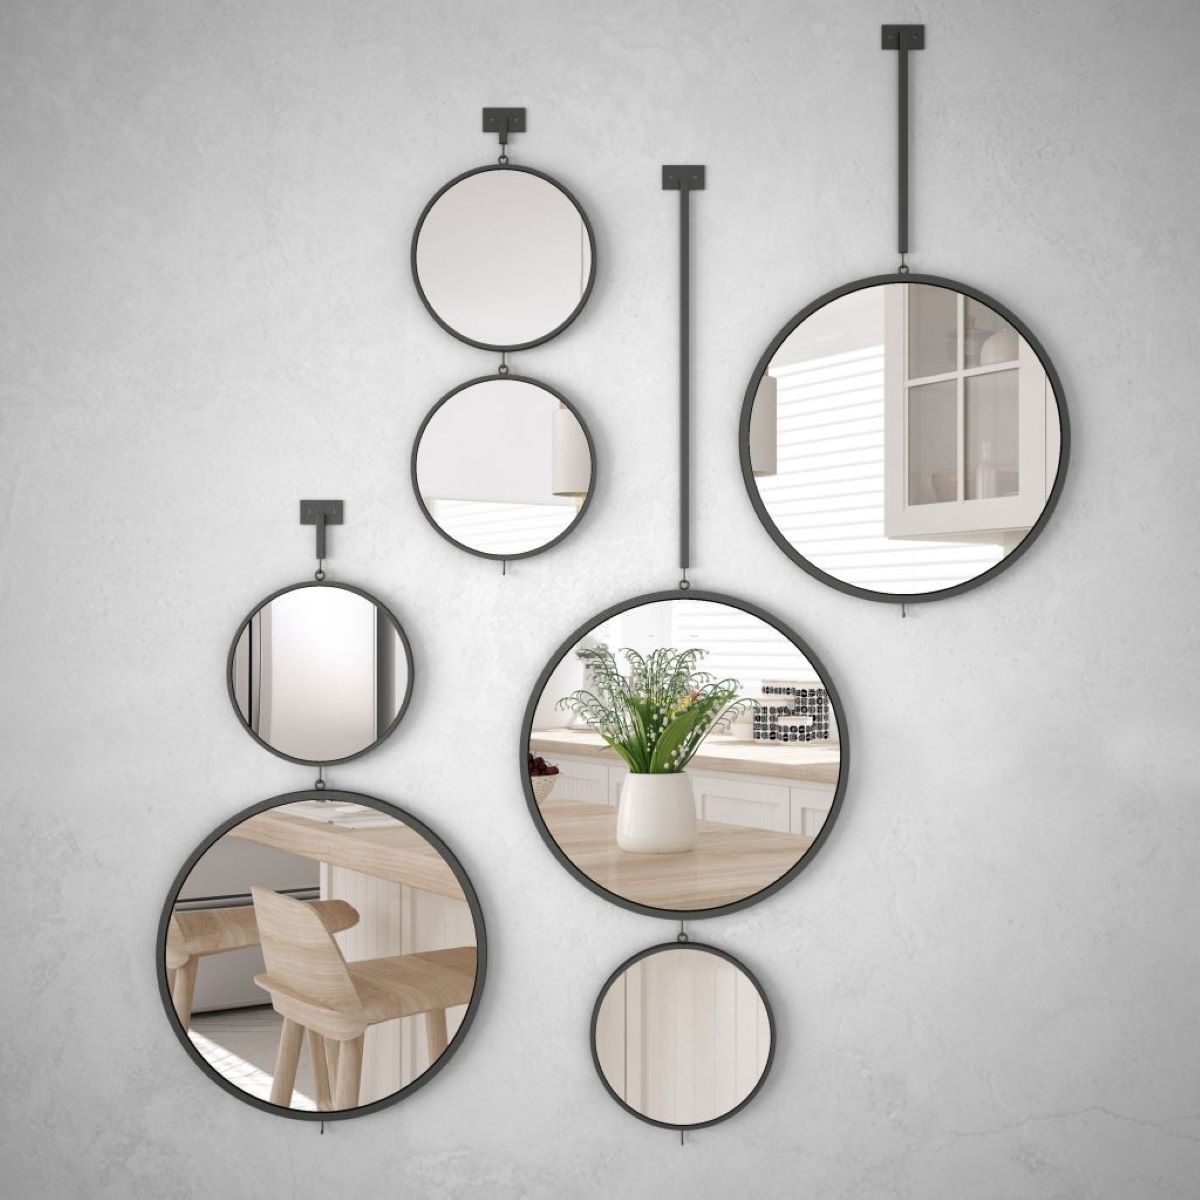
When it comes to the shape of the mirrors, the possibilities are endless. You can choose from traditional rectangular or square mirrors for a more classic look, or opt for round or oval mirrors for a touch of modernity. Mixing different shapes can create an eye-catching and dynamic arrangement.
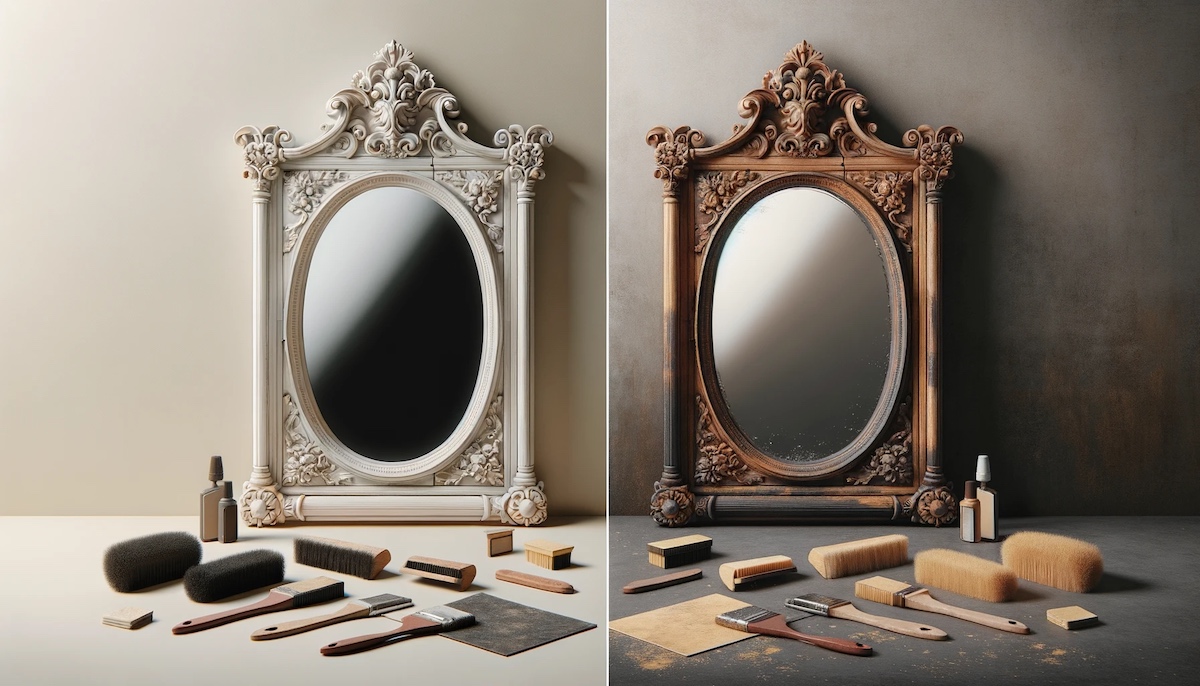
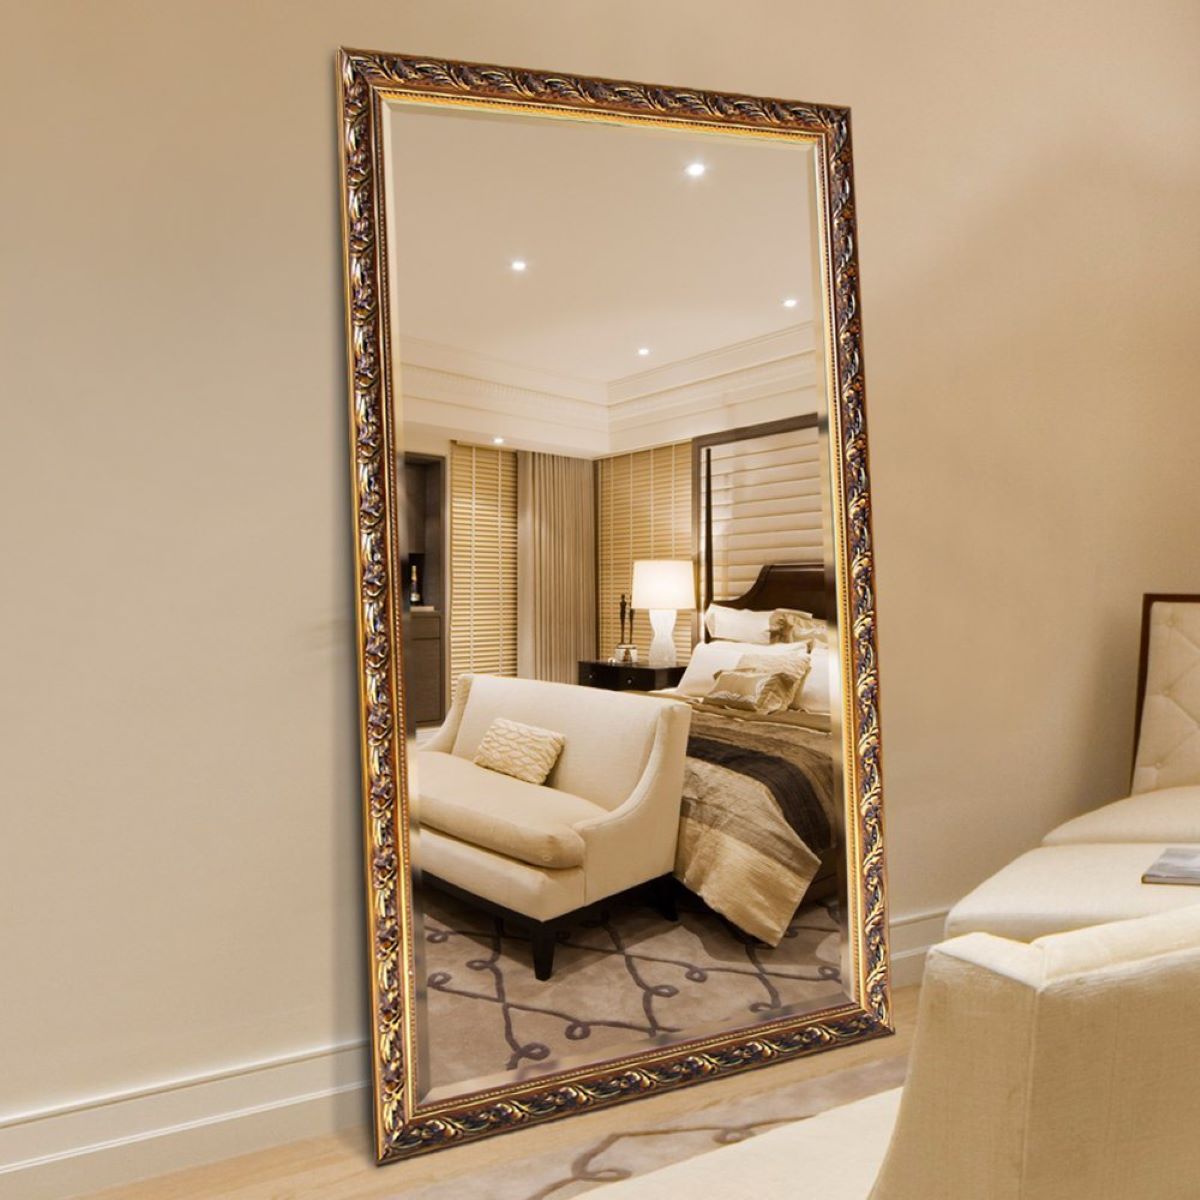
Additionally, consider the frames of the mirrors. Frames can add a decorative element and complement the overall style of the room. You can choose simple and sleek frames for a minimalist look or ornate and embellished frames for a more traditional or vintage feel.
Take your time in selecting the mirror sizes and shapes that best suit your style and space. Once you’ve made your choices, it’s time to prepare the wall for installation.
Step 3: Prepare the Wall
Before you can start installing the mirrors, it’s crucial to properly prepare the wall to ensure a secure and long-lasting installation.
Start by clearing the wall of any existing artwork, frames, or decorations. Remove any nails or screws and patch up any holes with spackle or putty. Use a putty knife to smooth the surface and ensure it’s even.
Next, clean the wall thoroughly to remove any dust, dirt, or grease. This will ensure proper adhesion of the mirror adhesive later on. Use a microfiber cloth and a mild cleaning solution to wipe down the entire wall, paying attention to any visible stains or marks.
If the wall has a textured or uneven surface, you may need to use a sanding block to smooth it out. This will provide a more even and stable surface for the mirrors.
Additionally, consider using a primer on the wall before applying the mirror adhesive. This can enhance adhesion and provide a stronger bond between the mirrors and the wall.
Once the wall is clean and smooth, it’s time to move on to the next step: applying the mirror adhesive.
Note: It’s important to wear safety goggles and gloves while working with adhesives to protect your eyes and skin.
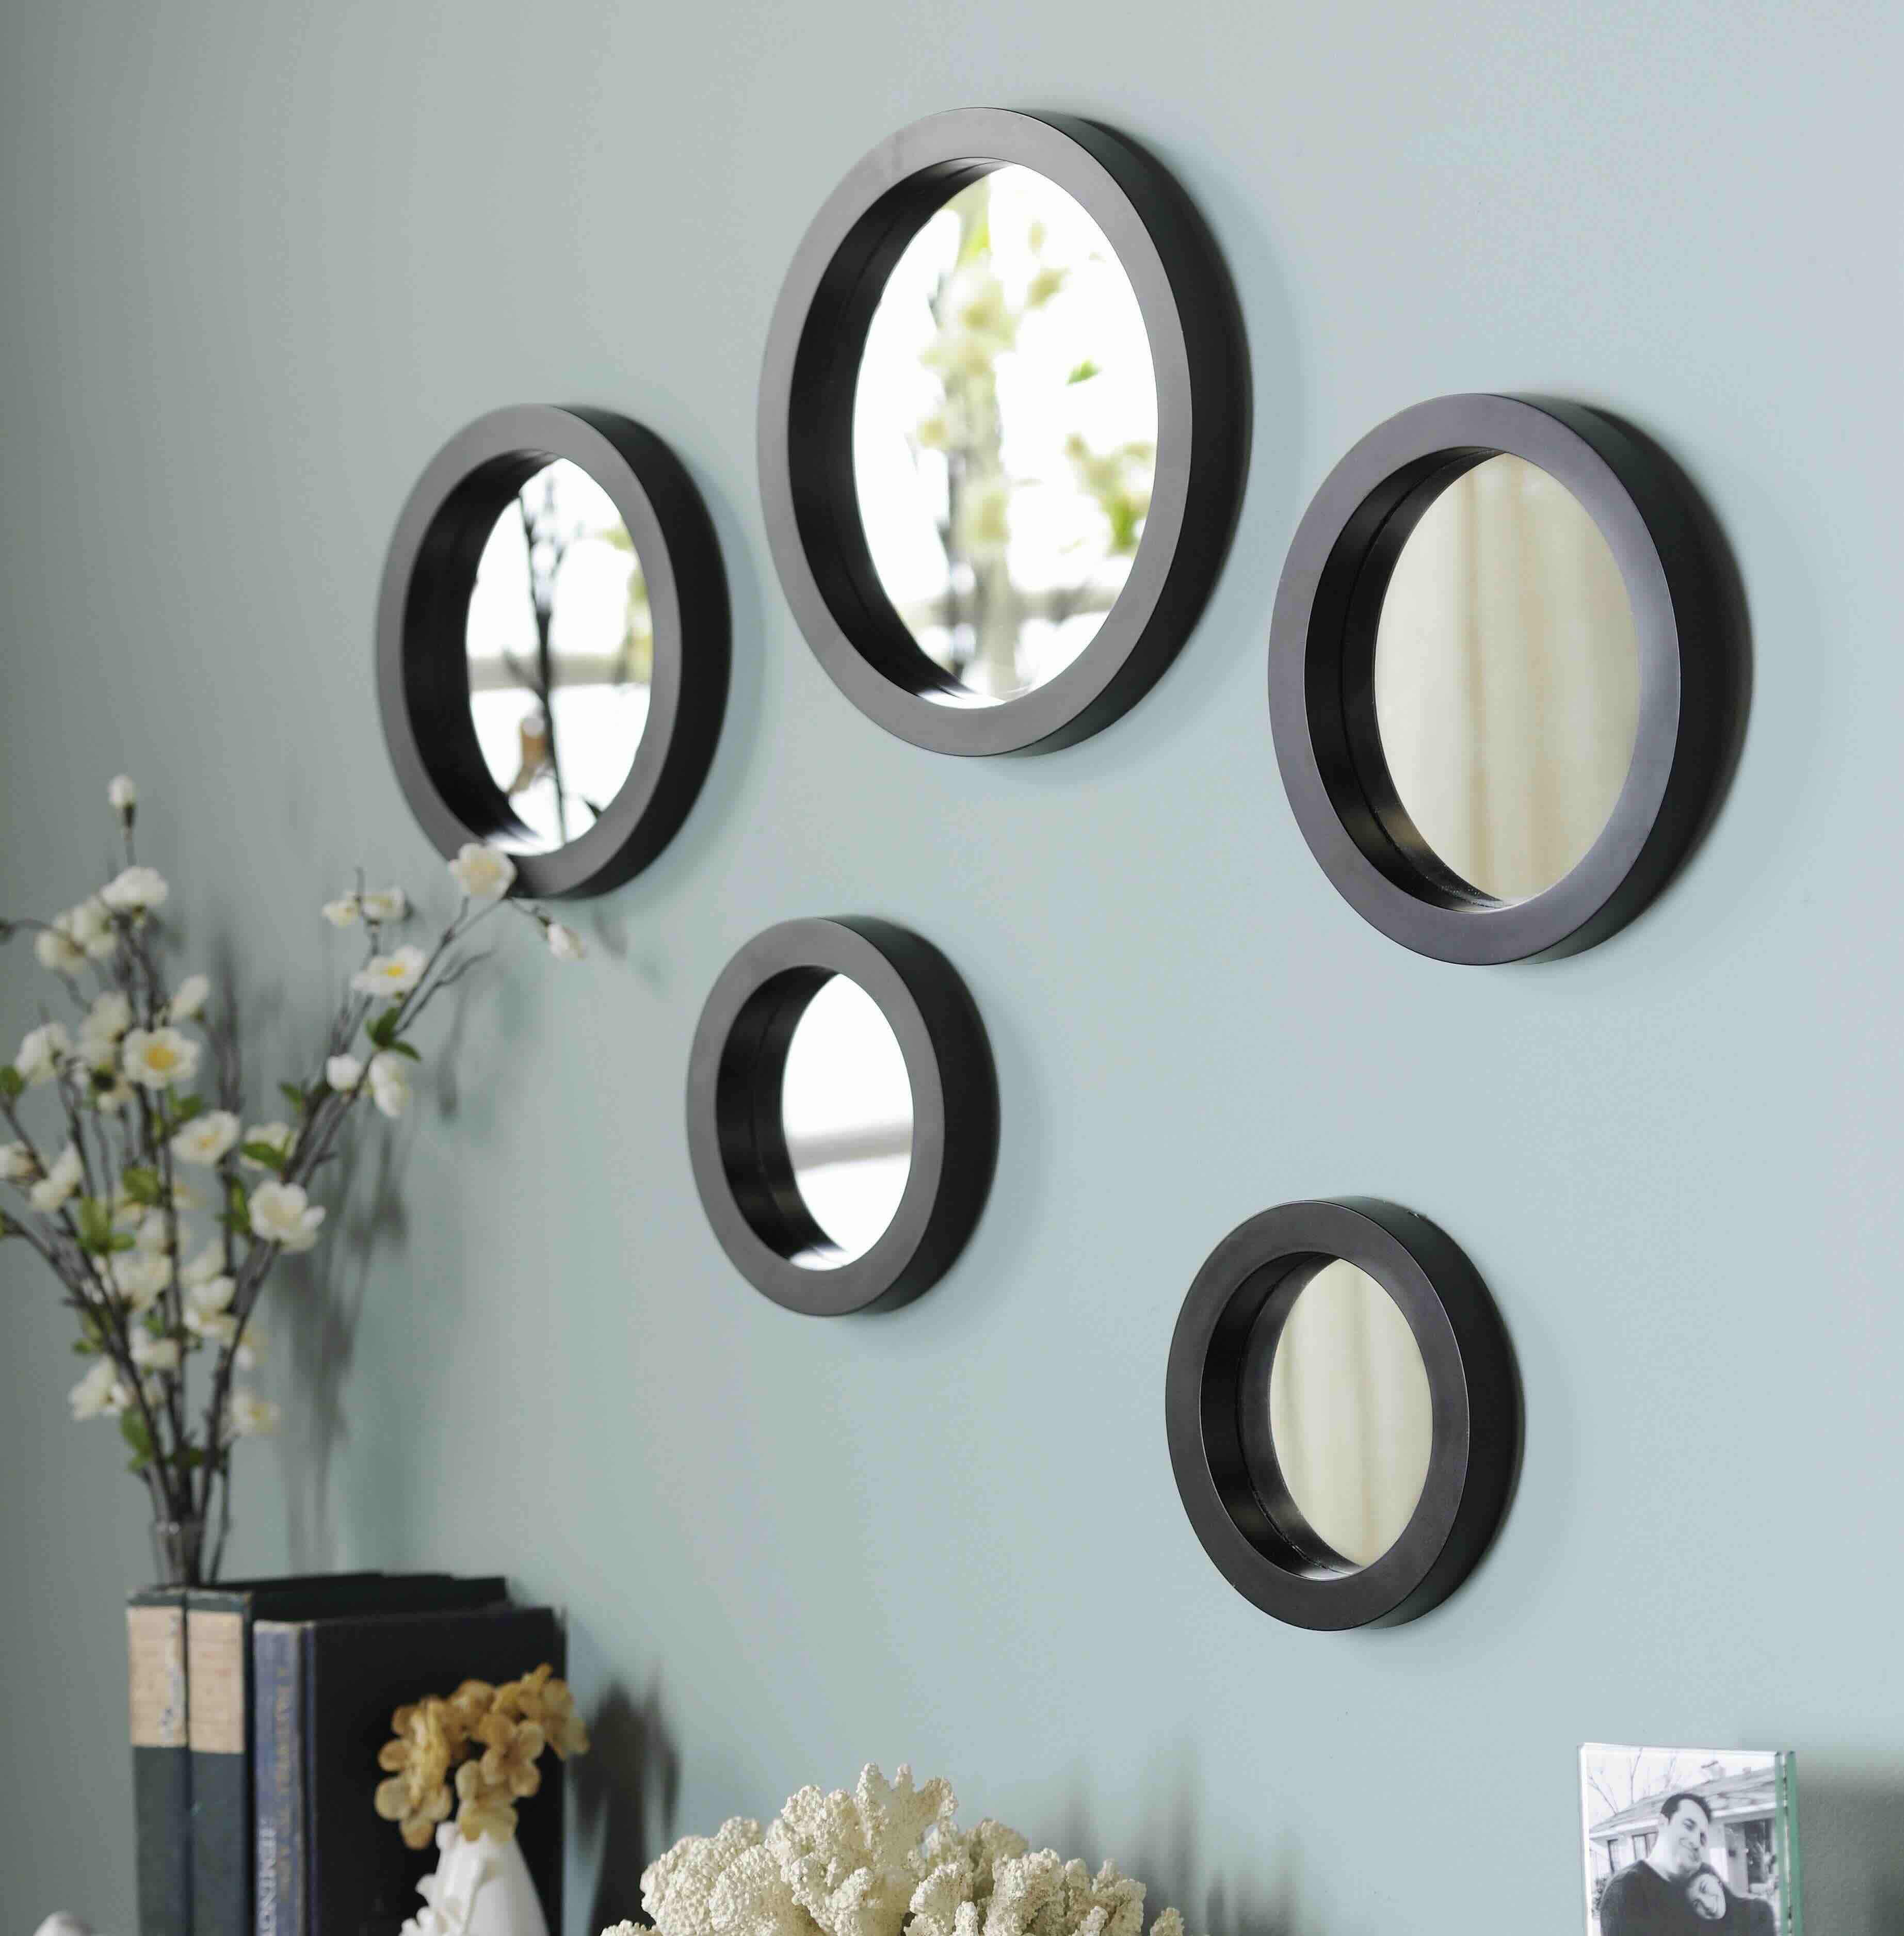
When creating a wall of mirrors, be sure to vary the sizes and shapes of the mirrors for visual interest. Also, consider using frames in different styles and finishes to add depth to the display.
Read more: How To Install Mirrors On Wall
Step 4: Apply Mirror Adhesive
Applying mirror adhesive is a crucial step in ensuring that the mirrors adhere securely to the wall and remain in place over time. Follow these steps to apply the adhesive correctly:
- Start by applying a thin layer of mirror adhesive to the back of the first mirror using a caulk gun. Be sure to cover the entire surface evenly.
- Place the mirror against the wall, aligning it with the marks you made during the planning stage. Apply gentle pressure to ensure good contact between the mirror and the wall.
- Repeat the process for each subsequent mirror, placing them side by side or with a small gap if desired. Use a level to ensure that each mirror is straight.
- Keep in mind that mirror adhesive dries quickly, so work efficiently to avoid any adhesive drying before you can position the mirror properly.
As you apply the adhesive, be cautious and avoid using excessive pressure, as this can cause the mirrors to crack or break.
If you’re working with large or heavy mirrors, consider using wall anchors in addition to the adhesive for added support. Follow the manufacturer instructions for proper installation of the wall anchors.
After all the mirrors are in place, allow the adhesive to dry completely according to the manufacturer’s instructions. This usually takes a few hours or overnight.
Once the adhesive is dry, you can proceed to the next step: securing the mirrors in place to ensure their stability.
Step 5: Install the Mirrors
With the mirrors adhered to the wall, it’s time to focus on installing them securely to ensure their stability. Follow these steps to complete the installation process:
- Using a level, check that each mirror is still straight and adjust if necessary.
- If you’re working with multiple mirrors, use mirror clips or brackets to connect them together. These clips will help provide additional support and ensure that the mirrors stay in place.
- First, measure and mark the desired locations for the clips or brackets on the edges of the mirrors.
- Secure the clips or brackets to the wall using screws or other mounting hardware provided. Make sure they are aligned with the marked locations on the mirrors.
- Gently hang the mirrors onto the clips or brackets, double-checking their alignment and stability. Adjust as needed.
- For added security, consider using mirror mastic or adhesive on the back of the mirrors where they touch the clips or brackets. This will help reinforce the connection.
By installing the mirrors using clips or brackets, you provide additional support and minimize the risk of them shifting or falling off the wall. Remember to follow the manufacturer’s instructions and recommendations for the specific clips or brackets you’re using.
After you’ve securely installed the mirrors, it’s time to move on to the next step: cleaning and finishing the project for a polished look.
Step 6: Secure the Mirrors in Place
Securing the mirrors in place is an essential step to ensure that they remain sturdy and aligned on the wall. Follow these steps to secure the mirrors properly:
- Inspect each mirror to ensure it is tightly adhered to the wall and there are no gaps or loose areas. Apply additional adhesive if necessary.
- Use clear silicone caulk to create a seal along the edges of the mirrors. This will help prevent moisture and dirt from seeping behind the mirrors and damaging the adhesive. Apply a thin, even layer of caulk, smoothing it with a caulk smoothing tool or your finger.
- Check for any visible screws or mounting hardware that may be holding the mirrors together. If they are exposed, consider using decorative caps or covers to conceal them and achieve a more polished appearance.
- Inspect the mirrors to ensure they are level and aligned. Make any necessary adjustments by gently shifting or repositioning the mirrors on the clips or brackets.
- Once you are satisfied with the positioning and security of the mirrors, allow the caulk to dry and cure according to the manufacturer’s instructions. This usually takes around 24 hours.
Securing the mirrors in place will provide peace of mind and ensure their long-term stability. Take your time during this step to ensure that everything is properly aligned and sealed.
After securing the mirrors, it’s time to move on to the final step: cleaning and finishing touches to complete your wall of mirrors project.
Step 7: Clean and Finish the Project
After successfully installing and securing the mirrors, it’s time to give your wall of mirrors a final clean and add some finishing touches to complete the project.
- Using a microfiber cloth, gently wipe down the surface of each mirror to remove any dust or fingerprints. Ensure that the mirrors are clean and free from smudges for a polished and reflective finish.
- Inspect the caulk or silicone sealant along the edges of the mirrors. If you notice any imperfections or gaps, apply additional caulk or touch up the existing sealant to achieve a clean and seamless look.
- Take a step back and assess the overall appearance of your wall of mirrors. Are there any decorative elements or accessories you’d like to add to enhance the space further? Consider hanging artwork or sconces around the mirrors or placing decorative objects on nearby shelves to create a cohesive and visually appealing display.
- Lastly, stand back and admire your newly created wall of mirrors. The mirrors’ reflective properties will help bounce light around the room and create a sense of openness and brightness.
Maintaining the cleanliness and appearance of your wall of mirrors requires periodic cleaning. Use a non-abrasive glass cleaner and a lint-free cloth to keep the mirrors looking shiny and spotless.
Remember to exercise caution when cleaning the mirrors to avoid applying excessive pressure or using harsh chemicals that may damage the surface.
By taking the time to clean the mirrors regularly and adding your personal decorative touches, you’ll ensure that your wall of mirrors remains a stunning focal point in your home for years to come.
Congratulations! You have successfully completed your wall of mirrors project. Enjoy the beauty and functionality it brings to your living space!
Read more: How To Make Glass Into Mirror
Conclusion
Creating a wall of mirrors is a fantastic way to elevate the aesthetic appeal of any room while simultaneously adding a sense of spaciousness and elegance. By following the step-by-step process outlined in this article, you can successfully build your wall of mirrors, transforming your space into a stylish sanctuary.
From measuring and planning to selecting the perfect mirror sizes and shapes, and from preparing the wall to applying mirror adhesive and securing the mirrors in place, each step is crucial in ensuring a professional and secure installation. Taking the time to clean and add finishing touches will further enhance the overall look and feel of your wall of mirrors.
Remember, safety is paramount during the entire process. Wear safety goggles and gloves when working with adhesives, and exercise caution when handling the mirrors to prevent any accidents or injuries.
Whether you’re looking to make a bold statement in your living room or create a luxurious dressing area in your bedroom, a wall of mirrors can provide a stunning and functional focal point. The mirrors will reflect light, making the space appear larger and brighter, while also adding a touch of sophistication to your decor.
regular maintenance and periodic cleaning will help retain the mirrors’ shine and clarity. Regularly wipe them down with a non-abrasive cleaner and a lint-free cloth, taking care to avoid harsh chemicals that may damage the surface.
So, gather your materials, follow the steps outlined in this article, and embark on your wall of mirrors project. The end result will be a visually striking and spacious living space that exudes elegance and charm.
Enjoy the process and revel in the beauty of your newly created wall of mirrors!
Frequently Asked Questions about How To Make A Wall Of Mirrors
Was this page helpful?
At Storables.com, we guarantee accurate and reliable information. Our content, validated by Expert Board Contributors, is crafted following stringent Editorial Policies. We're committed to providing you with well-researched, expert-backed insights for all your informational needs.
0 thoughts on “How To Make A Wall Of Mirrors”