Home>Articles>How To Make Paleo Waffle Cones With Regular Waffle Iron
Articles
How To Make Paleo Waffle Cones With Regular Waffle Iron
Modified: October 21, 2024
Learn how to make delicious Paleo waffle cones using a regular waffle iron with this informative article. Discover the secret to creating a healthier version of this classic treat.
(Many of the links in this article redirect to a specific reviewed product. Your purchase of these products through affiliate links helps to generate commission for Storables.com, at no extra cost. Learn more)
Introduction
In today’s health-conscious world, many people are opting for alternative diets that promote better overall well-being. One such diet is the Paleo diet, which focuses on consuming foods that our ancestors would have eaten during the Paleolithic era. This diet emphasizes whole, unprocessed foods, including lean meats, vegetables, fruits, and nuts.
While following the Paleo diet, it’s common for individuals to miss out on certain indulgences, such as sweet treats like waffle cones. However, with a few simple substitutions and a regular waffle iron, you can easily make Paleo-friendly waffle cones at home.
In this article, we will guide you through the process of making delicious Paleo waffle cones using a regular waffle iron. With a few key ingredients and some creativity, you can enjoy these guilt-free and tasty treats without compromising your dietary goals!
So let’s dive into the ingredients and steps required to make these delectable Paleo waffle cones right in your own kitchen.
Key Takeaways:
- Indulge in guilt-free dessert cravings by making Paleo waffle cones with a regular waffle iron using simple, wholesome ingredients like almond flour and coconut oil.
- Customize your Paleo waffle cones with creative flavors, mini sizes, alternative flours, and unique fillings to elevate your dessert experience and satisfy your sweet tooth.
Ingredients
To make Paleo waffle cones with a regular waffle iron, you will need the following ingredients:
- 1 cup almond flour
- 2 tablespoons coconut flour
- 2 tablespoons tapioca flour
- 1/4 teaspoon baking soda
- Pinch of salt
- 2 eggs
- 1/4 cup almond milk or any non-dairy milk of your choice
- 2 tablespoons melted coconut oil
- 1/4 cup honey or maple syrup (for a vegan version, you can replace honey with agave syrup)
- 1 teaspoon vanilla extract
These simple ingredients can be easily found in most grocery stores or health food stores. They provide the base for the waffle cone batter and offer a satisfying texture and flavor.
Now that we have our ingredients ready, let’s move on to the step-by-step process of making Paleo waffle cones with a regular waffle iron.
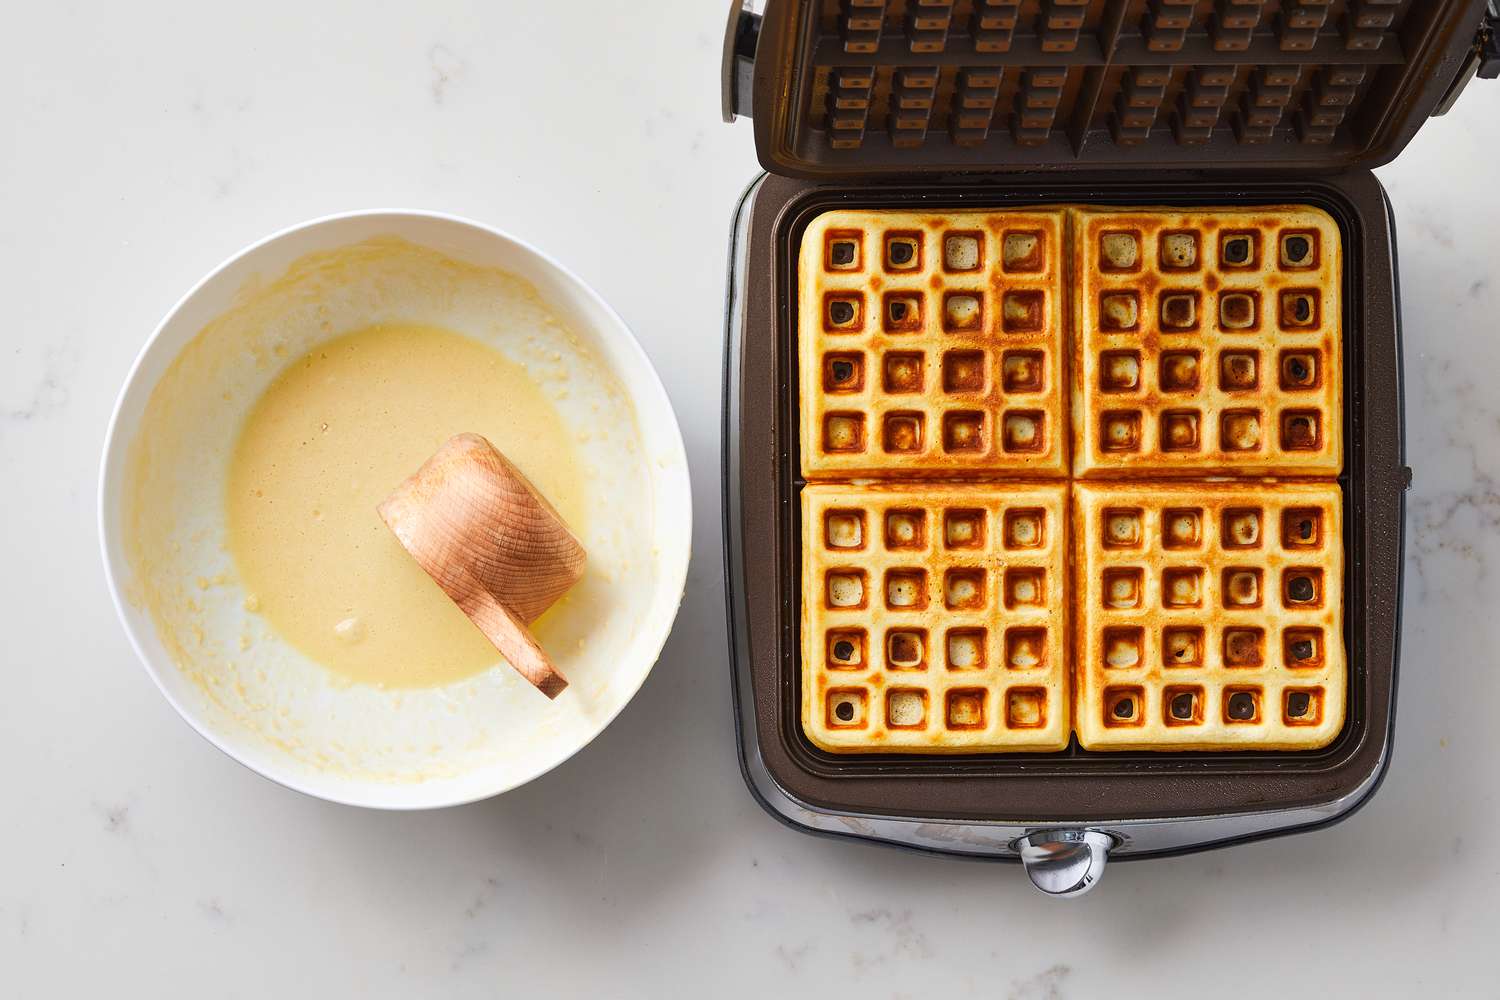
Step 1: Preparing the batter
The first step in making Paleo waffle cones is preparing the batter. This involves combining the dry ingredients and the wet ingredients separately before merging them together.
- In a large mixing bowl, whisk together the almond flour, coconut flour, tapioca flour, baking soda, and a pinch of salt until well combined.
- In a separate bowl, whisk together the eggs, almond milk, melted coconut oil, honey (or maple syrup), and vanilla extract.
- Pour the wet ingredients into the bowl with the dry ingredients and mix well until you have a smooth batter. Make sure there are no lumps remaining.
- Allow the batter to sit for a few minutes to rest. This will help the flours absorb the moisture and create a better consistency.
The batter is the foundation of your waffle cones and will determine the texture and taste. By following these steps, you ensure that all the ingredients are well-incorporated and balanced, resulting in a delicious batter.
Now that you have prepared the batter, it’s time to move on to the next step: preheating the waffle iron.
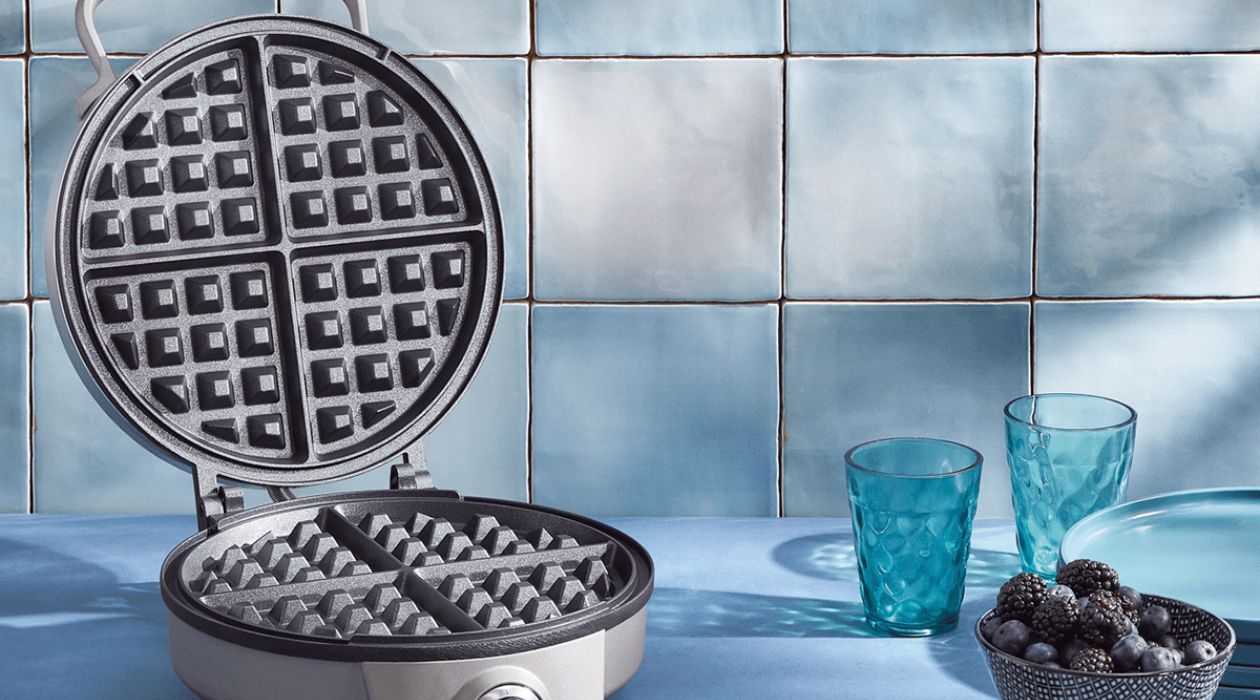
Step 2: Preheating the waffle iron
After preparing the batter, the next step in making Paleo waffle cones is to preheat the waffle iron. This is an essential step to ensure that the waffle cones cook evenly and achieve that perfect crispness.
- Plug in your regular waffle iron and allow it to heat up according to the manufacturer’s instructions.
- While the waffle iron is preheating, it’s a good idea to lightly grease it with coconut oil or cooking spray. This will prevent the batter from sticking to the iron and make it easier to remove the waffle cones later.
- Once the waffle iron has reached the desired temperature, it’s time to start making the waffle cones.
By preheating the waffle iron and greasing it properly, you create the ideal environment for cooking the waffle cones to perfection. This step ensures that the batter cooks evenly, resulting in waffle cones with a golden-brown color and a satisfying crunch.
Now that the waffle iron is preheated, let’s move on to the next step: making the waffle cones.
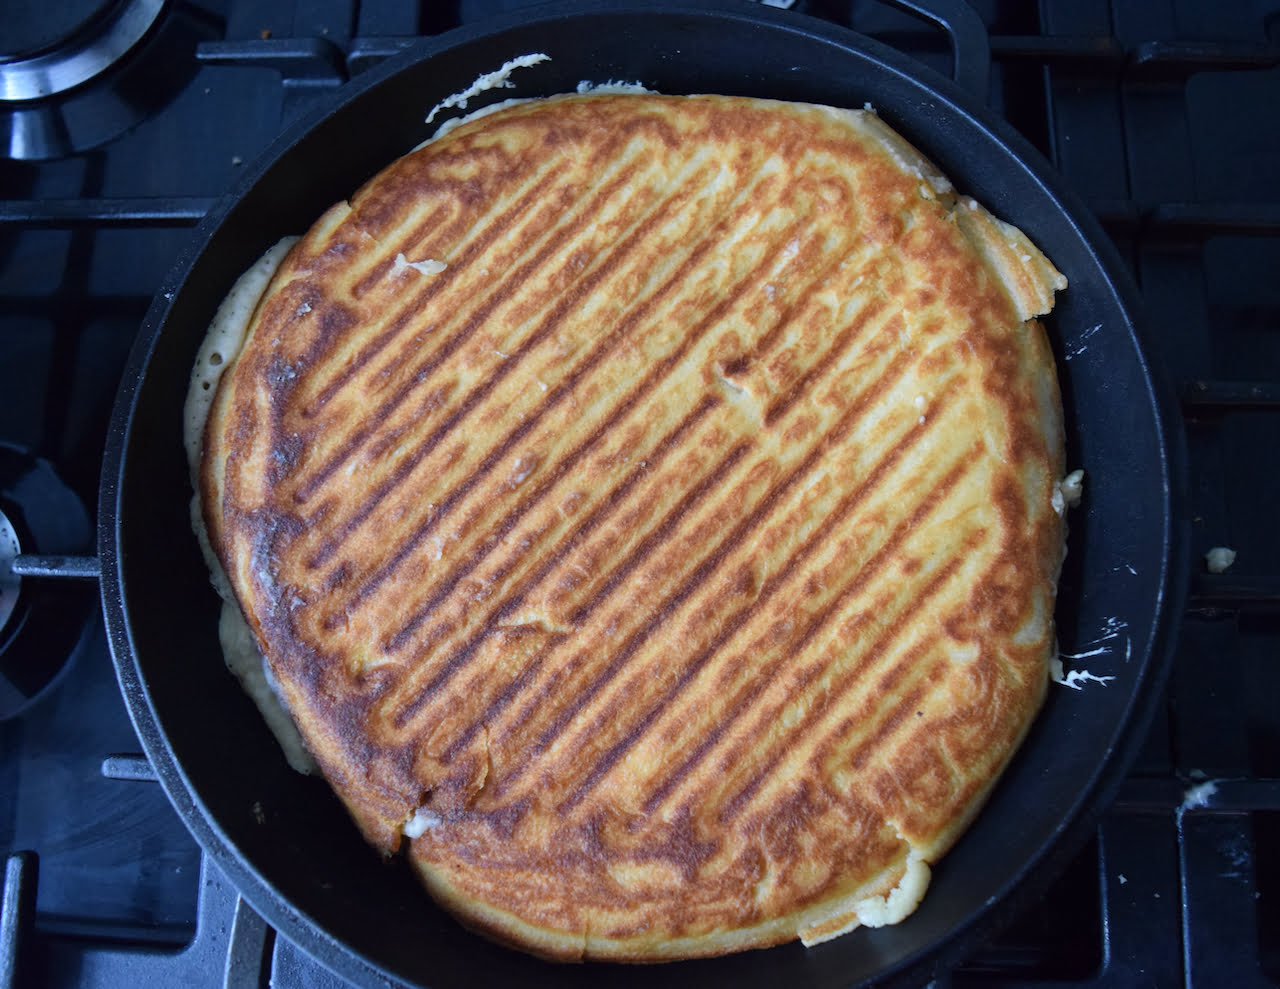
Step 3: Making the waffle cones
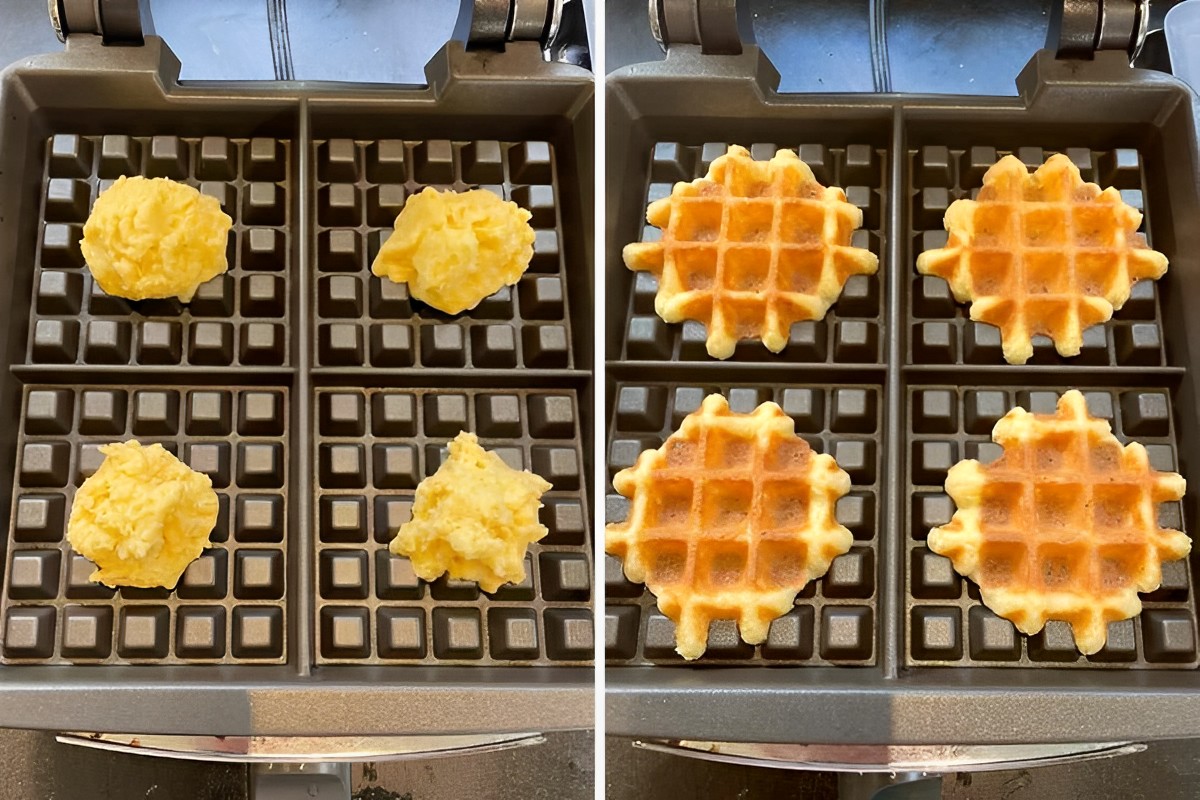
With the waffle iron preheated and ready to go, it’s time to start making the waffle cones. This step involves carefully pouring the batter onto the hot waffle iron and cooking it until it becomes crispy and golden.
- Using a ladle or a measuring cup, pour a small amount of batter onto the center of the waffle iron. The amount of batter will depend on the size of your waffle iron and how big you want your waffle cones to be.
- Close the lid of the waffle iron and gently press it down to evenly distribute the batter.
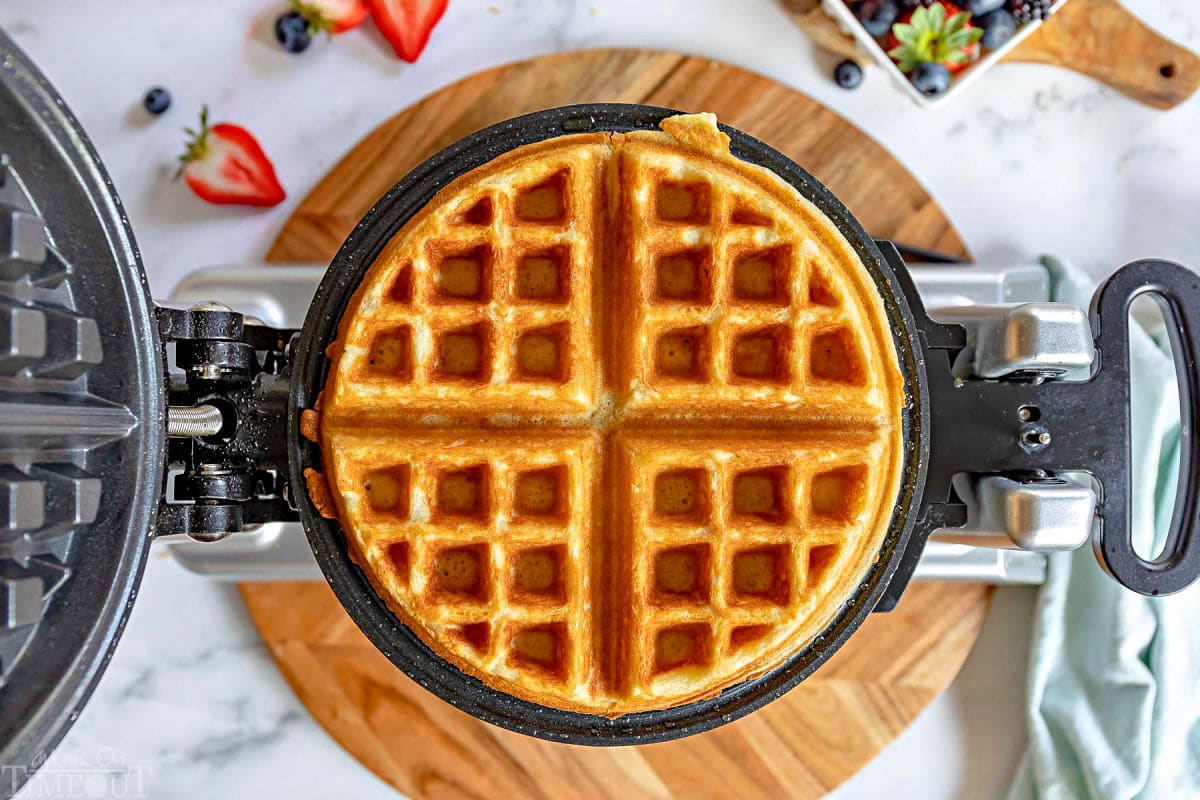
- Cook the waffle cone for a few minutes, or until it becomes golden and crisp. The exact cooking time may vary depending on your waffle iron, so keep an eye on it to prevent overcooking.
- Once the waffle cone is cooked to perfection, carefully lift it off the waffle iron using a spatula. The cone will be hot, so handle it with caution.
Repeat this process with the remaining batter until you have made all the waffle cones you desire. It’s important to note that the batter will spread and expand as it cooks, so be mindful of the amount you pour onto the waffle iron to avoid overflow.
Now that you have made the waffle cones, let’s move on to the next step: rolling the cones.
To make Paleo waffle cones with a regular waffle iron, use a batter made from almond flour, coconut oil, and honey. Cook the batter in the waffle iron until golden brown and pliable, then shape it into cones while still warm.
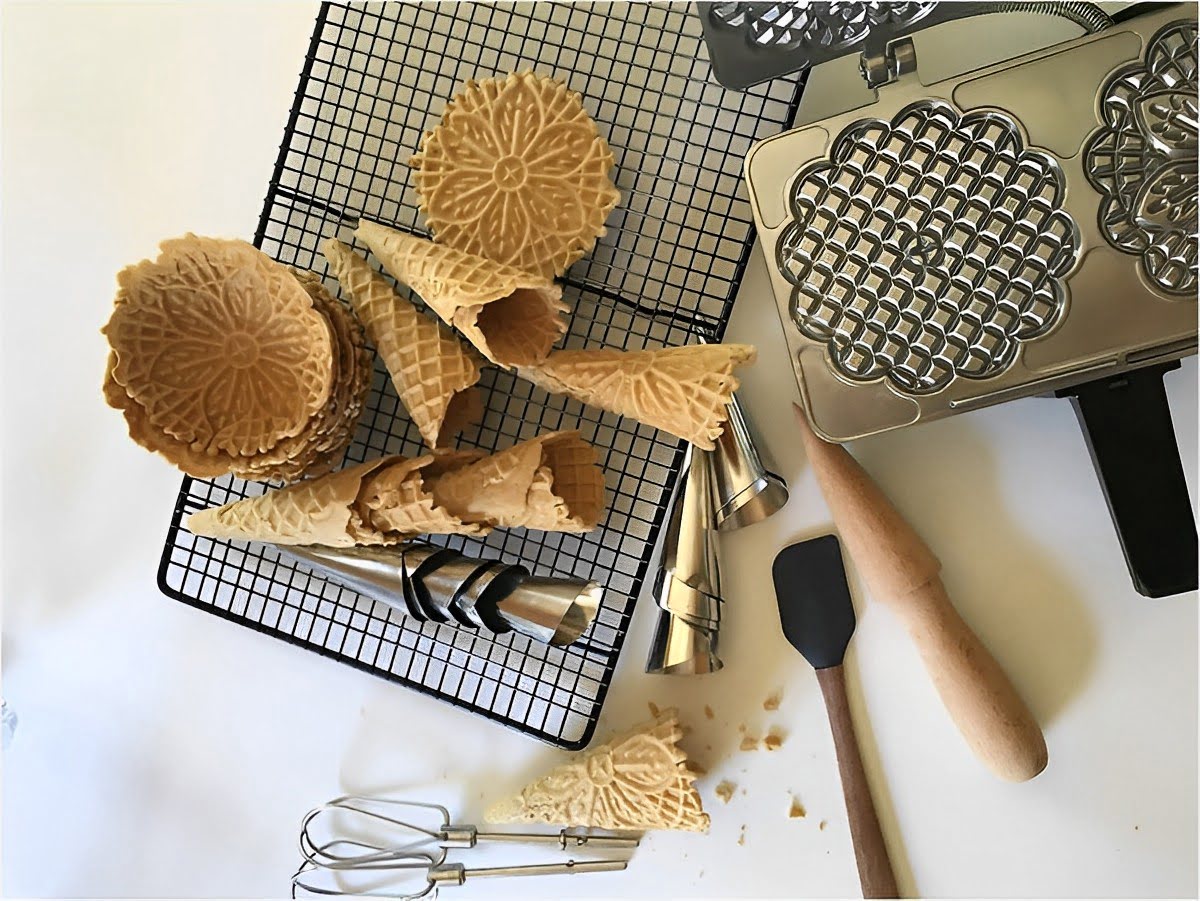
Step 4: Rolling the cones
After cooking the waffle cones, the next step is to roll them into their iconic cone shape. This step requires some patience and a gentle touch to achieve perfectly shaped cones.
- While the waffle cone is still warm and pliable, carefully lift it off the spatula and place it on a clean, flat surface.
- Using a cone-shaping tool or a cylindrical object like a rolling pin, gently roll the waffle cone into a cone shape. Start at the pointed end and roll it up, applying gentle pressure to secure the shape.
- Hold the rolled cone for a few seconds to allow it to set and hold its shape. If needed, you can secure the seam with a bit of melted chocolate or a small piece of tape, although this step is optional.
- Repeat this process with the remaining waffle cones, working quickly while they are still warm and pliable.
Rolling the waffle cones can be a fun and creative process, allowing you to customize the shape and size according to your preference. Take your time while rolling to ensure the cones turn out beautifully and hold their shape.
Now that you have rolled the waffle cones, it’s time for the final step: cooling and serving.
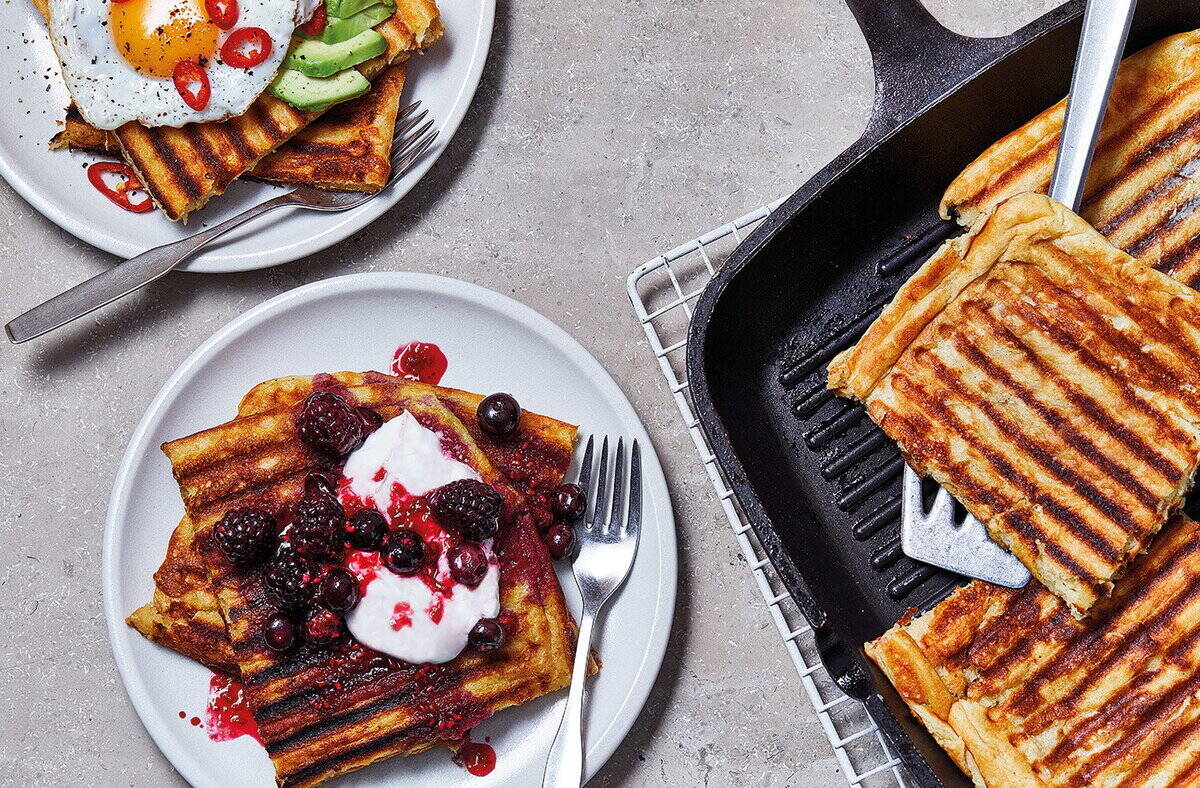
Step 5: Cooling and serving
Once the waffle cones have been rolled into shape, the final step is to allow them to cool and then serve them with your favorite Paleo-friendly ice cream or filling of your choice.
- Place the rolled waffle cones on a wire rack or a clean, flat surface to cool completely. This will help them firm up and maintain their shape.
- While the waffle cones are cooling, you can prepare your desired Paleo-friendly ice cream or filling. Opt for dairy-free options like coconut milk-based ice creams or fruit sorbets to stay true to the Paleo diet.
- Once the waffle cones have cooled, fill them with your chosen ice cream or filling. You can use a small spoon or an ice cream scoop to achieve a neat and uniform filling.
- Top the filled waffle cones with your favorite toppings, such as fresh berries, chopped nuts, or a drizzle of melted dark chocolate.
- Serve the Paleo waffle cones immediately and enjoy this delightful treat. The crispy texture of the cone paired with the creamy ice cream creates a perfect harmony of flavors.
If you have any leftover waffle cones, store them in an airtight container at room temperature to maintain their crispness. However, they are best enjoyed fresh!
Now that you have completed all the steps, you can proudly indulge in your homemade Paleo waffle cones. Enjoy the guilt-free pleasure of this delicious dessert while sticking to your dietary goals.
Next time you’re craving a sweet treat, remember that you can easily make Paleo waffle cones with a regular waffle iron in the comfort of your own kitchen!
Tips and Variations
Here are some helpful tips and variations to consider when making Paleo waffle cones:
- Experiment with flavors: Add your favorite spices, such as cinnamon or nutmeg, to the batter to enhance the flavor of the waffle cones.
- Make them mini: If you prefer bite-sized treats, pour smaller amounts of batter onto the waffle iron to create mini waffle cones.
- Try alternative flours: While almond flour, coconut flour, and tapioca flour are commonly used in Paleo recipes, you can experiment with other grain-free flours like hazelnut or chestnut flour for unique flavors.
- Get creative with fillings: Fill your waffle cones with not only ice cream but also other delicious options like whipped coconut cream, fresh fruit, or even a savory mixture like chicken salad for a unique twist.
- Double the batch: If you’re planning for a gathering or simply want to have extra waffle cones on hand, double the recipe to make a larger quantity.
- Storage and freshness: If you need to store the waffle cones for a later time, place them in an airtight container or wrap them individually in plastic wrap to maintain their crispness and freshness.
- Serve with toppings: Elevate your waffle cone experience by serving them with a variety of toppings like crushed nuts, coconut flakes, chocolate shavings, or even a drizzle of honey.
Remember, these tips and variations are meant to inspire your creativity and enhance your enjoyment of Paleo waffle cones. Don’t be afraid to explore and make the recipe your own!
Now that you have a range of options to consider, gather your ingredients, preheat your waffle iron, and get ready to delight in the deliciousness of homemade Paleo waffle cones.
Conclusion
In conclusion, making Paleo waffle cones with a regular waffle iron is a fantastic way to satisfy your dessert cravings while remaining faithful to your dietary goals. By using simple and wholesome ingredients like almond flour, coconut flour, and tapioca flour, you can create delicious and crispy waffle cones that are suitable for the Paleo diet.
Throughout this article, we have guided you through the step-by-step process of making Paleo waffle cones, from preparing the batter to rolling the cones and serving them with your favorite Paleo-friendly ice cream or filling. With a little time and effort, you can indulge in the sweet joy of this delightful treat.
Remember to experiment with flavors, sizes, and fillings to personalize your waffle cones. Whether you prefer classic vanilla ice cream or want to get adventurous with unique toppings, the possibilities are endless.
By following the tips and variations provided, you can unleash your creativity and make each batch of waffle cones a unique culinary creation. Whether you are following the Paleo diet or simply looking to enjoy a healthier version of this beloved dessert, these waffle cones are sure to satisfy your sweet tooth without compromising on flavor or texture.
So, why wait? Grab your regular waffle iron, gather your ingredients, and let the aroma of freshly made Paleo waffle cones fill your kitchen. Share this delightful treat with family and friends, and relish in the joy of a guilt-free dessert.
Enjoy the process of making homemade Paleo waffle cones, and savor every bite of this delightful and satisfying treat. Cheers to deliciousness and good health!
Frequently Asked Questions about How To Make Paleo Waffle Cones With Regular Waffle Iron
Was this page helpful?
At Storables.com, we guarantee accurate and reliable information. Our content, validated by Expert Board Contributors, is crafted following stringent Editorial Policies. We're committed to providing you with well-researched, expert-backed insights for all your informational needs.


0 thoughts on “How To Make Paleo Waffle Cones With Regular Waffle Iron”