Home>Articles>How To Make Waffle Cones Without A Waffle Iron?

Articles
How To Make Waffle Cones Without A Waffle Iron?
Modified: October 20, 2024
Learn how to make delicious waffle cones at home without the need for a waffle iron. Our comprehensive article provides a step-by-step guide and all the tips you need.
(Many of the links in this article redirect to a specific reviewed product. Your purchase of these products through affiliate links helps to generate commission for Storables.com, at no extra cost. Learn more)
Introduction
Waffle cones are a delightful and crunchy treat that is commonly enjoyed with ice cream. The combination of the crispy cone and creamy ice cream is simply irresistible. While waffle cones are traditionally made using a waffle iron, you might be surprised to learn that it’s possible to make them without one.
Whether you don’t have a waffle iron at home or you simply want to try a different method, making waffle cones without a waffle iron can be a fun and delicious DIY project. In this article, we will guide you through the steps to make waffle cones without a waffle iron, so you can enjoy this delectable treat anytime you want.
Before we dive into the process, let’s go over the ingredients and materials you will need:
- Eggs
- Sugar
- Butter
- All-purpose flour
- Vanilla extract
- Salt
- Baking powder
- Parchment paper
- Saucepan
- Mixing bowl
- Whisk or electric mixer
- Rolling pin
- Oven
Now that you have your ingredients and materials ready, let’s get started on making your own waffle cones without a waffle iron.
Key Takeaways:
- You can make delicious waffle cones without a waffle iron by shaping the batter on parchment paper and baking them in the oven. Enjoy the crispy, homemade treat with your favorite ice cream flavors and toppings.
- With a few simple ingredients and some creativity, you can create perfect waffle cones at home. Embrace the joy of making and indulging in your own homemade waffle cones without the need for a waffle iron.
Materials Needed
To make waffle cones without a waffle iron, you will need the following materials:
- Eggs: These will act as a binding agent for the waffle cone batter.
- Sugar: Adds sweetness and helps to caramelize the cones as they bake.
- Butter: Gives the cones a rich and buttery flavor.
- All-purpose flour: Provides structure and texture to the waffle cones.
- Vanilla extract: Adds a hint of flavor to the batter.
- Salt: Enhances the overall taste of the waffle cones.
- Baking powder: Helps the cones to rise and become light and crispy.
- Parchment paper: Used to shape and bake the waffle cones.
- Saucepan: Used to melt the butter and combine the ingredients.
- Mixing bowl: Where you will combine the dry and wet ingredients.
- Whisk or electric mixer: Used to mix the ingredients together until the batter is smooth.
- Rolling pin: Helps to roll out the waffle cone dough into thin rounds.
- Oven: The waffle cones will be baked in the oven until golden and crispy.
Now that you have gathered all the necessary materials, you are ready to start making your homemade waffle cones without a waffle iron. In the next section, we will go through each step of the process in detail to ensure you achieve perfect waffle cones every time.
Step 1: Prepare the Waffle Cone Batter
The first step in making waffle cones without a waffle iron is to prepare the batter. Follow these simple instructions:
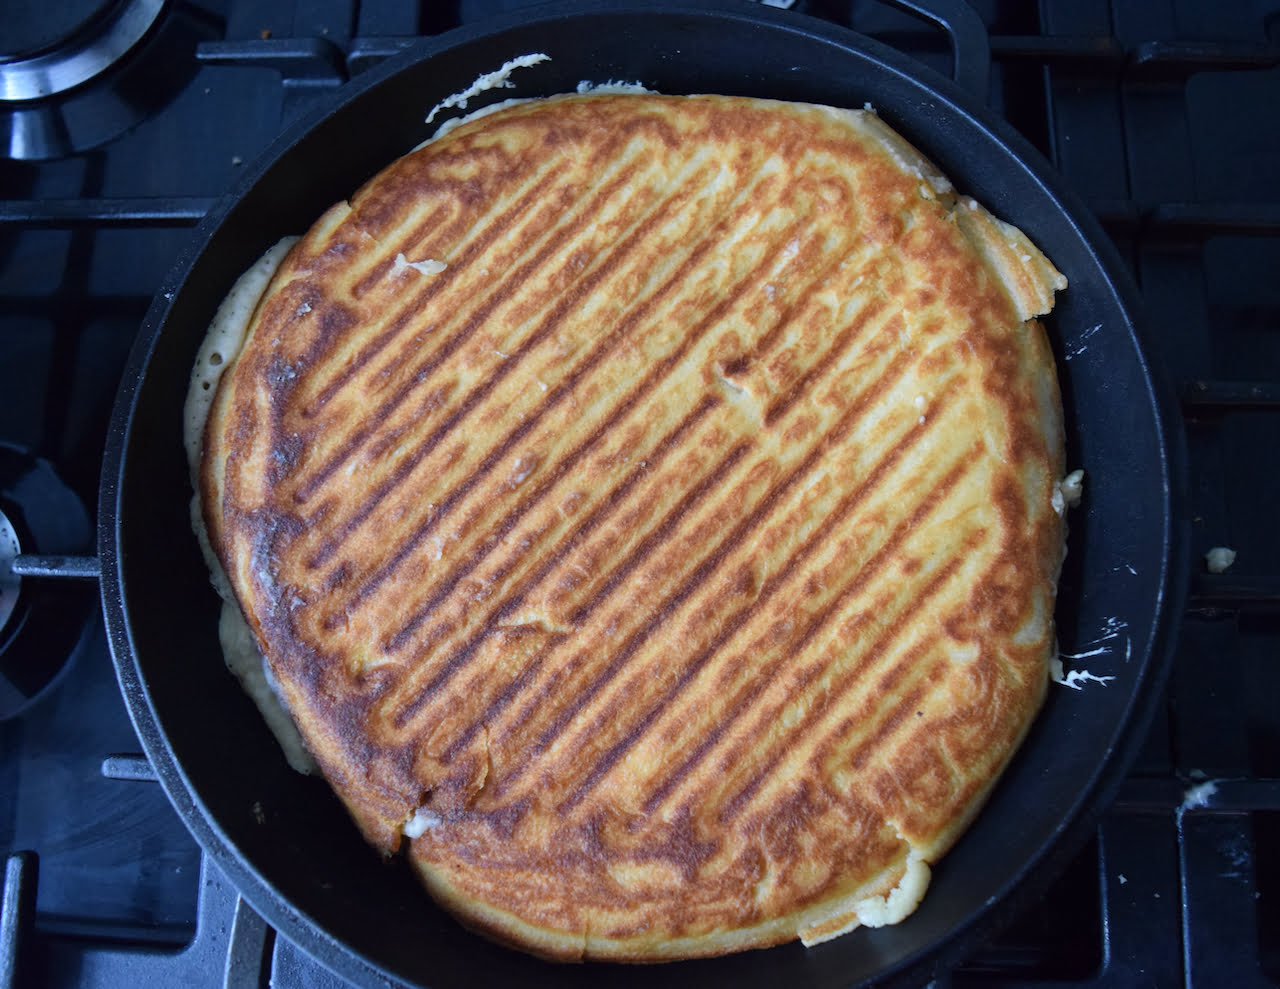
- In a saucepan, melt the butter over low heat. Once melted, remove it from the heat and set it aside to cool slightly.
- In a mixing bowl, whisk together the eggs and sugar until well combined.
- Add the melted butter and vanilla extract to the egg mixture and whisk again until everything is evenly incorporated.
- In a separate bowl, combine the all-purpose flour, salt, and baking powder.
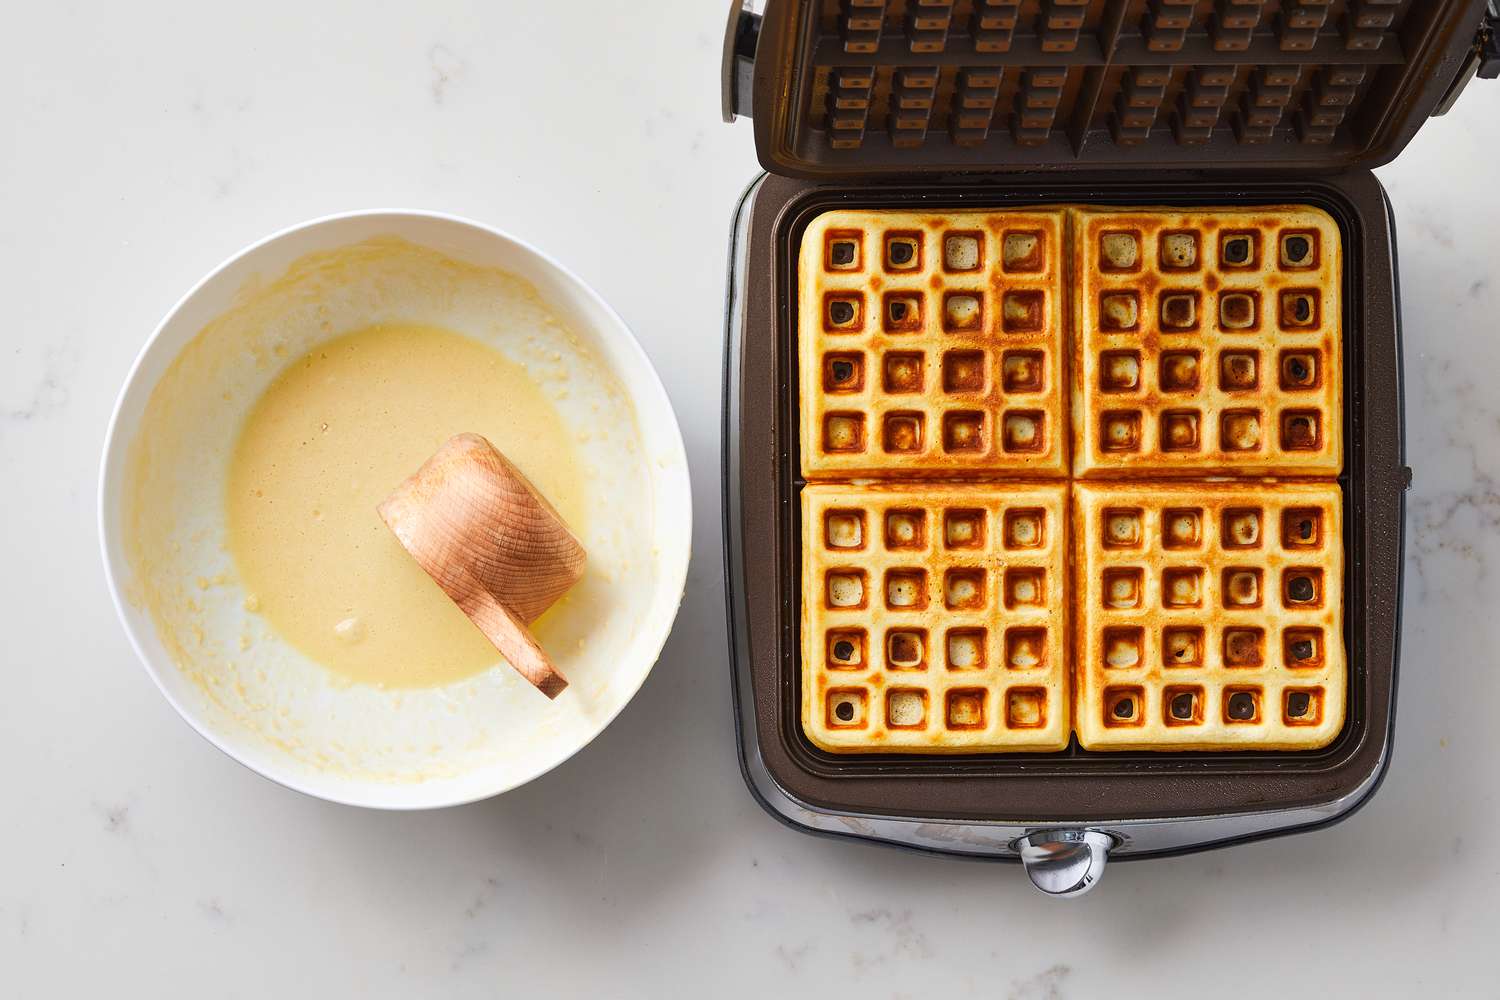
- Sift the dry ingredients into the wet mixture and whisk until you have a smooth batter. Make sure there are no lumps remaining.
Once your waffle cone batter is ready, you can move on to the next step: preheating the oven. This will ensure that your waffle cones bake evenly and become beautifully golden and crispy. Keep reading to find out how to do it.
Step 2: Preheat the Oven
Now that you have prepared the waffle cone batter, it’s time to preheat your oven. Here’s how to do it:
- Turn on your oven and set it to a temperature of 350°F (175°C). Preheating the oven will ensure that your waffle cones cook evenly and become crispy.
- While the oven is preheating, line a baking sheet with parchment paper. This will prevent the waffle cones from sticking to the pan and make it easier to remove them once they are baked.
- Place the baking sheet with the parchment paper aside for now, as you will need it in the next steps.
Once your oven is preheated and ready, it’s time to move on to shaping the waffle cones. This is where the fun begins. Keep reading to find out how to shape the cones without a waffle iron.
Step 3: Shape the Waffle Cones
Now that your oven is preheated, it’s time to shape the waffle cones. Although you don’t have a waffle iron, you can still achieve that signature cone shape. Here’s what you need to do:
- Tear off a piece of parchment paper, approximately 8 inches long. Place it on a clean, flat surface.
- Take a small amount of the waffle cone batter and place it in the center of the parchment paper. Use the back of a spoon or an offset spatula to spread the batter into a thin, circular shape. Aim for a diameter of about 6 inches.
- Once you have spread the batter evenly, use the edge of the spoon or spatula to form a cone shape. Gently lift one side of the parchment paper and roll it into a cone shape, ensuring the pointy end is closed and secured.
- Hold the cone shape for a few seconds to allow it to set. Then, carefully remove the parchment paper from the cone, making sure the shape stays intact.
- Repeat this process with the remaining batter, making sure to leave enough space between each cone on the baking sheet.
With your waffle cones shaped and ready to go, it’s time to bake them in the oven. Keep reading to find out how long to bake the cones and what to do once they are finished.
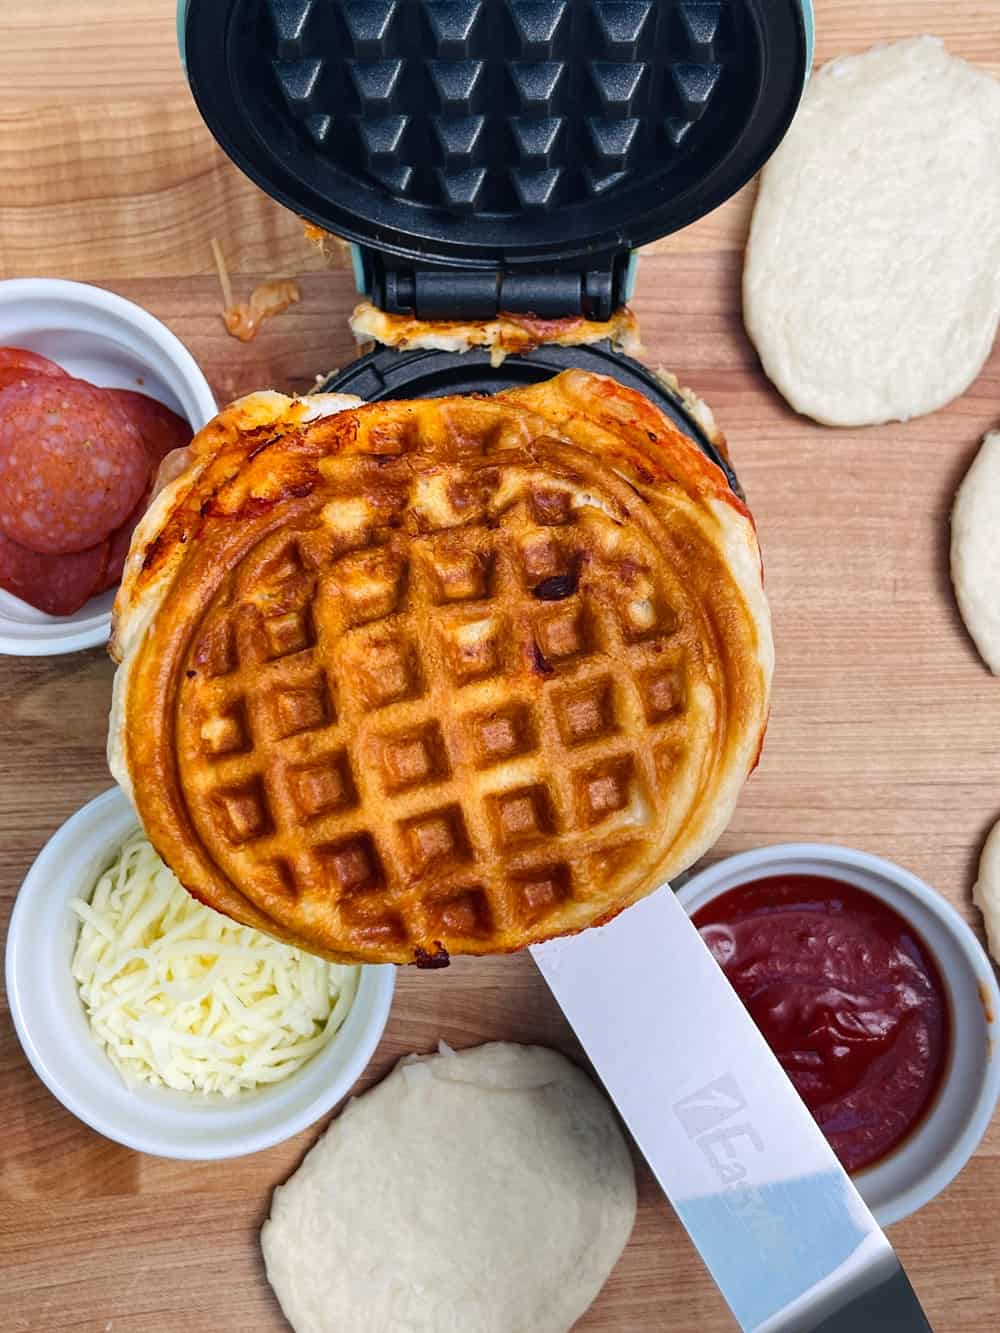
You can make waffle cones without a waffle iron by shaping the batter into cones and baking them on a baking sheet in the oven. Roll them around a cone-shaped object while they’re still warm to create the cone shape.
Read more: How To Make A Waffle Without A Waffle Iron
Step 4: Bake the Waffle Cones
Now that your waffle cones are shaped and ready, it’s time to bake them in the oven. This step will give them that golden, crispy texture we all love. Follow these instructions:
- Place the baking sheet with the shaped waffle cones in the preheated oven.
- Bake the cones for approximately 10-12 minutes, or until they are a light golden brown color.
- Keep a close eye on the cones as they bake, as the cooking time may vary based on your oven and the thickness of the dough. You want them to be fully cooked but not overly browned.
Once the waffle cones are baked to perfection, it’s time to remove them from the oven and shape them into their final cone form. Continue reading to find out how to do that.
Step 5: Remove and Shape the Waffle Cones
After baking the waffle cones, it’s time to remove them from the oven and shape them into their final cone form. Follow these steps:
- Using oven mitts or heat-resistant gloves, carefully remove the baking sheet from the oven and place it on a heat-resistant surface.
- Allow the baked waffle cones to cool for a minute or two on the baking sheet. This will make them easier to handle.
- While the cones are still warm, carefully lift each one off the parchment paper and transfer it to a clean, flat surface.
- Using a rolling pin, gently roll the warm waffle cone around the rolling pin to shape it into its characteristic cone shape. Hold it in place for a few seconds until it cools and holds its shape.
- Repeat this process with all the baked waffle cones, making sure to handle them with care as they can be delicate when warm.
With each waffle cone shaped into its cone form, it’s time to let them cool completely. Keep reading to find out how to do that.
Step 6: Allow the Waffle Cones to Cool
Once you have shaped the waffle cones into their final cone form, it’s important to allow them to cool completely. This will ensure that they become crispy and hold their shape. Follow these steps:
- Place the shaped waffle cones on a wire rack or a clean, flat surface.
- Leave them to cool at room temperature for at least 15-20 minutes, or until they are completely cooled and hardened.
- During the cooling process, the waffle cones will become crispier, giving them that wonderful crunch we all love.
Once the waffle cones have cooled, they are ready to be filled with your favorite ice cream flavors and toppings. Continue reading to discover the joy of enjoying your homemade waffle cones.
Step 7: Enjoy your Homemade Waffle Cones
Congratulations! You have successfully made homemade waffle cones without a waffle iron. Now it’s time to indulge in the deliciousness of your creation. Here’s what you need to do:
- Select your favorite ice cream flavors and toppings.
- Using a spoon or an ice cream scoop, fill the cooled waffle cones with generous scoops of your chosen ice cream flavors.
- Add toppings such as chocolate sauce, sprinkles, crushed nuts, or whipped cream to enhance the flavor and presentation.
- Take a moment to appreciate your homemade waffle cones as you savor the combination of the crisp cone and creamy ice cream.
- Share the joy with your family and friends by serving them your delicious homemade waffle cones.
Remember, making waffle cones without a waffle iron may require a bit of practice to get the perfect shape and texture. Don’t be discouraged if your first attempt is not exactly as you envisioned. With each try, you’ll gain more confidence and improve your technique.
So go ahead and enjoy the fruits of your labor. Your homemade waffle cones are a testament to your creativity and culinary skills. Now you can delight in the pleasure of enjoying these delectable treats whenever you crave them.
Happy indulging!
Frequently Asked Questions about How To Make Waffle Cones Without A Waffle Iron?
Was this page helpful?
At Storables.com, we guarantee accurate and reliable information. Our content, validated by Expert Board Contributors, is crafted following stringent Editorial Policies. We're committed to providing you with well-researched, expert-backed insights for all your informational needs.


0 thoughts on “How To Make Waffle Cones Without A Waffle Iron?”