Articles
How To Make Toast In A Toaster
Modified: August 25, 2024
Learn how to make toast in a toaster with our informative articles. Find helpful tips and techniques for perfectly toasted bread every time.
(Many of the links in this article redirect to a specific reviewed product. Your purchase of these products through affiliate links helps to generate commission for Storables.com, at no extra cost. Learn more)
Introduction
Toast is a classic breakfast staple that is loved by many for its simplicity and deliciousness. Whether you prefer it plain, with butter, or topped with your favorite spread, making toast in a toaster is a quick and convenient way to enjoy this delightful morning treat. In this article, we will guide you through the step-by-step process of making toast in a toaster, from selecting the bread to enjoying your perfectly toasted slices. So, let’s dive in and learn how to make toast like a pro!
Key Takeaways:
- The key to making perfect toast lies in selecting the right bread, preparing the toaster, and adjusting the toasting settings to achieve your desired level of crispiness. Experiment with different bread types and toasting settings to find your ideal combination.
- Enjoying your toast is all about creativity and personal preference. Whether you prefer sweet or savory, there are endless topping options to elevate your toast experience. From classic butter and jam to indulgent egg and bacon, the choice is yours!
Read more: How To Make Garlic Toast In Toaster
Selecting the Bread
When it comes to making toast, the first step is to choose the right bread. While you may think that any type of bread will do, selecting the right bread can make a significant difference in the taste and texture of your toast. Here are a few factors to consider when choosing your bread:
- Type of Bread: There are countless bread options available, from white bread to whole wheat, multigrain, sourdough, and more. Consider your personal preferences and dietary needs when selecting the type of bread for your toast.
- Freshness: Opt for fresh bread that is soft and not overly dry. Stale bread can result in less desirable toast, so aim for a loaf that is freshly baked or has been stored properly.
- Thickness: The thickness of the bread slices can impact the toasting process. Thicker slices will take longer to toast and may require adjustments to the toasting settings. Thinner slices, on the other hand, will toast more quickly.
- Crust: Consider whether you prefer your toast with a crispy crust or a softer crust. Some bread varieties, such as artisan bread, have a thicker and crunchier crust, while others, like sandwich bread, have a softer crust.
Ultimately, the choice of bread comes down to personal preference. Experiment with different types of bread to find the one that suits your taste and yields the perfect toast for your liking. Now that you have selected the bread, let’s move on to preparing the toaster.
Preparing the Toaster
Before you start toasting your bread, it’s essential to prepare the toaster to ensure optimal results. Here’s how you can prepare your toaster:
- Clean the Toaster: Start by checking if your toaster is clean. Remove any leftover crumbs or debris from the toaster’s crumb tray. A clean toaster will not only improve the toasting process but also prevent any burnt or unpleasant smells.
- Check the Power Cord: Ensure that the toaster’s power cord is properly plugged into a functioning electrical outlet. It’s important to have a stable power connection to avoid any interruption during the toasting process.
- Adjust the Browning Control: Most toasters come with a browning control setting, allowing you to adjust the level of toasting. Take a look at the browning control dial and set it according to your preference. Keep in mind that a higher setting will result in a darker and crispier toast, while a lower setting will produce a lighter and softer toast.
- Preheat (Optional): Some toasters have a preheat feature that allows you to warm up the toaster before inserting your bread. This step is optional but can help in achieving more consistent toasting results.
By following these preparation steps, you can ensure that your toaster is clean, functioning, and set to the desired toasting level. Now that your toaster is ready, it’s time to move on to the next step: inserting the bread.
Inserting the Bread
Now that your toaster is prepared, it’s time to insert the bread and get ready to toast! Here’s how you can properly insert the bread into the toaster:
- Slice the Bread: If your selected bread is not pre-sliced, carefully slice it into evenly sized slices using a serrated knife. Aim for slices that are around 1/2 to 3/4 inch thick.
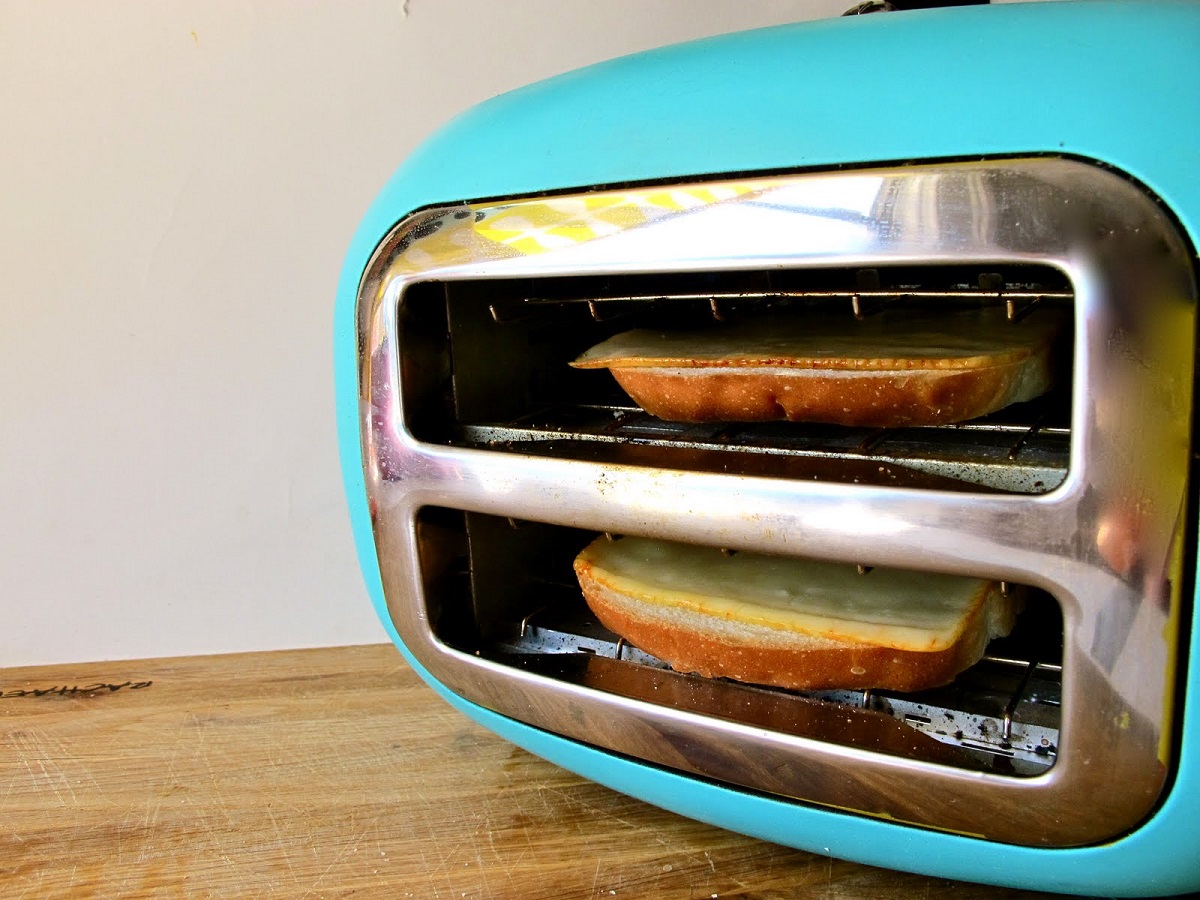
- Place the Bread into the Slots: Take the bread slices and gently place them into the toaster slots. Most toasters come with two or four slots, depending on the model.
- Orientation of the Bread: Pay attention to the orientation of the bread slices. Depending on the toaster, you can choose to insert the slices vertically or horizontally. Make sure the bread is aligned properly in the slots to ensure even toasting on both sides.
Remember to be cautious while inserting the bread to avoid getting burnt or injuring yourself. Take care not to force the bread slices into the slots if they are too big or thick, as this can damage the toaster or lead to uneven toasting. Once the bread slices are placed in the toaster slots, it’s time to move on to adjusting the toasting settings.
Always use bread that is sliced evenly to ensure even toasting. Adjust the toaster settings to your desired level of toastiness and monitor the process to prevent burning.
Adjusting the Toasting Settings
After inserting the bread into the toaster, it’s important to adjust the toasting settings to achieve the desired level of toastiness. Here are some factors to consider when adjusting the toasting settings:
- Browning Control: Refer to the browning control dial on your toaster. This allows you to set the level of browning or toasting. You can choose a lighter setting for a softer and less browned toast or a higher setting for a darker and crispier toast.
- Number of Slices: If your toaster has multiple slots, determine whether you want to toast all the slices at once or if you prefer to toast them in separate batches. Adjust the toasting settings accordingly to ensure even and consistent toasting.
- Special Functions: Some toasters come with additional functions such as defrost, bagel, or reheat settings. If your toaster has these functions, familiarize yourself with their usage and adjust them as needed.
It’s recommended to start with a lower toasting setting and gradually increase it until you reach your desired level of toastiness. Keep in mind that the toasting time can vary depending on factors such as the thickness of the bread, the desired level of browning, and the specific toaster model. The ideal toasting time can be determined through experimentation and personal preference.
Once you have adjusted the toasting settings, you’re ready to move on to the next step: toasting the bread.
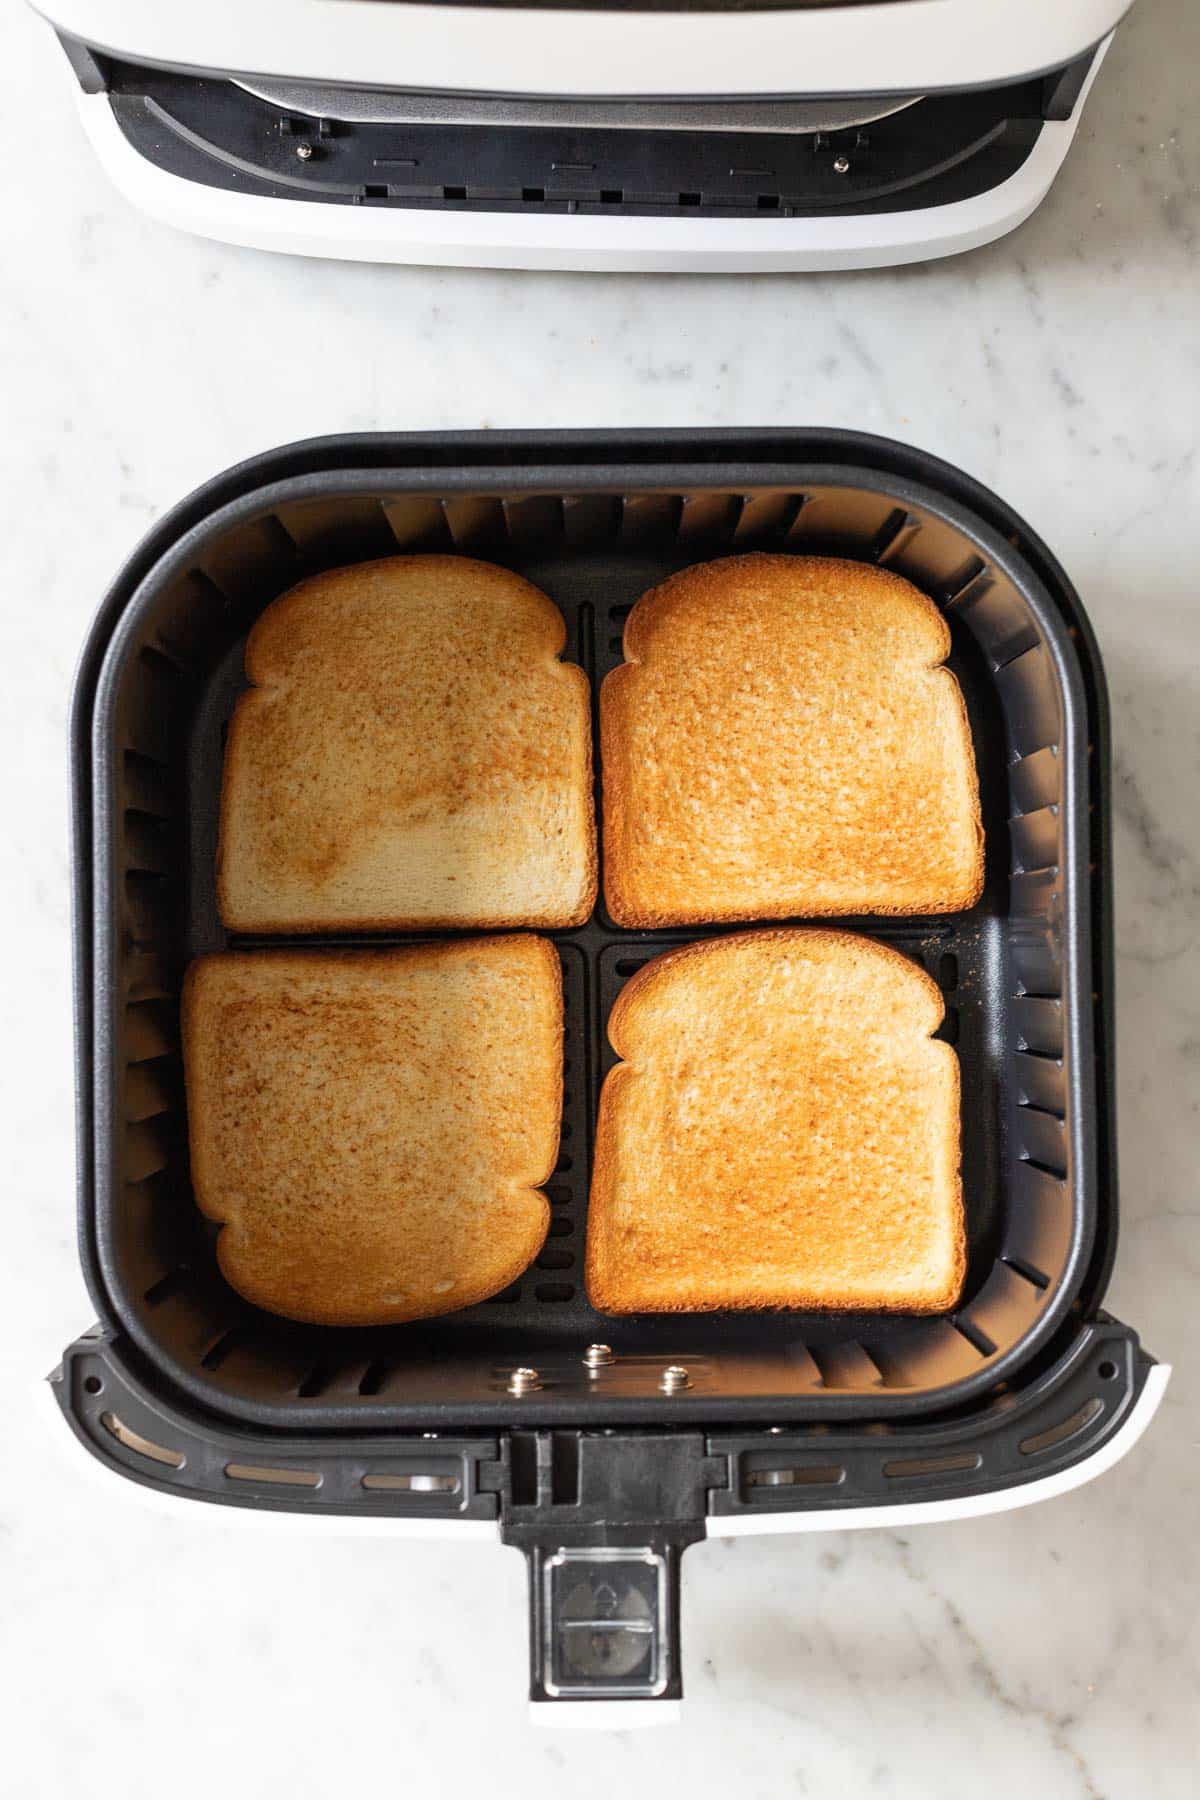
Read more: How To Make Toast In Air Fryer Toaster Oven
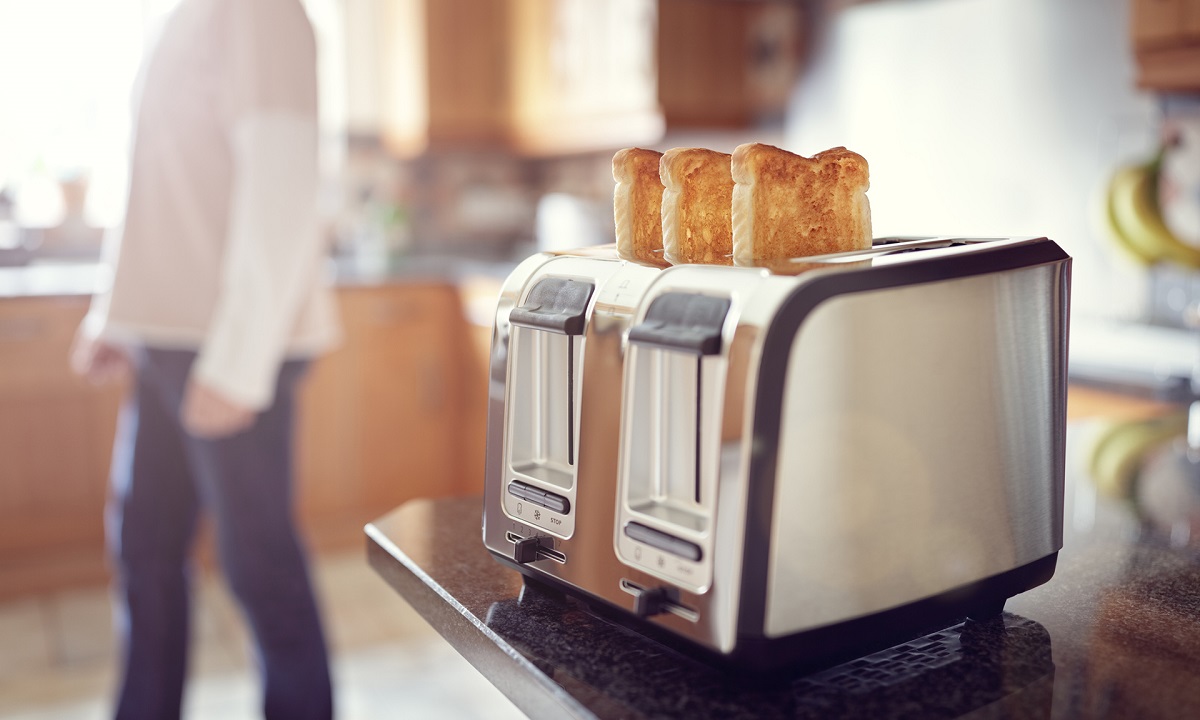
Toasting the Bread
With the bread inserted and the toasting settings adjusted, it’s time to start toasting! Follow these steps to toast your bread to perfection:
- Push Down the Lever: Most toasters have a lever or button that needs to be pushed down to initiate the toasting process. Press down the lever gently but firmly to start the toasting cycle.
- Monitor the Toasting Process: Keep an eye on the toasting process to ensure that the toast doesn’t get burnt. You can observe the bread through the toaster’s viewing window or by lifting the lever slightly to check on its progress.
- Adjust the Toasting Time: If you notice that the toast is getting too dark or not toasted enough, you can adjust the toasting time by either setting a shorter duration or increasing it. This will allow you to achieve the desired level of toasting.
- Wait for the Toast Cycle to Complete: The toaster will automatically release the bread slices once the toasting cycle is complete. Depending on the toaster model and the desired level of toasting, this can take anywhere from one to three minutes. Be patient and resist the temptation to remove the bread prematurely.
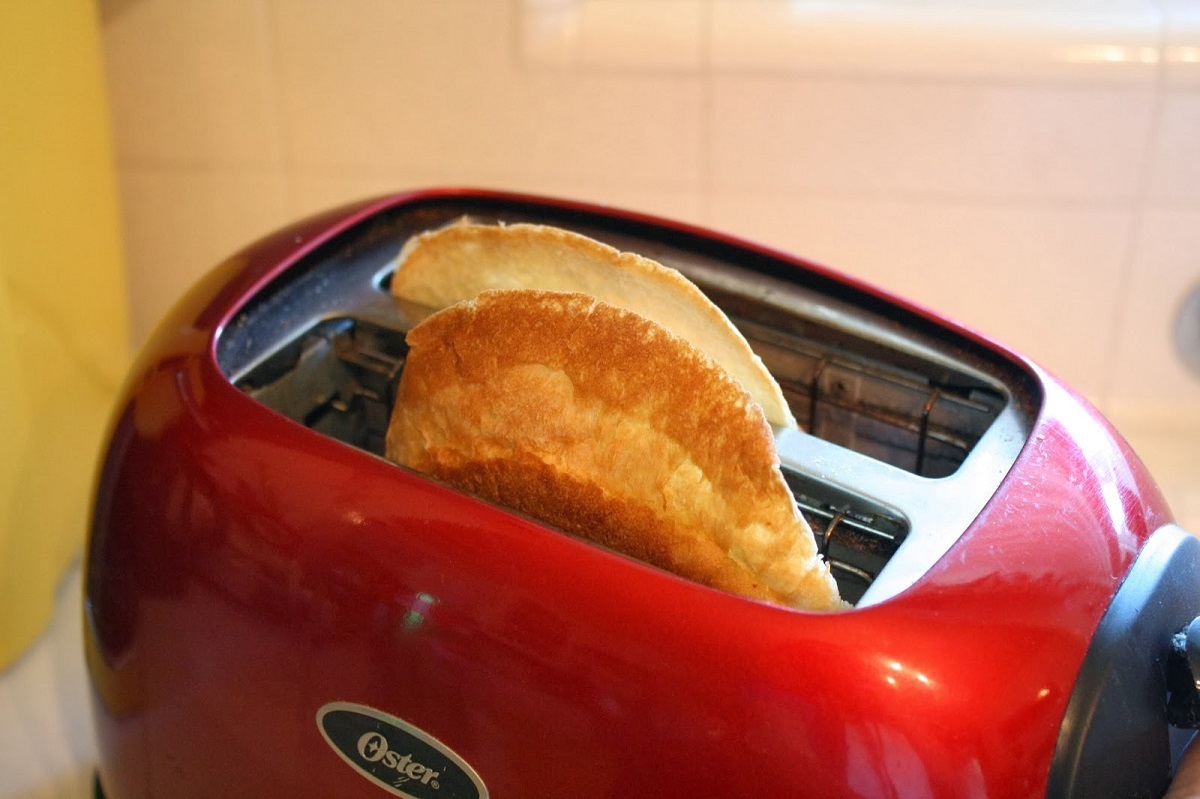
- Remove the Toasted Bread: Once the toast cycle is complete, the toaster will pop up the bread slices. Use caution when removing the bread as it may be hot. Use a pair of heat-resistant tongs or oven mitts to safely take out the toasted bread slices.
Congratulations! You have successfully toasted your bread. Now, let’s move on to the final step: removing the toasted bread and enjoying your delicious toast.
Removing the Toasted Bread
Now that your bread is perfectly toasted, it’s time to remove it from the toaster. Follow these steps to safely retrieve your toasted bread slices:
- Turn off the Toaster: Before removing the bread, make sure to turn off the toaster. This will prevent any accidents or injuries.
- Use Safety Measures: Since the toaster and the toasted bread may still be hot, it’s important to take precautions. Use oven mitts or heat-resistant gloves to protect your hands from burns and safely handle the toaster.
- Gently Lift or Slide the Lever: Depending on your toaster model, you may need to lift the lever or slide it to release the toasted bread. Be careful as the bread may be fragile and can break if handled too roughly.
- Remove the Toast: Once the lever is raised or the sliding mechanism is activated, carefully remove the toasted bread using tongs or other utensils. Place the toast on a clean surface or a wire cooling rack to prevent it from getting soggy.
It’s important to note that if you leave the toast in the toaster for an extended period, it may become dry and lose its desired texture. Therefore, it’s recommended to remove the toast promptly after it pops up to enjoy it at its best.
Now that you have successfully removed the toasted bread, it’s time to savor the deliciousness of your efforts.
Enjoying Your Toast
Congratulations! Your perfectly toasted bread is ready to be enjoyed. Here are a few ideas on how you can enjoy your toast:
- Butter and Jam: Spread a generous amount of butter on your toast while it’s still warm. Add a dollop of your favorite jam or jelly for a delicious combination of flavors.
- Avocado or Hummus: For a healthy and savory option, spread mashed avocado or your favorite hummus on your toast. Top it off with a sprinkle of salt, pepper, or some fresh herbs for added flavor.
- Cheese and Tomato: Place a slice of cheese on your toast and place it under the broiler until the cheese melts. Add fresh tomato slices and a sprinkle of herbs or spices for a tasty open-faced toast sandwich.
- Nut Butter and Banana: Spread peanut butter, almond butter, or any other nut butter of your choice on your toast. Slice some fresh bananas on top for a satisfying and nutritious combination.
- Egg and Bacon: Fry an egg and some bacon to create a classic breakfast sandwich on your toast. Add some lettuce, tomato, or other toppings of your choice to make it even more delicious.
- Peanut Butter and Jelly: Take a trip down memory lane with the timeless combination of peanut butter and jelly. Spread peanut butter on one slice of toast and your favorite jelly or jam on the other. Press them together for a nostalgic treat.
These are just a few ideas to get you started, but feel free to get creative and experiment with different toppings, spreads, and combinations. Whether you prefer sweet or savory, there’s no shortage of options to enhance the flavor of your toast.
Now that you have your perfectly toasted slices and delicious toppings, sit back, relax, and savor each bite of your homemade toast. Enjoy!
Frequently Asked Questions about How To Make Toast In A Toaster
Was this page helpful?
At Storables.com, we guarantee accurate and reliable information. Our content, validated by Expert Board Contributors, is crafted following stringent Editorial Policies. We're committed to providing you with well-researched, expert-backed insights for all your informational needs.

0 thoughts on “How To Make Toast In A Toaster”