Articles
How To Make Breadcrumbs With Toaster
Modified: February 29, 2024
Learn how to make delicious homemade breadcrumbs using just a toaster in this step-by-step guide. Discover easy-to-follow instructions and helpful tips. Perfect for baking and cooking!
(Many of the links in this article redirect to a specific reviewed product. Your purchase of these products through affiliate links helps to generate commission for Storables.com, at no extra cost. Learn more)
Introduction
Welcome to the wonderful world of homemade breadcrumbs! Have you ever found yourself in the midst of cooking, only to realize that you’re out of breadcrumbs? Don’t fret! With just a few simple steps, you can easily make your own breadcrumbs using a toaster. Not only will you have a fresh supply of breadcrumbs whenever you need them, but you’ll also be able to control the texture and flavor to suit your preferences!
In this article, we’ll guide you through the process of making breadcrumbs with a toaster. We’ll cover everything from selecting the right bread to storing the homemade breadcrumbs properly. So, let’s roll up our sleeves and get started on this breadcrumb-making adventure!
Key Takeaways:
- Takeaway 1: Homemade breadcrumbs are easy to make with a toaster, allowing you to customize texture and flavor. Store them properly for long-lasting freshness and elevate your dishes with a personal touch.
- Takeaway 2: Making breadcrumbs at home is a cost-effective and rewarding way to ensure you always have this pantry staple. Experiment with different bread varieties to create breadcrumbs that perfectly complement your favorite recipes.
Read more: How To Make Toast In A Toaster
Step 1: Gather Your Ingredients and Tools
Before you begin making breadcrumbs with a toaster, it’s essential to gather all the necessary ingredients and tools. Here’s what you’ll need:
- 2-4 slices of bread: Choose a bread variety that you enjoy, such as white, whole wheat, or sourdough. The quantity of bread slices you use will depend on how much breadcrumbs you want to make.
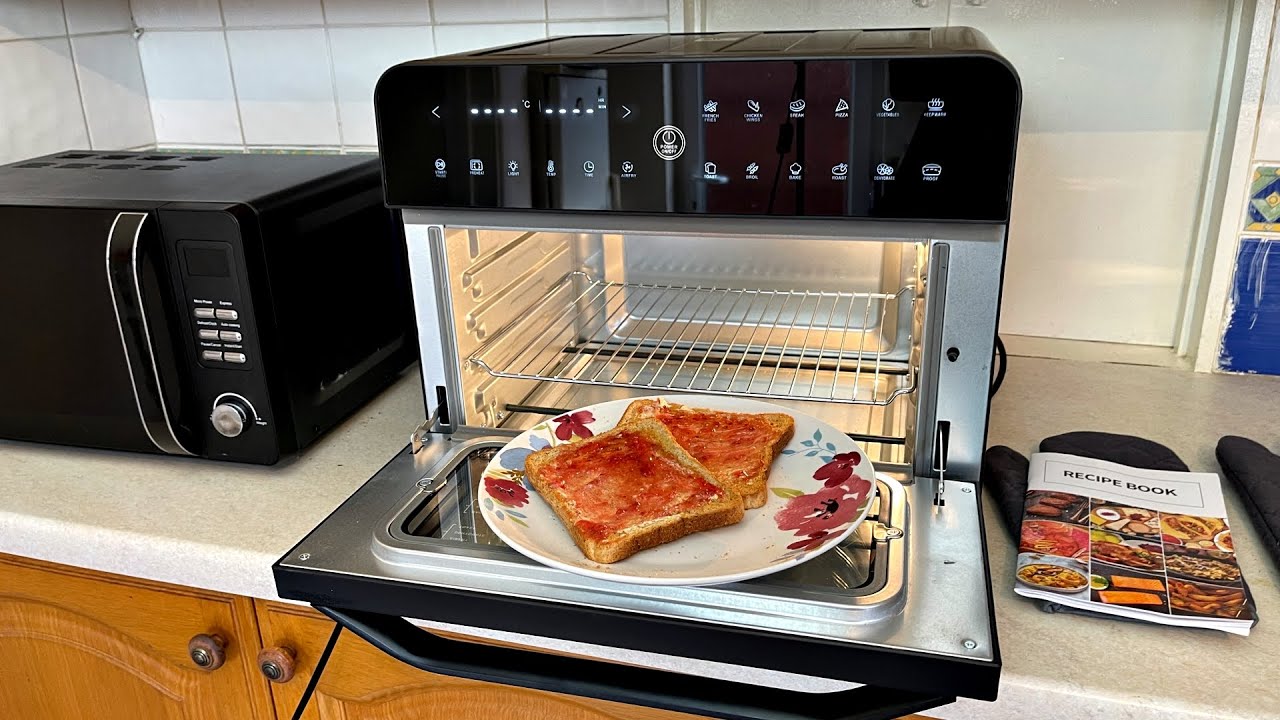
- A toaster: Ensure that your toaster is clean and functioning properly. It’s best to use a toaster with adjustable temperature settings.
- A blender or food processor: This will be used to grind the toasted bread slices into breadcrumbs. If you don’t have a blender or food processor, you can use a rolling pin or a ziplock bag and a heavy object to crush the bread manually.
- Airtight container: To store the homemade breadcrumbs and keep them fresh for future use, you’ll need an airtight container or a resealable bag.
Once you have all the necessary ingredients and tools, you’re ready to move on to the next step: choosing the right bread for your breadcrumbs.
Step 2: Choose the Right Bread
When it comes to making breadcrumbs, the type of bread you choose plays a crucial role in the final texture and flavor. While you can use any bread, certain varieties are better suited for breadcrumbs. Here are some considerations to keep in mind:
- Dry or stale bread: It’s best to use bread that is slightly stale or on the drier side. Fresh bread can retain too much moisture and result in soggy breadcrumbs. If you only have fresh bread, you can lightly toast it before proceeding.
- White or whole wheat: Both white bread and whole wheat bread can be used to make breadcrumbs. White bread tends to produce lighter and milder breadcrumbs, while whole wheat bread adds more flavor and texture.
- Flavorful bread options: If you want to add an extra depth of flavor to your breadcrumbs, you can use bread with additional ingredients, such as herbs, spices, or seeds.
Ultimately, the choice of bread depends on your personal preference and the recipe you’ll be using the breadcrumbs for. Keep in mind that using different bread varieties can result in variations in texture and taste, so don’t be afraid to experiment!
Now that you’ve chosen the perfect bread for your breadcrumbs, it’s time to move on to the next step: cutting the bread into small pieces.
Step 3: Cut the Bread into Small Pieces
Once you have the right bread selected, it’s time to prepare it for toasting. Start by cutting the bread into small, manageable pieces. Here’s how:
- Take a sharp knife and carefully slice the bread into smaller pieces. You can cut the bread into square or rectangular shapes, or simply tear it into smaller chunks.
- Ensure that the pieces are relatively uniform in size. This will help them toast evenly and result in consistent breadcrumbs.
- Keep in mind that smaller pieces of bread will toast quicker and more evenly, so aim for pieces that are about 1-inch in size.
Once you’ve cut the bread into small pieces, you’re ready to move on to the next step: toasting the bread slices to perfection.
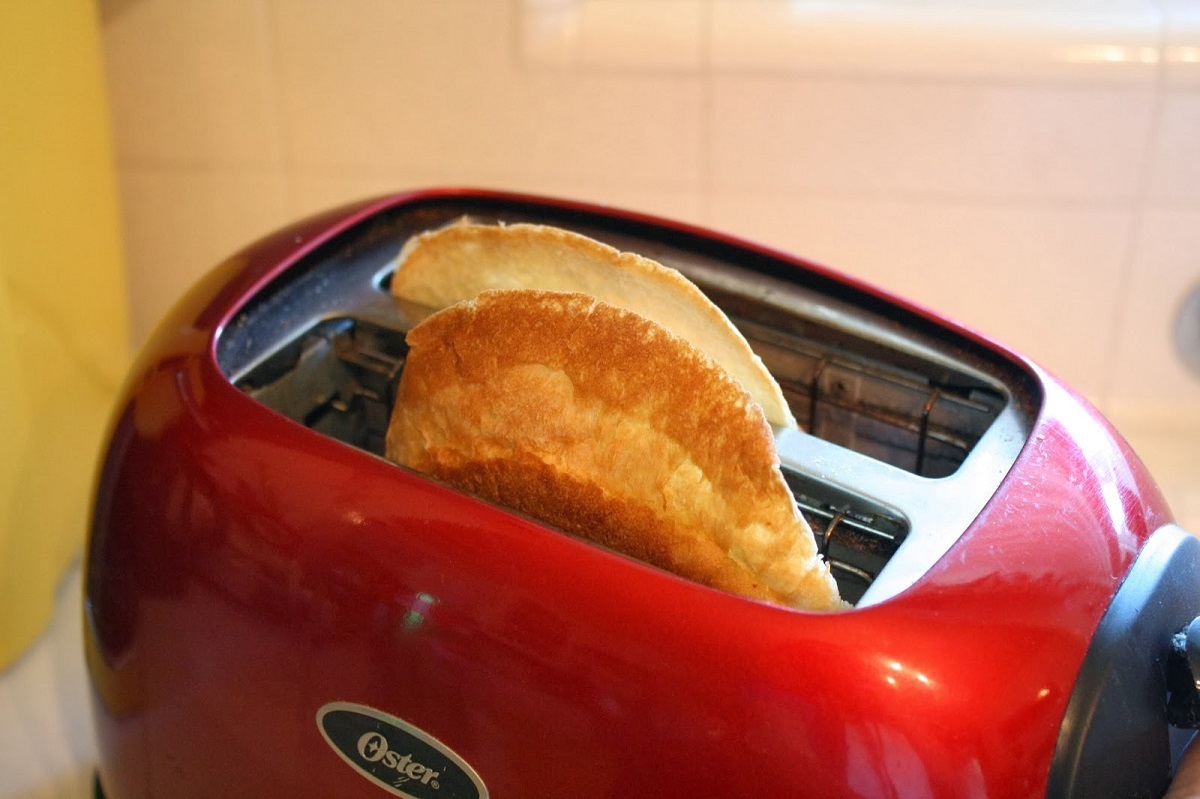
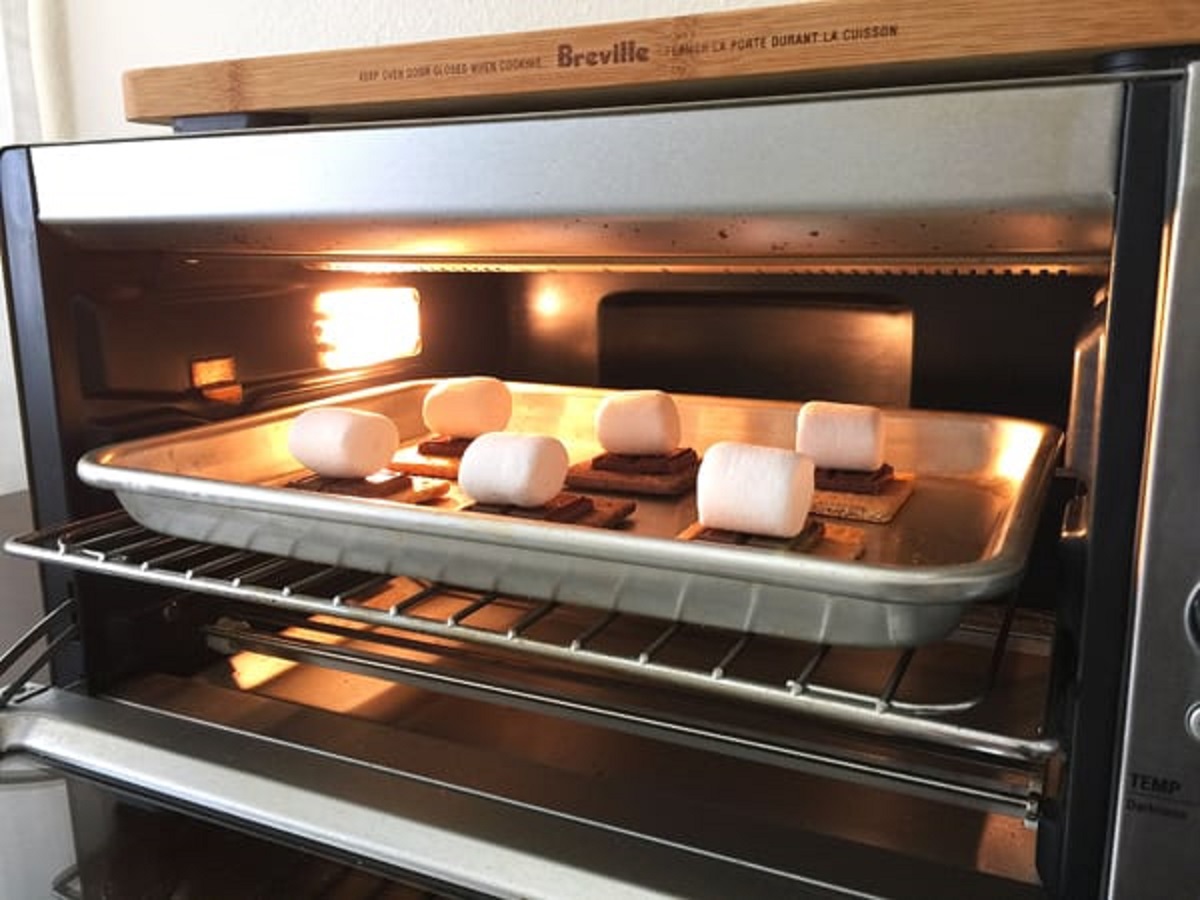
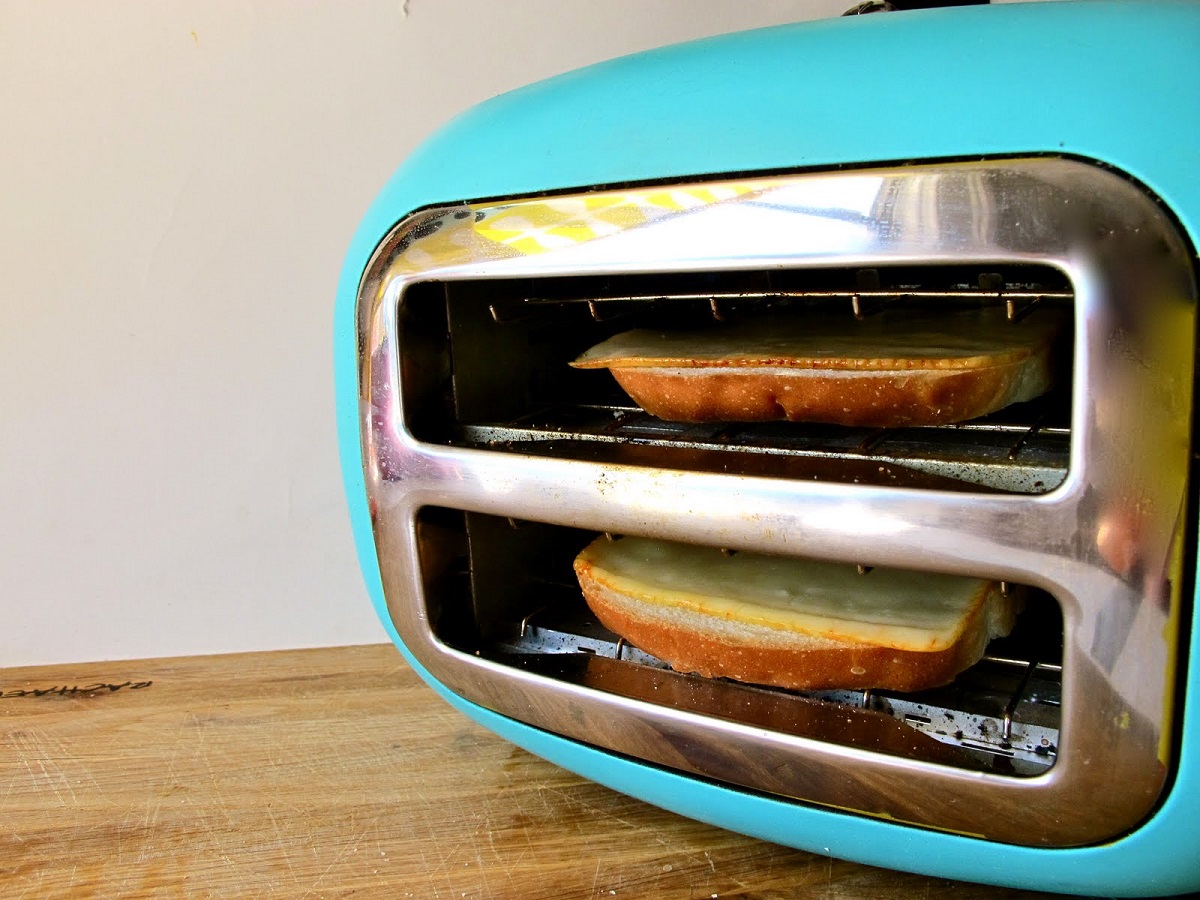
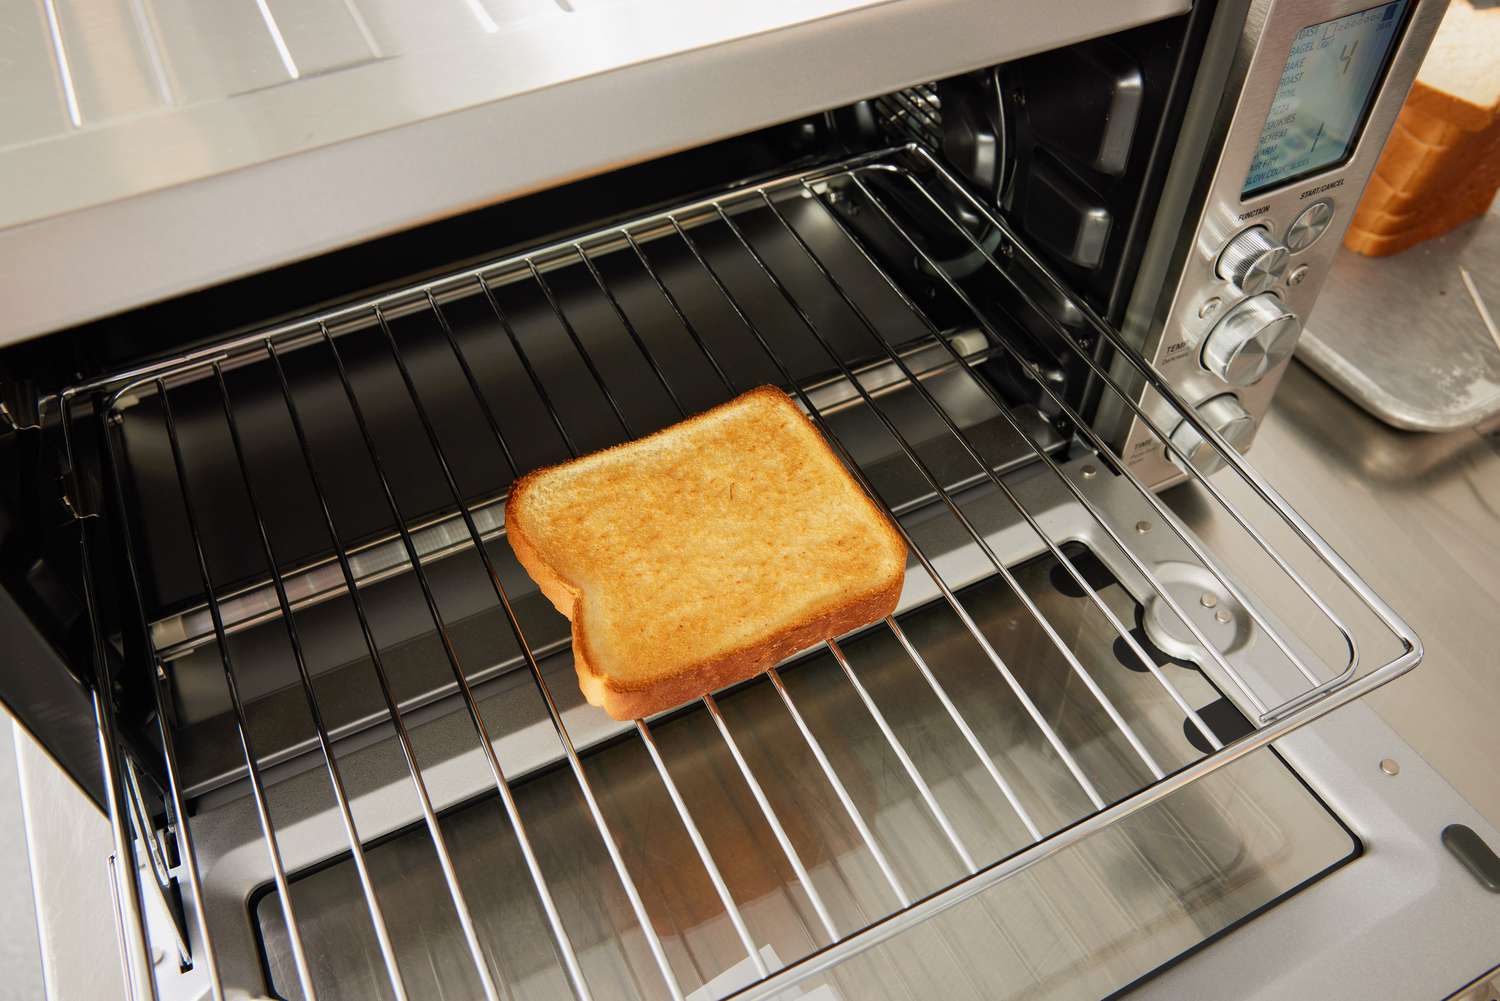
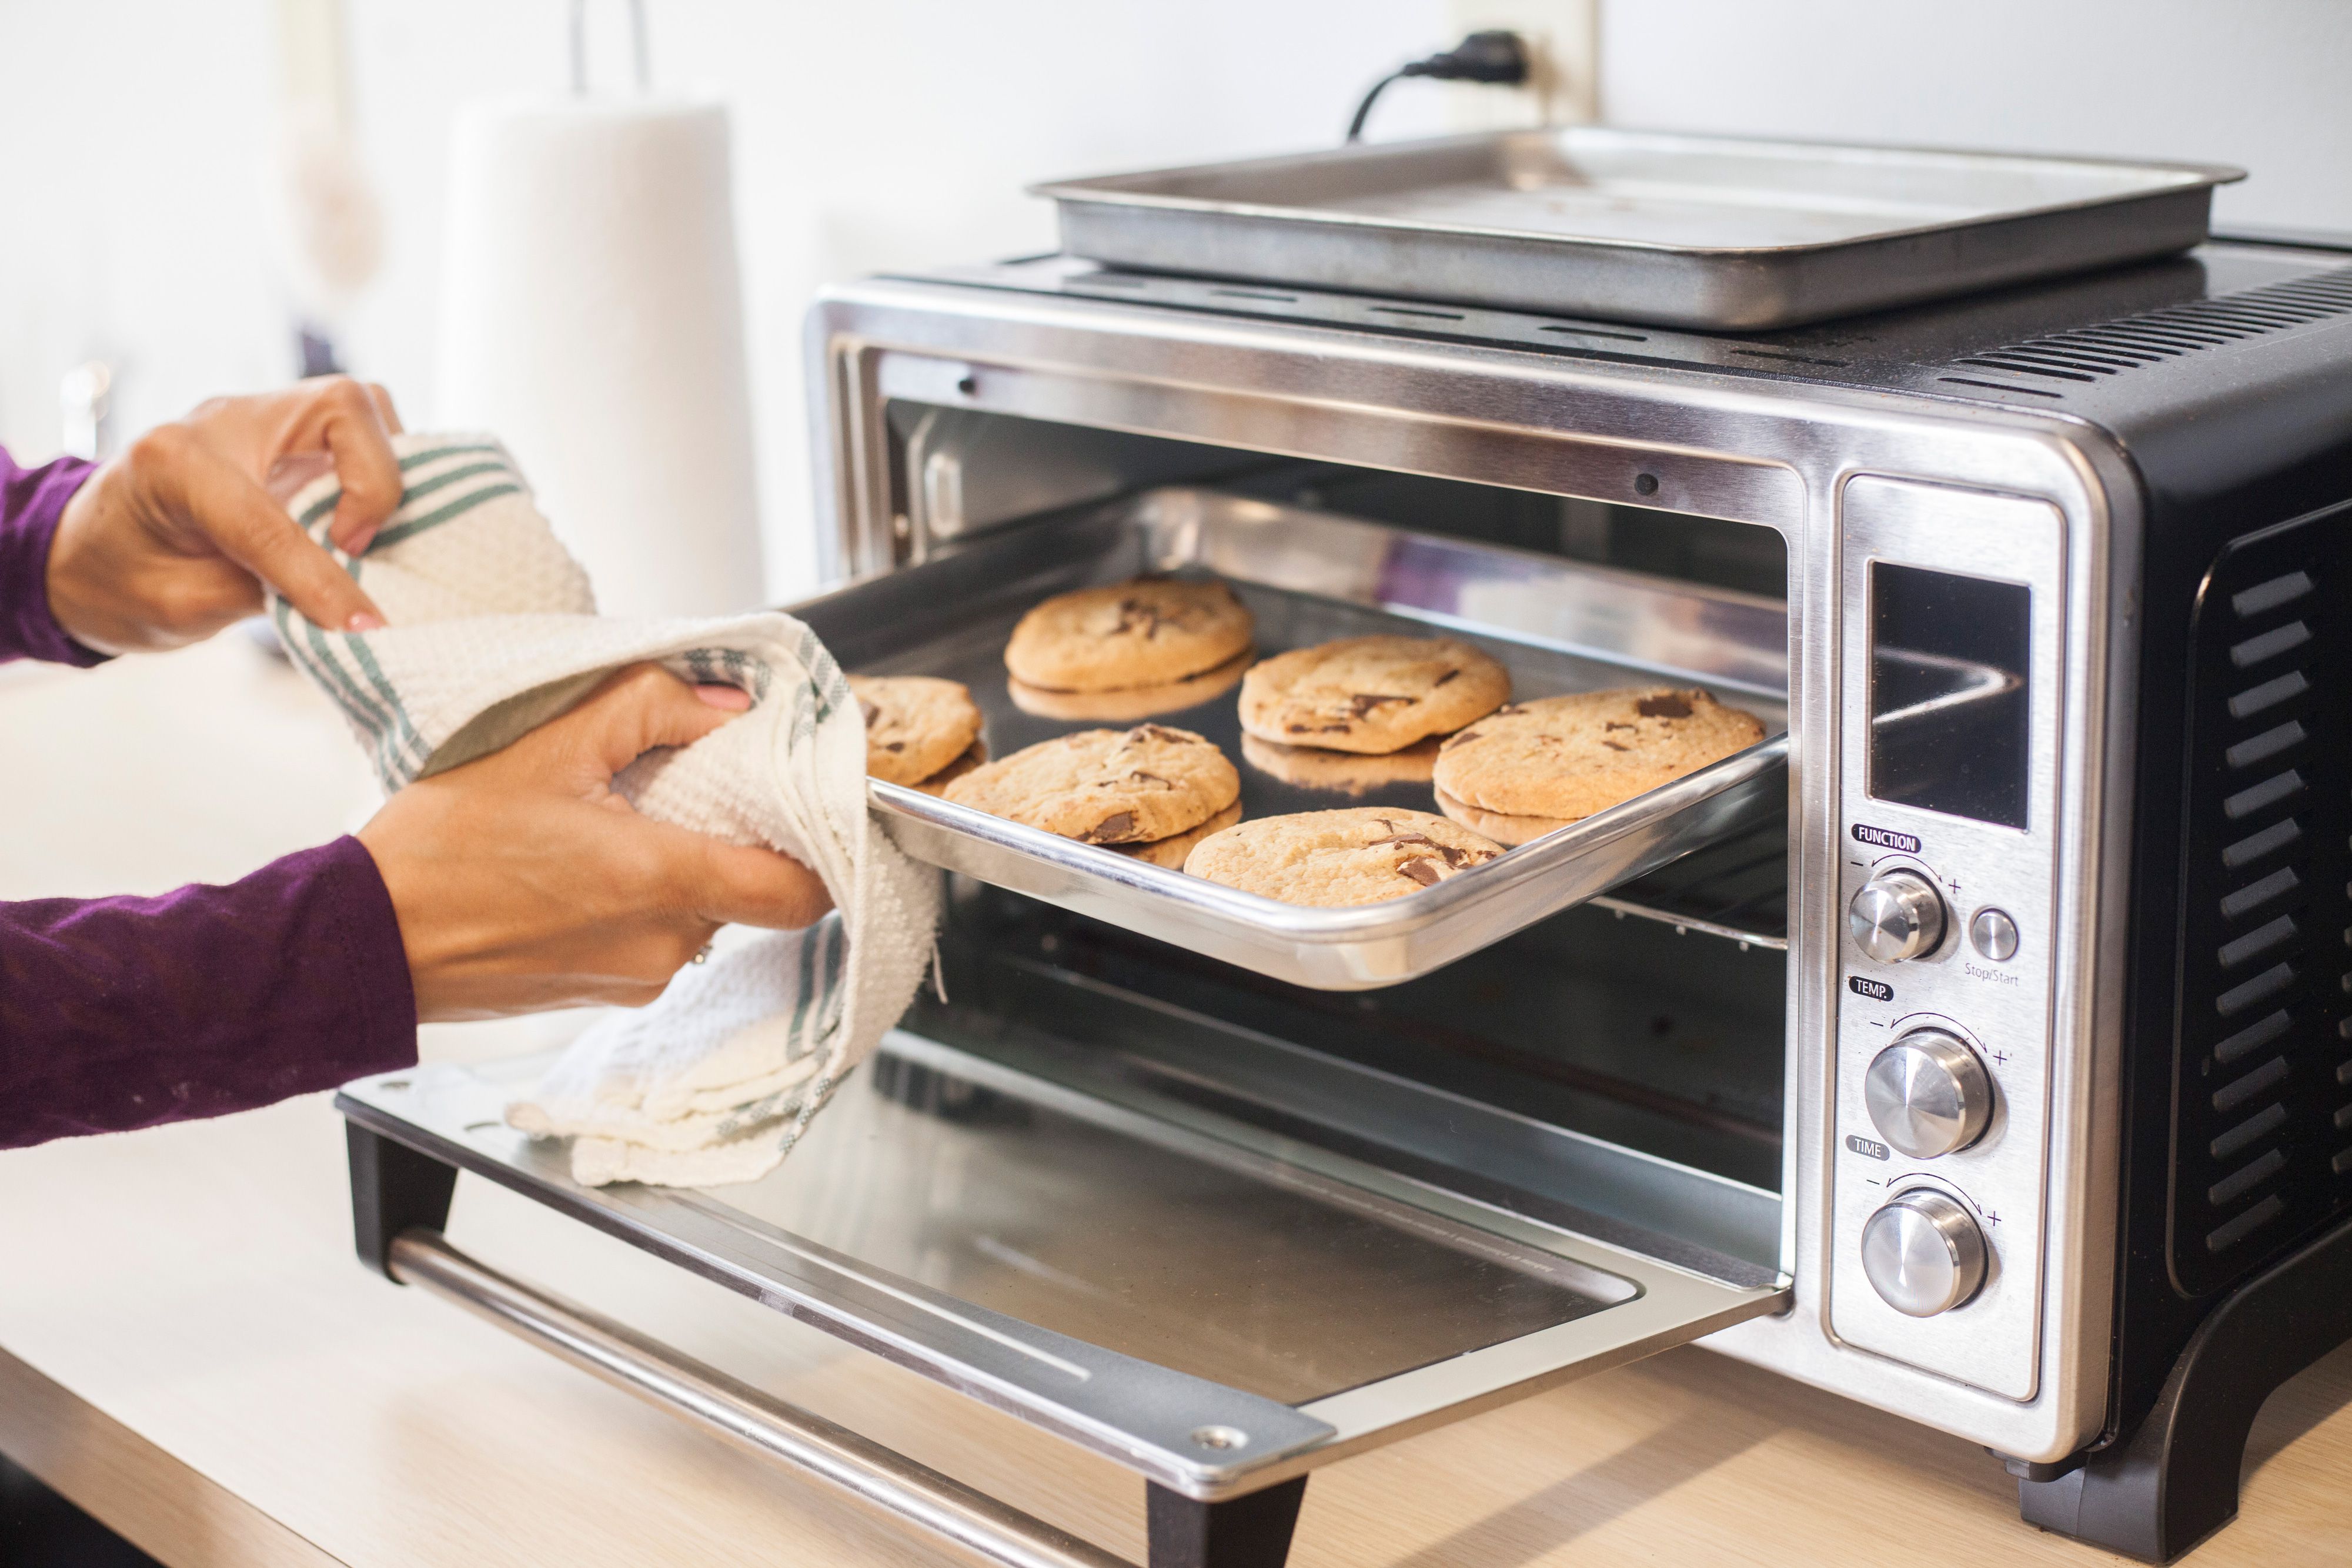
Step 4: Toast the Bread Slices
Now comes the exciting part – toasting the bread slices! This step is crucial as it will give your breadcrumbs that delightful golden color and add a crispy texture. Follow these steps to toast the bread slices:
- Plug in your toaster and adjust the temperature setting to medium or medium-high. This will ensure that the bread toasts evenly without burning.
- Place the bread slices into the toaster slots, making sure not to overcrowd them. If necessary, toast the bread slices in multiple batches.
- Press down the lever to lower the bread slices into the toaster. Keep an eye on them and toast until they turn golden brown and crisp.
- For lighter breadcrumbs, toast the bread slices for a shorter duration. If you prefer darker and more flavorful breadcrumbs, toast them for a longer time.
- Once the bread slices are toasted to your desired level, carefully remove them from the toaster. Use tongs or a fork to avoid any risk of burning yourself.
As each toaster may vary in terms of temperature and toasting time, it’s a good idea to keep a close eye on the bread slices to prevent them from burning. Adjust the toasting time and temperature according to your preference and the desired intensity of the breadcrumbs.
After toasting the bread slices to perfection, it’s important to let them cool before moving on to the next step.
To make breadcrumbs with a toaster, simply toast slices of bread until they are golden brown and then use a food processor to grind them into fine crumbs. Store in an airtight container for future use.
Read more: How To Store Panko Breadcrumbs
Step 5: Allow the Toasted Bread to Cool
Once you’ve finished toasting the bread slices to a beautiful golden brown, it’s important to allow them to cool completely before proceeding. This step is crucial to ensure that the bread slices are crisp and ready for blending into breadcrumbs. Here’s what you need to do:
- Transfer the toasted bread slices onto a wire rack or a clean cutting board.
- Allow the bread slices to cool for at least 10-15 minutes. This will give them enough time to become crispy and cool down to room temperature.
- If you try to blend the bread slices while they are still warm, the resulting breadcrumbs may clump together or become gummy.
While you wait for the bread slices to cool, take a moment to appreciate the delicious aroma of freshly toasted bread filling your kitchen. Once the bread slices have cooled down, it’s time to move on to the next step: blending them into fine breadcrumbs.
Step 6: Blend the Toasted Bread Slices
Now that your toasted bread slices have cooled down, it’s time to transform them into breadcrumbs. Follow these simple steps to blend the toasted bread slices:
- Break the cooled bread slices into smaller pieces to fit into your blender or food processor. Alternatively, if you don’t have a blender or food processor, you can use a rolling pin or a ziplock bag and a heavy object to crush the bread manually.
- Place the bread slices into the blender or food processor.
- Pulse the machine a few times until the bread slices are evenly broken down into fine crumbs. Be sure not to over-blend, as the breadcrumbs might turn into a paste.
- If you prefer a coarser texture, blend the bread slices for a shorter duration. For finer breadcrumbs, blend them for a bit longer.
Take a moment to marvel at the transformation from toasted bread slices to a pile of fresh breadcrumbs. The aroma and texture of homemade breadcrumbs are truly unbeatable!
With the breadcrumbs successfully blended, it’s time to store them properly to maintain their freshness and flavor.
Step 7: Store the Homemade Breadcrumbs
Now that you have your homemade breadcrumbs ready, it’s important to store them properly to maintain their freshness and quality. Here’s what you need to do:
- Allow the blended breadcrumbs to cool completely before transferring them to an airtight container or a resealable bag.
- Ensure that the container or bag is clean and dry to prevent any moisture from getting in and causing the breadcrumbs to become soggy.
- Label the container or bag with the date of preparation to keep track of their freshness.
- Store the homemade breadcrumbs in a cool, dry place, such as a pantry or cupboard.
- Properly stored, homemade breadcrumbs can last for several months, retaining their quality and flavor.
Remember, the key to preserving the freshness of your homemade breadcrumbs is to keep them away from moisture and humidity. Avoid storing them in the refrigerator, as the moisture can make them lose their crispy texture.
Now that you have a batch of homemade breadcrumbs at your disposal, you can use them in various recipes such as breaded chicken, meatballs, or as a crispy topping for casseroles or gratins.
So there you have it – a step-by-step guide on how to make breadcrumbs with a toaster. It’s a simple and cost-effective way to ensure that you always have breadcrumbs on hand whenever you need them. Plus, the satisfaction of making your own breadcrumbs and customizing the flavor and texture is truly unbeatable!
Now go forth and enjoy your newly acquired breadcrumb-making skills!
Conclusion
Congratulations! You have successfully learned how to make homemade breadcrumbs using a toaster. With just a few simple steps, you can transform ordinary bread into a versatile pantry staple that adds flavor, texture, and crunch to a wide range of dishes.
By choosing the right bread, cutting it into small pieces, toasting it to perfection, allowing it to cool, and blending it into fine breadcrumbs, you have created a batch of homemade breadcrumbs that are far superior to store-bought alternatives. Not only are they more economical, but they also allow you to have complete control over the texture and flavor.
Remember to store your homemade breadcrumbs properly in an airtight container or resealable bag in a cool, dry place to maintain their freshness and quality. This way, you’ll have a supply of breadcrumbs ready whenever you need them.
Now that you have mastered the art of making breadcrumbs with a toaster, you can experiment with different bread varieties and flavors to create breadcrumbs that perfectly complement your favorite recipes. Whether you’re breading meats, adding a crispy coating to vegetables, or topping off a casserole, your homemade breadcrumbs will elevate the taste and presentation of your dishes.
So why settle for store-bought breadcrumbs when you can easily make your own? Not only is the process simple and rewarding, but it also allows you to create breadcrumbs that are tailored to your specific tastes and dietary preferences. Plus, you’ll impress your friends and family with your culinary skills!
So, next time you run out of breadcrumbs, don’t panic. Just grab a few slices of bread, fire up your toaster, and follow these steps to make your own homemade breadcrumbs. Your dishes will thank you!
Frequently Asked Questions about How To Make Breadcrumbs With Toaster
Was this page helpful?
At Storables.com, we guarantee accurate and reliable information. Our content, validated by Expert Board Contributors, is crafted following stringent Editorial Policies. We're committed to providing you with well-researched, expert-backed insights for all your informational needs.
0 thoughts on “How To Make Breadcrumbs With Toaster”