Articles
How To Mark Your Power Tools
Modified: August 31, 2024
Learn how to properly mark and label your power tools with these informative articles. Enhance organization and efficiency in your workshop.
(Many of the links in this article redirect to a specific reviewed product. Your purchase of these products through affiliate links helps to generate commission for Storables.com, at no extra cost. Learn more)
Introduction
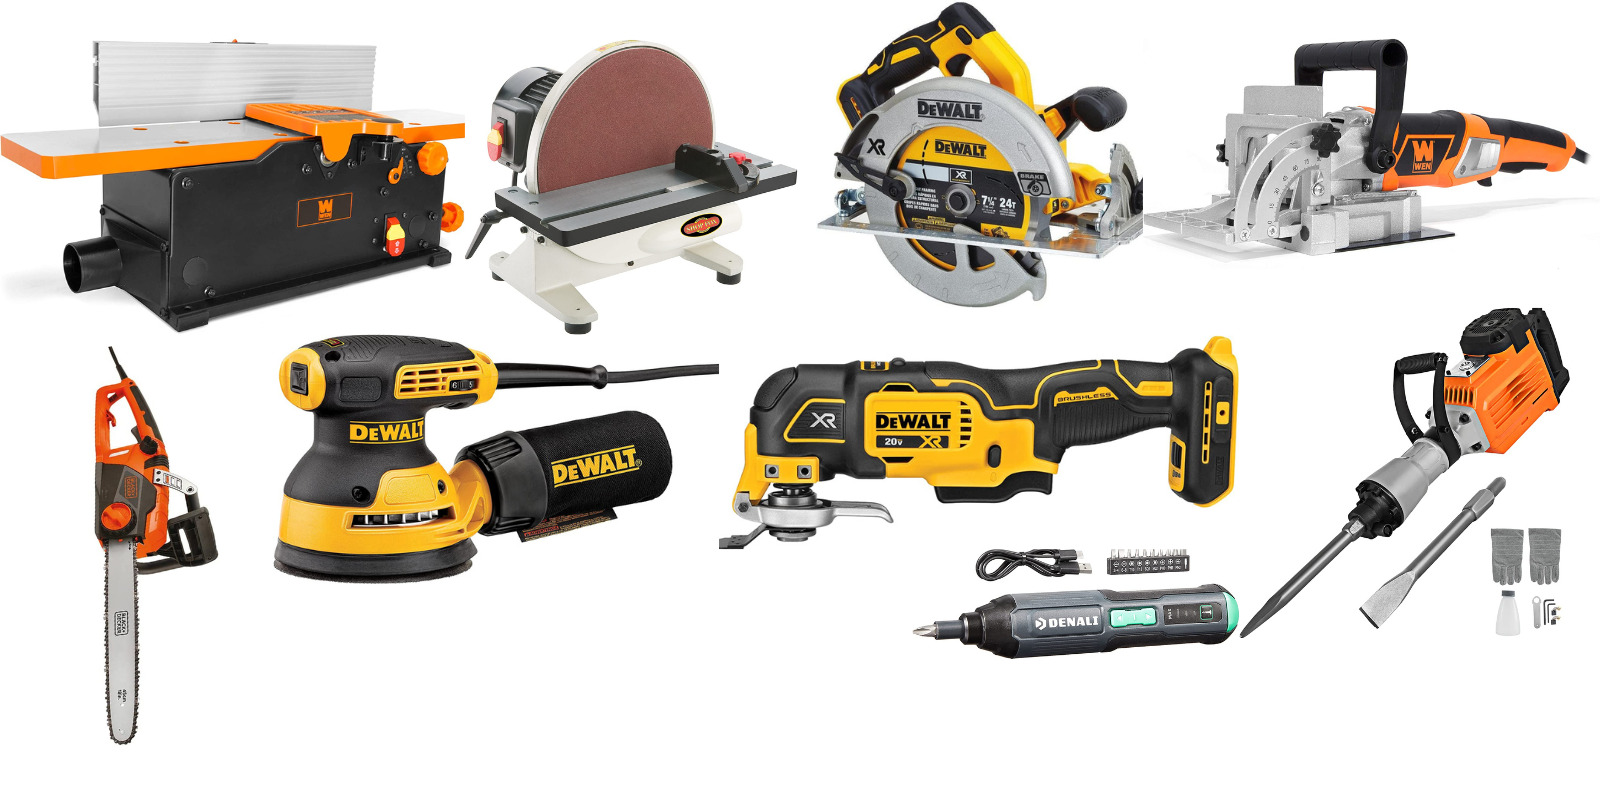
Welcome to the world of power tools! Whether you are a DIY enthusiast or a professional tradesperson, power tools are an essential part of your toolkit. From drills to saws, these powerful machines help you get the job done efficiently and effortlessly. However, with so many tools available on the market, it can be challenging to keep track of each one.
This is where marking your power tools comes into play. Marking your tools not only helps you easily identify and locate them but also enhances safety and organization in your workshop. In this article, we will delve into the importance of marking power tools, safety precautions to consider, the tools and materials you will need, and provide you with a comprehensive step-by-step guide on how to mark your power tools effectively.
So, whether you are a seasoned professional or just starting out on your DIY journey, marking your power tools is a practice that should not be overlooked. Let’s dive in and discover how you can effortlessly mark your power tools and reap the benefits of a well-organized and safe workshop.
Key Takeaways:
- Marking your power tools is crucial for organization, safety, and theft prevention. It saves time, enhances workshop efficiency, and reduces the risk of accidents caused by using the wrong tool.
- Prioritize safety when marking power tools by choosing the right method, wearing protective gear, and working in well-ventilated areas. Regular maintenance and careful handling ensure long-lasting, visible identifications.
Read more: How To Mark Your Hand Tools
Importance of Marking Power Tools
Marking your power tools may seem like a minor detail, but it serves as a crucial aspect of workshop organization and safety. Here are some key reasons why marking your power tools is important:
- Identification: Power tools can easily get mixed up or misplaced, especially in busy workshop environments. By marking your tools, you can quickly identify which ones are yours, making it easier to locate and retrieve them when needed. This saves you precious time and prevents frustration and confusion.
- Prevention of Tool Theft: Unfortunately, tool theft is a common occurrence, and power tools are often a prime target. By marking your tools with identifiable information such as your initials or a unique symbol, you reduce the chances of your tools being stolen. Marked tools are less desirable to potential thieves as they are easily traceable and can serve as evidence if necessary.
- Safety: Marking your power tools with easily visible and readable labels can significantly enhance safety in your workshop. By clearly identifying the tool and any specific features or warnings, you provide important information to yourself and others who may use the tool. This minimizes the risk of accidents and injuries caused by using the wrong tool or not following proper operating instructions.
- Inventory Management: If you have a substantial collection of power tools, marking them can help you keep track of your inventory. By having a clear record of what tools you own and their condition, you can easily assess when to replace or repair tools and budget accordingly. Additionally, marking your tools can also help you identify missing or stolen items, allowing for more efficient inventory management.
Overall, marking your power tools offers numerous benefits, including improved identification, reduced tool theft, enhanced safety, and better inventory management. It is a simple yet effective practice that can greatly streamline your workshop operations.
Safety Precautions
When it comes to marking your power tools, it is essential to prioritize safety. Here are some important safety precautions to consider:
- Use the Right Marking Method: Select a marking method that is suitable for your specific power tools. For example, permanent markers or engraving tools may work well for metal surfaces, while stickers or labels may be more appropriate for plastic or painted surfaces. Ensure that the marking method you choose is durable and resistant to wear and tear.
- Avoid Covering Important Information: When marking your power tools, be careful not to cover important information such as serial numbers, warning labels, or safety instructions. These details are crucial for reference and should always be visible and legible. Choose a marking location that allows you to clearly see the necessary information.
- Choose a Non-Slip Surface: Consider marking your power tools on a non-slip surface or adding a grip-enhancing material to the handle. This helps prevent accidental slippage during use, improving your grip and control over the tool. Your safety should always be a top priority.
- Protective Gear: Always wear suitable protective gear when marking your power tools. This includes gloves, safety glasses, and a dust mask if necessary. Depending on the method you choose, there may be risks of exposure to chemicals or flying debris, so take the necessary precautions to protect yourself.
- Proper Ventilation: If you are using marking methods such as engraving or spray painting, ensure that you are working in a well-ventilated area. This helps minimize the inhalation of fumes and promotes a healthier working environment.
- Follow Tool Manufacturer Guidelines: Different power tools may have specific guidelines for marking. Consult the manufacturer’s instructions or guidelines to ensure that you comply with their recommendations. This helps maintain the integrity and warranty of your tools.
Remember, safety should always come first. Take the time to assess the risks and necessary precautions before marking your power tools, ensuring a safe and accident-free workshop environment.
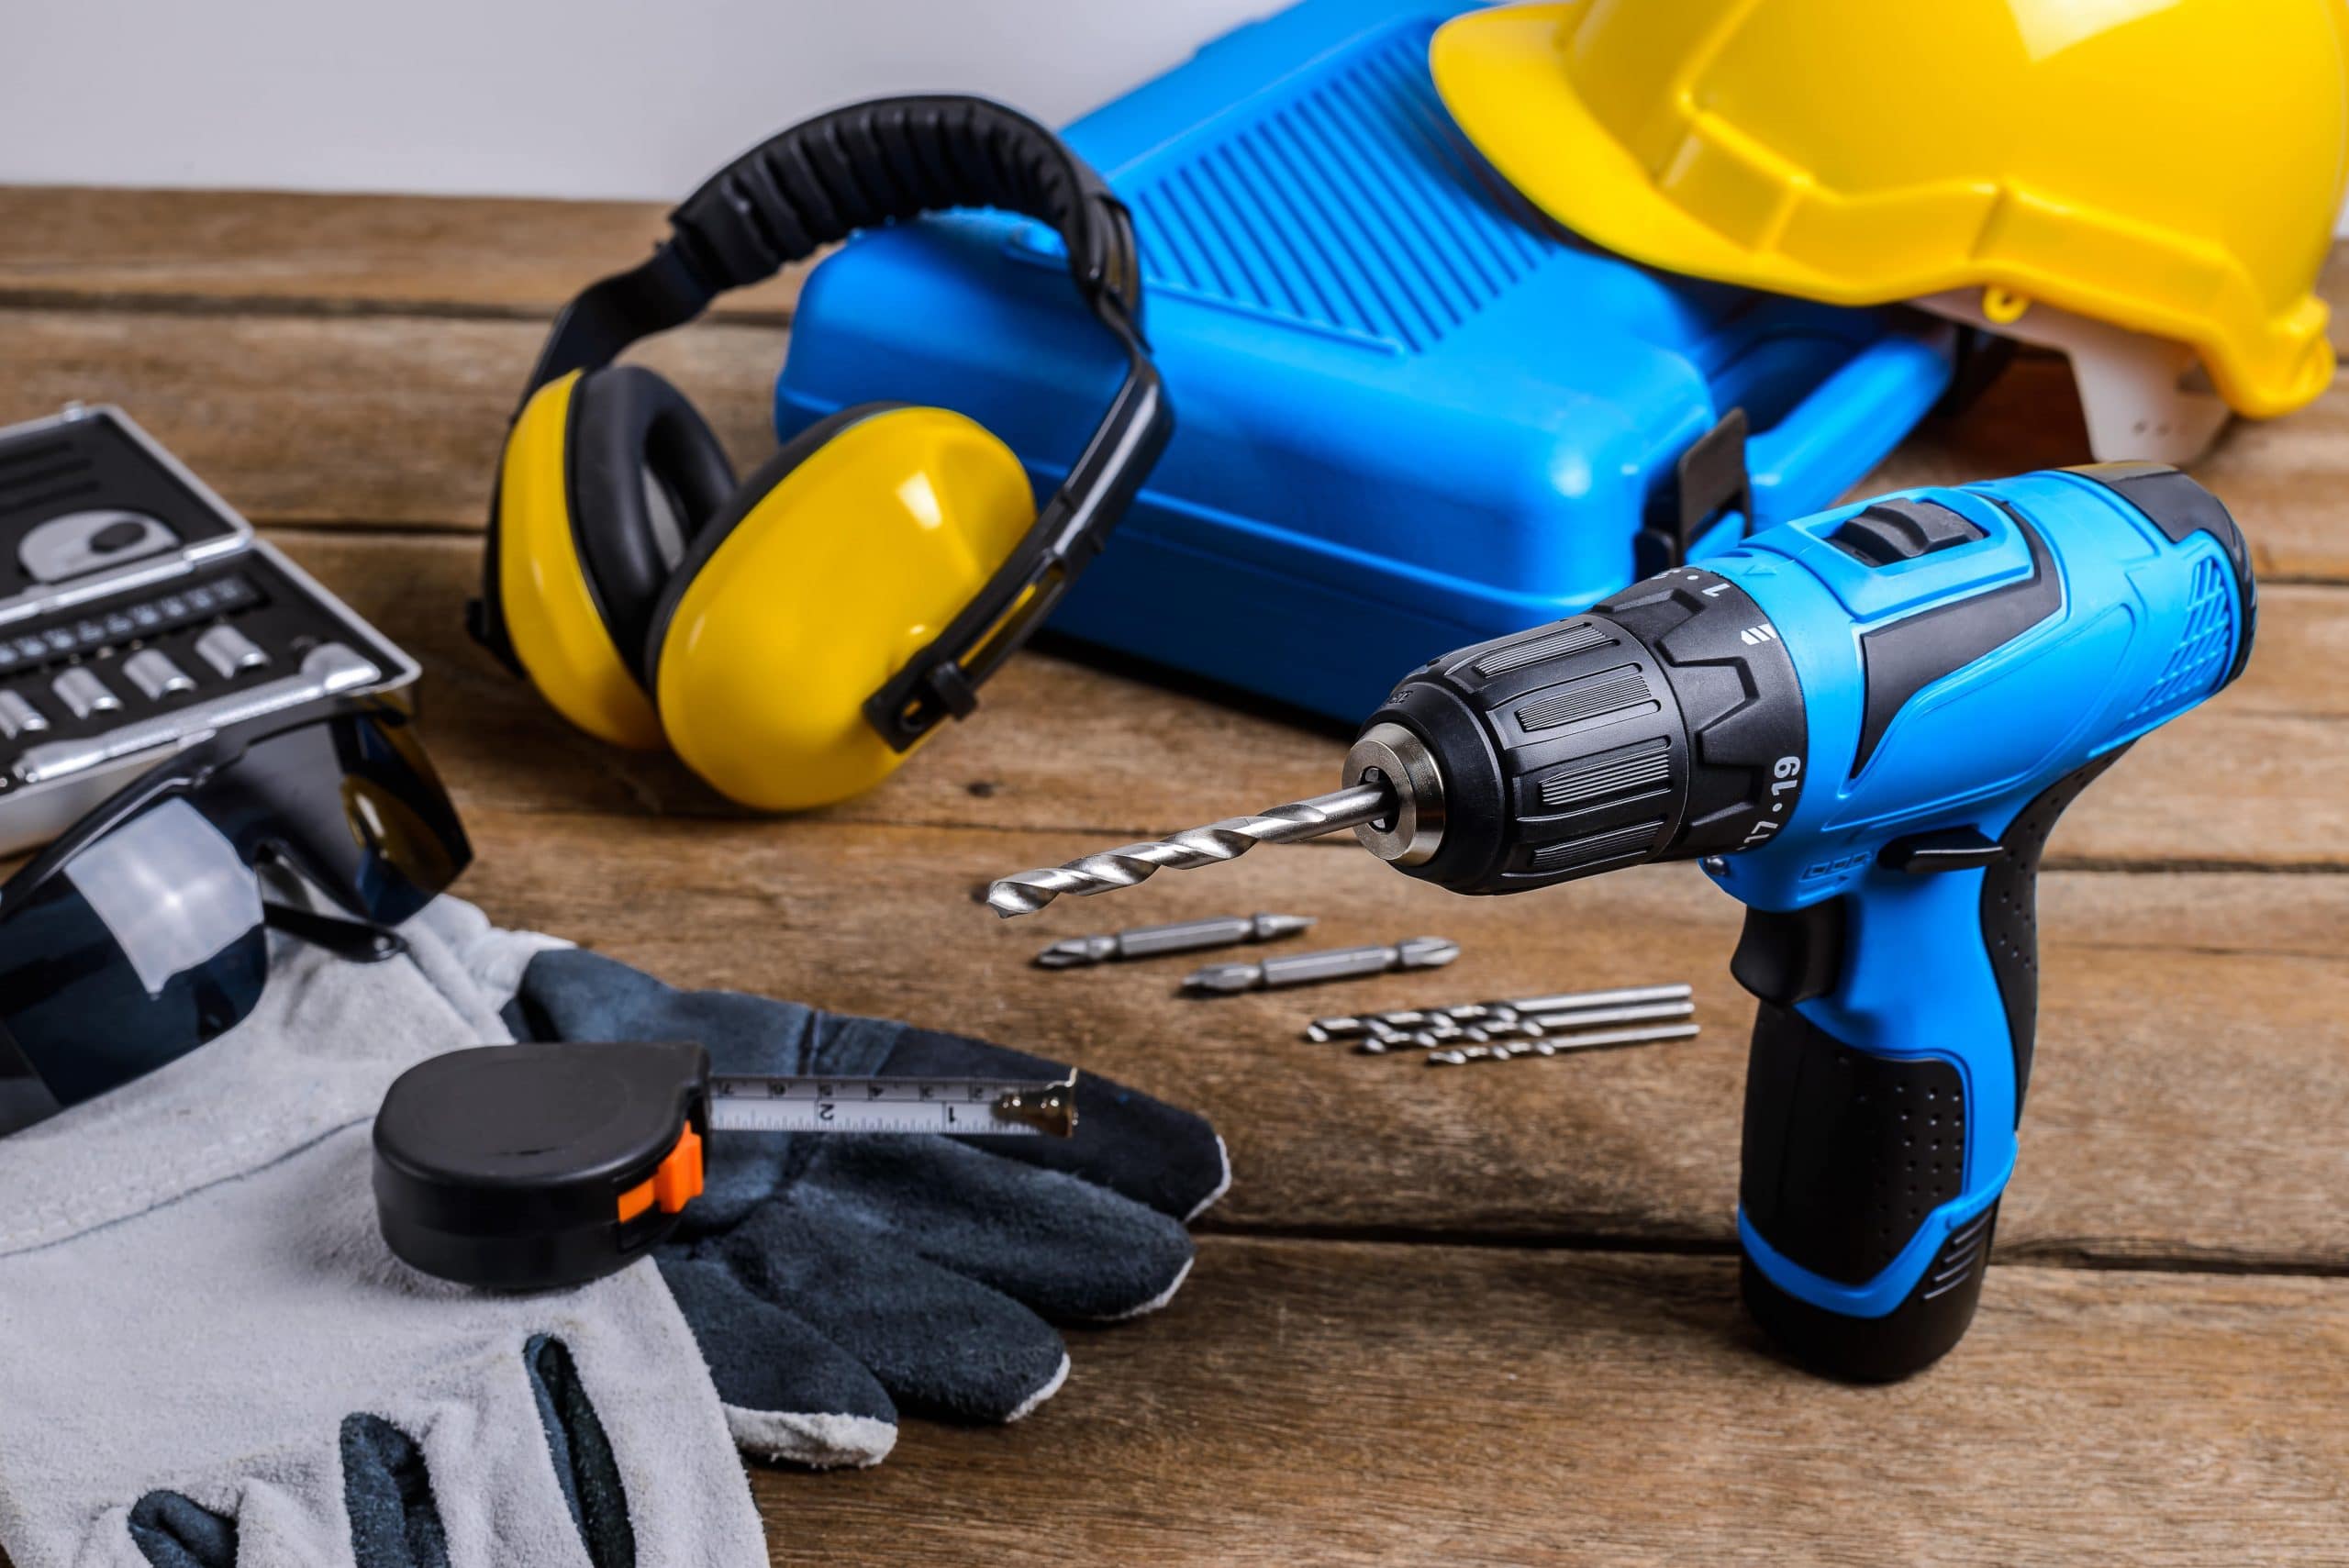
Tools and Materials Needed
Before you start marking your power tools, gather the following tools and materials:
- Permanent Marker or Engraving Tool: Depending on the surface of your power tools, you may need either a permanent marker or an engraving tool. Permanent markers work well on plastic or painted surfaces, while engraving tools are ideal for metal surfaces.
- Stickers or Labels: If you prefer a less permanent marking option, consider using stickers or labels. These can be easily applied and removed without leaving residue on your power tools. Look for high-quality stickers or labels that are durable and resistant to peeling or fading.
- Clean Cloth or Alcohol Pads: Before marking your power tools, ensure that the surface is clean and free from any dirt, dust, or oils. Use a clean cloth or alcohol pads to wipe down the areas where you will be applying the markings.
- Sandpaper or Abrasive Pad: If the surface of your power tools is rough or has imperfections, consider using sandpaper or an abrasive pad to smooth it out. This ensures that the marking adheres properly and lasts longer.
- Grip-Enhancing Material: If you want to improve the grip on your power tools, consider adding a grip-enhancing material such as rubberized tape or shrink wrap. This helps prevent accidental slippage during use and enhances control over the tool.
- Protective Gloves, Glasses, and Mask: Don’t forget to protect yourself by wearing suitable gloves, safety glasses, and a mask if necessary. This is especially important when using engraving tools or spray paints, as they may produce fumes or debris.
Having these tools and materials ready ensures that you can mark your power tools efficiently and effectively. Be sure to choose high-quality options that are durable and suitable for your specific marking needs.
Use a permanent marker to write your initials or a unique identifier on the handle or body of each power tool. This will help you easily identify and keep track of your tools.
Step-by-Step Guide to Marking Power Tools
Follow these steps to effectively mark your power tools:
- Clean the Surface: Start by cleaning the surface of the power tool where you will be applying the marking. Use a clean cloth or alcohol pads to remove any dirt, dust, or oils. This ensures that the marking adheres properly.
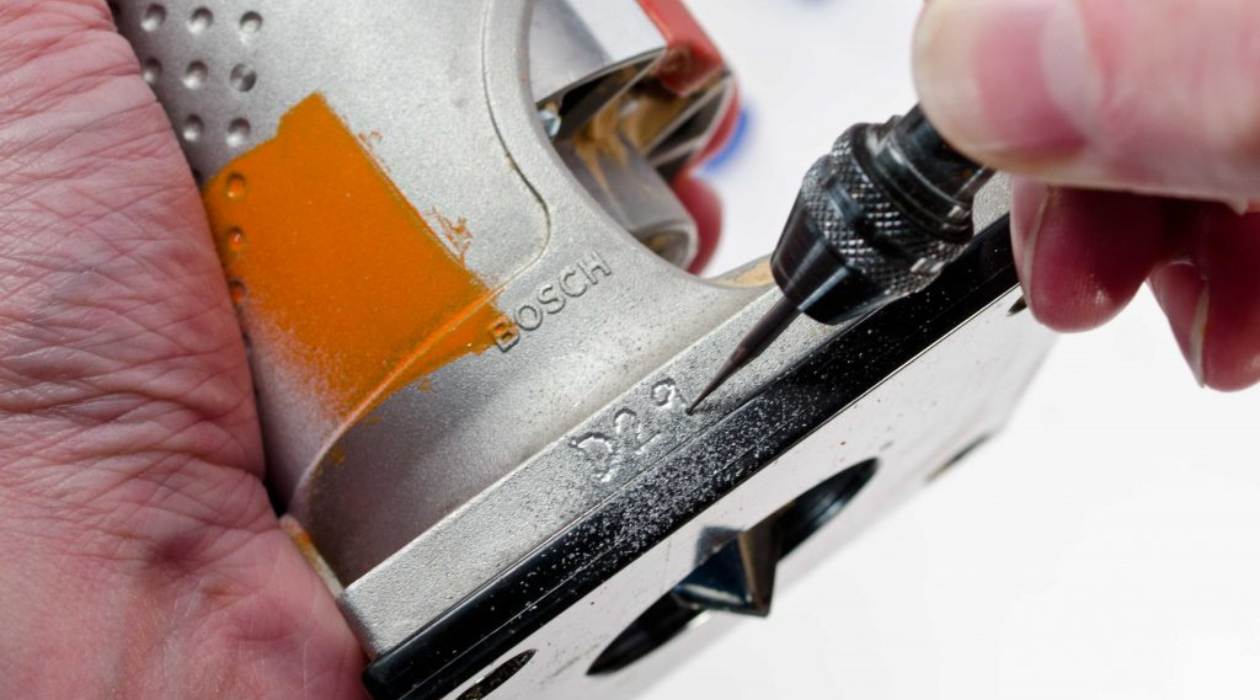
- Choose Your Marking Method: Select the marking method that is suitable for your power tool’s surface. If the tool has a metal surface, an engraving tool may be the best option for a permanent marking. For plastic or painted surfaces, a permanent marker or sticker may work well.
- Prepare the Marking Tools: If you are using a permanent marker, shake it well to ensure the ink is evenly distributed. If you are using an engraving tool, make sure it is fully charged or has a new battery if it is cordless.
- Apply the Marking: Gently and steadily apply the marking method of your choice to the desired area on the power tool. If using a permanent marker, start with a light touch and gradually increase the pressure to achieve the desired intensity. If using an engraving tool, hold it at a slight angle and move it across the surface in a controlled manner.
- Let the Marking Dry or Set: Depending on the marking method, allow the marking to dry or set for the recommended amount of time. This ensures that the marking is fully visible and prevents smudging or smearing.
- Protect the Marking: To ensure the longevity of the marking, consider applying a clear sealant or coating over it. This helps protect it from fading, scratching, or wearing off over time.
- Add Grip-Enhancing Material: If desired, add a grip-enhancing material to the handle of the power tool. This helps improve grip and control during use. Cut the grip-enhancing material to the desired length and wrap it around the handle, ensuring a secure and comfortable fit.
Remember to take your time and be precise when marking your power tools. Accurate marking ensures easy identification and enhances safety in your workshop.
Tips for Long-Lasting Markings
To ensure that the markings on your power tools remain clear and legible for a longer period, consider applying these tips:
- Choose the Right Marking Method: Select a marking method that is suitable for the surface and material of your power tools. Consider factors such as durability, resistance to wear and tear, and compatibility with the specific tool material. Using the appropriate marking method ensures that the markings last longer.
- Opt for Quality Marking Tools: Invest in high-quality marking tools such as permanent markers or engraving tools. Cheap or low-quality markers may fade or wear off quickly, resulting in illegible markings. Choose markers that are designed for long-lasting performance and offer fade-resistant ink.
- Apply the Markings Carefully: Take your time when applying the markings. Ensure that the surface is clean and dry before applying the marking method. Apply the markings with steady and even pressure to achieve a clear and solid representation. Avoid smudging or uneven application.
- Allow Sufficient Drying Time: Depending on the marking method, allow for sufficient time for the markings to dry or set. Rushing the process may result in smudging or fading. Follow the manufacturer’s instructions regarding drying time to ensure the longevity of the markings.
- Avoid Abrasive Cleaners: When cleaning your power tools, avoid using abrasive cleaners or harsh chemicals on the marked areas. These can damage or fade the markings. Instead, use a gentle cleaning solution and a soft cloth to clean the tools, taking care not to scrub the marked areas vigorously.
- Store Tools Properly: Proper storage of your power tools plays a significant role in maintaining the longevity of the markings. Store the tools in a clean and dry environment, preferably in toolboxes or cases that offer protection from dust, moisture, and physical damage. This helps prevent any accidental rubbing or scratching that can affect the markings.
- Inspect and Retouch Regularly: Periodically inspect the markings on your power tools. Over time, markings may fade or wear off due to regular use and exposure to various elements. If you notice any fading or damage, consider retouching or reapplying the markings to ensure their visibility and effectiveness.
By following these tips, you can help ensure that the markings on your power tools remain clear, readable, and long-lasting. Regular maintenance and care will enhance the longevity of the markings, providing you with easy identification and improved safety in your workshop.
Conclusion
Marking your power tools is a simple but essential practice that offers numerous benefits in terms of organization, safety, and efficiency in your workshop. By following the step-by-step guide and implementing the tips mentioned in this article, you can effectively mark your power tools and ensure long-lasting, visible identifications.
From identification and theft prevention to improved safety and better inventory management, marking your power tools is a small investment that yields significant returns. It allows you to easily locate and identify your tools, reduces the risk of accidents caused by using the wrong tool, and provides a deterrent against theft.
When marking your power tools, remember to prioritize safety by using the appropriate marking methods, wearing protective gear, and working in well-ventilated areas. Take the time to select high-quality marking tools and materials that are suitable for the surface of your tools, ensuring durability and longevity.
Regularly inspect and maintain the markings on your power tools to ensure that they remain visible and clear. If necessary, retouch or reapply the markings to ensure their effectiveness. Additionally, proper storage and careful handling of your tools will also contribute to preserving the markings for an extended period.
In conclusion, marking your power tools is a valuable practice that enhances organization, safety, and efficiency in your workshop. By taking the time to mark your tools and following the guidelines outlined in this article, you can enjoy the benefits of easy identification, reduced theft risks, improved safety, and enhanced inventory management.
So, whether you are a DIY enthusiast or a professional tradesperson, don’t overlook the importance of marking your power tools. Invest in the necessary tools and materials and start marking your tools today. Your workshop will become more organized, your tools will be easily identifiable, and you’ll have peace of mind knowing that you are taking proactive steps to enhance safety and efficiency in your work.
Frequently Asked Questions about How To Mark Your Power Tools
Was this page helpful?
At Storables.com, we guarantee accurate and reliable information. Our content, validated by Expert Board Contributors, is crafted following stringent Editorial Policies. We're committed to providing you with well-researched, expert-backed insights for all your informational needs.


0 thoughts on “How To Mark Your Power Tools”