Home>Articles>How To Take Apart A Pallet Without Power Tools
Articles
How To Take Apart A Pallet Without Power Tools
Modified: August 31, 2024
Learn how to easily disassemble a pallet without the need for power tools with our informative articles. Find step-by-step instructions and tips to repurpose pallets for your DIY projects.
(Many of the links in this article redirect to a specific reviewed product. Your purchase of these products through affiliate links helps to generate commission for Storables.com, at no extra cost. Learn more)
Introduction
Whether you’re looking to upcycle pallets for DIY projects or repurpose them for furniture, you may be wondering how to take apart a pallet without power tools. While power tools can certainly make the process faster and more efficient, they are not always readily available to everyone. The good news is that with a few simple tools and techniques, you can easily disassemble a pallet and salvage the wooden boards for your next project.
In this article, we will guide you through the step-by-step process of taking apart a pallet without relying on power tools. By following these instructions, you can safely and effectively dismantle a pallet, preserving the integrity of the wooden boards and ensuring maximum usability.
Before we dive into the details, it’s important to note that safety should always be a priority when working with tools. Be sure to wear protective gloves and eyewear to prevent injuries while handling the pallet and tools.
Now, let’s gather the materials needed for this process.
Key Takeaways:
- Salvage pallet wood without power tools using simple hand tools like a hammer, pry bar, and nail punch. Prioritize safety, inspect the pallet, remove nails, and separate boards for DIY projects.
- Optional steps include sanding for a smoother finish and applying a wood finish for protection and enhancement. Unleash creativity and transform salvaged boards into unique, functional pieces.
Read more: How To Cut Metal Without Power Tools
Materials Needed
Before you begin taking apart a pallet without power tools, it’s important to gather the necessary materials. While you won’t need any power tools for this process, there are a few hand tools that will make the task a lot easier and more efficient. Here are the materials you’ll need:
- Protective gloves
- Protective eyewear
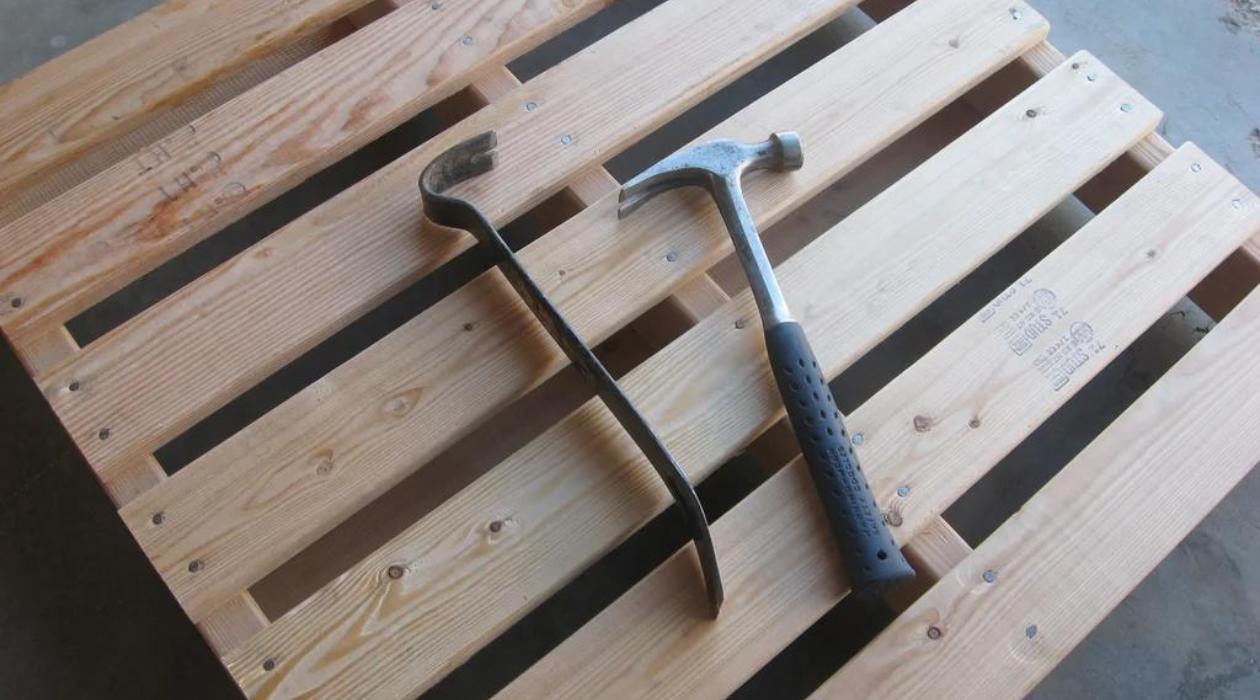
- Hammer
- Flat pry bar or crowbar
- Nail punch
- Wood chisel
- Sanding block or sandpaper (optional)
- Clean cloth
- Wood finish (optional)
Make sure you have these materials on hand before you start the process. Once you have everything ready, let’s move on to the step-by-step instructions.
Step 1: Gather Necessary Equipment
Before you begin the process of taking apart a pallet without power tools, it’s important to gather all the necessary equipment. Here’s what you’ll need:
- Protective gloves: These will protect your hands from splinters and nails while handling the pallet.
- Protective eyewear: Safety goggles or glasses will help shield your eyes from any flying debris.
- Hammer: You’ll need a hammer to help loosen the nails and separate the boards.
- Flat pry bar or crowbar: This will come in handy for prying the wooden boards away from the frame of the pallet.
- Nail punch: A nail punch will help you drive the nails further into the wood, making it easier to remove them.
- Wood chisel: A wood chisel can be used to gently pry the boards apart if they are tightly stuck together.
- Sanding block or sandpaper (optional): If you prefer a smoother finish on the boards, you can use a sanding block or sandpaper to remove any rough edges.
- Clean cloth: This will be useful for wiping away any dust or debris once you have removed the boards.
- Wood finish (optional): If you want to add a protective and decorative finish to the boards, you can choose to apply a wood finish of your choice.
Having these tools and equipment ready will ensure that you can tackle the pallet disassembly process efficiently and safely. Once you have gathered all the necessary equipment, you’re ready to move on to the next step: inspecting the pallet.
Step 2: Inspect the Pallet
Once you have gathered all the necessary equipment, it’s time to inspect the pallet before starting the disassembly process. By carefully examining the pallet, you can assess its condition and determine the best approach for taking it apart. Here’s how to inspect the pallet:
- Look for damaged or rotten wood: Inspect the wooden boards of the pallet to check for any signs of damage or rot. Avoid using pallets that have heavily damaged or rotten boards, as they may not provide stable and usable material.
- Check the nail condition: Examine the nails holding the pallet together. Look for any rusted, bent, or damaged nails. It’s best to avoid pallets with nails that are in poor condition, as they may be difficult to remove.
- Assess the pallet size: Consider the size of the pallet and how it will fit into your project. Measure the dimensions of the boards to determine if they align with your desired specifications.
- Determine the board thickness: Evaluate the thickness of the pallet boards as it can vary. Thicker boards may be more suitable for certain projects, while thinner boards may work better for others.
By thoroughly inspecting the pallet, you can identify any potential challenges or limitations before beginning the disassembly process. This will help you plan accordingly and ensure that you can salvage the best possible material for your project.
With the inspection complete, you’re now ready to move on to the next step: removing the nails.
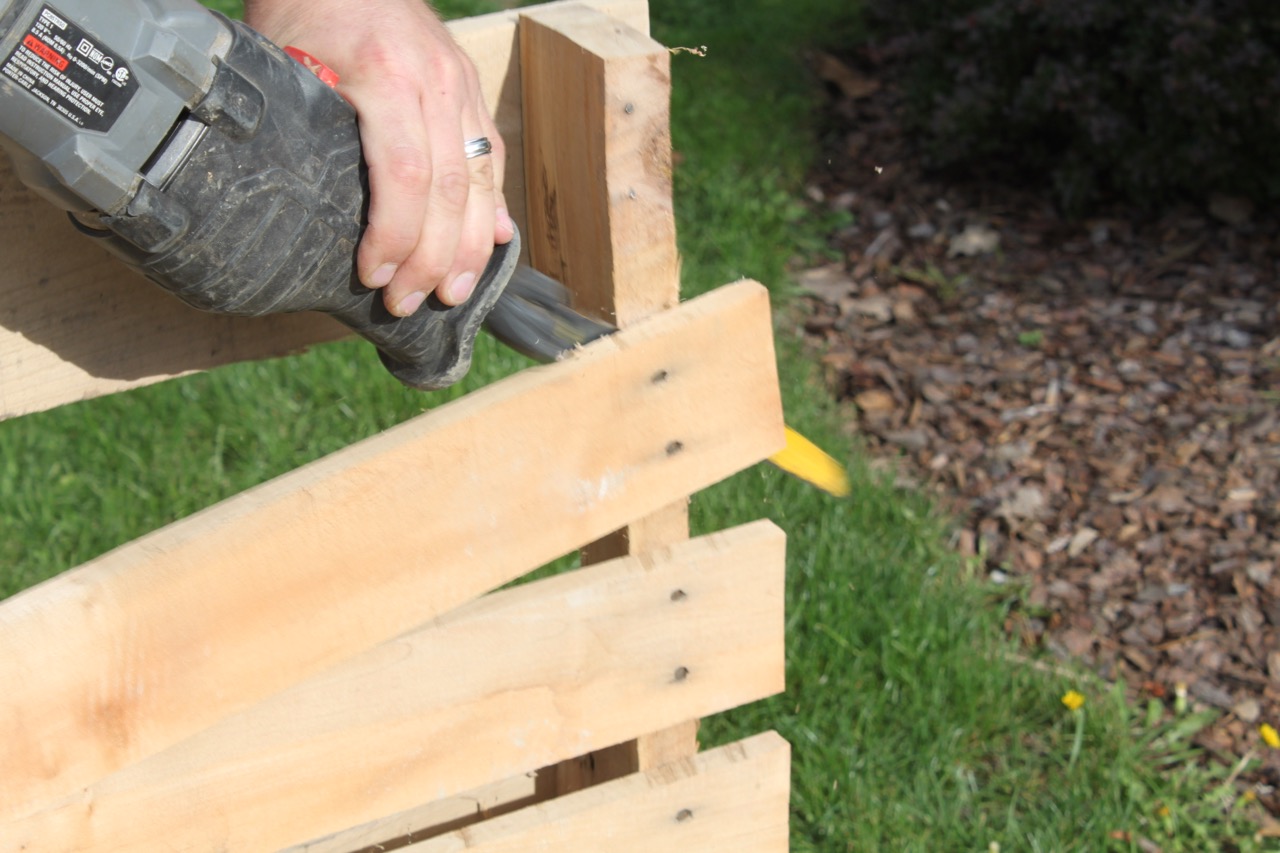
Step 3: Remove the Nails
With the pallet inspected, it’s time to start removing the nails that hold the wooden boards together. This step requires some patience and careful handling of tools. Here’s how to remove the nails without power tools:
- Position the pallet: Place the pallet on a sturdy work surface, such as a workbench or sawhorses, to provide stability during the disassembly process.
- Identify the nails: Take a close look at the pallet and identify the nails that hold the boards together. They are often visible on the surface of the boards and located near the ends of each board.
- Loosen the nails: Use a hammer to gently tap the nail heads, loosening them from the wood. Be careful not to hit the boards too hard, as this may cause them to split or break.
- Drive the nails further: Once the nails are loosened, use a nail punch to drive them further into the boards. This will make it easier to remove them without damaging the wood.
- Pry the boards: Take a flat pry bar or crowbar and wedge it between the board and the pallet frame. Apply gentle pressure to pry the board away from the frame, using the leverage of the bar.
- Repeat the process: Work your way along the pallet, repeating the process of tapping, driving, and prying for each nail. Take your time and be patient, as some nails may be more stubborn than others.
Continue removing the nails until all the boards are separated from the pallet frame. Be careful while handling the boards as they may have splinters or rough edges. It’s a good idea to wear gloves during this process to protect your hands.
Once all the boards have been removed, you can move on to the next step: separating the boards.
Use a crowbar to carefully pry the planks from the pallet. Start from one end and work your way across, being mindful of any nails or staples.
Read more: How To Clean Fan Without Taking It Apart
Step 4: Separate the Boards
Now that you have successfully removed the nails and freed the boards from the pallet frame, it’s time to separate the boards from each other. This step will ensure that you have individual boards that can be used for various projects. Here’s how to separate the boards:
- Assess the connection points: Take a close look at the boards and identify where they are connected to each other. They may be joined together by small pieces of wood or overlapping sections.
- Use a hammer or chisel: If the boards are joined by small wooden pieces, use a hammer or wood chisel to gently pry them apart. Insert the chisel or the edge of the hammer between the boards and apply light pressure to separate them.
- Apply leverage: For boards that are overlapping, use the hammer or pry bar to apply gentle pressure and lift one board slightly. This will create enough space to slide the pry bar or chisel between the boards and separate them.
- Work systematically: Start separating the boards from one end and work your way across. Take your time and be careful not to apply too much force, as this may cause the boards to splinter or break.
Continue separating the boards until all of them are individual and free from any connections. Set aside any boards that are damaged or not usable for your project. By separating the boards, you now have a collection of individual pieces of wood that can be used for various DIY projects.
Before moving on to the next step, it’s a good idea to inspect the boards once again to ensure they are in good condition and free from any remaining nails or debris. Now, let’s move on to optional steps for sanding and finishing the boards.
Step 5: Sand the Boards (Optional)
Once you have separated the boards and they are free from any connections or debris, you have the option to sand them for a smoother finish. Sanding the boards can help remove any rough edges, splinters, or imperfections, making them more suitable for certain projects. Here’s how to sand the boards:
- Prepare the sanding block or sandpaper: If you are using a sanding block, make sure it is clean and ready for use. If you are using sandpaper, choose a coarse grit (around 80-100) for initial sanding.
- Sand along the grain: Hold the sanding block or sandpaper and firmly sand the boards in the direction of the wood grain. This will help to smooth out any rough surfaces or edges.
- Apply even pressure: Apply even pressure while sanding to ensure a consistent finish. Avoid applying too much pressure, as it may cause the wood to become uneven or damaged.
- Check for smoothness: After sanding, run your hand along the boards to feel for any remaining roughness. If necessary, continue sanding with a finer grit sandpaper (around 120-150) until the boards are smooth to the touch.
- Clean off dust: Use a clean cloth or brush to wipe away any dust or debris that may have accumulated during the sanding process. This will help prepare the boards for the optional finishing step.
Note that sanding the boards is not mandatory, and it depends on your preference and the specific project you have in mind. Some projects may benefit from a more rustic or weathered appearance, while others may require a smoother finish. Assess your needs and the intended use of the boards before deciding to sand them.
With the boards sanded (if you choose to do so), you can move on to the optional step of applying a wood finish.
Step 6: Clean and Apply Finish (Optional)
After sanding the boards (if you chose to do so), the next optional step is to clean them and apply a wood finish. Cleaning the boards will remove any remaining dust or debris, while applying a finish can enhance their appearance and provide protection. Here’s how to clean and apply a finish to the boards:
- Clean the boards: Use a clean cloth or brush to thoroughly wipe down the boards, removing any dust or residue from the sanding process. Make sure the boards are completely dry before proceeding.
- Choose a wood finish: Select a wood finish that suits your preferences and the desired look of your project. There are various options available, such as varnish, stain, or wood oil. Read the instructions on the chosen finish to ensure proper application.
- Apply the finish: Follow the instructions on the wood finish product for the best application method. It may involve using a brush, cloth, or sponge applicator. Apply an even coat of finish to each board, ensuring full coverage and paying attention to any areas that may require extra protection or enhancement.
- Allow the finish to dry: Give the boards ample time to dry according to the manufacturer’s instructions. This will allow the finish to cure and provide the desired protective or decorative effect.
- Check for additional coats: Depending on the desired level of finish and protection, you may choose to apply additional coats of the wood finish. Follow the instructions and allow each coat to dry completely before applying the next one.
Applying a wood finish is optional and will depend on the specific project you have in mind. A finish can protect the boards from moisture, enhance their natural beauty, and prolong their lifespan. Consider the intended use and the desired aesthetic of your project before deciding whether or not to apply a finish.
With the optional steps of sanding, cleaning, and applying a finish complete (if chosen), you have successfully taken apart a pallet without power tools and prepared the boards for your DIY project. Now, you’re ready to unleash your creativity and transform the salvaged boards into something amazing!
Conclusion
Taking apart a pallet without power tools may seem like a daunting task, but with the right tools, techniques, and a little bit of patience, it can be easily accomplished. By following the step-by-step instructions outlined in this article, you can safely and effectively disassemble a pallet and salvage the wooden boards for your DIY projects.
Starting with gathering the necessary equipment, including protective gloves, eyewear, a hammer, pry bar, and nail punch, you can begin the process of removing the nails that hold the boards together. Taking your time and working systematically, you can separate the boards from the pallet frame and then individualize them by removing any remaining connections between the boards.
From there, you have the option to further enhance the boards by sanding them for a smoother finish. This step can remove any rough edges or imperfections, allowing for a better end result in your project. Additionally, if desired, you can clean the boards and apply a wood finish to protect the wood and enhance its appearance.
Remember to always prioritize safety by wearing protective gear and handling the tools with care. Take breaks when needed and be mindful of the condition of the wood and nails as you work through the disassembly process.
Whether you’re planning to create a unique piece of furniture or embark on a creative DIY endeavor, taking apart a pallet without power tools provides you with a sustainable and cost-effective source of reclaimed wood. With a little creativity and imagination, the salvaged boards can be transformed into something beautiful and functional.
Now that you have the knowledge and the steps to take apart a pallet without power tools, it’s time to roll up your sleeves and start your next project. Get ready to unleash your creativity and enjoy the satisfaction of repurposing and upcycling materials to create something truly unique!
Frequently Asked Questions about How To Take Apart A Pallet Without Power Tools
Was this page helpful?
At Storables.com, we guarantee accurate and reliable information. Our content, validated by Expert Board Contributors, is crafted following stringent Editorial Policies. We're committed to providing you with well-researched, expert-backed insights for all your informational needs.


0 thoughts on “How To Take Apart A Pallet Without Power Tools”