Articles
How To Mark Your Hand Tools
Modified: December 7, 2023
Learn how to properly mark your hand tools with these informative articles on tool identification and organization. Take your tool management to the next level!
(Many of the links in this article redirect to a specific reviewed product. Your purchase of these products through affiliate links helps to generate commission for Storables.com, at no extra cost. Learn more)
Introduction
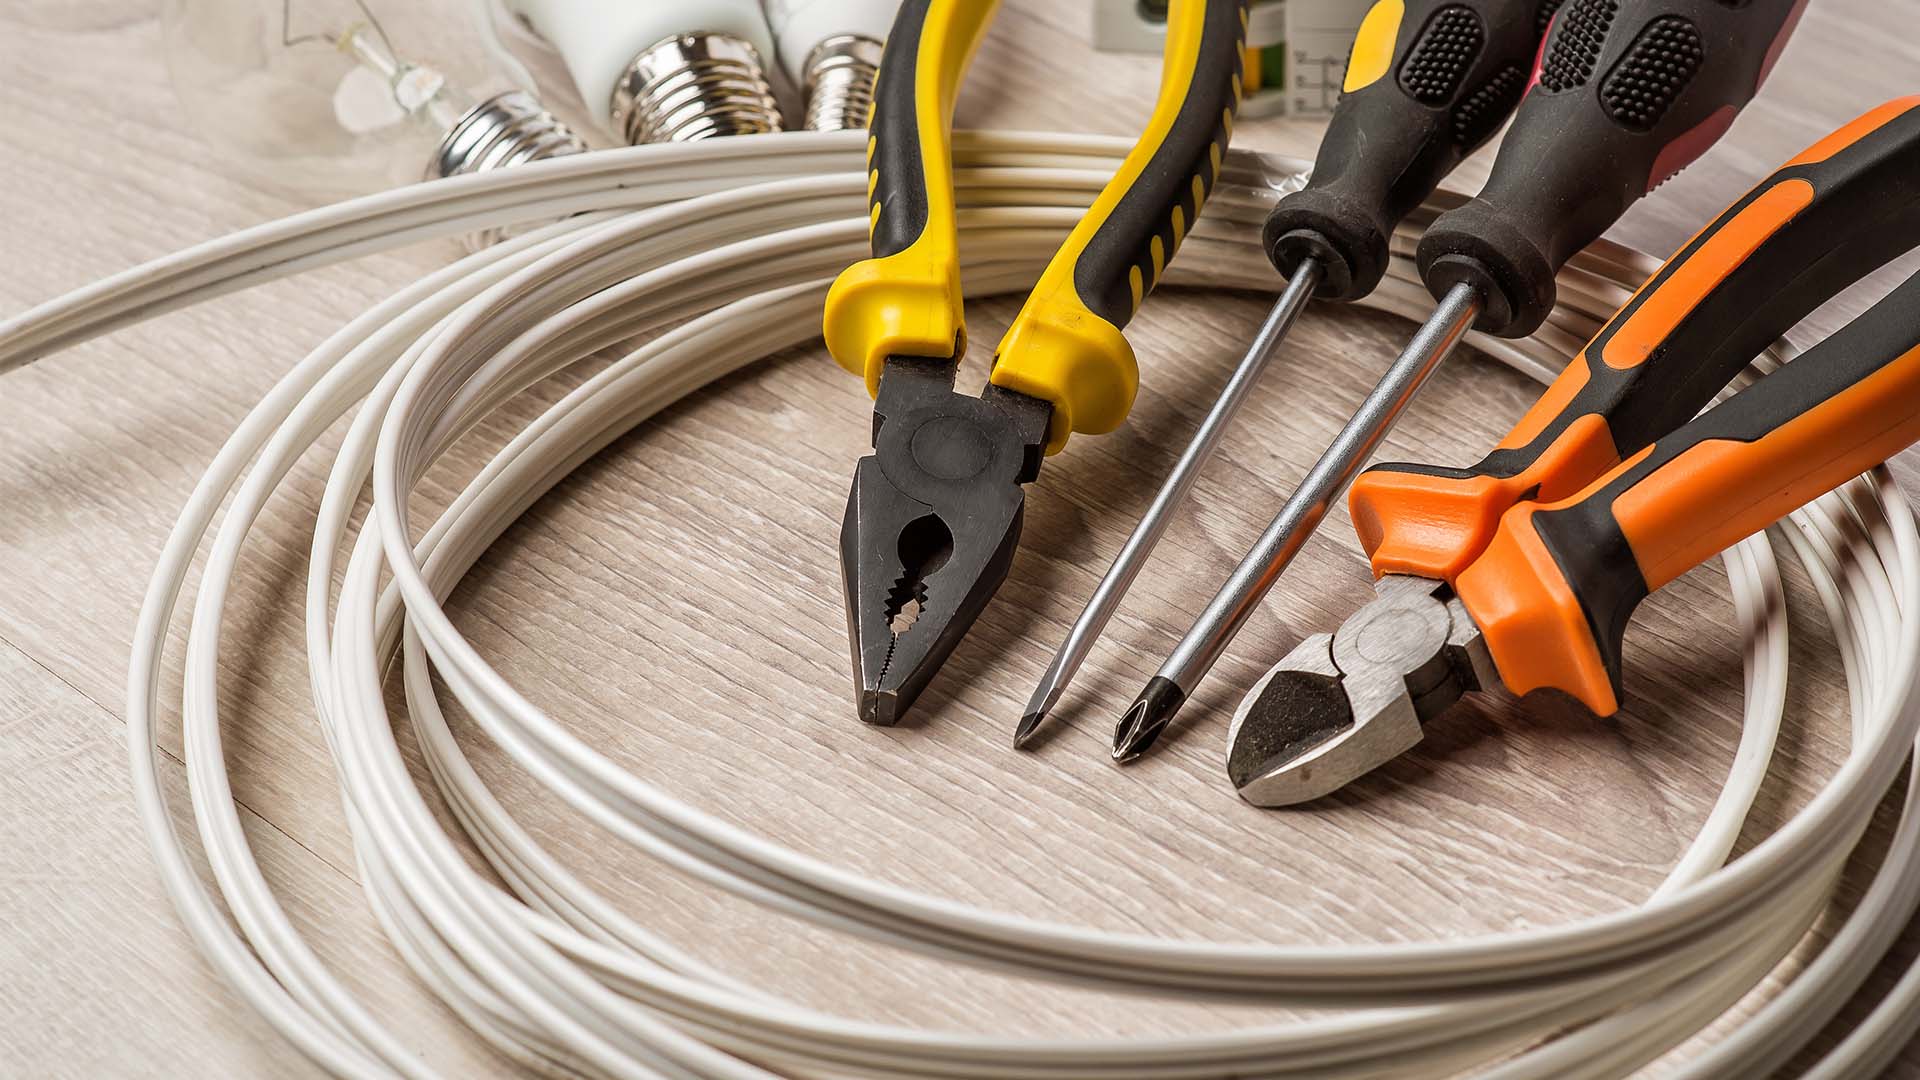
Having a collection of hand tools is essential for any DIY enthusiast or professional tradesperson. These tools are valuable investments that need to be properly identified to ensure their longevity and prevent loss or mix-ups on the job site. One effective way to mark your hand tools is by using a clear and identifiable method that allows for quick and easy identification.
In this article, we will guide you through the process of marking your hand tools. From gathering the necessary materials to choosing the most suitable marking method, we will provide step-by-step instructions to help you maintain the organization and integrity of your tools.
Whether you are working in a busy workshop with multiple people or simply want to keep track of your tools at home, marking them will make a significant difference in terms of efficiency and convenience.
So, let’s dive in and explore the various methods of marking your hand tools in a way that is durable, easy to read, and aesthetically pleasing.
Key Takeaways:
- Marking your hand tools with a clear and identifiable method is crucial for maintaining organization, preventing loss, and improving efficiency in DIY projects and professional work environments.
- Whether you choose engraving, paint/nail polish, or stickers/labels, each marking method offers unique benefits and considerations, allowing for personalized and durable tool identification. Regular maintenance and proper storage will help preserve the markings and prevent wear and tear, ensuring long-lasting efficiency and convenience.
Read more: How To Mark Your Power Tools
Step 1: Gather Your Tools
The first step in marking your hand tools is to gather all the necessary materials. This will ensure that you have everything you need to proceed with the marking process smoothly. Here are some tools and supplies you will need:
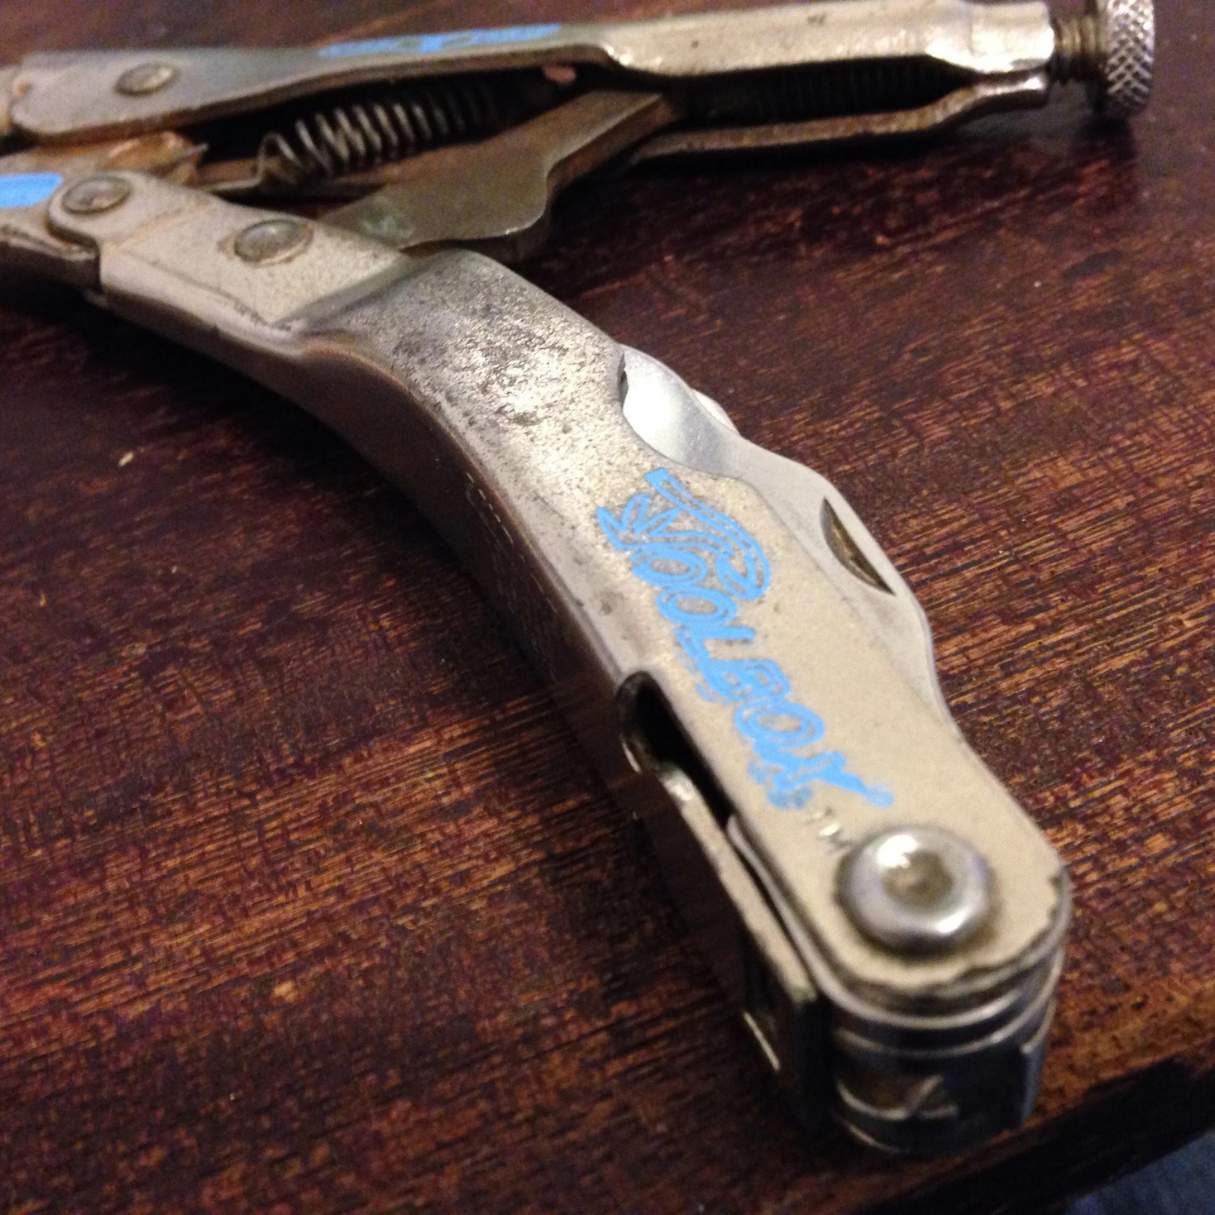
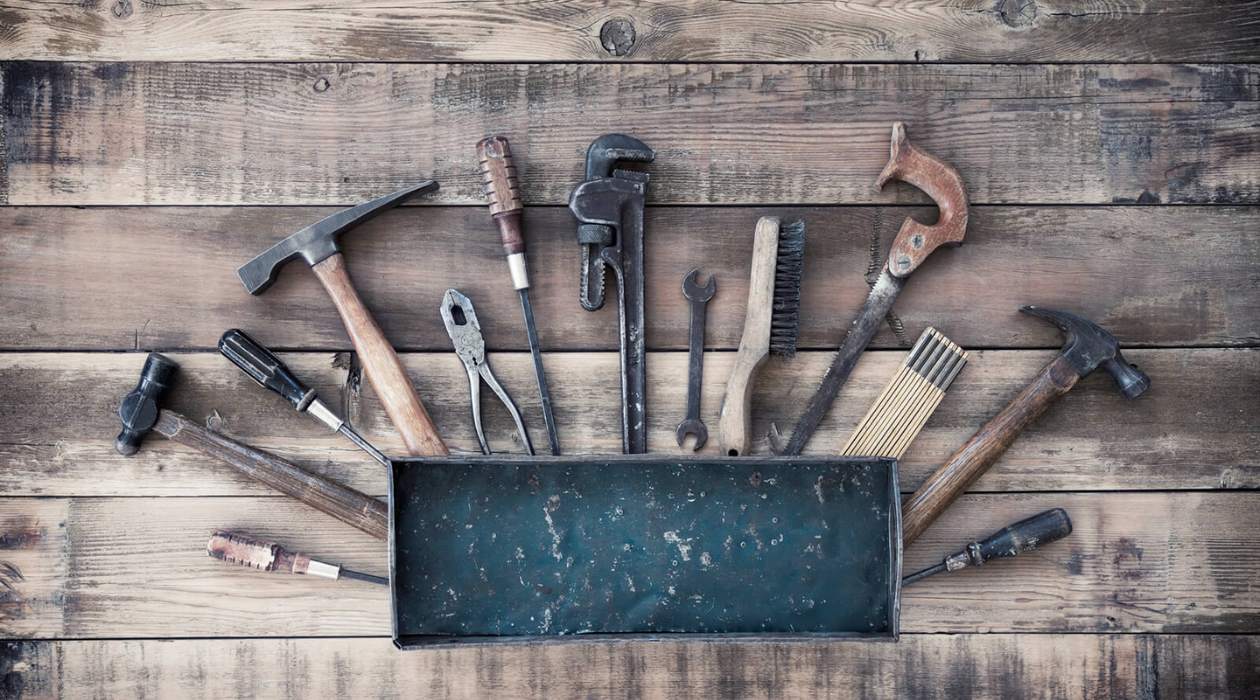
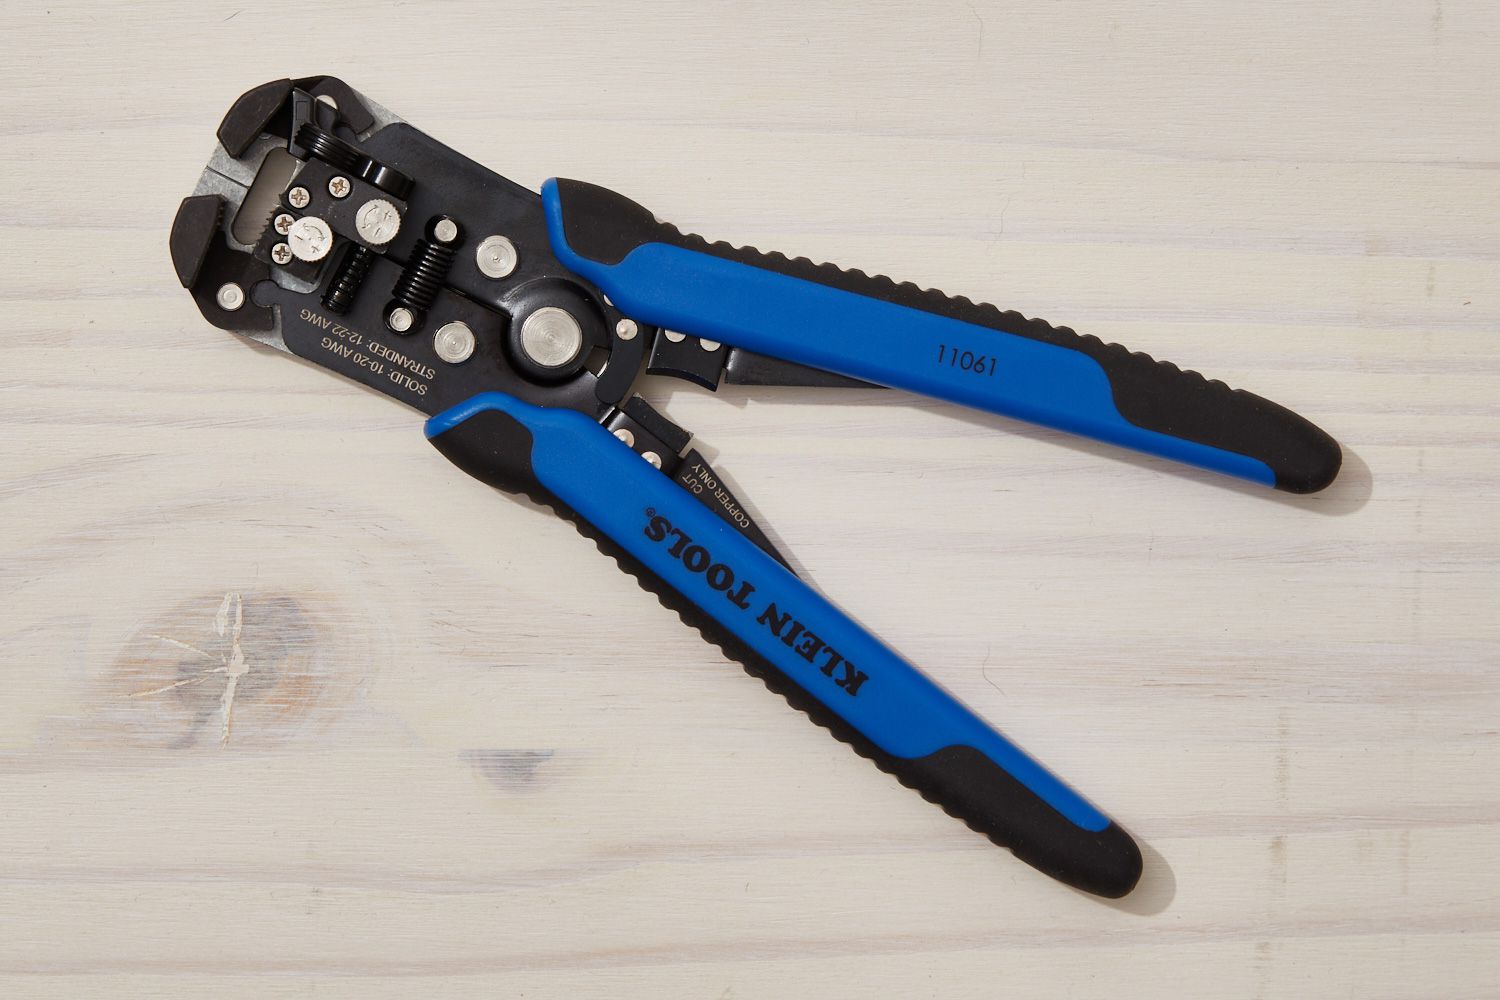
- Hand tools: This includes wrenches, screwdrivers, pliers, hammers, and any other tools you want to mark.
- Cleaning supplies: Before marking your tools, it’s important to clean them thoroughly to remove any dirt, grease, or grime that may interfere with the marking process. You can use a degreaser, mild soap, or a cleaning solution specifically designed for hand tools.
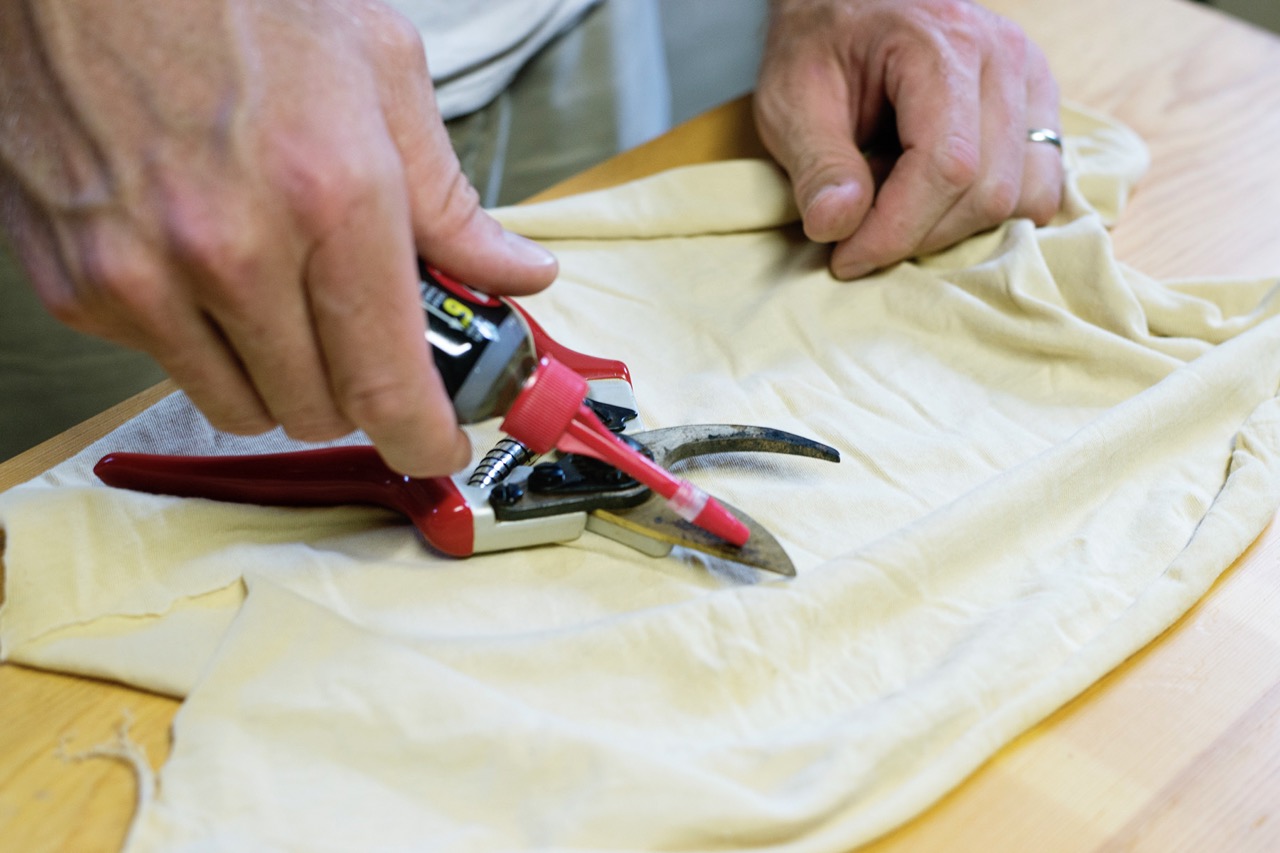
- Marking material: Depending on the method you choose, you will need the appropriate marking material. This can include engraving tools, paint or nail polish, stickers or labels, or any other suitable marking materials.
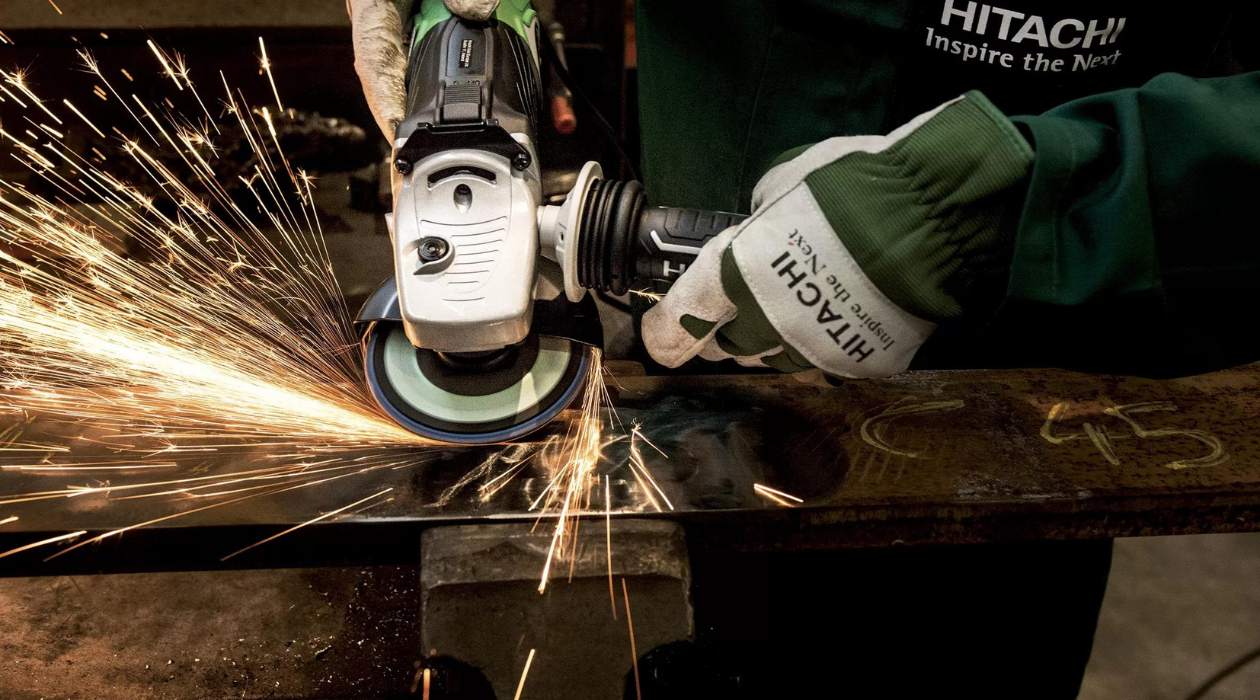
- Protective gear: When working with marking materials, it is important to protect yourself. Wear gloves and safety glasses to prevent any accidents or exposure to harmful chemicals.
- Workbench or a clean, well-lit area: Find a suitable space where you can comfortably work on marking your tools. A sturdy workbench or a clean, well-lit area will make the process easier and safer.
By gathering these tools and supplies beforehand, you will have everything within reach, allowing you to focus on the marking process without any interruptions or delays.
Step 2: Clean and Prepare Your Tools
Before you begin marking your hand tools, it is crucial to clean and prepare them properly. Cleaning your tools not only helps remove dirt and grime but also ensures that the marking material adheres effectively. Follow these steps to clean and prepare your tools:
- Gather all the hand tools you want to mark and place them on your workbench or in a clean, well-lit area.
- Inspect each tool for any signs of damage or wear. If you come across a tool that is damaged or in need of repair, set it aside to address it later.
- Using a suitable cleaning solution and a rag or brush, remove any dirt, grease, or rust from the surface of the tools. Pay attention to the crevices and corners where grime tends to accumulate.
- Rinse the tools thoroughly with water to remove any cleaning residue. Dry them off completely using a clean cloth to prevent any moisture that can lead to rusting.
- If needed, apply a thin layer of lubricant or rust inhibitor to protect the metal surfaces of the tools. This will prolong their lifespan and prevent corrosion.
By taking the time to clean and prepare your tools, you are ensuring that the marking process goes smoothly and that the markings will be visible and long-lasting. Additionally, maintaining clean tools will contribute to their overall functionality and effectiveness in future projects.
Step 3: Choose the Marking Method
Choosing the right marking method for your hand tools is essential to ensure clear identification and longevity. There are several methods you can choose from, each with its own advantages and considerations. Let’s explore some popular marking methods:
- Engraving: Engraving is a permanent and durable method of marking your tools. This technique involves using engraving tools to create etchings or inscriptions on the surface of the tools. It provides a professional and tamper-proof marking that will not fade or wear off easily. However, it requires precision and may not be suitable for all tool materials.
- Paint or Nail Polish: Painting or using nail polish to mark your tools is a versatile and customizable option. Simply choose a color that stands out and apply it to the desired areas of the tool with a small brush. This method is easy to do and allows for creativity in marking designs or patterns. However, it may require periodic touch-ups as the paint or nail polish can chip or fade over time.
- Stickers or Labels: Using stickers or labels is a simple and non-permanent way to mark your tools. You can purchase pre-made labels or print customized ones for a more personalized touch. This method allows for quick identification and easy removal or replacement if needed. However, keep in mind that stickers may peel off or become unreadable over time, especially in harsh working conditions.
Consider the material of your tools, the level of permanence you desire, and your personal preference when choosing the marking method. Each method has its own pros and cons, so choose one that suits your needs and ensures clear identification of your tools.
Step 4: Marking with Engraving
If you are looking for a permanent and professional marking method, engraving is the way to go. Engraving your hand tools creates durable and tamper-proof markings that will last for years. Follow these steps to mark your tools using engraving:
- Choose the appropriate engraving tool based on the material of your tools. For softer materials like plastic or wood, you can use a handheld engraving pen. For harder materials like metal, consider using a rotary tool with a carbide or diamond bit.
- Ensure your tool is securely placed on a workbench or in a vise to prevent slipping.
- Plan the placement and design of your marking. You can choose to engrave initials, names, symbols, or any other identifying information that suits your preference. Make a light sketch with a pencil on the tool surface as a guide, if needed.
- Hold the engraving tool firmly and apply gentle pressure to create precise etchings. Follow the outline or design you have planned, moving the tool steadily along the surface.
- Continue engraving until the marking is deep and clearly visible. Take breaks if needed to avoid fatigue and ensure accuracy.
- Once you have finished engraving, dust off any debris or dust from the tool surface.
- For added visibility, you can use a contrasting paint or ink to fill in the engraved markings. Apply the paint or ink and wipe off any excess with a cloth or cotton swab.
Engraving is a meticulous process that requires patience and steady hands. Take your time and be mindful of safety precautions, such as wearing protective gloves and safety glasses. By engraving your hand tools, you are creating a permanent and professional identification that will withstand the test of time.
Use a permanent marker to write your initials or a unique identifier on each of your hand tools. This will help you keep track of your tools and easily identify them if they get mixed up with others.
Read more: How To Label Your Hand Tools
Step 5: Marking with Paint or Nail Polish
If you prefer a versatile and customizable marking method, using paint or nail polish to mark your hand tools is a great option. This method allows for creative designs and easy identification. Follow these steps to mark your tools using paint or nail polish:
- Select a paint or nail polish color that contrasts well with the color of your tools. This will make the markings easily visible.
- Ensure your tools are clean and dry before applying the paint or nail polish.
- Decide on the area or sections of the tools where you want to apply the marks. They can be simple dots, lines, or more elaborate patterns based on your preference.
- Dip a small brush or use a toothpick to apply the paint or nail polish to the desired areas of the tools. Take your time and be precise to create neat and consistent markings.
- Allow the paint or nail polish to dry completely before using or handling the tools. Follow the manufacturer’s instructions for drying times.
Keep in mind that paint or nail polish markings may require periodic touch-ups, as they can chip or fade over time, especially with heavy use or exposure to harsh environments. However, this method offers flexibility in terms of customization and allows you to add a personal touch to your tools.
Step 6: Marking with Stickers or Labels
If you prefer a non-permanent marking method that allows for easy removal or replacement, using stickers or labels to mark your hand tools is a simple and effective option. This method provides quick identification and flexibility. Follow these steps to mark your tools using stickers or labels:
- Choose stickers or labels that are durable and suitable for the working conditions in which your tools will be used. Look for ones that are waterproof and resistant to wear and tear.
- Clean the surface of your tools to ensure good adhesion of the stickers or labels. Use a mild cleaner and a cloth to remove any dirt or grease.
- Decide on the specific information or design you want to display on the sticker or label. It can be your initials, a logo, or any other identifying details.
- Peel the backing off the stickers or labels and apply them to the desired areas of the tools. Press down firmly to ensure they adhere properly.
- If using labels, consider protecting them with a clear adhesive or a layer of clear tape to increase their durability.
Stickers and labels offer a convenient option for tool identification, as they can be easily removed or replaced when needed. However, keep in mind that they may peel off or become unreadable over time, especially in harsh working conditions. Regularly check the condition of the stickers or labels and replace them as necessary to maintain clear identification of your tools.
Step 7: Maintaining the Markings
After marking your hand tools, it is important to maintain the markings to ensure they remain visible and intact. Regular maintenance will ensure that you can easily identify your tools and prevent any confusion or mix-ups. Here are some tips for maintaining the markings:
- Keep your tools clean: Regularly clean your tools to remove dirt, dust, and debris that can accumulate on the markings. Use a mild cleaner and a cloth to gently wipe the surface.
- Avoid abrasive materials: When cleaning your tools, avoid using abrasive materials or harsh chemicals that can damage or fade the markings. Stick to mild cleaners and non-abrasive cloths.
- Inspect regularly: Regularly inspect your tools to check the condition of the markings. Look for any signs of fading, peeling, or damage. If you notice any issues, take the necessary steps to touch up or replace the markings.
- Repair or replace as needed: If the markings start to fade, chip, or become illegible, it is important to repair or replace them. Depending on the marking method you used, this may involve engraving, reapplying paint or nail polish, or replacing stickers or labels. Stay proactive to maintain clear identification.
- Store your tools properly: When you’re not using your tools, store them in a clean and organized manner. This will help prevent unnecessary wear and tear on the markings.
- Communicate with others: If you are working with others or have multiple sets of tools, ensure that everyone is aware of the markings and their meaning. This will help avoid confusion or mix-ups in shared workspaces.
By regularly maintaining the markings on your hand tools, you will ensure clear identification and ease of use. Dedicate some time to inspecting and caring for your tools to keep them in optimal condition for years to come.
Conclusion
Marking your hand tools is a simple yet effective way to enhance organization, prevent loss, and improve efficiency in your work or DIY projects. By following the steps outlined in this article, you can choose the most suitable marking method for your tools and ensure that the markings remain visible and durable.
Whether you opt for engraving, using paint or nail polish, or applying stickers or labels, each method has its own benefits and considerations. Engraving offers a permanent and professional marking, while paint or nail polish allows for creativity and customization. Stickers or labels provide a flexible option for easy removal or replacement.
Remember to gather your tools, clean them thoroughly, and select the appropriate materials for marking. Take your time to ensure precision and accuracy in marking your tools. Regular maintenance and proper storage will help preserve the markings and prevent any wear and tear.
By marking your hand tools, you will save time searching for specific tools, prevent mix-ups, and increase your overall efficiency. Additionally, marked tools are less likely to be misplaced or mistakenly taken by others in shared workspaces.
So, take the necessary steps to mark your hand tools and enjoy the benefits of enhanced organization, easy identification, and efficient workflow. With well-marked tools, you will have a solid foundation for successful projects and a professional approach to your work.
Frequently Asked Questions about How To Mark Your Hand Tools
Was this page helpful?
At Storables.com, we guarantee accurate and reliable information. Our content, validated by Expert Board Contributors, is crafted following stringent Editorial Policies. We're committed to providing you with well-researched, expert-backed insights for all your informational needs.


0 thoughts on “How To Mark Your Hand Tools”