Articles
How To Mop The Floor
Modified: October 21, 2024
Learn effective techniques and tips for mopping your floor with our informative articles. Discover the best practices to achieve a clean and sparkling finish!
(Many of the links in this article redirect to a specific reviewed product. Your purchase of these products through affiliate links helps to generate commission for Storables.com, at no extra cost. Learn more)
Introduction
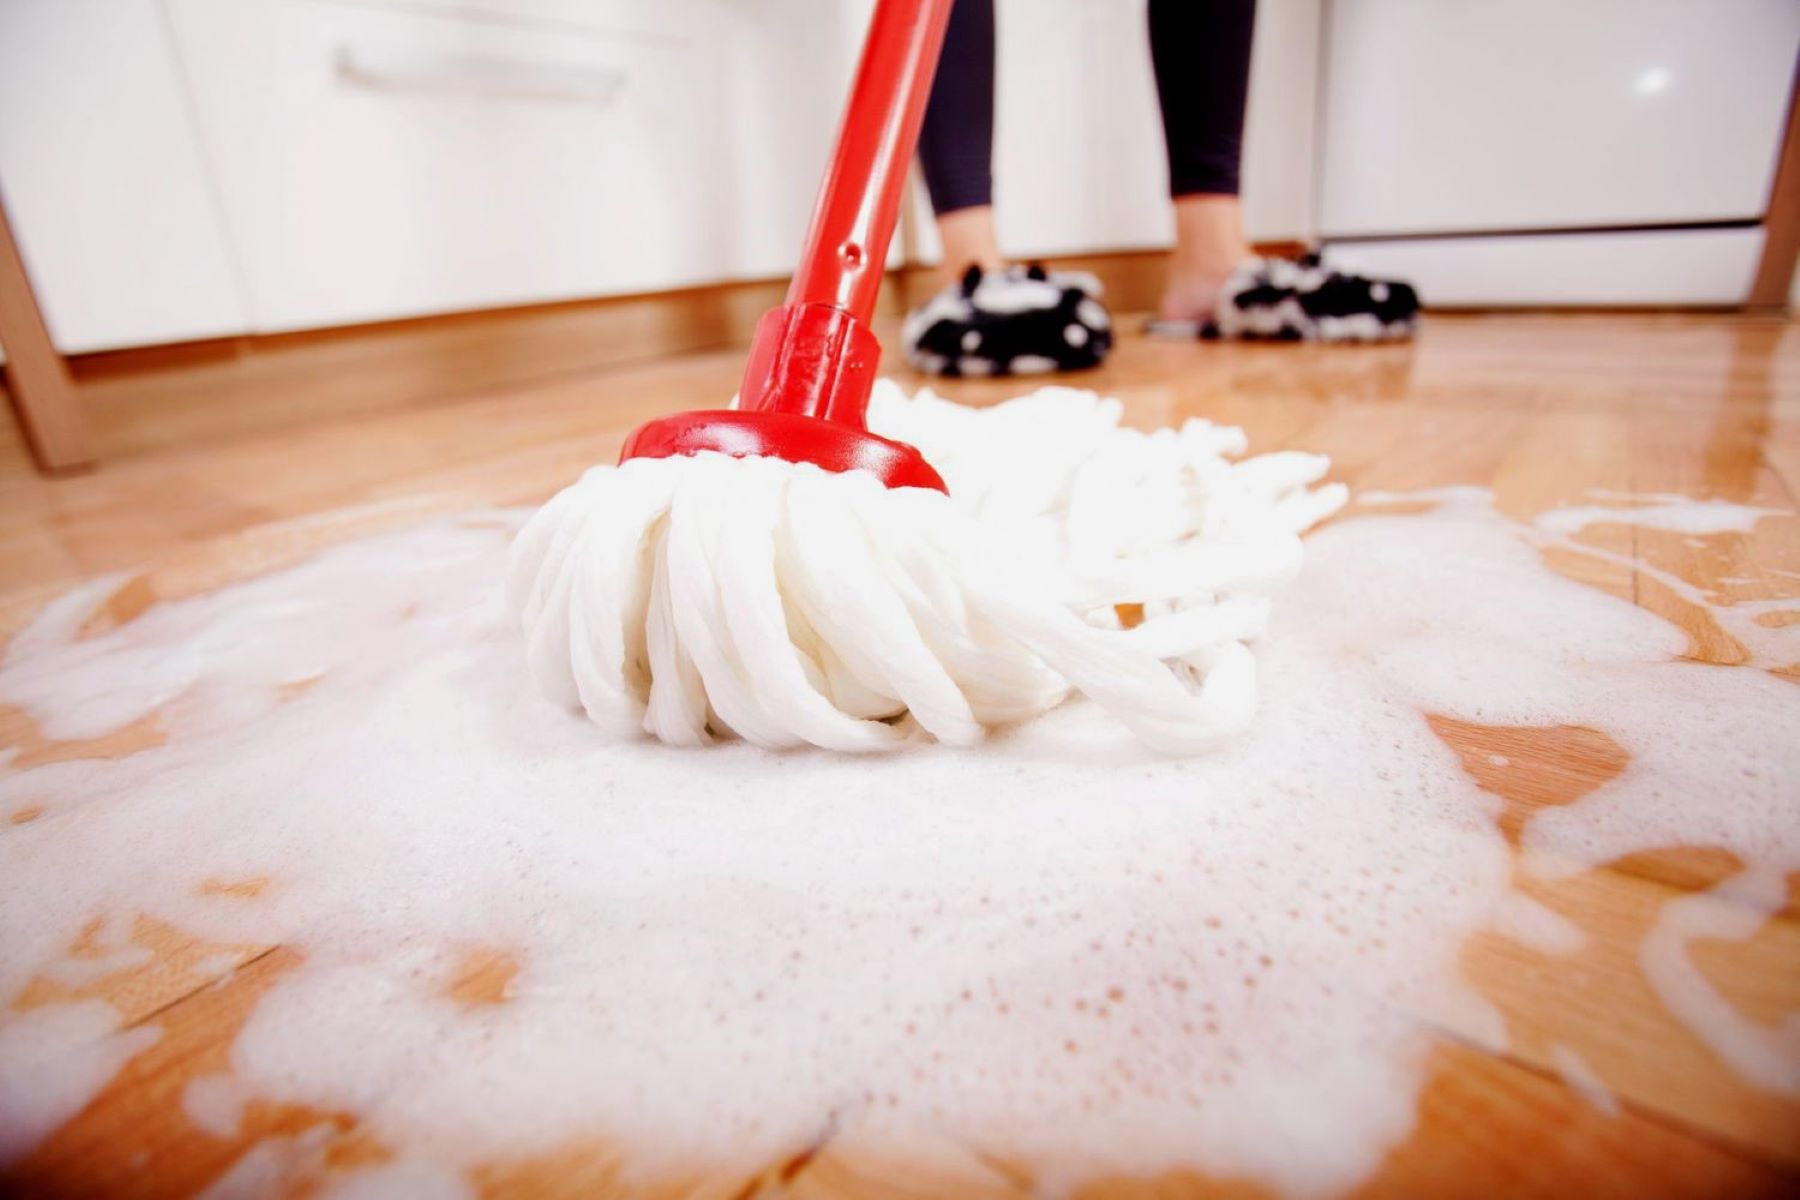
Welcome to our comprehensive guide on how to mop the floor! Whether you are a novice cleaner or just looking for some helpful tips, this article will provide you with all the information you need to effectively mop your floors and leave them looking fresh and clean.
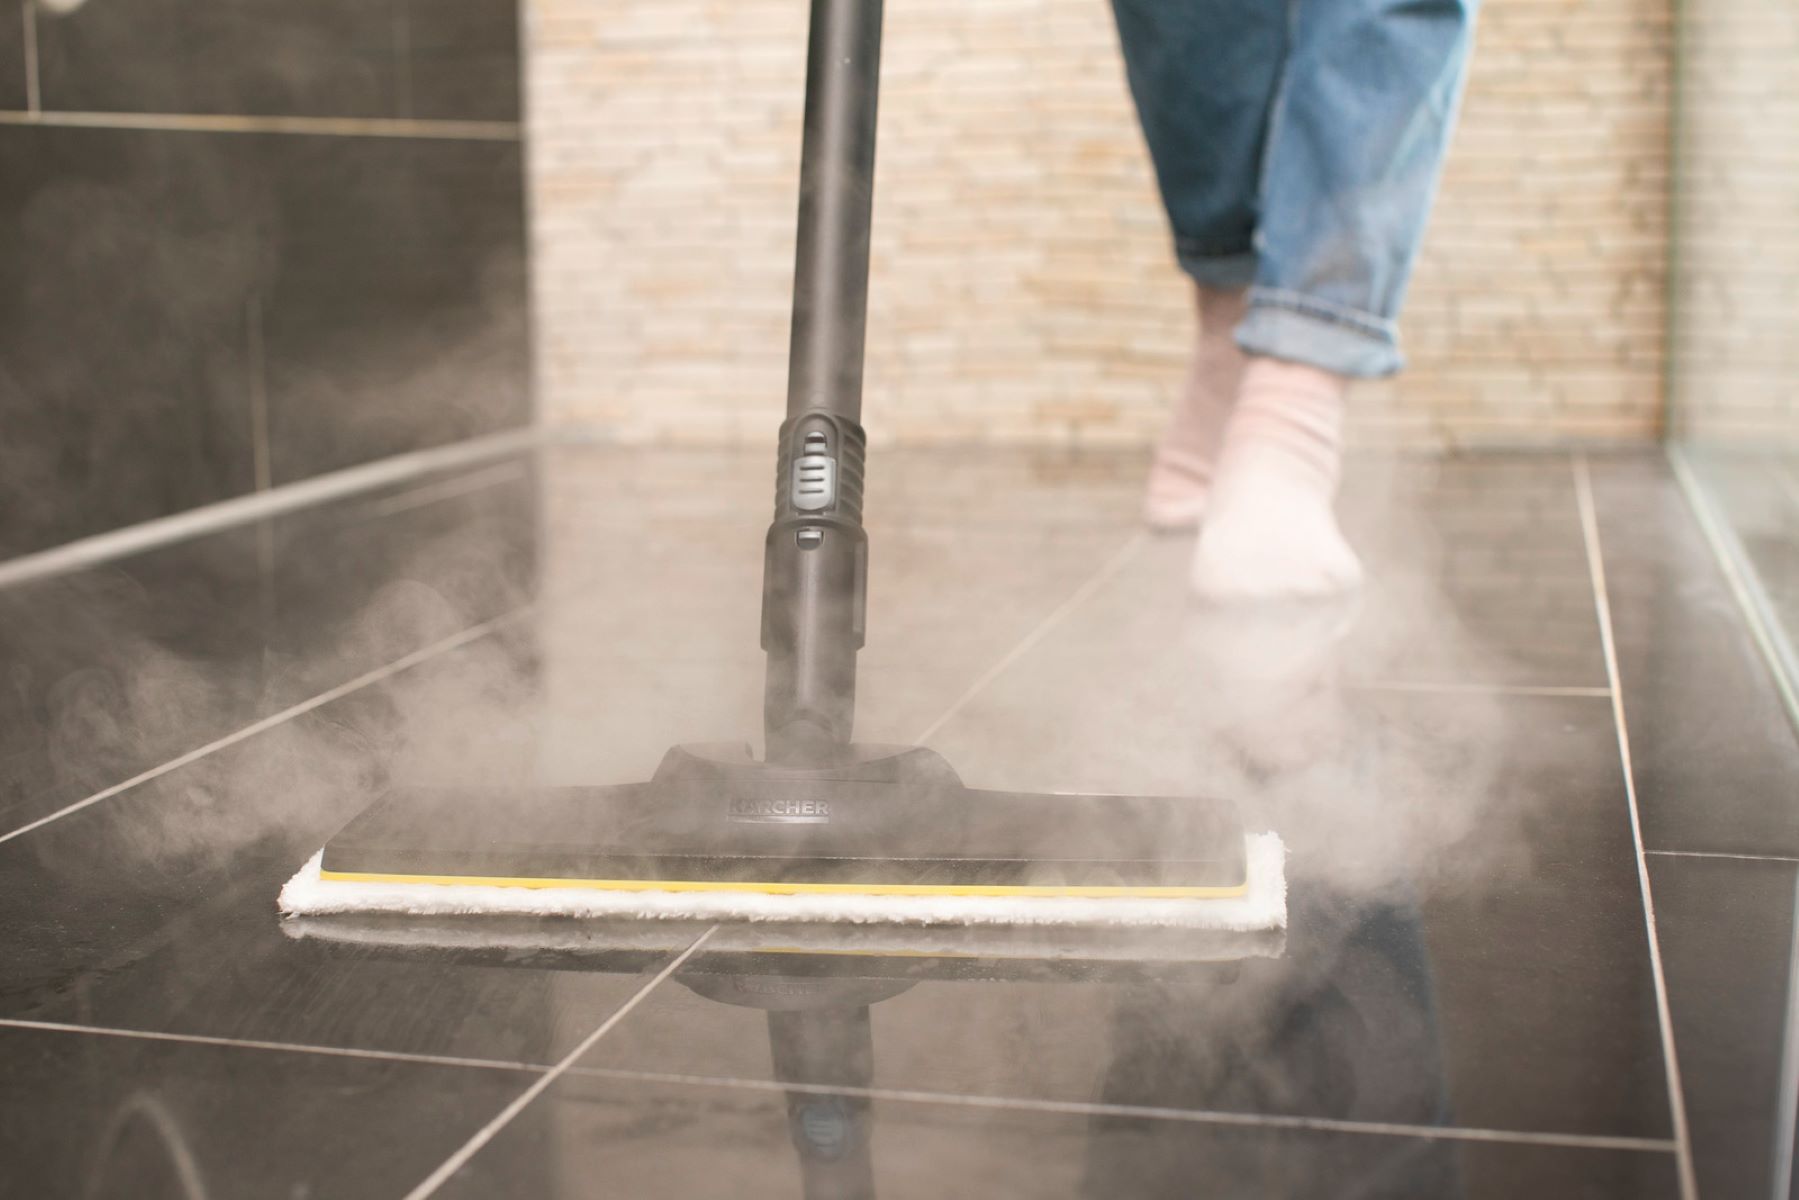
Mopping is an essential part of any cleaning routine and plays a crucial role in maintaining the cleanliness and hygiene of your home or workplace. It helps to remove dirt, dust, stains, and allergens, leaving your floors not only visually appealing but also safe and healthy for everyone.
By following a few simple steps and using the right techniques and tools, you will be able to achieve professional-level results. So, let’s dive in and discover the secrets of efficient and effective mopping!
Key Takeaways:
- Proper preparation, including gathering the right supplies and preparing the floor, is crucial for a successful mopping session. Diluting the cleaning solution correctly and selecting the appropriate tools will maximize cleaning efficiency.
- Using the right mopping techniques, such as starting from a corner, overlapping strokes, and addressing tough spots, is essential for achieving a thorough clean. Regularly rinsing the mop in clean water and proper storage will maintain its effectiveness for future use.
Read more: How To Mop Epoxy Floors
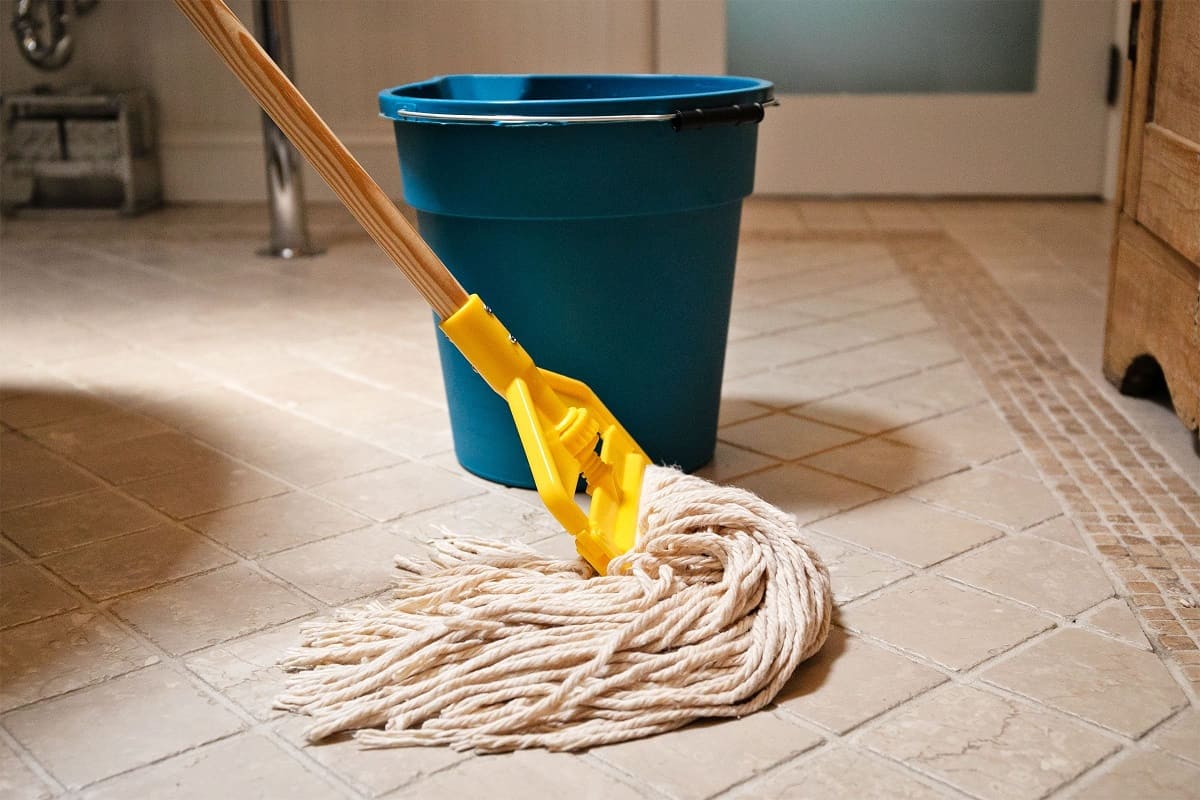
Step 1: Gather the necessary supplies
Before you start mopping, it’s essential to gather all the necessary supplies to ensure a smooth and efficient cleaning process. Here are the supplies you’ll need:
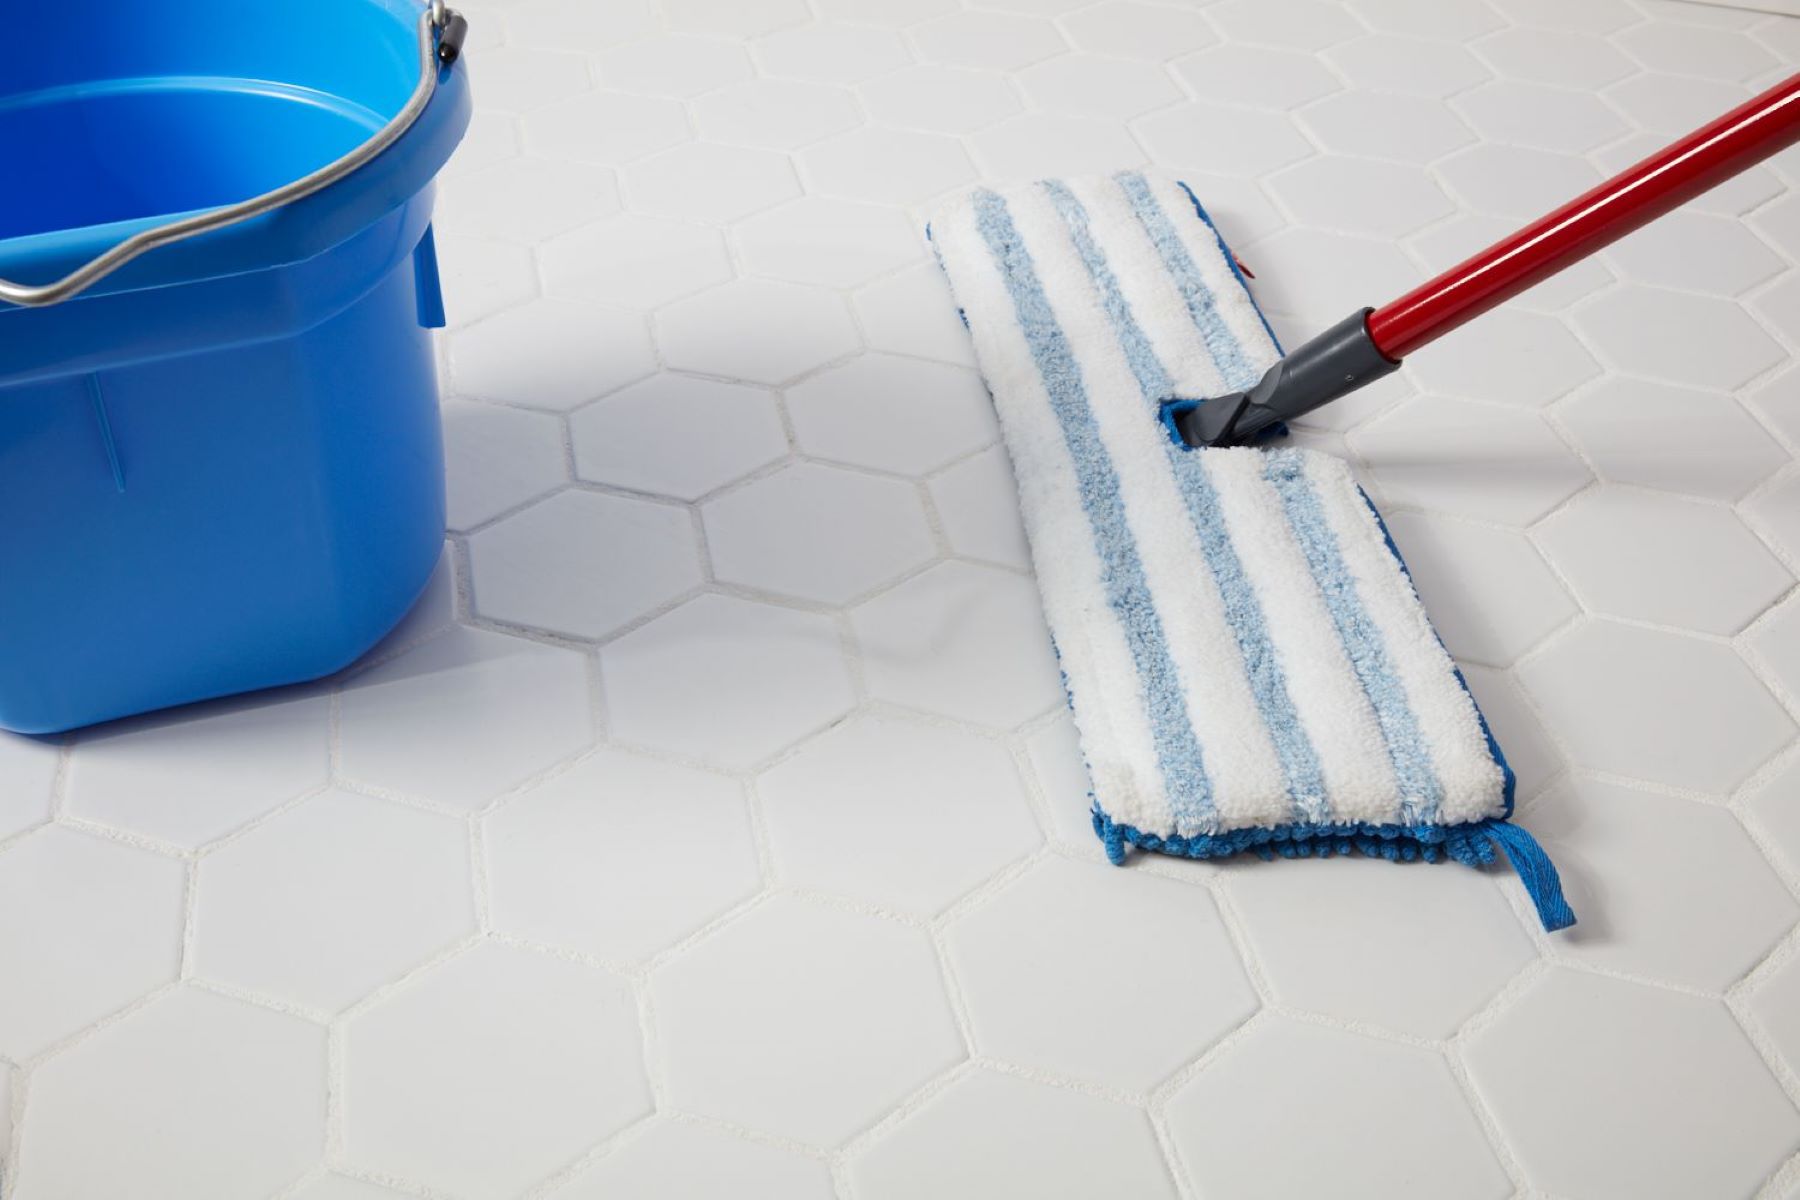
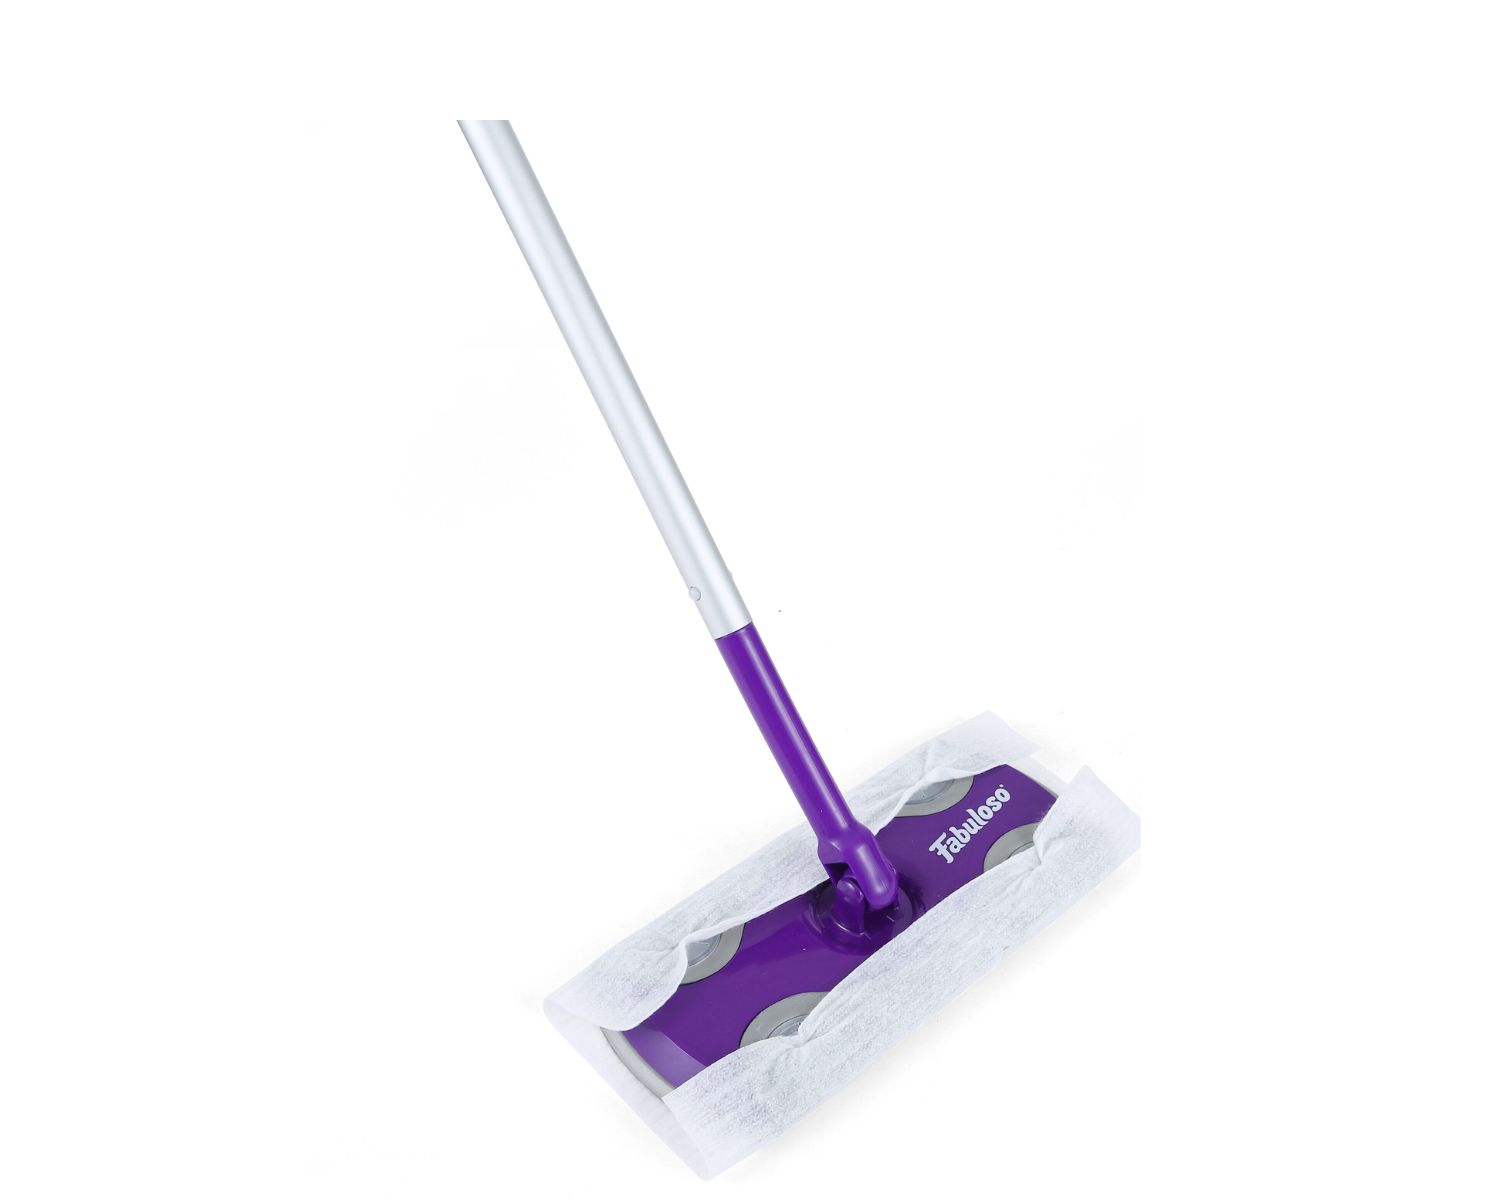
- A mop: Choose a mop that is suitable for the type of flooring you have. Microfiber mops are great for most surfaces, while sponge mops are better for tiled or linoleum floors.
- A bucket: Opt for a bucket that is large enough to hold enough water to clean the entire area without needing frequent refills.
- Floor cleaner: Select a floor cleaner that is appropriate for your flooring material. Make sure to read the label and follow the manufacturer’s instructions.
- Hot water: Fill the bucket with hot water to help dissolve dirt and grime more effectively.
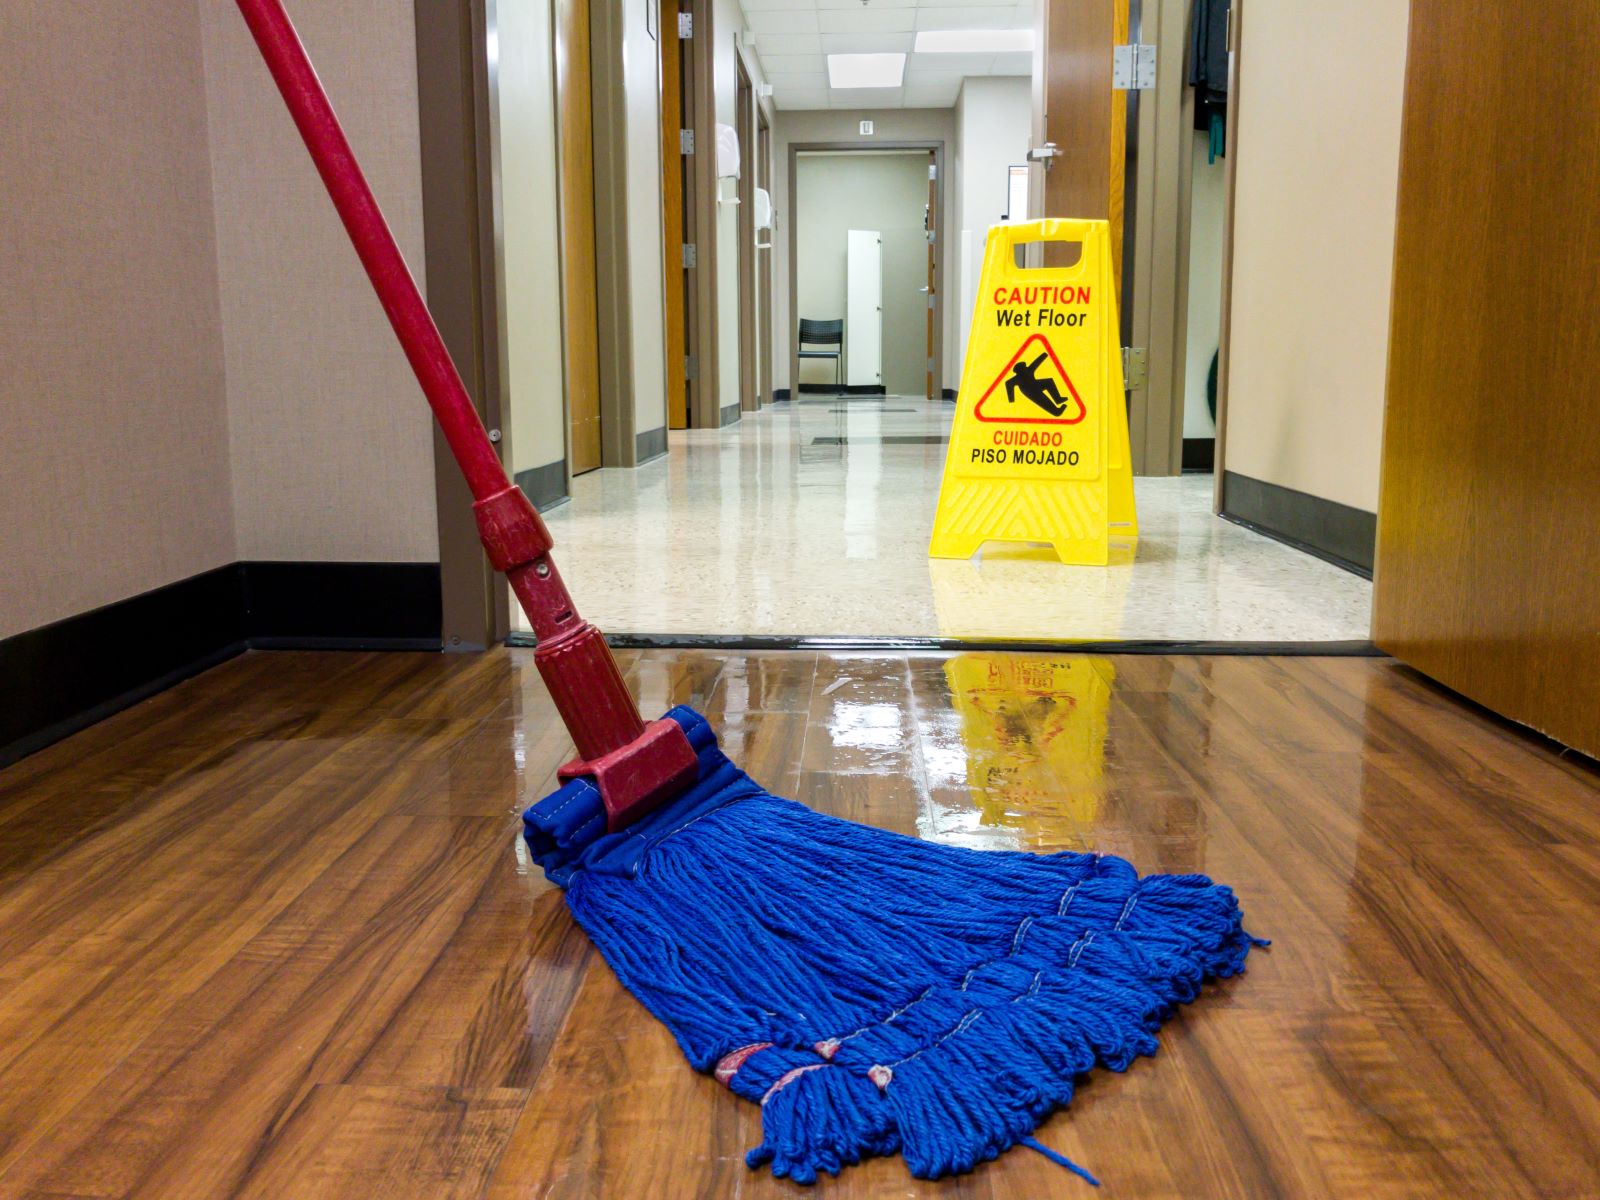
- Protective gear: It’s a good idea to wear gloves to protect your hands and rubber-soled shoes to prevent slipping.
- Mop wringer: If your mop has a wringer, make sure it is in good condition and functioning properly.
- Optional: If you have stubborn stains or sticky residue, consider having a scrub brush or a microfiber cloth handy to spot clean before mopping.
Having all the supplies ready before you begin will save you time and ensure a seamless cleaning process. Once you have gathered everything, you can move on to the next step: preparing the floor.
Step 2: Prepare the floor
Preparing the floor before you start mopping is essential to ensure effective cleaning and to protect your flooring. Follow these steps to properly prepare the floor:
- Clear the area: Remove any furniture, rugs, or objects that could obstruct your mopping path. This will give you a clear and unobstructed area to work with.
- Sweep or vacuum: Use a broom or vacuum cleaner to remove loose dirt, dust, and debris from the floor’s surface. This step will prevent dirt from being spread around during mopping and provide a cleaner surface for the mop to work on.
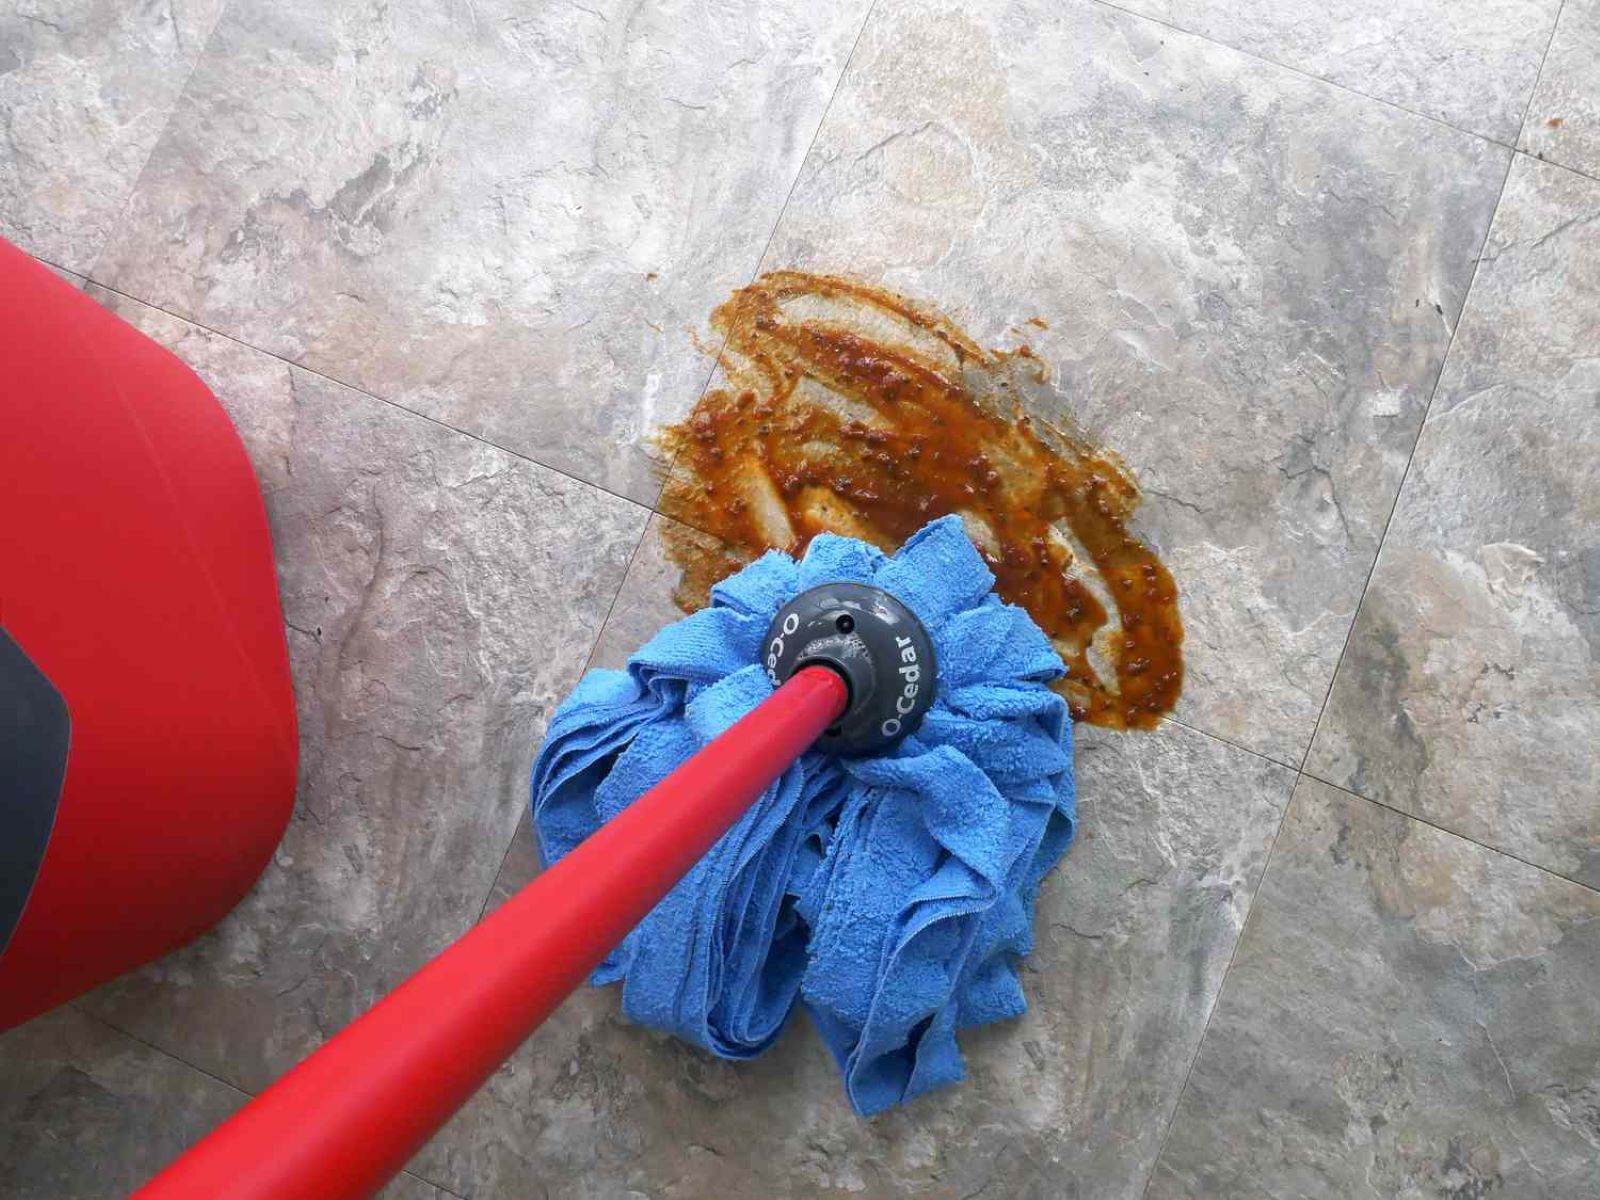
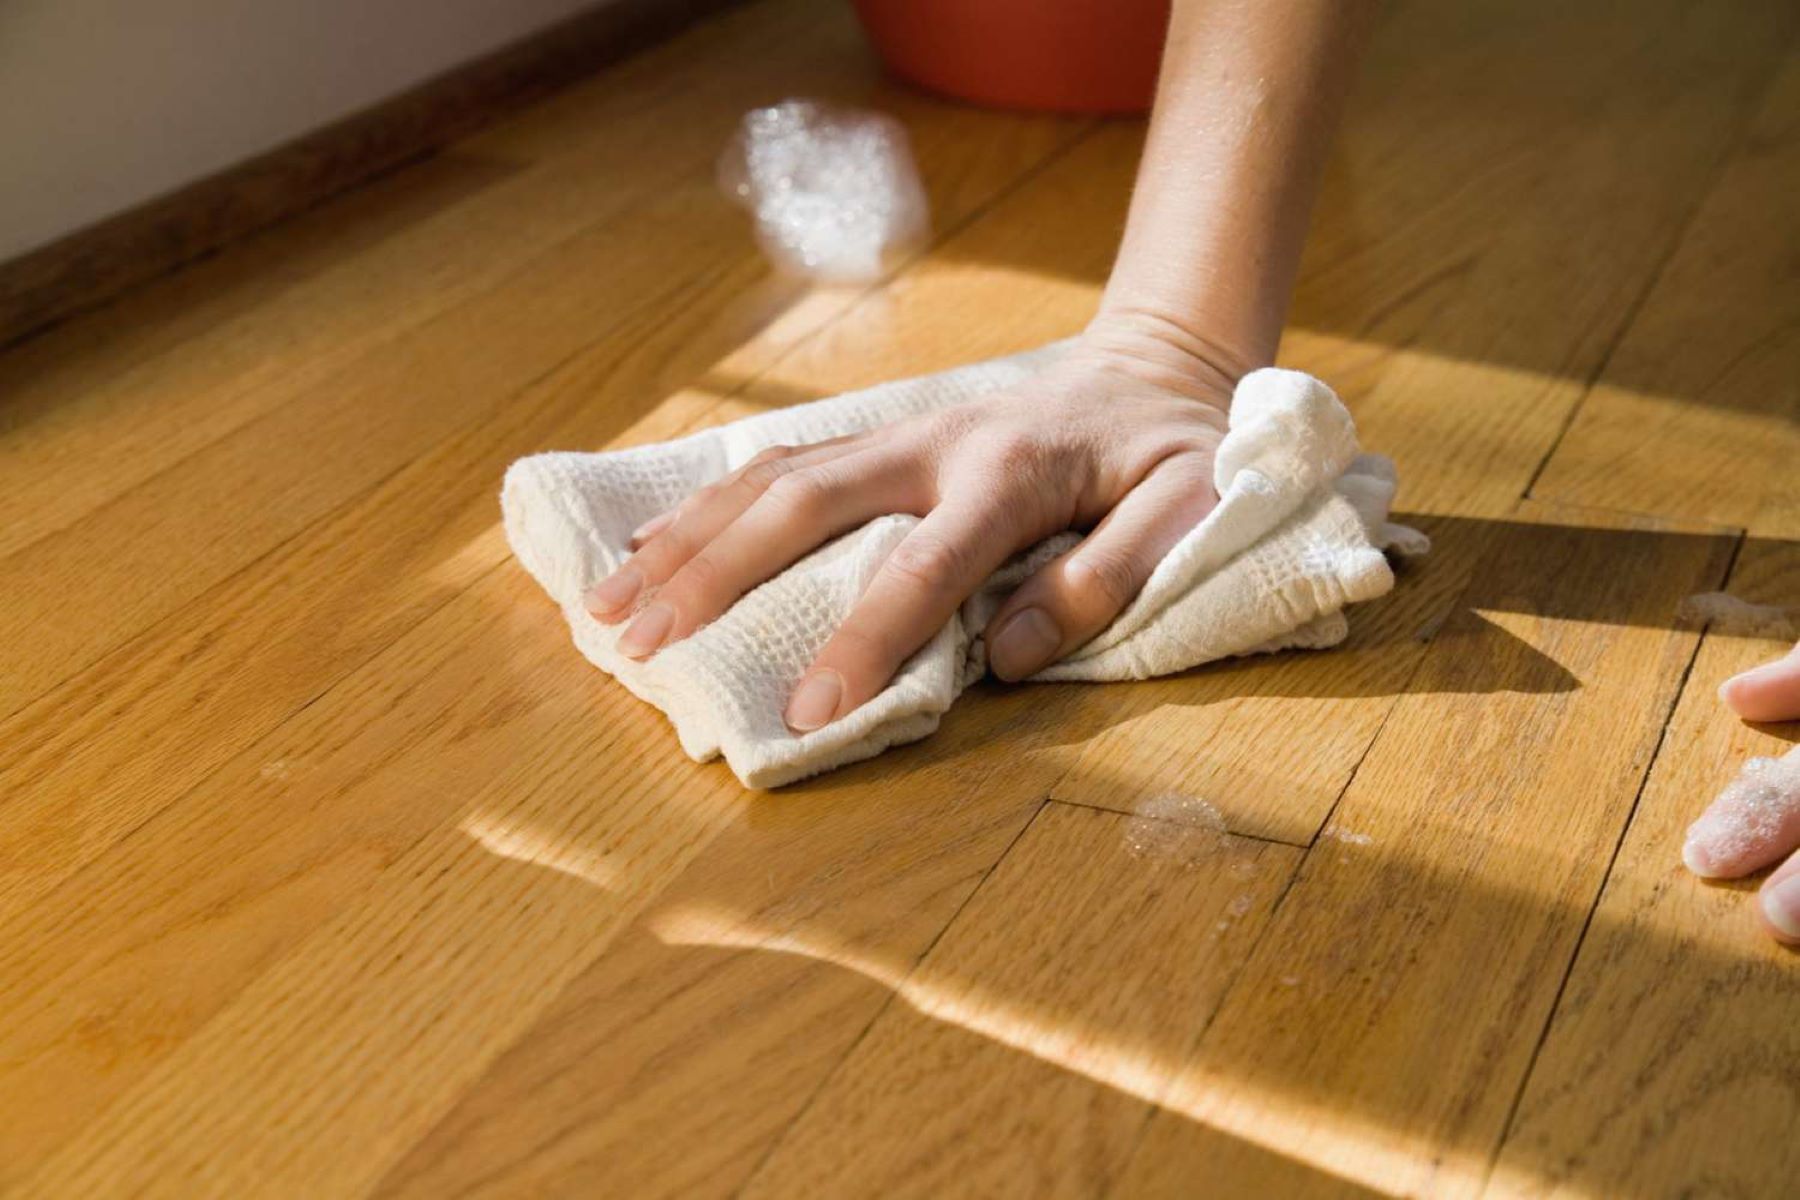
- Spot clean stains: If there are any visible stains or spills on the floor, take the time to spot clean them before mopping. Use a suitable cleaner and a cloth or brush to gently remove the stains.
- Check for delicate areas: Some flooring materials, such as hardwood or laminate, require special care. Check if there are any delicate or sensitive areas on your floor that may need extra precautions during mopping.
- Secure loose tiles or boards: If you have any loose tiles or boards, make sure to fix them before mopping. Loose flooring can be damaged by excess water or movement during mopping.
By properly preparing the floor, you can ensure that the mopping process is more effective and efficient. Once the floor is cleared and cleaned, you’re ready to move on to the next step: filling the mop bucket.
Step 3: Fill the mop bucket
Now that your floor is prepared, it’s time to fill your mop bucket with the appropriate cleaning solution. Follow these steps to ensure you have the right amount of water and cleaning solution:
- Read the instructions: Check the label on your floor cleaner to determine the recommended dilution ratio. Different cleaners may have different dilution requirements based on their concentration.
- Measure the water: Fill the mop bucket with hot water according to the instructions on the floor cleaner label. Ensure that you leave enough space for the cleaning solution.
- Add the cleaning solution: Pour the appropriate amount of floor cleaner into the bucket. Use a measuring cup if necessary to ensure accuracy.
- Mix the solution: Use a mop or a stir stick to mix the water and cleaning solution thoroughly. Make sure the solution is well-dissolved and evenly distributed.
- Do a patch test (optional): If you’re using a new cleaner or trying a different brand, it’s a good idea to do a small patch test on a hidden area of the floor to ensure compatibility.
By properly diluting the cleaning solution and ensuring a thorough mix, you’ll be ready to tackle the mopping process. The next step involves putting your mop to good use and starting the cleaning process. Let’s move on to Step 4.
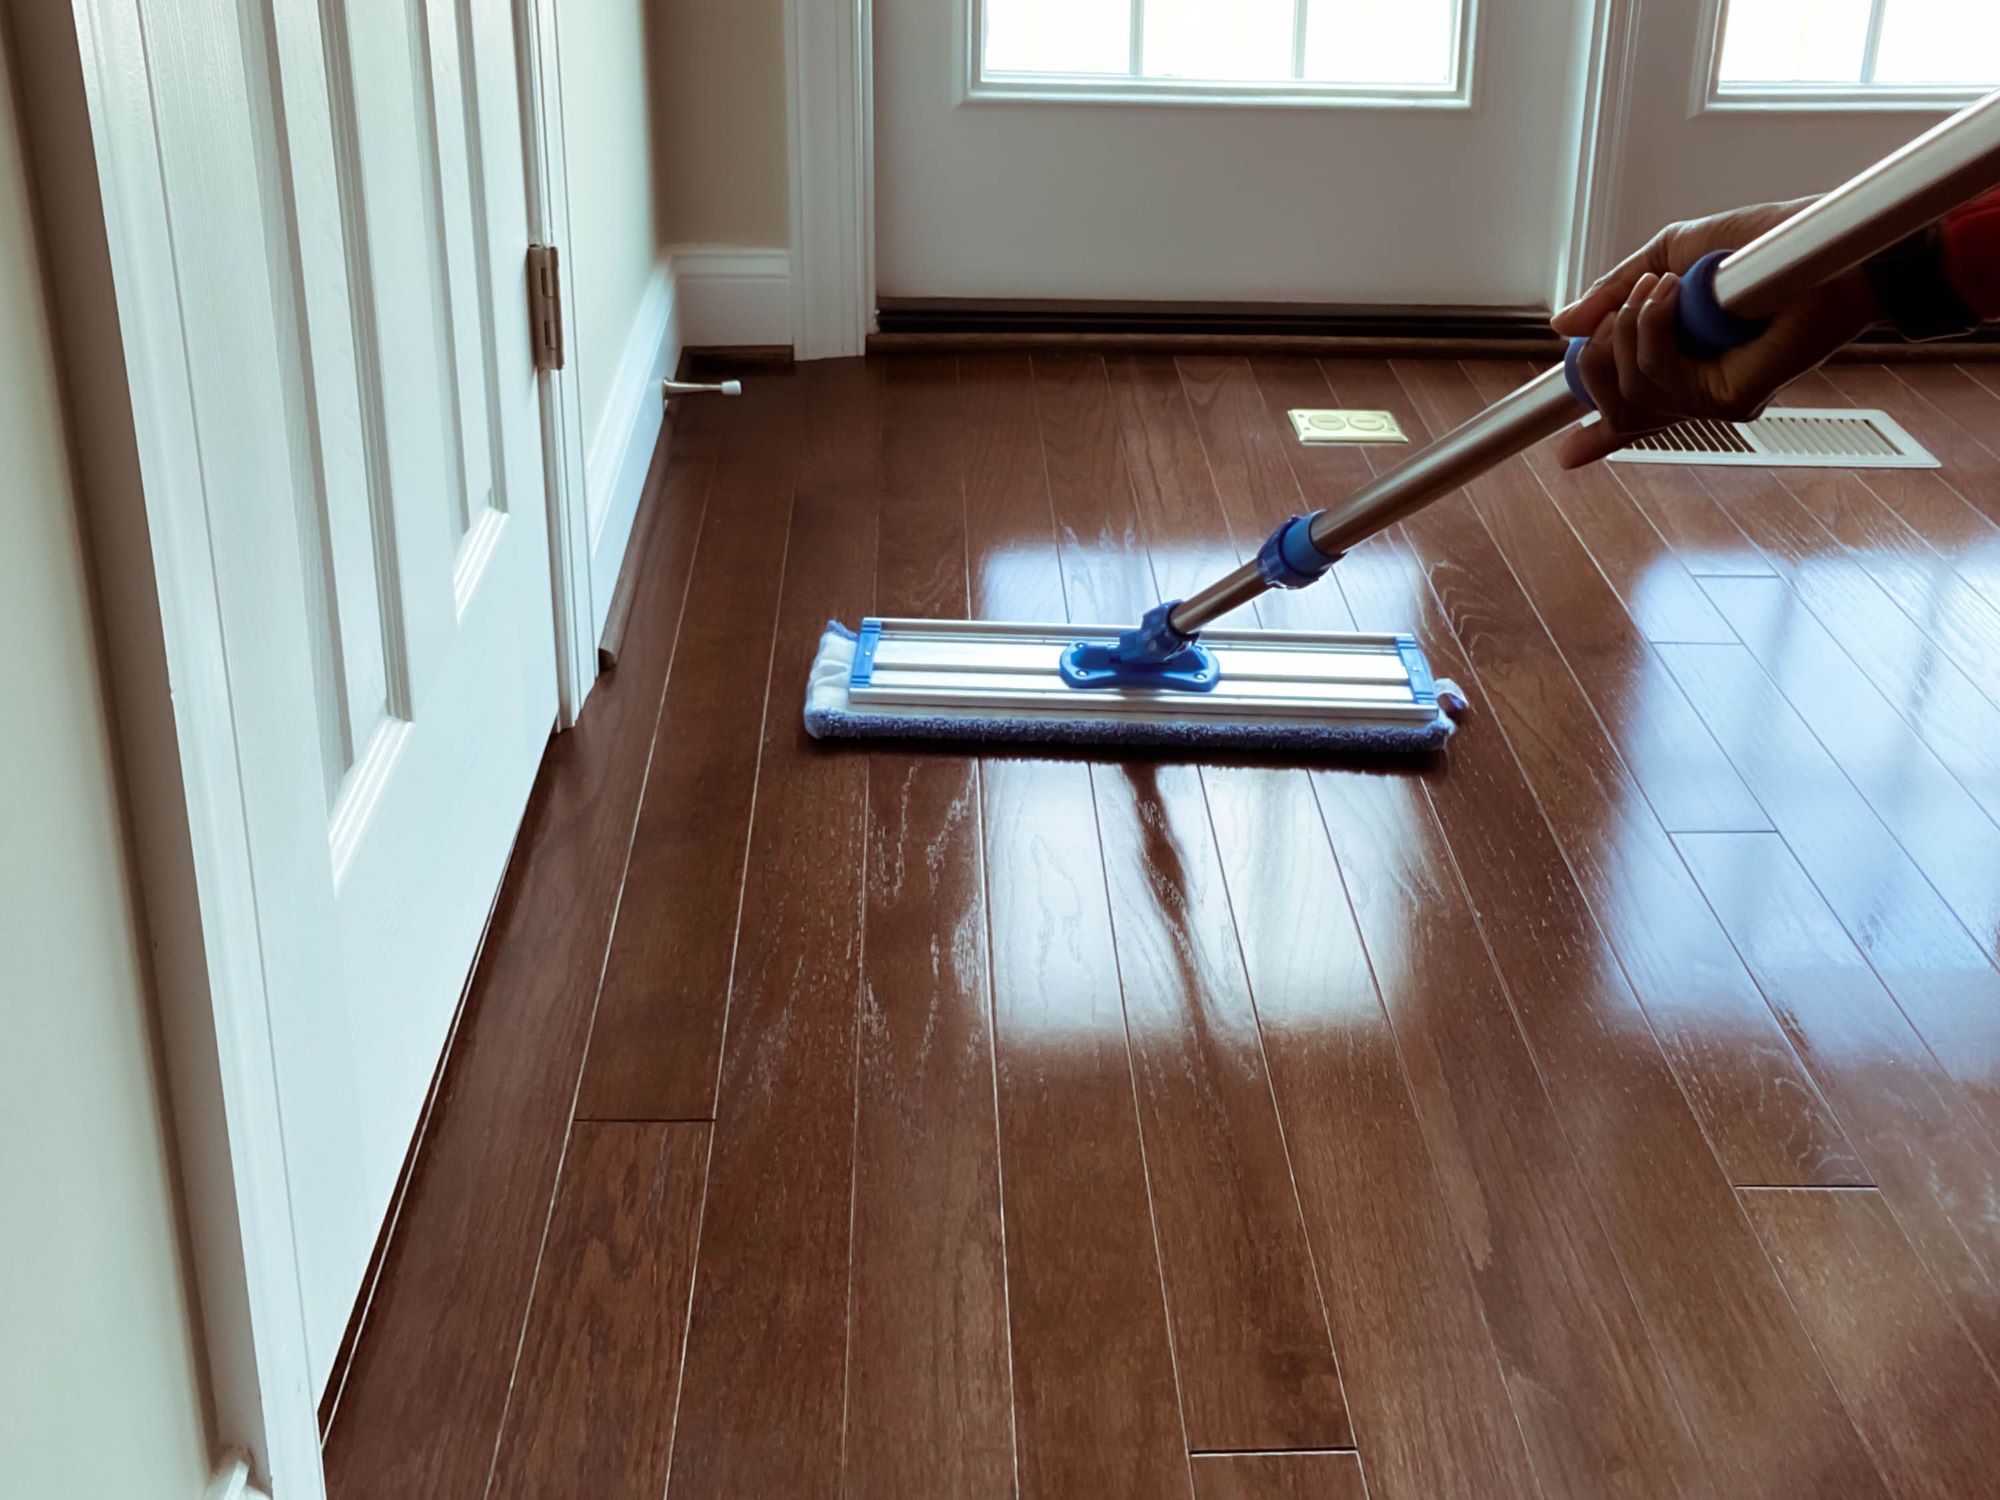
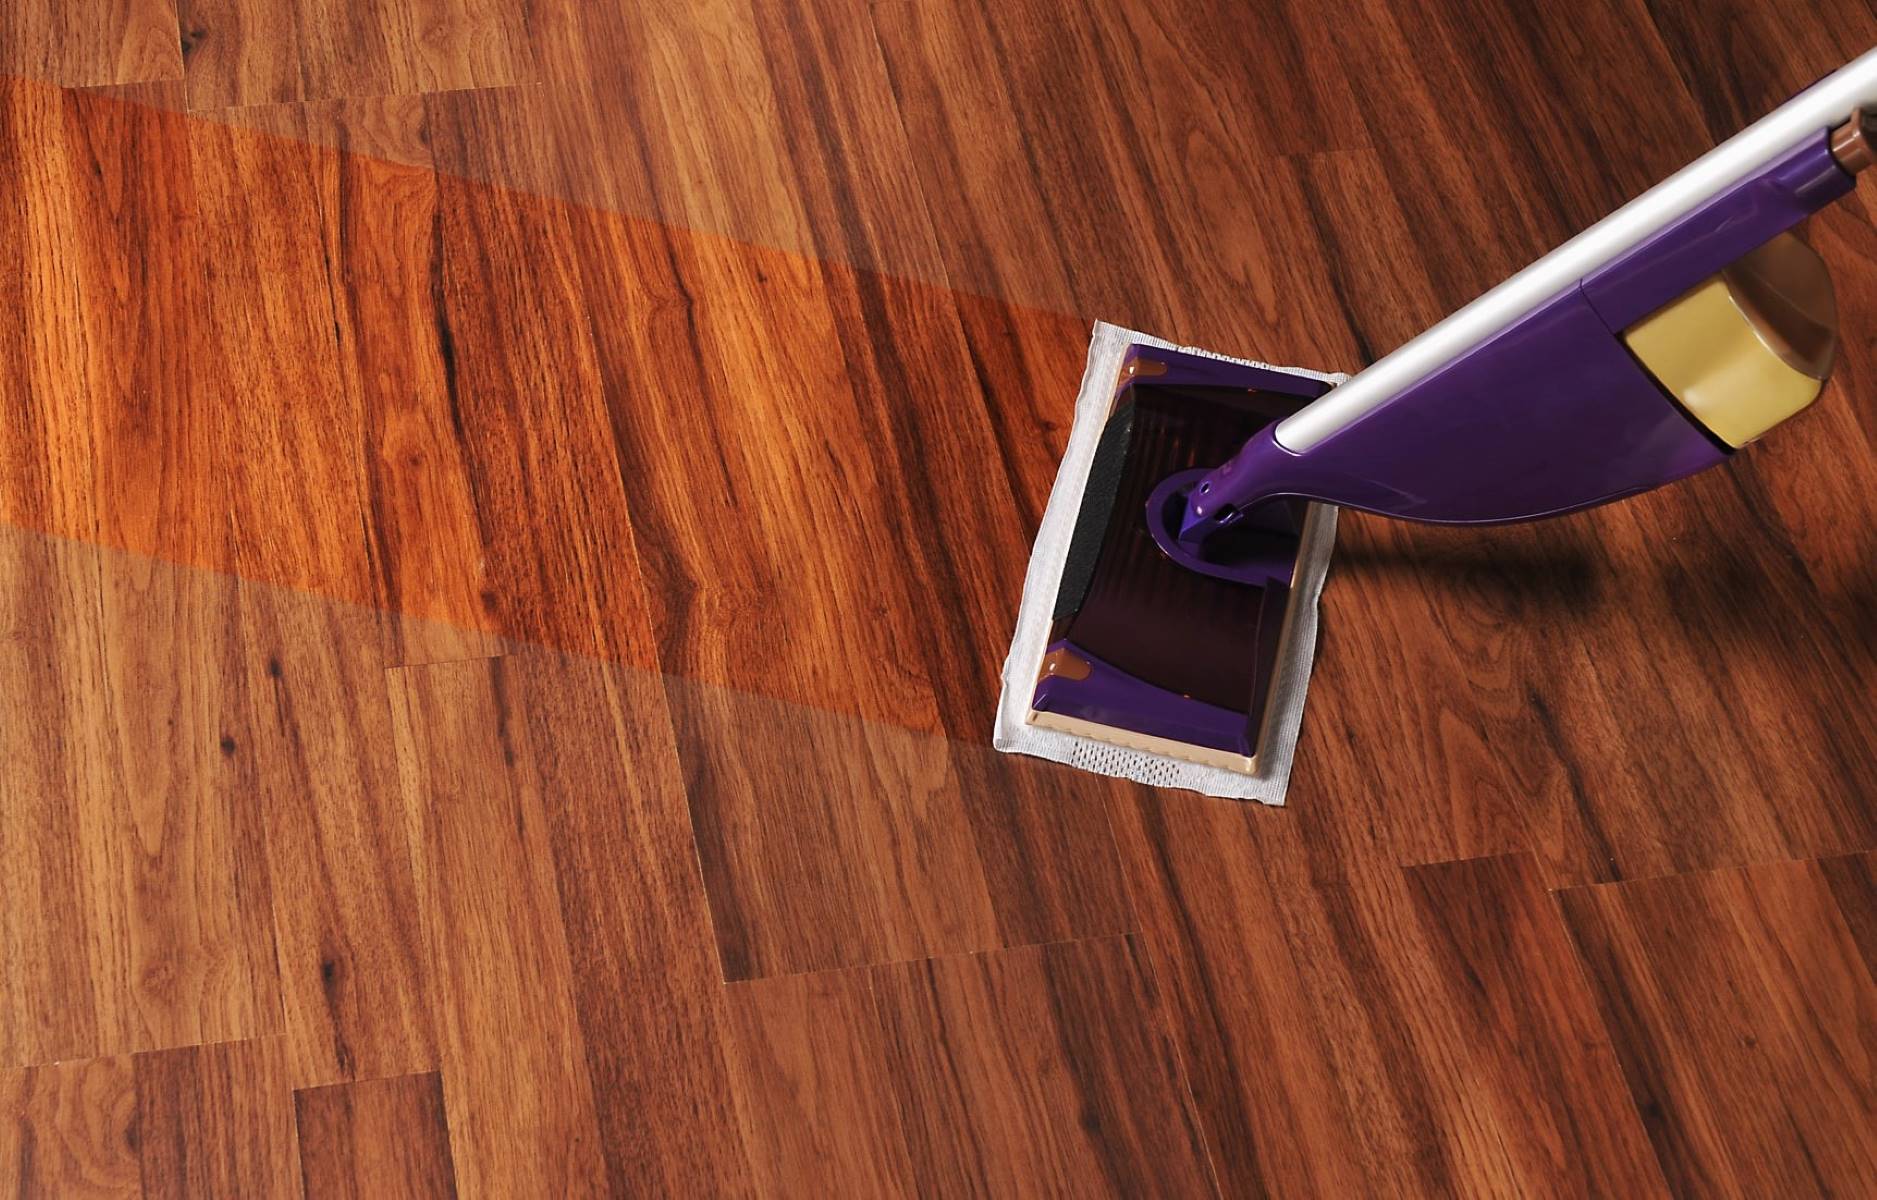
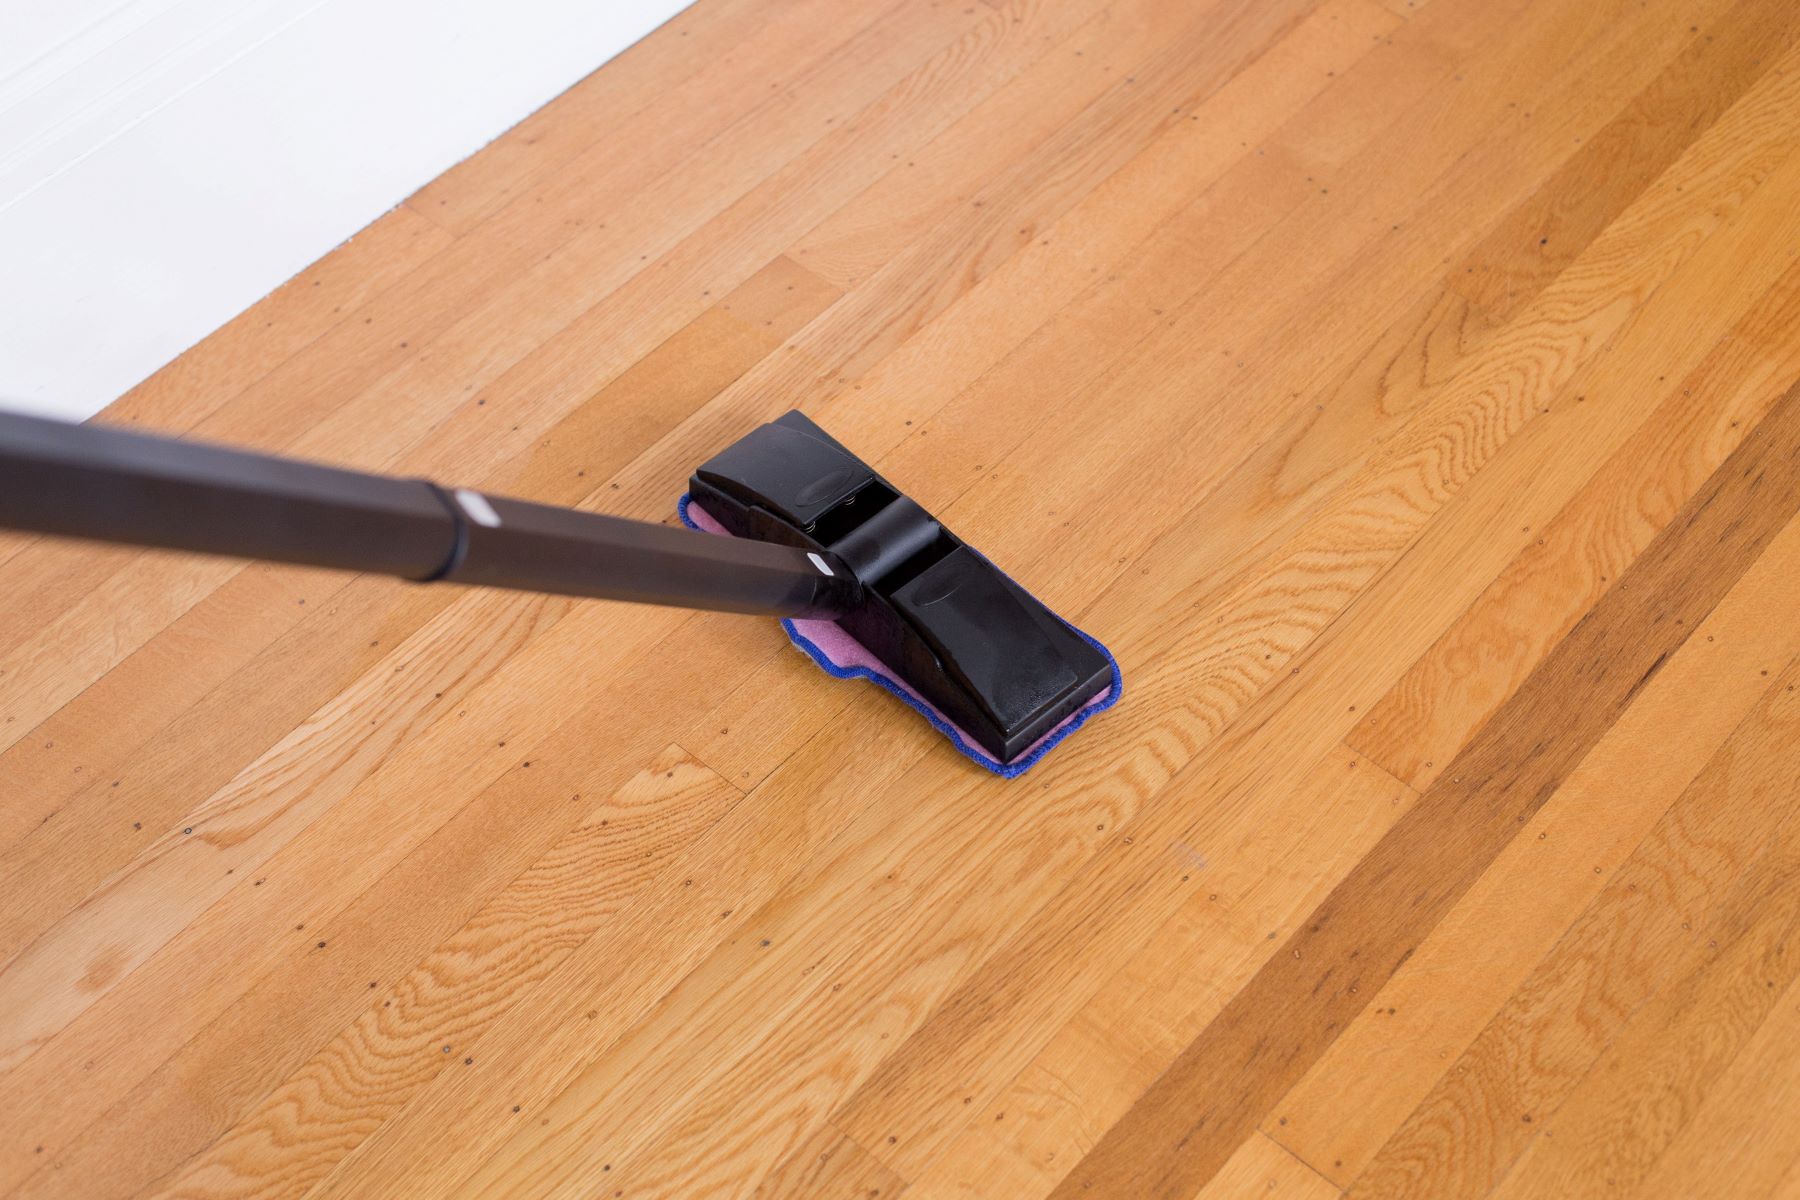
Use a microfiber mop to trap dirt and grime effectively. Start from the farthest corner and work your way towards the door to avoid stepping on the wet floor.
Step 4: Start mopping
Now that your mop bucket is ready, it’s time to get down to the actual mopping process. Follow these steps to effectively mop your floors:
- Dip the mop: Immerse the mop head into the mop bucket, allowing the fibers or sponge to soak up the cleaning solution.
- Wring out excess water: If your mop has a wringer, use it to remove excess water from the mop head. This will prevent the floors from becoming too wet and reduce the chances of excess moisture damaging your flooring.
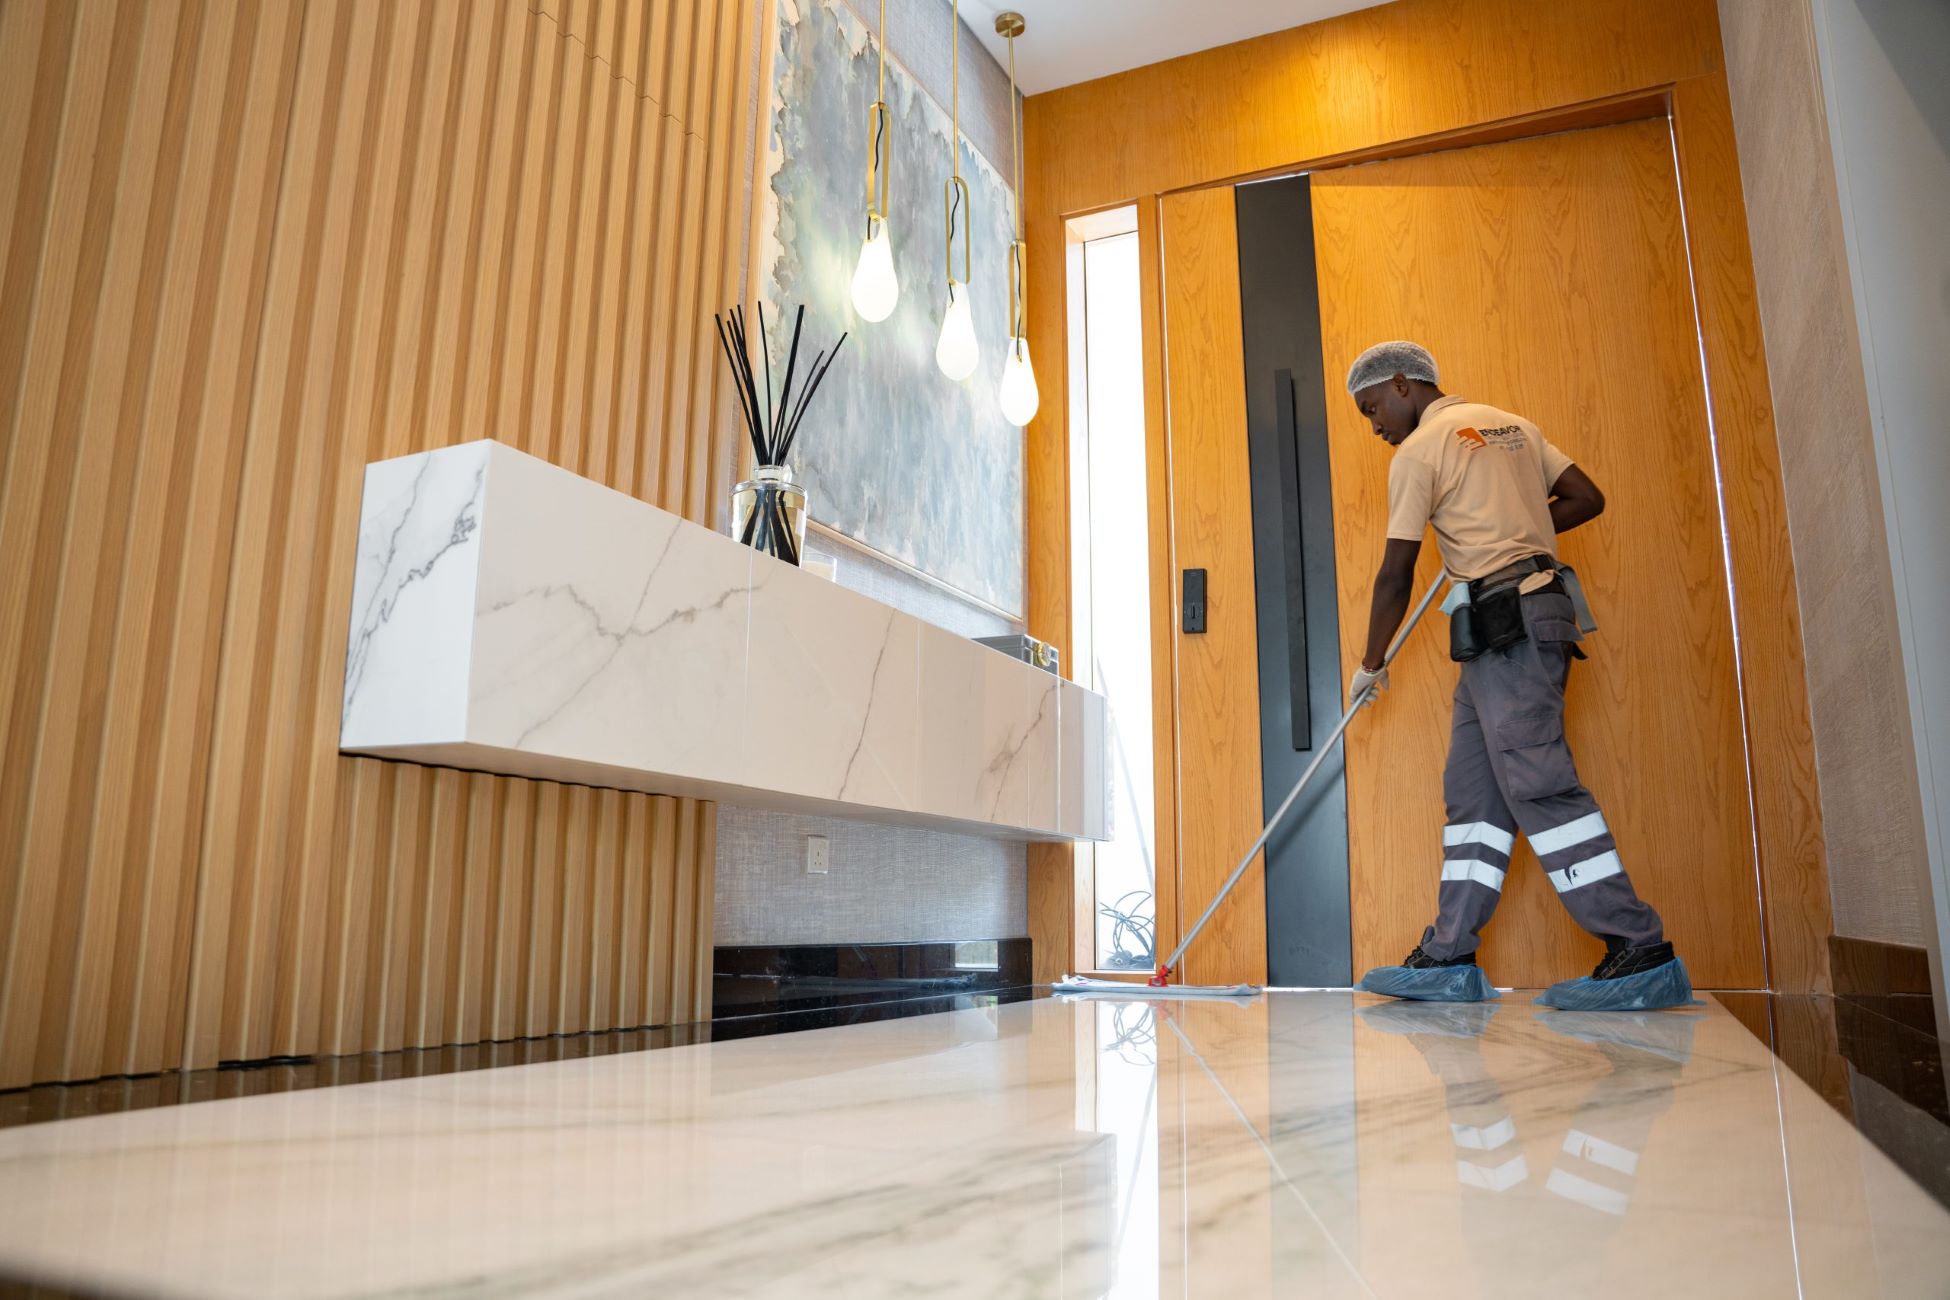
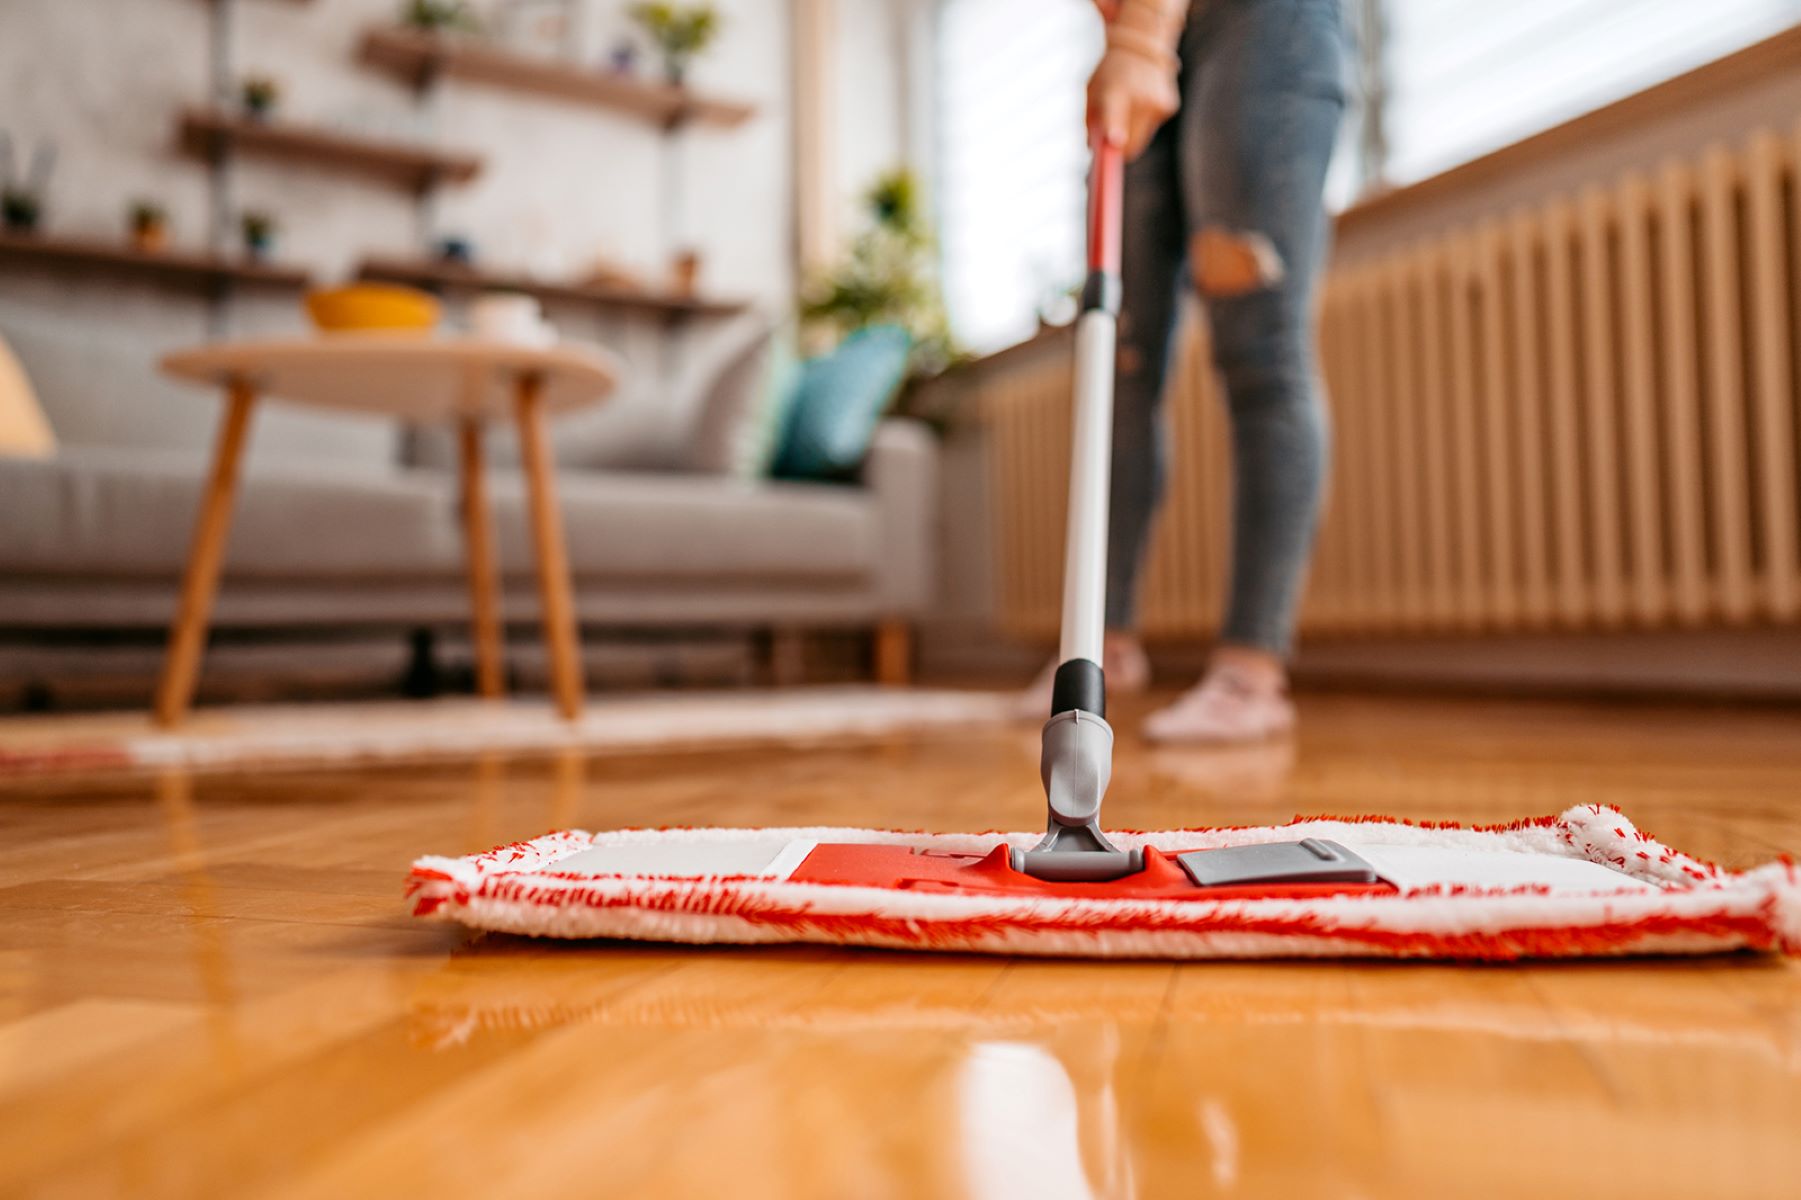
- Start mopping: Begin mopping in a corner of the room, working your way towards the exit. Use long, even strokes and apply gentle pressure to the mop. Remember to mop in a back-and-forth or figure-eight motion, depending on the size and shape of the mop head.
- Overlap your strokes: To ensure full coverage and avoid missing any areas, overlap your mopping strokes. This will help you maintain a consistent clean across the entire floor surface.
- Pivot your mop: As you move along, periodically pivot your mop to ensure you are using a clean area of the mop head. This will prevent dirt and grime from being spread around.
- Address tough spots: If you encounter a particularly dirty or sticky area, spend some extra time and effort to remove the grime. You may need to apply a bit more pressure or scrub gently with the mop to get the desired results.
- Regularly rinse your mop: Depending on the size of the area you’re mopping, you may need to rinse your mop in the bucket and wring it out periodically to maintain cleanliness and effectiveness.
Continue mopping the entire floor, working your way towards the exit. Take breaks if needed, but try to maintain a consistent cleaning pace to achieve a uniform result. Once you’ve finished mopping, it’s time to move on to the next step: rinsing the mop.
Read more: How To Mop Bathroom Floor
Step 5: Rinse the mop
After completing the mopping process, it’s important to rinse your mop to remove any dirt, grime, or cleaning solution residue. Follow these steps to effectively rinse your mop:
- Fill a sink or bucket with clean water: Choose a sink or a separate bucket and fill it with clean water. The water should be enough to fully submerge the mop head.
- Dip and rinse the mop: Submerge the mop head into the clean water, allowing it to soak for a few seconds. This will help loosen and remove any residual dirt or cleaning solution.
- Agitate the mop: Gently move the mop up and down or swish it around in the clean water to release any trapped dirt or residue. Repeat this process a few times to ensure a thorough rinsing.
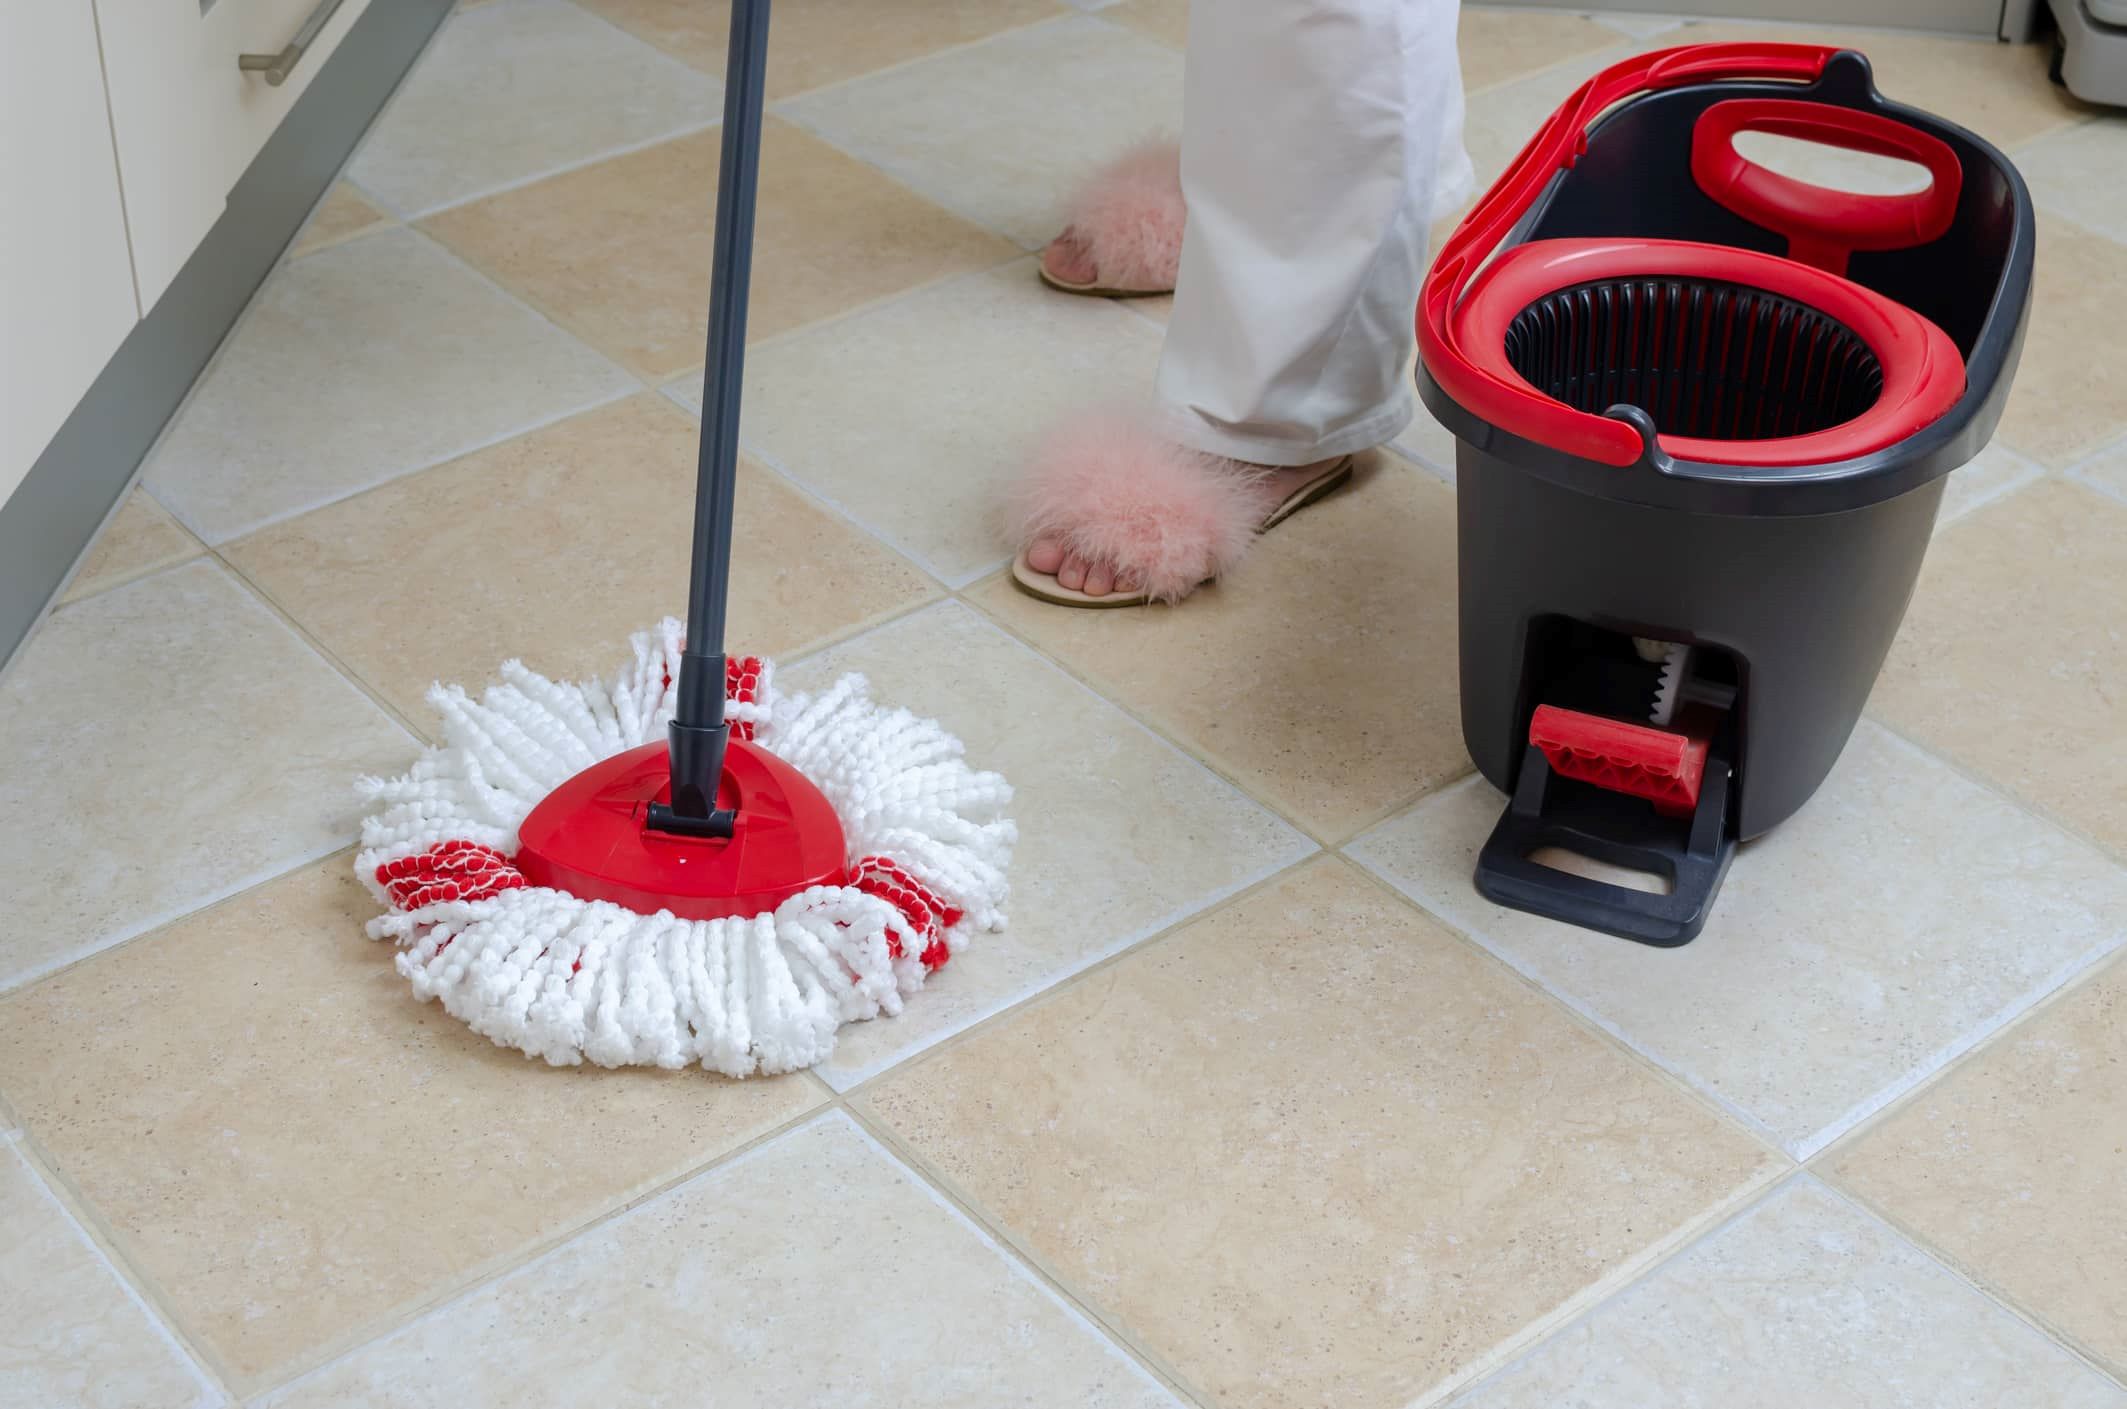
- Wring out excess water: Once you’ve rinsed the mop, use a mop wringer or squeeze it tightly to remove excess water. The mop should be damp but not dripping wet.
- Hang the mop to dry: Hang the mop in a well-ventilated area or prop it up against a wall with the mop head facing downward. Allowing the mop to air dry will prevent the growth of bacteria or mildew.
It’s important to rinse the mop thoroughly to ensure that no cleaning solution residue remains on the mop head. This will help maintain the cleanliness and effectiveness of the mop for future use.
With the mop rinsed and hanging to dry, you’re almost done. The final step involves cleaning and storing your supplies properly. Let’s move on to Step 6.
Step 6: Clean and store the supplies
Once you have completed the mopping process and rinsed the mop, it’s important to clean and store your supplies properly. Proper maintenance of your cleaning tools will extend their lifespan and ensure they are ready for the next cleaning session. Follow these steps to clean and store your supplies:
- Empty the mop bucket: Dispose of the dirty mop water in a sink or down a drain. Rinse the bucket with hot water to remove any remaining residue.
- Clean the mop head: If your mop head is removable and washable, follow the manufacturer’s instructions to clean it properly. This may involve washing it in the washing machine or hand washing it with mild detergent and warm water.
- Clean the mop handle: Wipe down the mop handle with a damp cloth to remove any dirt or residue. Pay attention to any sticky or greasy areas and use a mild cleaning solution if necessary.
- Dry the mop: Ensure that both the mop head and handle are completely dry before storing them. Excess moisture can lead to the growth of mold or bacteria.
- Store the supplies: Find a designated storage area for your mop, bucket, and cleaning solution. Make sure the area is clean, dry, and free from any contaminants.
- Inspect and replace: Regularly inspect your mop and bucket for any signs of wear or damage. Replace worn-out mop heads or broken handles to maintain optimal cleaning performance.
Properly cleaning and storing your supplies will help maintain their functionality and integrity. It will also save you time and effort when you’re ready to mop again in the future.
With Step 6 complete, you have successfully mopped the floor and completed all the necessary cleaning steps. Congrats on achieving a fresh, clean floor! Remember to repeat this process regularly to keep your floors looking their best.
Conclusion
Congratulations! You have now learned how to effectively mop your floors and achieve a clean and fresh living or working space. By following the steps outlined in this guide, you can confidently tackle your mopping tasks and maintain the cleanliness and hygiene of your floors.
Remember that proper preparation, including gathering the necessary supplies and preparing the floor, is crucial to ensure a successful mopping session. Diluting the cleaning solution correctly and selecting the appropriate tools will maximize your cleaning efficiency.
When it comes to mopping, using the right techniques is equally important. Starting from a corner and working your way towards the exit, overlapping your strokes, and addressing tough spots are all key elements for achieving a thorough clean. Regularly rinsing your mop in clean water will help maintain its effectiveness and prevent the spread of dirt and grime.
After completing your mopping task, it’s essential to rinse and clean your mop, as well as store your supplies properly. This will ensure that they remain in good condition and ready for your next cleaning session.
Now that you have the knowledge and skills to mop your floors like a pro, you can enjoy clean and inviting spaces. Regular mopping will not only keep your floors looking great but also contribute to a healthier environment by removing allergens, dust, and dirt.
So, go ahead and put your newfound expertise into practice. Embrace the clean and fresh feeling that comes with a well-mopped floor. Happy mopping!
Frequently Asked Questions about How To Mop The Floor
Was this page helpful?
At Storables.com, we guarantee accurate and reliable information. Our content, validated by Expert Board Contributors, is crafted following stringent Editorial Policies. We're committed to providing you with well-researched, expert-backed insights for all your informational needs.

0 thoughts on “How To Mop The Floor”