Home>Home Appliances>Cleaning Appliances>How To Mop A Floor

Cleaning Appliances
How To Mop A Floor
Modified: March 24, 2024
Learn the best techniques for mopping a floor with our expert cleaning appliance tips. Keep your floors sparkling clean with our easy-to-follow instructions.
(Many of the links in this article redirect to a specific reviewed product. Your purchase of these products through affiliate links helps to generate commission for Storables.com, at no extra cost. Learn more)
Introduction
Cleaning your floors is an essential part of maintaining a tidy and hygienic home. Whether you have hardwood, tile, laminate, or linoleum floors, regular mopping helps to remove dirt, grime, and spills, leaving your floors sparkling clean. However, achieving a truly spotless floor requires more than just a quick once-over with a mop. In this comprehensive guide, we will explore the step-by-step process of mopping a floor effectively, ensuring that your cleaning efforts yield impressive results.
Mopping not only enhances the appearance of your floors but also contributes to a healthier indoor environment by eliminating bacteria and allergens. By following the techniques outlined in this article, you can elevate your cleaning routine and maintain a fresh and inviting living space for you and your family.
So, let's dive into the world of floor mopping, where we will discover the best practices, essential supplies, and expert tips to achieve pristine floors in your home. Whether you're a seasoned cleaning enthusiast or a novice looking to enhance your skills, this guide is designed to equip you with the knowledge and confidence to tackle floor mopping like a pro.
Key Takeaways:
- Mopping is more than just a chore – it’s a transformative practice that revitalizes your home, creating a hygienic and welcoming environment for you and your loved ones.
- From gathering supplies to finishing touches, mastering the art of mopping ensures flawlessly clean floors that reflect your dedication to a pristine living space.
Read more: How To Mop The Floor
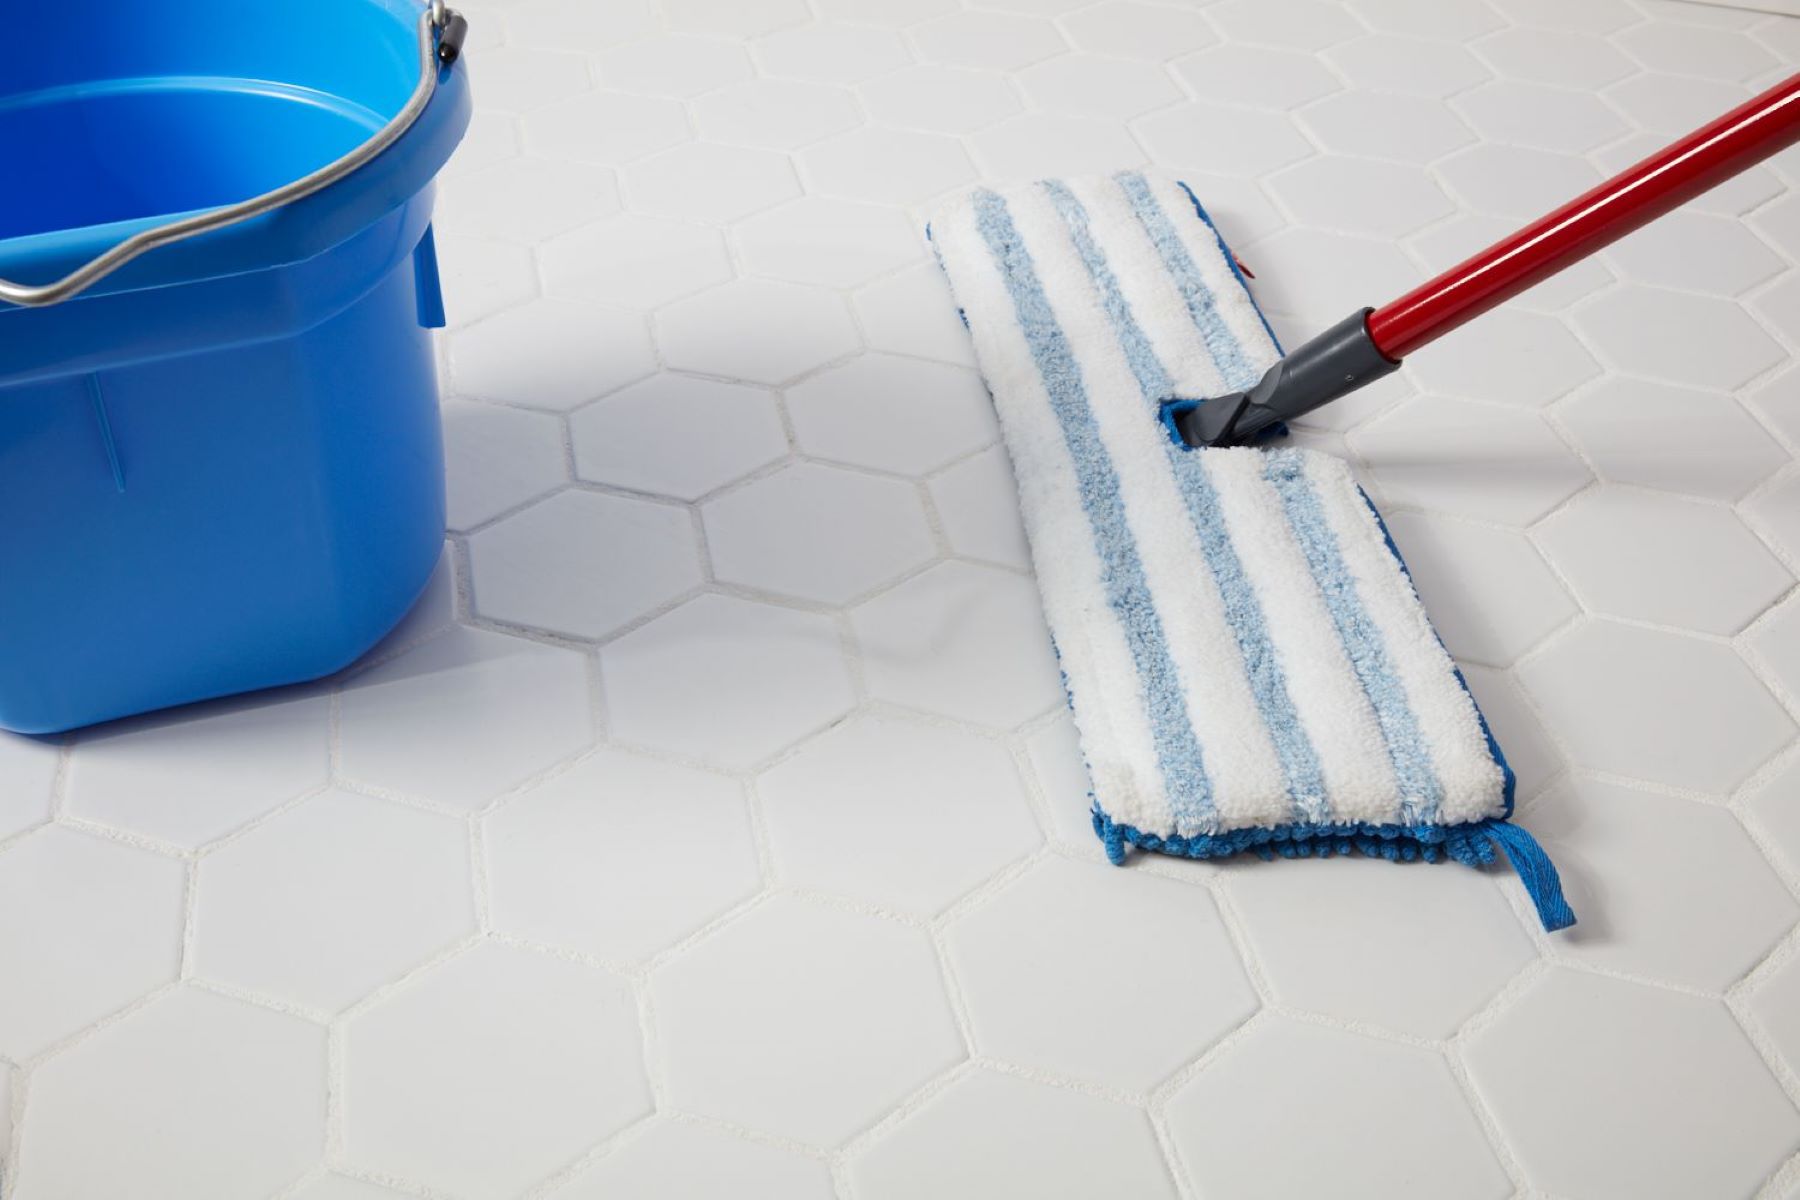
Gather Your Supplies
Before diving into the mopping process, it’s crucial to gather all the necessary supplies. Having the right tools and cleaning agents at your disposal will streamline the mopping process and ensure thorough and effective results.
Here’s a list of essential supplies to gather before you begin:
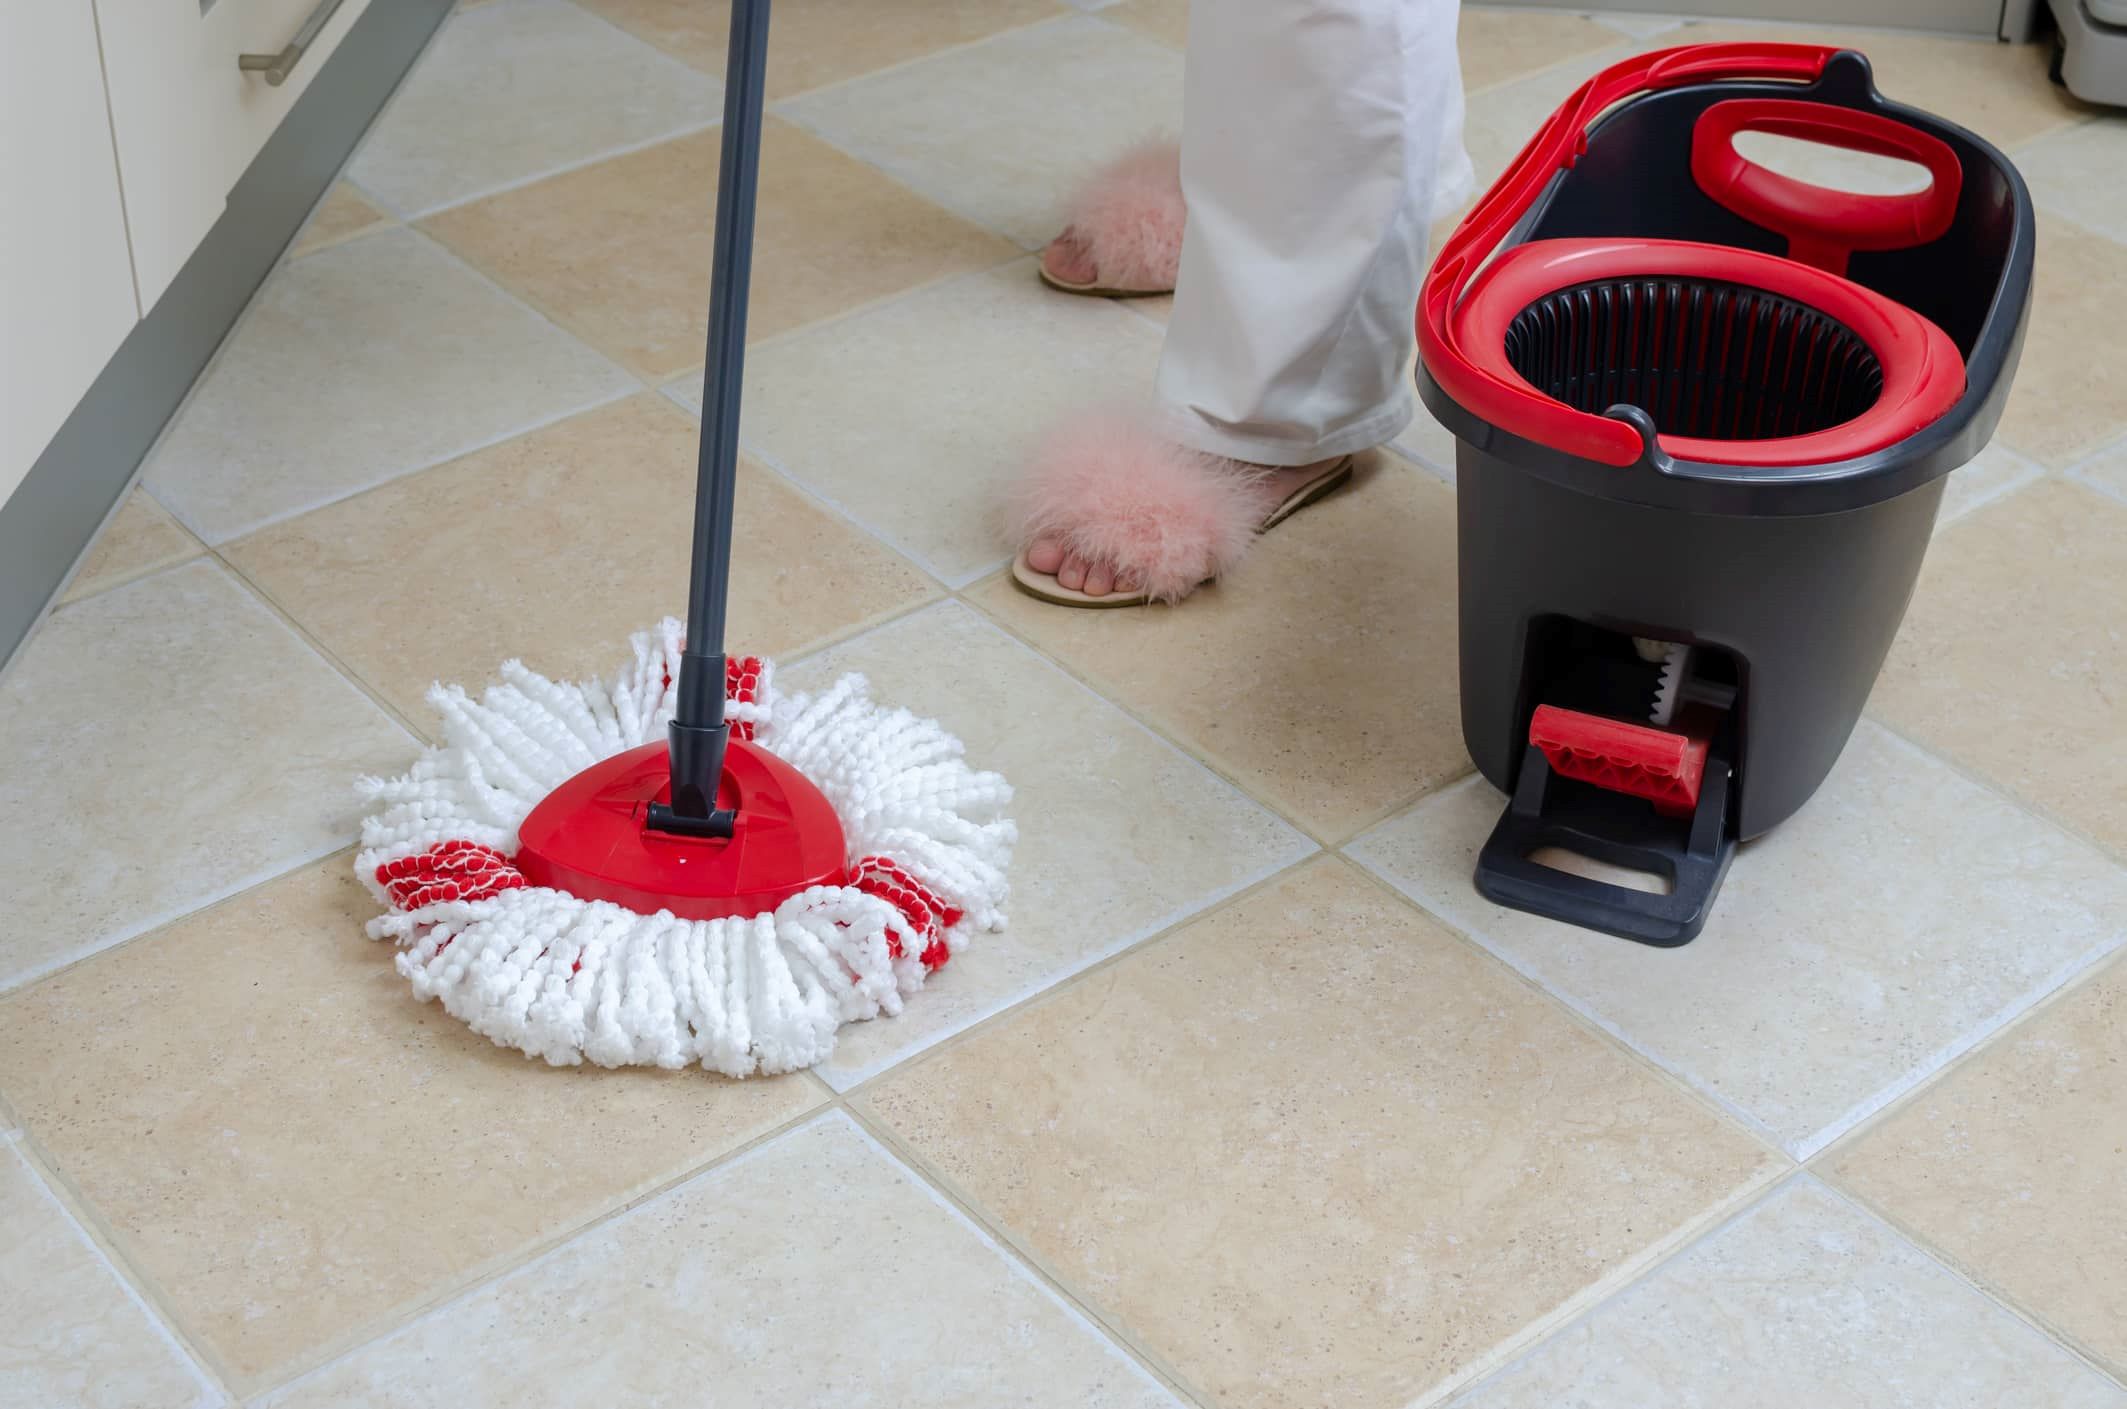
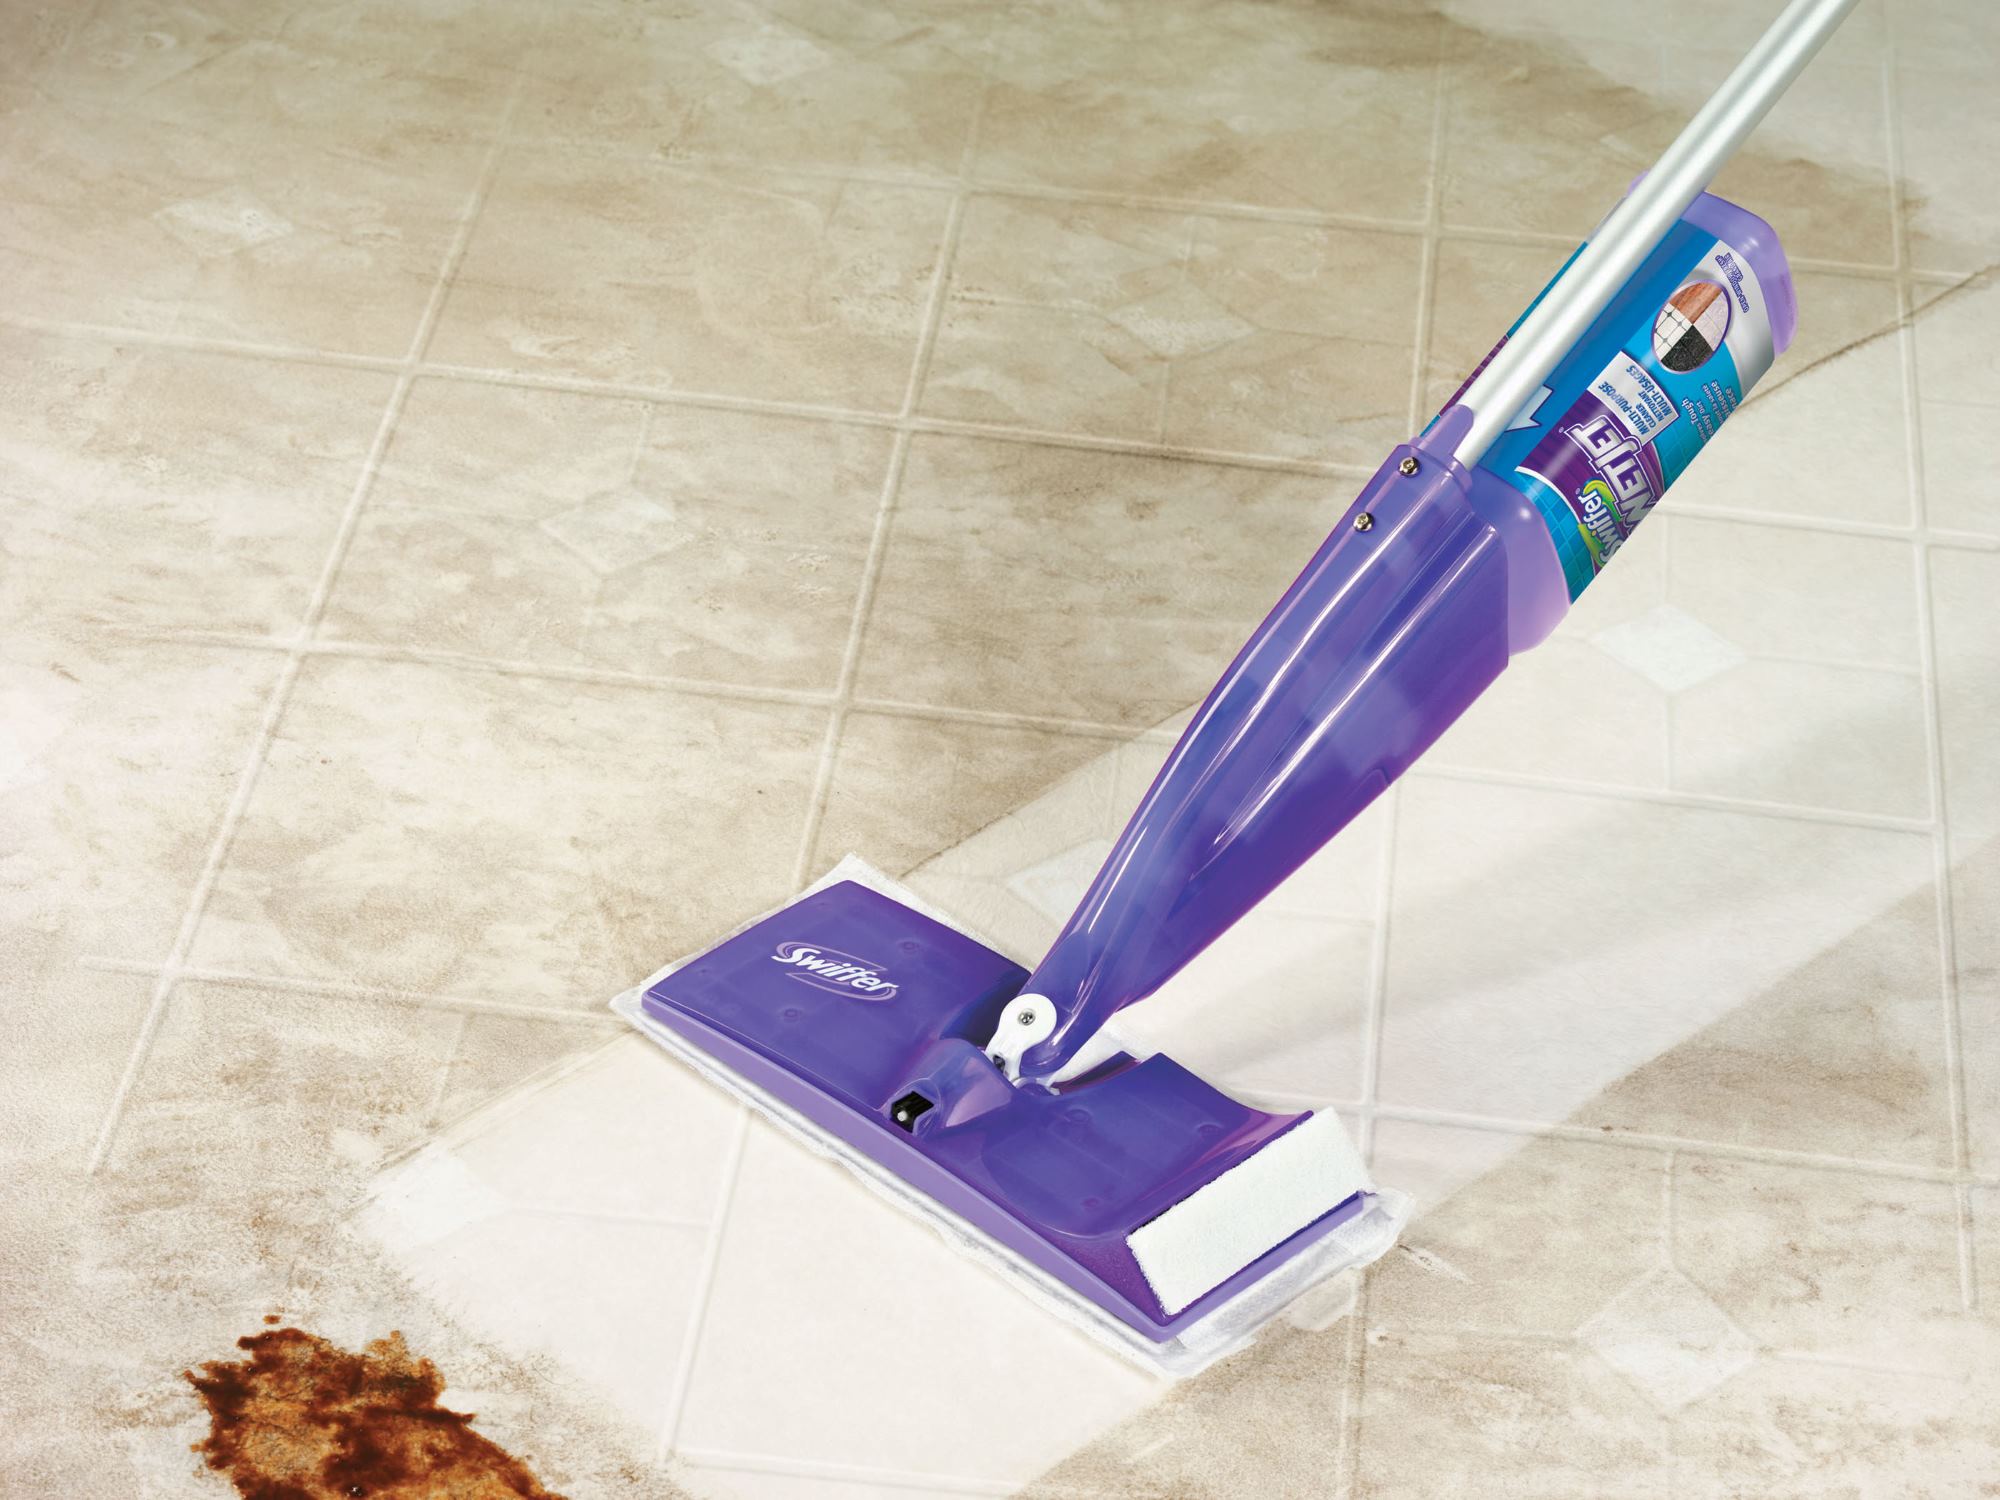
- Mop: Select a mop that is suitable for your specific flooring type. For example, microfiber mops are ideal for hardwood floors, while sponge mops work well on tile and linoleum.
- Bucket: Choose a sturdy bucket that is large enough to accommodate the mop and cleaning solution. A bucket with a built-in wringer can make the rinsing process more convenient.
- Cleaning Solution: Depending on your floor type, you can opt for a commercial floor cleaner, a mild detergent, or a homemade cleaning solution. Be sure to follow the manufacturer’s recommendations for dilution ratios.
- Protective Gloves: If you have sensitive skin or are using cleaning agents that may irritate your skin, wearing protective gloves is advisable.
- Microfiber Cloths: These are handy for spot-cleaning stubborn stains or spills before mopping.
- Furniture Pads or Sliders: To protect your floors and make moving furniture easier when mopping, consider using furniture pads or sliders.
- Room Fans or Natural Ventilation: Ensuring adequate ventilation during and after mopping helps expedite the drying process and prevents moisture-related issues.
By assembling these supplies beforehand, you’ll be well-prepared to tackle the mopping process efficiently and achieve optimal cleaning outcomes. With your supplies in hand, you’re ready to move on to the next steps in the mopping journey.
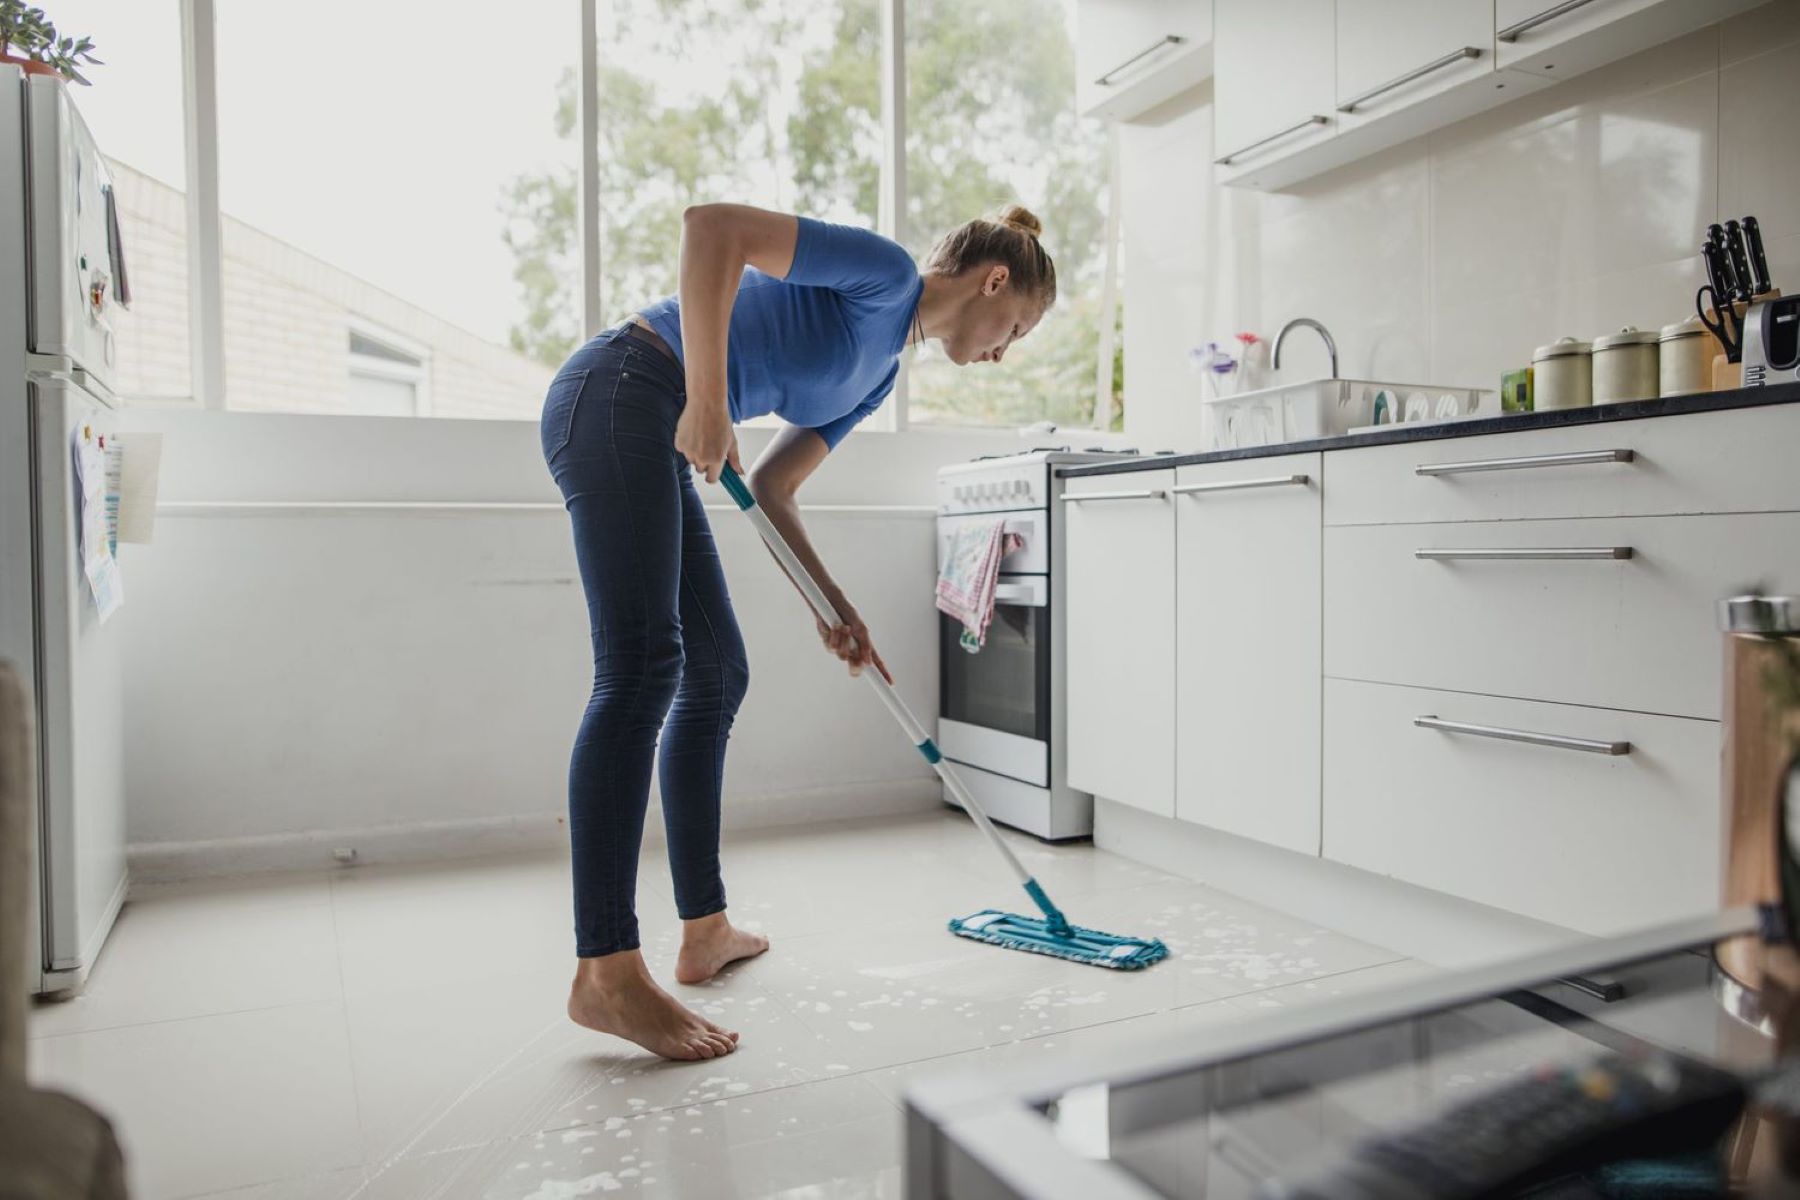
Prepare the Floor
Before delving into the mopping process, it’s essential to prepare the floor to ensure that the cleaning efforts yield the best possible results. Proper preparation sets the stage for effective dirt and grime removal, leaving your floors gleaming and spotless.
Here are the key steps to prepare your floor for mopping:
- Clear the Area: Remove any obstacles, such as furniture, area rugs, or objects that could obstruct the mopping path. Clearing the floor space allows for unimpeded movement and thorough cleaning.
- Sweep or Vacuum: Prior to mopping, it’s crucial to eliminate loose debris, dust, and hair from the floor surface. Use a broom, vacuum, or a dust mop to remove these particles, ensuring that the mopping process focuses on deep cleaning rather than surface debris removal.
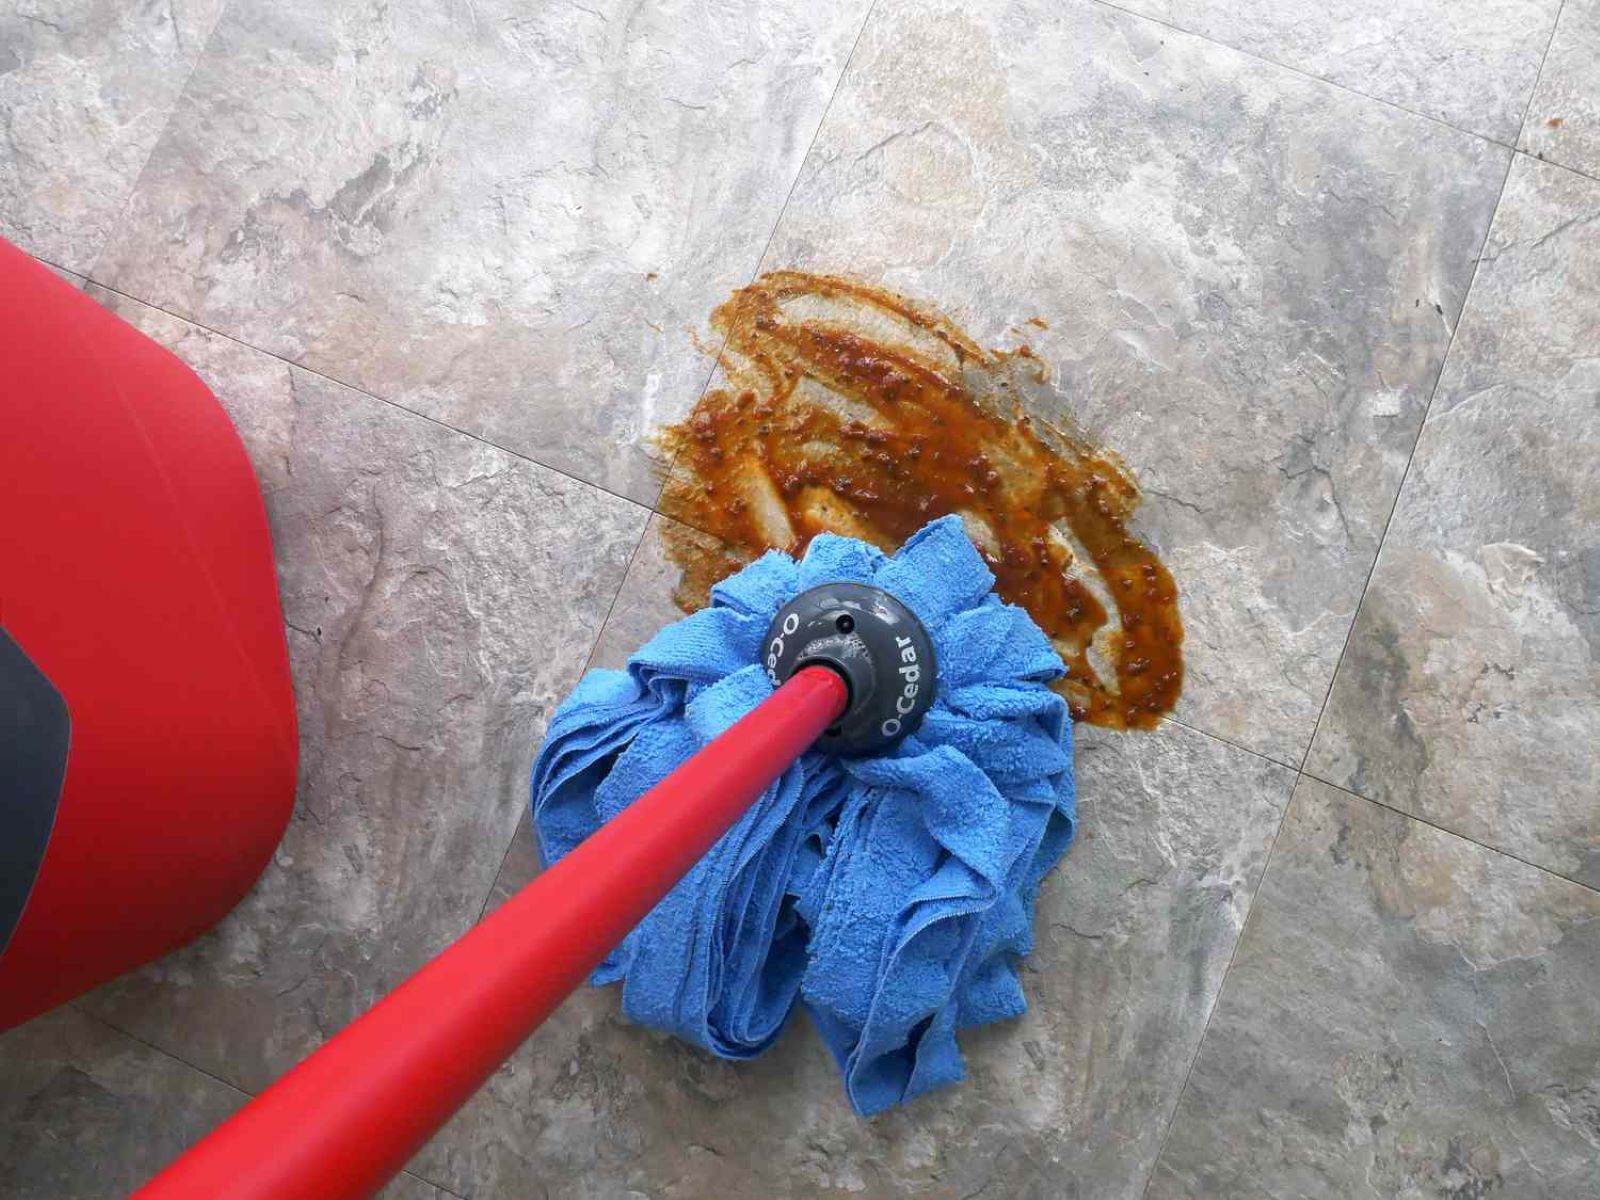
- Address Spills and Stains: If there are any visible spills, stains, or sticky residues on the floor, address them before proceeding with mopping. Use a suitable cleaner or spot-treatment method to loosen and remove stubborn stains, ensuring that the mopping process can effectively lift any remaining residue.
- Protect Baseboards and Electrical Outlets: To prevent water or cleaning solution from damaging baseboards or seeping into electrical outlets, consider using painter’s tape or protective covers to shield these vulnerable areas during the mopping process.
- Check for Floor Damage: Take a moment to inspect the floor for any signs of damage, such as loose tiles, cracks, or gaps. Addressing these issues before mopping can prevent exacerbating existing problems and maintain the integrity of your flooring.
By meticulously preparing the floor before mopping, you set the stage for a thorough and effective cleaning process. This proactive approach maximizes the impact of your mopping efforts, ensuring that your floors receive the attention they deserve. With the floor primed and ready, you’re now prepared to move on to the next steps in the mopping journey.
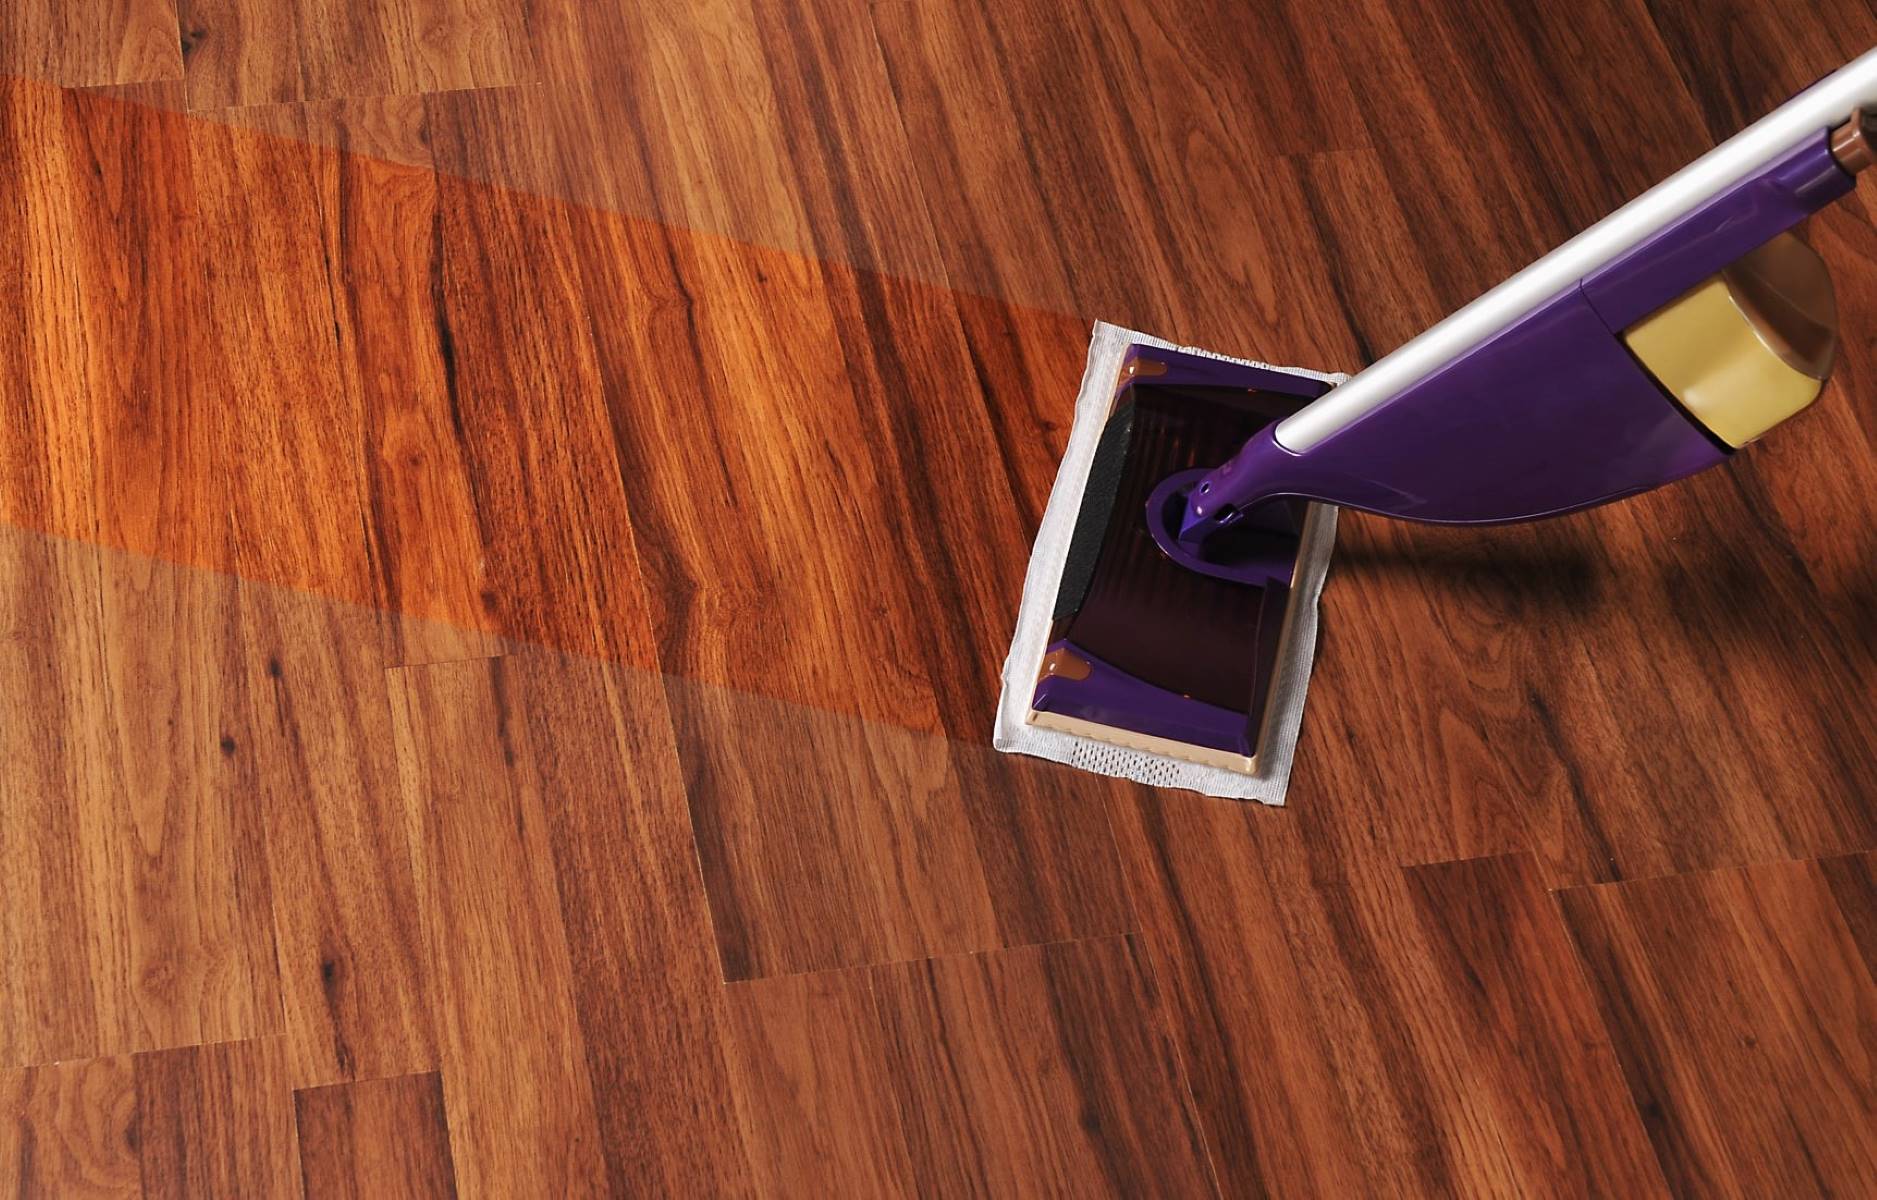
Mix Your Cleaning Solution
Creating the right cleaning solution is a crucial step in the mopping process, as it directly impacts the cleanliness and appearance of your floors. The type of cleaning solution you use will depend on the flooring material and any specific cleaning requirements or restrictions. Whether you opt for a commercial cleaner, a homemade solution, or a mild detergent, it’s important to mix the cleaning solution properly to achieve optimal results.
Here’s a guide to mixing your cleaning solution effectively:
- Read the Manufacturer’s Instructions: If you’re using a commercial floor cleaner, carefully read and follow the manufacturer’s instructions regarding dilution ratios and usage guidelines. Adhering to these recommendations ensures that you achieve the desired cleaning efficacy without risking damage to your floors.
- Homemade Cleaning Solutions: If you prefer a DIY approach, there are various homemade cleaning solutions that can effectively clean different types of floors. For example, a simple mixture of water and white vinegar can be suitable for many hard surfaces, while a mild soap solution works well for linoleum or vinyl floors.
- Consider Floor-Specific Needs: Certain flooring materials may have specific cleaning requirements. For example, hardwood floors benefit from pH-neutral or specially formulated wood floor cleaners to preserve their finish and luster. Tailoring your cleaning solution to meet these specific needs can enhance the longevity and appearance of your floors.
- Use Measured Amounts: When mixing your cleaning solution, use precise measurements to ensure consistency and avoid creating a solution that is too diluted or concentrated. Following recommended dilution ratios or recipe guidelines helps maintain the cleaning solution’s effectiveness.
- Test in a Small Area: If you’re using a new cleaning solution or trying a homemade mixture for the first time, consider testing it in a small inconspicuous area of the floor to ensure compatibility and assess its cleaning performance before proceeding with the entire floor.
By taking the time to mix your cleaning solution thoughtfully and in accordance with the specific needs of your floors, you set the stage for a successful mopping experience. The right cleaning solution, when applied correctly, can lift dirt, grime, and stains, leaving your floors impeccably clean and refreshed.
With your cleaning solution mixed and ready, you’re now prepared to embark on the next phase of the mopping process.
Make sure to sweep or vacuum the floor first to remove any loose dirt and debris. Then, use a mop and a cleaning solution to thoroughly clean the floor, working in small sections and rinsing the mop frequently. Finally, allow the floor to air dry before walking on it.
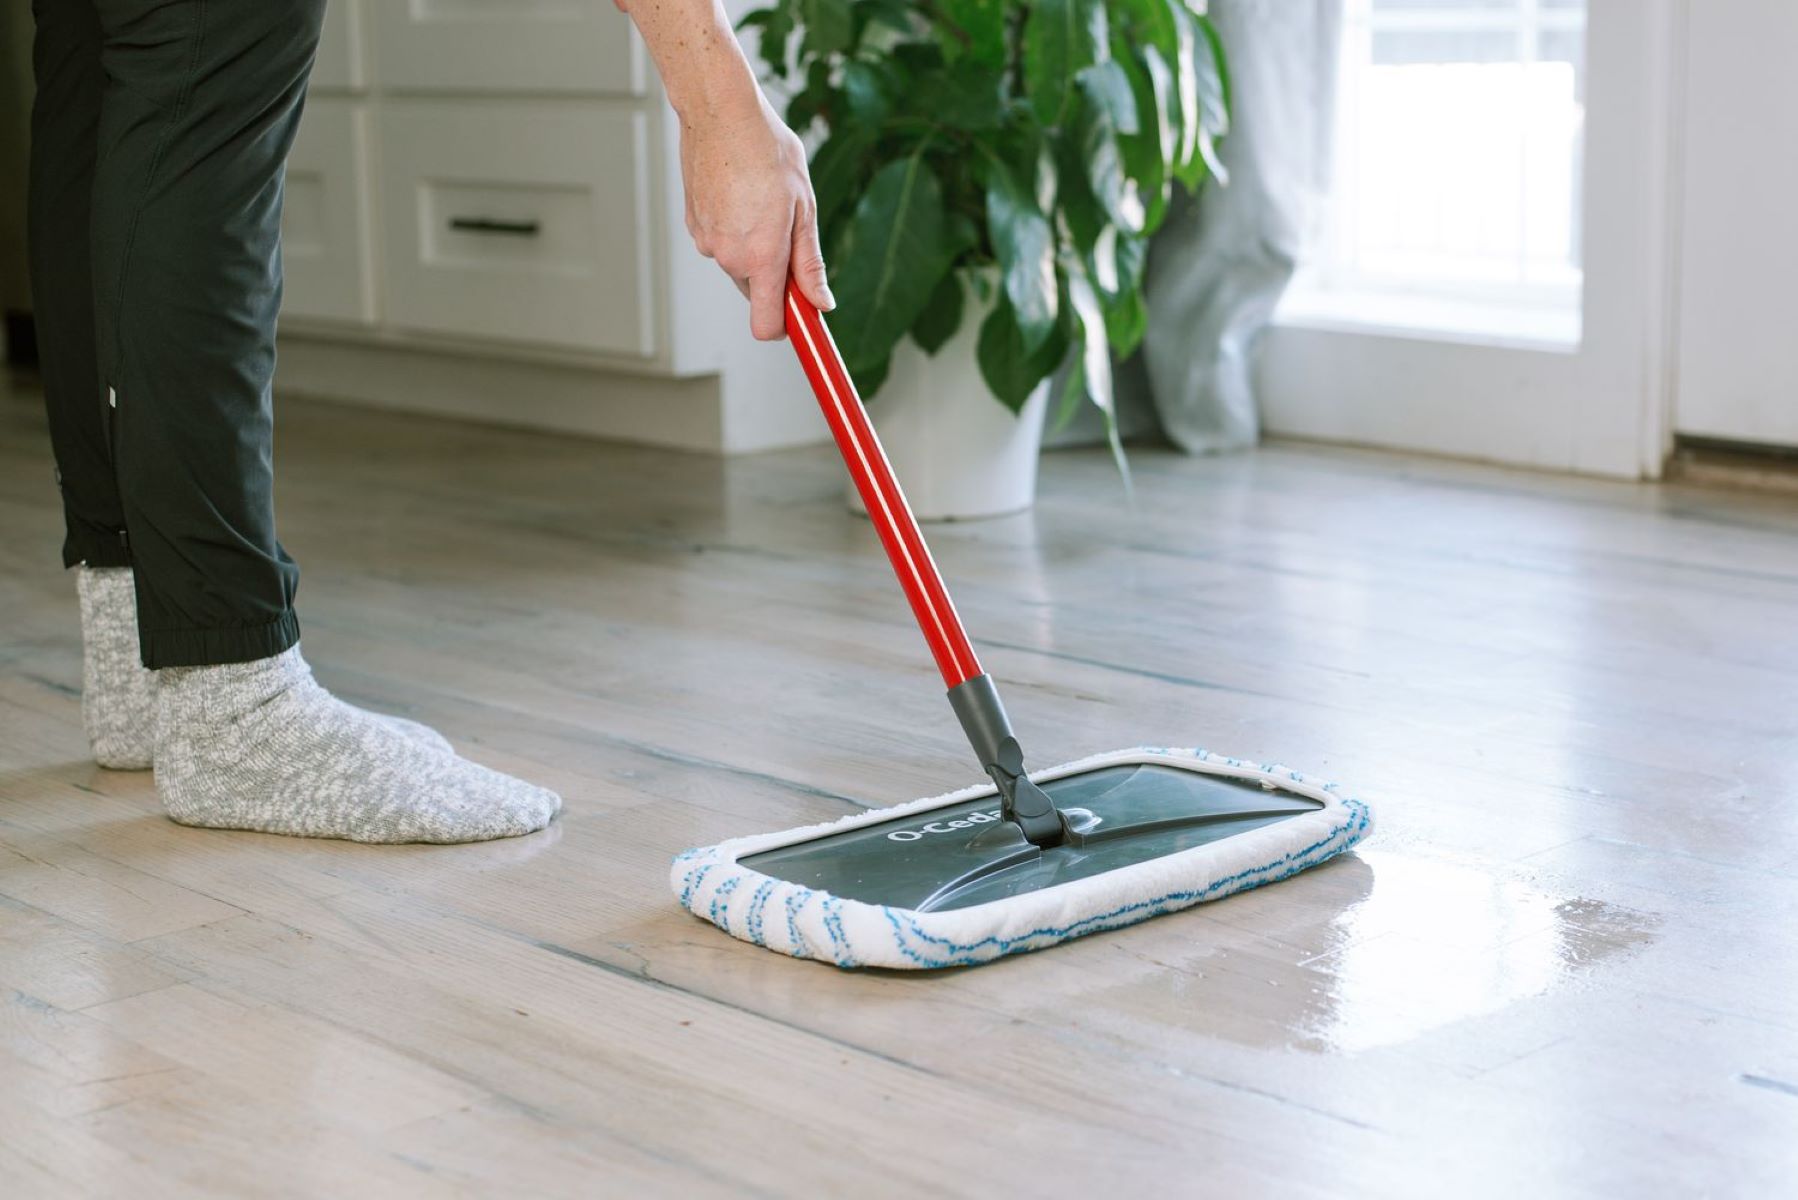
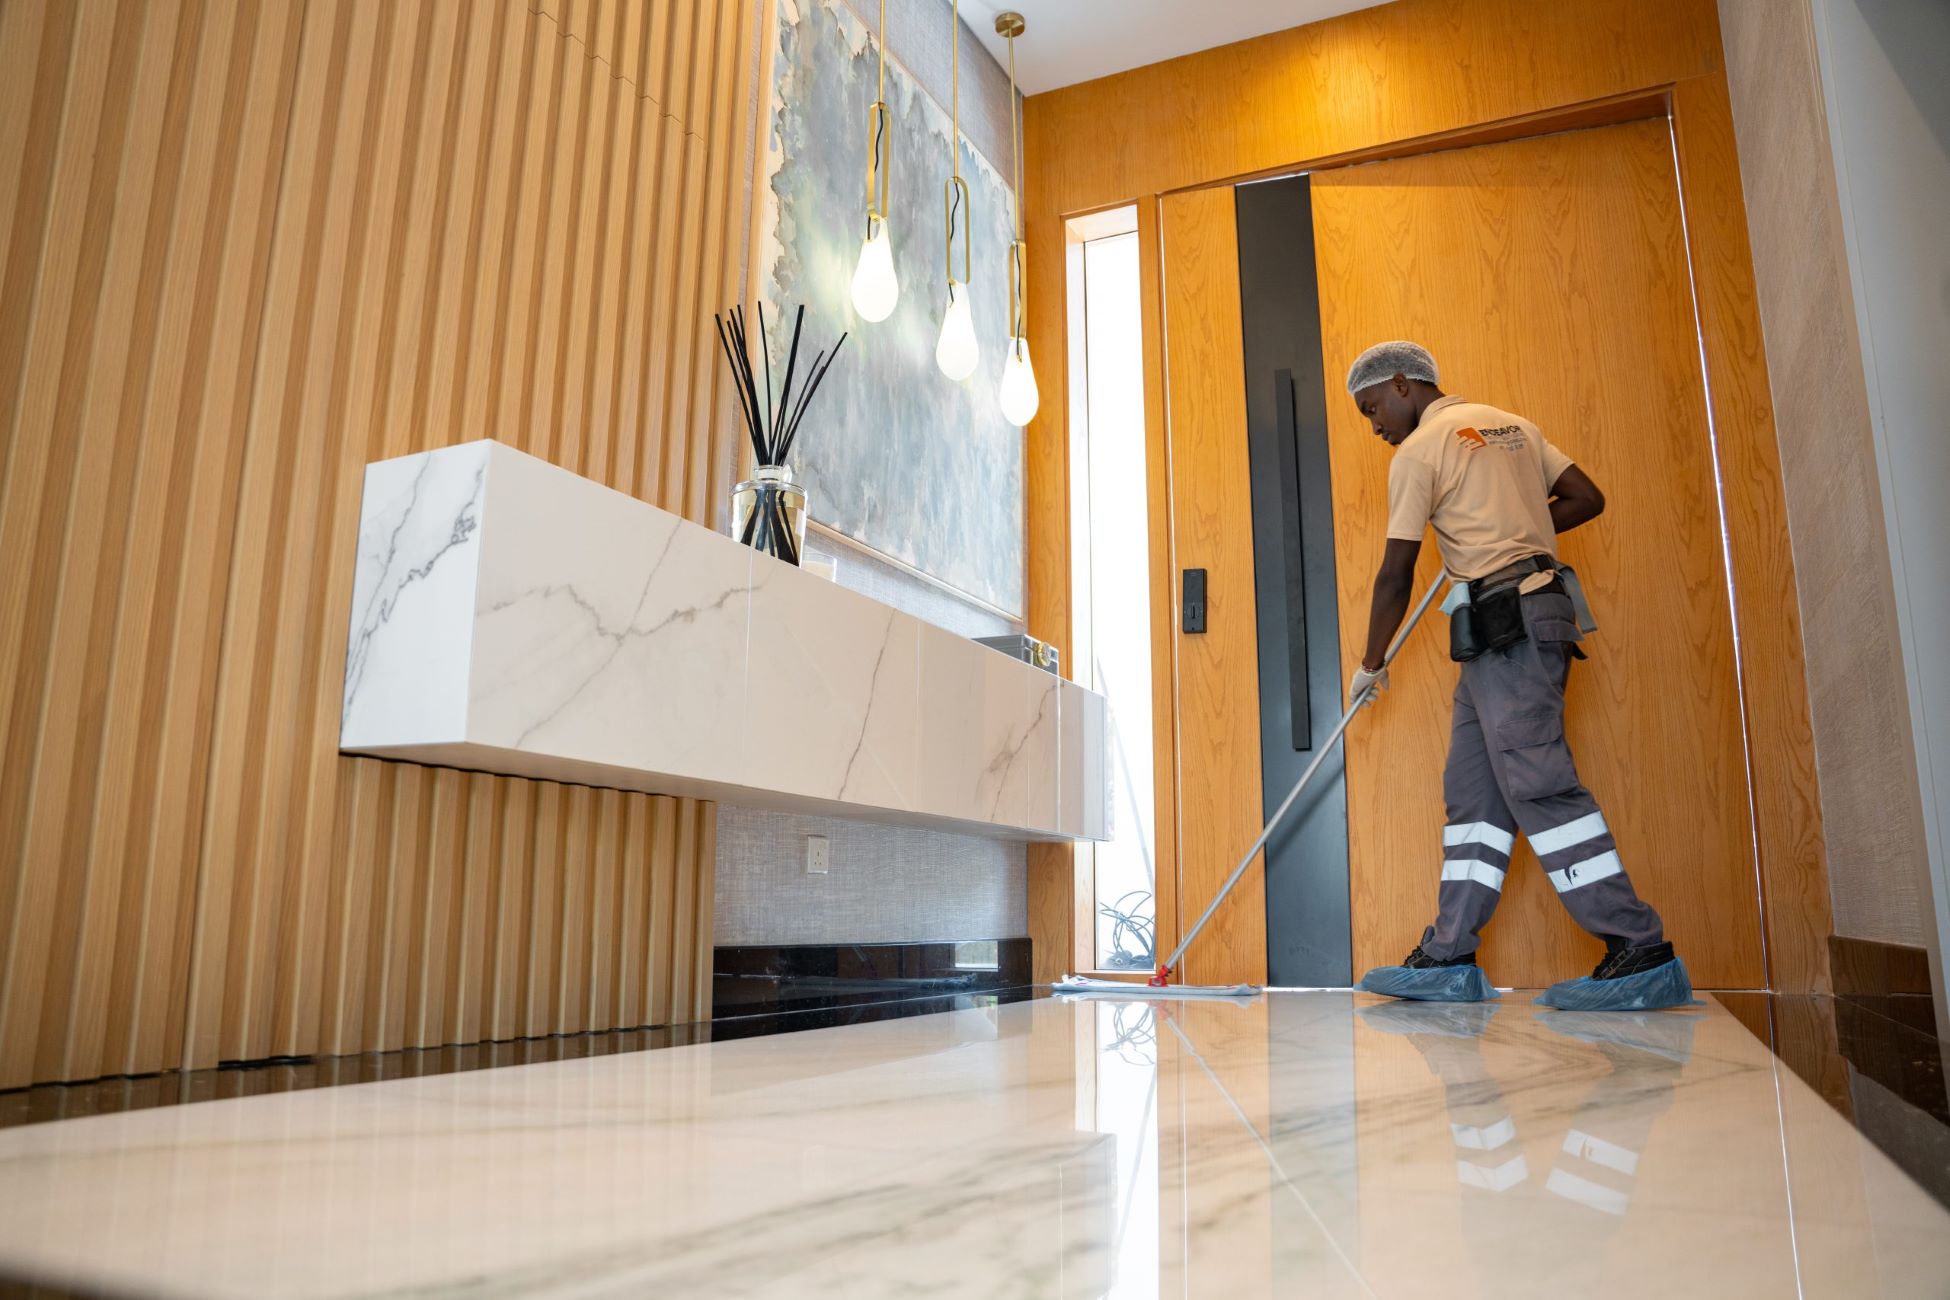
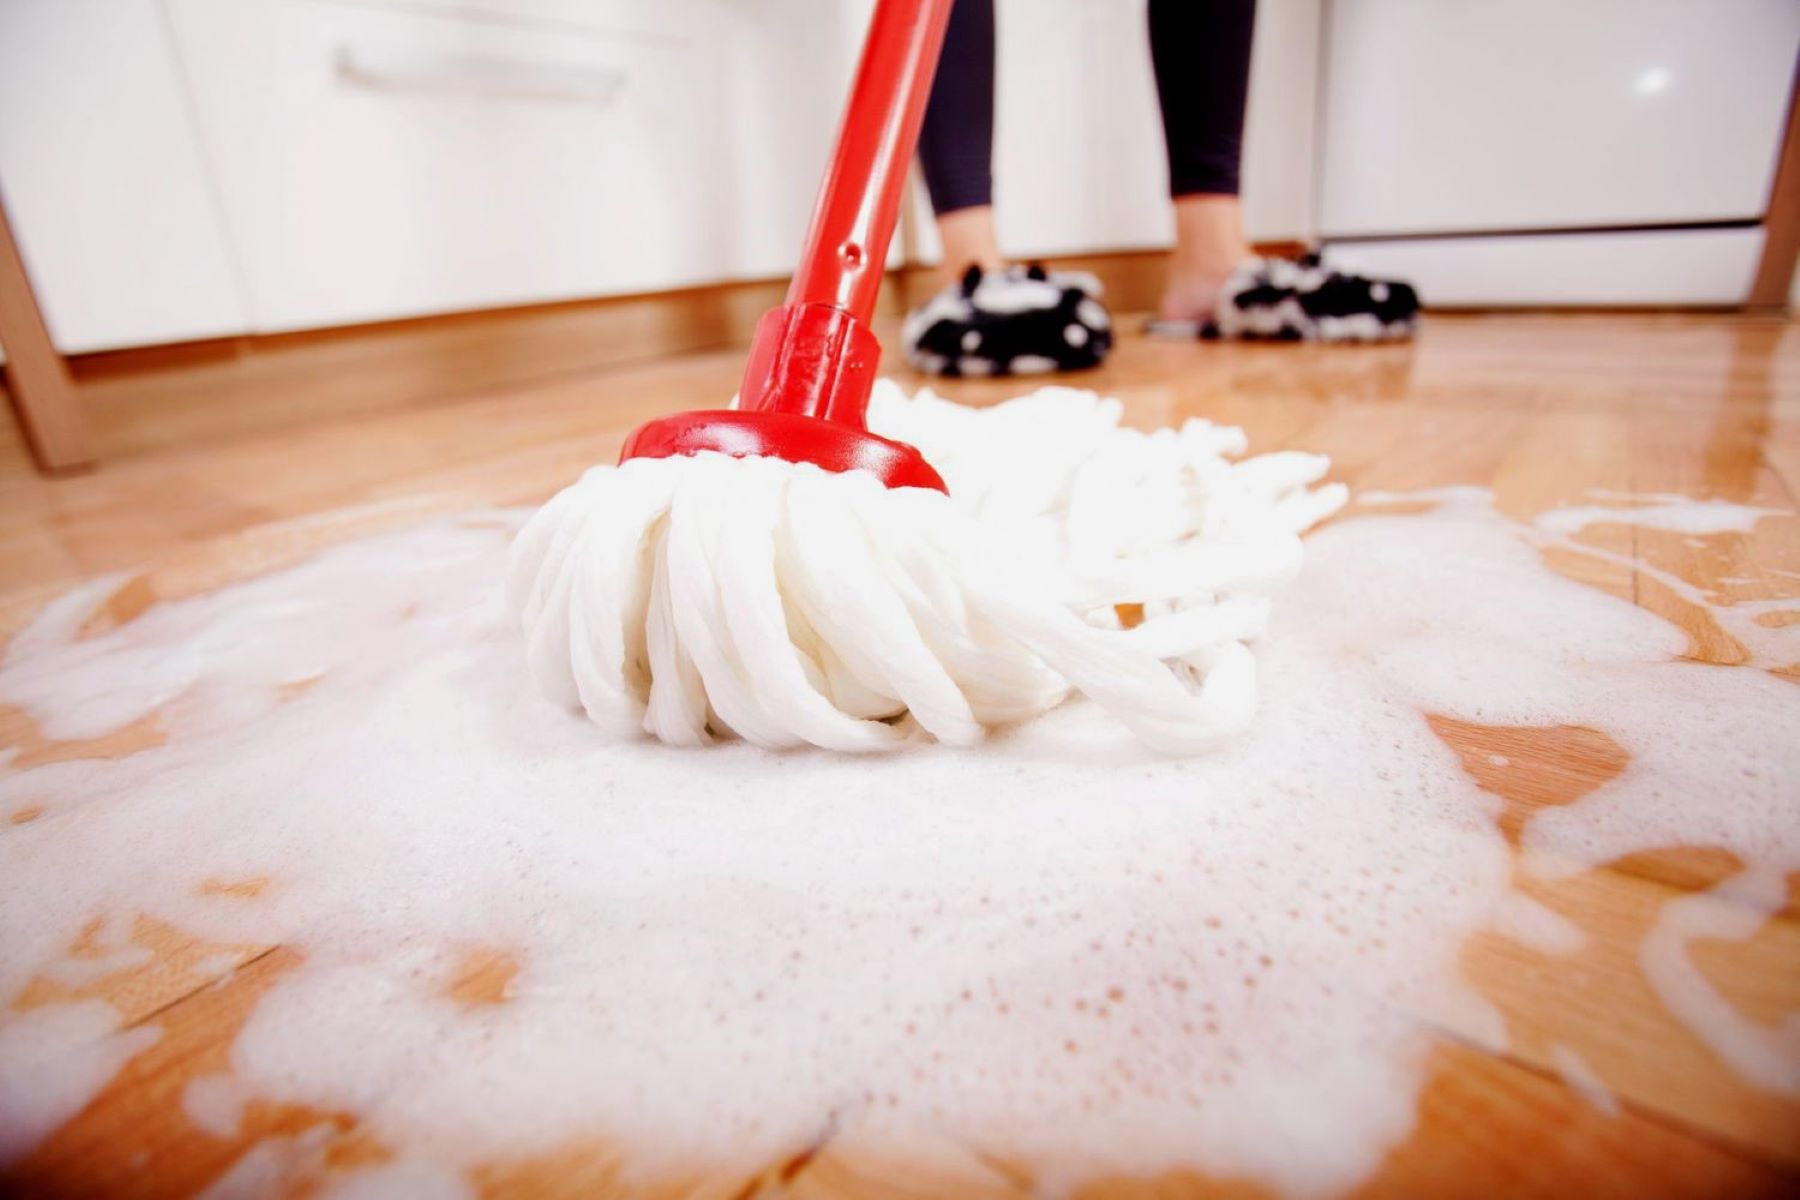
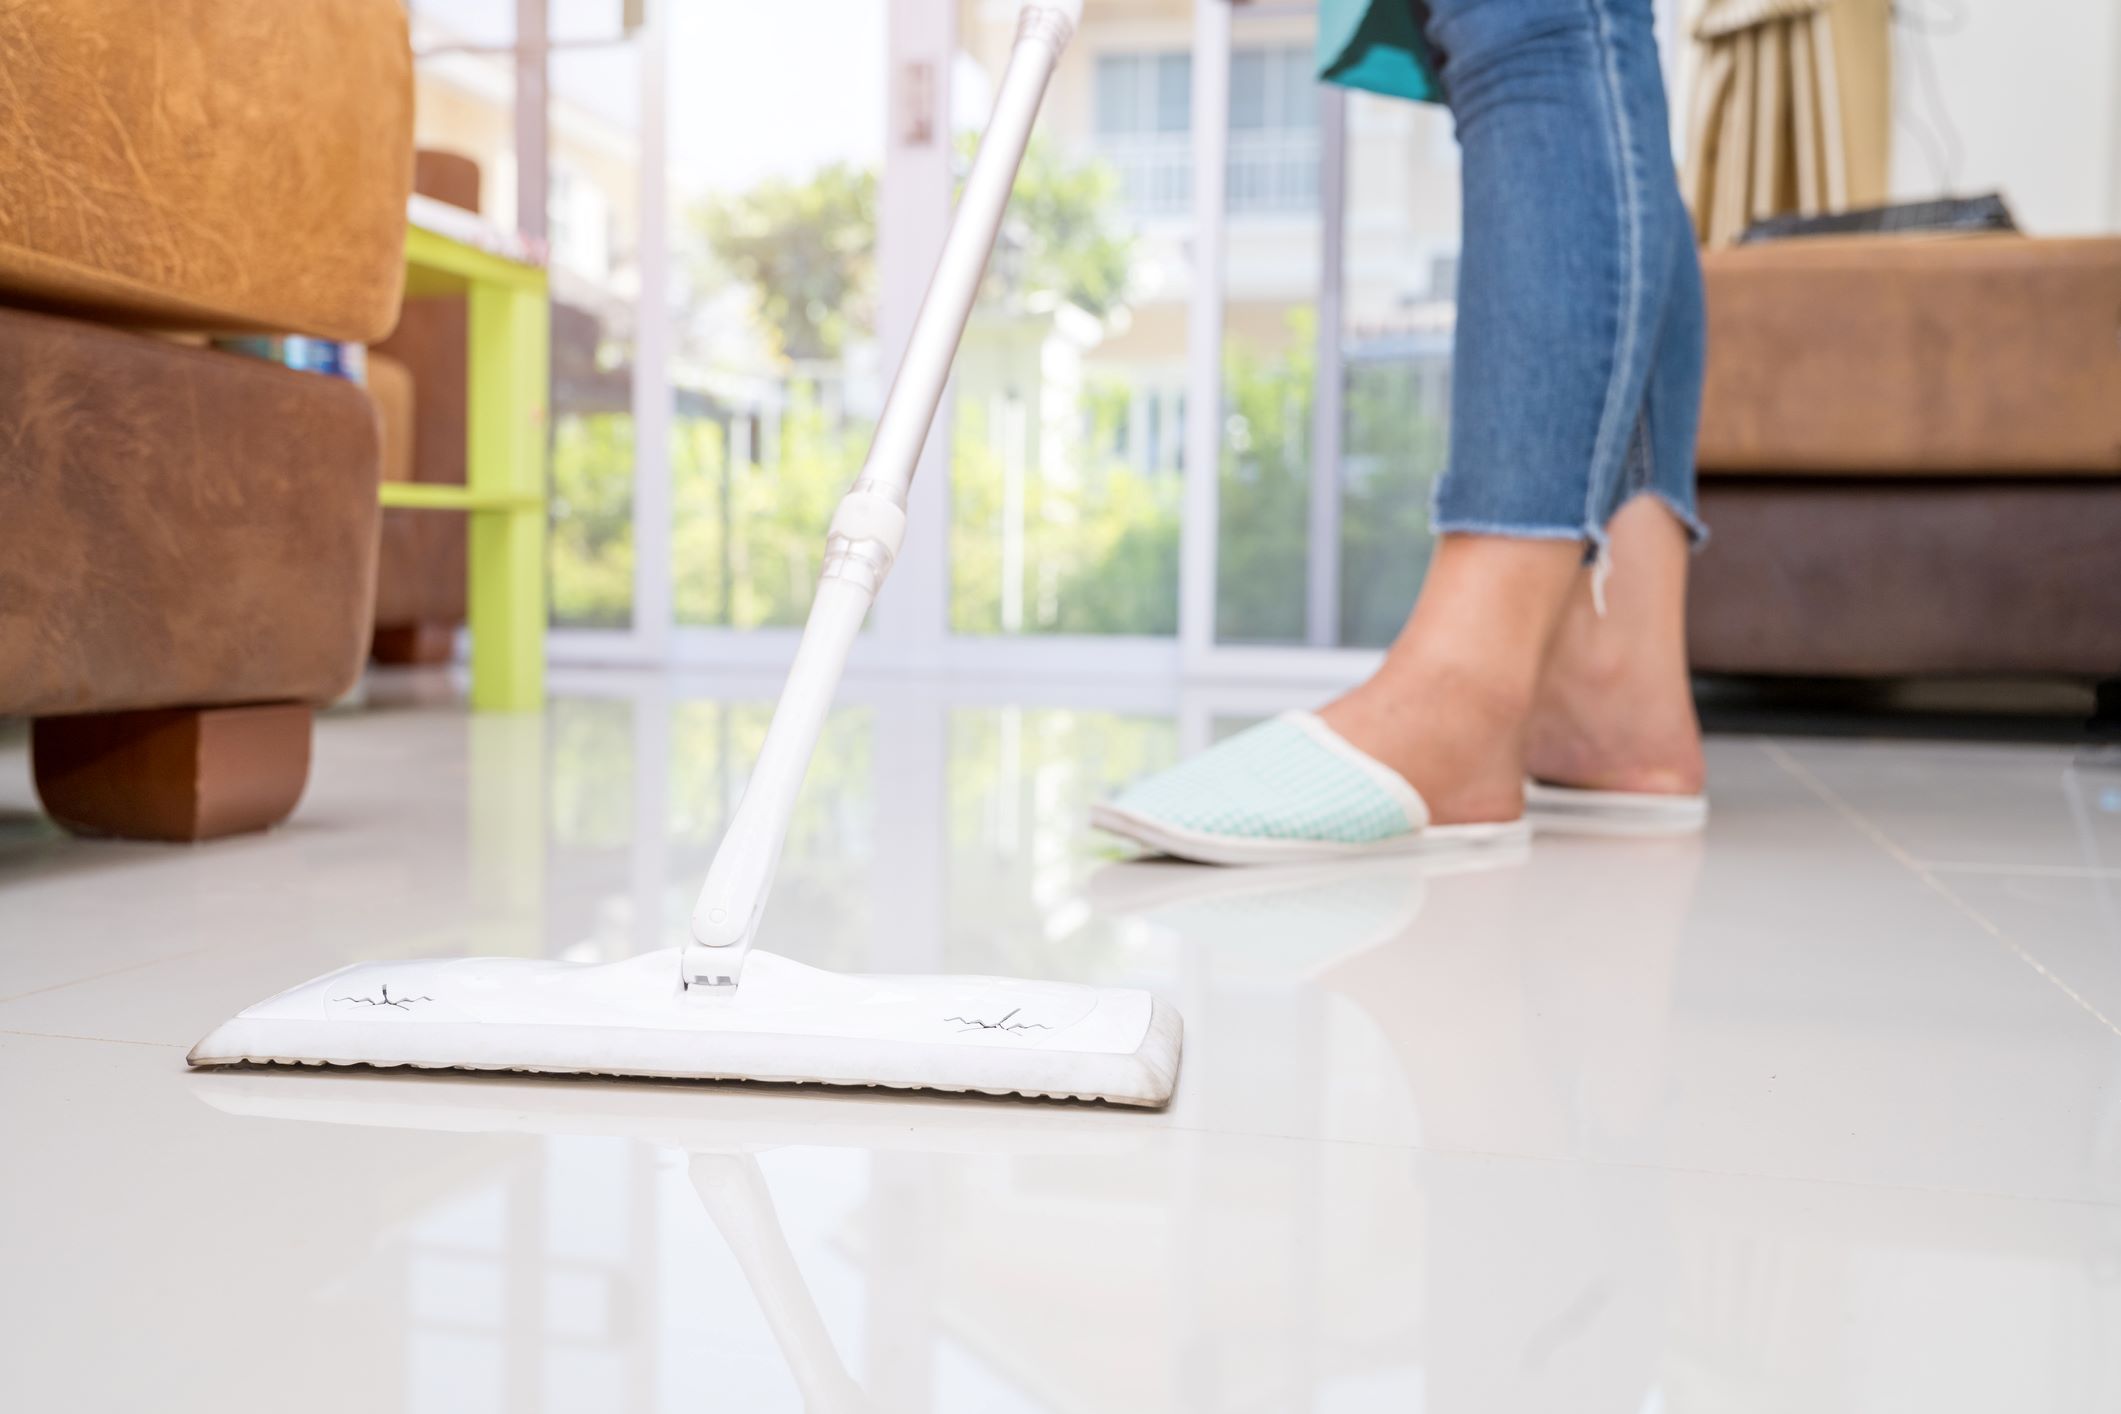
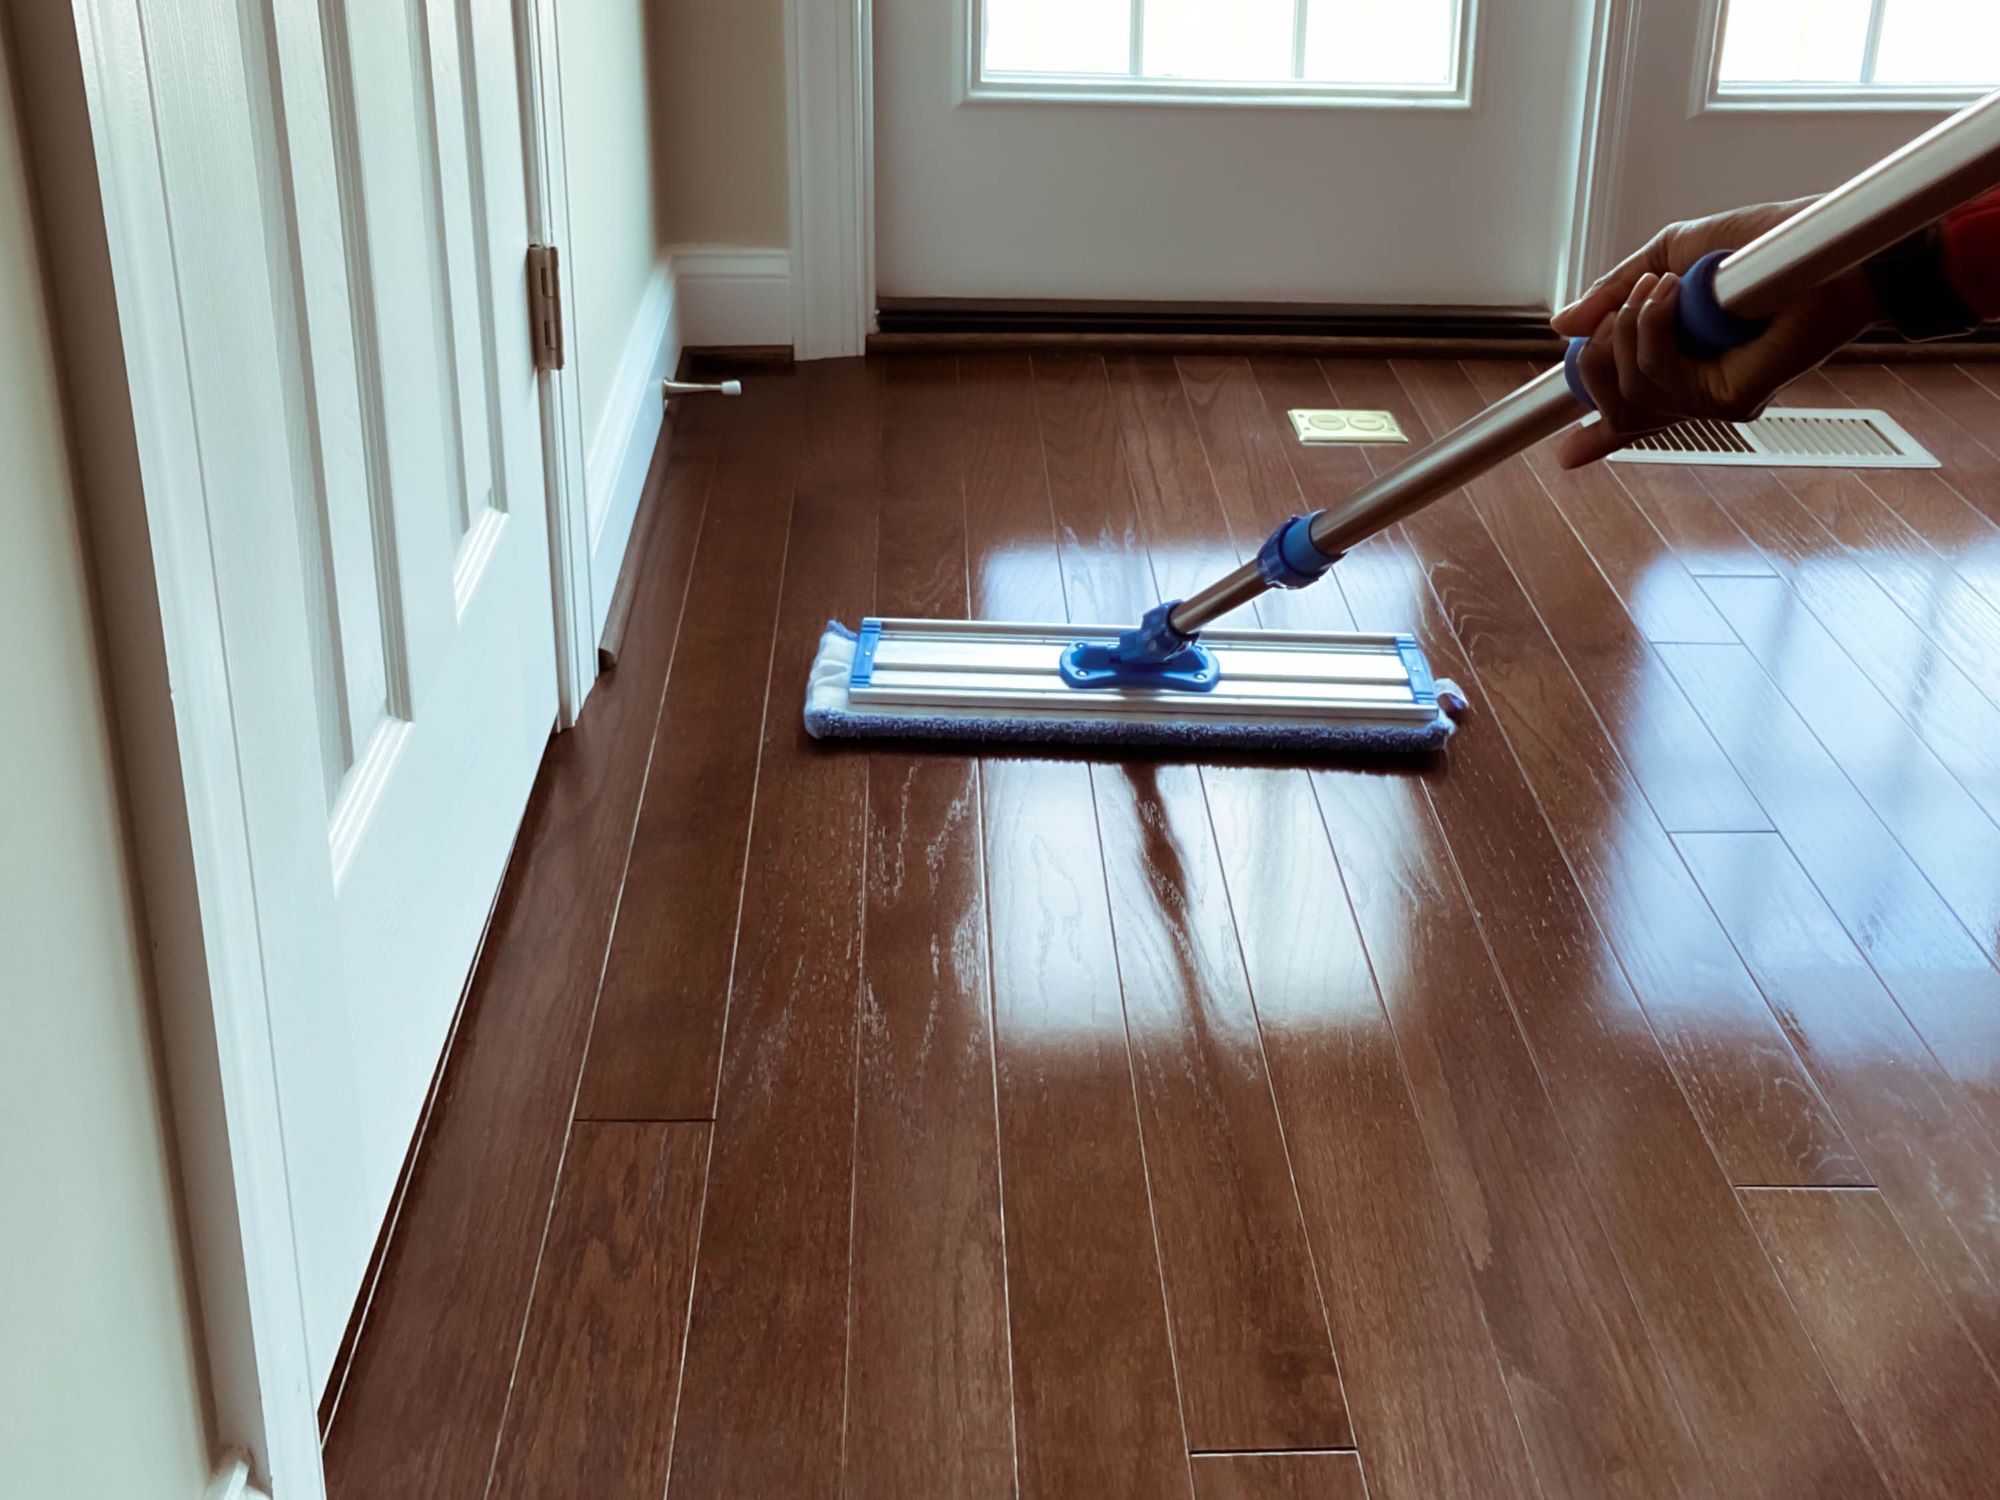
Start Mopping
With the floor prepared and the cleaning solution mixed, it’s time to begin the mopping process. Mopping is a multi-step endeavor that involves strategic techniques to achieve thorough cleaning and pristine results. By following the steps outlined below, you can ensure that your mopping efforts are effective and yield beautifully cleaned floors.
Here’s a comprehensive guide to starting the mopping process:
- Dip and Wring the Mop: Submerge the mop in the cleaning solution, then wring it out thoroughly to remove excess liquid. The mop should be damp but not dripping, as excessive moisture can damage certain flooring materials.
- Begin in a Far Corner: Start mopping in the farthest corner of the room, working your way toward the entrance. This allows you to gradually exit the room without stepping on the freshly mopped areas.
- Use Overlapping Strokes: Employ a figure-eight or back-and-forth motion with the mop to ensure even coverage and thorough cleaning. Overlapping your strokes helps prevent missed spots and ensures consistent cleaning across the entire floor surface.
- Apply Gentle Pressure: While mopping, apply gentle pressure to the mop to dislodge stubborn dirt and grime. Avoid excessive force, especially on delicate flooring, to prevent damage or surface abrasions.
- Address Stubborn Stains: For stubborn stains or heavily soiled areas, allow the mop to dwell on the spot for a few moments to loosen the residue. Gently agitate the area with the mop to facilitate the cleaning process.
- Work in Sections: Divide the floor into manageable sections and focus on cleaning one area at a time. This approach ensures thorough cleaning and prevents the cleaning solution from drying on the floor before you have a chance to mop it up.
By following these steps, you can initiate the mopping process with confidence, knowing that you are employing effective techniques to lift dirt, grime, and stains from your floors. Mopping is a transformative cleaning activity that revitalizes your living space, leaving your floors looking immaculate and inviting.
As you progress through the mopping process, you’ll witness the visible impact of your efforts, and with each stroke of the mop, you’re one step closer to achieving flawlessly clean floors.
Read more: How To Mop Epoxy Floors
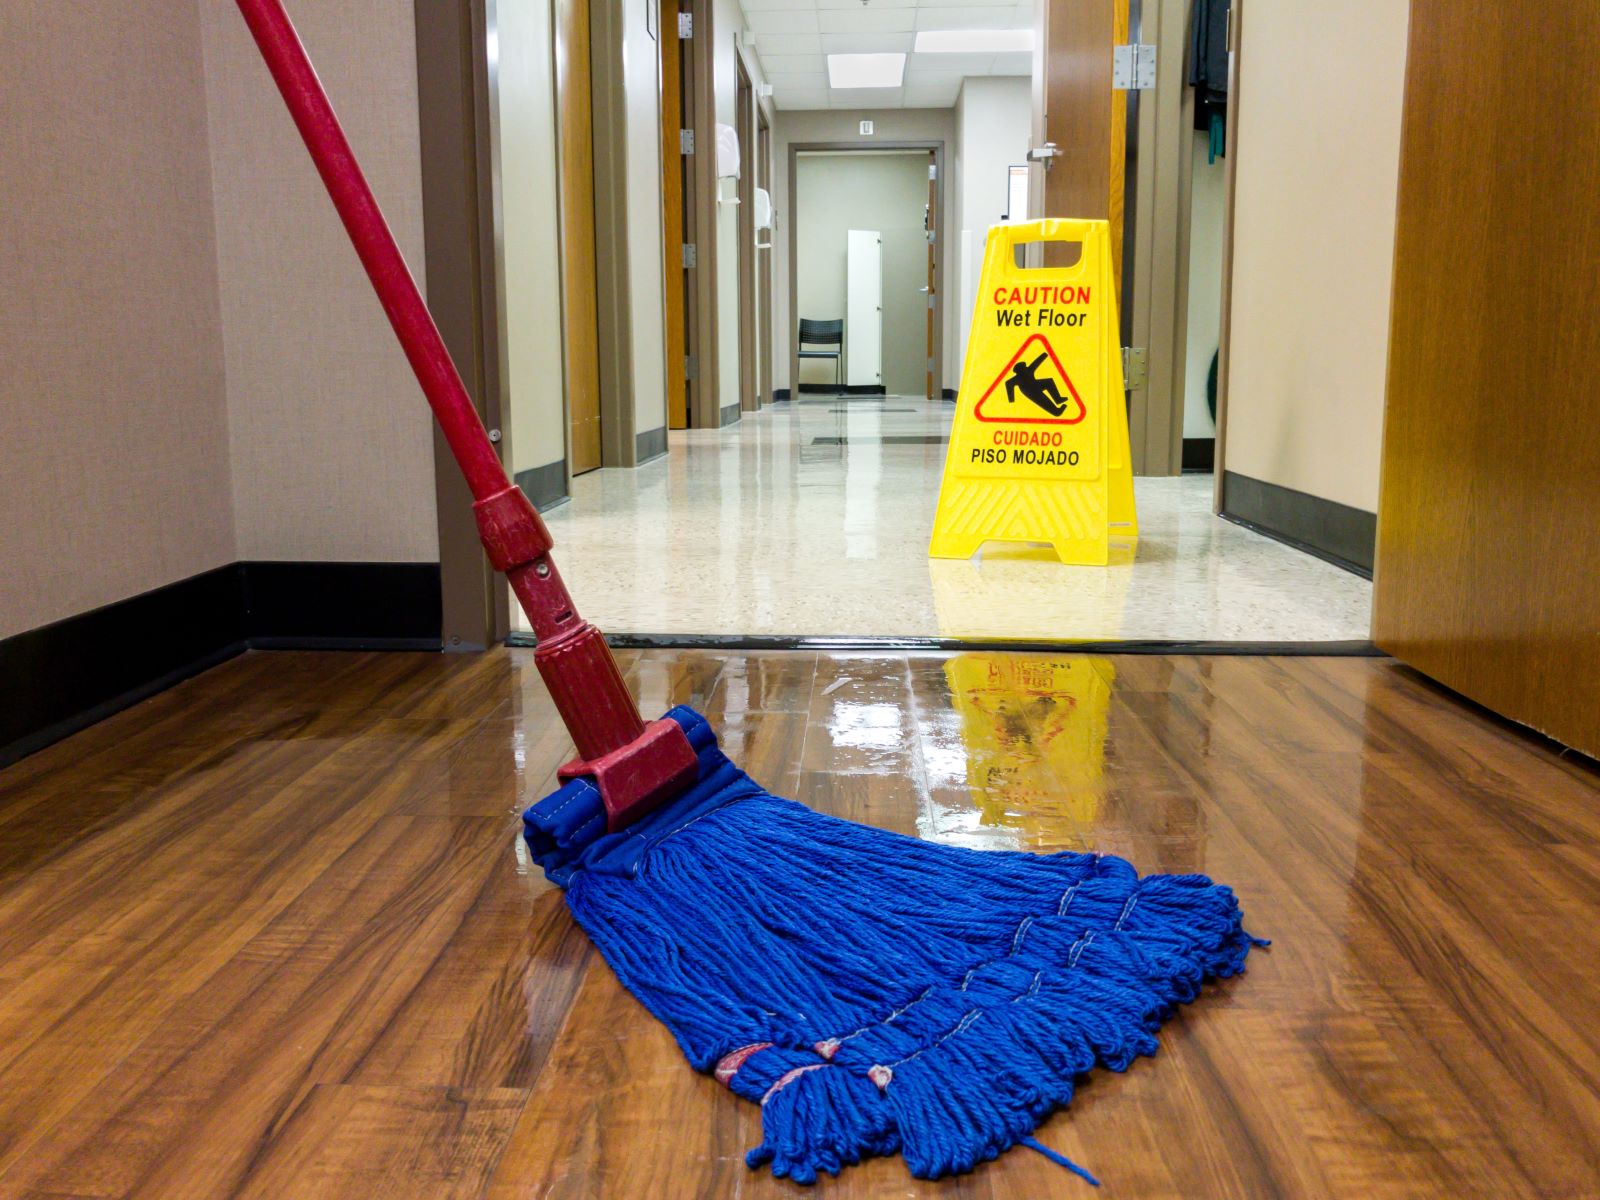
Rinse and Wring Out the Mop
As you proceed through the mopping process, it’s essential to maintain the cleanliness and effectiveness of your mop by rinsing and wringing it out regularly. This step ensures that the mop remains capable of lifting dirt and grime without redistributing soil or leaving streaks on the floor.
Here’s a detailed guide to rinsing and wringing out the mop effectively:
- Prepare a Rinse Bucket: Fill a separate bucket with clean water for rinsing the mop. This step prevents cross-contamination and ensures that you’re not spreading dirt or residue across the floor during the mopping process.
- Rinse the Mop: Submerge the soiled mop in the rinse bucket and agitate it to dislodge any trapped debris. Swirl the mop in the water, allowing the clean water to flush out the accumulated dirt and cleaning solution.
- Wring Out Excess Water: After rinsing, wring out the mop thoroughly to remove excess water. The goal is to have a damp, clean mop that is ready to continue lifting dirt and grime without leaving behind excessive moisture.
- Inspect the Mop Head: Take a moment to inspect the mop head for any lingering debris or stains. If necessary, rinse and wring out the mop again until the water runs clear and the mop head is free of visible soil.
- Resume Mopping: Once the mop is clean and adequately wrung out, continue mopping the floor using the same techniques outlined in the previous steps. The refreshed mop ensures that you’re effectively cleaning the floor without reintroducing soil or residue.
By incorporating regular rinsing and wringing into your mopping routine, you maintain the integrity of the cleaning process and ensure that your floors receive thorough and consistent cleaning. This meticulous approach contributes to the overall success of the mopping endeavor, leaving your floors impeccably clean and free of streaks or residue.
With the mop refreshed and ready to continue, you can proceed with confidence, knowing that your meticulous approach to rinsing and wringing out the mop is enhancing the cleanliness and appearance of your floors.
Finish Up
As you near the completion of the mopping process, it’s essential to carry out a few final steps to ensure that your floors are left pristine and ready to showcase their renewed luster. The finishing touches of the mopping routine contribute to the overall cleanliness and visual appeal of your floors, elevating the entire cleaning experience.
Here are the key steps to finish up the mopping process:
- Inspect for Missed Spots: Take a moment to visually inspect the mopped area for any missed spots or lingering stains. Address any overlooked areas by spot-cleaning with a clean microfiber cloth or by revisiting the spot with the mop to ensure thorough cleaning.
- Allow for Drying Time: After completing the mopping process, allow the floor to air dry or use a room fan to expedite the drying process. Adequate drying time prevents slips and falls while also allowing you to appreciate the immaculate cleanliness of your freshly mopped floors.
- Replace Furniture and Rugs: Once the floor is completely dry, replace any furniture or area rugs that were temporarily moved to facilitate the mopping process. Using furniture pads or sliders can protect the floor from scratches and marks as you reposition the items.
- Clean the Mop and Supplies: After finishing mopping, thoroughly clean and dry the mop and any reusable supplies, such as the bucket and rinse water. Properly maintaining your cleaning tools ensures that they remain ready for future use and prevents the spread of dirt or contaminants.
- Admire Your Clean Floors: Take a moment to appreciate the transformation of your floors. The gleaming, freshly mopped surface showcases your diligent efforts and creates a welcoming and hygienic environment for your household and guests.
By completing these final steps, you conclude the mopping process with a sense of accomplishment, knowing that your attention to detail has resulted in impeccably clean and inviting floors. The finishing touches elevate the entire cleaning experience, leaving your living space refreshed and revitalized.
With the mopping process successfully concluded, you can revel in the satisfaction of clean, sparkling floors that enhance the overall ambiance of your home.
Conclusion
Mastering the art of floor mopping is a transformative endeavor that elevates the cleanliness and aesthetic appeal of your home. By following the comprehensive steps outlined in this guide, you have gained valuable insights into the meticulous process of effectively mopping your floors. From gathering the essential supplies to carrying out the finishing touches, each step contributes to the overall success of the mopping endeavor.
Through proactive floor preparation, strategic mopping techniques, and diligent attention to detail, you have learned how to achieve immaculately clean floors that radiate a sense of freshness and cleanliness. Mopping is not merely a cleaning task; it is a rewarding practice that revitalizes your living space, fosters a healthier indoor environment, and leaves a lasting impression on anyone who enters your home.
As you continue to incorporate these expert mopping techniques into your cleaning routine, you will undoubtedly witness the transformative impact of your efforts. Clean floors not only enhance the visual appeal of your home but also contribute to a hygienic and welcoming atmosphere for you and your loved ones.
Embrace the mopping process as an opportunity to showcase your dedication to maintaining a pristine living environment. With each stroke of the mop and every meticulous rinse and wring, you are actively contributing to the overall cleanliness and comfort of your home.
So, as you embark on your next mopping endeavor, armed with newfound knowledge and expertise, remember that each meticulous step brings you closer to the satisfaction of flawlessly clean floors. By mastering the art of mopping, you are not only elevating the cleanliness of your home but also infusing it with a sense of warmth and hospitality that is sure to leave a lasting impression.
Here’s to sparkling, immaculate floors that reflect your unwavering commitment to a clean and inviting home.
Frequently Asked Questions about How To Mop A Floor
Was this page helpful?
At Storables.com, we guarantee accurate and reliable information. Our content, validated by Expert Board Contributors, is crafted following stringent Editorial Policies. We're committed to providing you with well-researched, expert-backed insights for all your informational needs.
0 thoughts on “How To Mop A Floor”