Home>Home Appliances>Cleaning Appliances>How To Mop A Sticky Floor
Cleaning Appliances
How To Mop A Sticky Floor
Modified: February 18, 2024
Learn the best techniques for mopping a sticky floor with cleaning appliances. Get expert tips for a sparkling clean floor every time. Ideal for all types of hard floors.
(Many of the links in this article redirect to a specific reviewed product. Your purchase of these products through affiliate links helps to generate commission for Storables.com, at no extra cost. Learn more)
Introduction
Welcome to the comprehensive guide on how to effectively clean a sticky floor. Dealing with a sticky floor can be frustrating, but with the right approach and tools, you can restore your floor to its pristine condition. In this article, we will explore the step-by-step process of mopping a sticky floor, providing you with valuable tips and insights to make the task more manageable and efficient.
Whether you are dealing with spilled juice, food residue, or any other sticky substance, this guide will equip you with the knowledge and techniques to tackle the issue effectively. By following these instructions, you can maintain a clean and hygienic environment in your home while preserving the longevity of your flooring.
So, roll up your sleeves, gather your cleaning supplies, and let’s dive into the process of restoring your sticky floor to its former glory.
Key Takeaways:
- Keep your floors clean and hygienic by using the right tools and techniques to mop away sticky residues. Regular maintenance and prompt spill cleanup can make the task easier and more effective.
- When mopping a sticky floor, remember to sweep first, choose the right cleaning solution, and dry the floor thoroughly. Take care of your floors to maintain their pristine condition and prevent damage.
Read more: How To Clean A Sticky Floor
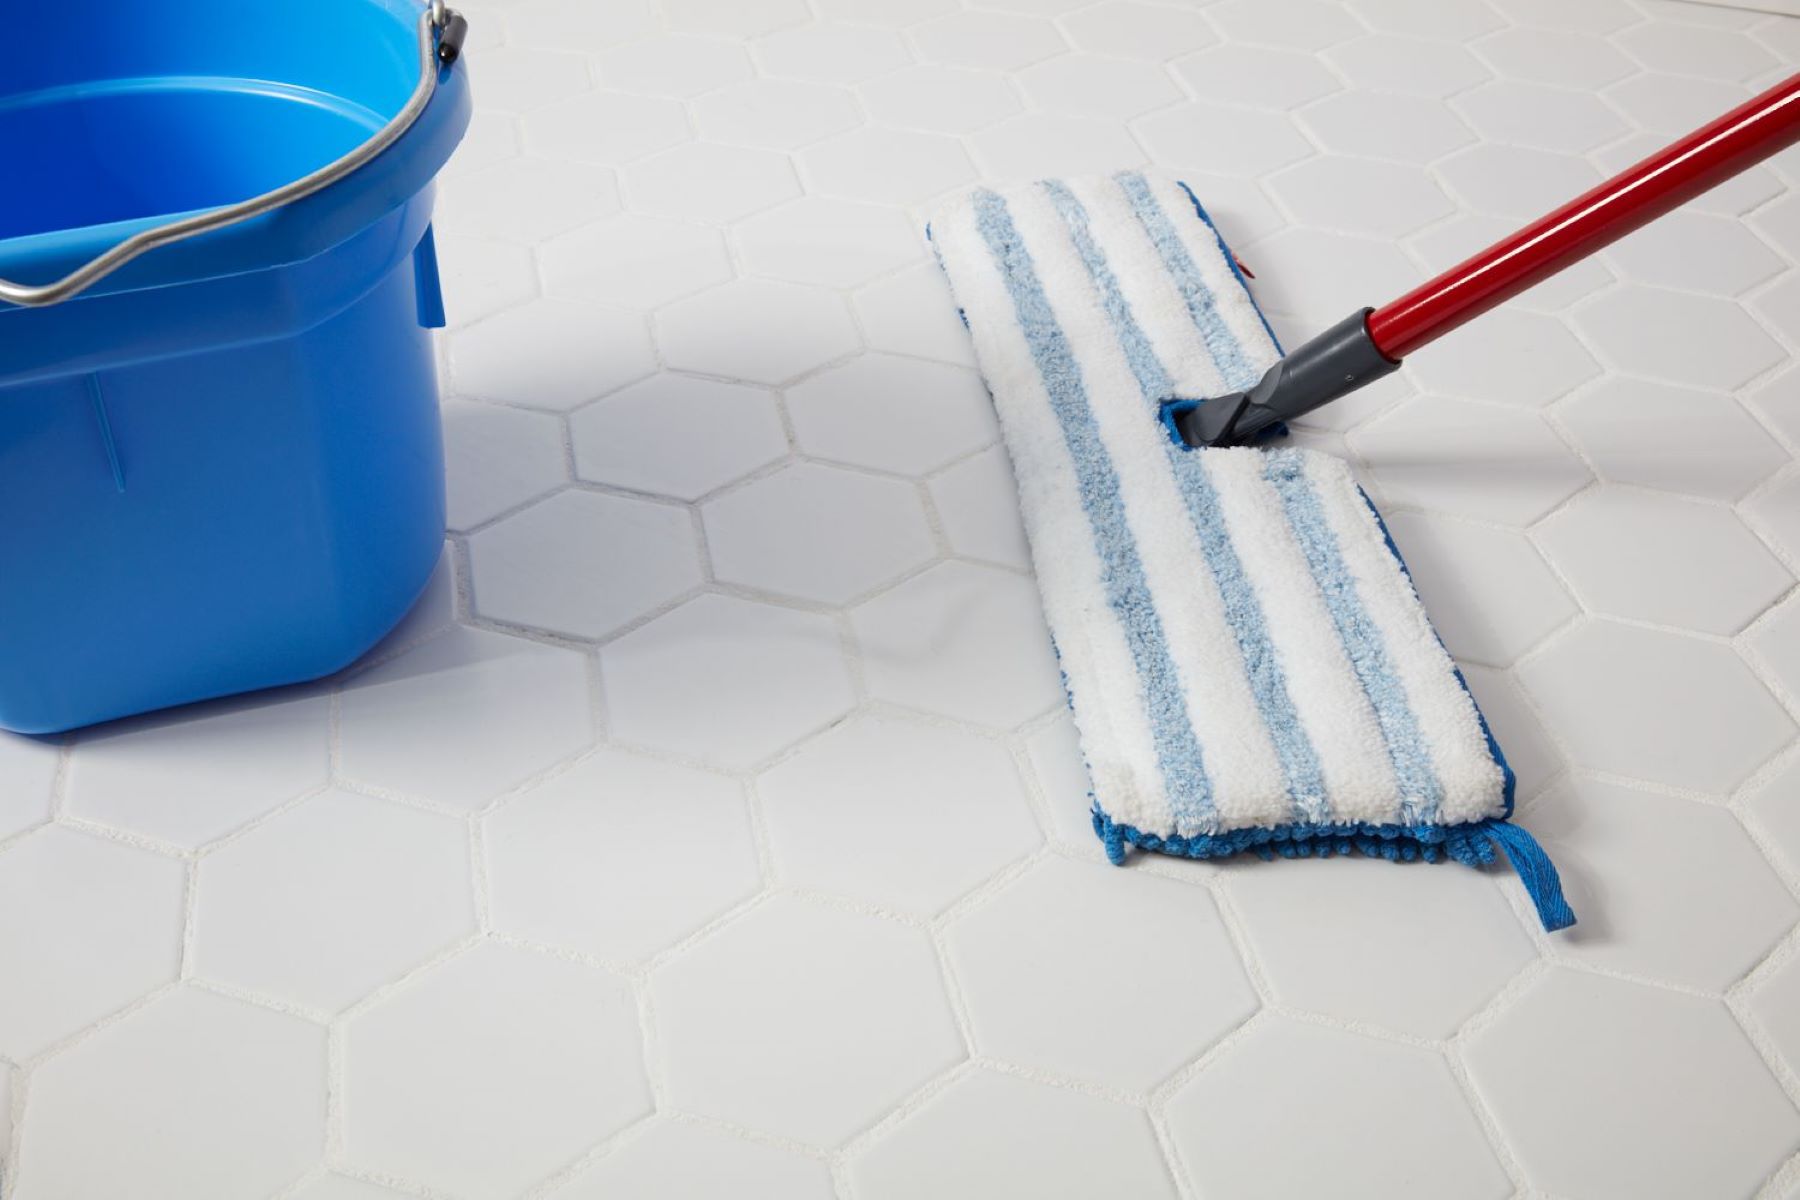
Gather Supplies
Before embarking on the task of cleaning a sticky floor, it’s essential to gather the necessary supplies. Having the right tools at your disposal will streamline the cleaning process and ensure effective results. Here’s a list of supplies you’ll need:
- Mop: Select a mop suitable for the type of flooring you have. Microfiber mops are ideal for capturing and removing sticky residues without leaving streaks.
- Cleaning Solution: Choose a gentle yet effective cleaning solution based on the material of your floor. For hardwood floors, use a specialized hardwood floor cleaner, while for tile or linoleum, a mild detergent or vinegar solution works well.
- Bucket: A sturdy bucket will be essential for diluting the cleaning solution and rinsing the mop.
- Broom or Vacuum: Prior to mopping, it’s important to sweep or vacuum the floor to remove any loose debris and dirt.
- Protective Gloves: If you’re using chemical cleaners, wearing protective gloves is advisable to safeguard your skin.
- Warm Water: Having warm water on hand will aid in diluting the cleaning solution and enhancing its effectiveness.
- Towels or Microfiber Cloths: These will come in handy for drying the floor after mopping, ensuring that no excess moisture is left behind.
By ensuring that you have all these supplies readily available, you’ll be well-prepared to tackle the task of mopping a sticky floor with ease and efficiency.
Sweep the Floor
Before diving into the mopping process, it’s essential to prepare the floor by removing any loose debris, dust, or dirt. Sweeping the floor serves as the initial step in ensuring a thorough and effective cleaning process. Here’s how to go about it:
- Select the Right Broom: Depending on the type of flooring you have, choose a broom with bristles suitable for the surface. For hardwood floors, a soft-bristled broom is ideal to prevent scratching, while for tile or linoleum, a standard broom will suffice.
- Start from the Farthest Point: Begin sweeping from the farthest corner of the room, working your way towards the entrance. This ensures that you don’t tread on the areas you’ve already cleaned.
- Use Controlled Strokes: Employ controlled and deliberate strokes while sweeping, directing the debris towards a central location for easy collection.
- Pay Attention to Edges and Corners: Dust and debris often accumulate along the edges and corners of the room. Be thorough in sweeping these areas to ensure no residue is left behind.
- Dispose of Debris: Once sweeping is complete, gather the collected debris and dispose of it in a dustbin or trash bag, ensuring that the floor is entirely free of loose particles.
By diligently sweeping the floor, you’ll create a clean canvas for the subsequent mopping process, allowing the cleaning solution to work its magic without interference from loose dirt or debris.
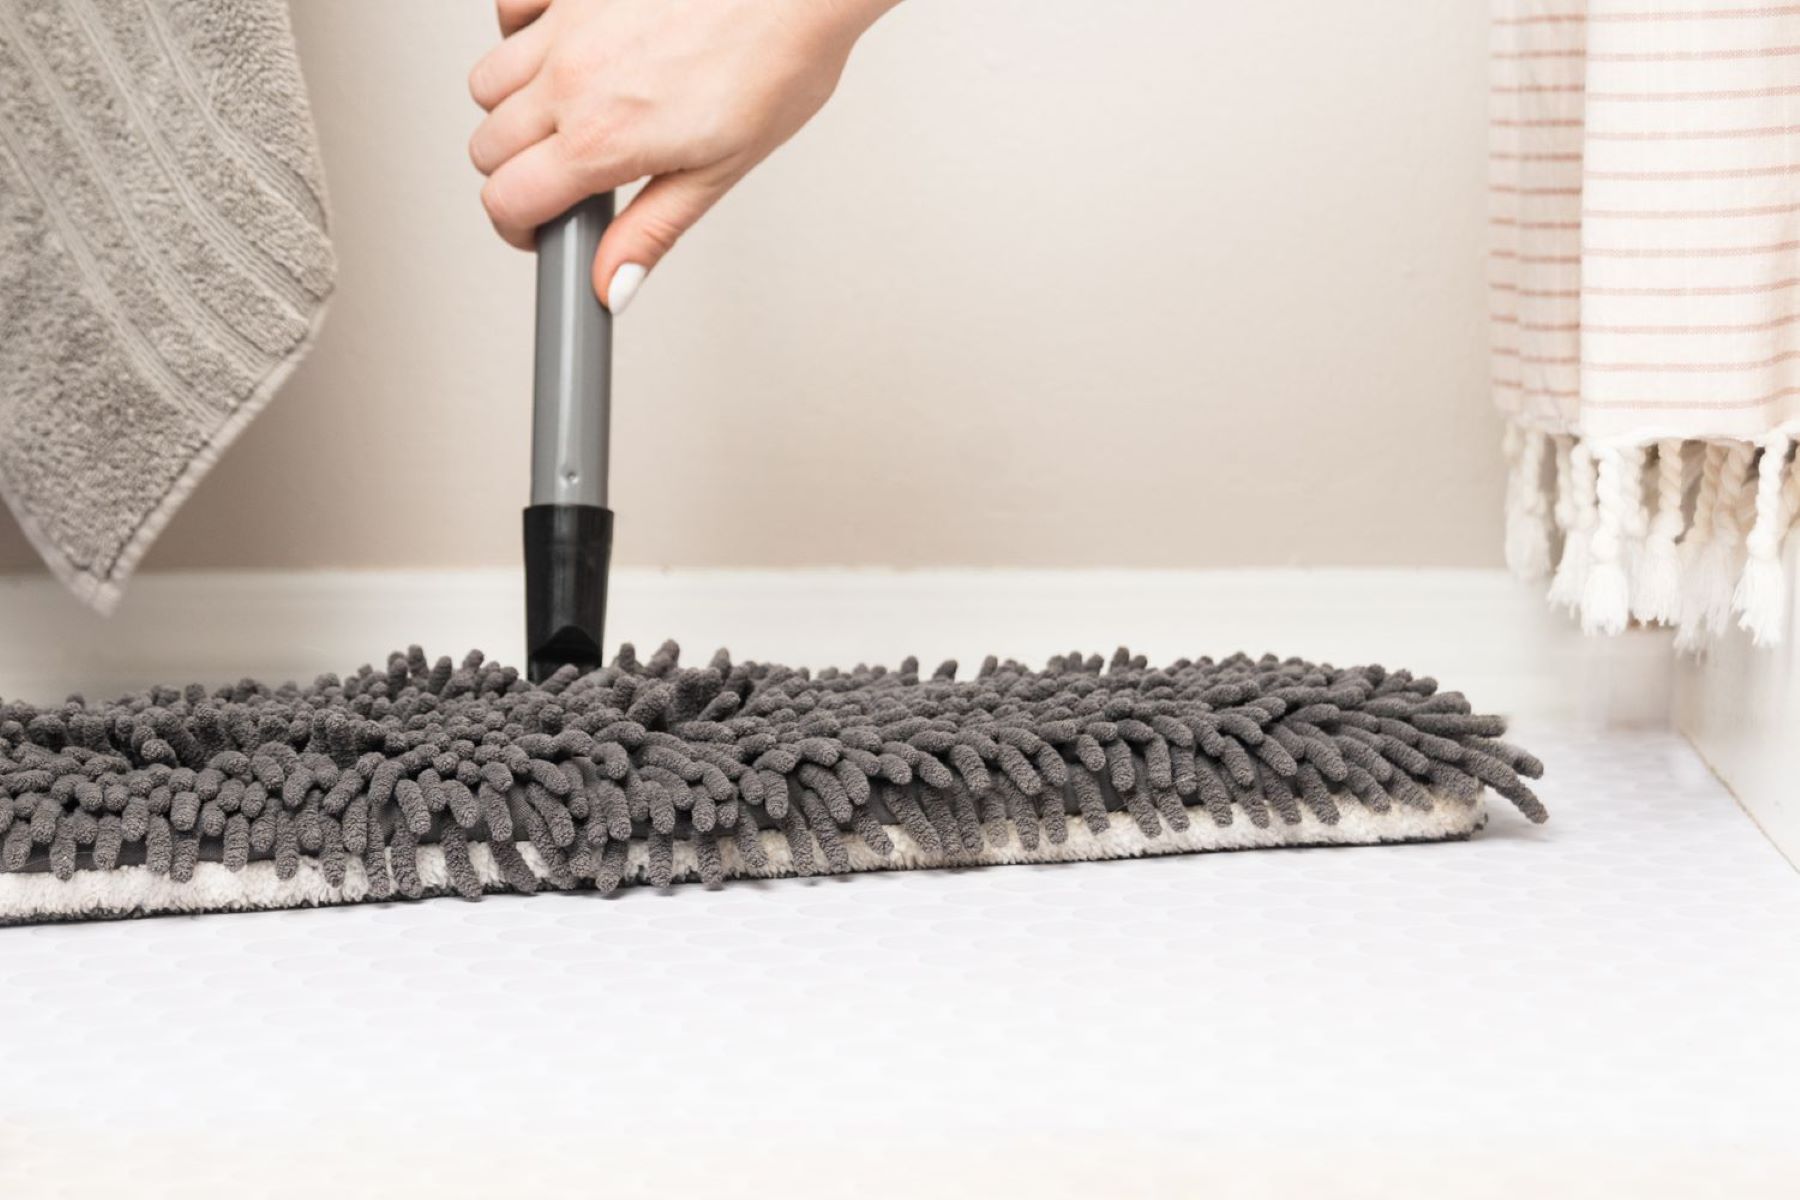
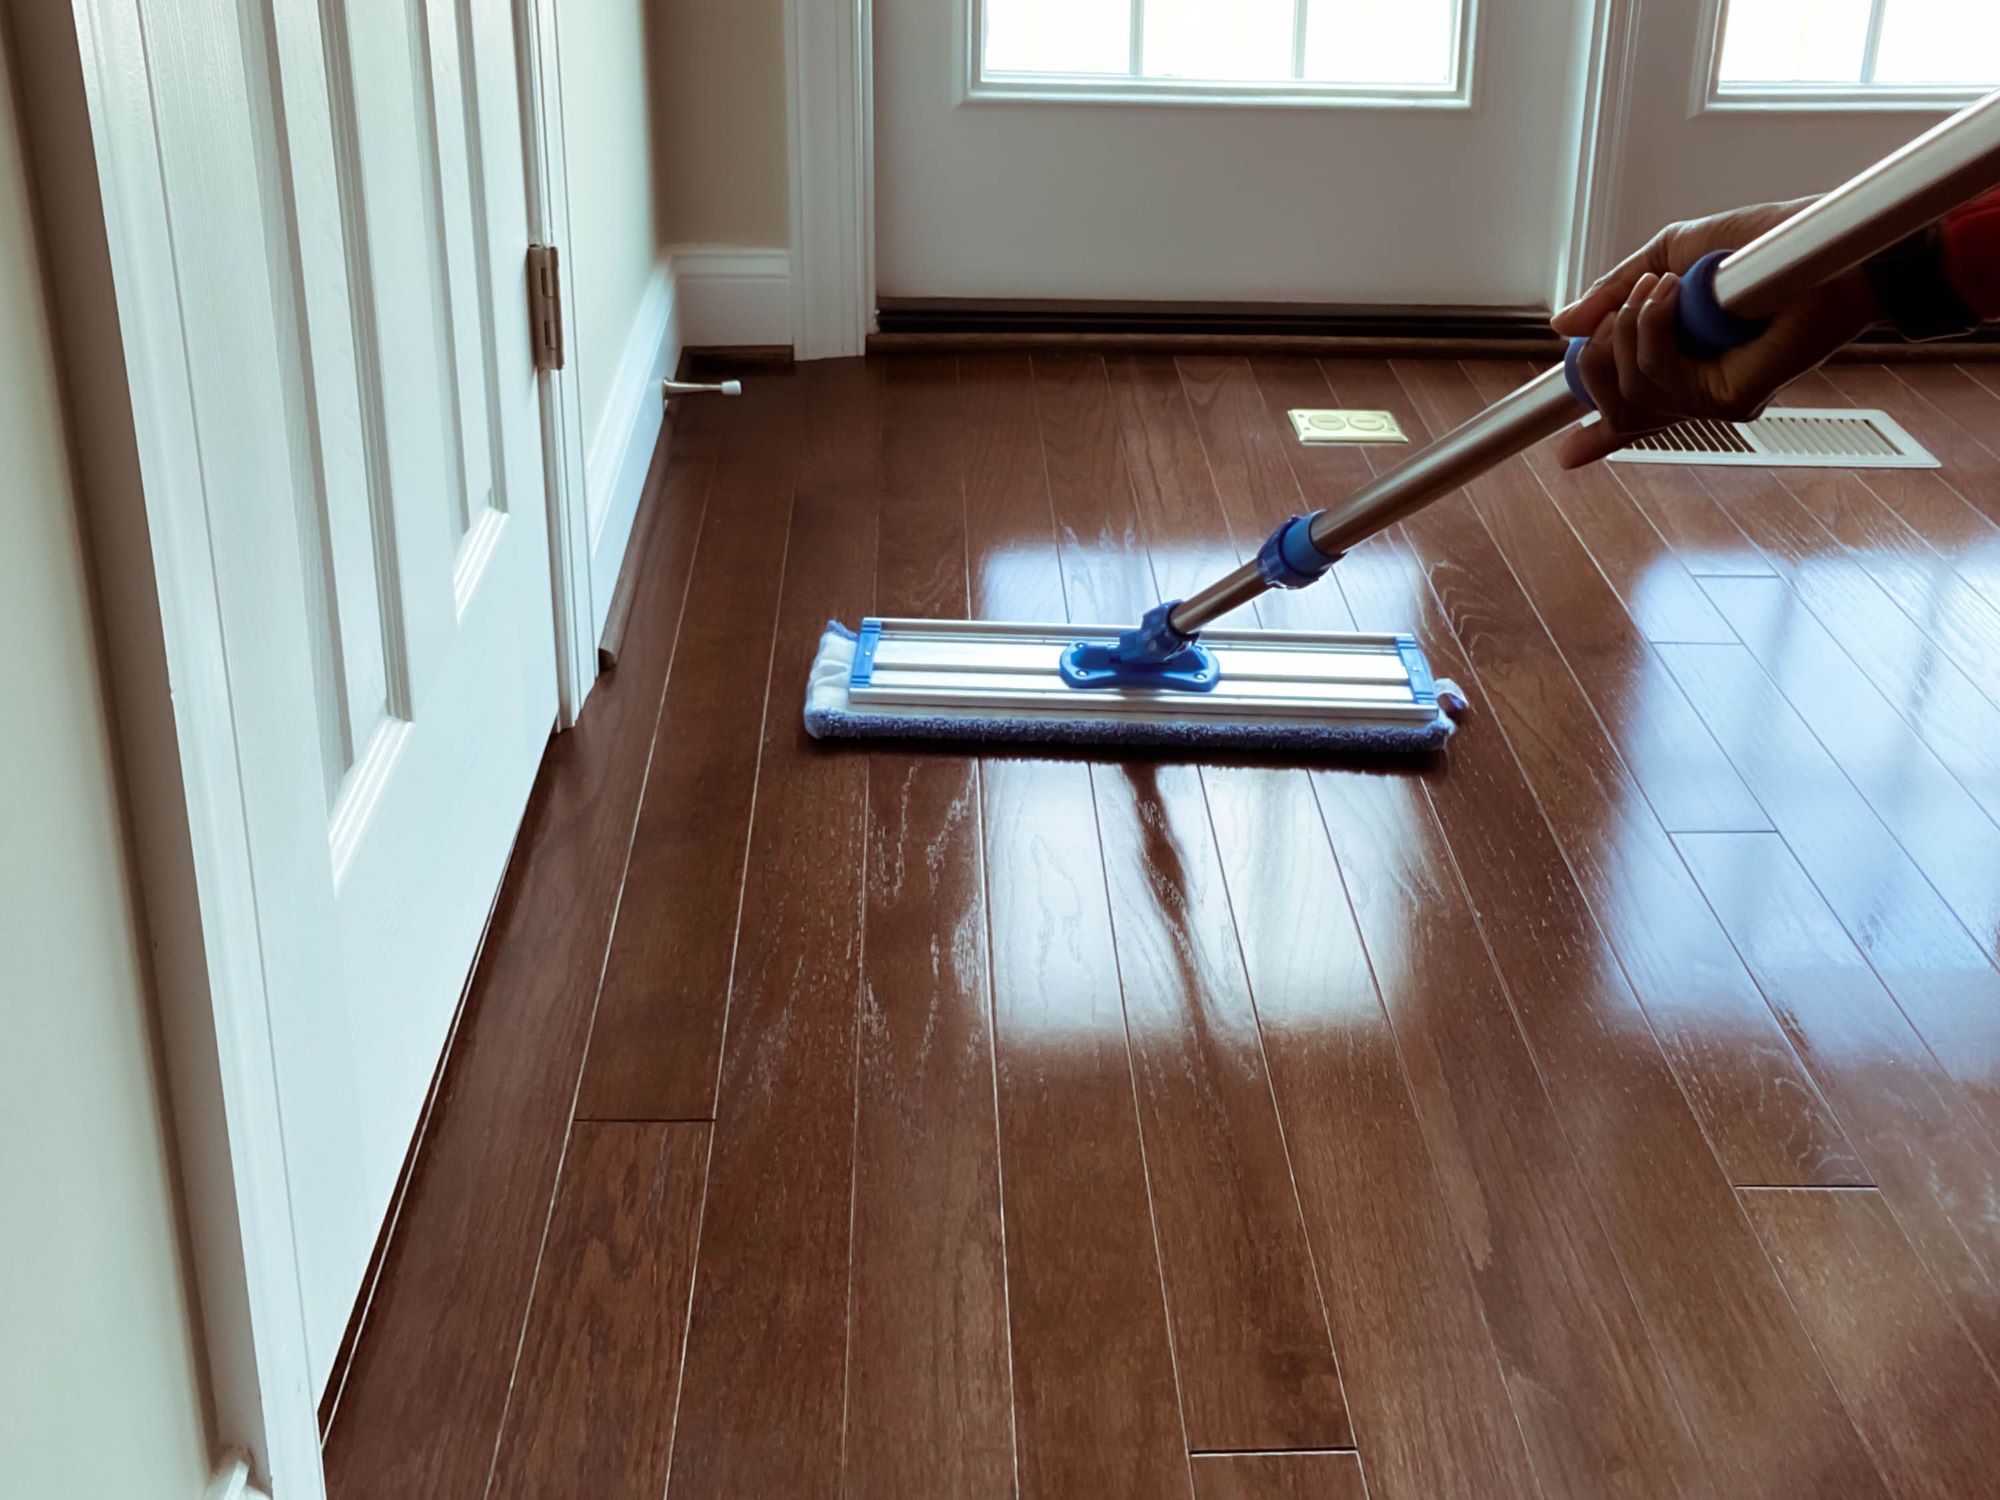
Prepare the Mop
With the floor thoroughly swept, it’s time to prepare the mop for the cleaning process. Properly preparing the mop ensures that it effectively removes the sticky residue from the floor, leaving it clean and refreshed. Follow these steps to get your mop ready for action:
- Select the Appropriate Mop Head: Ensure that the mop head is clean and free from any debris or residue from previous use. If using a reusable mop head, it’s advisable to wash it before proceeding.
- Attach the Mop Head: If your mop allows for interchangeable heads, securely attach the appropriate mop head for the type of flooring you’ll be cleaning. Microfiber mop heads are highly effective for capturing and removing sticky substances without leaving streaks.
- Prepare the Cleaning Solution: Dilute the cleaning solution in a bucket of warm water according to the manufacturer’s instructions. Be mindful of using the correct ratio to ensure optimal cleaning performance without leaving behind a soapy residue.
- Immerse the Mop: Submerge the mop head into the cleaning solution, allowing it to absorb the liquid while ensuring it’s not overly saturated. A well-wrung mop is more effective in removing sticky residue without leaving excess moisture on the floor.
By taking the time to prepare the mop properly, you set the stage for a successful mopping process, allowing the mop to work at its full potential in lifting and removing the sticky residue from the floor surface.
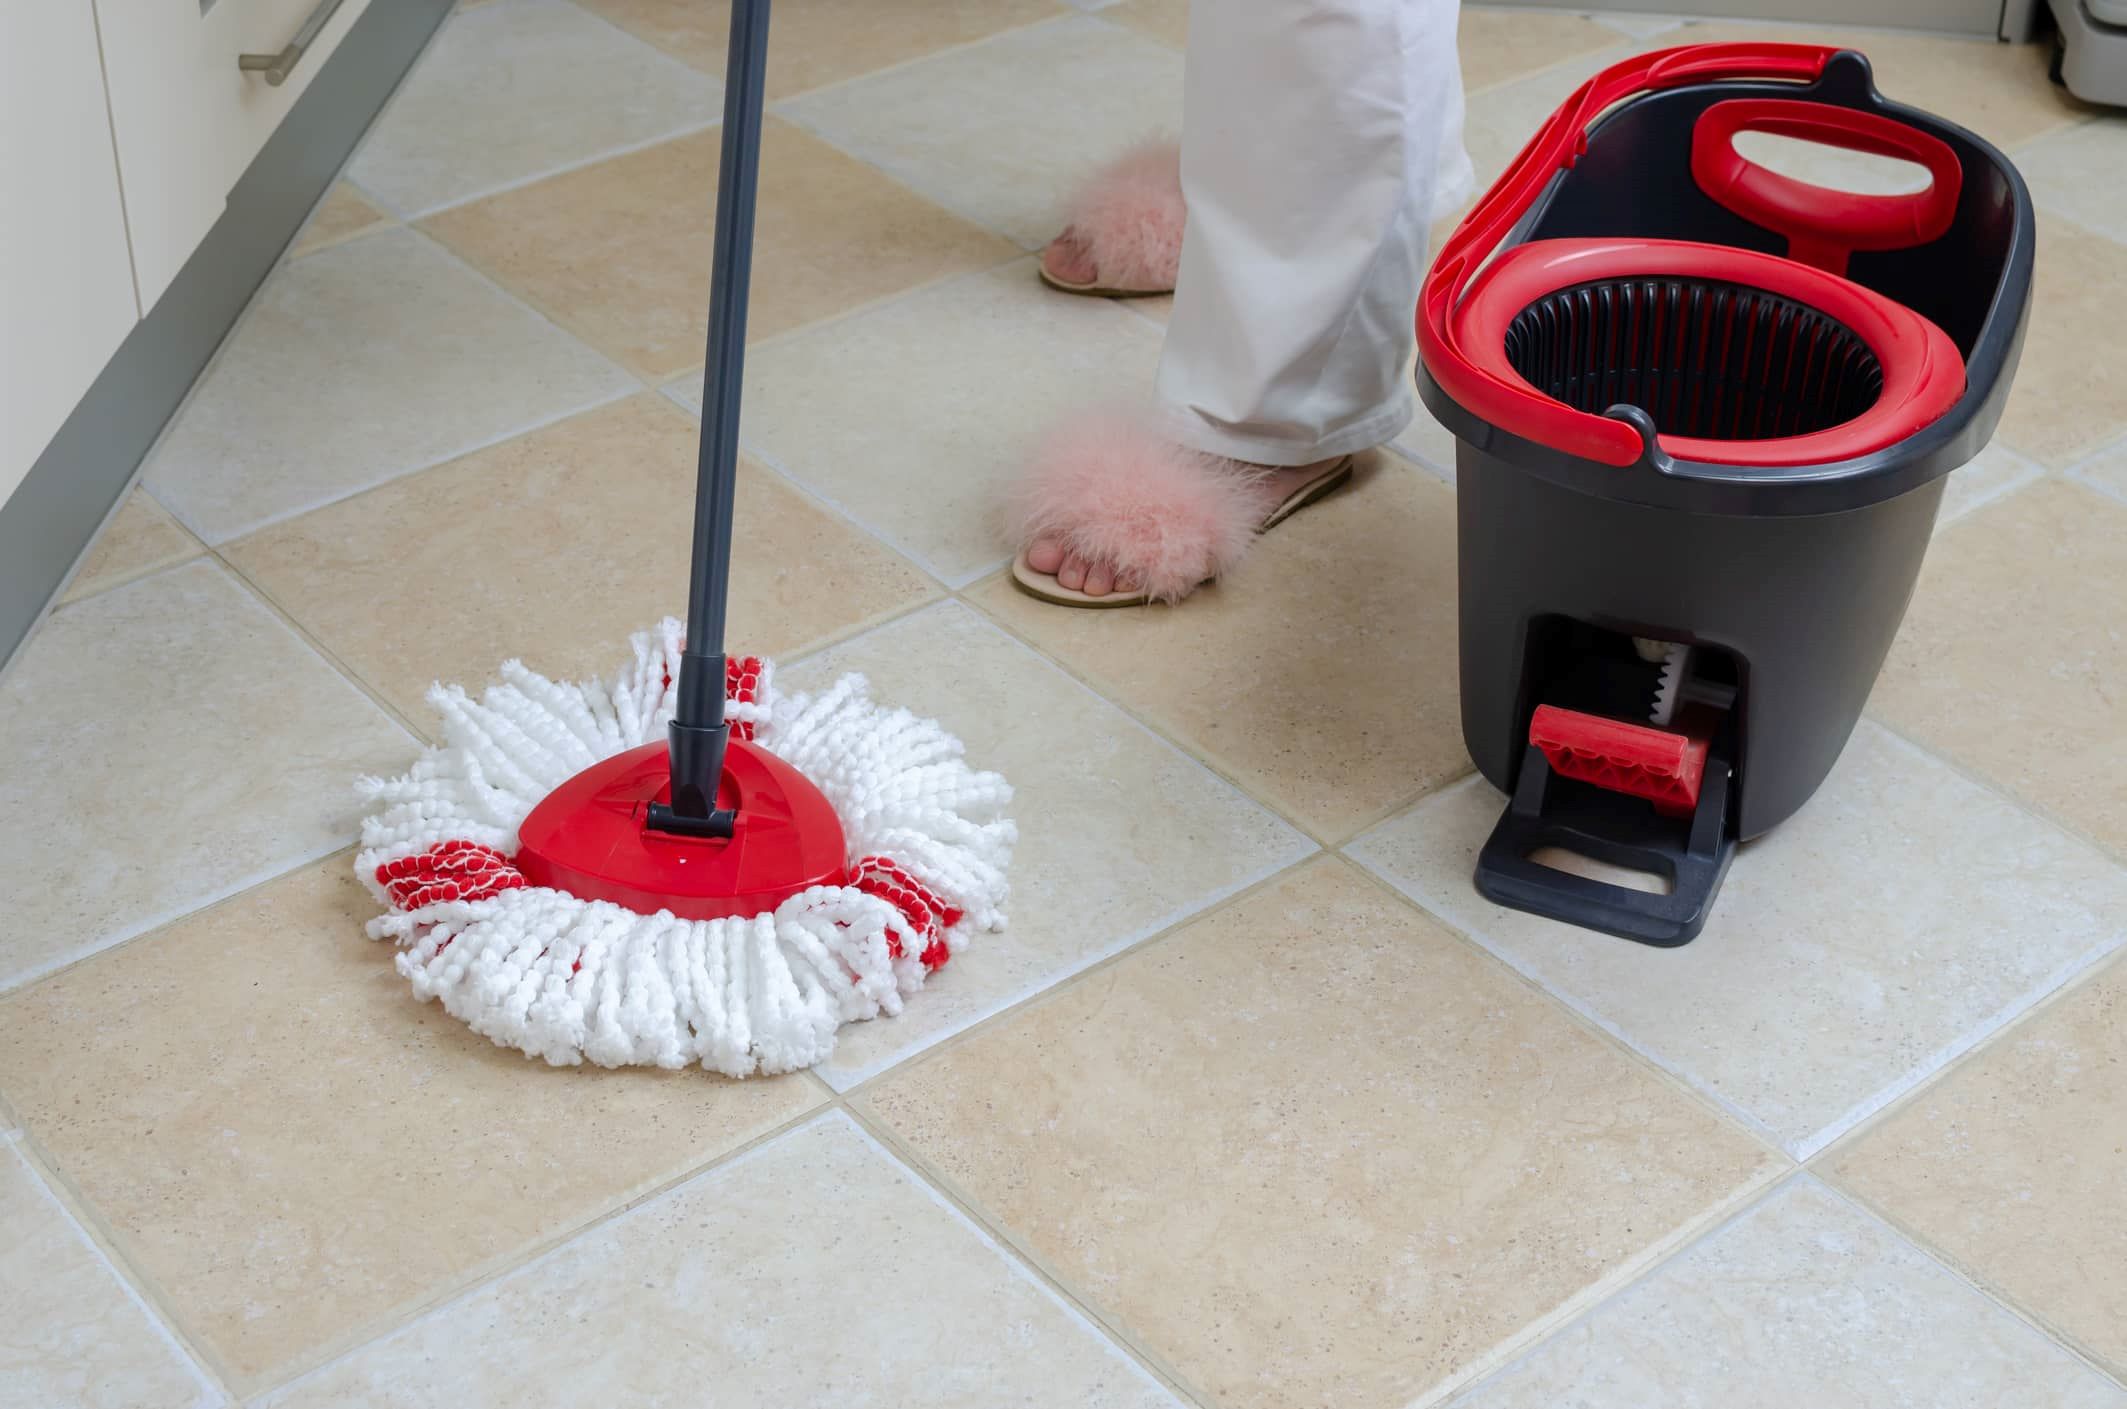
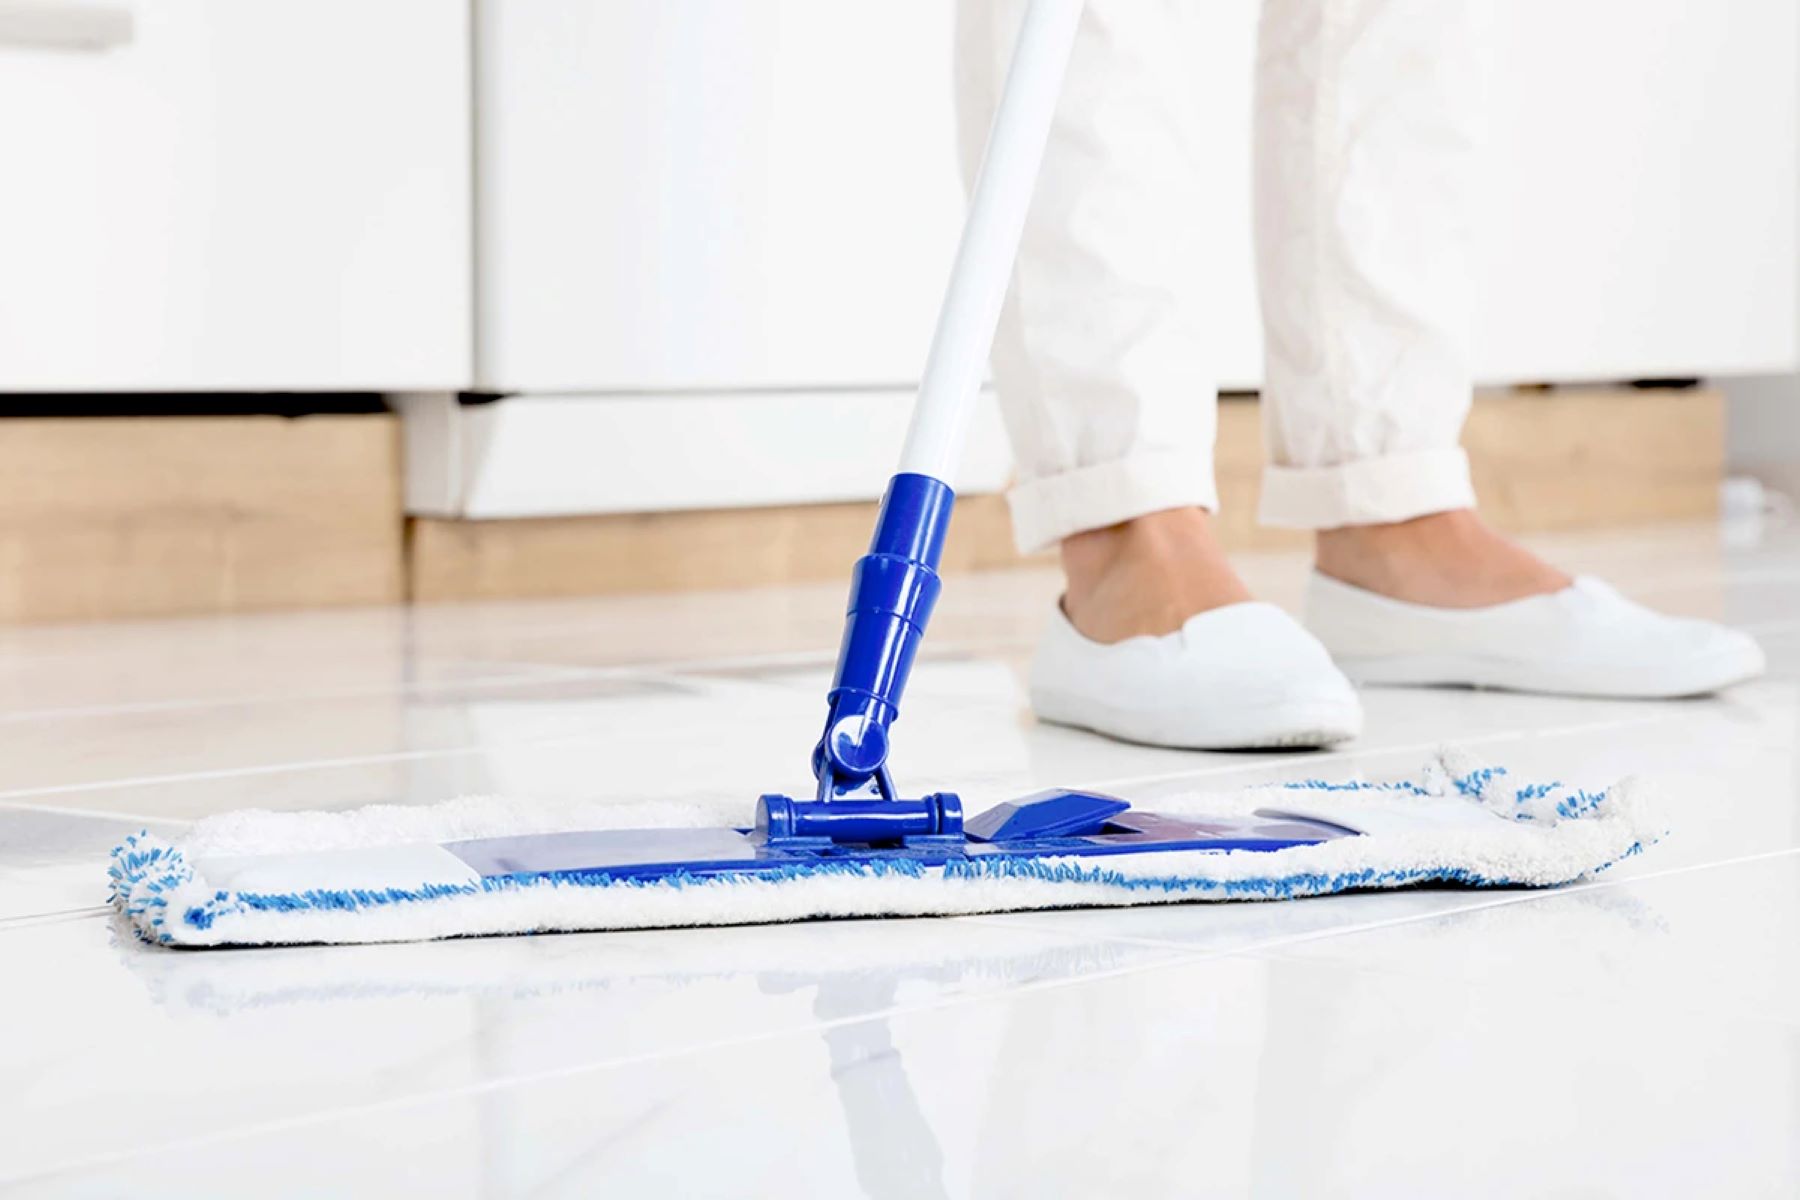
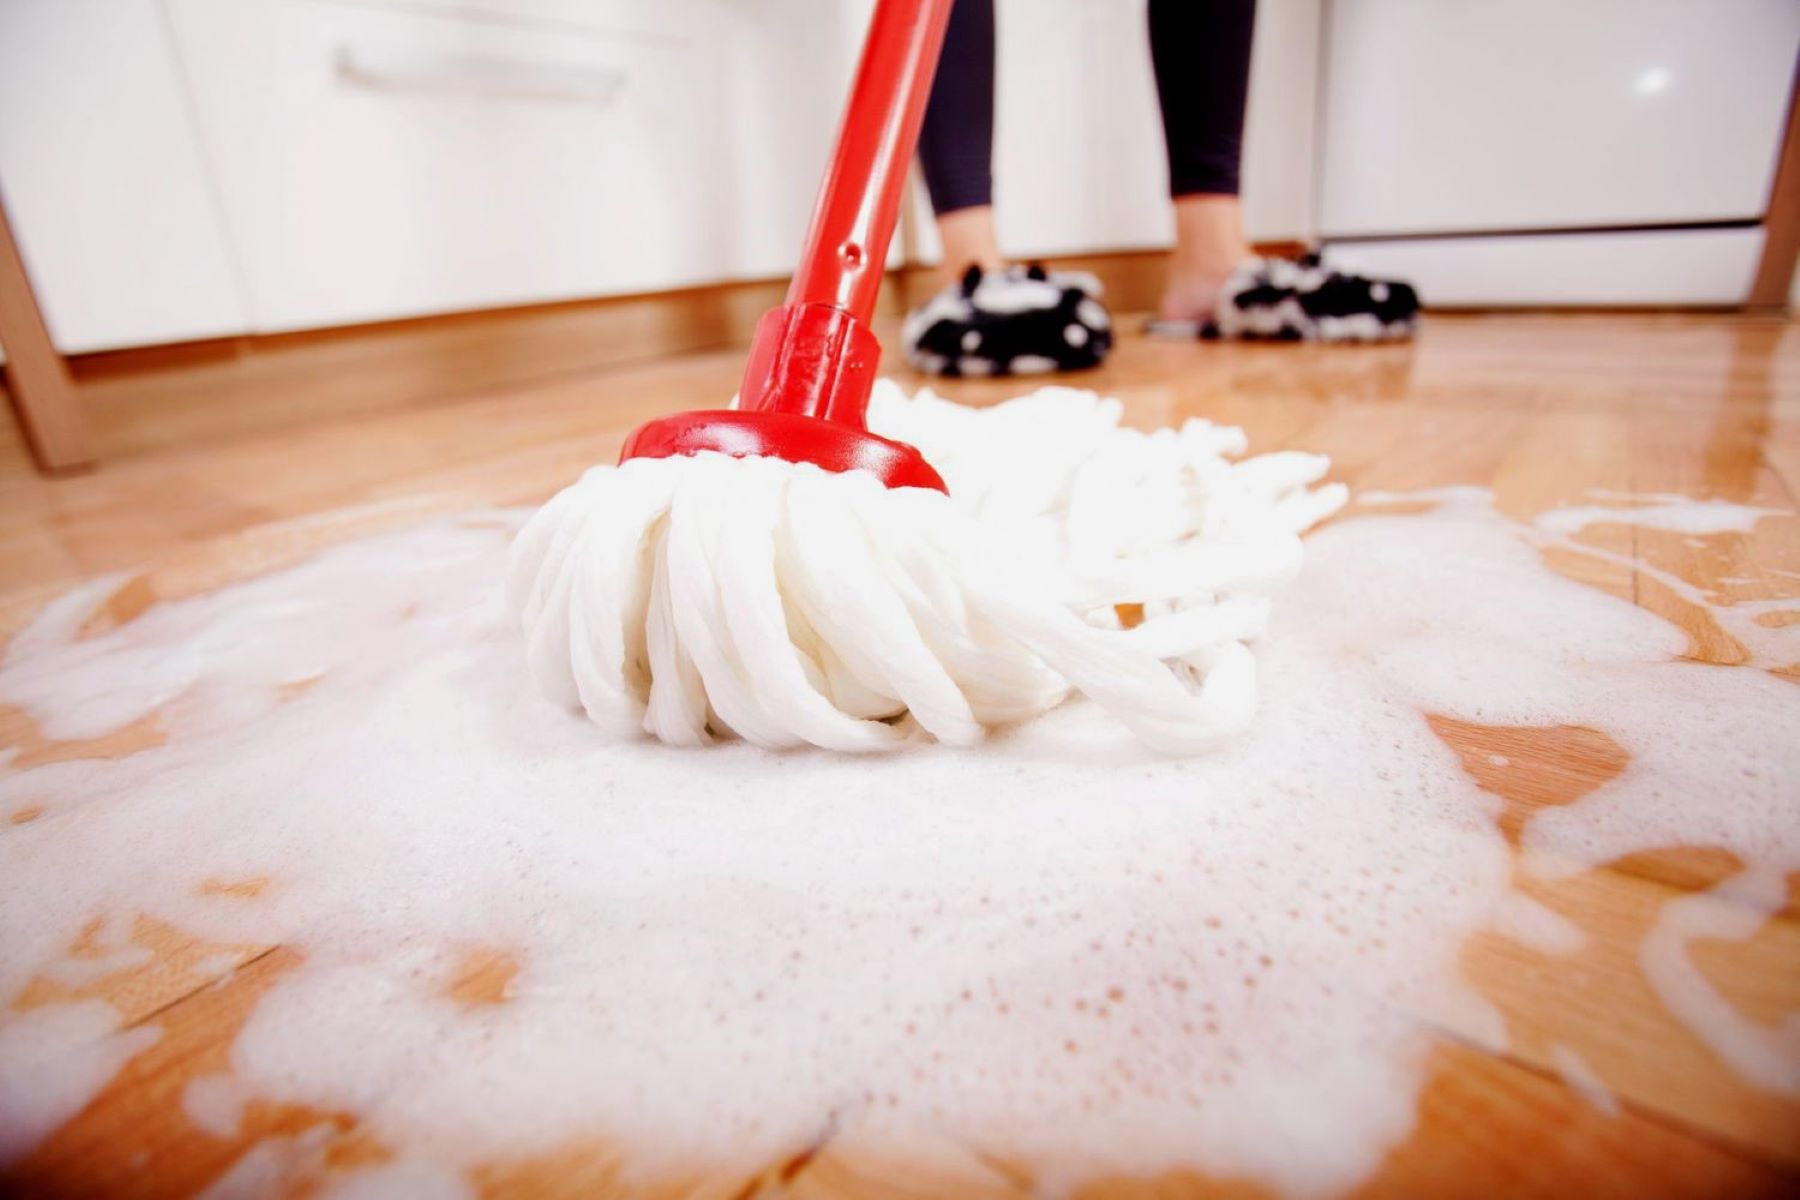
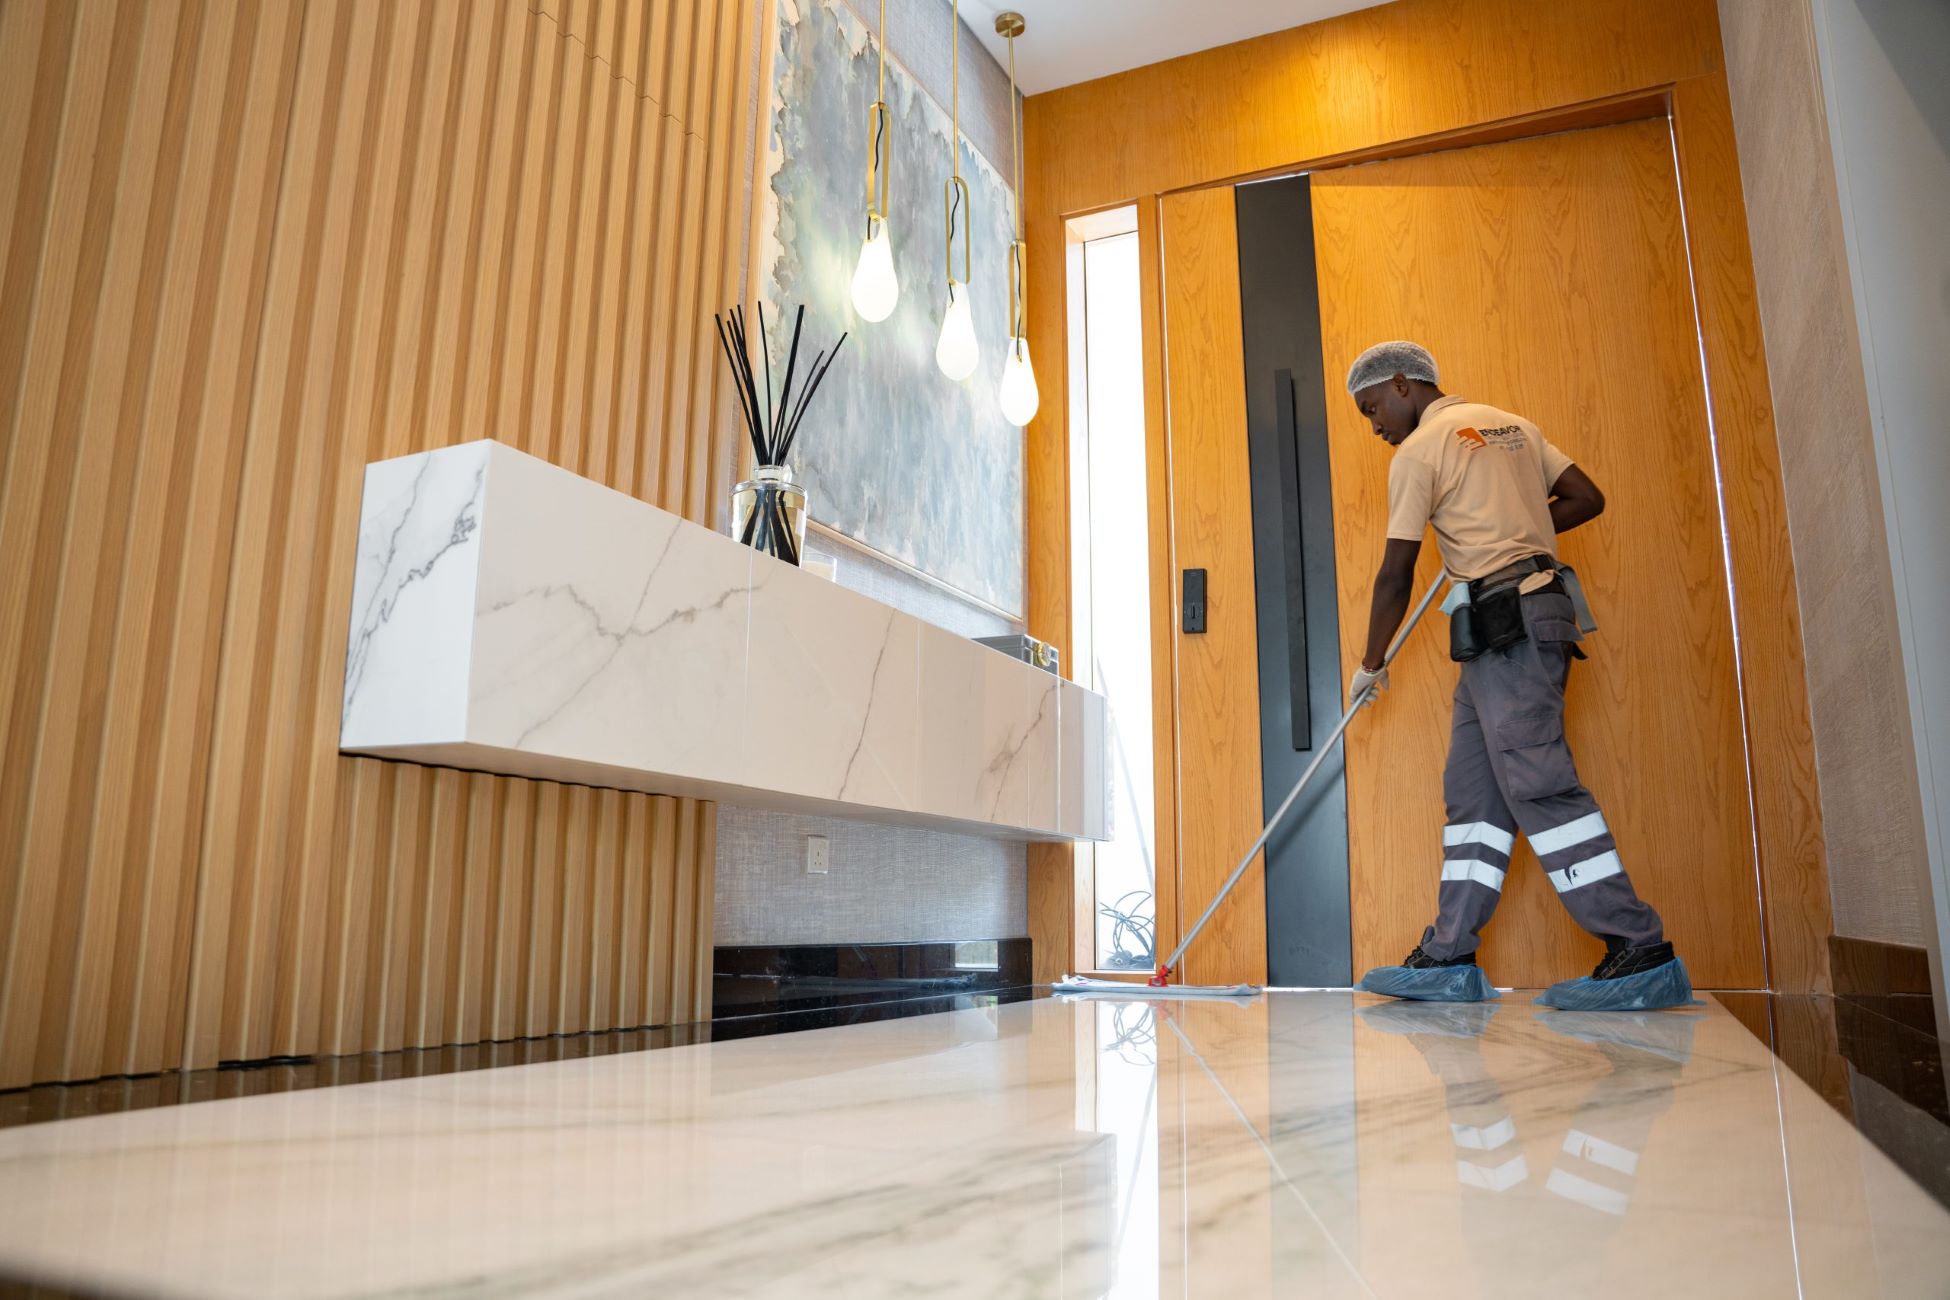
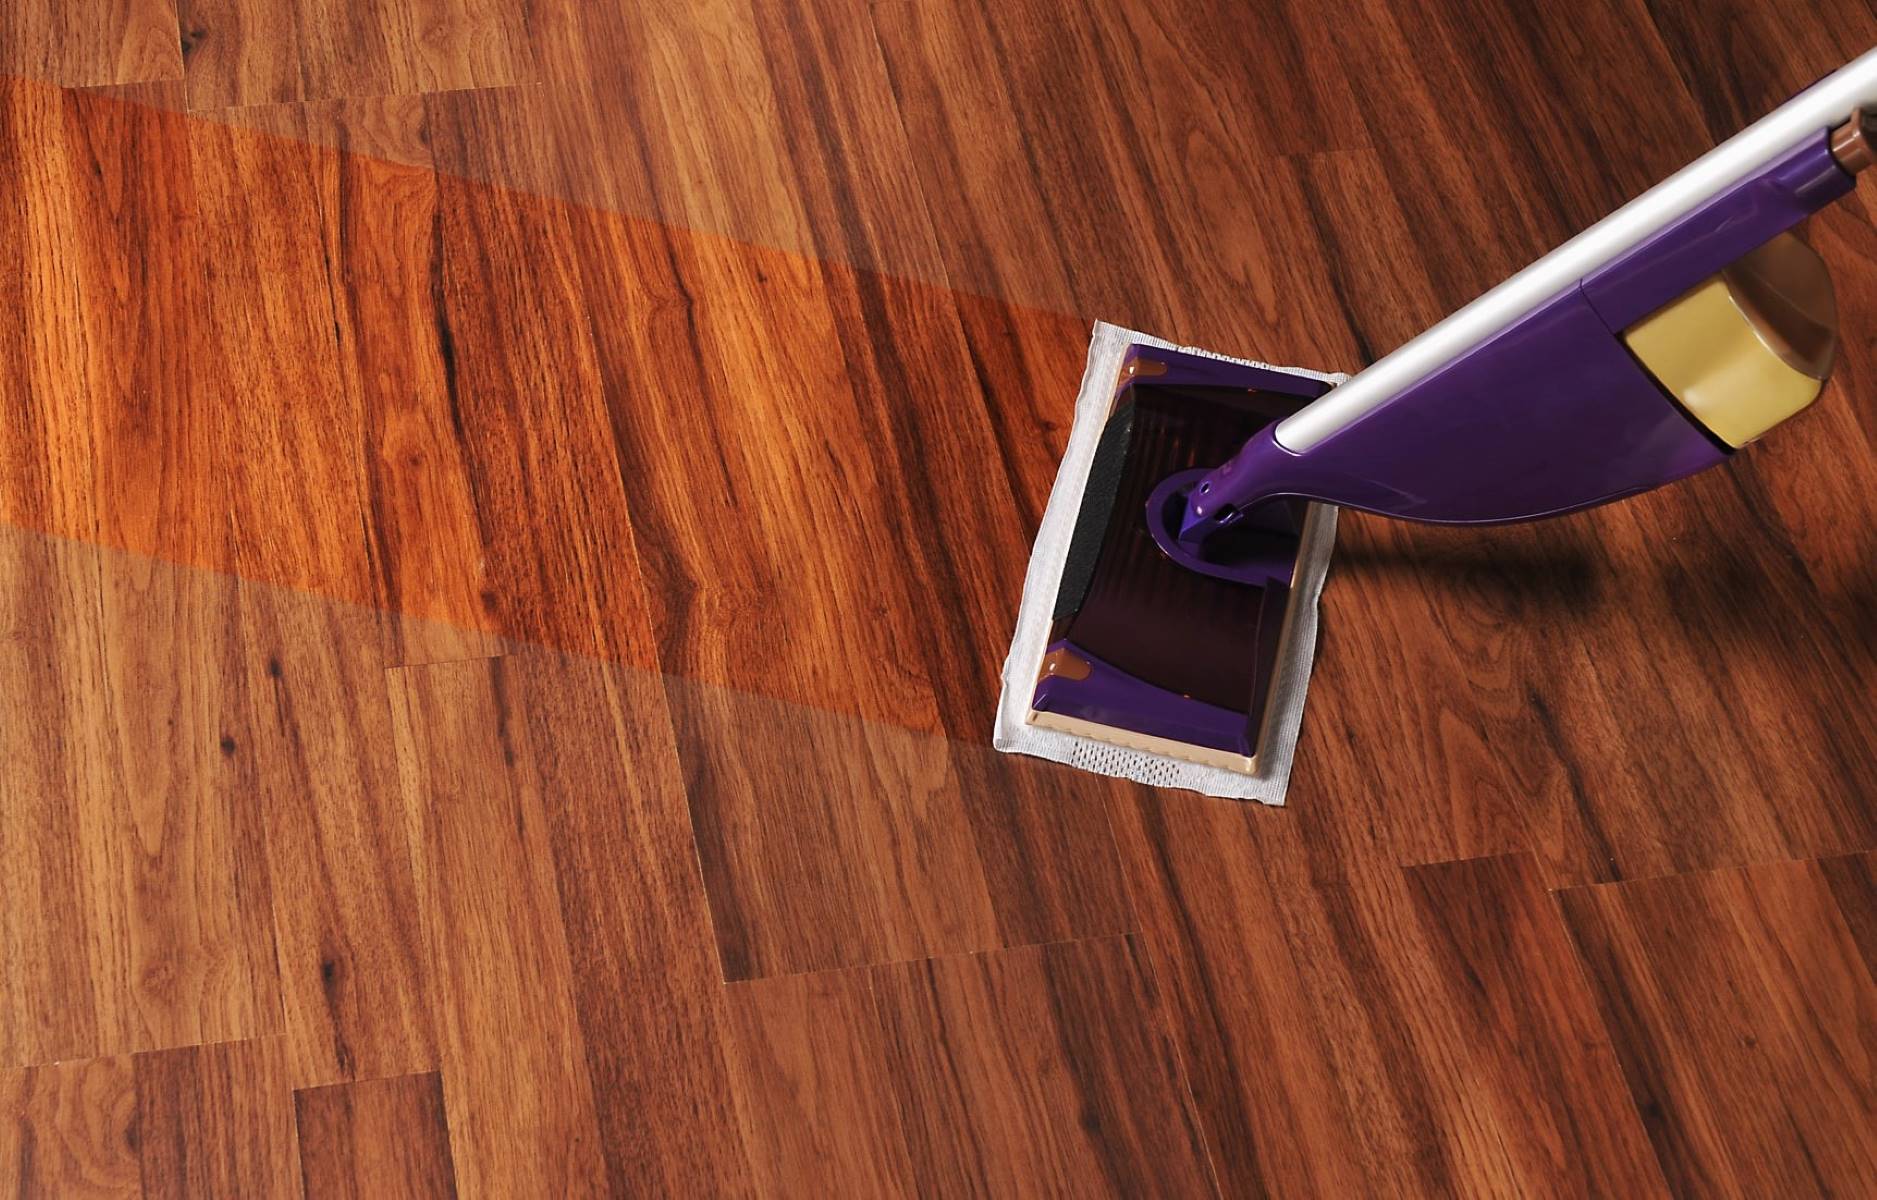
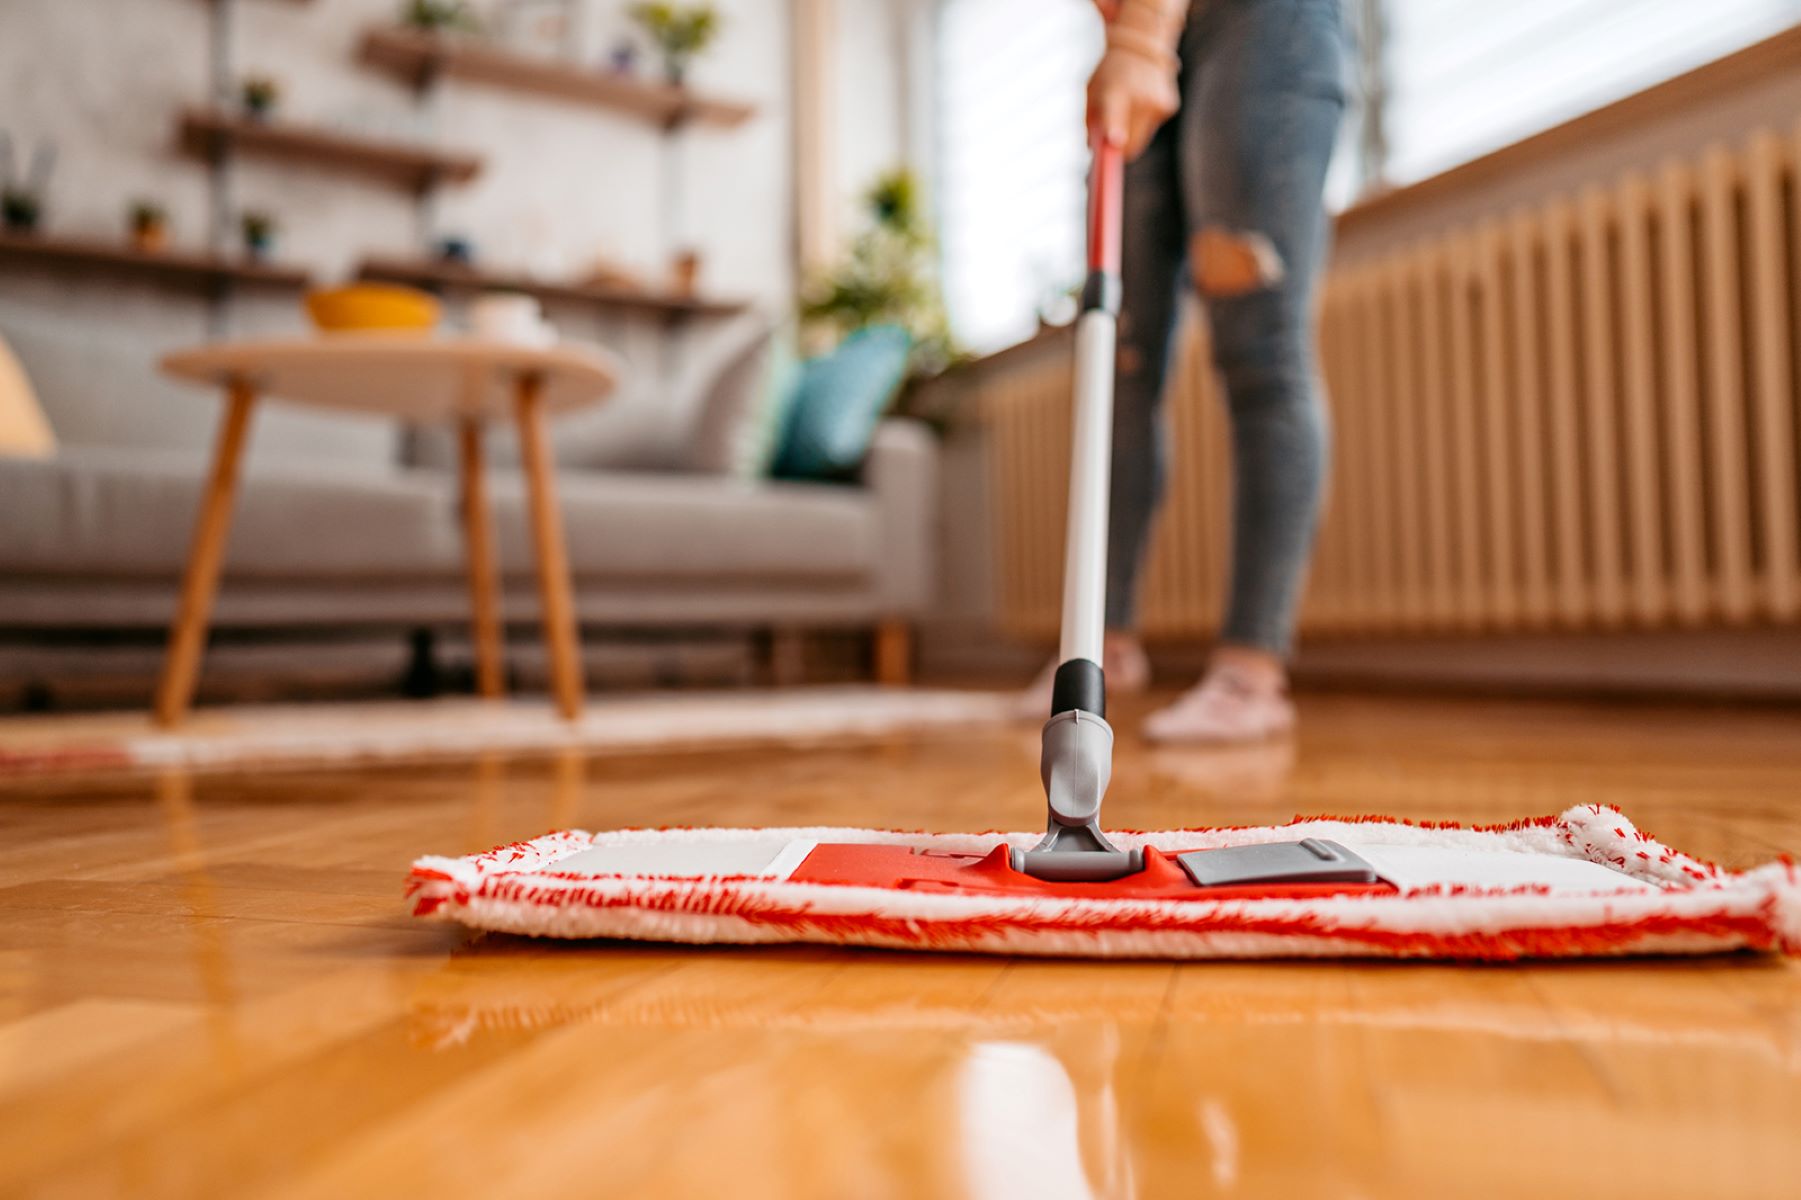
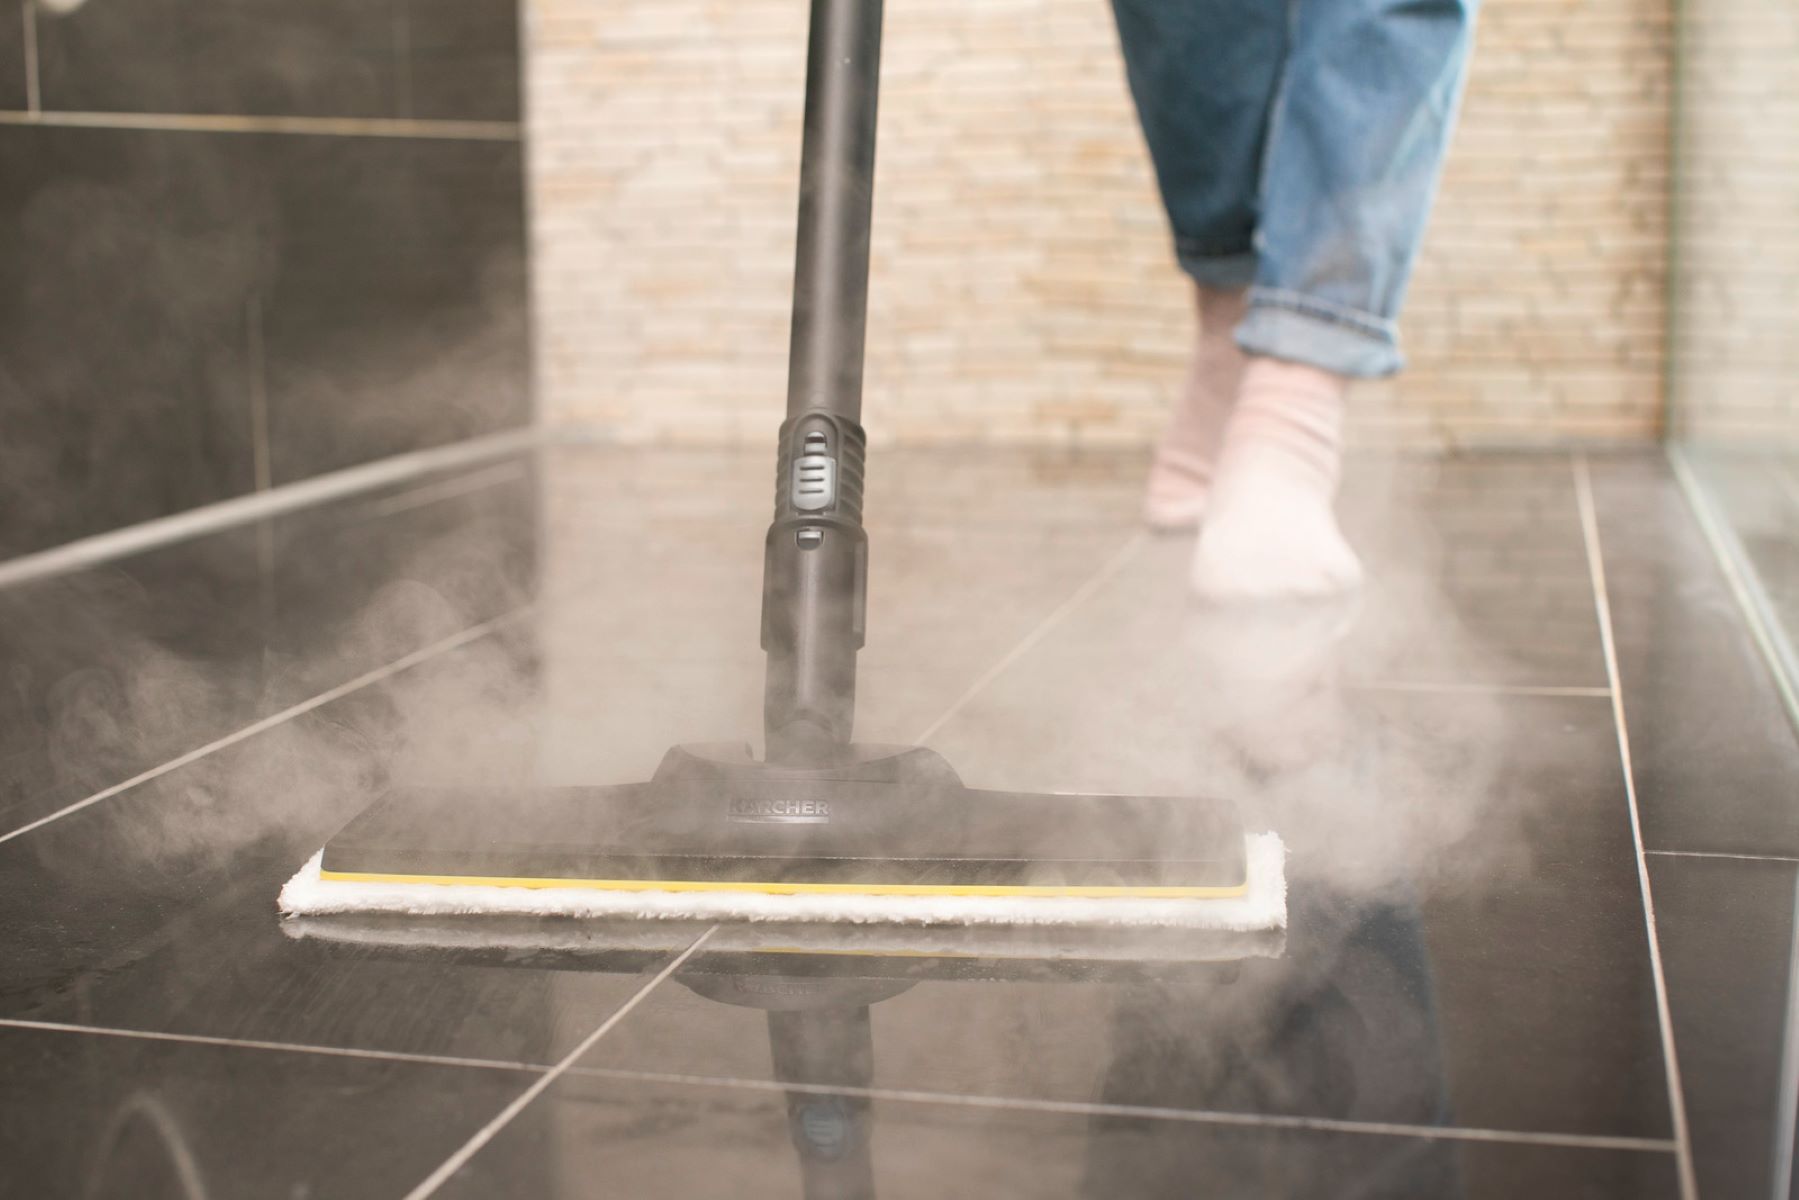
Mop the Floor
With the mop primed and the cleaning solution prepared, it’s time to tackle the sticky floor and restore its cleanliness. Mopping is a crucial step in the cleaning process, and when done correctly, it can effectively eliminate sticky residues and leave your floor looking immaculate. Here’s how to proceed with mopping a sticky floor:
- Begin from the Farthest Corner: Start mopping from the farthest corner of the room, working towards the entrance. This ensures that you don’t walk on the freshly mopped areas, preventing the spread of dirt or residue.
- Employ Methodical Strokes: Use smooth and controlled strokes as you mop, moving the mop back and forth in overlapping lines. This technique ensures comprehensive coverage and effective removal of sticky substances.
- Refresh the Mop as Needed: As the mop becomes soiled or saturated with residue, rinse it in the cleaning solution, wring it out thoroughly, and continue mopping. Regularly refreshing the mop prevents the spread of dirt and ensures consistent cleaning performance.
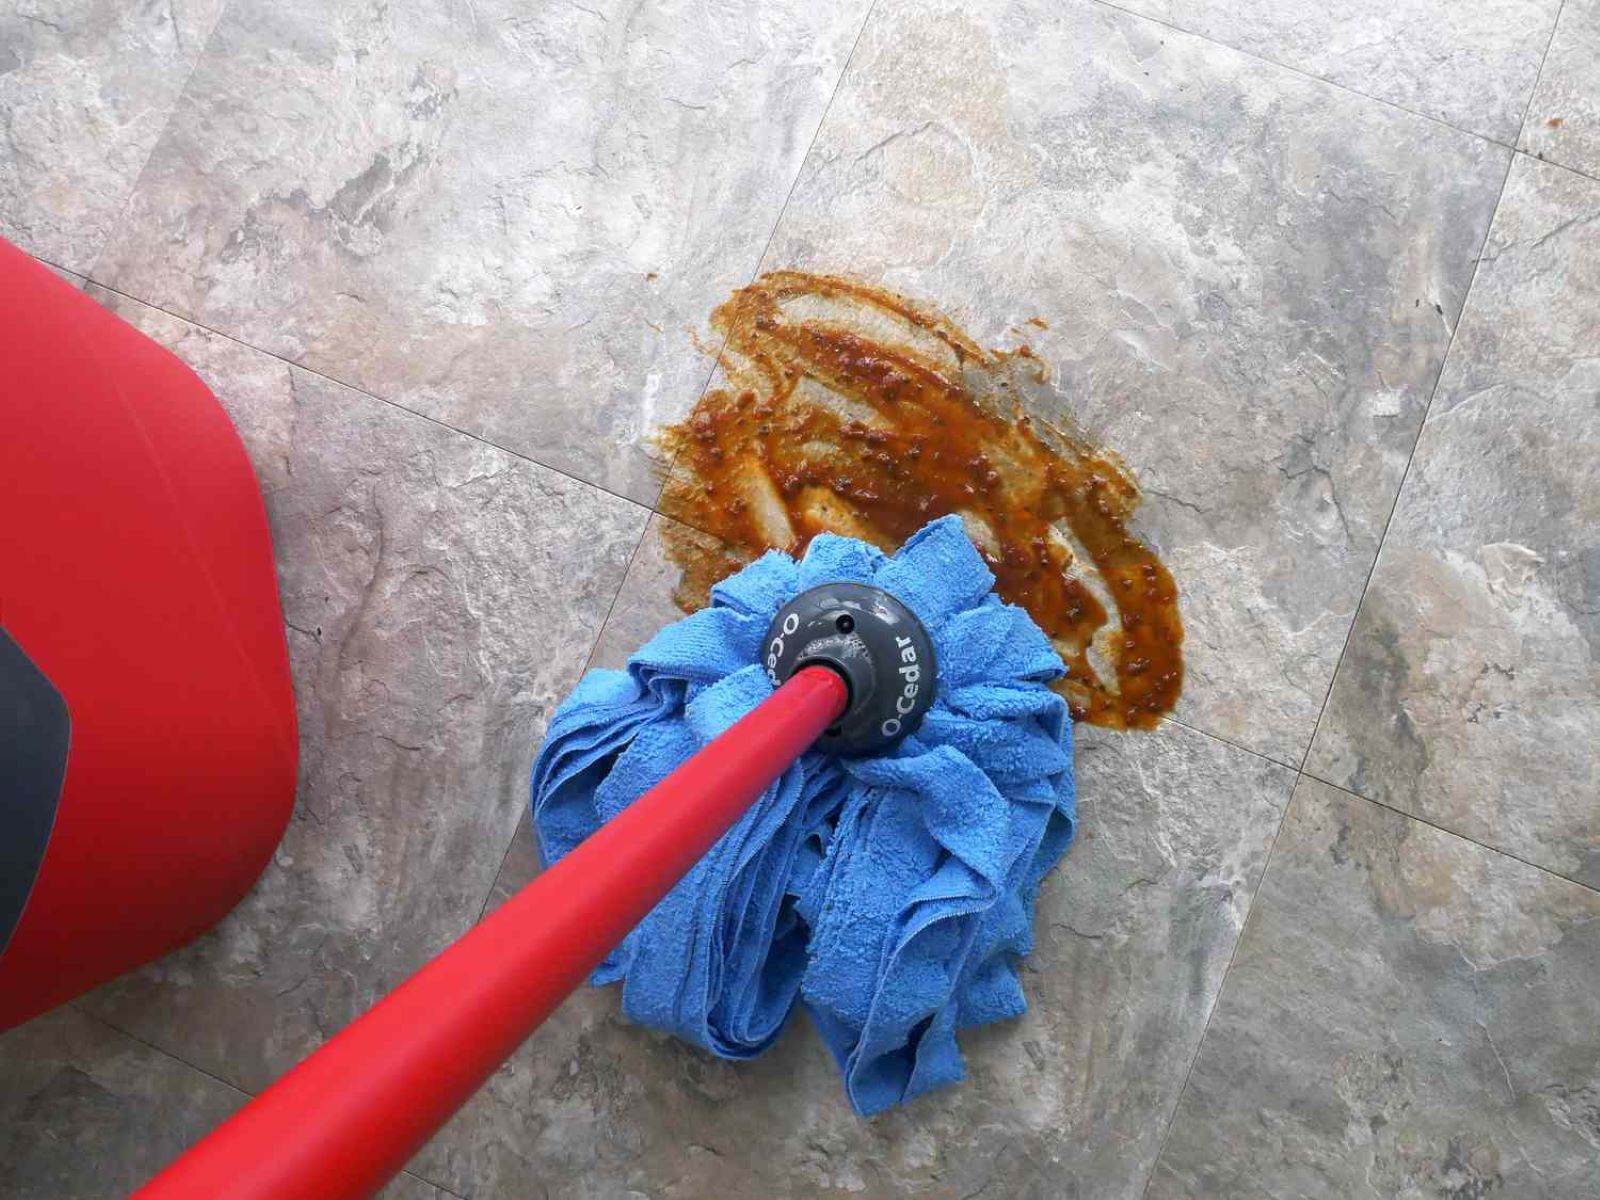
- Pay Attention to Stubborn Spots: For particularly sticky or stubborn spots, apply gentle pressure with the mop and allow the cleaning solution to loosen the residue before mopping it away. Avoid using excessive force, especially on delicate flooring materials.
- Work in Sections: Divide the floor into manageable sections and focus on thoroughly mopping each area before moving on to the next. This approach ensures thorough cleaning and prevents the cleaning solution from drying on the floor before mopping, which can result in streaks.
By following these steps, you can effectively remove sticky residues and grime from your floor, leaving it clean, refreshed, and free from unsightly marks or stickiness.
Add a few drops of dish soap to a bucket of warm water and mop the sticky floor. The soap will help break down the stickiness and leave the floor clean.
Read more: Why Does My Floor Feel Sticky After I Mop
Rinse the Mop
After completing the mopping process, it’s essential to properly rinse the mop to remove any residual cleaning solution and dirt, ensuring that it’s clean and ready for future use. Here’s how to effectively rinse the mop:
- Empty the Bucket: Dispose of the used cleaning solution and rinse the bucket thoroughly to remove any remaining residue. This prevents the reintroduction of dirt and grime onto the mop during the rinsing process.
- Rinse in Clean Water: Fill the bucket with clean, warm water. Submerge the mop head in the water and agitate it to dislodge any remaining cleaning solution and dirt particles.
- Wring Out Excess Water: Once the mop has been thoroughly rinsed, wring it out to remove excess water. Ensure that the mop is damp but not dripping, as excessive moisture can leave streaks on the floor during the drying process.
- Hang to Dry: Hang the rinsed mop in a well-ventilated area to air dry completely. Avoid storing a damp mop, as this can lead to the growth of mildew and unpleasant odors.
By diligently rinsing the mop and allowing it to dry properly, you maintain its cleanliness and ensure optimal performance during future cleaning tasks. A well-maintained mop is essential for achieving consistently clean and hygienic floors in your home.
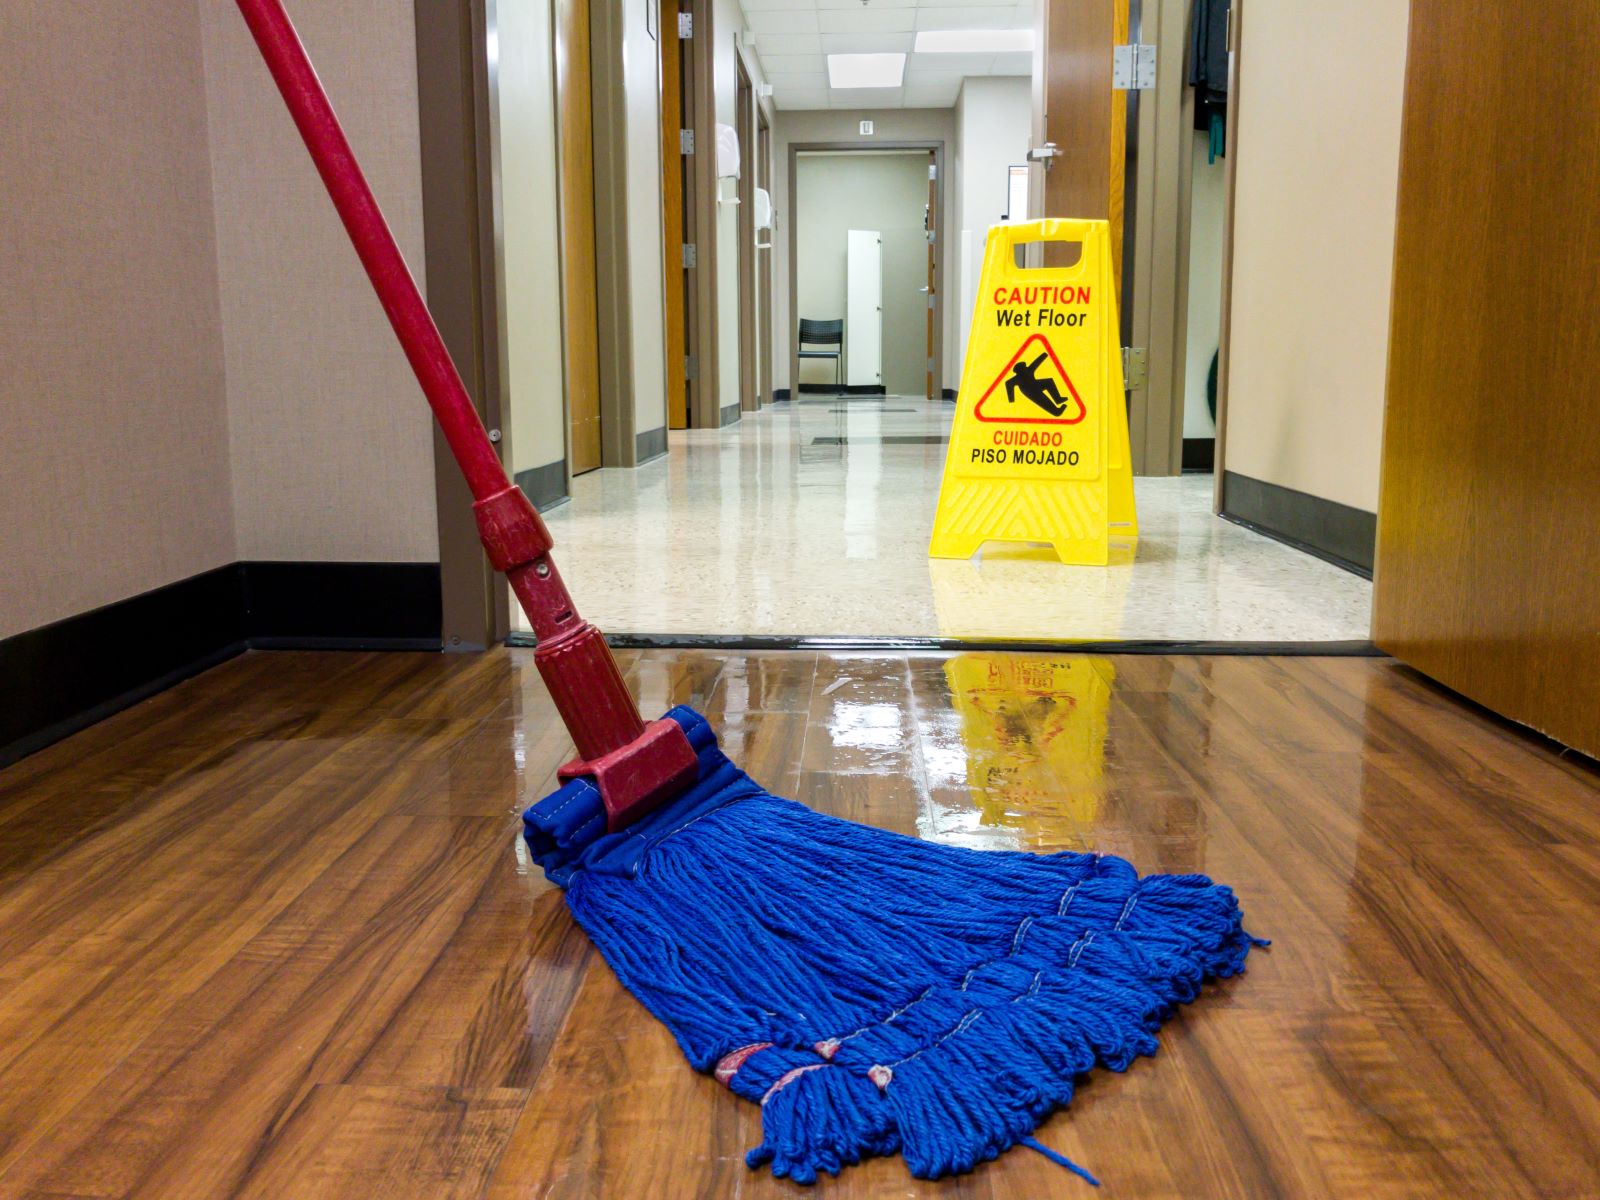
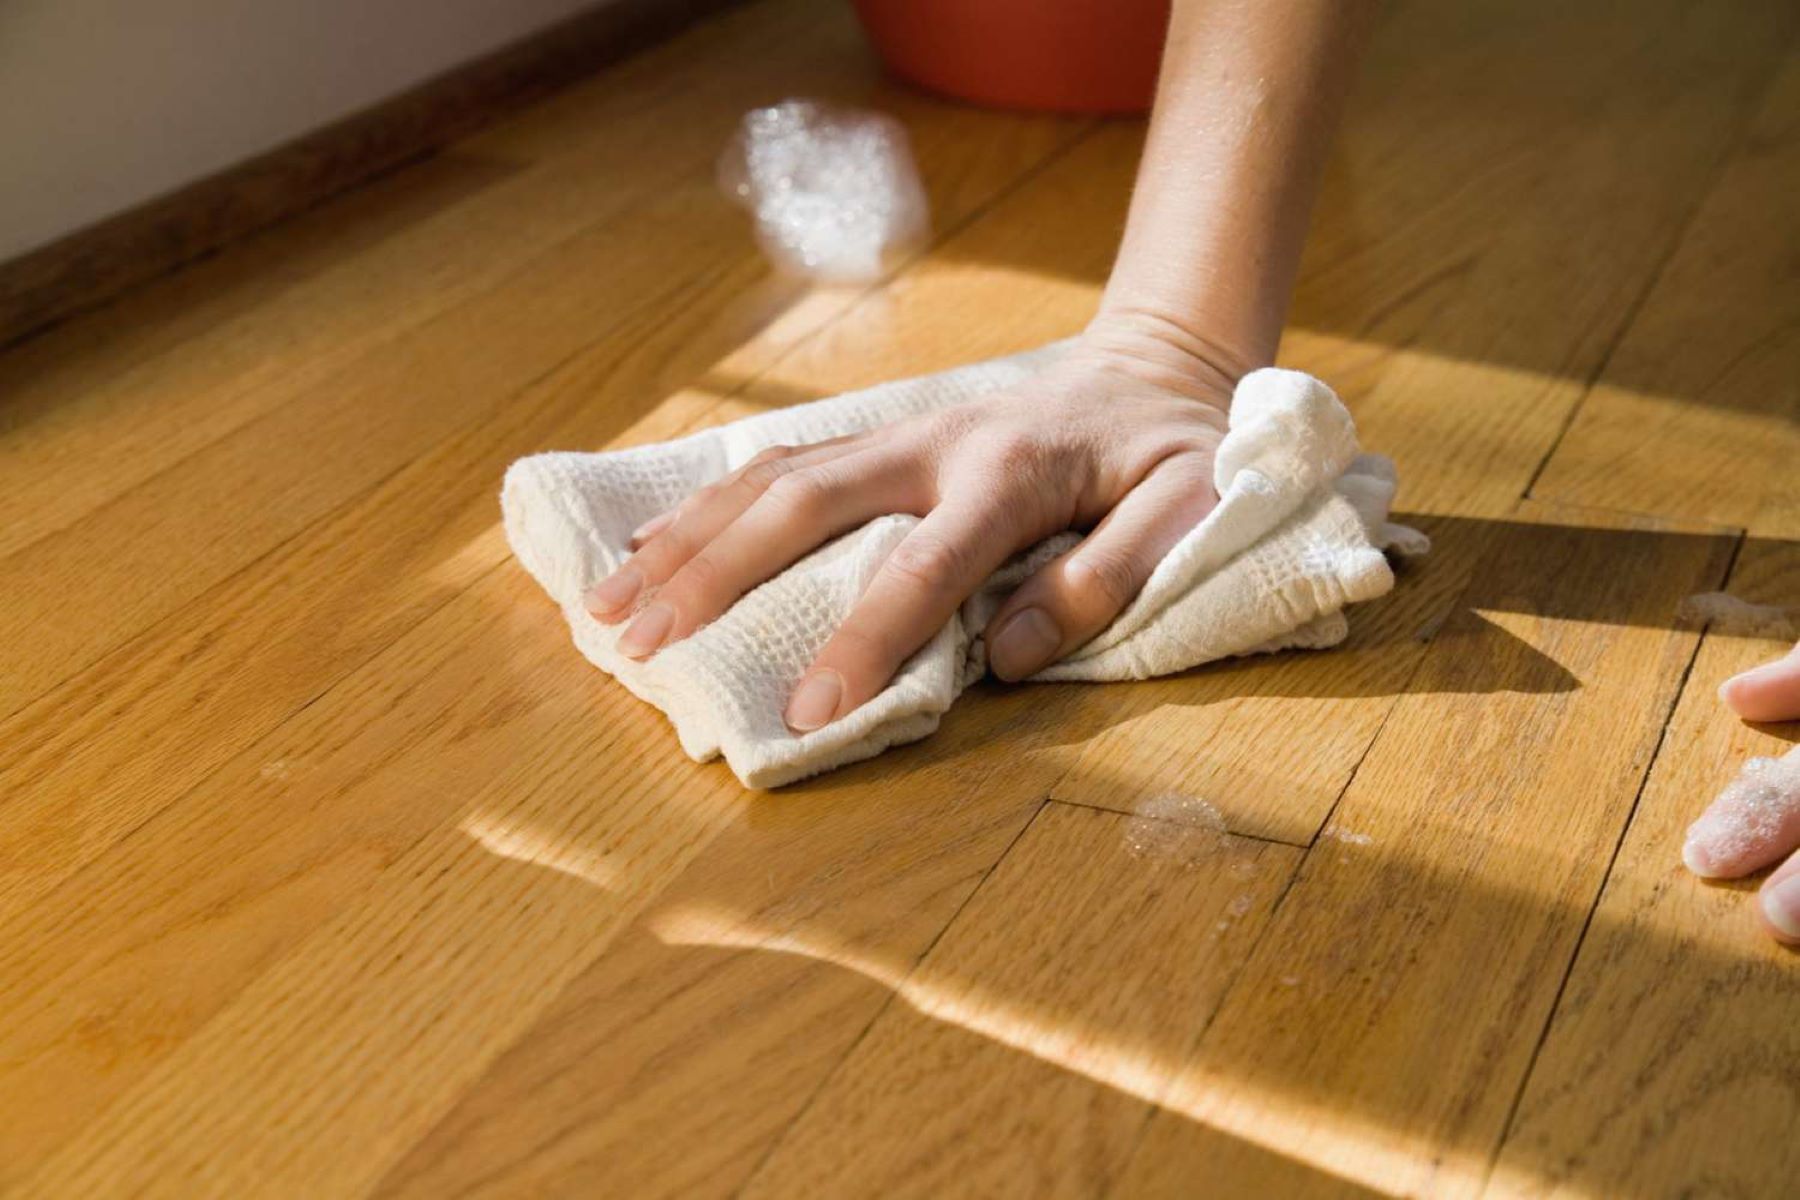
Dry the Floor
Once the mopping process is complete, it’s crucial to ensure that the floor is thoroughly dried to prevent the accumulation of moisture and to restore its natural luster. Properly drying the floor also minimizes the risk of slipping and maintains a clean and inviting environment. Here’s how to effectively dry the floor after mopping:
- Use Absorbent Towels or Microfiber Cloths: Gently pat the floor with absorbent towels or microfiber cloths to soak up excess moisture. Ensure that the towels are clean to avoid transferring dirt back onto the floor.
- Work in Sections: Divide the floor into sections and focus on drying each area thoroughly before moving on to the next. This approach ensures comprehensive drying and prevents the formation of water spots.
- Inspect for Remaining Moisture: Pay attention to any areas that may still appear damp after initial drying. Address these spots with additional drying measures to ensure that the entire floor is free from moisture.
- Air Circulation: Utilize fans or open windows to promote air circulation and expedite the drying process. Good ventilation helps to evaporate any lingering moisture, leaving the floor completely dry.
By diligently drying the floor, you can maintain its cleanliness and prevent the potential hazards associated with a damp surface. Additionally, a thoroughly dried floor enhances the overall appearance of the room, leaving it looking fresh and inviting.
Additional Tips and Warnings
As you embark on the task of mopping a sticky floor, consider the following additional tips and warnings to ensure a successful and safe cleaning experience:
Tips:
- Regular Maintenance: Implement a regular cleaning schedule to prevent the accumulation of sticky residues and grime on the floor. Consistent maintenance minimizes the effort required for deep cleaning.
- Spot Test New Cleaning Solutions: When using a new cleaning solution, especially on delicate or specialty flooring, conduct a spot test in an inconspicuous area to ensure compatibility and prevent potential damage.
- Address Spills Promptly: Attend to spills and sticky residues as soon as they occur to prevent them from hardening and becoming more challenging to remove. Quick action minimizes the likelihood of stubborn stains and residues.
- Proper Storage of Cleaning Supplies: Store mops and cleaning solutions in a clean and dry area to prevent contamination and maintain their effectiveness for future use.
Read more: How To Mop The Floor
Warnings:
- Avoid Excessive Water on Wood Floors: When mopping hardwood floors, ensure that the mop is well wrung to prevent excessive moisture from damaging the wood. Standing water can cause warping and discoloration.
- Use Caution on Slippery Surfaces: Exercise caution when walking on a freshly mopped floor, as it may be slippery until completely dry. Place warning signs or barriers to prevent accidents.
- Protective Gear: When using chemical cleaning solutions, wear protective gloves to safeguard your skin from potential irritation or allergic reactions.
By incorporating these tips and heeding the warnings, you can approach the task of mopping a sticky floor with confidence, ensuring a thorough and safe cleaning process that preserves the integrity of your flooring.
Frequently Asked Questions about How To Mop A Sticky Floor
Was this page helpful?
At Storables.com, we guarantee accurate and reliable information. Our content, validated by Expert Board Contributors, is crafted following stringent Editorial Policies. We're committed to providing you with well-researched, expert-backed insights for all your informational needs.
0 thoughts on “How To Mop A Sticky Floor”