Home>Home Appliances>Cleaning Appliances>How To Wax A Floor With A Mop
Cleaning Appliances
How To Wax A Floor With A Mop
Modified: January 3, 2024
Learn how to effectively wax a floor using a mop with our expert cleaning appliances guide. Achieve a sparkling, polished finish effortlessly.
(Many of the links in this article redirect to a specific reviewed product. Your purchase of these products through affiliate links helps to generate commission for Storables.com, at no extra cost. Learn more)
Introduction
Welcome to the comprehensive guide on how to wax a floor with a mop! You'll be amazed at how a simple mop and some wax can transform your floors, giving them a brilliant shine and an added layer of protection. Whether you're a seasoned cleaning enthusiast or a novice looking to spruce up your living space, this method is a game-changer for maintaining immaculate floors.
In this step-by-step guide, we'll walk you through the entire process, from gathering the necessary materials to achieving a professional-quality finish. By the end of this article, you'll have the knowledge and confidence to revitalize your floors and keep them looking pristine for the long haul.
So, roll up your sleeves, grab your mop, and let's dive into the world of floor waxing!
Key Takeaways:
- Transform your floors with a brilliant shine and added protection using a mop and high-quality floor wax. Follow our step-by-step guide for professional-quality results and long-lasting pristine floors.
- Prepare, apply, and maintain your waxed floors with confidence. From meticulous cleaning to buffing for a stunning shine, our comprehensive guide ensures your floors remain immaculate for years to come.
Read more: How To Wax A Floor
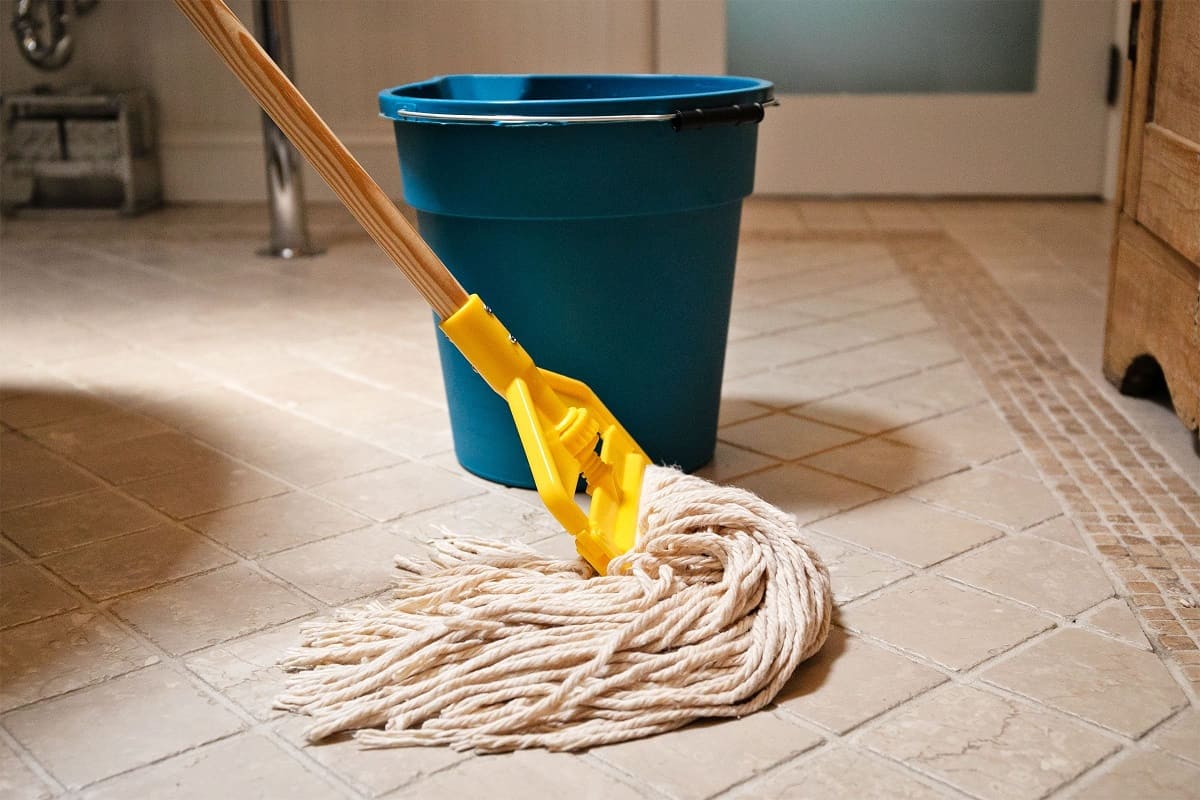
Materials Needed
Before embarking on your floor waxing journey, it's essential to gather the necessary materials. Here's what you'll need:
- Floor Wax: Select a high-quality floor wax suitable for the type of flooring you have. Whether it's hardwood, vinyl, or laminate, ensure that the wax is compatible with your specific floor material.
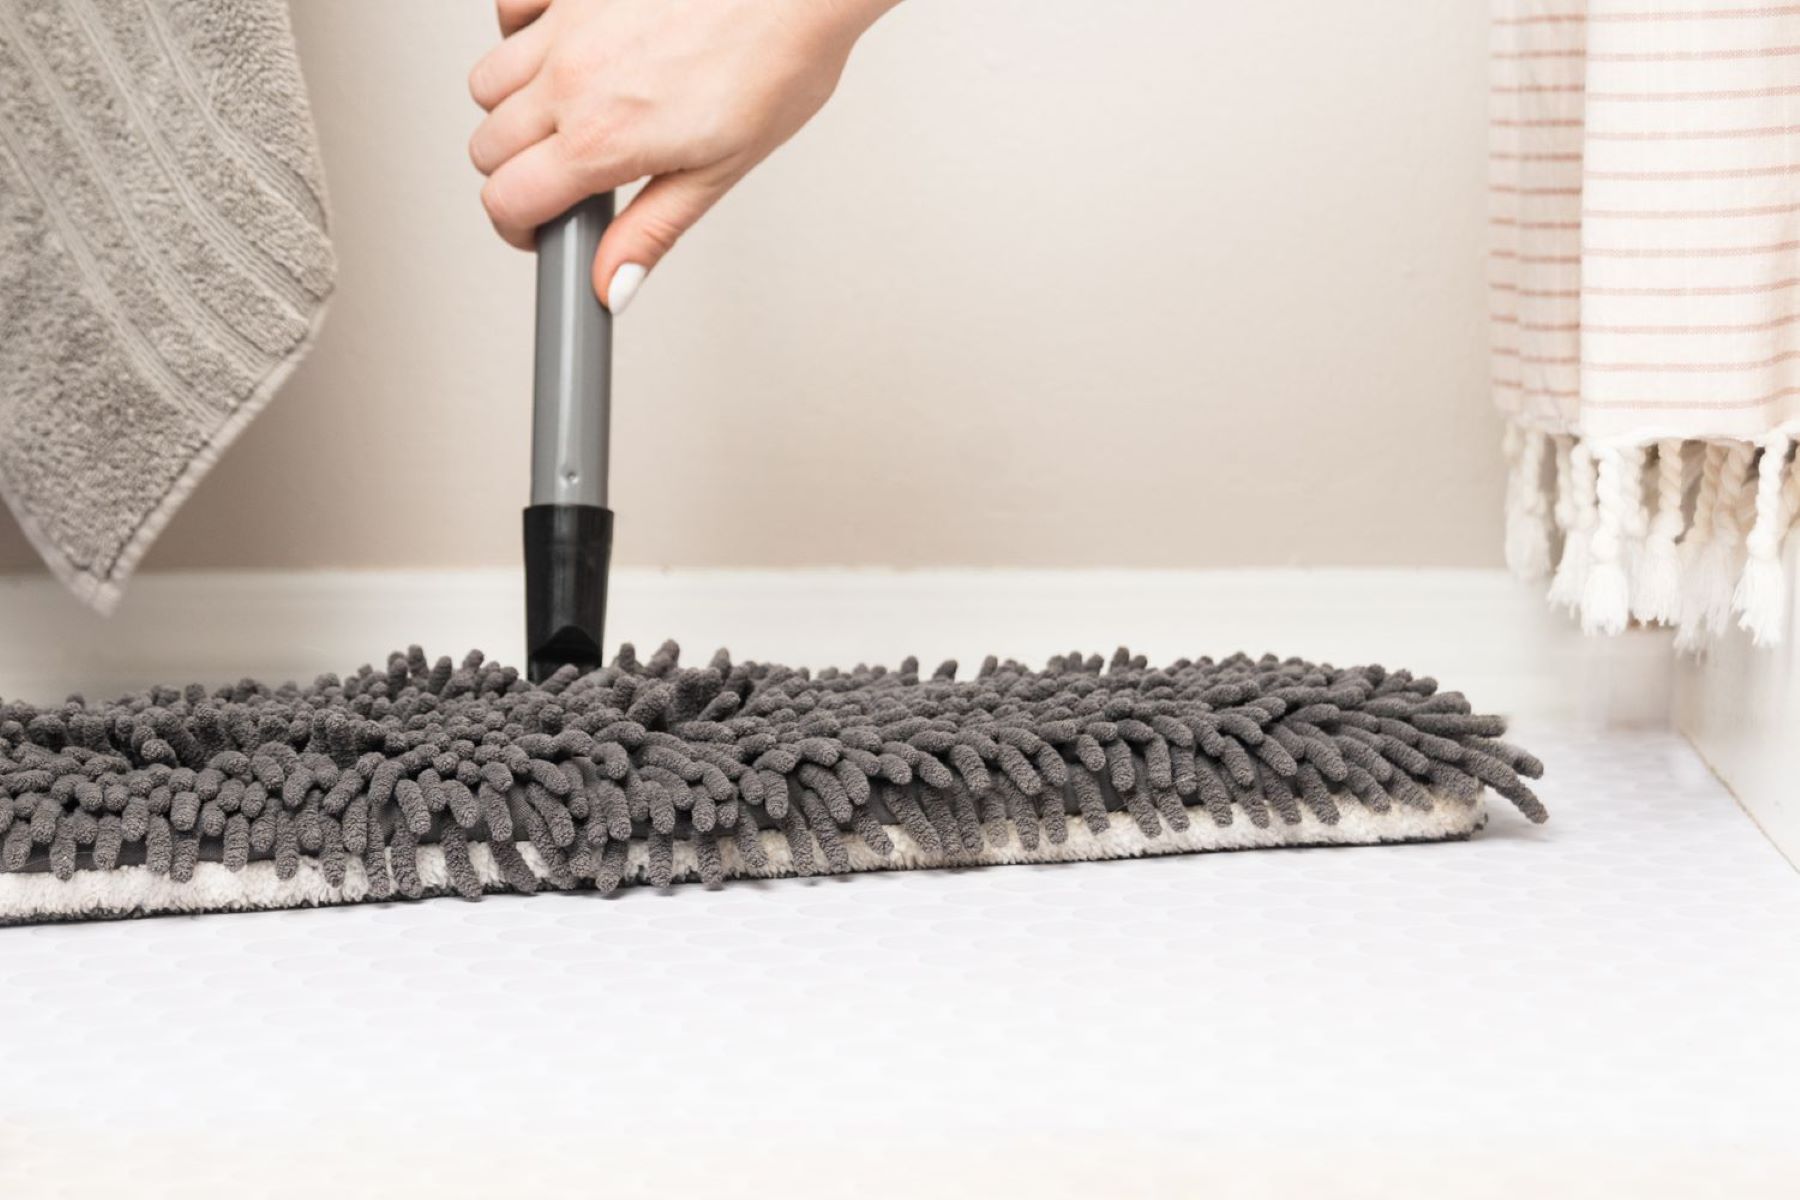
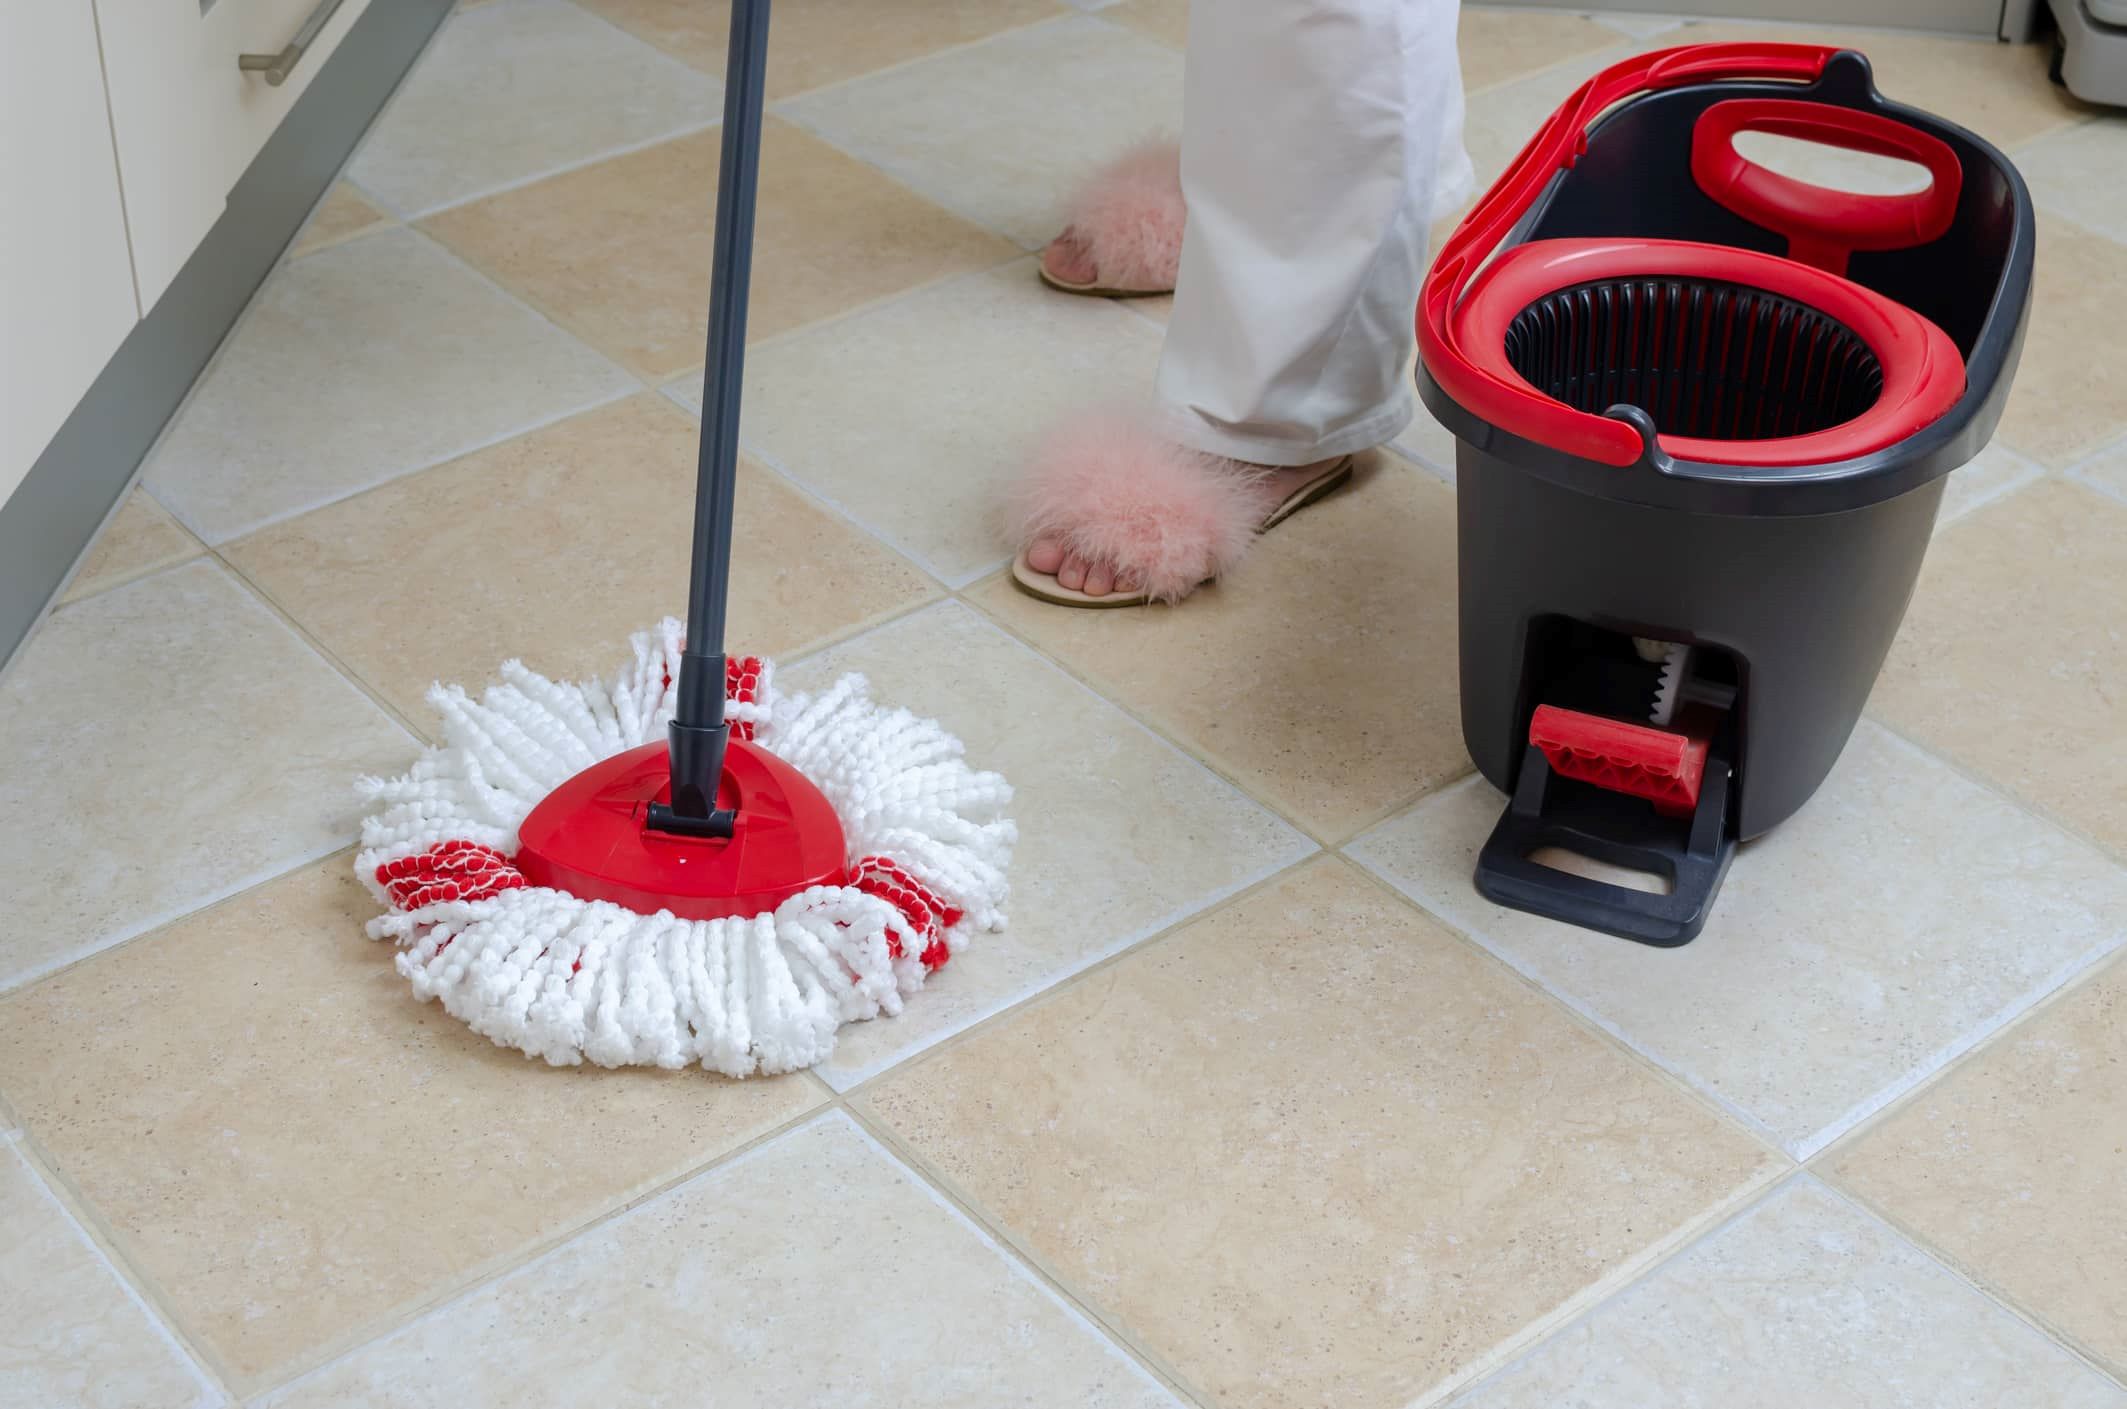
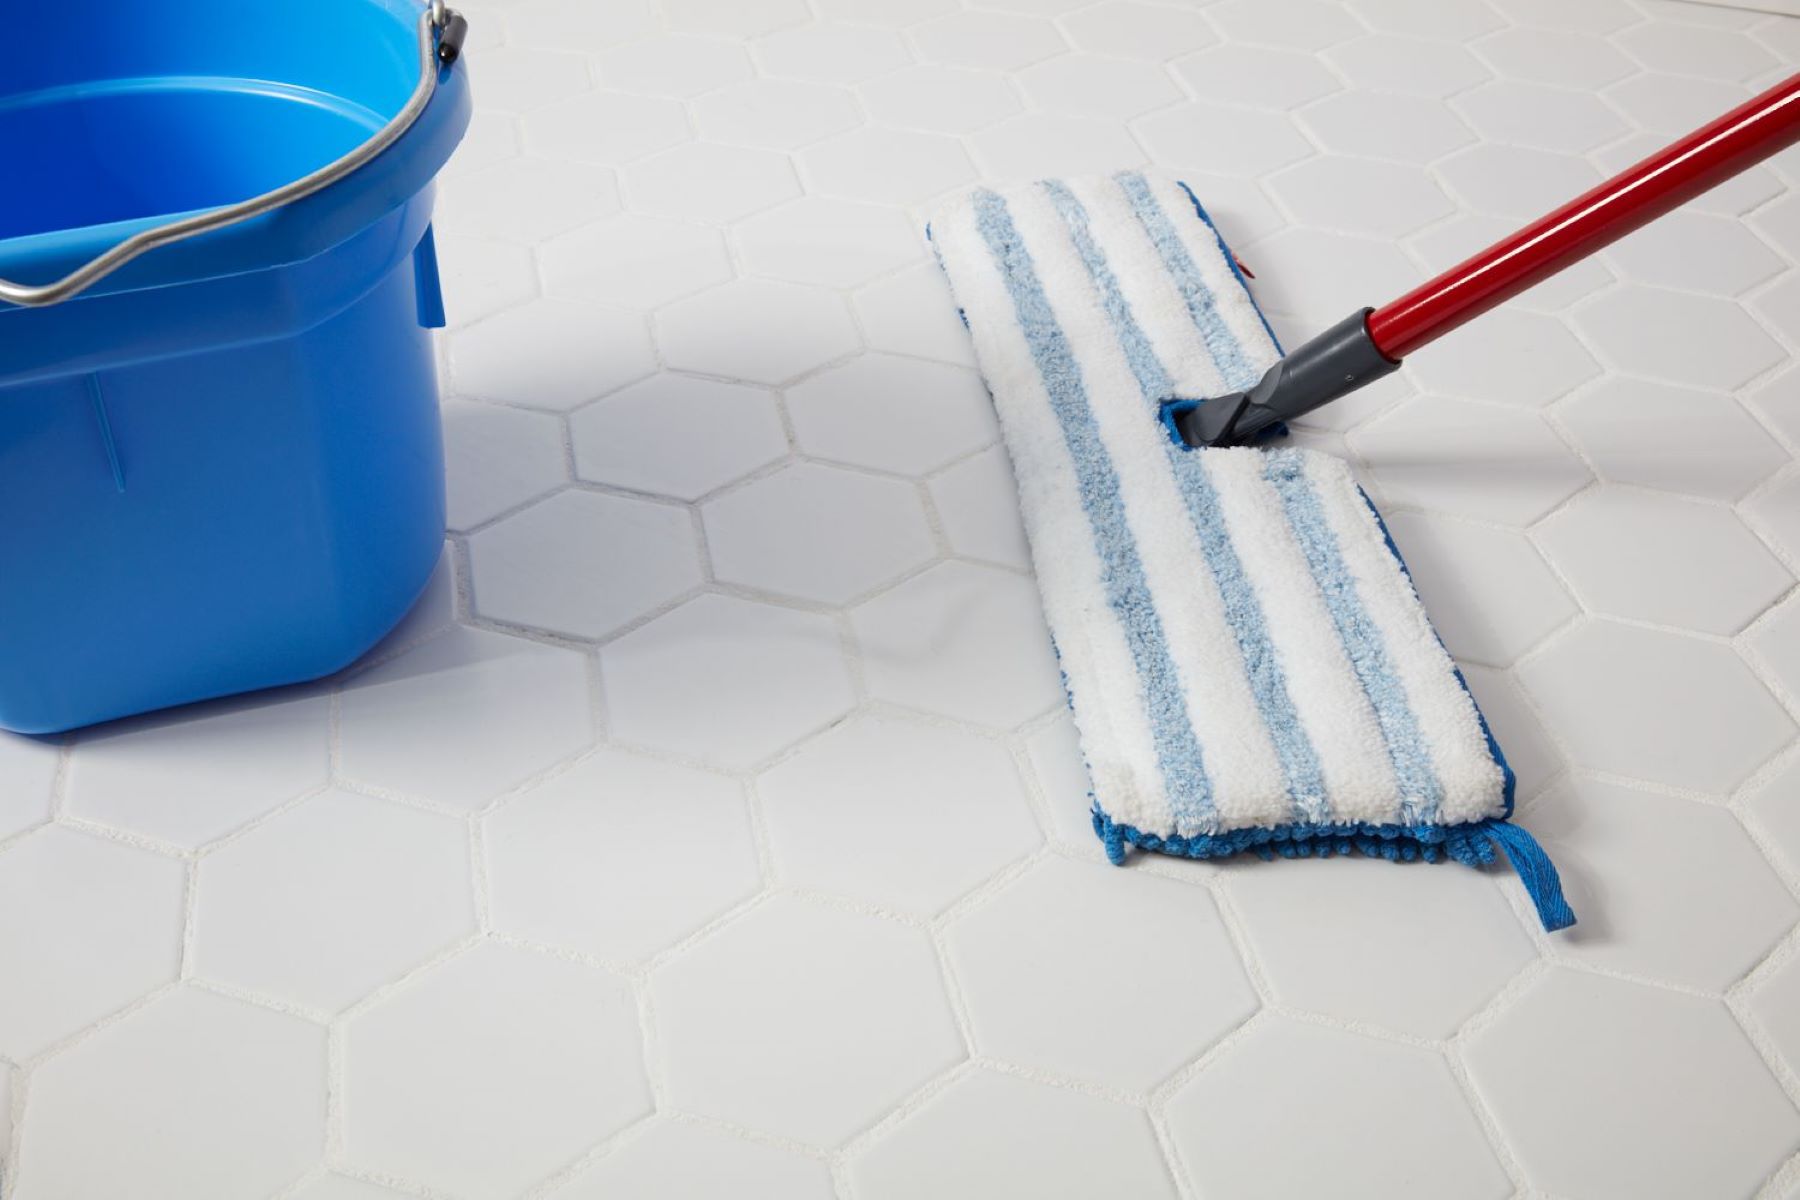
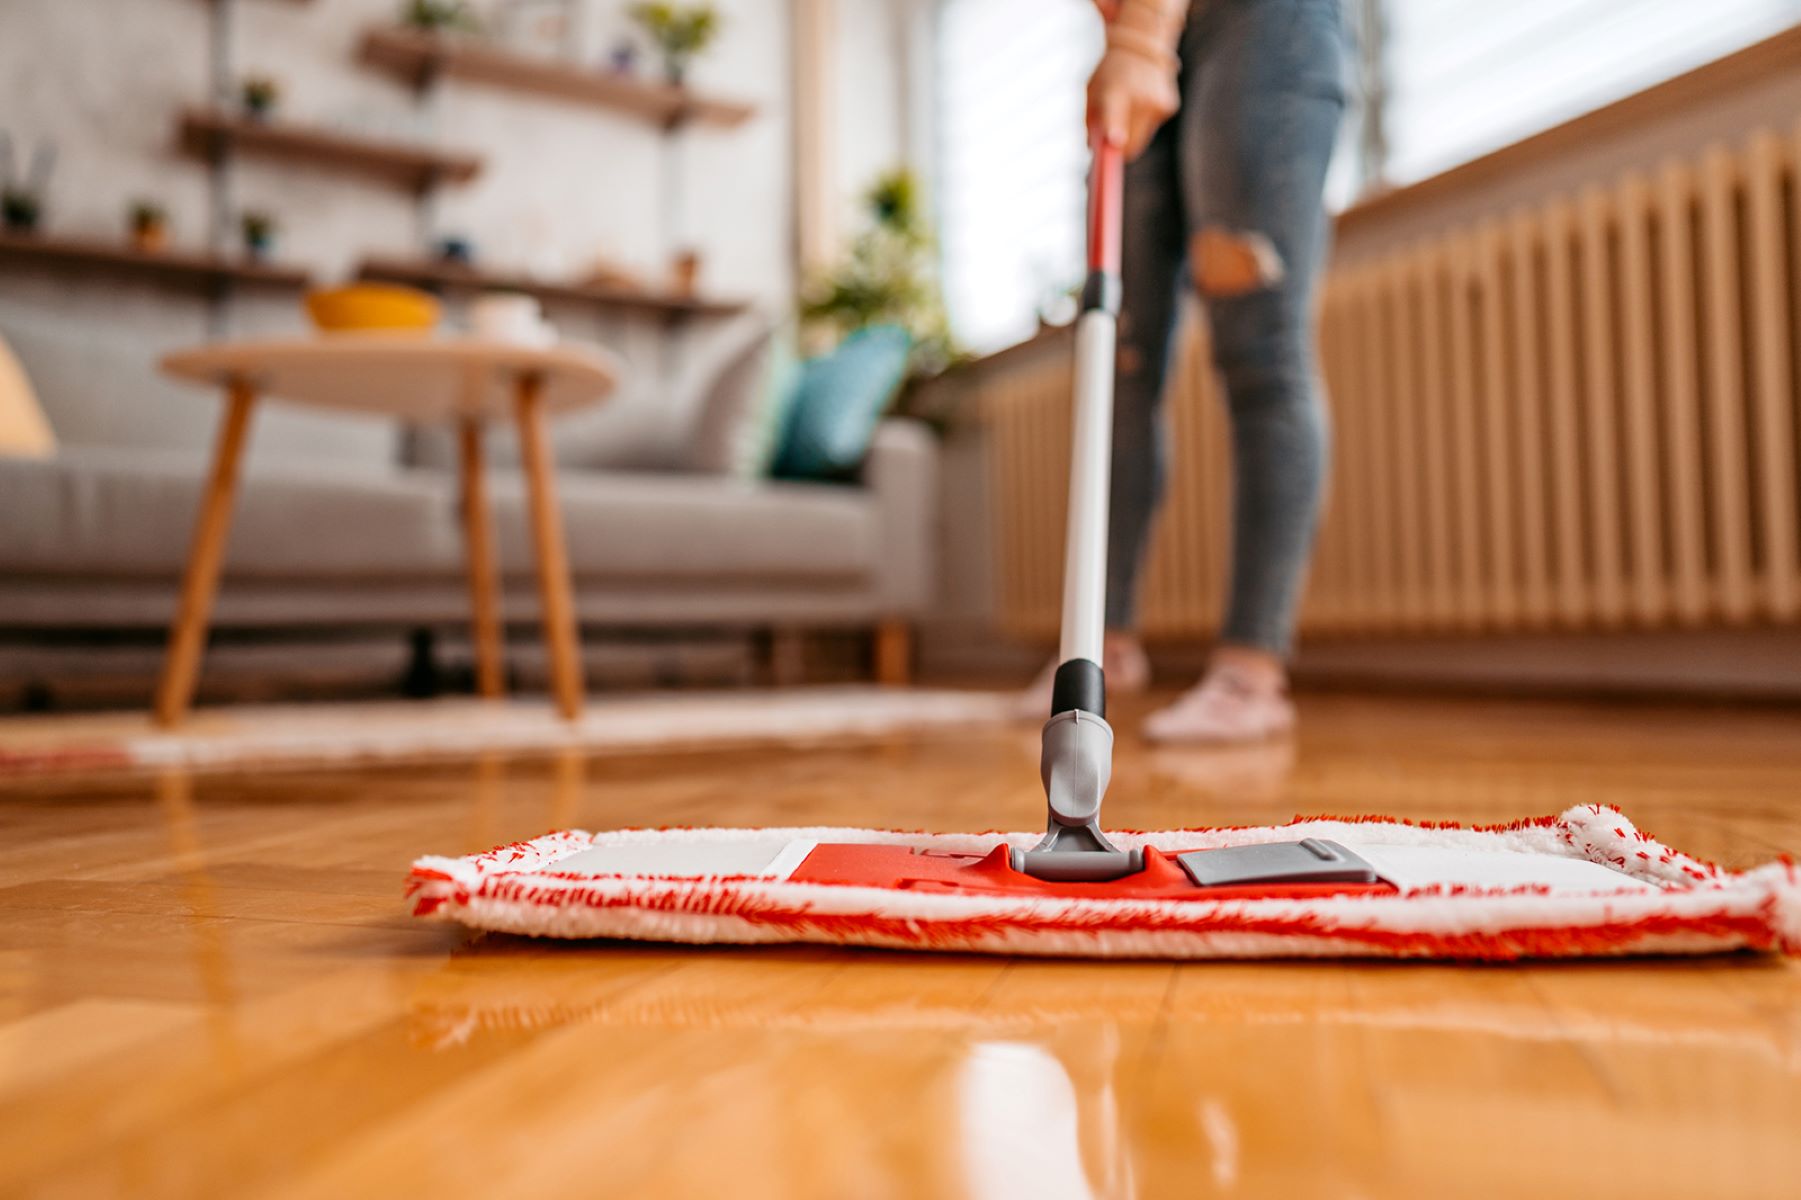
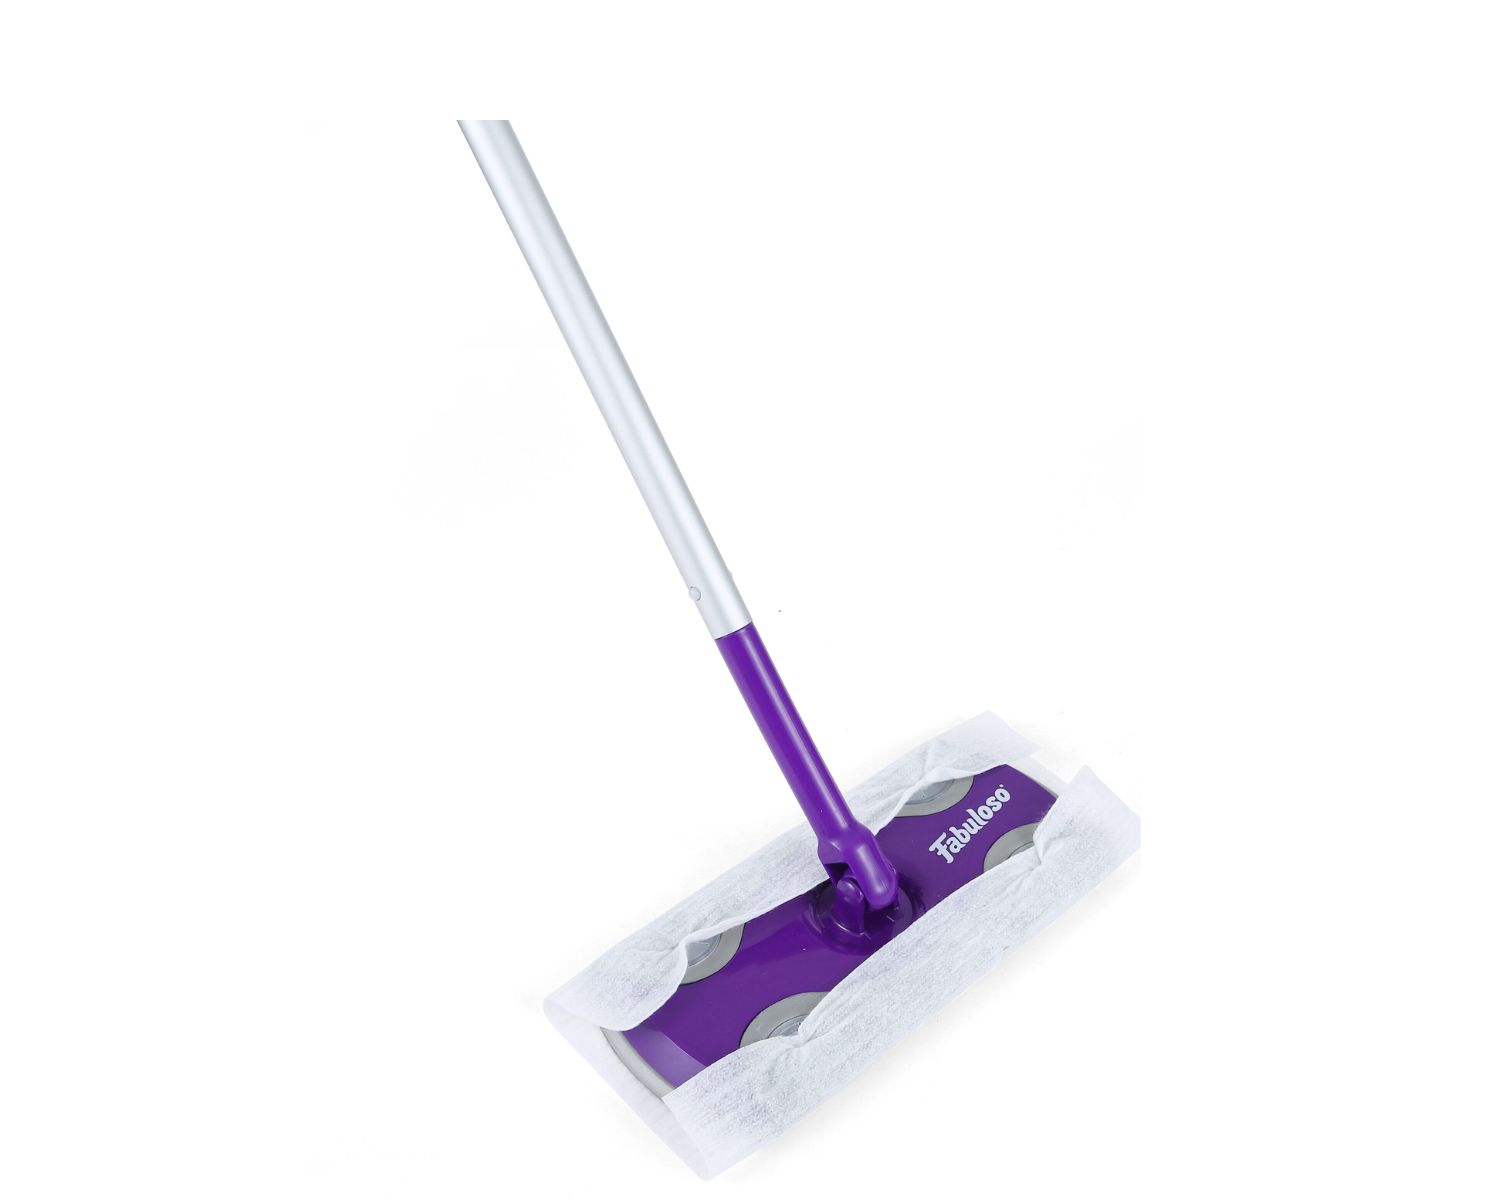
- Mop: Opt for a clean, high-quality mop with a detachable and washable head. Microfiber mops are excellent for applying wax evenly and efficiently.
- Bucket: Choose a sturdy bucket large enough to accommodate your mop and allow for easy wax application.
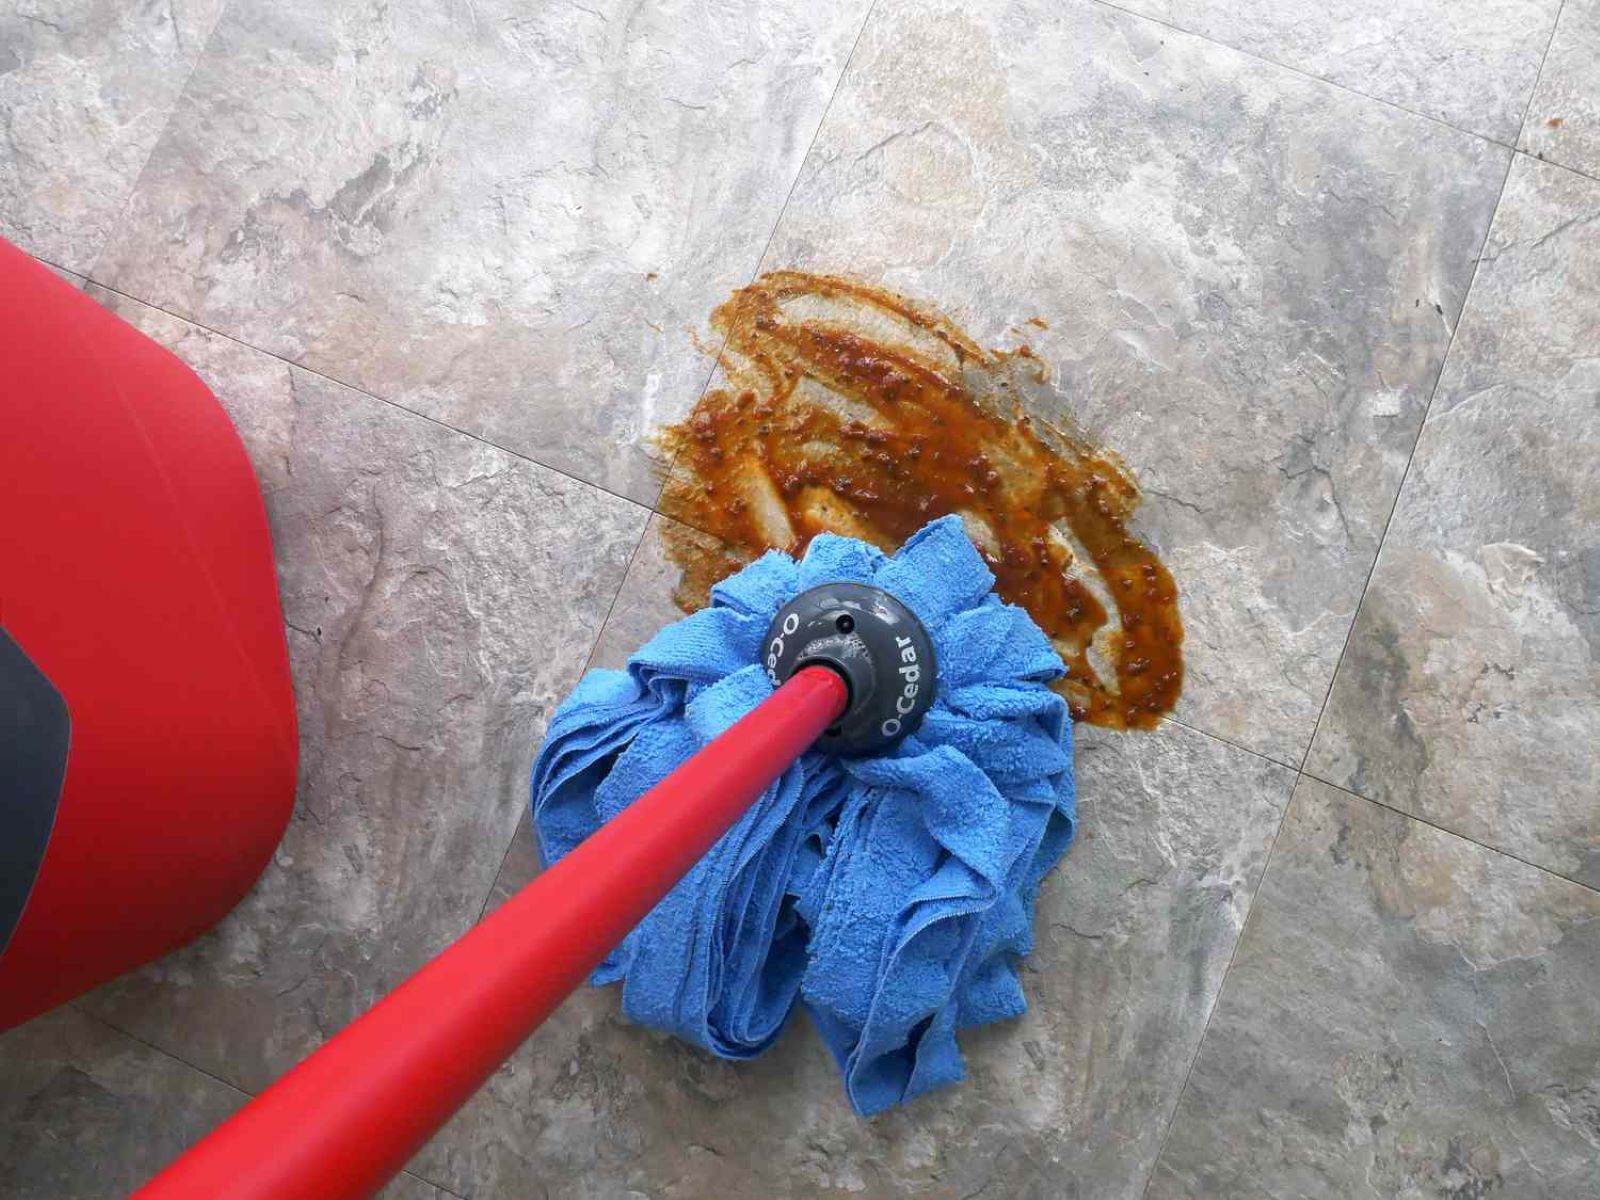
- Cleaner: Prior to waxing, ensure that your floor is thoroughly cleaned. Select a suitable cleaner based on your floor type to remove any dirt, grime, or residue.
- Protective Gear: To protect yourself from fumes and potential splashes, consider wearing gloves, a mask, and goggles during the waxing process.
- Furniture Pads: If you need to move furniture to access the entire floor, furniture pads will prevent scratches and marks as you rearrange the pieces.
- Ventilation: Ensure that the room is well-ventilated to facilitate the drying process and minimize exposure to wax fumes.
- Applicator Pad (Optional): For more intricate or detailed areas, an applicator pad can be useful for precise wax application.
By having these materials at your disposal, you'll be fully equipped to embark on your floor waxing endeavor with confidence and precision.
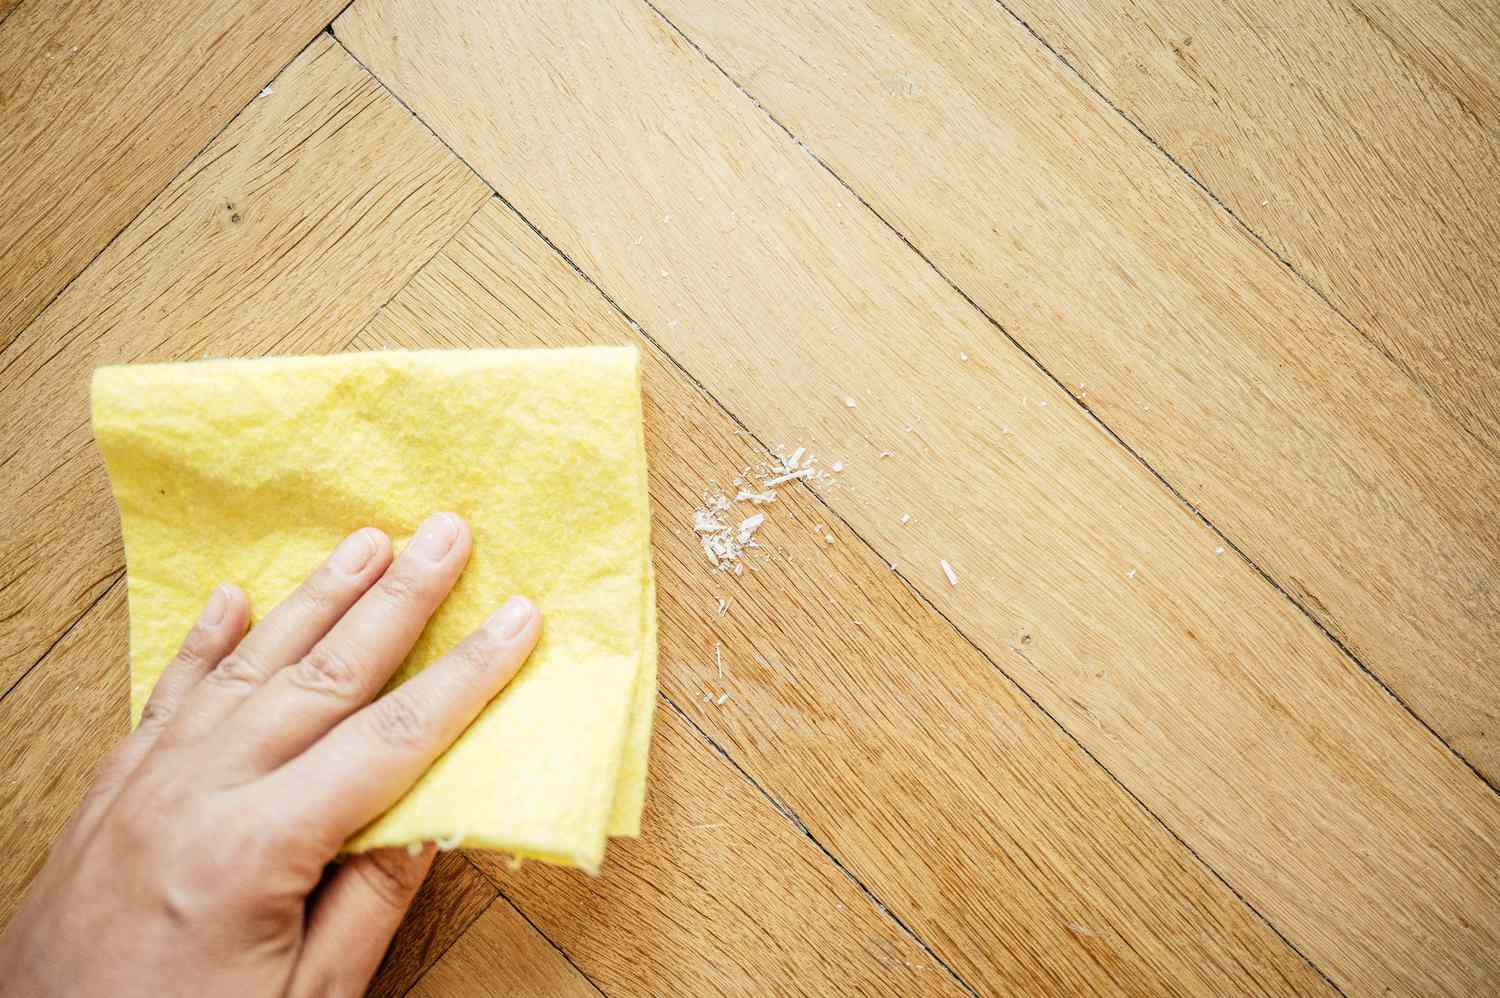
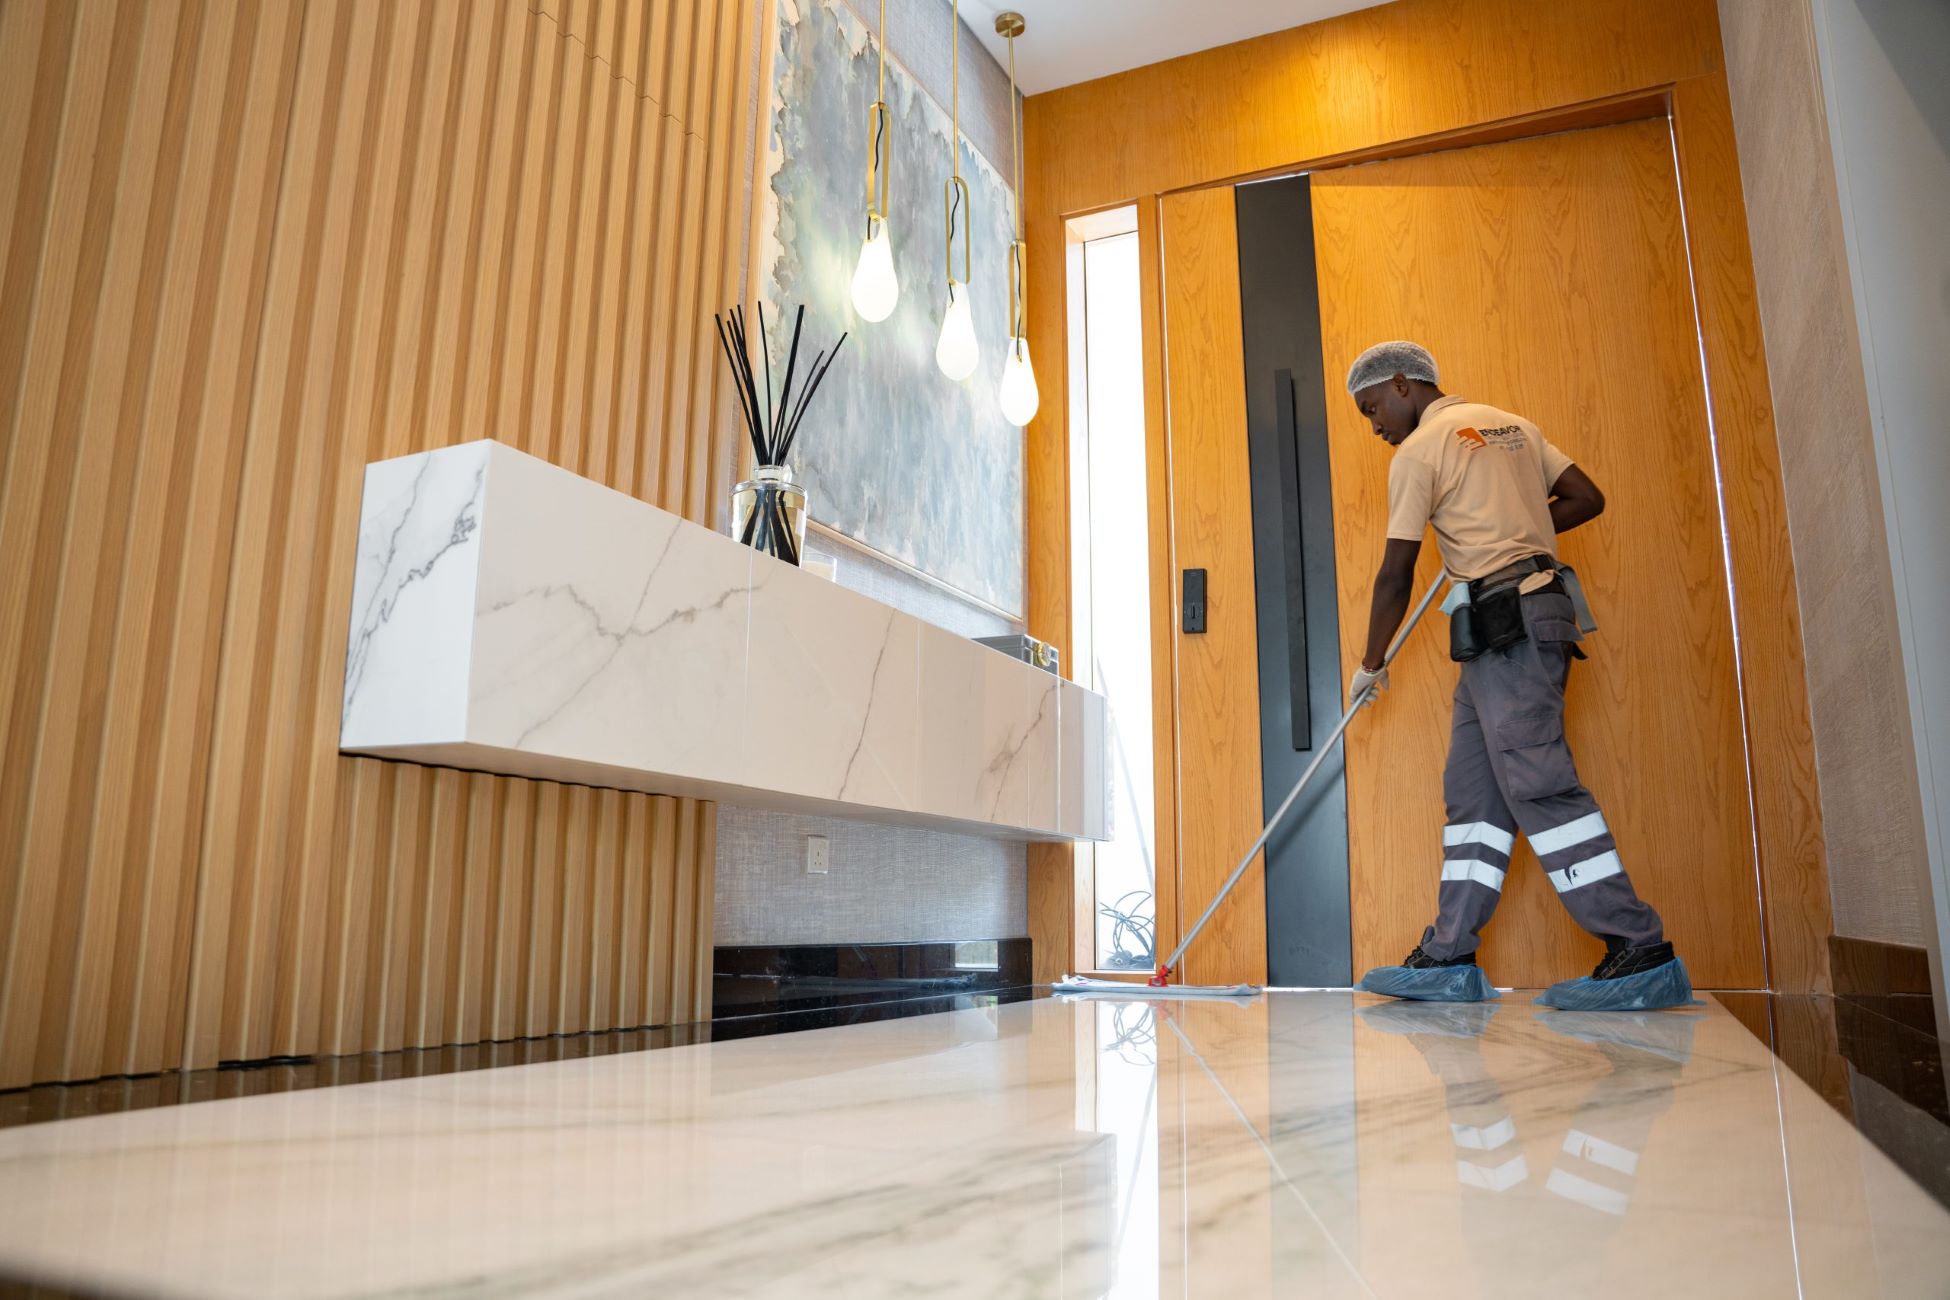
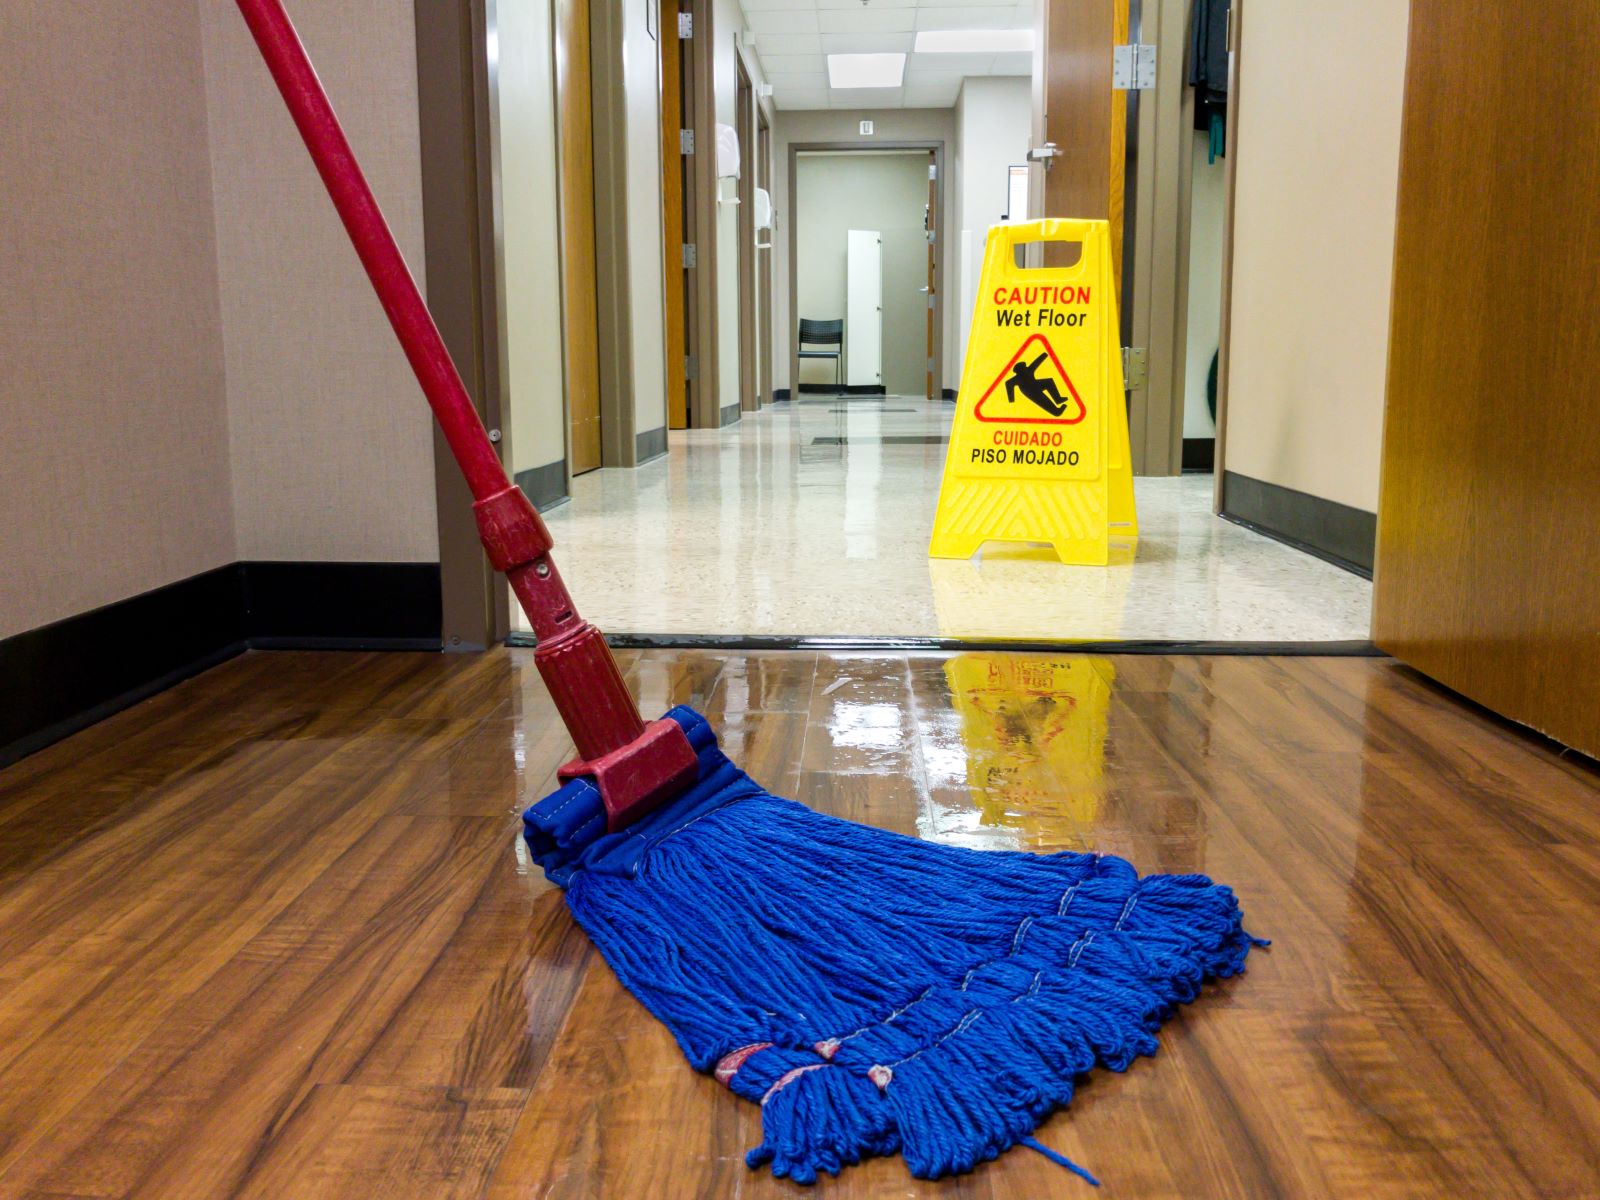
Preparing the Floor
Before diving into the waxing process, it’s crucial to prepare the floor to ensure optimal results. Follow these steps to prepare the surface for wax application:
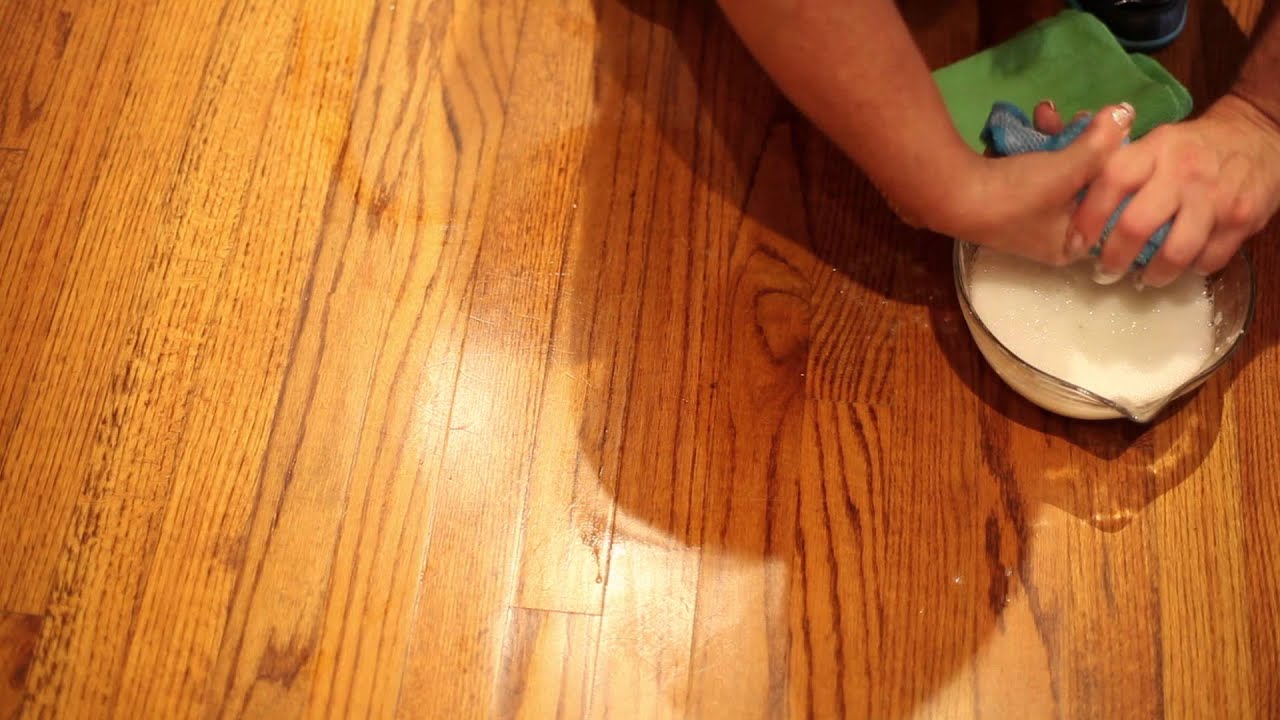
- Clean the Floor: Thoroughly clean the floor using a suitable cleaner. Remove any dirt, dust, or grime, paying special attention to corners and edges.
- Allow the Floor to Dry: After cleaning, allow the floor to dry completely. This step is essential to ensure that the wax adheres properly and achieves a smooth finish.
- Remove Obstacles: If there are any rugs, mats, or movable furniture on the floor, remove them to access the entire surface. Use furniture pads to protect the floor and prevent scratches as you move items.
- Ventilate the Room: Ensure that the room is well-ventilated by opening windows and using fans to promote airflow. Proper ventilation expedites the drying process and minimizes exposure to wax fumes.
- Inspect the Floor: Take a moment to inspect the floor for any remaining debris or stubborn stains. Address any lingering issues before proceeding to the wax application phase.
By meticulously preparing the floor, you’ll create an ideal canvas for applying the wax, setting the stage for a flawless and long-lasting finish.
Make sure to sweep or vacuum the floor before waxing to remove any dirt or debris. This will help the wax adhere better and create a smoother finish.
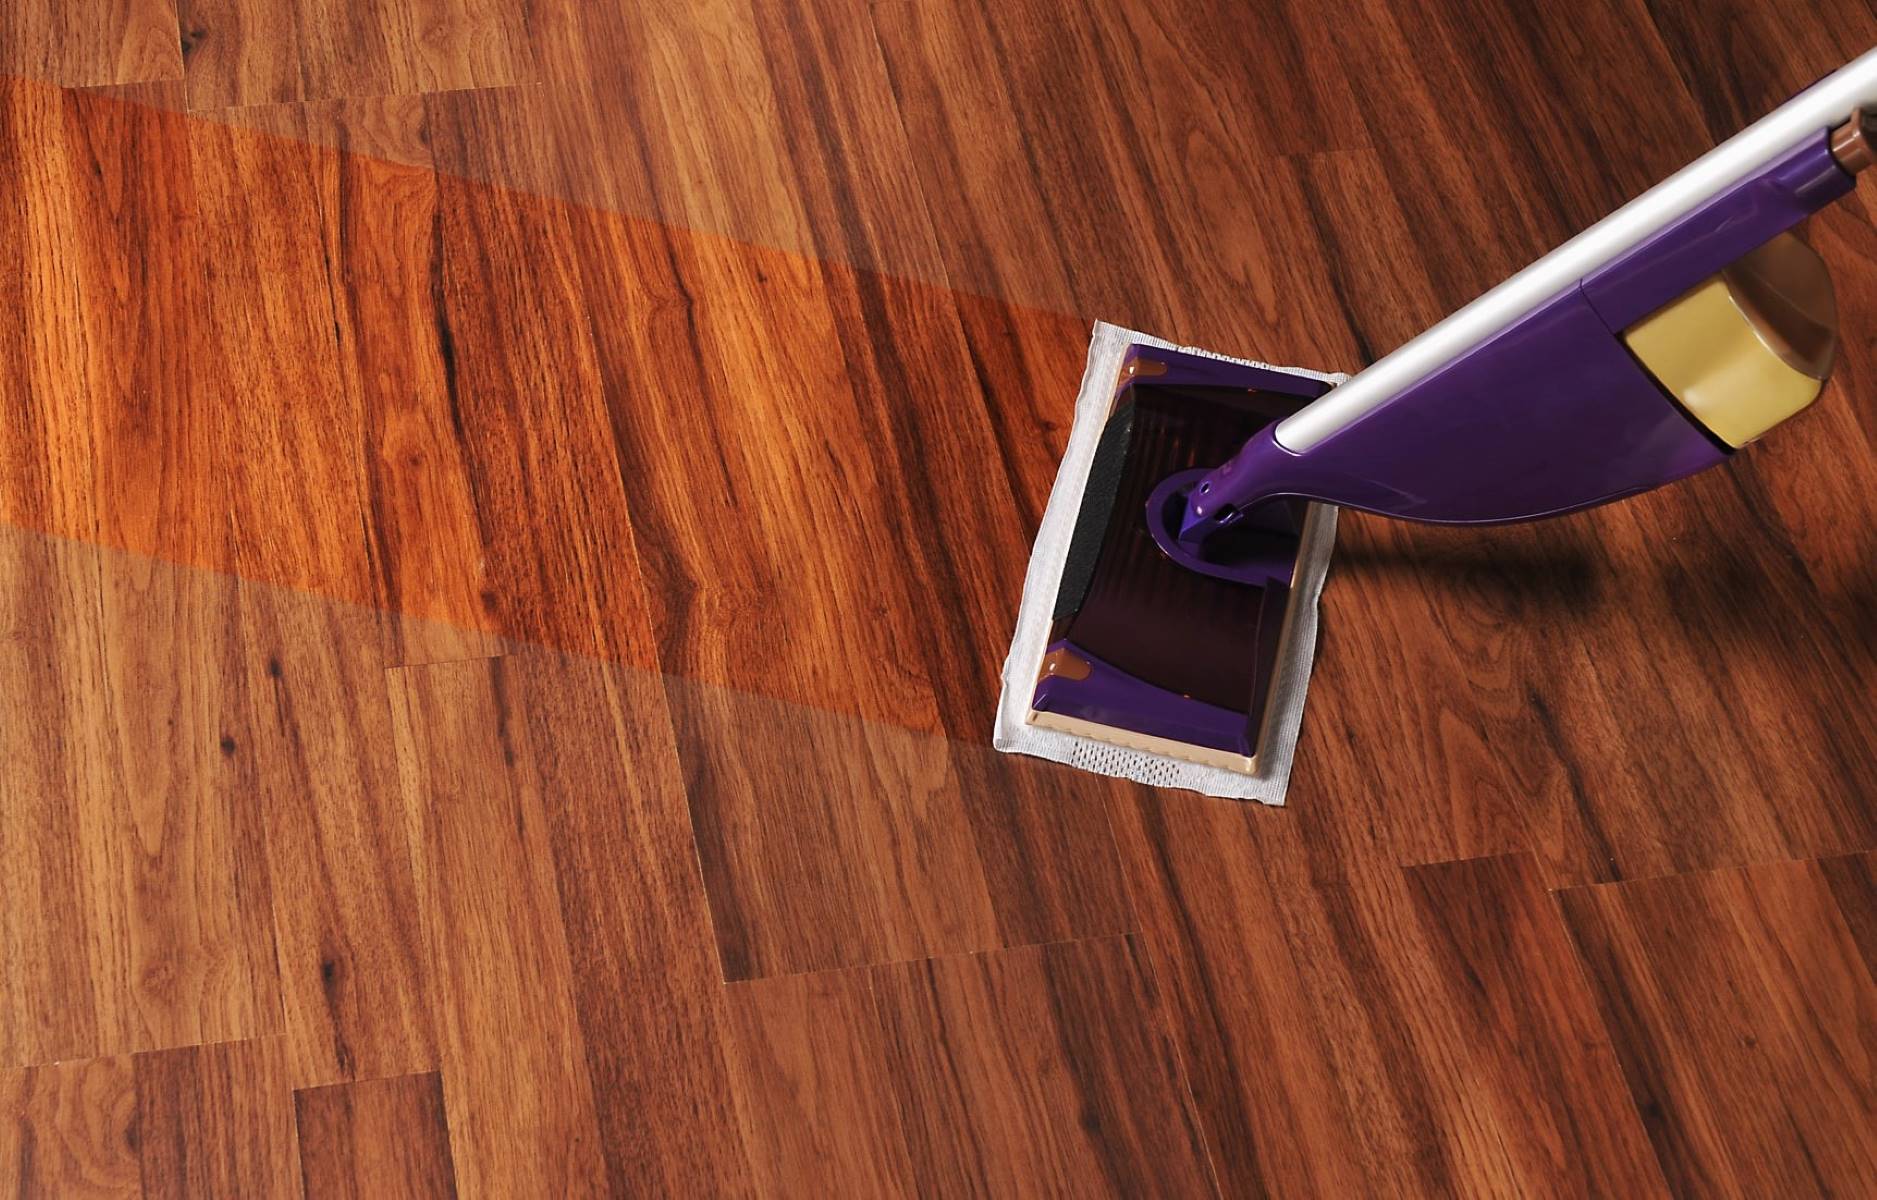
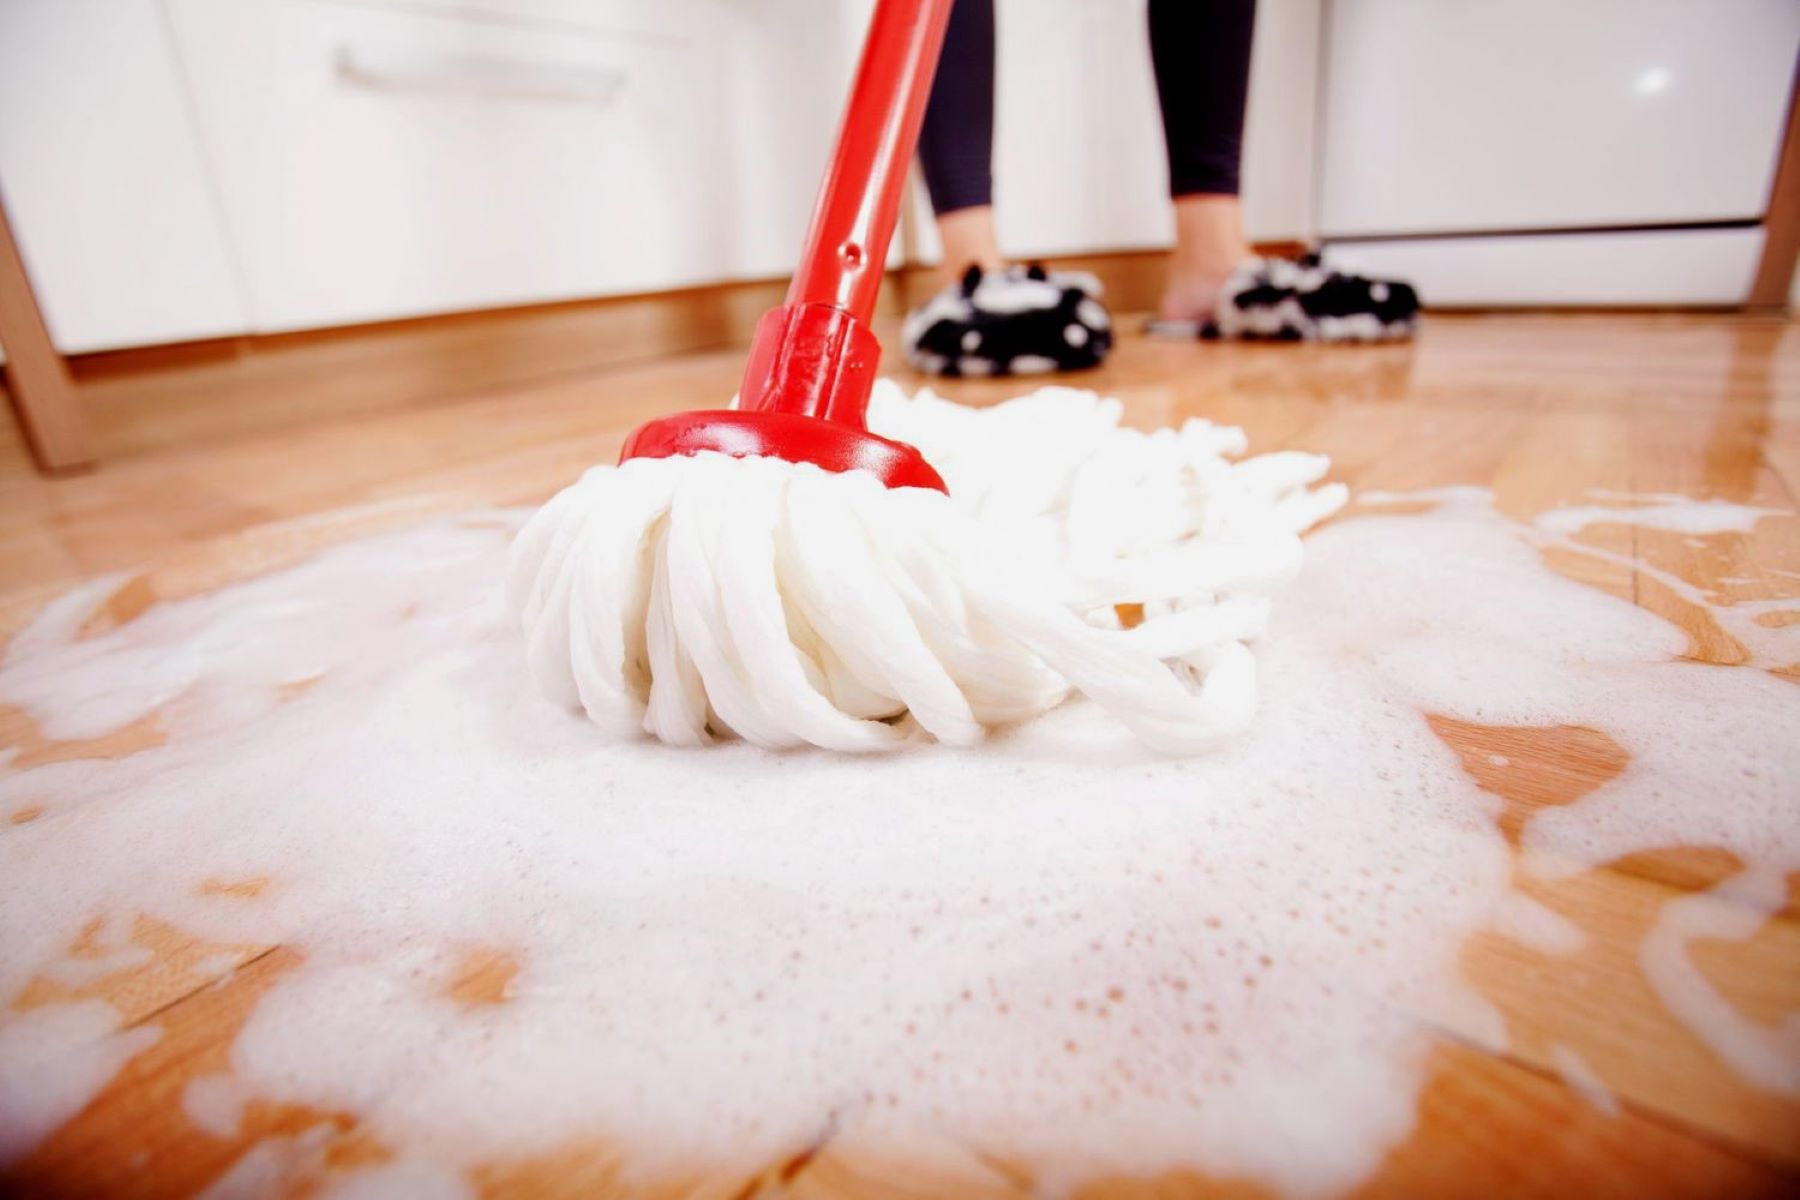
Applying the Wax
Now that the floor is prepped and ready, it’s time to apply the wax using a systematic approach. Follow these steps to achieve an even and lustrous wax finish:
- Pour the Wax: Begin by pouring a moderate amount of floor wax into the bucket. Avoid overfilling to prevent spills and wastage.
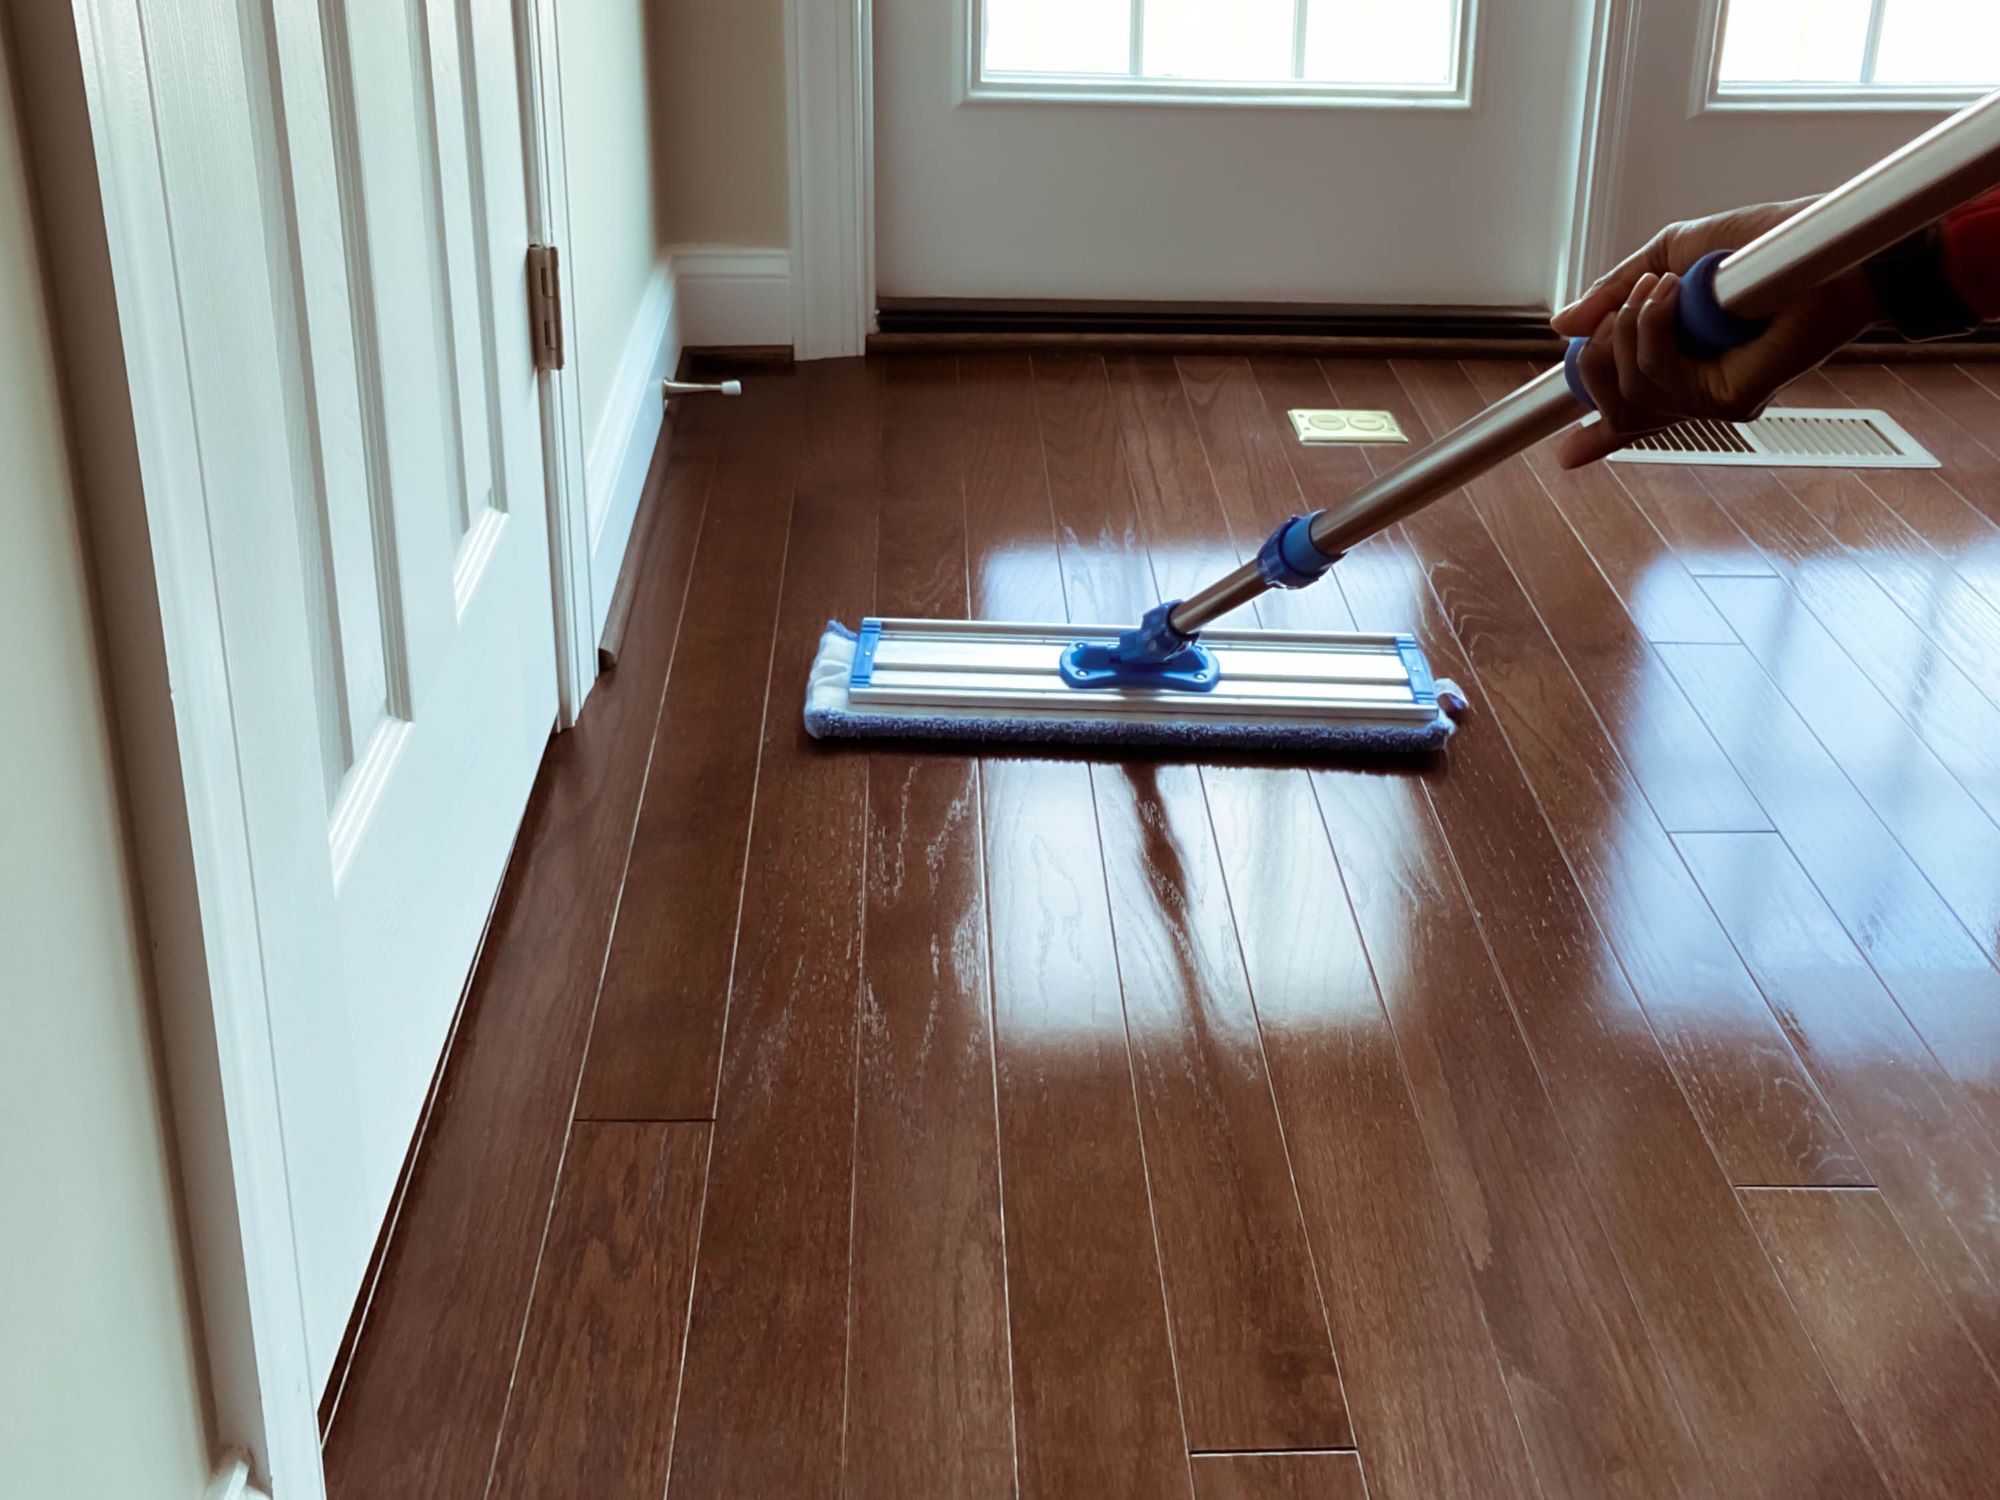
- Dip the Mop: Dip the mop head into the bucket, allowing the fibers to absorb the wax without dripping excessively.
- Start in a Corner: Commence waxing in a far corner of the room, working your way backward toward the entrance. This ensures that you don’t step on the freshly waxed areas as you progress.
- Apply Evenly: Using smooth and overlapping strokes, apply the wax to the floor. Ensure an even distribution, and avoid leaving puddles or streaks behind.
- Work in Sections: Divide the floor into manageable sections and focus on one area at a time. This approach helps maintain consistency and prevents the wax from drying unevenly.
- Allow Drying Time: Once the entire floor is waxed, allow it to dry according to the manufacturer’s recommendations. This typically involves a waiting period to ensure that the wax sets and forms a protective layer.
By following these steps, you’ll effectively apply the wax, resulting in a beautifully enhanced and safeguarded floor surface. The meticulous application process sets the stage for the next crucial step: buffing the floor to achieve a stunning shine.
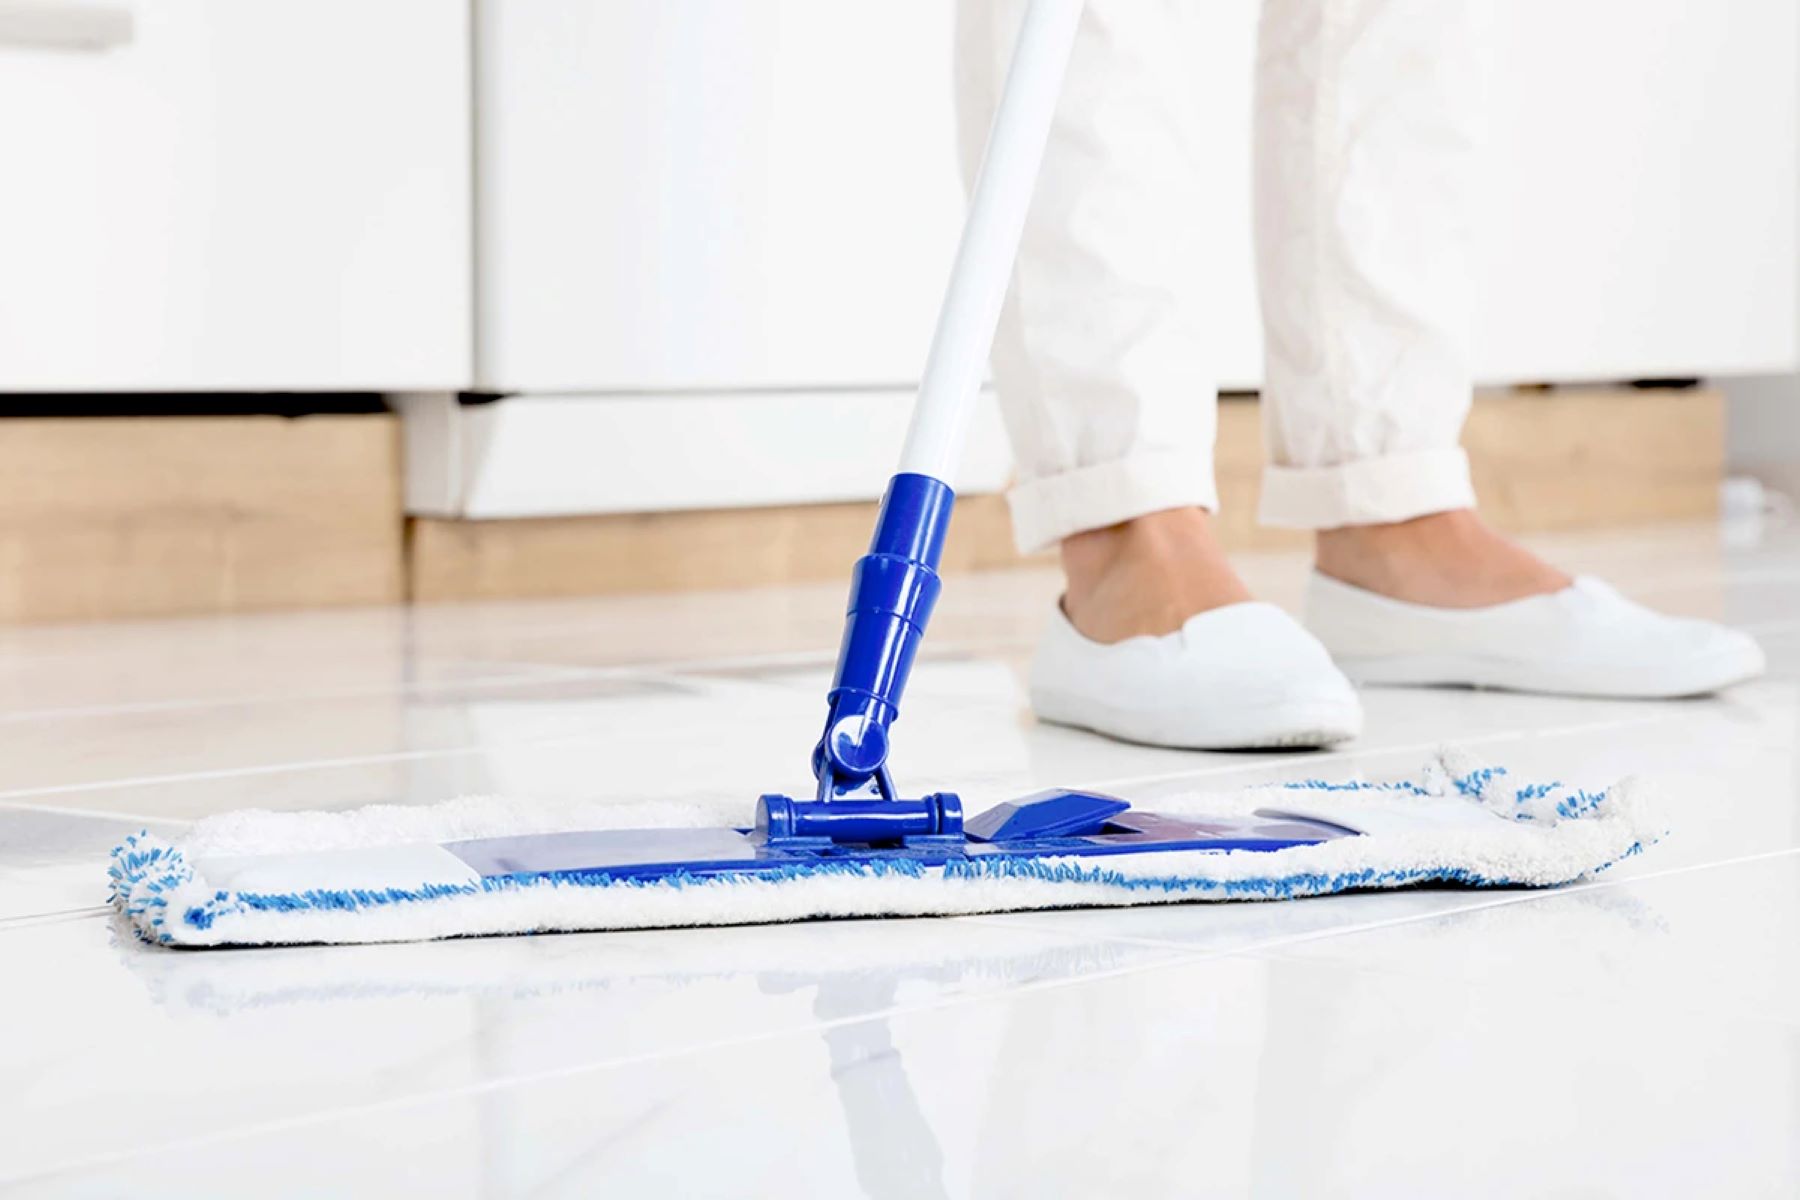
Buffing the Floor
Buffing the floor is a pivotal step in the waxing process, as it imparts a dazzling shine and smooth finish to the newly applied wax. Follow these steps to achieve a stunning luster and impeccable sheen:
- Inspect the Dry Wax: Ensure that the wax has fully dried before proceeding to buff the floor. This typically involves adhering to the recommended drying time specified by the wax manufacturer.
- Attach the Buffing Pad: Affix a clean and dry buffing pad to the mop head. The pad should be specifically designed for buffing and polishing purposes, facilitating the creation of a radiant shine.
- Begin Buffing: Start buffing the floor in a methodical manner, using gentle and overlapping motions. The goal is to evenly distribute the wax and create a consistent sheen across the entire surface.
- Frequent Pad Checks: Periodically inspect the buffing pad to ensure that it remains clean and free of accumulated wax residue. If necessary, replace the pad with a fresh one to maintain optimal buffing performance.
- Focus on High-Traffic Areas: Pay extra attention to high-traffic areas and regions that may benefit from additional buffing. This targeted approach ensures that the entire floor exhibits a uniform and radiant appearance.
- Admire the Shine: Once the buffing process is complete, step back and admire the brilliant shine and enhanced allure of your freshly waxed floor. Revel in the transformative power of a well-executed buffing session.
By meticulously buffing the floor, you’ll elevate the visual appeal of the waxed surface, creating a captivating and polished look that instantly revitalizes the entire room.
Read more: How To Remove Floor Wax From Laminate Floors
Maintaining the Wax Finish
After investing time and effort into waxing and buffing your floors, it’s essential to implement a maintenance routine that preserves the pristine finish and prolongs the longevity of the wax. Follow these guidelines to effectively maintain the wax finish:
- Regular Cleaning: Implement a regular cleaning schedule to keep the waxed floor free of dirt, debris, and spills. Use a soft-bristled broom or a vacuum with a floor brush attachment to remove surface dirt without scratching the wax.
- Gentle Mopping: Periodically mop the floor using a mild cleaning solution specifically formulated for waxed floors. Avoid harsh chemicals and excessive water, as these can compromise the integrity of the wax finish.
- Spot Treatments: Address any spills or stains promptly to prevent them from seeping into the wax. Use a damp cloth or a designated spot-cleaning product to gently remove the blemish without disturbing the wax layer.
- Reapplication of Wax: Monitor the condition of the wax finish and be prepared to reapply wax as needed. Over time, high-traffic areas may show signs of wear, prompting the application of a fresh coat of wax to maintain a consistent sheen.
- Protective Measures: Place protective pads or mats under furniture legs and heavy appliances to prevent them from scratching or indenting the waxed surface. This proactive measure safeguards the integrity of the wax finish.
- Regular Inspection: Periodically inspect the waxed floor for signs of wear, scratches, or dullness. By identifying and addressing issues early on, you can uphold the allure of the wax finish and address any maintenance needs promptly.
By adhering to these maintenance practices, you’ll safeguard the beauty and resilience of your waxed floors, ensuring that they remain a stunning focal point of your living space for years to come.
Frequently Asked Questions about How To Wax A Floor With A Mop
Was this page helpful?
At Storables.com, we guarantee accurate and reliable information. Our content, validated by Expert Board Contributors, is crafted following stringent Editorial Policies. We're committed to providing you with well-researched, expert-backed insights for all your informational needs.
0 thoughts on “How To Wax A Floor With A Mop”