Home>Home Appliances>Cleaning Appliances>How To Mop Bathroom Floor
Cleaning Appliances
How To Mop Bathroom Floor
Modified: February 25, 2024
Learn the best techniques for mopping your bathroom floor with our expert cleaning appliances tips. Keep your bathroom sparkling clean with our step-by-step guide.
(Many of the links in this article redirect to a specific reviewed product. Your purchase of these products through affiliate links helps to generate commission for Storables.com, at no extra cost. Learn more)
Introduction
Welcome to the ultimate guide on how to mop a bathroom floor like a pro! A clean bathroom floor not only enhances the overall aesthetics of your home but also contributes to a healthier living environment. Whether you're preparing for guests or simply maintaining a pristine living space, mastering the art of mopping your bathroom floor is a valuable skill.
In this comprehensive guide, we will walk you through the step-by-step process of effectively mopping your bathroom floor to achieve sparkling results. From gathering the necessary supplies to implementing best practices for maintaining a spotless surface, you'll discover the key techniques to elevate your cleaning routine.
So, roll up your sleeves, put on your favorite cleaning playlist, and let's dive into the world of bathroom floor mopping. With the right tools, techniques, and a touch of enthusiasm, you'll soon be on your way to transforming your bathroom into a gleaming sanctuary.
Key Takeaways:
- Master the art of mopping your bathroom floor with precision and efficacy by following a step-by-step guide. Clear obstacles, prepare the mop and cleaning solution, and employ strategic techniques for a spotless result.
- Maintain a sparkling bathroom floor by establishing a regular cleaning schedule, using entryway mats, addressing spills promptly, and implementing preventive maintenance. Consistent care and attention to detail will preserve cleanliness and allure.
Read more: How To Mop The Floor
Gather Your Supplies
Before embarking on your bathroom floor mopping journey, it’s essential to gather the necessary supplies. Having the right tools at your disposal will streamline the cleaning process and ensure optimal results. Here’s a list of items you’ll need:
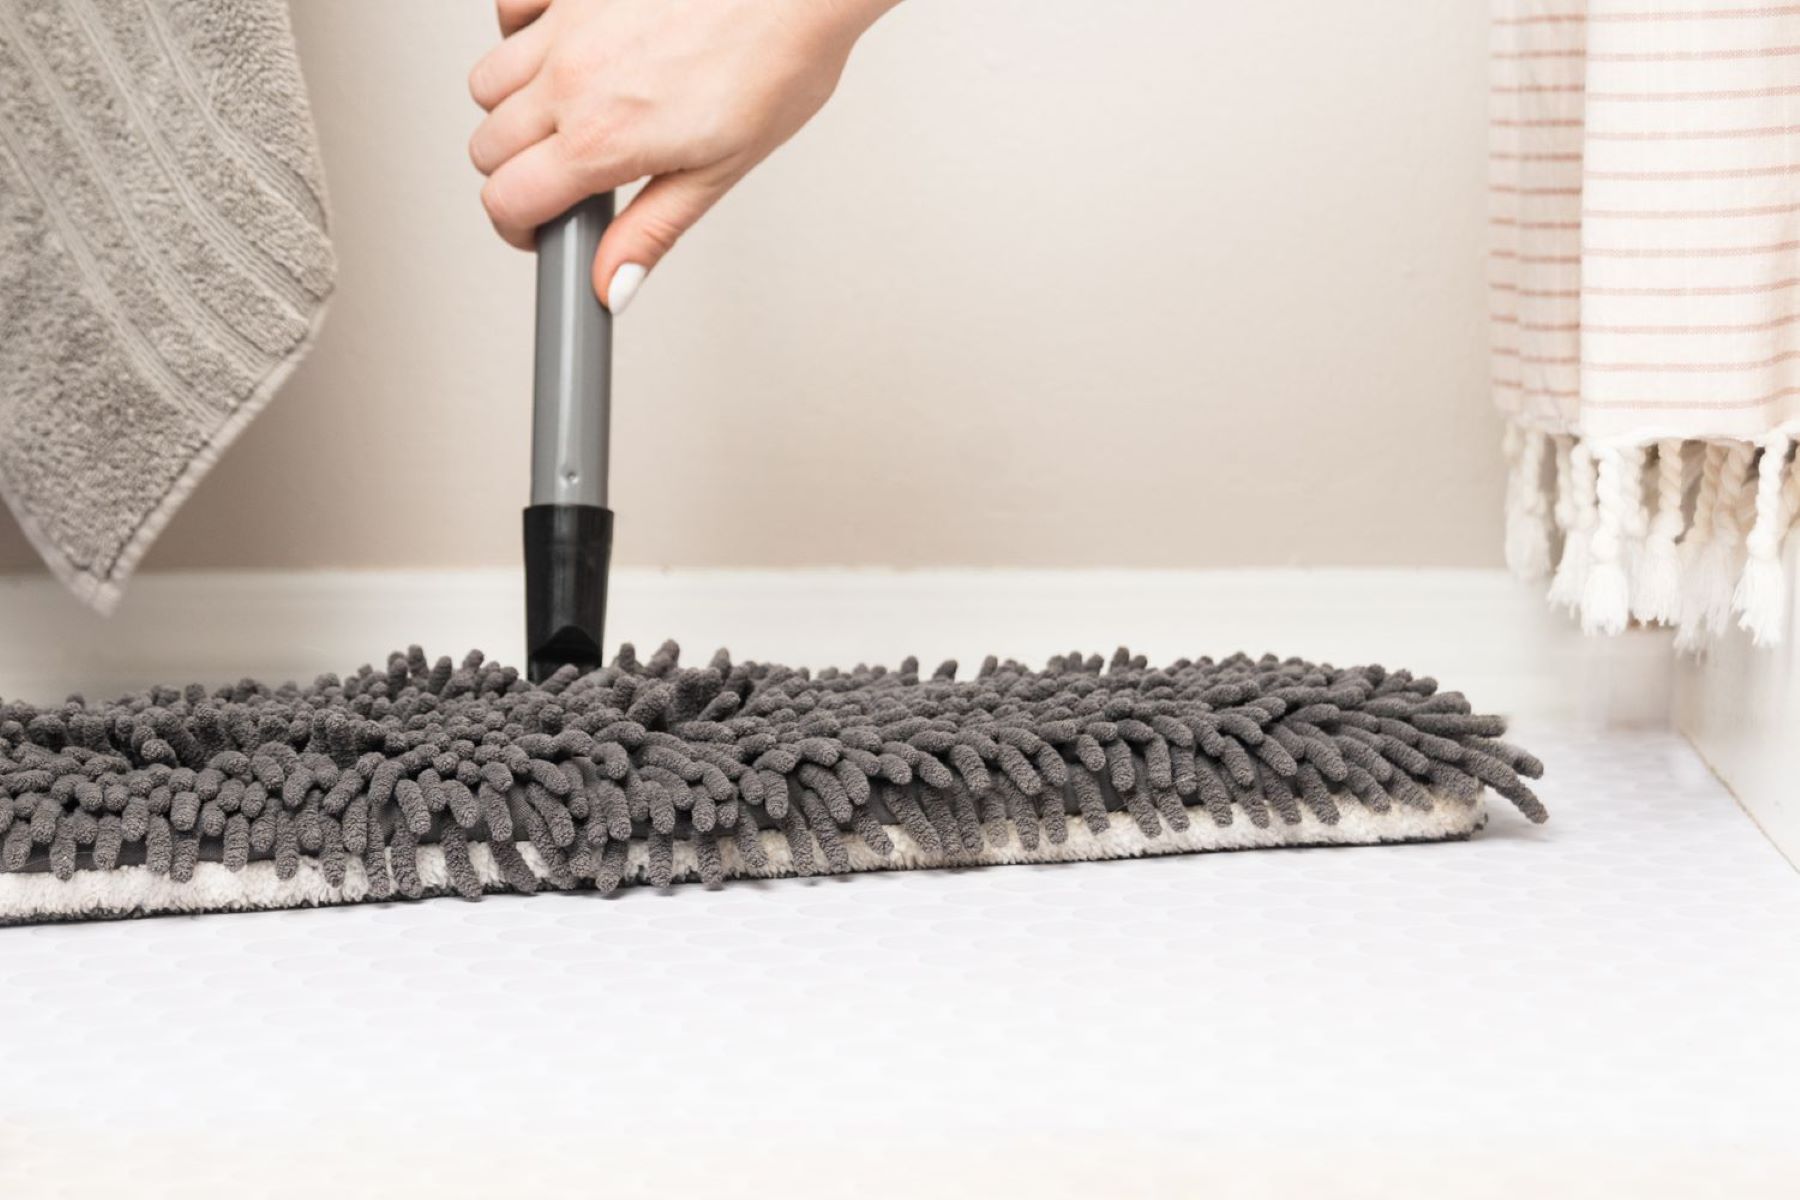
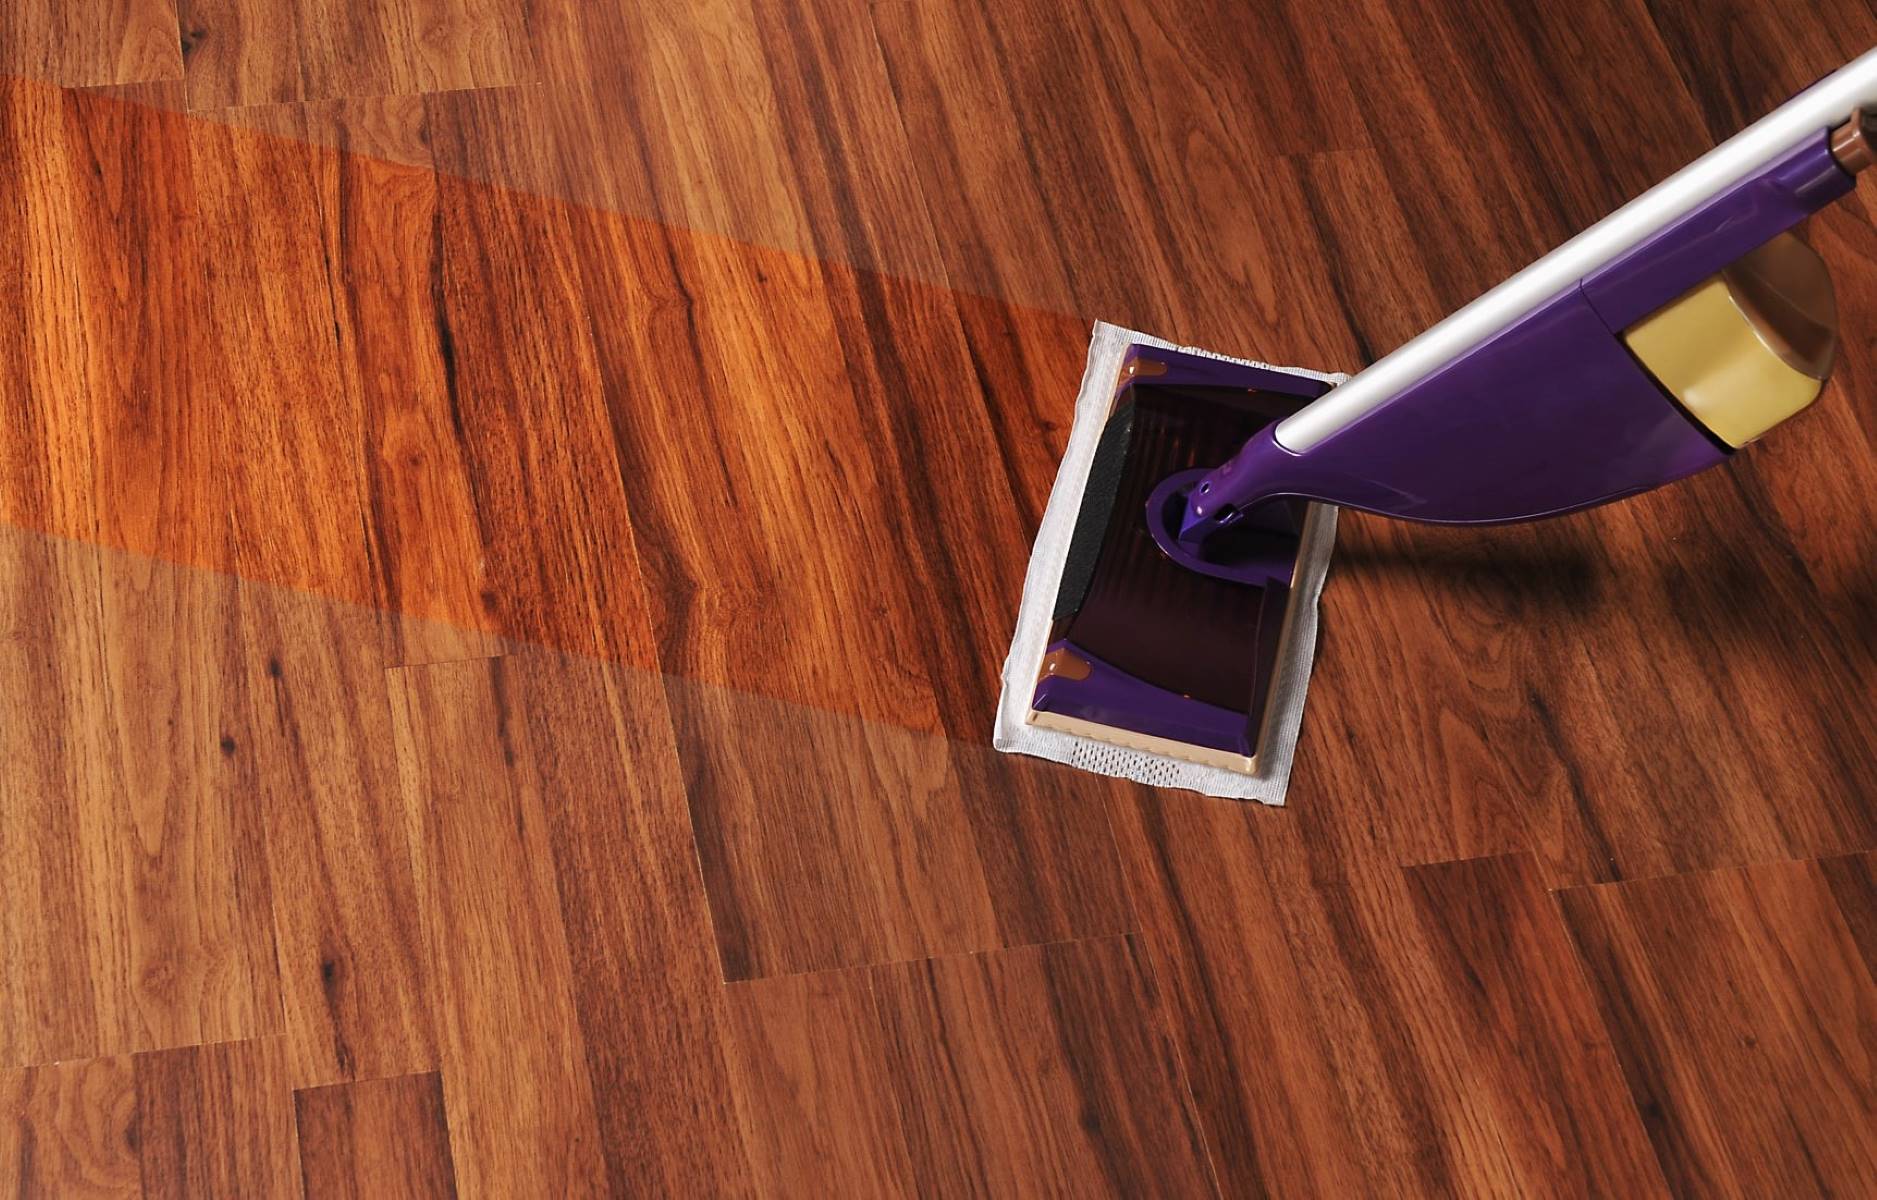
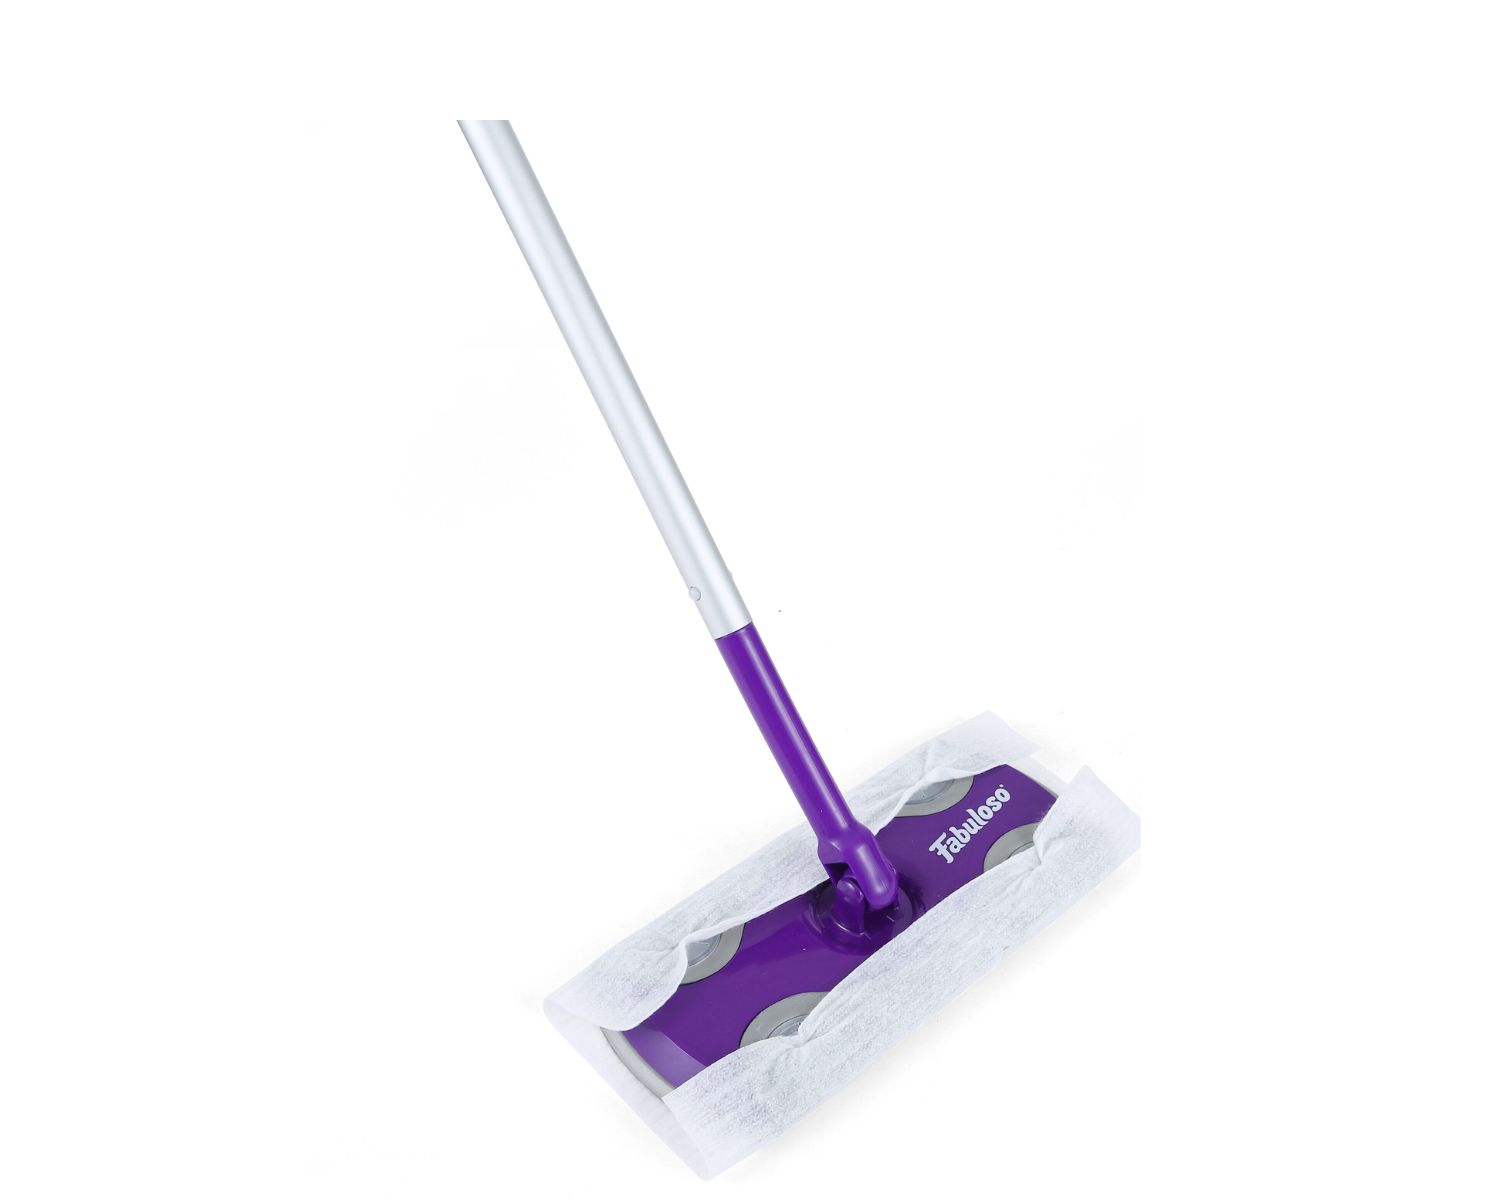
- Mop: Select a mop that is suitable for your specific flooring material. Microfiber mops are highly effective for trapping dirt and grime, while sponge mops work well on tiled surfaces.
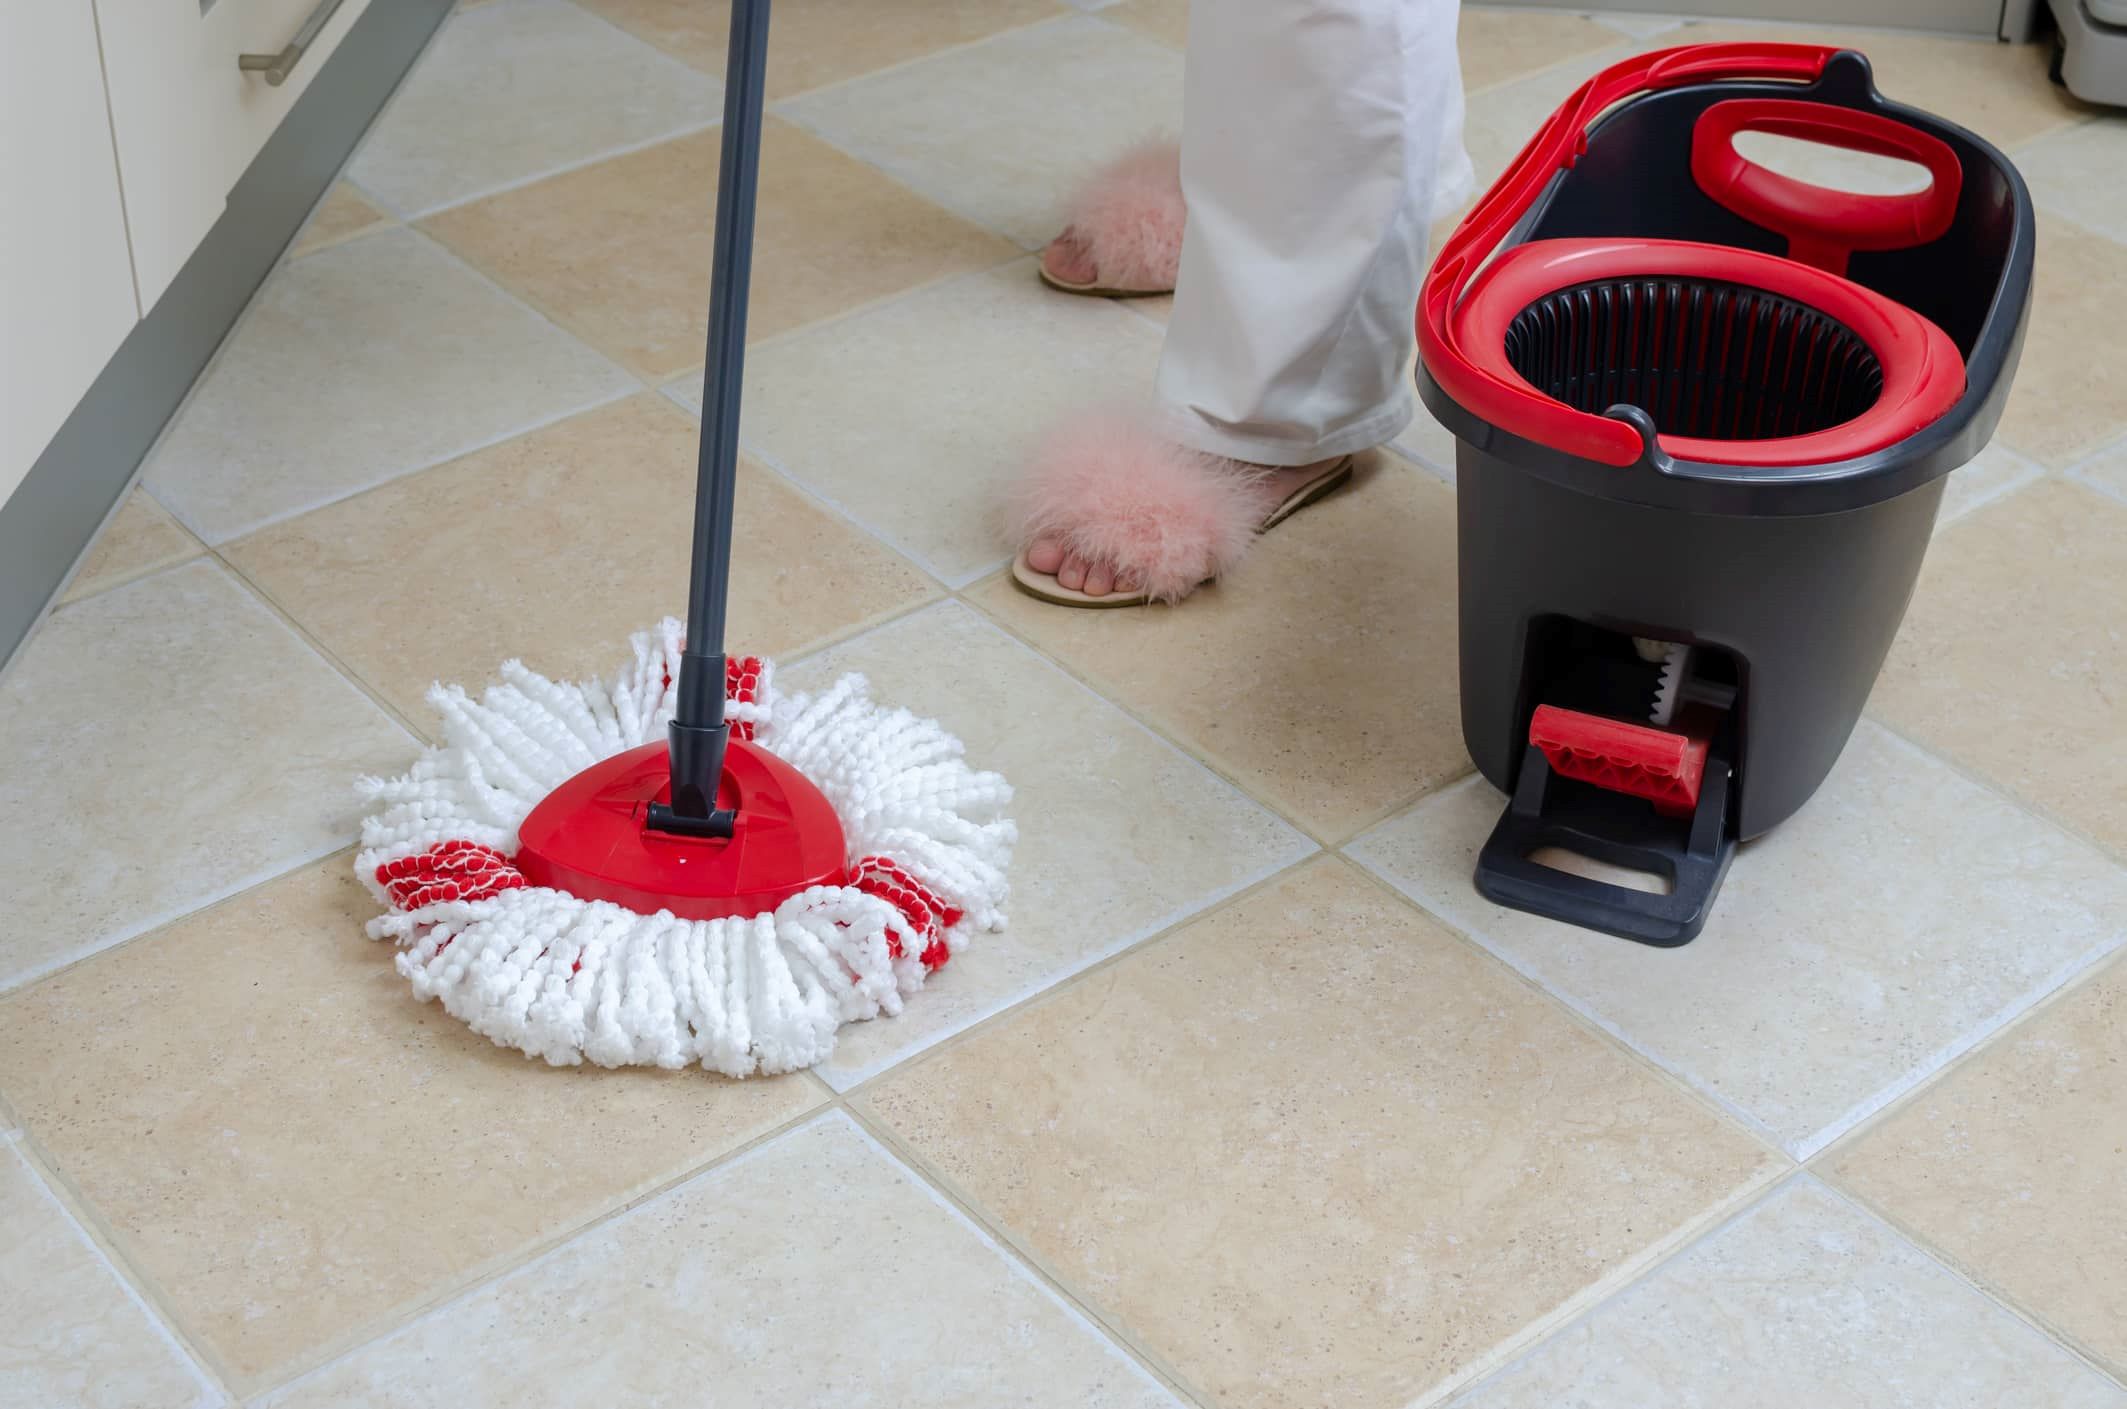
- Bucket: Choose a sturdy bucket that is large enough to accommodate an ample amount of cleaning solution and water. A bucket with a wringer is ideal for efficiently removing excess liquid from the mop.
- Cleaning Solution: Opt for a gentle yet effective cleaning solution that is compatible with your flooring. You can use a commercial floor cleaner or create a DIY solution using water and a mild detergent.
- Protective Gloves: It’s advisable to wear protective gloves to shield your hands from prolonged exposure to cleaning chemicals and to maintain hygiene throughout the process.
- Scrub Brush: Keep a scrub brush on hand to tackle stubborn stains or grout lines that require extra attention.
- Old Towels or Rags: Have a few old towels or rags available to wipe up any excess moisture and to provide a final touch for drying the floor.
- Optional: Floor Sealant or Polish: If your flooring material requires additional maintenance, consider having the appropriate floor sealant or polish ready for application after mopping.
By ensuring that you have these supplies within reach, you’ll be well-prepared to execute a thorough and efficient mopping process. With the tools assembled and ready to go, you’re one step closer to achieving a pristine bathroom floor that exudes cleanliness and freshness.
Clear the Floor
Before diving into the mopping process, it’s crucial to clear the bathroom floor of any obstacles and debris. By removing items and addressing surface clutter, you’ll create a clear path for seamless mopping and prevent potential obstructions during the cleaning endeavor. Here’s a step-by-step approach to clearing the floor:
- Remove Rugs and Mats: Begin by lifting and setting aside any rugs or mats that are placed on the bathroom floor. Shake them outside to dislodge dust and debris, and set them aside for washing if necessary.
- Empty the Trash Bin: If there’s a trash bin in the bathroom, empty it to ensure that no stray items hinder the mopping process. This step also contributes to maintaining overall cleanliness.
- Clear Personal Care Products: Temporarily relocate personal care items such as shampoo bottles, soap dishes, and other accessories to a nearby countertop or shelf. This prevents them from getting wet during mopping.
- Address Larger Items: If space allows, consider moving any larger items such as a scale, laundry hamper, or step stool out of the immediate mopping area. This will facilitate thorough cleaning and prevent potential tripping hazards.
- Sweep or Vacuum: Prior to mopping, sweep the floor to remove loose dirt, hair, and debris. Alternatively, use a vacuum cleaner with a floor attachment to effectively eliminate any lingering particles.
By diligently clearing the bathroom floor of obstructions and addressing surface debris, you’ll create an optimal environment for the mopping process. This preparatory phase sets the stage for a focused and efficient cleaning experience, allowing you to achieve a truly immaculate bathroom floor.
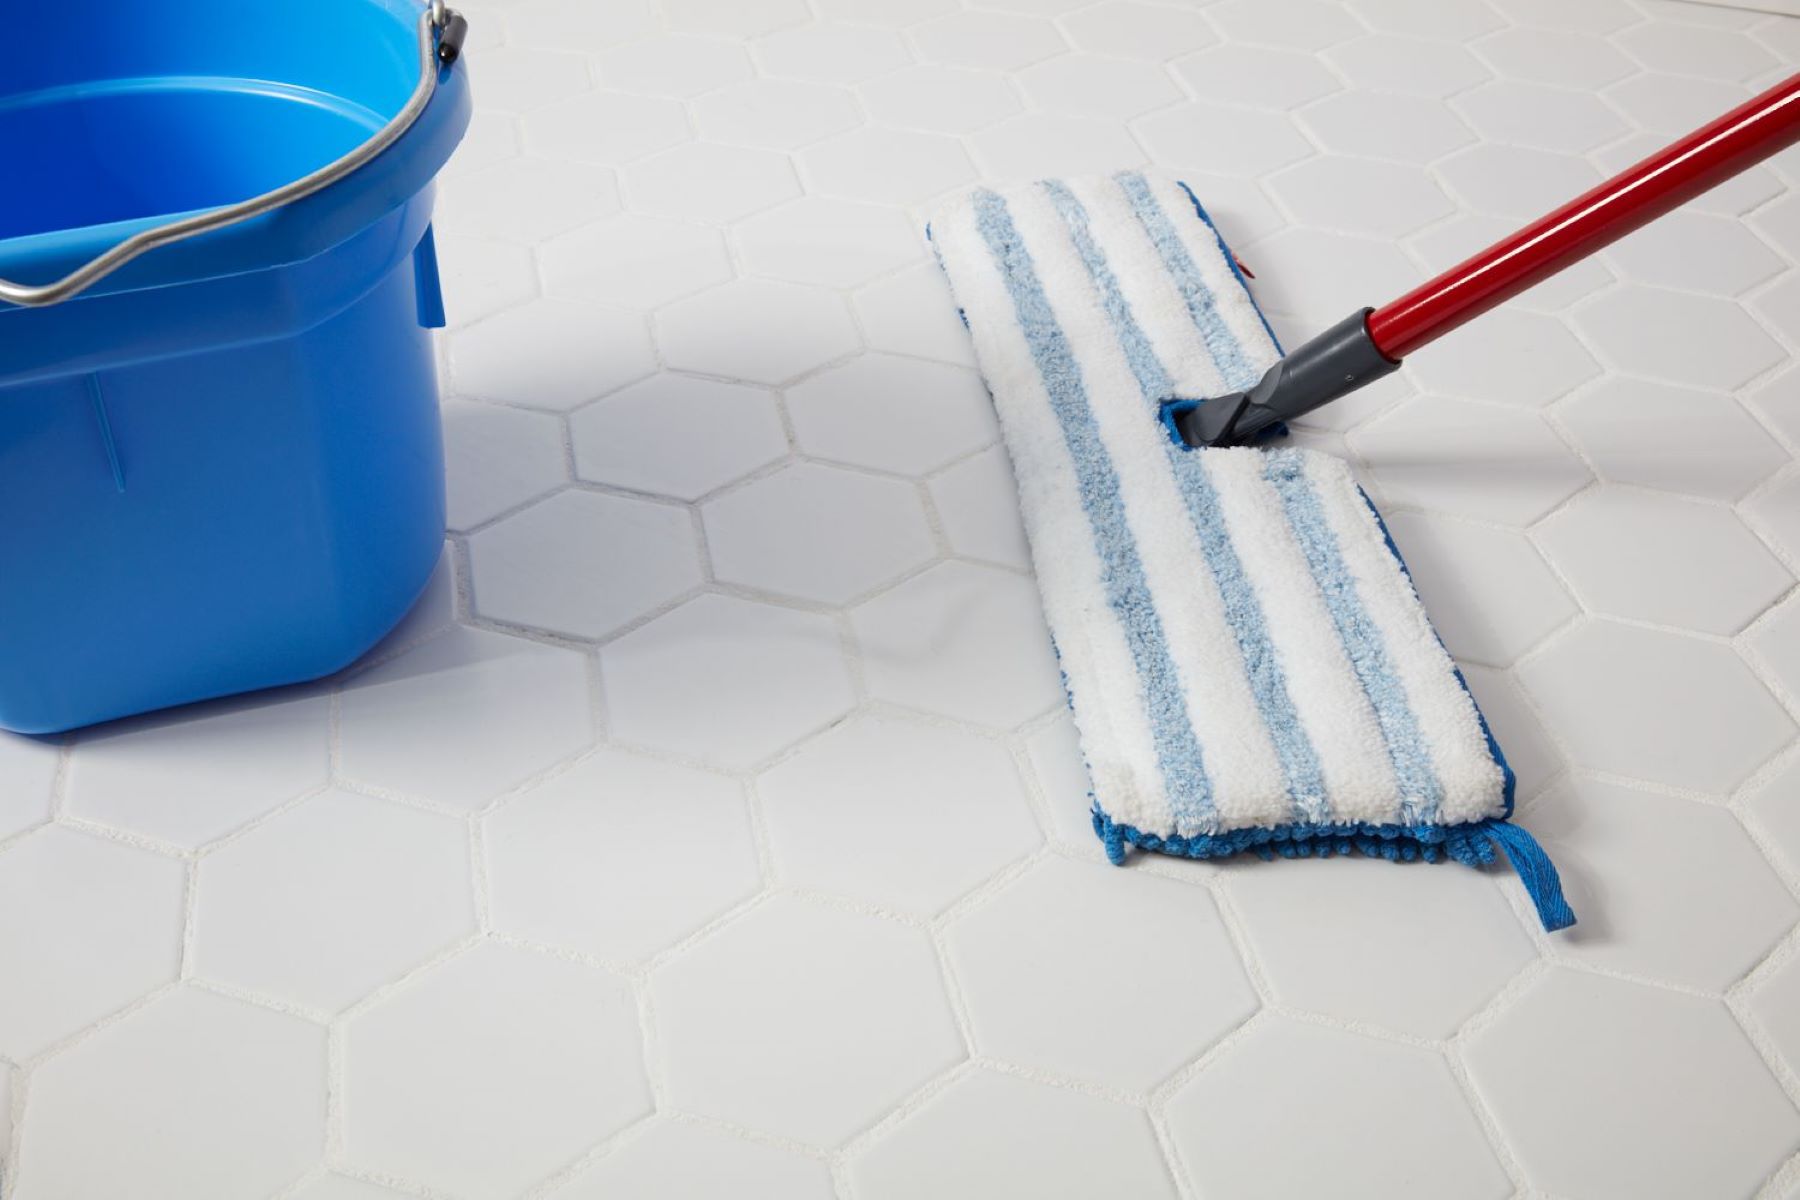
Prepare the Mop and Cleaning Solution
With the floor cleared and ready for cleaning, it’s time to prepare the mop and the cleaning solution. This step involves ensuring that the mop is in optimal condition for effective dirt and grime removal, as well as preparing a suitable cleaning solution to achieve a sparkling clean bathroom floor. Here’s how to proceed:
- Inspect the Mop: Before use, inspect the mop to ensure that the mop head is clean, intact, and free of any debris or residues from previous use. If necessary, wash the mop head according to the manufacturer’s instructions and allow it to dry completely.
- Fill the Bucket: Fill the bucket with warm water, leaving enough space to accommodate the cleaning solution and to allow for effective wringing of the mop. The water should be at a temperature that is comfortable for your hands to handle during the mopping process.
- Add the Cleaning Solution: Depending on the type of cleaning solution you’re using, carefully measure and add the appropriate amount to the water in the bucket. If you’re using a commercial floor cleaner, follow the dilution instructions provided on the product label. For a DIY solution, a small amount of mild detergent or a designated floor cleaning product can be added to the water.
- Agitate the Solution: Use a gentle stirring motion to agitate the cleaning solution in the bucket, ensuring that it is thoroughly mixed and evenly distributed in the water. This step is essential for activating the cleaning agents and achieving a consistent solution for mopping.
- Soak the Mop: Submerge the mop head in the cleaning solution, allowing it to absorb the liquid and become fully saturated. Ensure that the mop is sufficiently soaked but not dripping excessively, as this will facilitate effective cleaning without leaving behind excess moisture.
By meticulously preparing the mop and the cleaning solution, you’ll set the stage for a successful mopping endeavor. This proactive approach ensures that your tools are primed for optimal performance, laying the groundwork for a thorough and efficient cleaning process that will leave your bathroom floor gleaming.
Use a mild cleaner or a mixture of water and vinegar to mop the bathroom floor. Start from the farthest corner and work your way towards the door to avoid stepping on the wet floor. Rinse the mop frequently and let the floor air dry.
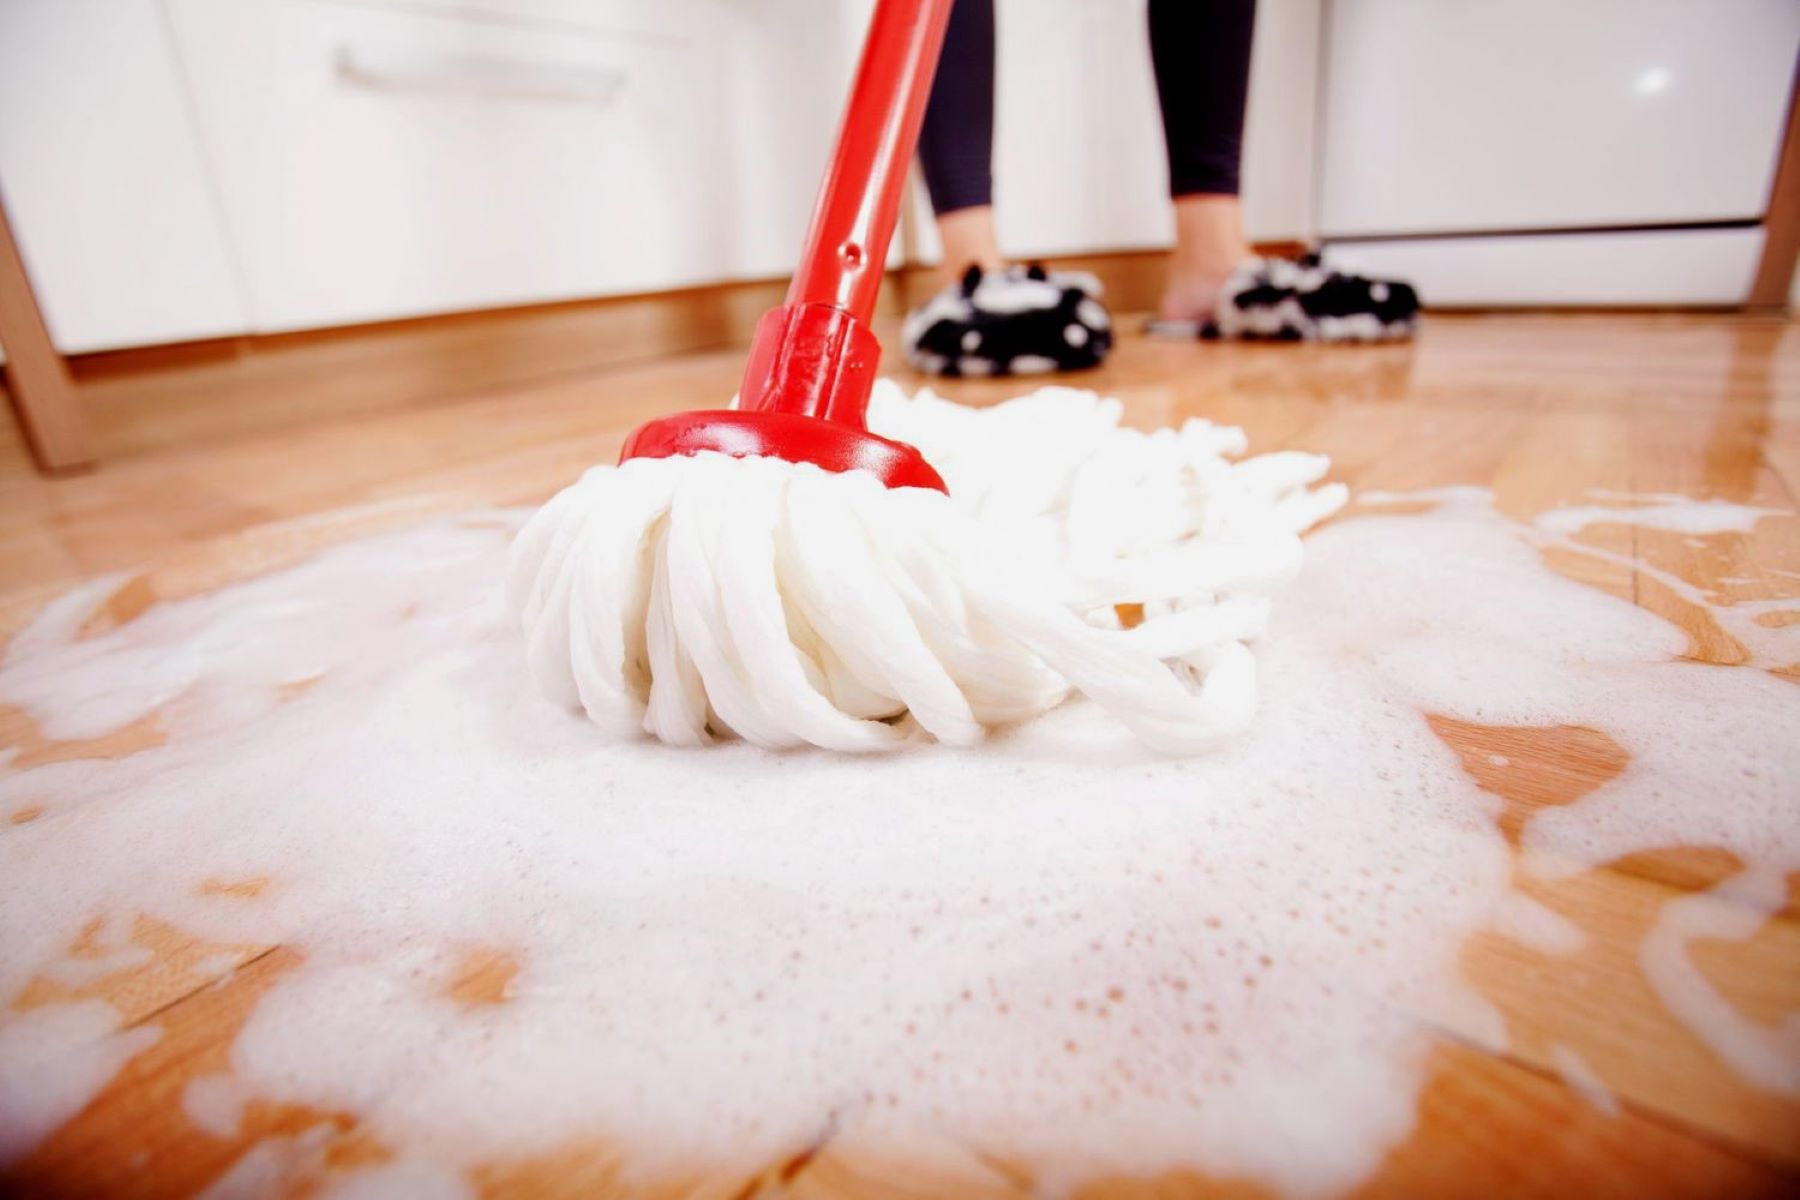
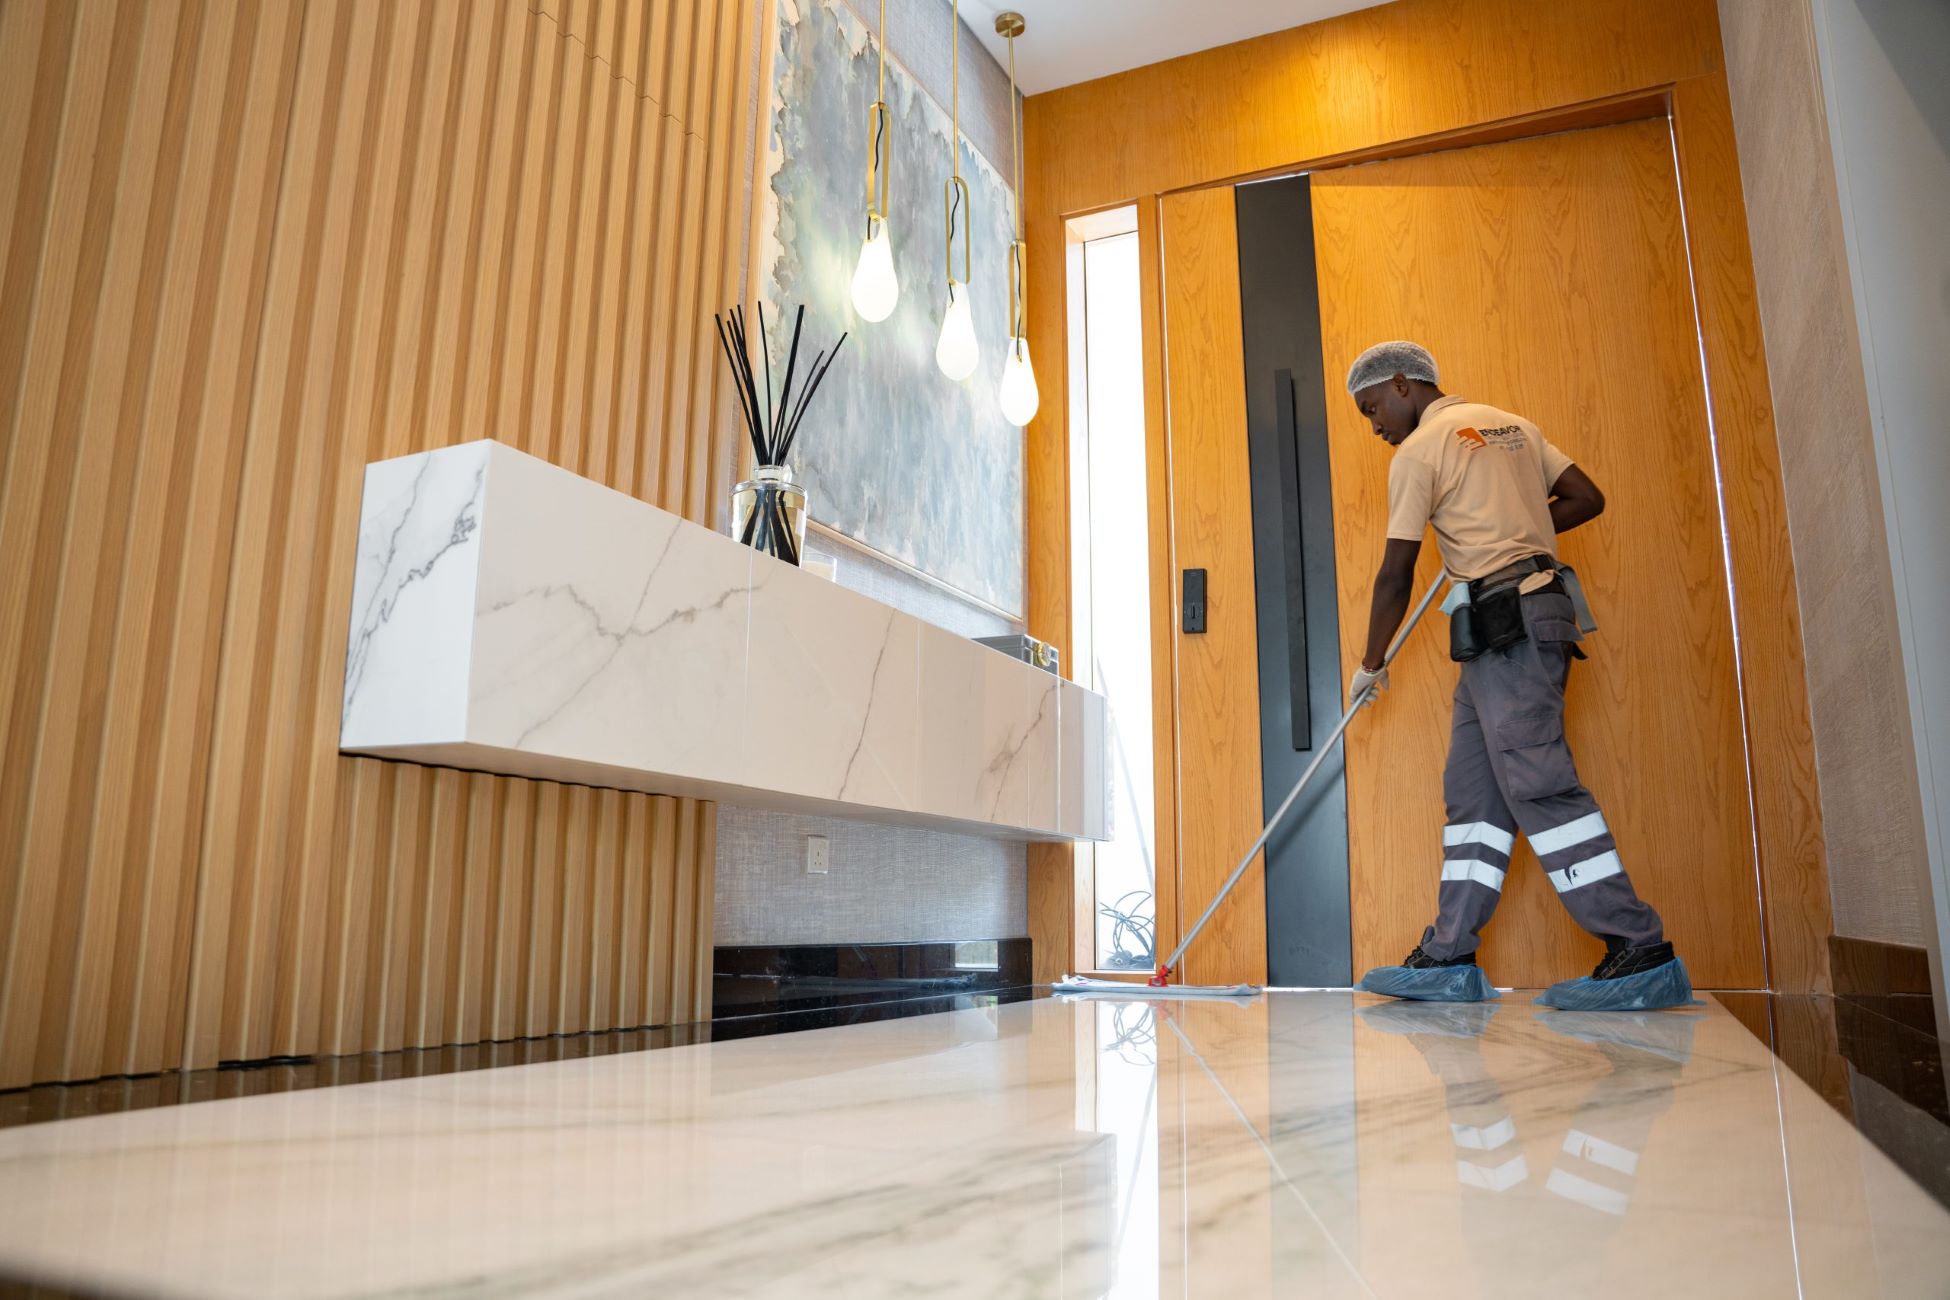
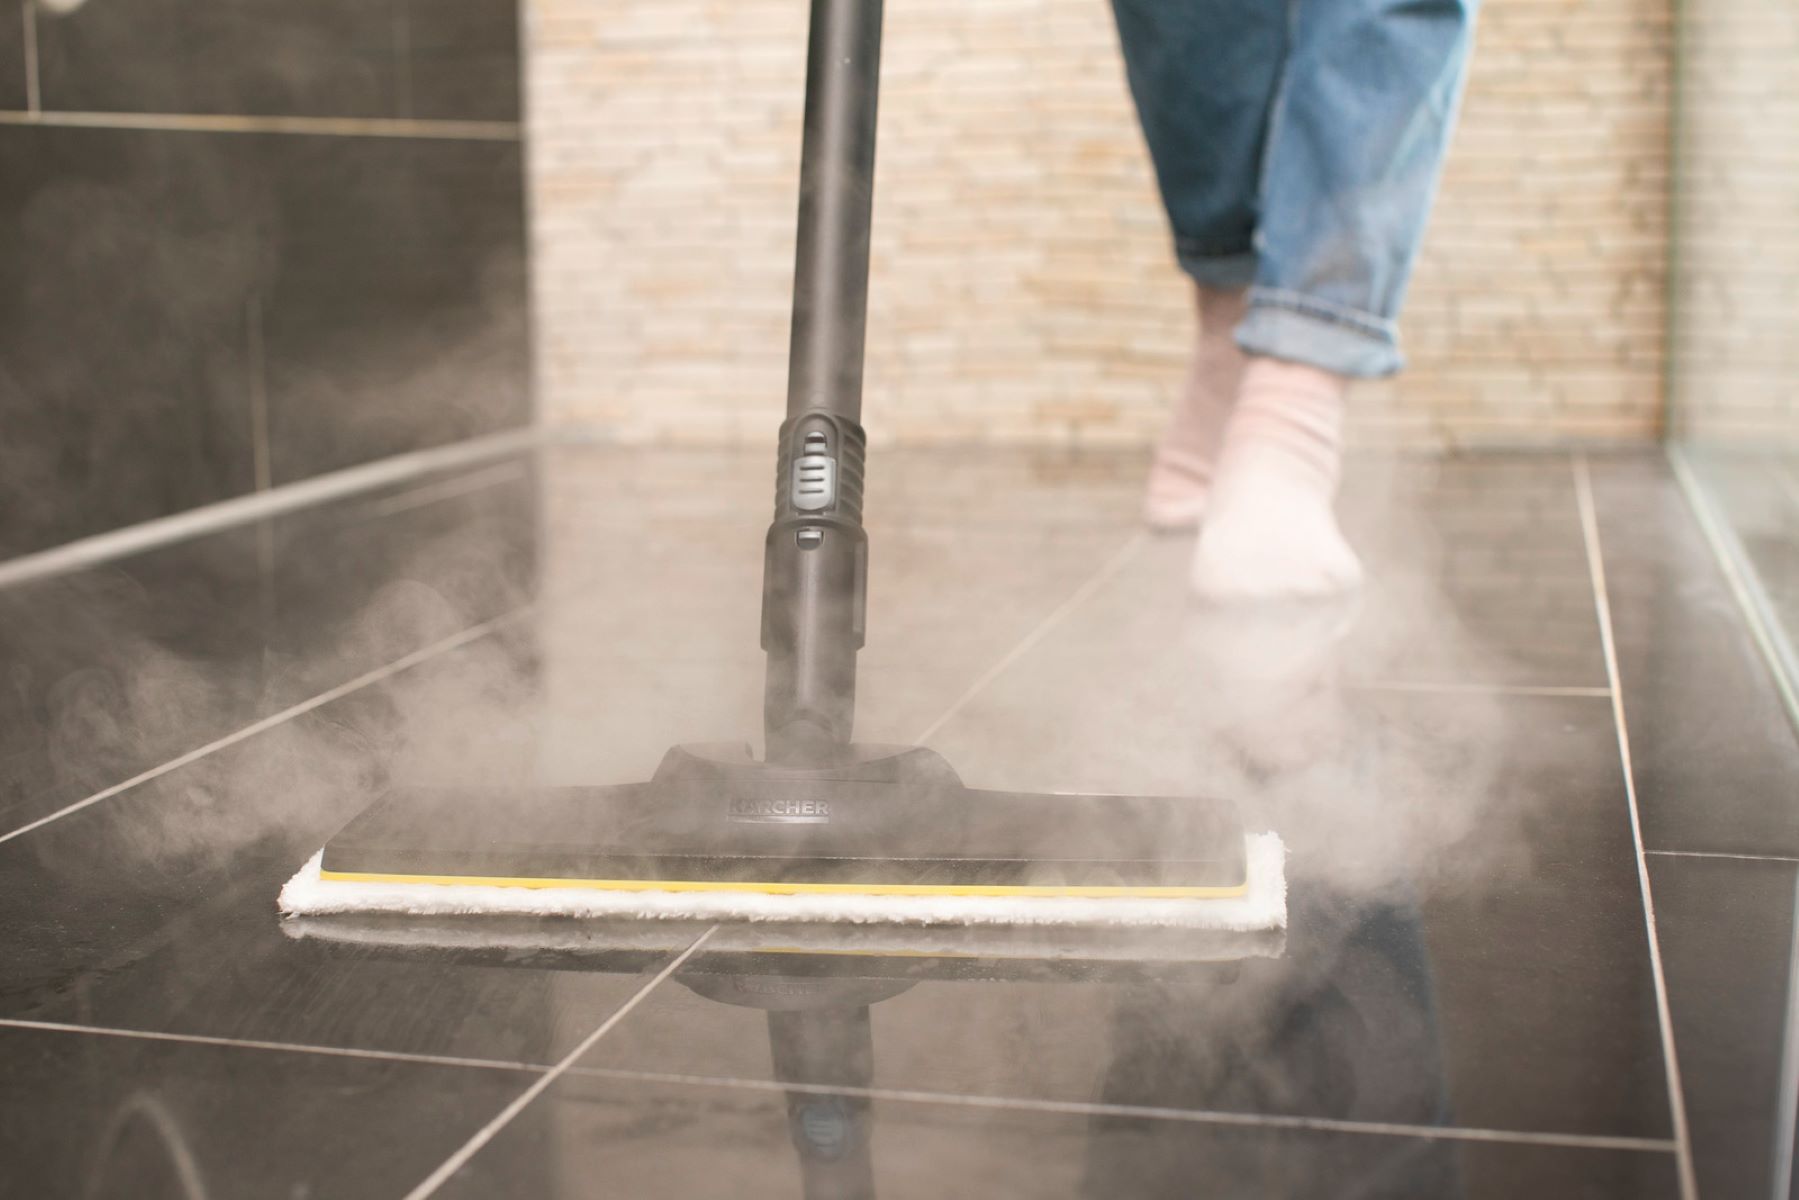
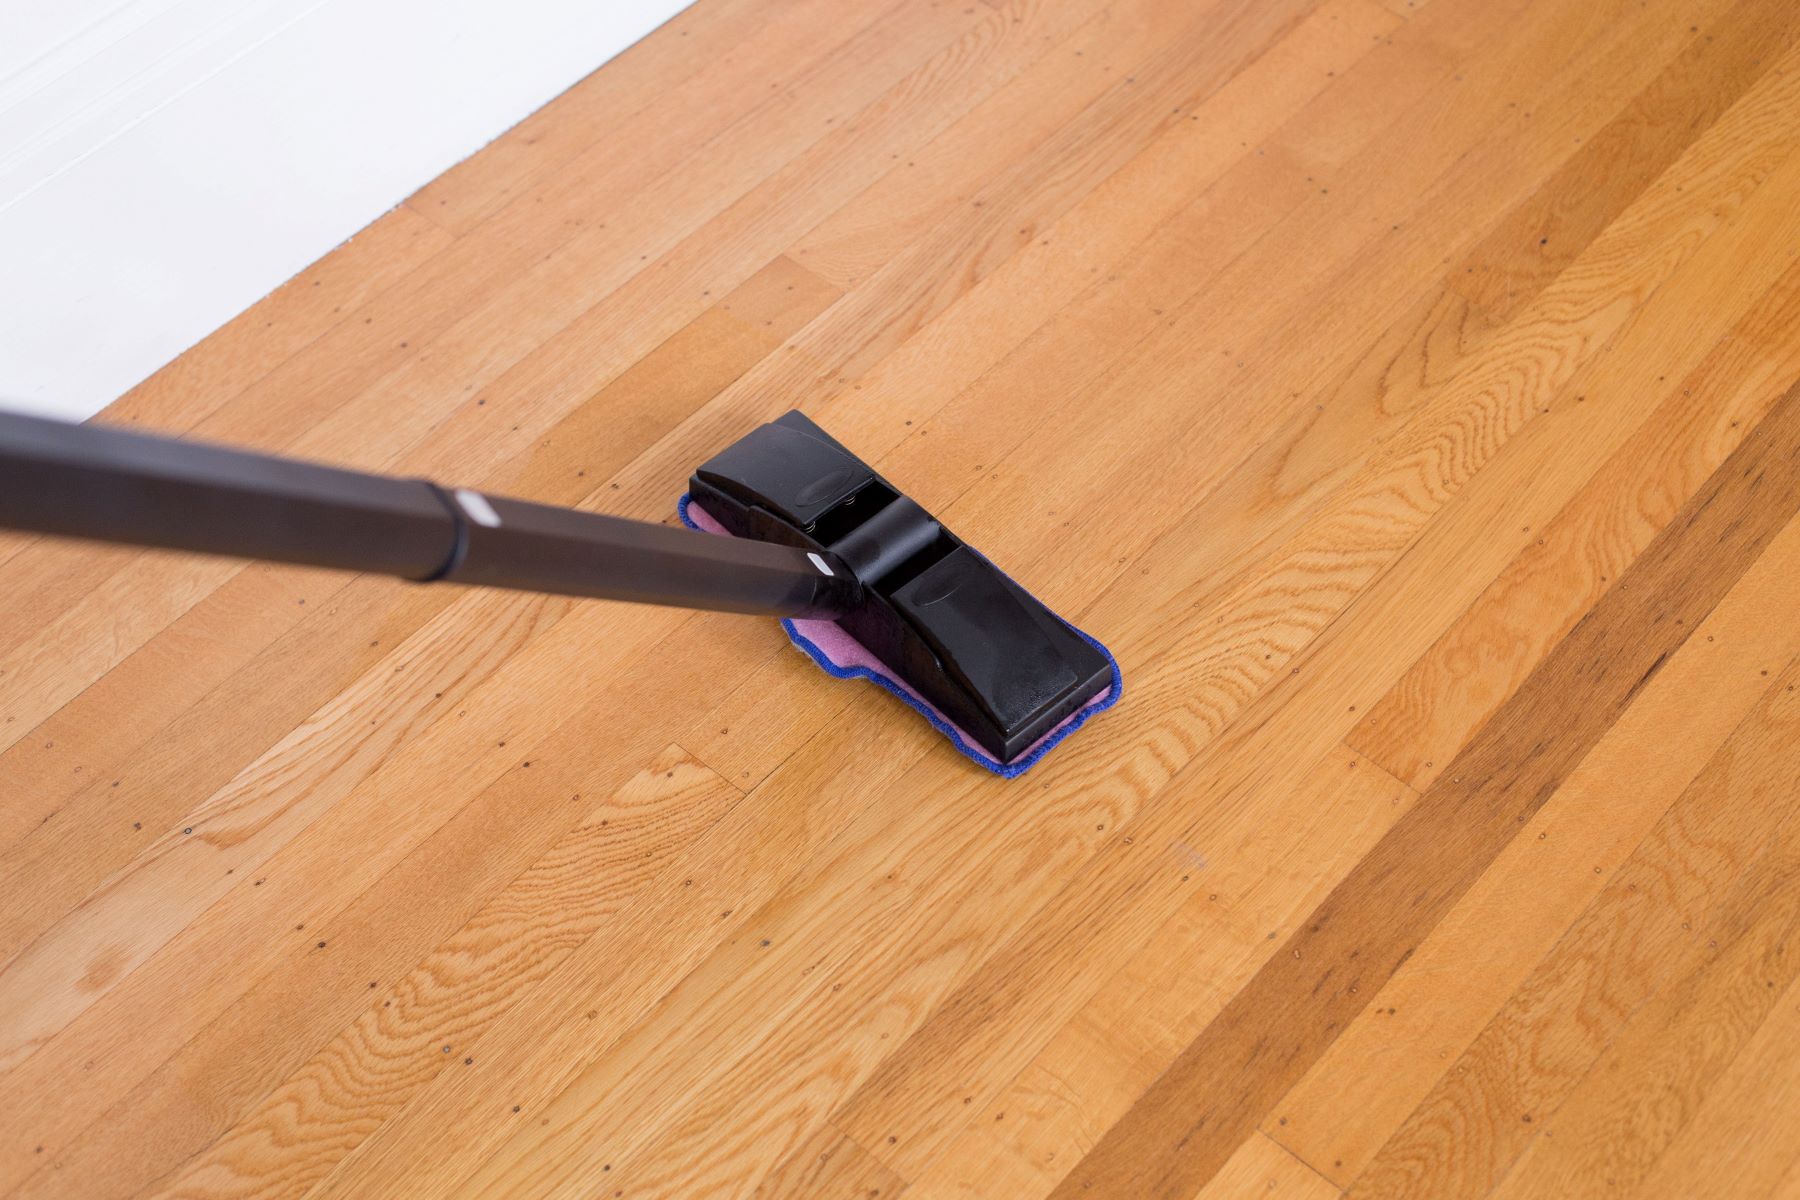
Start Mopping
With the mop and cleaning solution prepared, it’s time to embark on the mopping process and breathe new life into your bathroom floor. This pivotal phase involves applying the cleaning solution to the floor and employing strategic techniques to remove dirt, stains, and residues effectively. Here’s a step-by-step guide to mopping your bathroom floor with finesse:
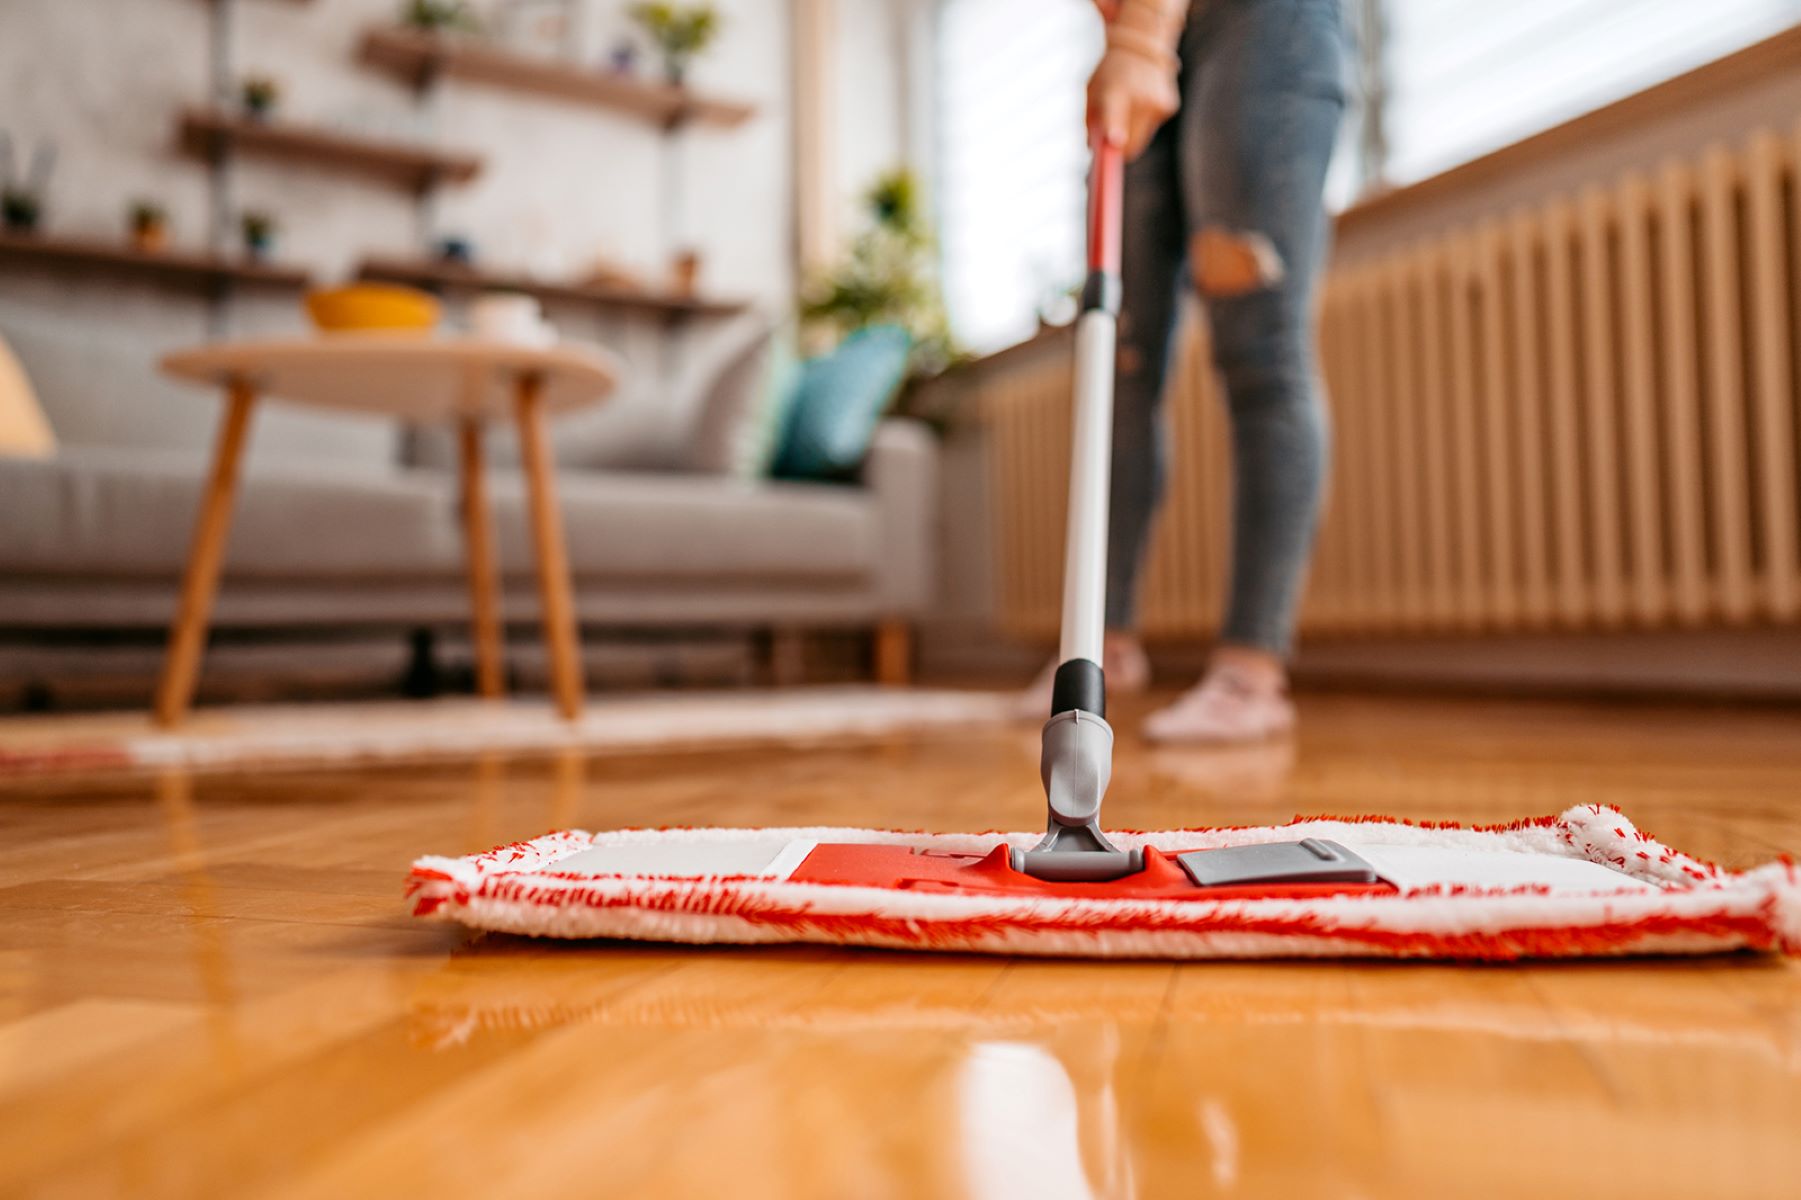
- Begin in a Far Corner: Start mopping in the farthest corner of the bathroom, working your way toward the entrance. This approach ensures that you don’t inadvertently step on the freshly mopped areas as you progress through the cleaning process.
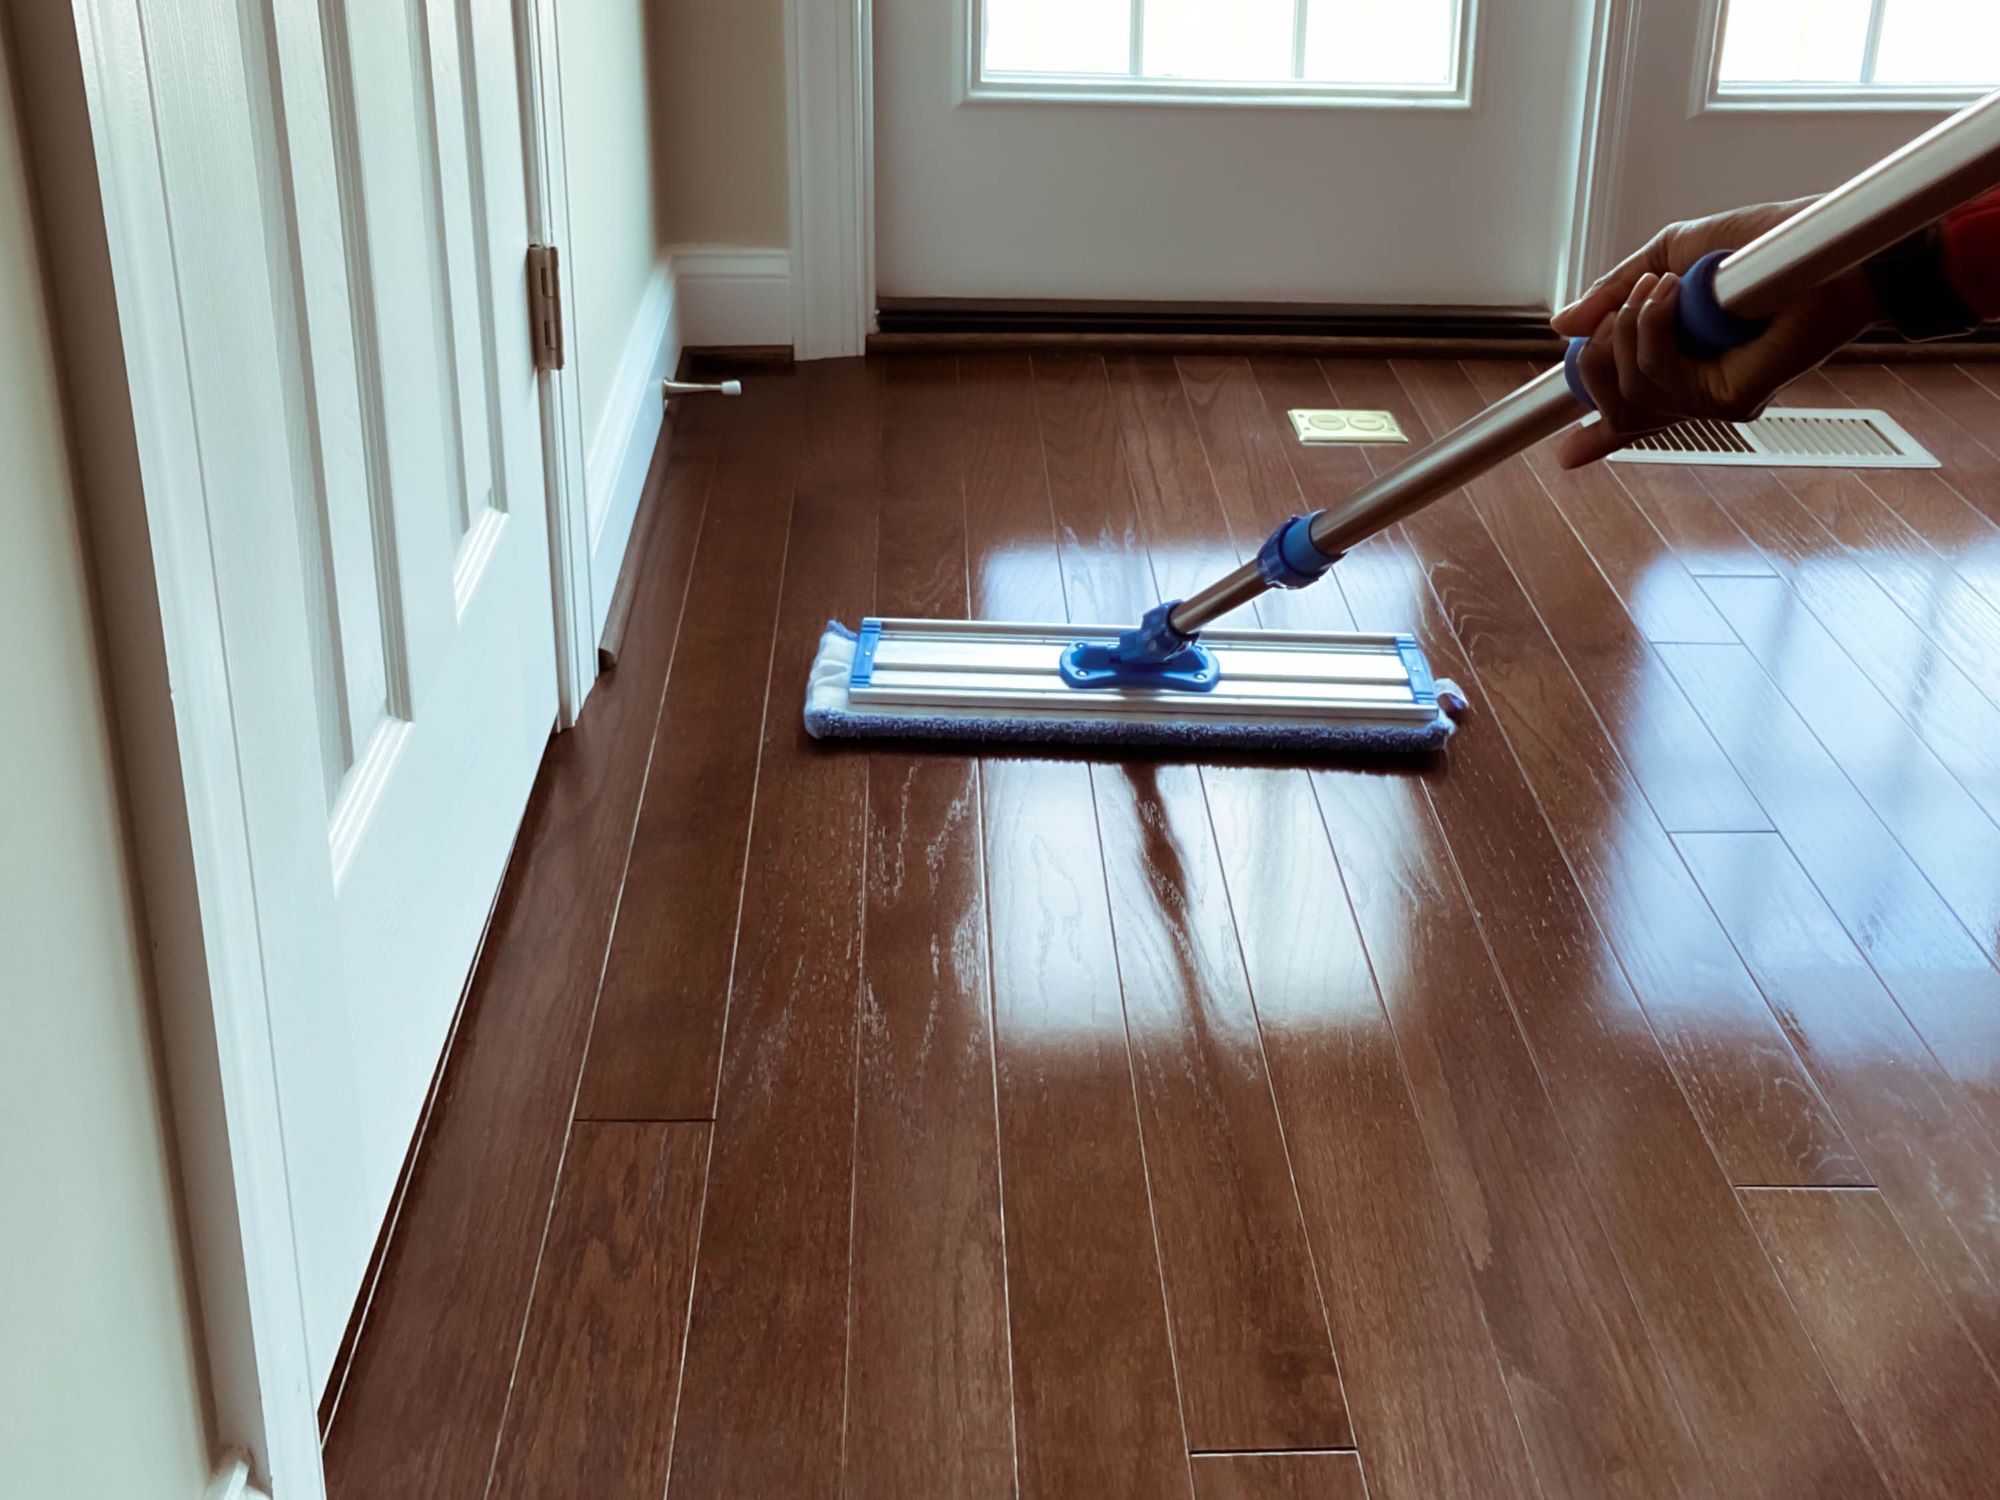
- Utilize Controlled Strokes: Employ controlled back-and-forth or side-to-side strokes with the mop, covering small sections of the floor at a time. This methodical approach allows for thorough cleaning and ensures that no areas are overlooked.
- Apply Gentle Pressure: While mopping, apply gentle pressure to the mop to effectively lift dirt and grime from the floor surface. Avoid using excessive force, as this may cause streaking or spread debris around rather than capturing it.
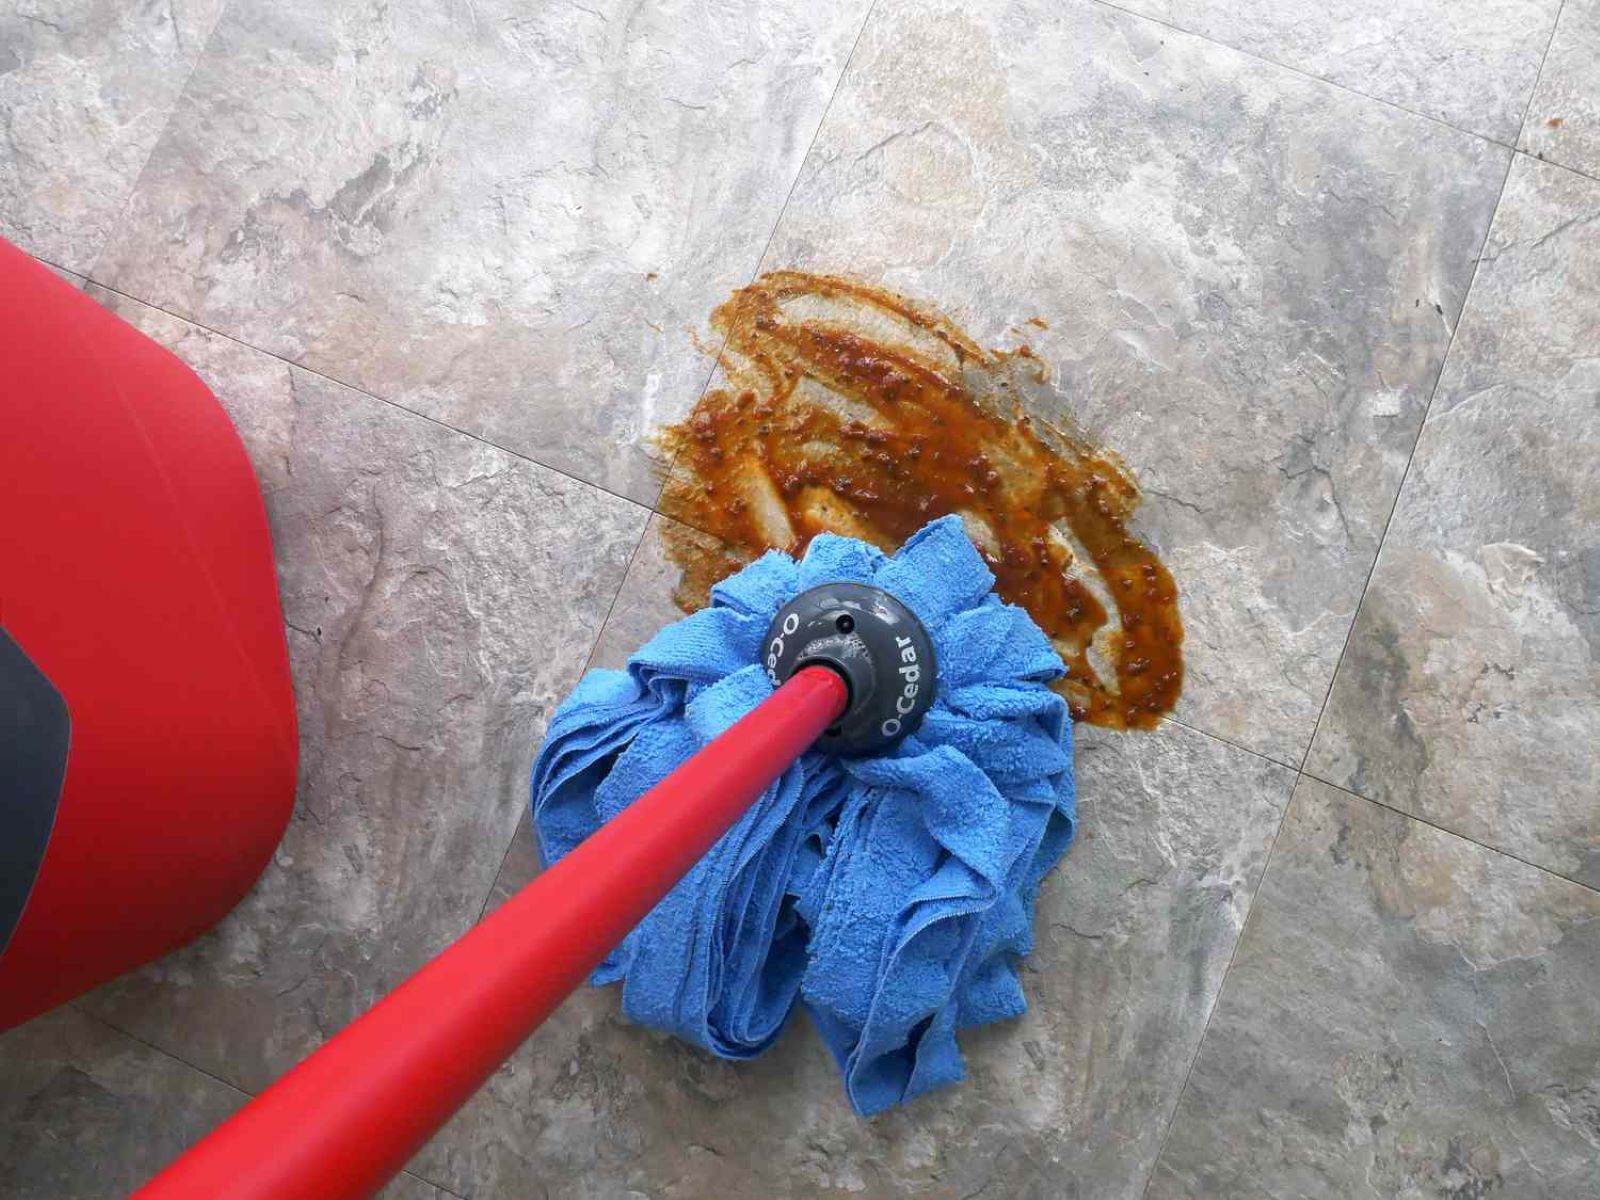
- Address Stubborn Stains: For stubborn stains or soiled areas, use the scrub brush to gently agitate the surface while applying the cleaning solution. This targeted approach helps to dislodge and lift tough stains for a more comprehensive clean.
- Work in Sections: Divide the floor into manageable sections and focus on thoroughly mopping each area before proceeding to the next. This systematic approach ensures that every inch of the floor receives the attention it deserves, resulting in a uniformly clean surface.
- Pay Attention to Grout Lines: For tiled floors with grout lines, pay special attention to these areas. Use the mop or a dedicated grout brush to ensure that the grout is effectively cleaned and restored to its original luster.
By following these meticulous steps and techniques, you’ll master the art of mopping your bathroom floor with precision and efficacy. This methodical approach ensures that no detail is overlooked, allowing you to achieve a truly pristine and rejuvenated bathroom floor that exudes cleanliness and freshness.
Read more: How To Mop Epoxy Floors
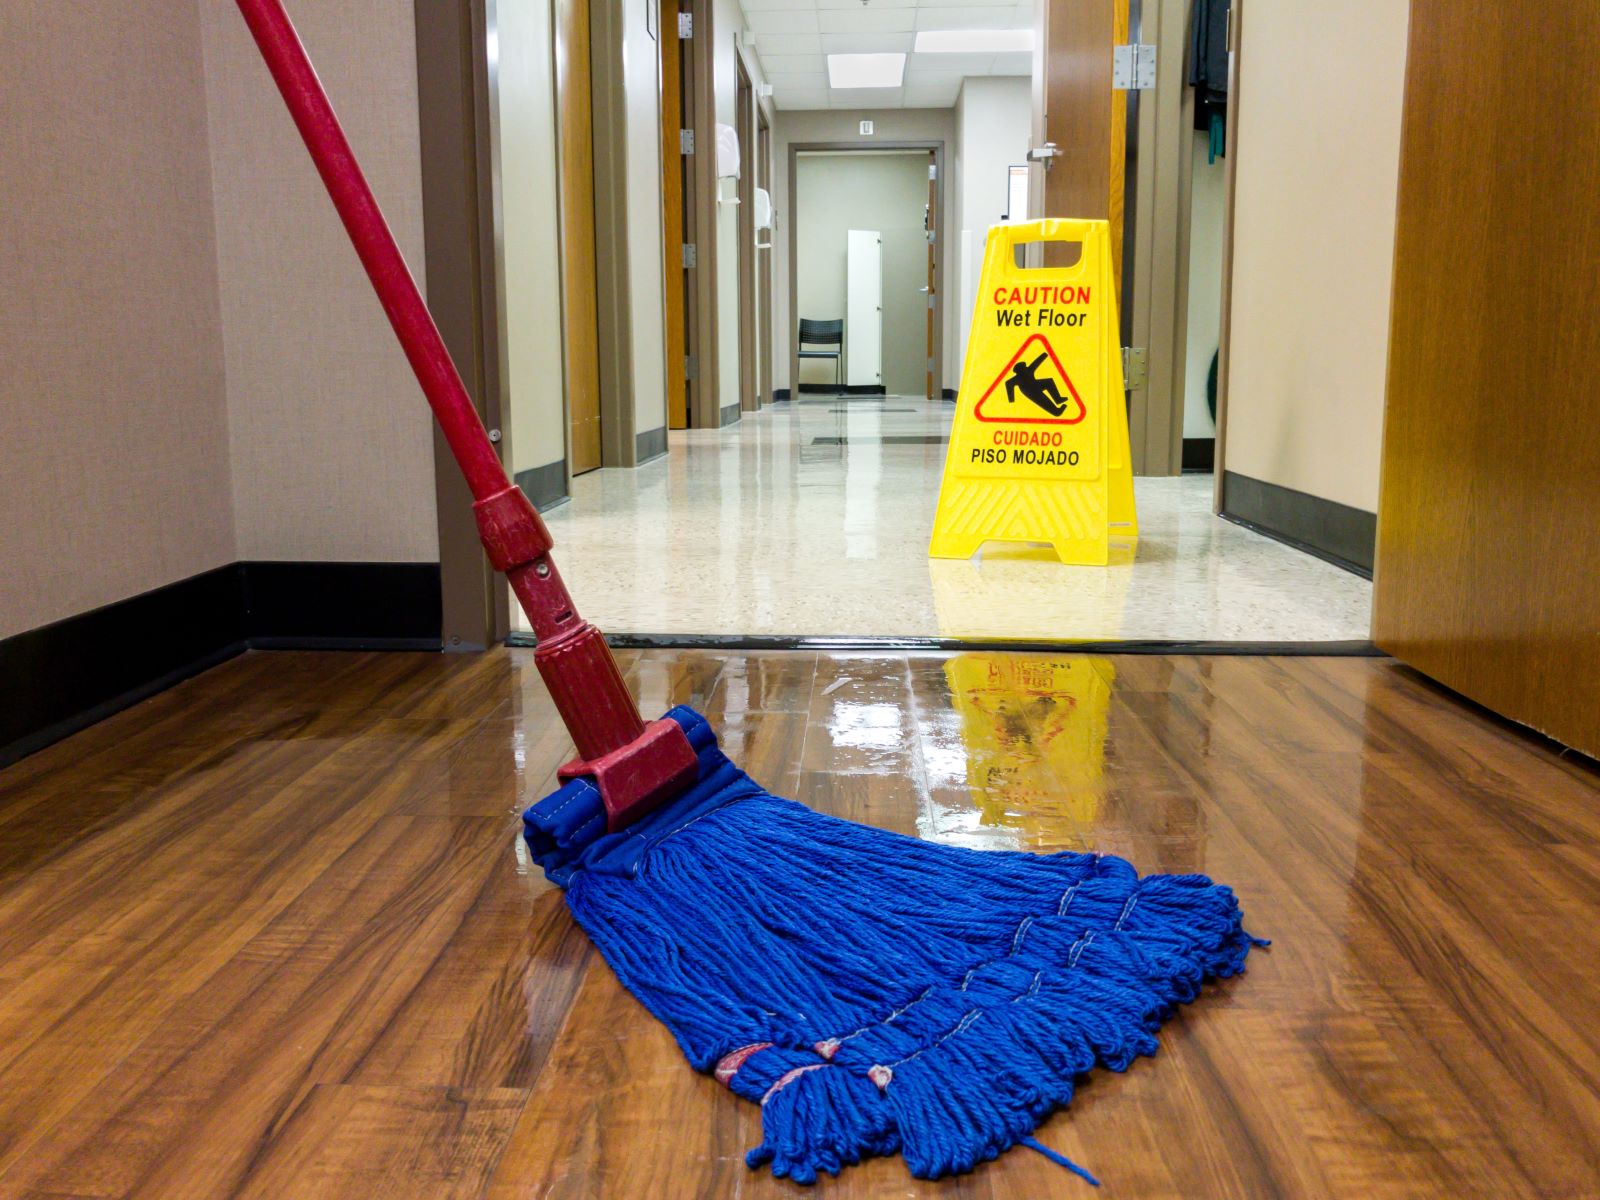
Rinse and Dry the Floor
After completing the mopping process, it’s essential to rinse the floor to remove any residual cleaning solution and grime, followed by thorough drying to ensure a pristine finish. This final phase of the mopping endeavor involves meticulous attention to detail and a focus on achieving a spotless, dry surface. Here’s how to effectively rinse and dry your bathroom floor:
- Rinse with Clean Water: Fill the bucket with clean water and use a separate mop or a clean cloth to rinse the floor, ensuring that all traces of the cleaning solution are thoroughly removed. This step is crucial for preventing residue buildup and achieving a truly clean surface.
- Change the Rinse Water as Needed: If the water in the bucket becomes visibly soiled during rinsing, replace it with fresh, clean water to maintain the effectiveness of the rinsing process. This proactive approach ensures that the floor is thoroughly and completely rinsed.
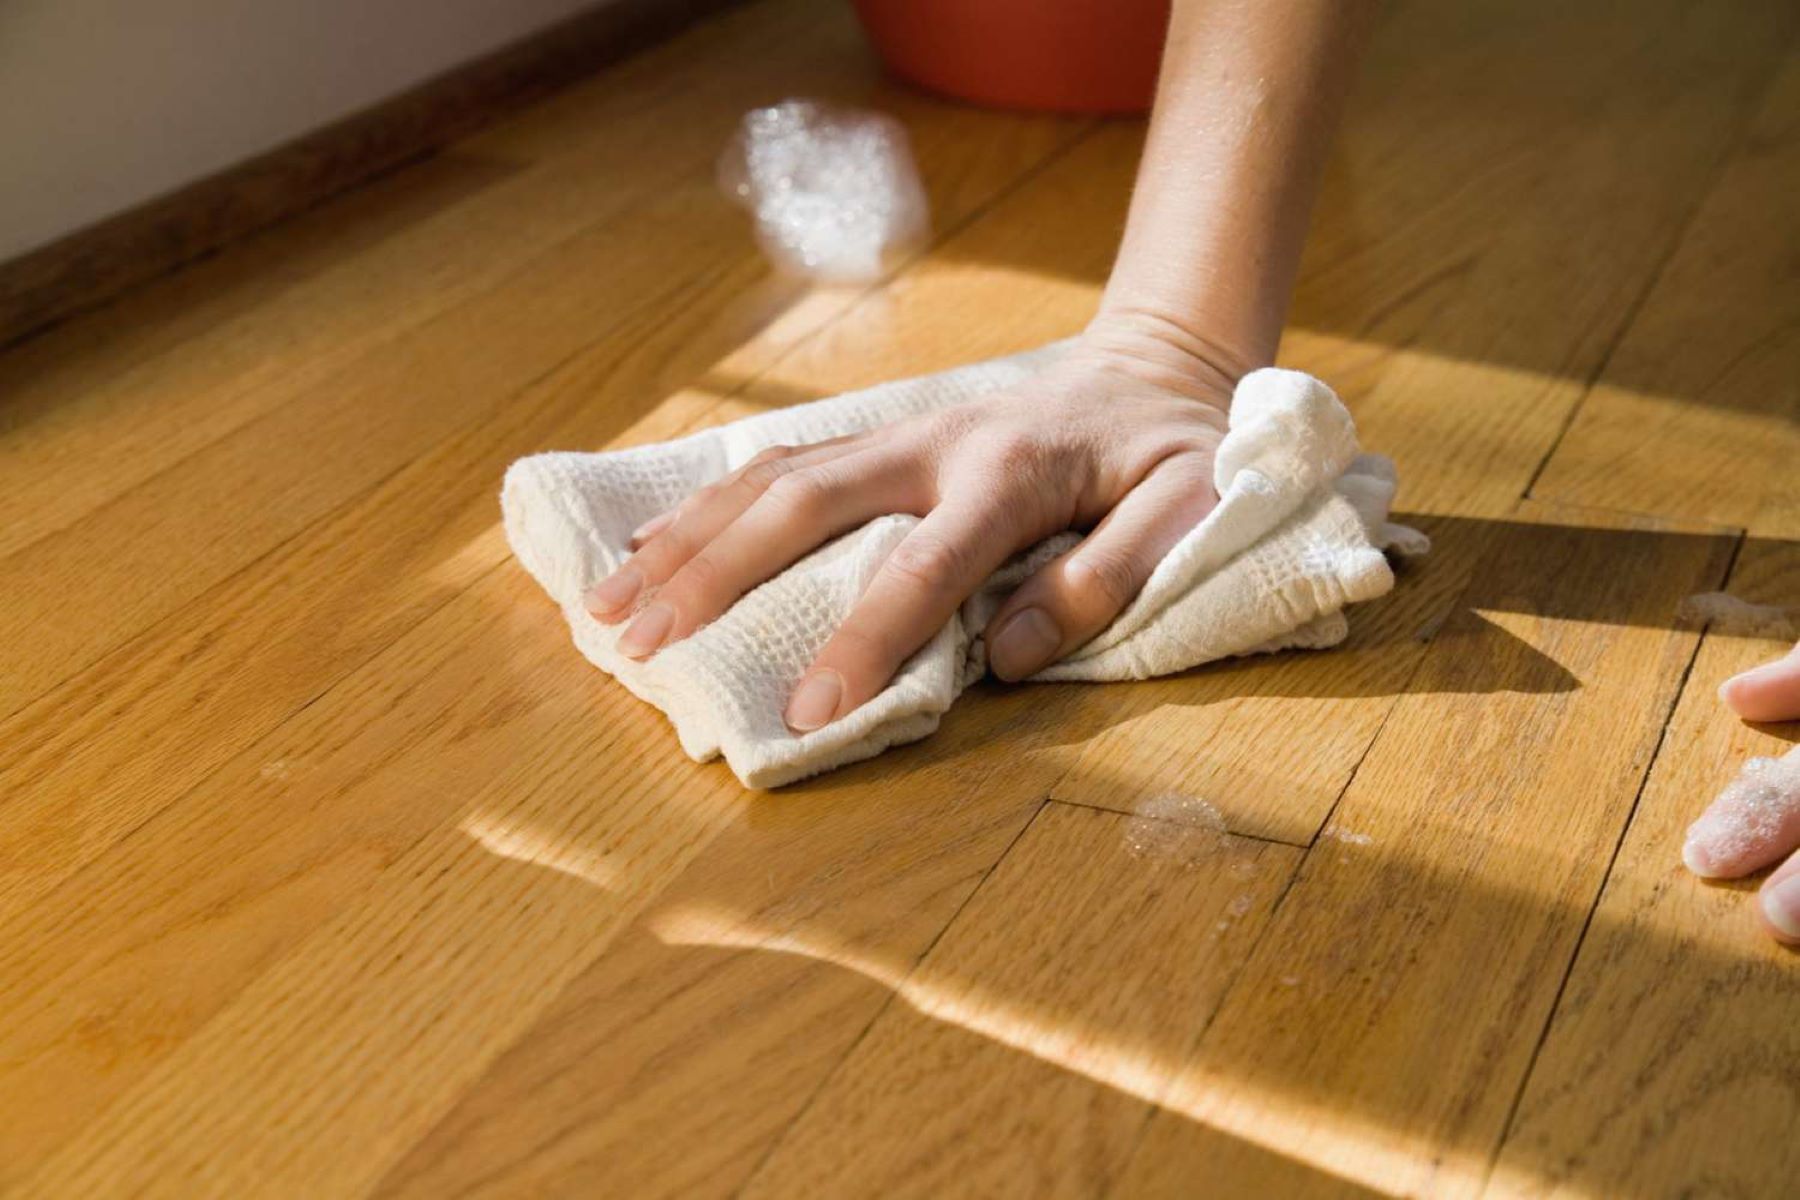
- Dry the Floor: Using old towels, rags, or a clean mop, carefully dry the floor to remove excess moisture. This step is particularly important for preventing water spots and ensuring that the floor dries to a sparkling finish.
- Allow Sufficient Drying Time: Open windows or use a fan to facilitate air circulation and expedite the drying process. Allowing the floor to air dry completely ensures that it achieves a pristine, streak-free appearance.
- Inspect for Lingering Stains: After the floor has dried, inspect the surface for any lingering stains or spots. If necessary, address specific areas with targeted cleaning methods to ensure that the floor is impeccably clean in every respect.
By diligently rinsing and drying the floor, you’ll elevate the mopping process to its culmination, resulting in a flawlessly clean and refreshed bathroom floor. This meticulous approach ensures that your efforts yield a truly immaculate result, leaving your bathroom floor glistening and inviting for all who encounter it.
Tips for Maintaining a Clean Bathroom Floor
Once you’ve achieved a sparkling clean bathroom floor, it’s important to implement strategies for maintaining its pristine condition over time. By incorporating proactive measures and consistent cleaning practices, you can preserve the cleanliness and allure of your bathroom floor. Here are valuable tips for maintaining a spotless bathroom floor:
- Establish a Regular Cleaning Schedule: Designate specific days for mopping and general maintenance to prevent dirt and grime from accumulating. Consistent cleaning efforts contribute to a consistently clean floor.
- Use Entryway Mats: Place mats at the entrance to your bathroom to trap dirt and moisture from shoes, reducing the amount of debris that is tracked onto the floor.
- Address Spills Promptly: Immediately clean up any spills or splashes to prevent stains and water damage. Swift action minimizes the impact of accidents on the floor’s cleanliness.
- Regularly Launder Rugs and Mats: Wash bathroom rugs and mats regularly to prevent the accumulation of dirt and moisture that can transfer to the floor.
- Utilize Grout Sealant: For tiled floors, consider applying a grout sealant to protect the grout from discoloration and facilitate easier cleaning.
- Spot Clean as Needed: Address small spills and stains promptly with targeted cleaning methods to prevent them from becoming ingrained in the floor surface.
- Implement Preventive Maintenance: Stay vigilant for any signs of water damage, leaks, or plumbing issues that could impact the cleanliness and condition of the bathroom floor. Addressing these issues promptly can prevent long-term damage.
- Regularly Inspect and Clean Baseboards: Ensure that the baseboards are kept clean and free of dust and grime, as they can impact the overall appearance of the bathroom floor.
- Choose Cleaning Products Wisely: Select cleaning products that are suitable for your specific flooring material to ensure effective cleaning without causing damage or discoloration.
- Seek Professional Cleaning as Needed: For deep cleaning and maintenance, consider enlisting professional cleaning services to rejuvenate and preserve the pristine condition of your bathroom floor.
By incorporating these tips into your cleaning routine and adopting a proactive approach to maintenance, you can uphold the cleanliness and appeal of your bathroom floor for the long term. Consistent care and attention to detail will ensure that your bathroom floor remains a shining testament to your dedication to cleanliness and hygiene.
Frequently Asked Questions about How To Mop Bathroom Floor
Was this page helpful?
At Storables.com, we guarantee accurate and reliable information. Our content, validated by Expert Board Contributors, is crafted following stringent Editorial Policies. We're committed to providing you with well-researched, expert-backed insights for all your informational needs.

0 thoughts on “How To Mop Bathroom Floor”