Home>Home Appliances>Cleaning Appliances>How To Mop A Kitchen Floor
Cleaning Appliances
How To Mop A Kitchen Floor
Modified: February 25, 2024
Learn the best techniques for mopping your kitchen floor to keep it clean and hygienic. Discover the top cleaning appliances and products to make the job easier and more effective.
(Many of the links in this article redirect to a specific reviewed product. Your purchase of these products through affiliate links helps to generate commission for Storables.com, at no extra cost. Learn more)
Introduction
Welcome to the heart of your home – the kitchen. It’s a place where delicious meals are prepared, memories are made, and, unfortunately, spills and messes are inevitable. Keeping your kitchen floor clean is not only essential for maintaining a hygienic environment, but it also contributes to the overall aesthetic appeal of your living space. One of the most effective ways to achieve a sparkling clean kitchen floor is by mopping it regularly. In this comprehensive guide, we’ll walk you through the step-by-step process of mopping your kitchen floor, ensuring that you achieve a spotless and gleaming result.
Whether you’re a seasoned mopping pro or a complete novice, this article will provide valuable insights, tips, and techniques to help you achieve a pristine kitchen floor. So, roll up your sleeves, put on your favorite cleaning playlist, and let’s dive into the art of mopping!
Key Takeaways:
- Keep your kitchen floor sparkling clean by gathering the right supplies, preparing the floor, and using the appropriate cleaning solution for your specific flooring type.
- Maintain a pristine kitchen floor by establishing a regular cleaning schedule, promptly addressing spills, and implementing proactive measures such as using entryway mats and following manufacturer’s guidelines for floor care.
Read more: How To Mop A Floor
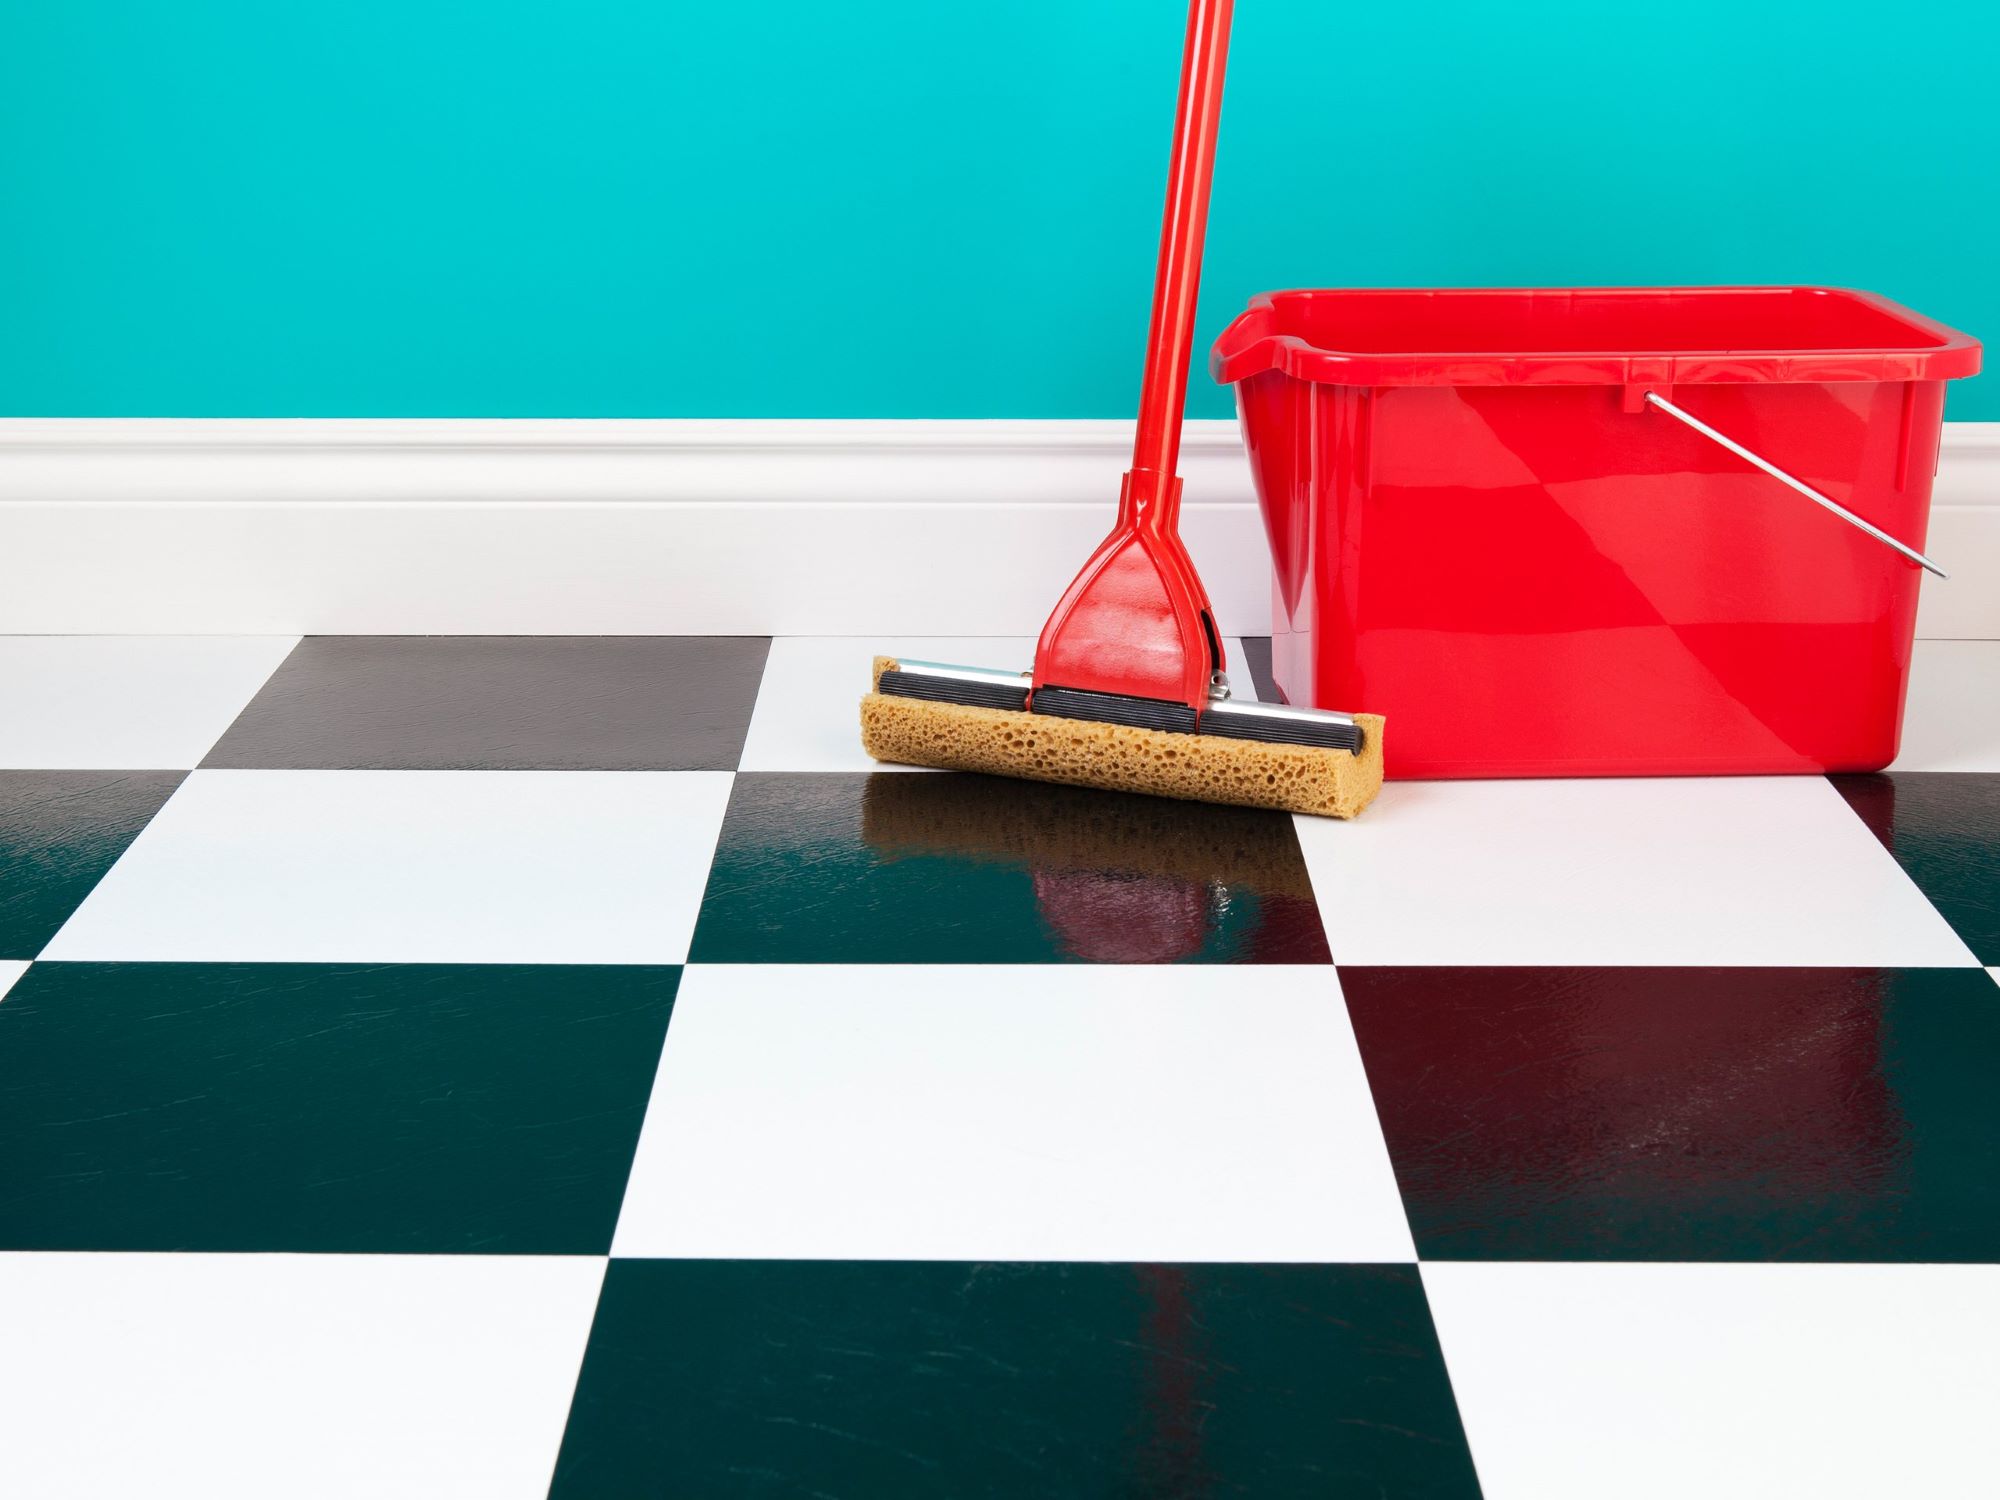
Gather Supplies
Before embarking on your mopping journey, it’s crucial to gather all the necessary supplies. Having the right tools at your disposal will not only streamline the mopping process but also ensure that you achieve optimal results.
Here’s a checklist of essential supplies you’ll need:
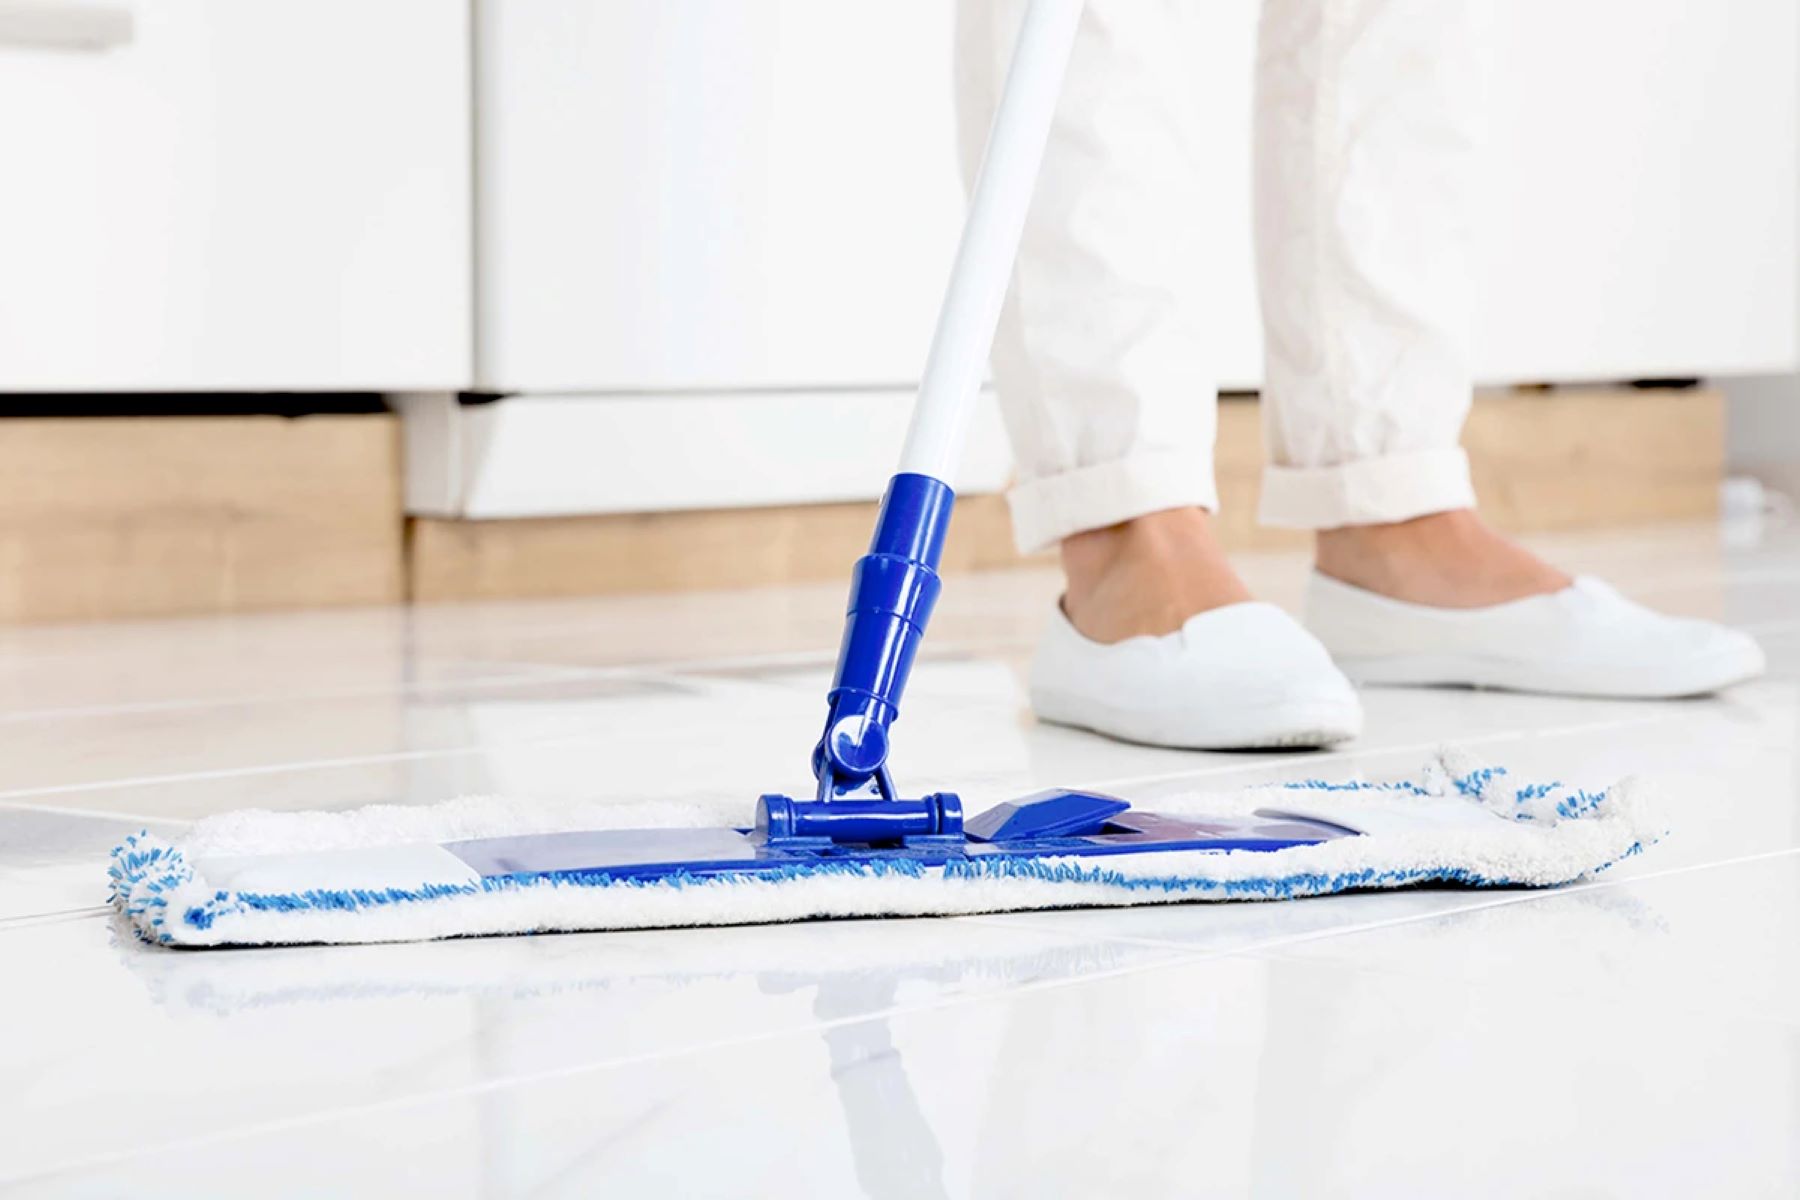
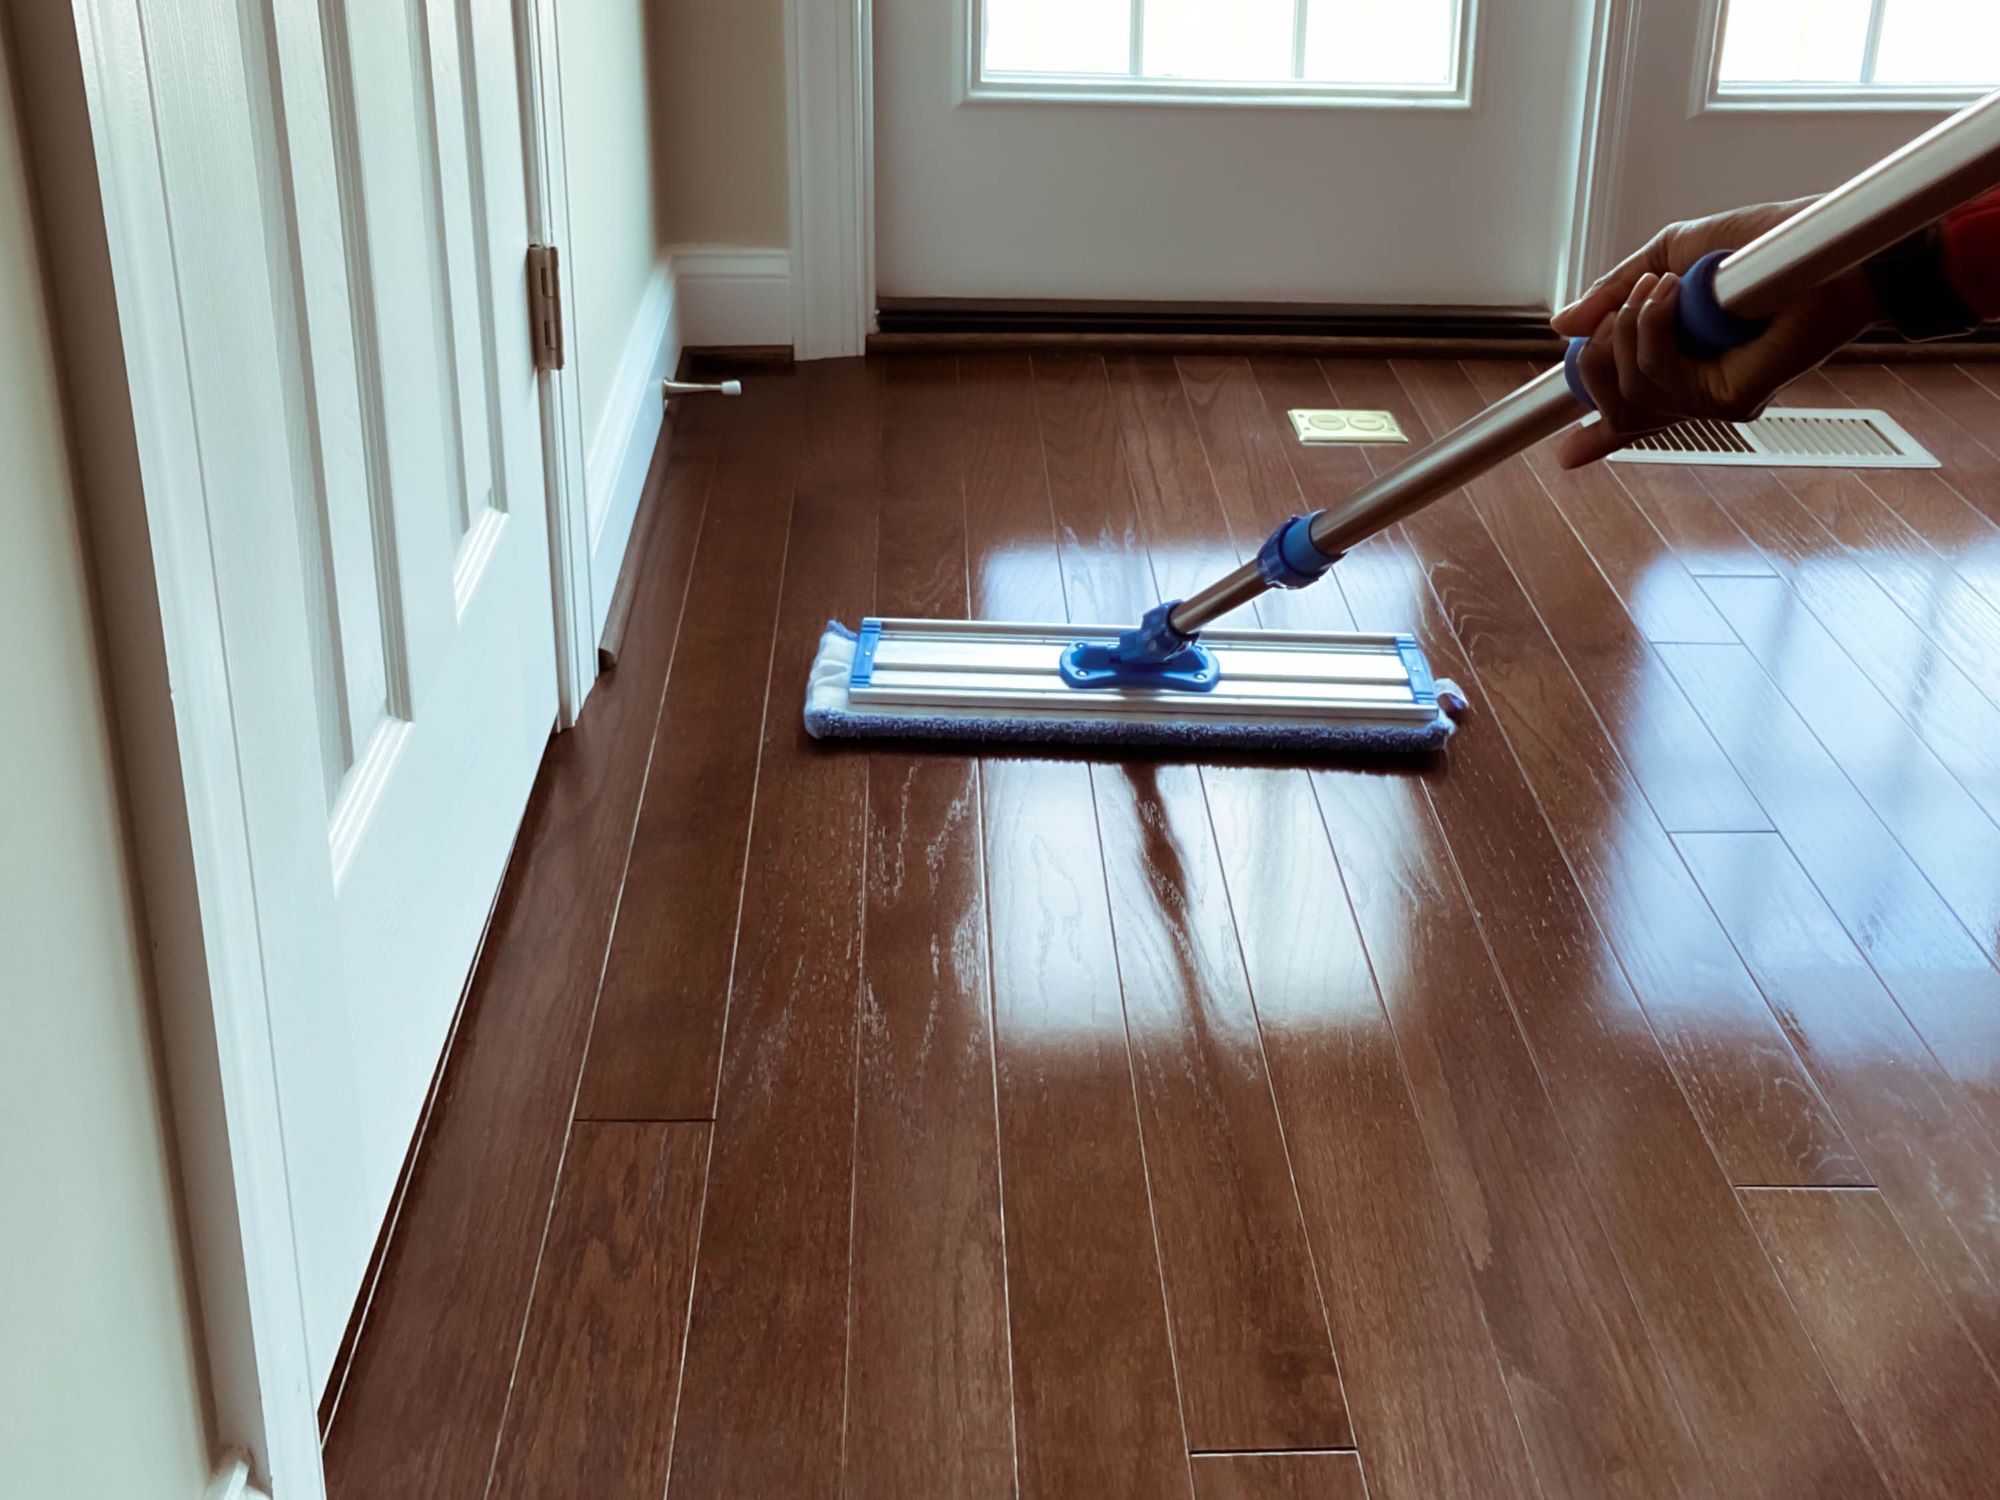
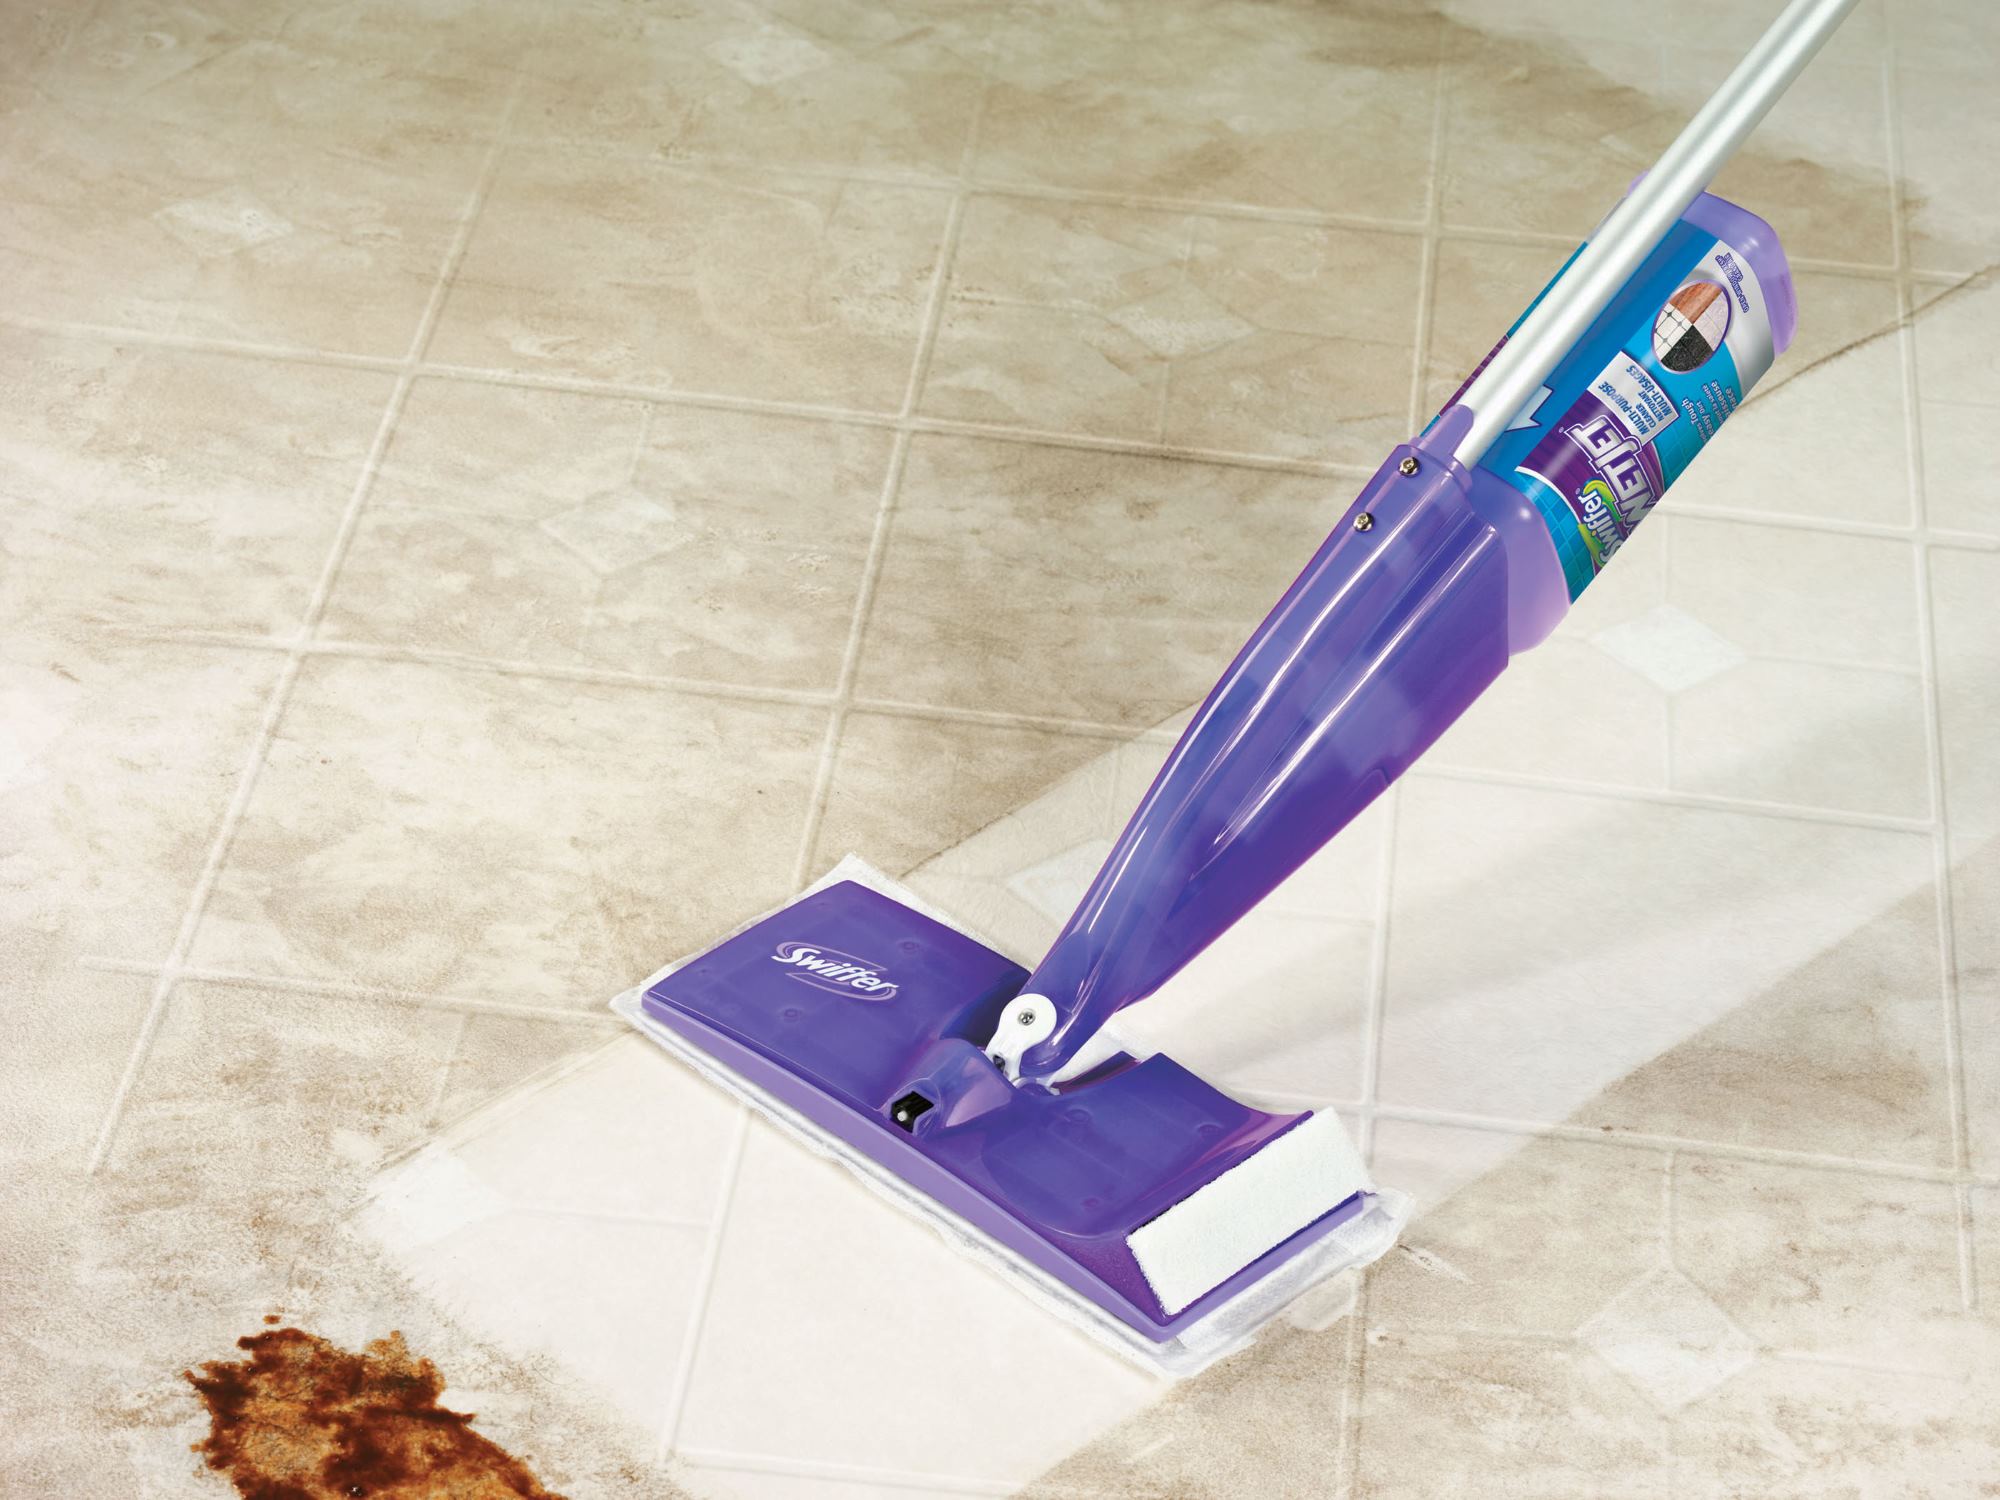
- Mop: Select a mop that is suitable for your specific flooring type. Microfiber mops are highly effective for capturing dirt and grime, while sponge mops are ideal for tiled surfaces. Additionally, consider investing in a mop with a removable and machine-washable head for easy maintenance.
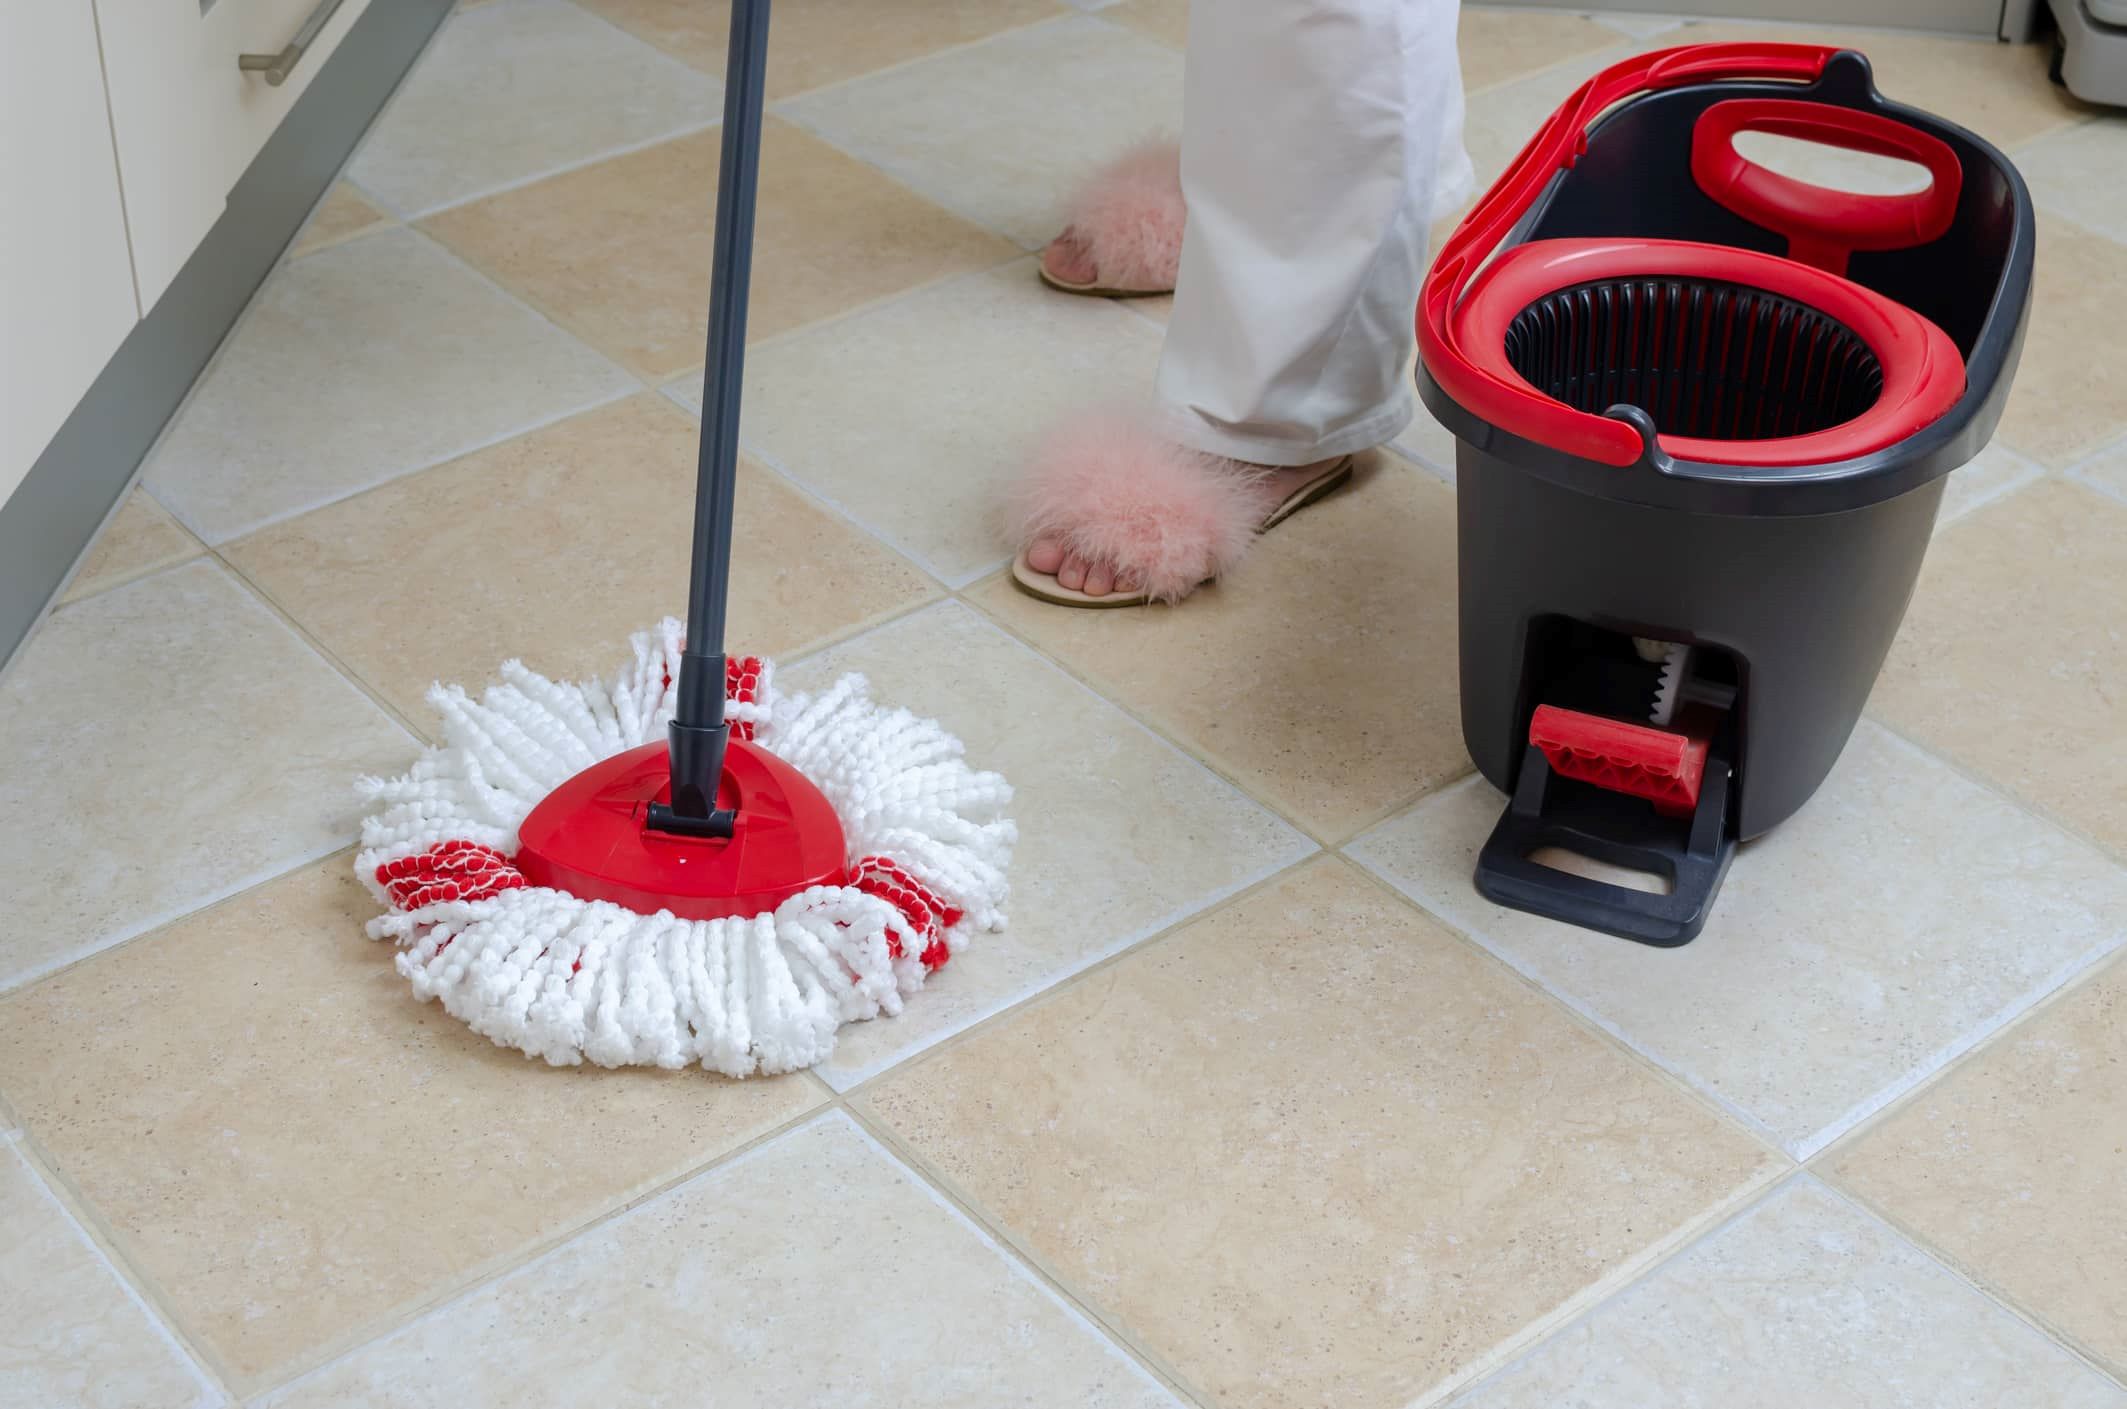
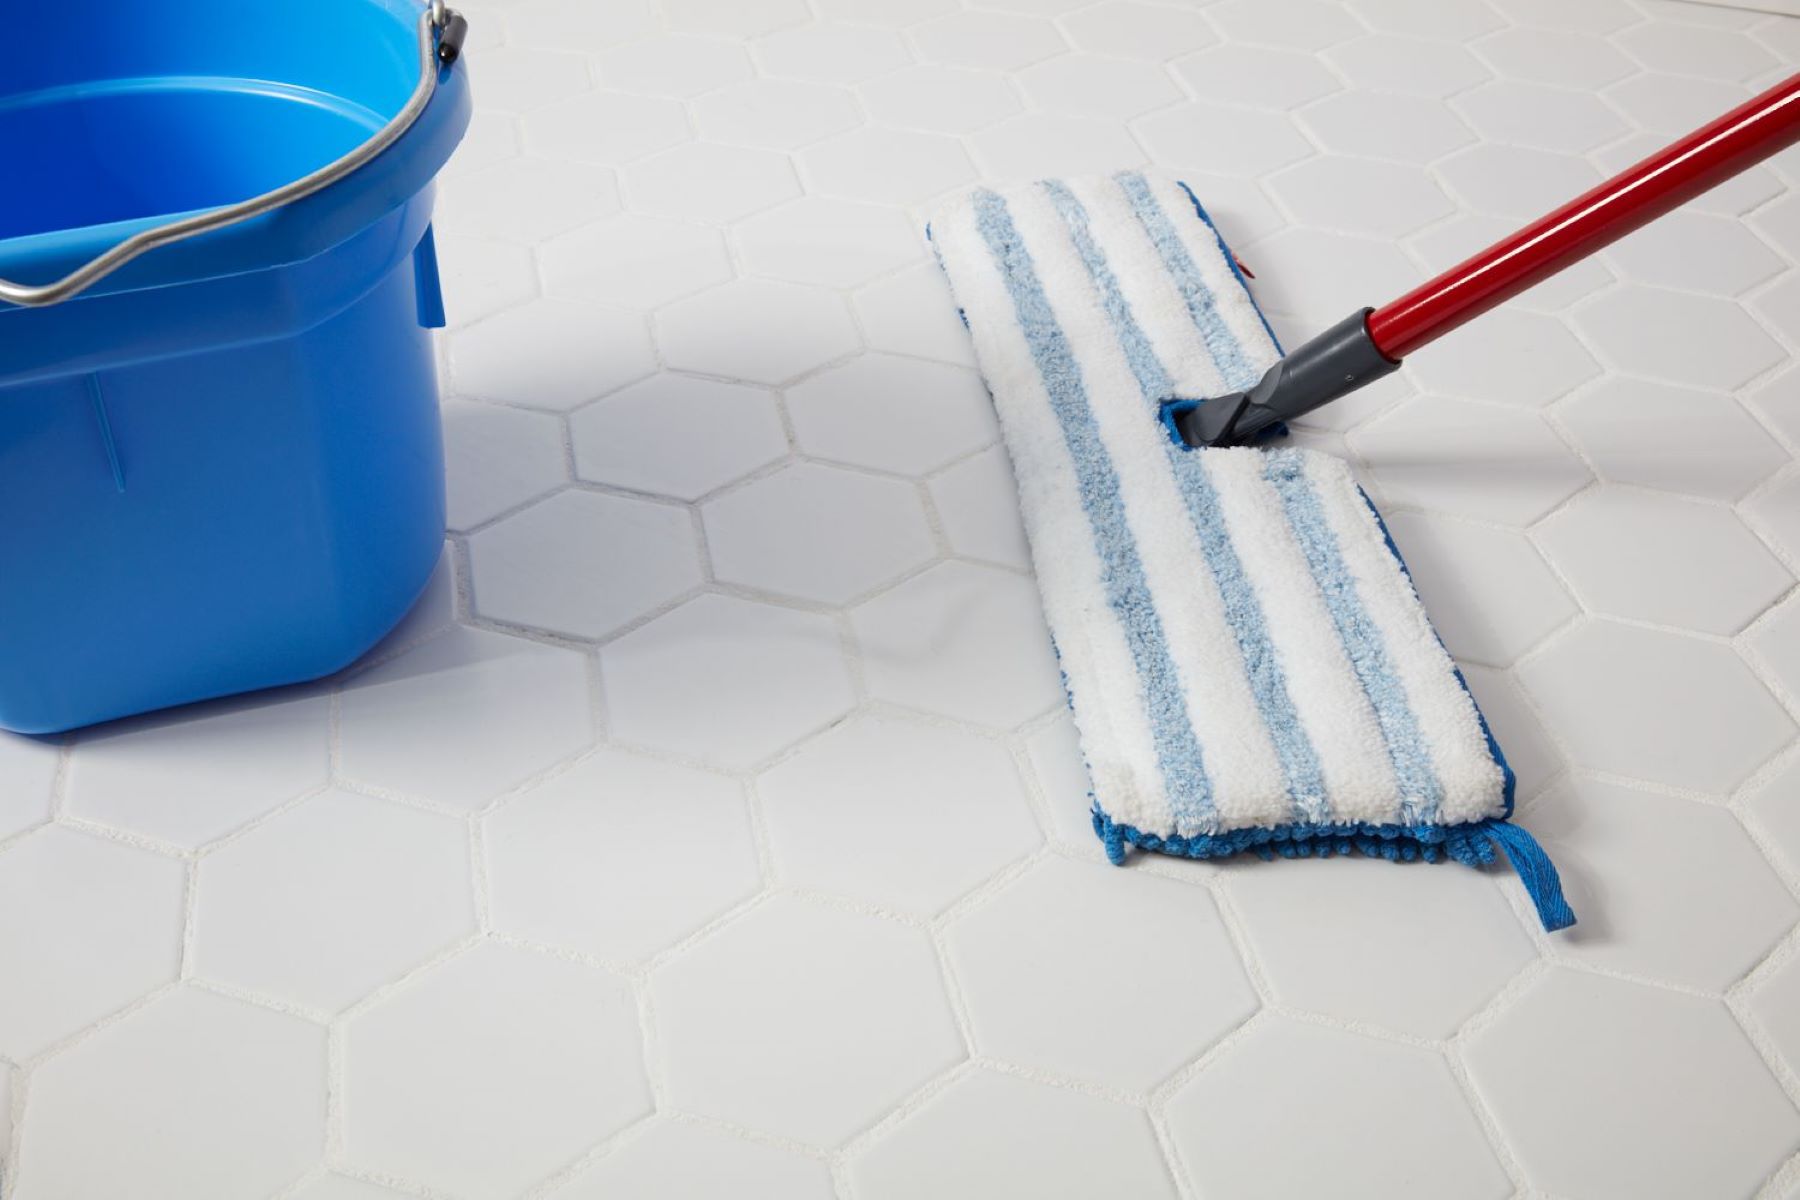
- Bucket: Choose a sturdy bucket that is spacious enough to accommodate an ample amount of cleaning solution and water. A bucket with a built-in wringer can expedite the process of removing excess water from the mop, making it more efficient.
- Cleaning Solution: Opt for a high-quality floor cleaner that is compatible with your flooring material. Whether you prefer a commercial cleaner or a DIY solution, ensure that it is formulated to dissolve dirt and grime without leaving behind residue.
- Protective Gloves: While not always necessary, wearing protective gloves can shield your hands from harsh chemicals present in some cleaning solutions. They also provide a barrier against hot water if you prefer using warm water for mopping.
- Floor Protectors: If your kitchen floor features delicate surfaces such as hardwood or laminate, consider using furniture pads or floor protectors to prevent scratches and scuffs caused by moving furniture during the mopping process.
- Clean Towels or Rags: Keep a few clean towels or rags handy for wiping up any excess moisture, particularly around baseboards and in tight corners where the mop may not reach.
- Vacuum or Broom: Prior to mopping, it’s advisable to sweep or vacuum the kitchen floor to eliminate loose debris, crumbs, and pet hair. This preparatory step prevents the mop from spreading dirt and ensures a more thorough cleaning.
By assembling these supplies, you’ll be well-equipped to tackle the task of mopping your kitchen floor with confidence and efficiency.
Prepare the Floor
Before diving into the mopping process, it’s essential to prepare the kitchen floor to optimize the effectiveness of your cleaning efforts. This preparatory phase involves removing obstacles, addressing spills and stains, and ensuring that the floor is ready to undergo a thorough cleaning.
- Clear the Area: Begin by clearing the kitchen floor of any movable obstacles such as chairs, stools, and small rugs. Clearing the space not only provides unobstructed access for mopping but also prevents tripping hazards during the cleaning process.
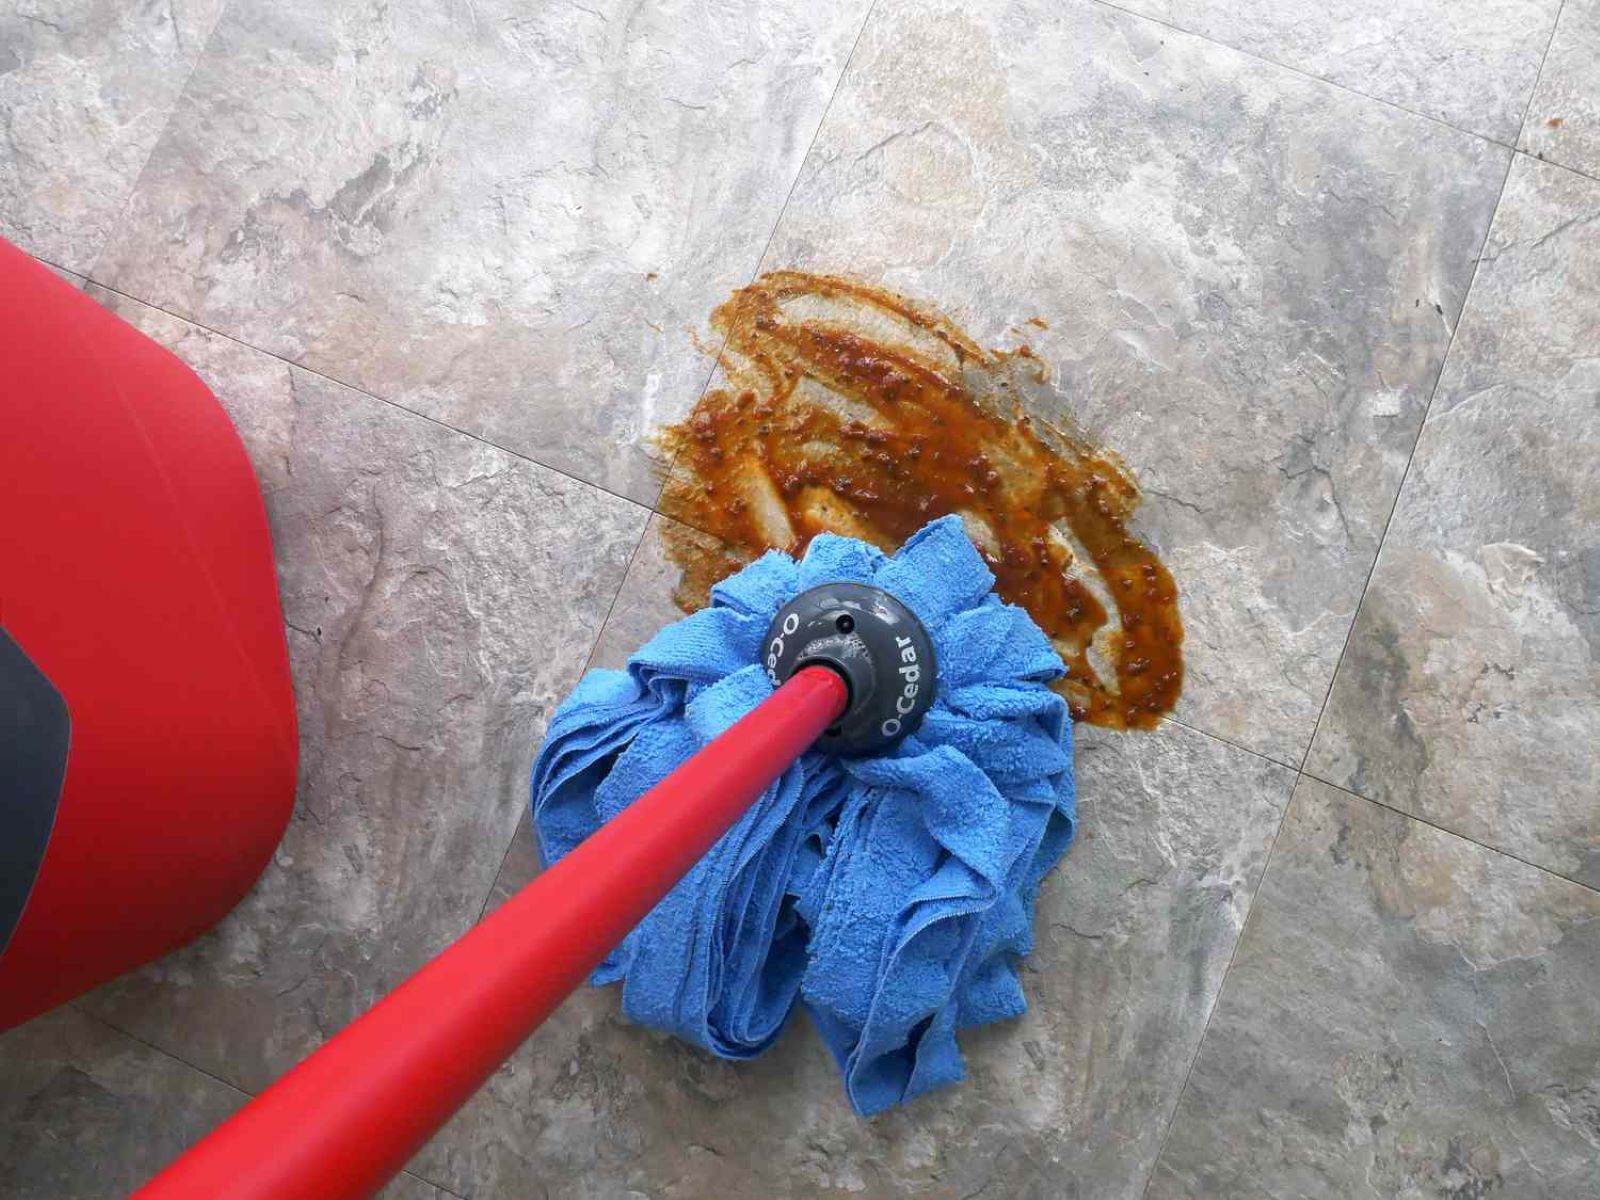
- Address Spills and Stains: Take a moment to address any spills or stubborn stains on the floor. Use a suitable cleaning agent or stain remover to pre-treat these areas, allowing the solution to penetrate and loosen the grime before mopping. This targeted approach helps ensure that tough stains are effectively lifted during the mopping process.
- Check for Loose Grime: Inspect the floor for any loose debris, such as food crumbs or dirt. Use a handheld vacuum or a broom to remove these particles, focusing on corners, under cabinets, and along baseboards. This step prevents the mop from spreading loose grime and facilitates a more thorough cleaning.
- Protect Baseboards and Cabinets: To safeguard baseboards and lower cabinet surfaces from excess moisture during mopping, consider applying painter’s tape or using protective guards. This precautionary measure helps prevent water damage and minimizes the need for extensive drying after mopping.
By taking the time to prepare the kitchen floor, you’ll create an optimal environment for the mopping process, setting the stage for a comprehensive and effective cleaning session. With the floor prepped and obstacles removed, you can proceed to mix the cleaning solution and embark on the transformative journey of mopping your kitchen floor.
Mix the Cleaning Solution
Creating the perfect cleaning solution is a pivotal step in the mopping process, as it directly influences the cleanliness and luster of your kitchen floor. Whether you opt for a commercial cleaner or a DIY solution, the key is to ensure that it effectively dissolves grime, eliminates germs, and enhances the overall appearance of the floor.
Here’s a simple guide to mixing a homemade cleaning solution:
- For Tiled or Vinyl Floors: In a bucket, combine warm water with a mild detergent or a specially formulated floor cleaner. Avoid using harsh chemicals that may damage the flooring. If dealing with tough stains or grime, consider adding a small amount of white vinegar to the solution for added cleaning power.
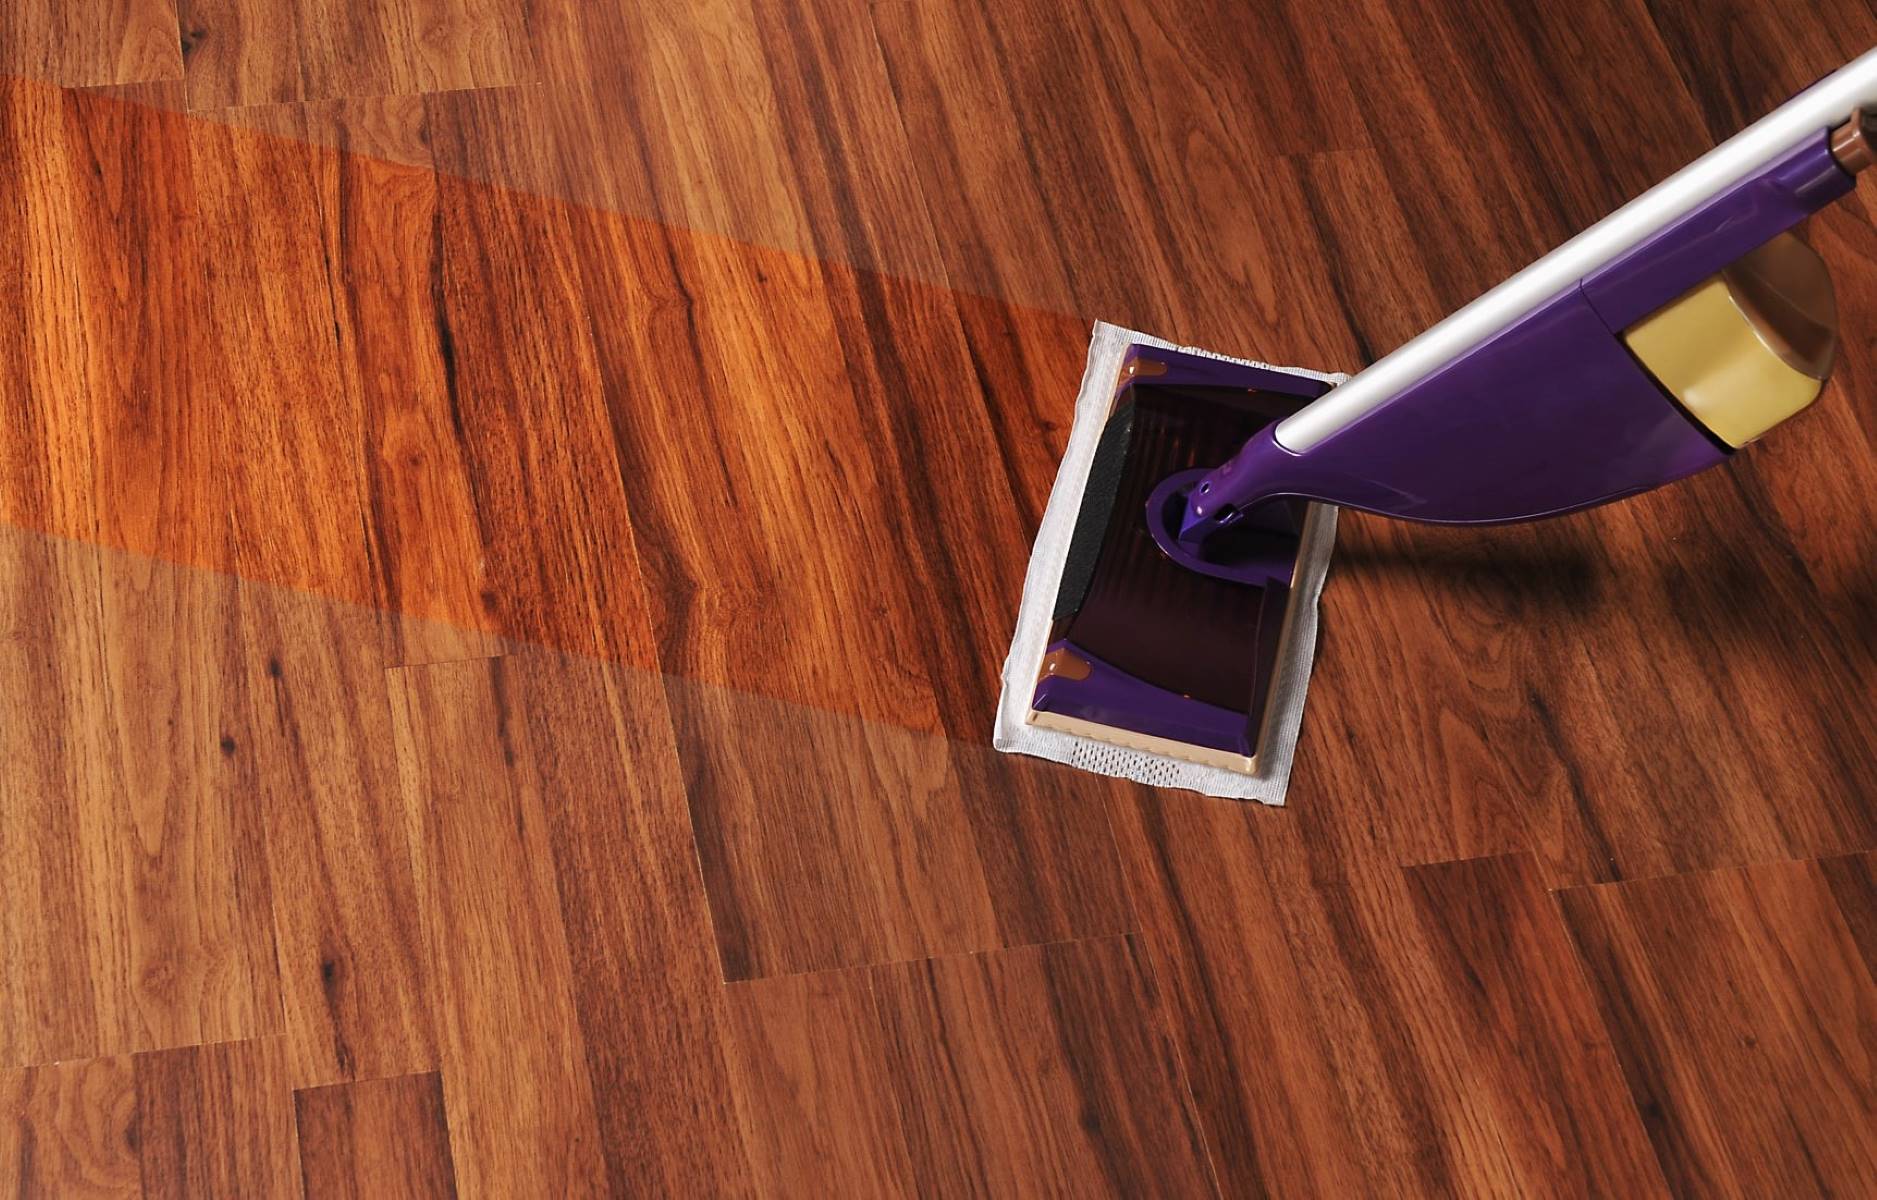
- For Hardwood Floors: When mopping hardwood floors, it’s crucial to use a cleaning solution that is specifically designed for wood surfaces. Mix a small amount of wood floor cleaner with water, following the manufacturer’s recommended dilution ratio. Refrain from using excessive water or harsh chemicals, as they can compromise the integrity of the wood.
- For Laminate Floors: Laminate floors require a gentle yet effective cleaning solution. Mix a mild laminate floor cleaner with water, ensuring that the solution is well-diluted to prevent streaking or residue buildup. Excessive moisture should be avoided when mopping laminate floors, as it can seep into the seams and cause damage.
- For Stone or Tile Floors: Stone and tile floors benefit from a pH-neutral cleaner that is gentle on the surface while effectively removing dirt and grime. Dilute the recommended amount of stone or tile cleaner in a bucket of water, ensuring that the solution is well-mixed before proceeding with mopping.
Once the cleaning solution is prepared, give it a gentle stir to ensure uniform distribution of the cleaning agents. It’s important to use the appropriate cleaning solution for your specific flooring type to achieve optimal results without causing damage.
With the cleaning solution mixed and ready, you’re now equipped to embark on the transformative process of mopping your kitchen floor, restoring its natural beauty and cleanliness.
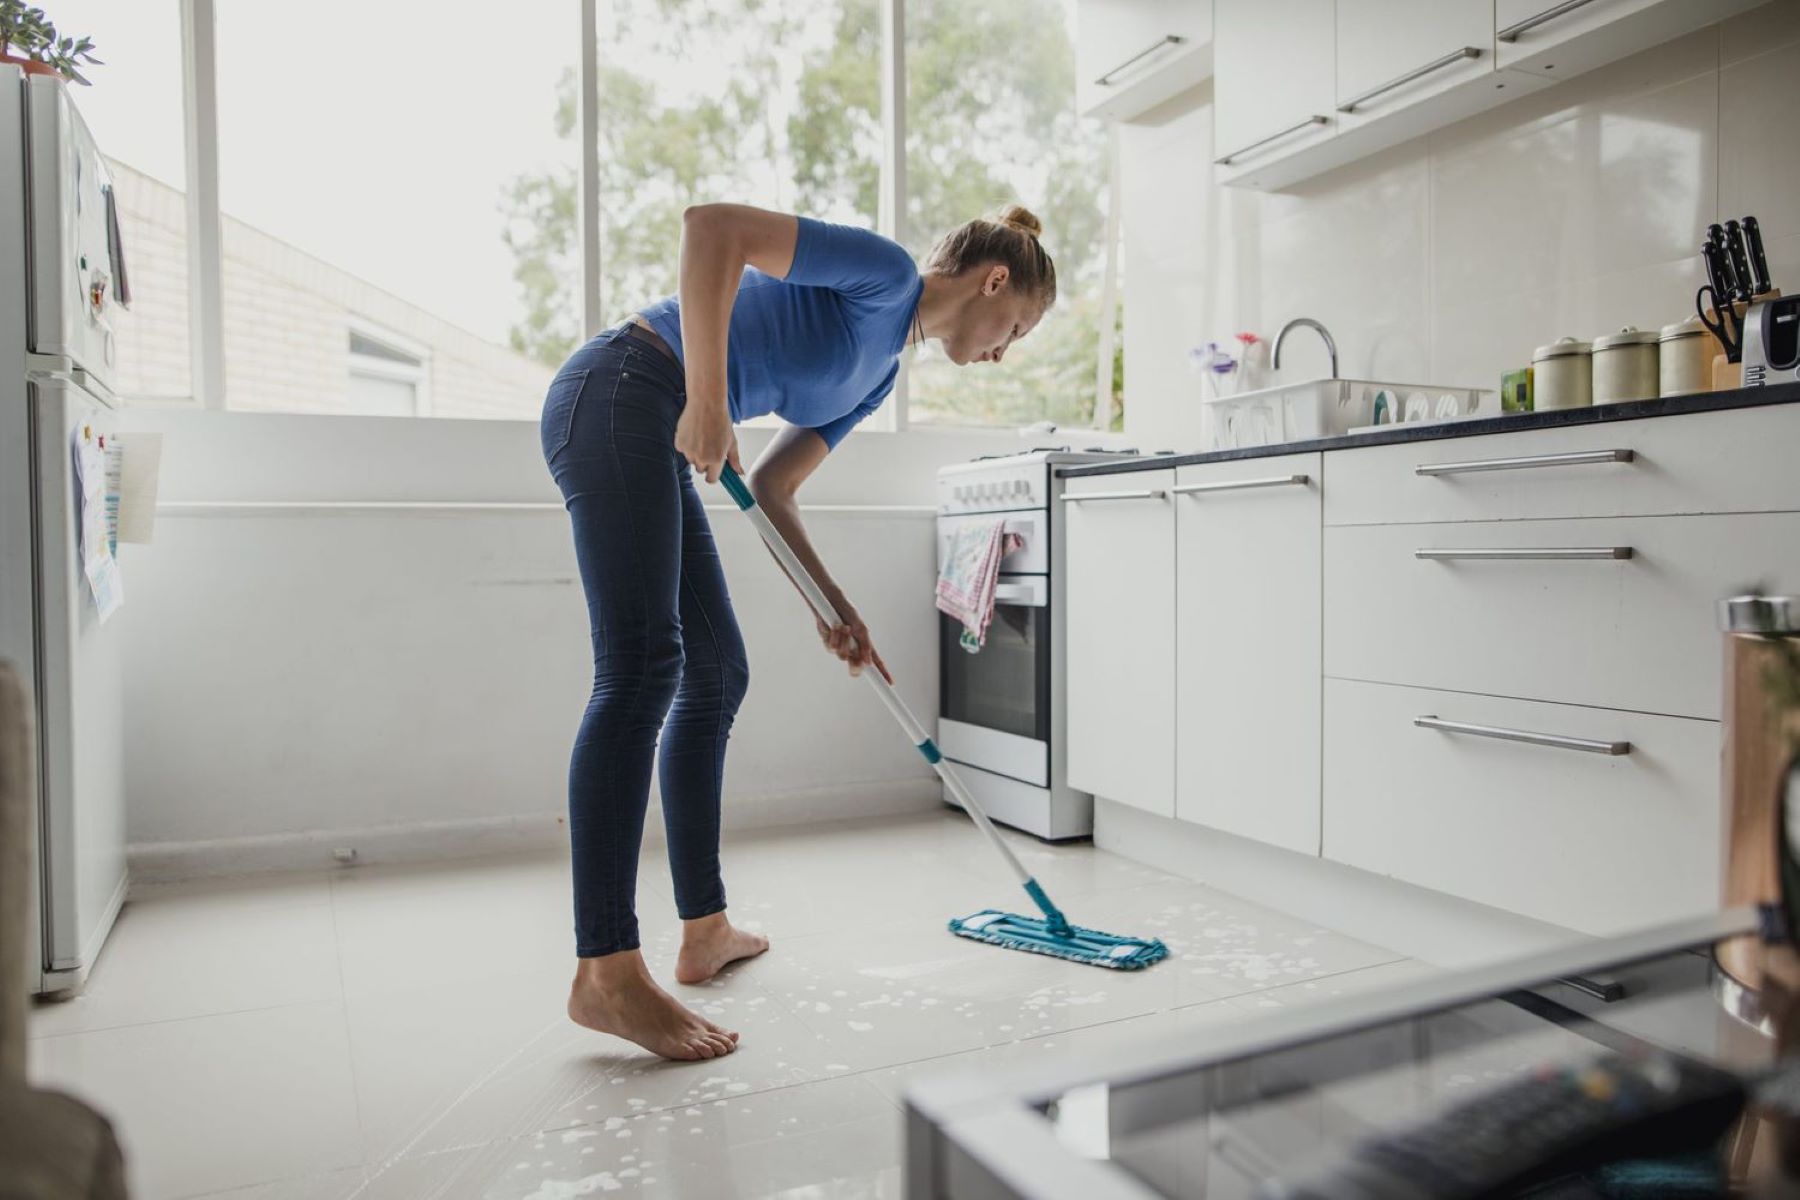
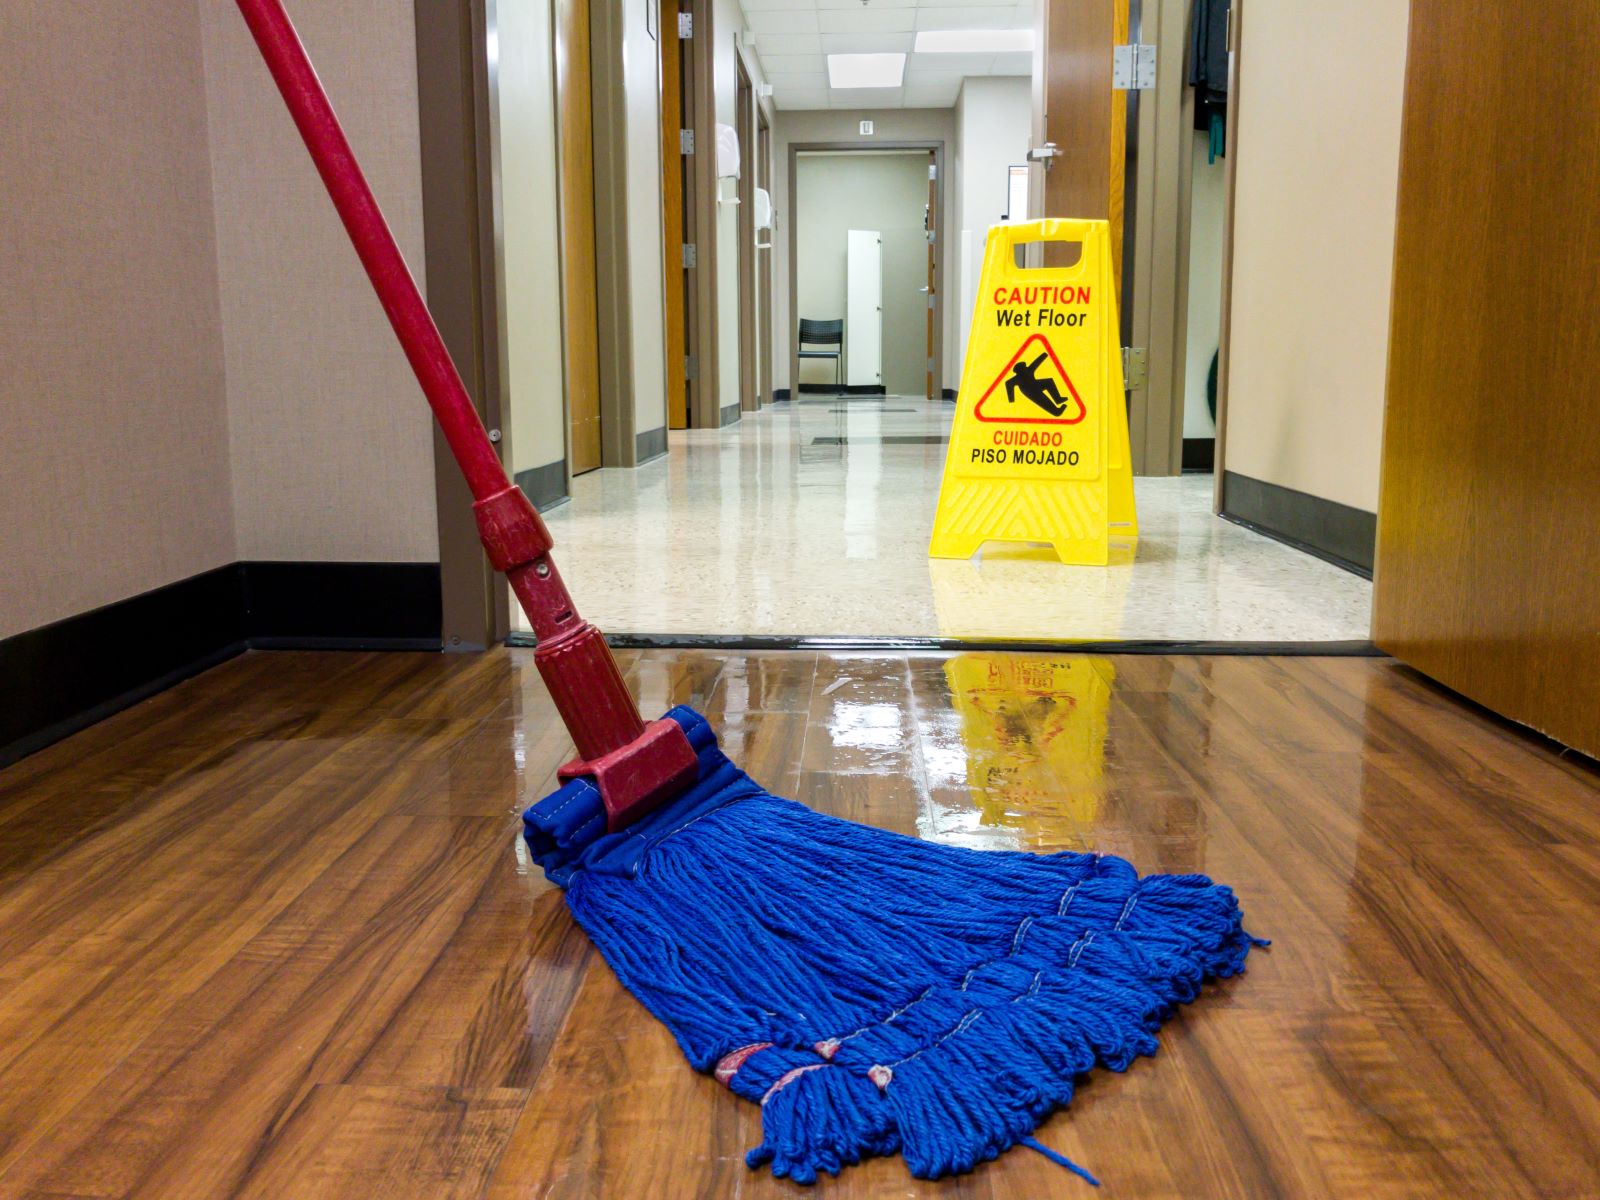
Use a mixture of warm water and a mild floor cleaner to mop the kitchen floor. Start from the farthest corner and work your way towards the entrance to avoid stepping on the wet floor.
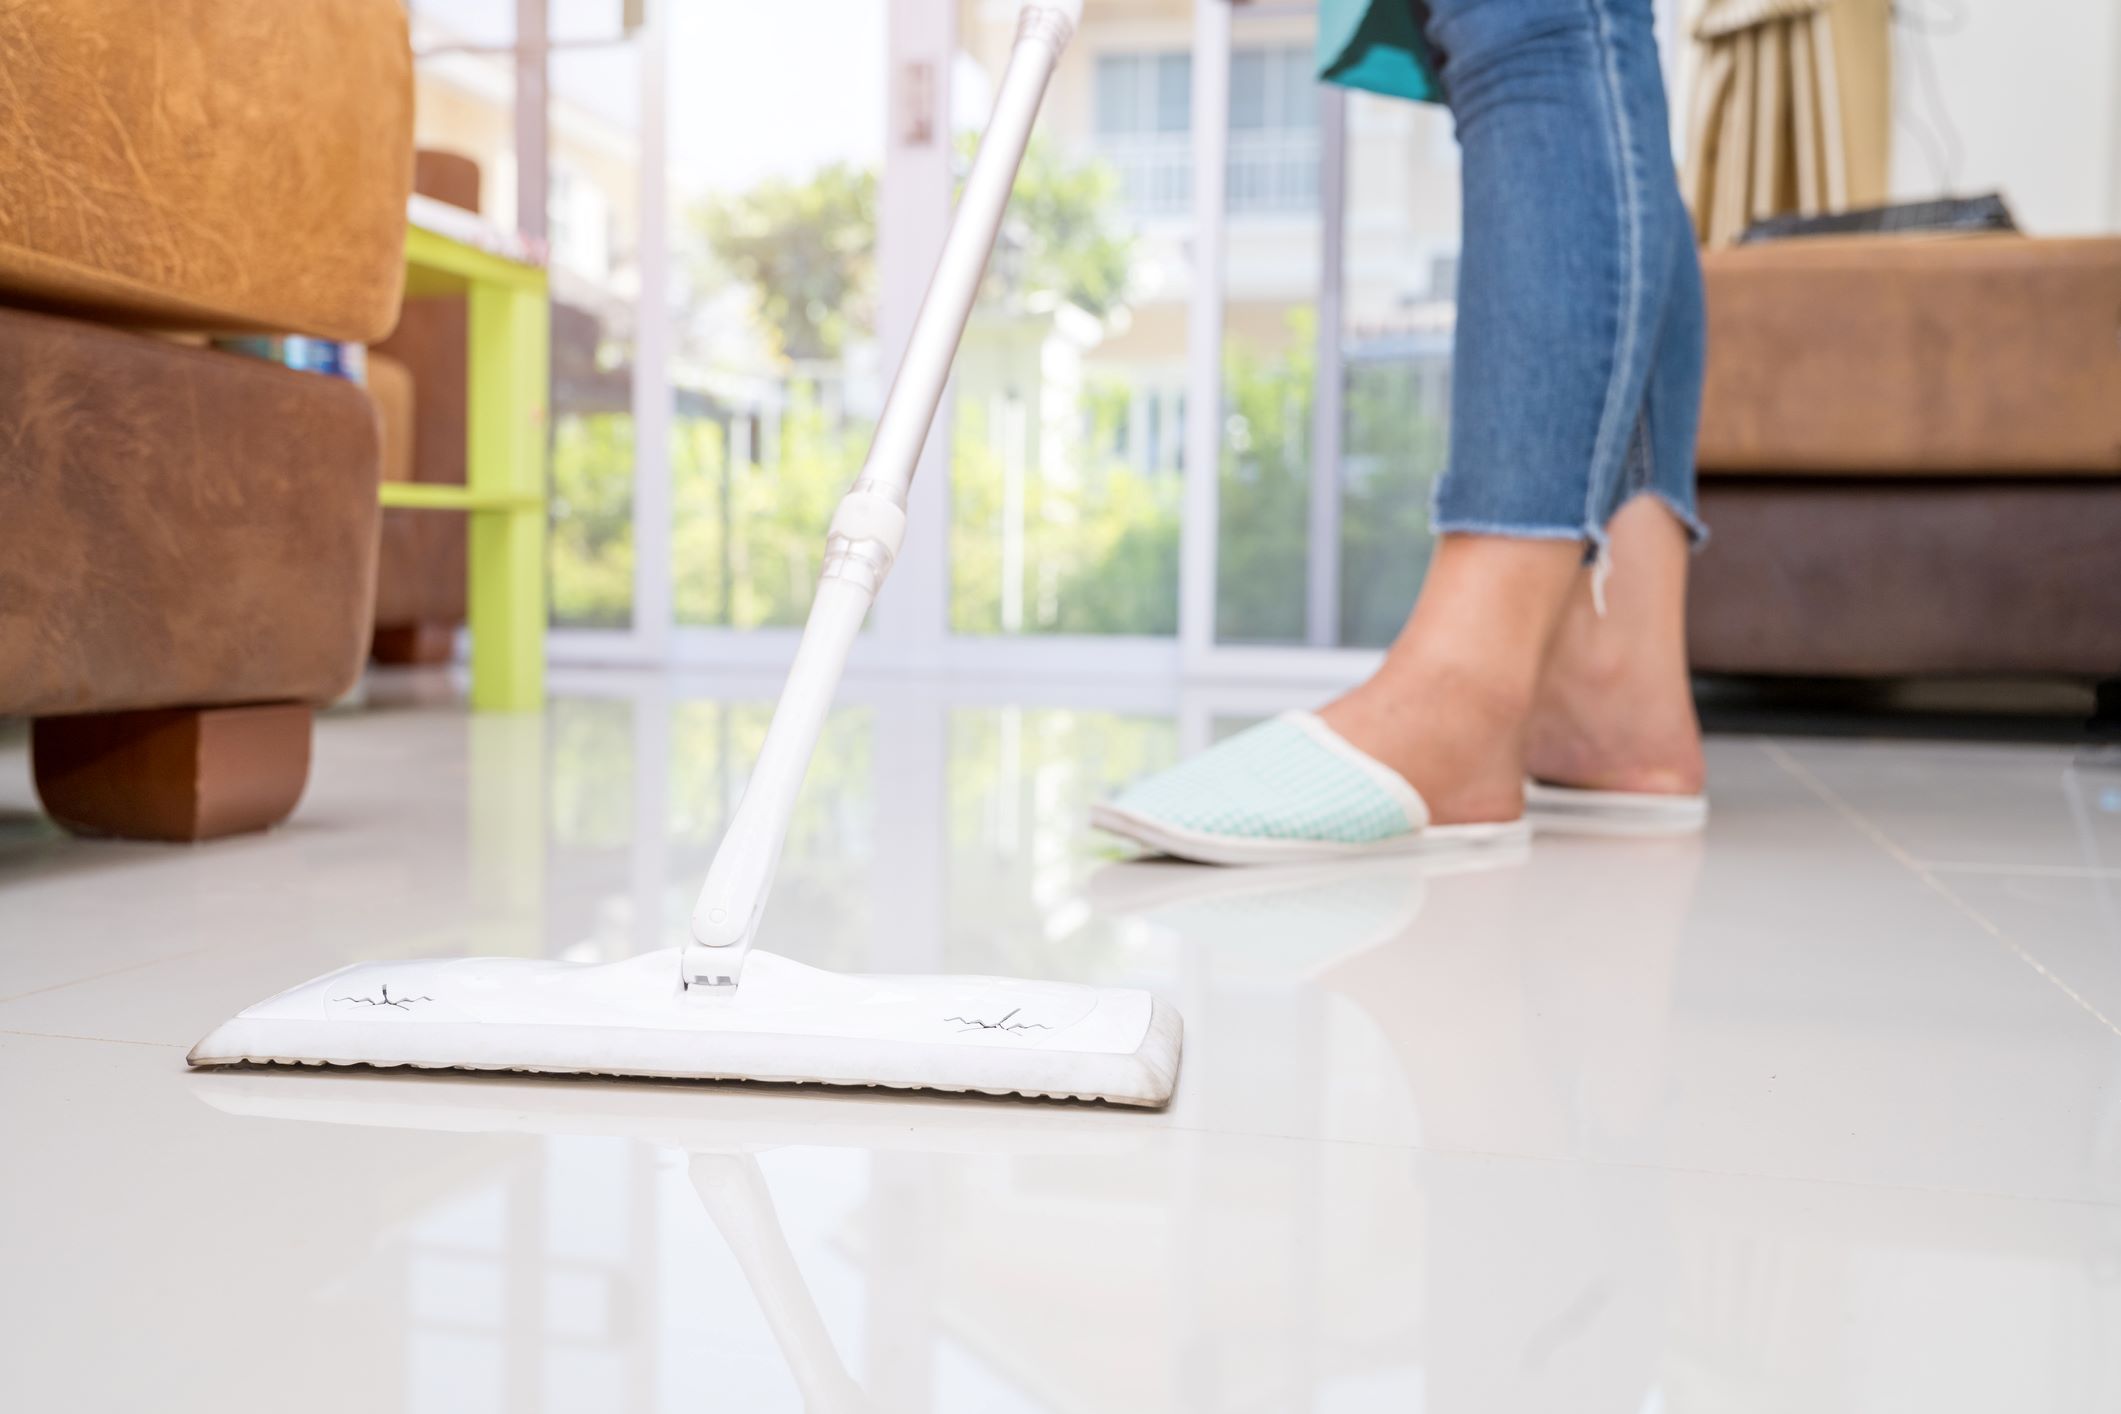
Start Mopping
With the cleaning solution prepared and the floor meticulously prepped, it’s time to embark on the transformative process of mopping your kitchen floor. This pivotal step involves methodically and thoroughly cleaning the floor surface, ensuring that dirt, grime, and stains are effectively removed, leaving behind a gleaming and hygienic environment.
Here’s a step-by-step guide to mopping your kitchen floor:
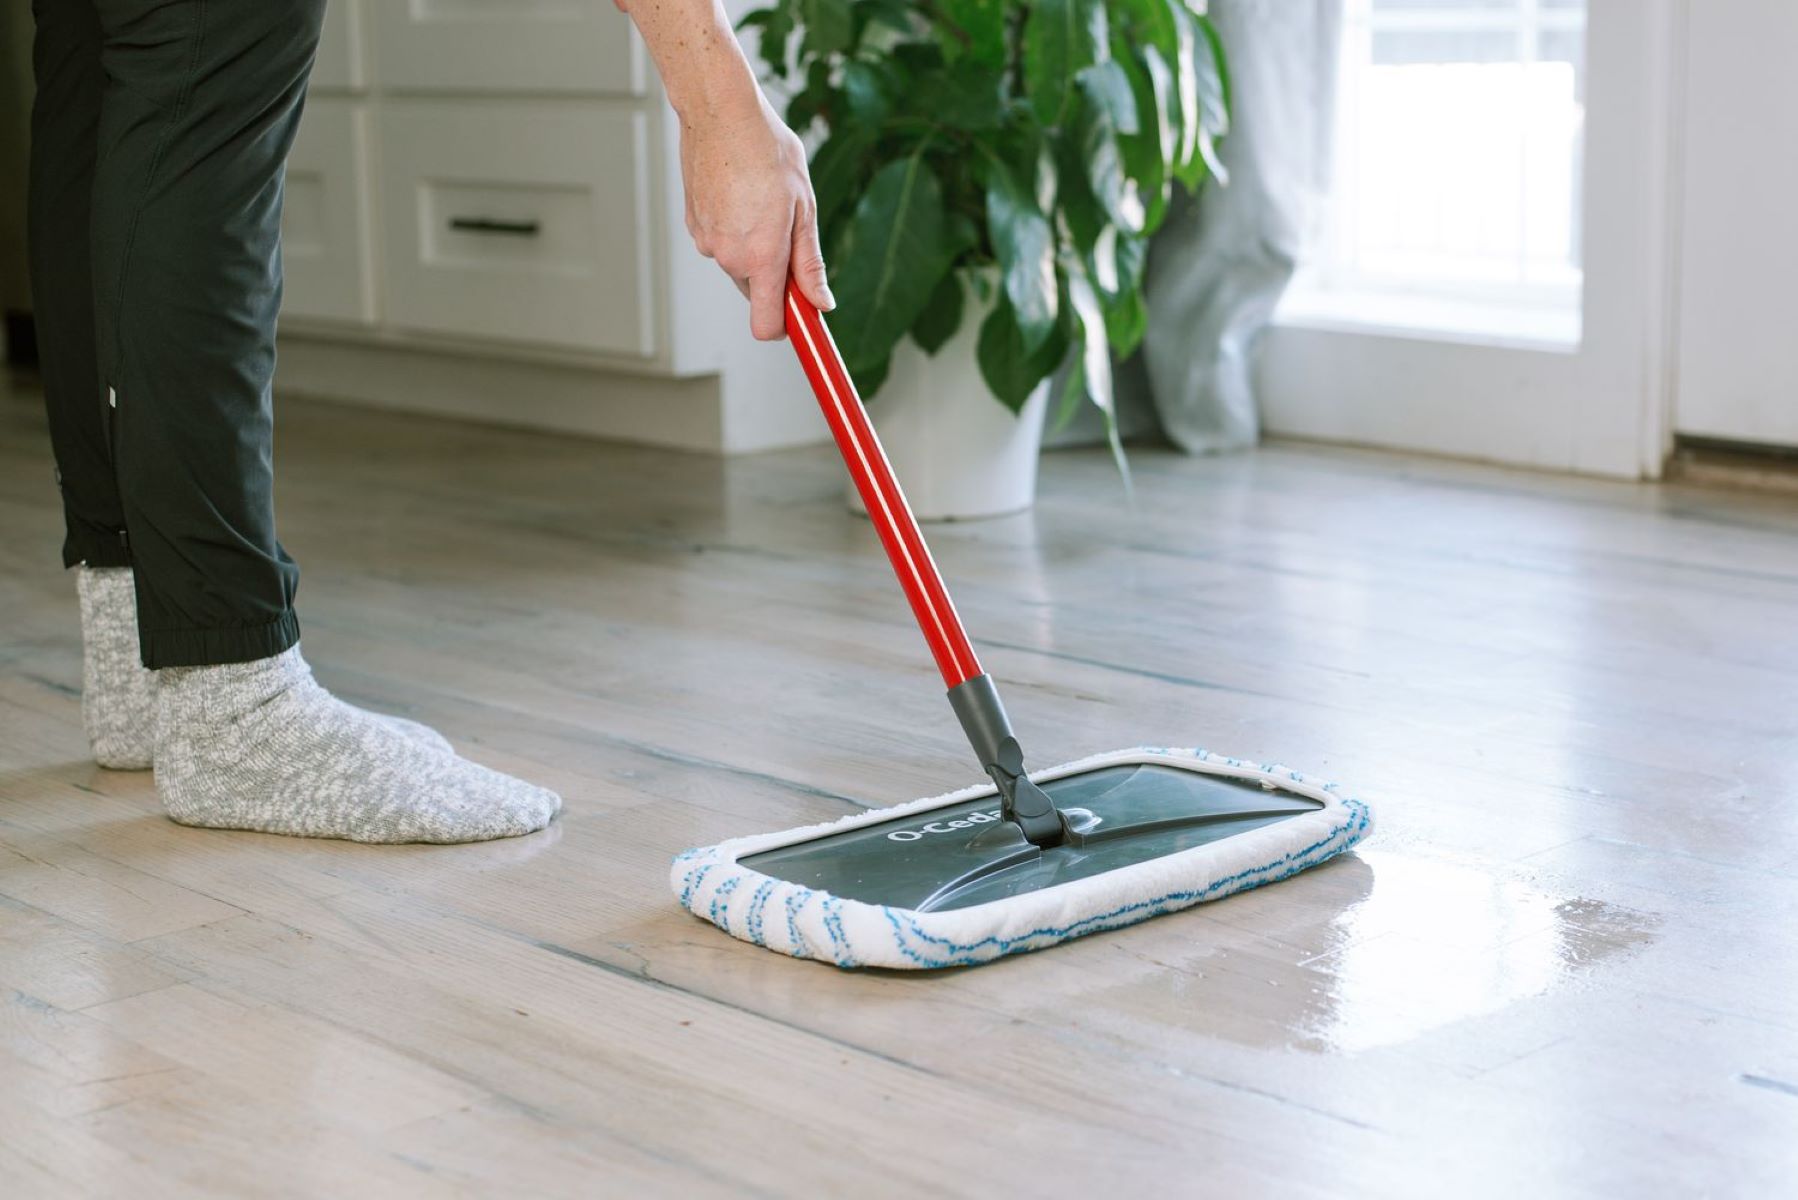
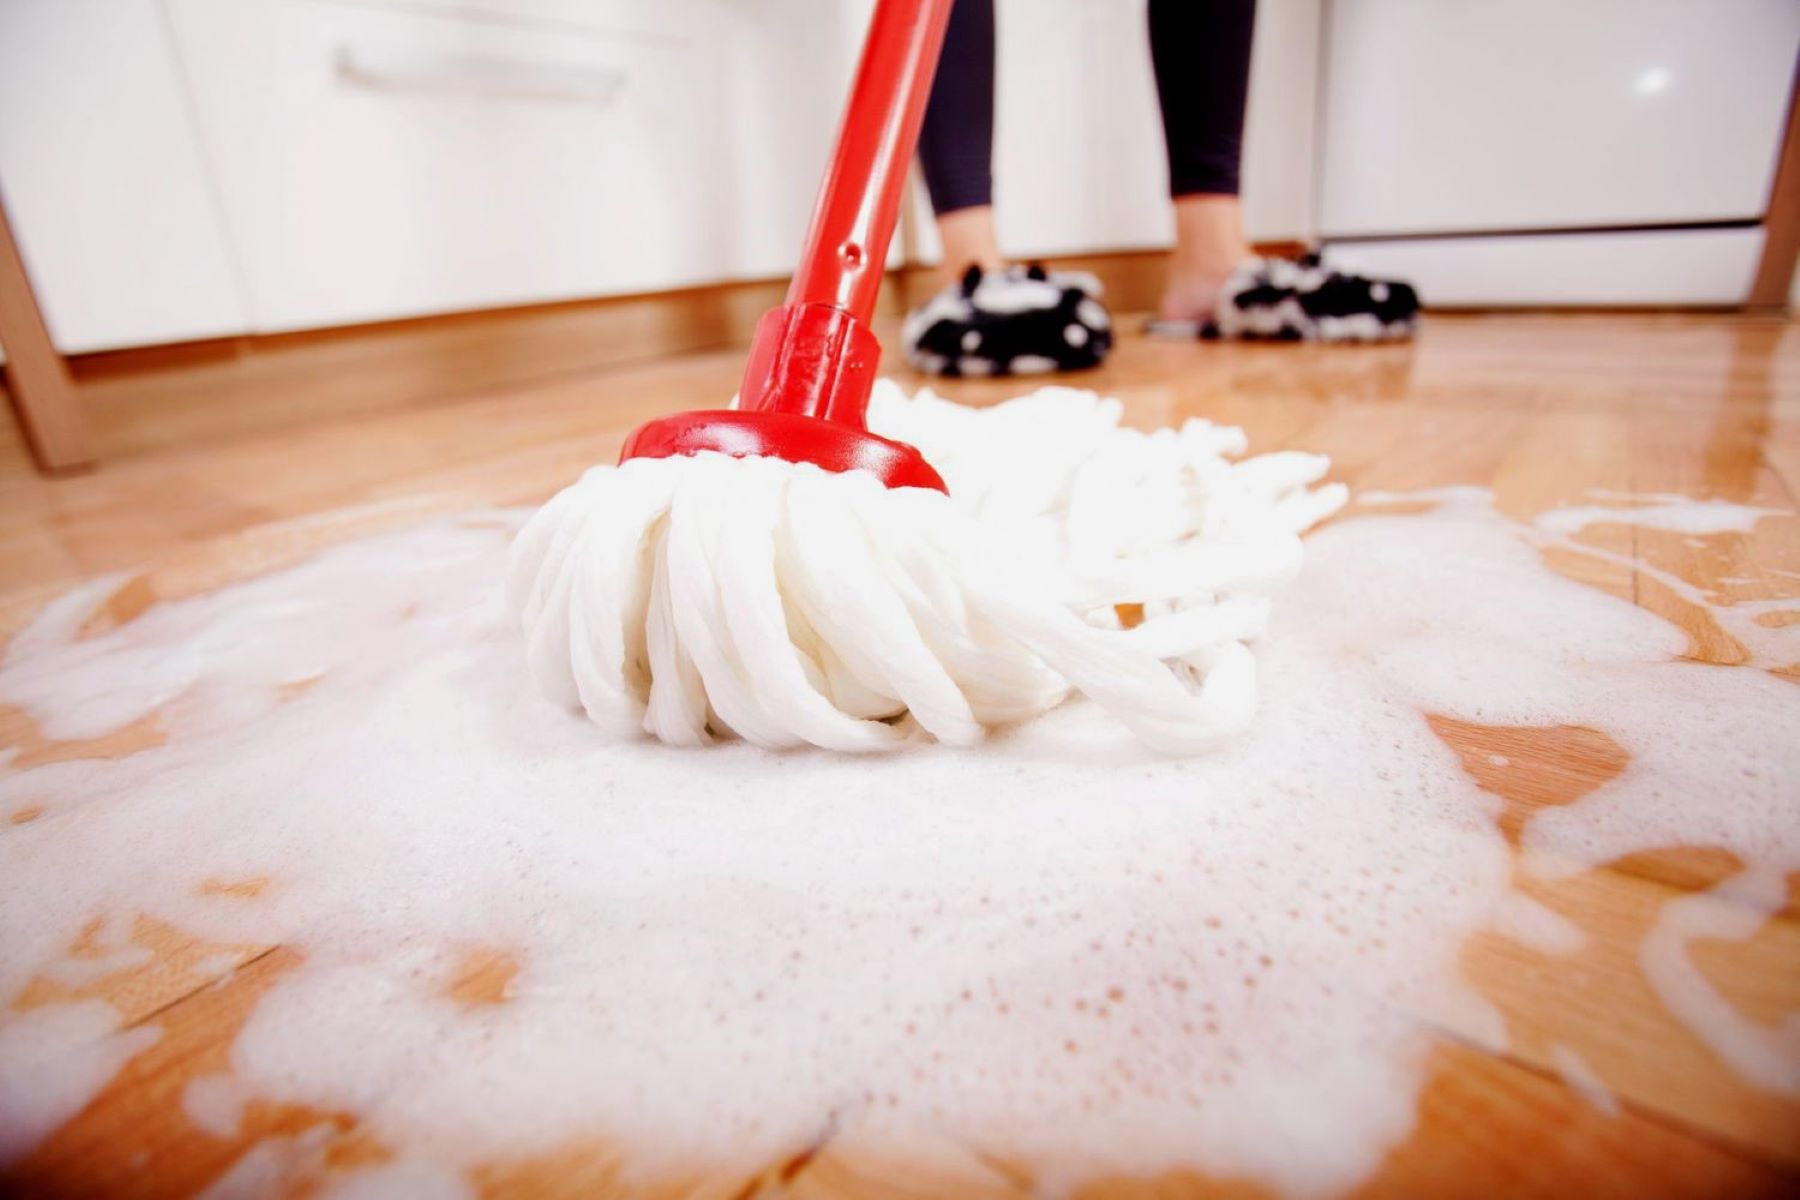
- Dip and Wring the Mop: Submerge the mop head into the cleaning solution, allowing it to absorb an ample amount of the liquid. Once saturated, lift the mop and wring out excess liquid using the built-in wringer or by hand, depending on the type of mop you’re using. The goal is to achieve a damp mop head without excessive dripping.
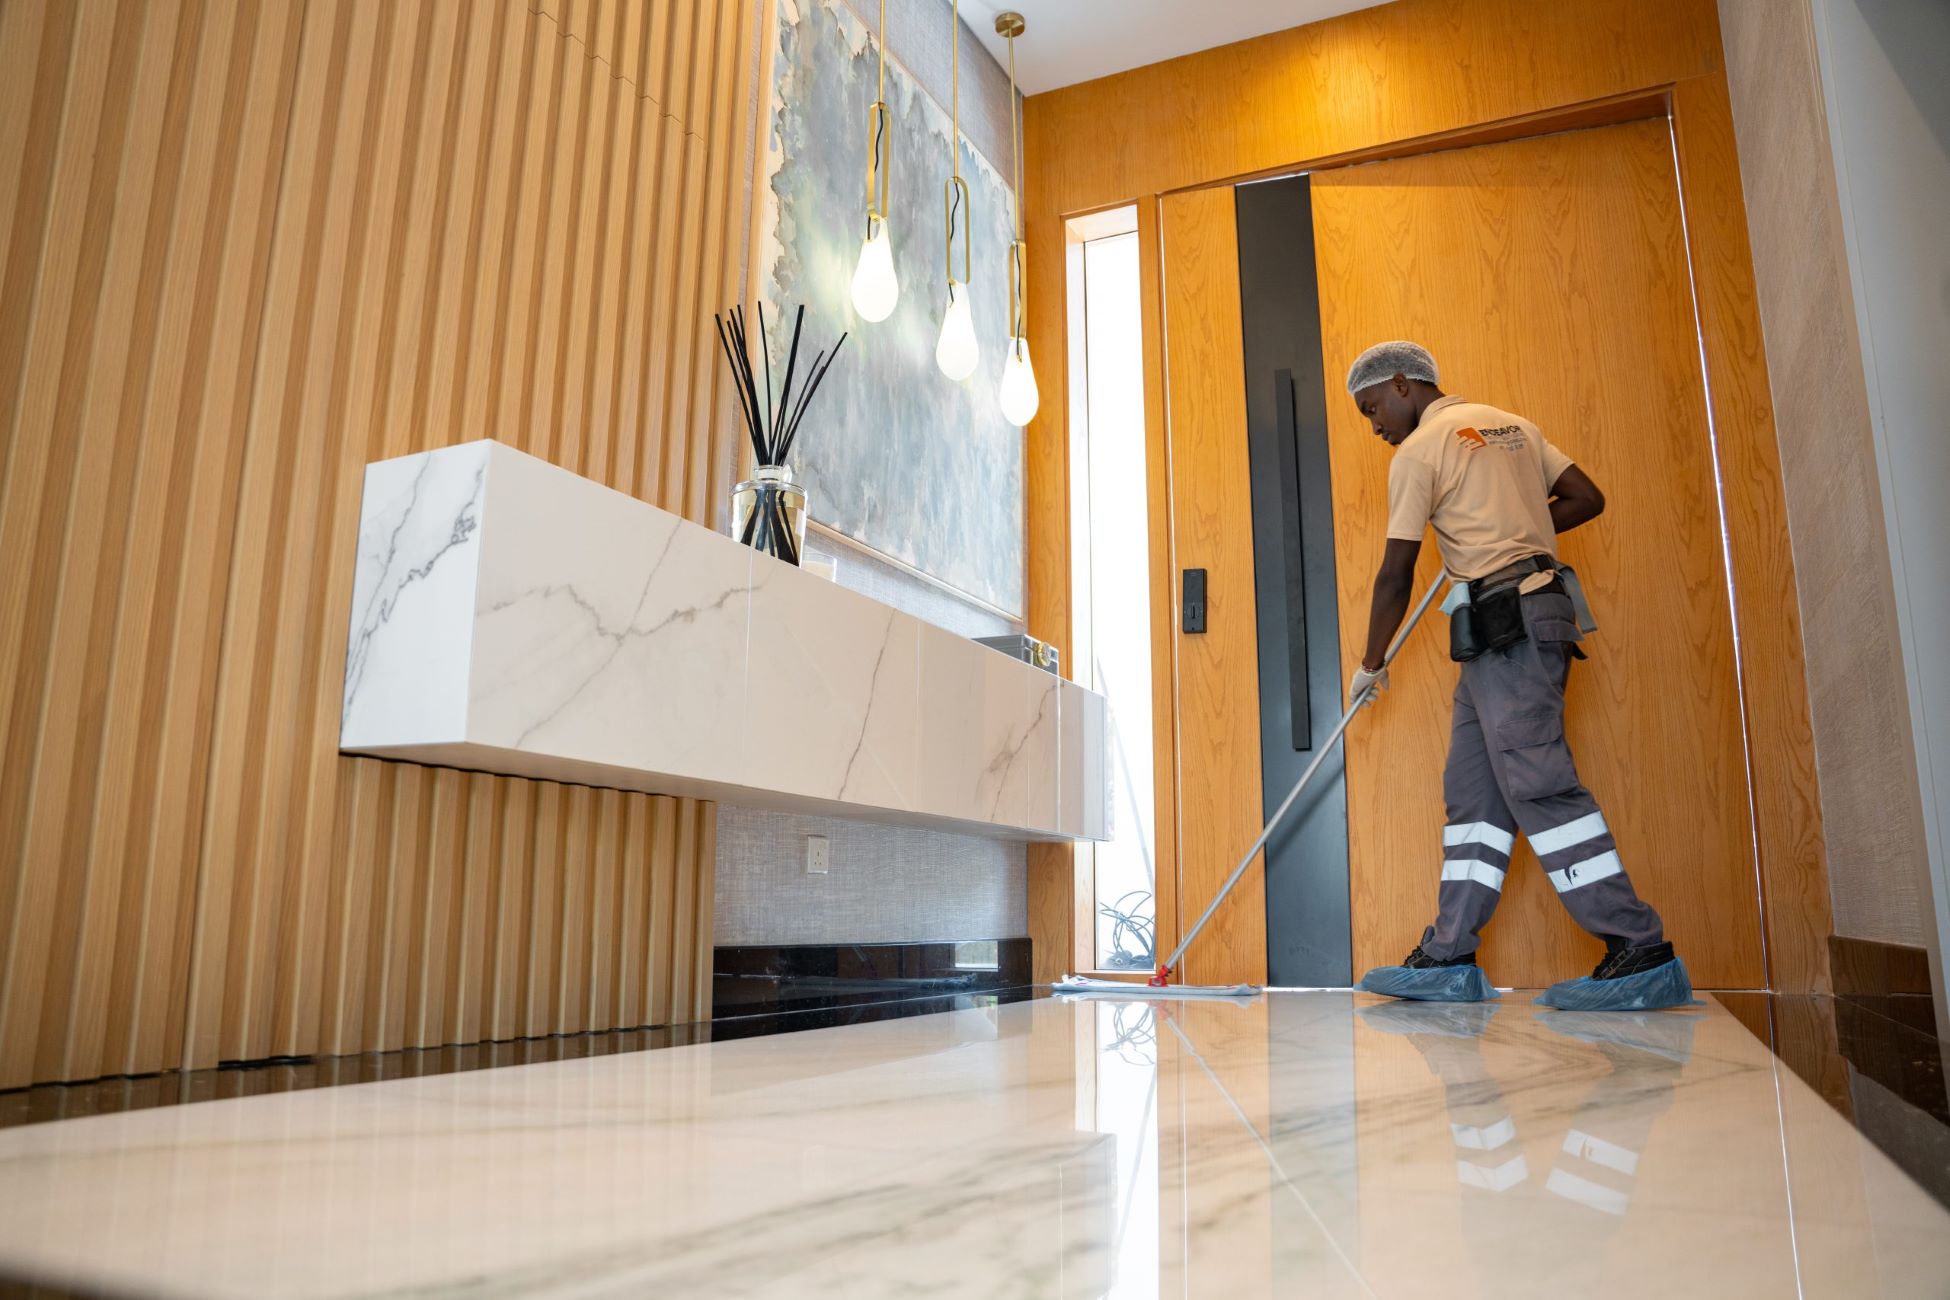
- Begin Mopping: Starting from the farthest corner of the kitchen, begin mopping in a systematic pattern, such as working in small sections or following the natural flow of the room. Use gentle, overlapping strokes to ensure thorough coverage and effective dirt removal. For stubborn spots or stains, apply slightly more pressure while mopping to target these areas.
- Pay Attention to Edges and Corners: As you progress, pay special attention to edges, corners, and areas around appliances and furniture legs. These areas often accumulate dirt and require extra care during the mopping process. Use the edges of the mop head to reach into tight spaces and along baseboards, ensuring a comprehensive cleaning.
- Refresh the Cleaning Solution as Needed: As the cleaning solution in the bucket becomes visibly dirty or loses its effectiveness, replace it with a fresh batch. A clean solution ensures that you’re not spreading grime around and allows for a more thorough cleaning experience.
- Address Stubborn Stains: For persistent stains or localized grime, pause the mopping process and apply a small amount of undiluted cleaning solution directly to the affected area. Allow the solution to sit for a few minutes to loosen the grime before gently agitating the area with the mop. This targeted approach helps lift tough stains without the need for excessive scrubbing.
By following these steps, you’ll methodically work your way across the kitchen floor, effectively lifting dirt, grime, and spills, and revitalizing the surface to its pristine state. As you near the completion of the mopping process, you’re one step closer to enjoying a sparkling clean kitchen floor that exudes freshness and cleanliness.
Read more: How To Mop The Floor
Rinse and Dry the Floor
Completing the mopping process with a thorough rinse and drying stage is essential to ensure that your kitchen floor not only appears immaculate but also remains free from residue and excess moisture. This final phase of the mopping ritual involves removing any remaining cleaning solution, eliminating streaks, and expediting the drying process to reveal a flawlessly clean and gleaming floor.
Here’s a detailed guide to rinsing and drying your kitchen floor:
- Rinse the Mop: Before proceeding, thoroughly rinse the mop head to remove any accumulated dirt and residual cleaning solution. This step prevents the reintroduction of grime onto the floor during the rinsing process.
- Rinse with Clean Water: Fill the mop bucket with fresh, clean water. Using the damp mop, go over the entire floor surface, effectively rinsing away the cleaning solution and any remaining dirt or grime. The goal is to leave the floor surface free from cleaning agents, ensuring a residue-free finish.
- Inspect for Streaks and Residue: As you complete the rinsing process, visually inspect the floor for any streaks or residual moisture. Address any streaks by lightly buffing the floor with a clean, dry mop or cloth, ensuring that the surface is left evenly clean and streak-free.
- Aid the Drying Process: To expedite the drying process, use clean, dry towels or rags to absorb any excess moisture, particularly in areas where water may have pooled or accumulated. Pay attention to baseboards and corners, where moisture tends to linger, ensuring that these areas are thoroughly dried.
- Aerate the Space: Open windows or turn on fans to promote air circulation, aiding in the evaporation of residual moisture. This step accelerates the drying process and helps prevent the accumulation of moisture in the room.
By meticulously rinsing and drying the floor, you ensure that your mopping efforts culminate in a flawlessly clean and immaculately maintained kitchen floor. With the final touches completed, step back and admire the transformative impact of your meticulous mopping ritual, reveling in the freshness and cleanliness that now defines your kitchen space.
Tips for Maintaining a Clean Floor
Once you’ve achieved a spotless kitchen floor through the meticulous process of mopping, it’s essential to implement proactive measures to maintain its cleanliness and luster. By incorporating these practical tips into your cleaning routine, you can extend the longevity of your floor’s pristine condition and ensure a consistently hygienic and inviting kitchen environment.
Here are valuable tips for maintaining a clean kitchen floor:
- Establish a Regular Cleaning Schedule: Consistency is key to maintaining a clean floor. Set a regular mopping schedule based on the traffic and usage of your kitchen. High-traffic areas may require more frequent mopping to prevent dirt buildup.
- Spot Clean Spills Promptly: Address spills and stains as soon as they occur to prevent them from setting and becoming more challenging to remove. Keep a designated spot cleaning kit handy for quick and efficient stain removal.
- Use Entryway Mats: Place durable, absorbent mats at entryways to trap dirt and moisture from shoes, reducing the amount of debris tracked onto the kitchen floor. Regularly clean and shake out these mats to maintain their effectiveness.
- Implement No-Shoe Policy: Encourage family members and guests to remove their shoes before entering the kitchen. This simple practice minimizes the transfer of outdoor dirt and debris onto the floor, reducing the frequency of mopping.
- Regularly Sweep or Vacuum: Incorporate sweeping or vacuuming into your routine to remove loose debris and prevent it from accumulating. This preparatory step streamlines the mopping process and prevents the spread of dirt.
- Use Furniture Pads: Attach protective pads to the legs of chairs, tables, and other furniture to prevent scratches and scuffs on the floor surface. Regularly inspect and replace these pads to maintain their effectiveness.
- Rotate Area Rugs: If you use area rugs in the kitchen, periodically rotate them to ensure even wear and prevent discoloration of the floor beneath. Regularly clean and dry these rugs to prevent moisture and mold buildup.
- Follow Manufacturer’s Guidelines: If your floor has specific care requirements, such as hardwood or laminate, adhere to the manufacturer’s recommendations for cleaning products and maintenance to preserve the floor’s integrity.
By integrating these tips into your cleaning regimen, you’ll not only preserve the cleanliness and beauty of your kitchen floor but also create a welcoming and hygienic space for culinary pursuits and cherished gatherings.
Conclusion
Congratulations on mastering the art of mopping your kitchen floor! By following the comprehensive steps outlined in this guide, you’ve embarked on a transformative journey that has revitalized your kitchen space, leaving it impeccably clean and inviting. The dedication and attention to detail you’ve invested in the mopping process have undoubtedly yielded a floor that exudes freshness and radiance, setting the stage for a hygienic and aesthetically pleasing environment.
As you revel in the satisfaction of a sparkling clean kitchen floor, remember that the maintenance of this pristine condition requires ongoing care and proactive measures. By incorporating the practical tips for maintaining a clean floor into your cleaning routine, you’ll preserve the immaculate state of your floor and ensure that it continues to be a source of pride and comfort in your home.
Whether you’re a culinary enthusiast, a busy parent, or a host of lively gatherings, a clean and well-maintained kitchen floor serves as the foundation for cherished moments and daily routines. Embrace the ritual of mopping as an opportunity to infuse your kitchen with cleanliness, warmth, and a touch of rejuvenation, knowing that your efforts contribute to a welcoming and hygienic space for all who gather there.
So, as you bask in the radiance of your freshly mopped kitchen floor, take a moment to appreciate the transformative power of a meticulous cleaning ritual. Your kitchen floor, now a testament to your commitment to cleanliness and comfort, stands as a testament to the care and attention you invest in your home, enriching the daily experiences and cherished memories that unfold within its walls.
With a gleaming kitchen floor as the cornerstone of your home’s ambiance, you’re poised to embrace each day with renewed vitality and a deep sense of pride in the haven you’ve cultivated. Let the radiance of your kitchen floor serve as a reflection of the warmth and hospitality that defines your home, inviting all who enter to experience the joy of a meticulously maintained and inviting space.
Frequently Asked Questions about How To Mop A Kitchen Floor
Was this page helpful?
At Storables.com, we guarantee accurate and reliable information. Our content, validated by Expert Board Contributors, is crafted following stringent Editorial Policies. We're committed to providing you with well-researched, expert-backed insights for all your informational needs.
0 thoughts on “How To Mop A Kitchen Floor”