Articles
How To Mount Solar Panels To Roof
Modified: October 25, 2024
Learn how to mount solar panels to your roof with these informative articles. Get expert tips and step-by-step instructions for a successful installation.
(Many of the links in this article redirect to a specific reviewed product. Your purchase of these products through affiliate links helps to generate commission for Storables.com, at no extra cost. Learn more)
Introduction
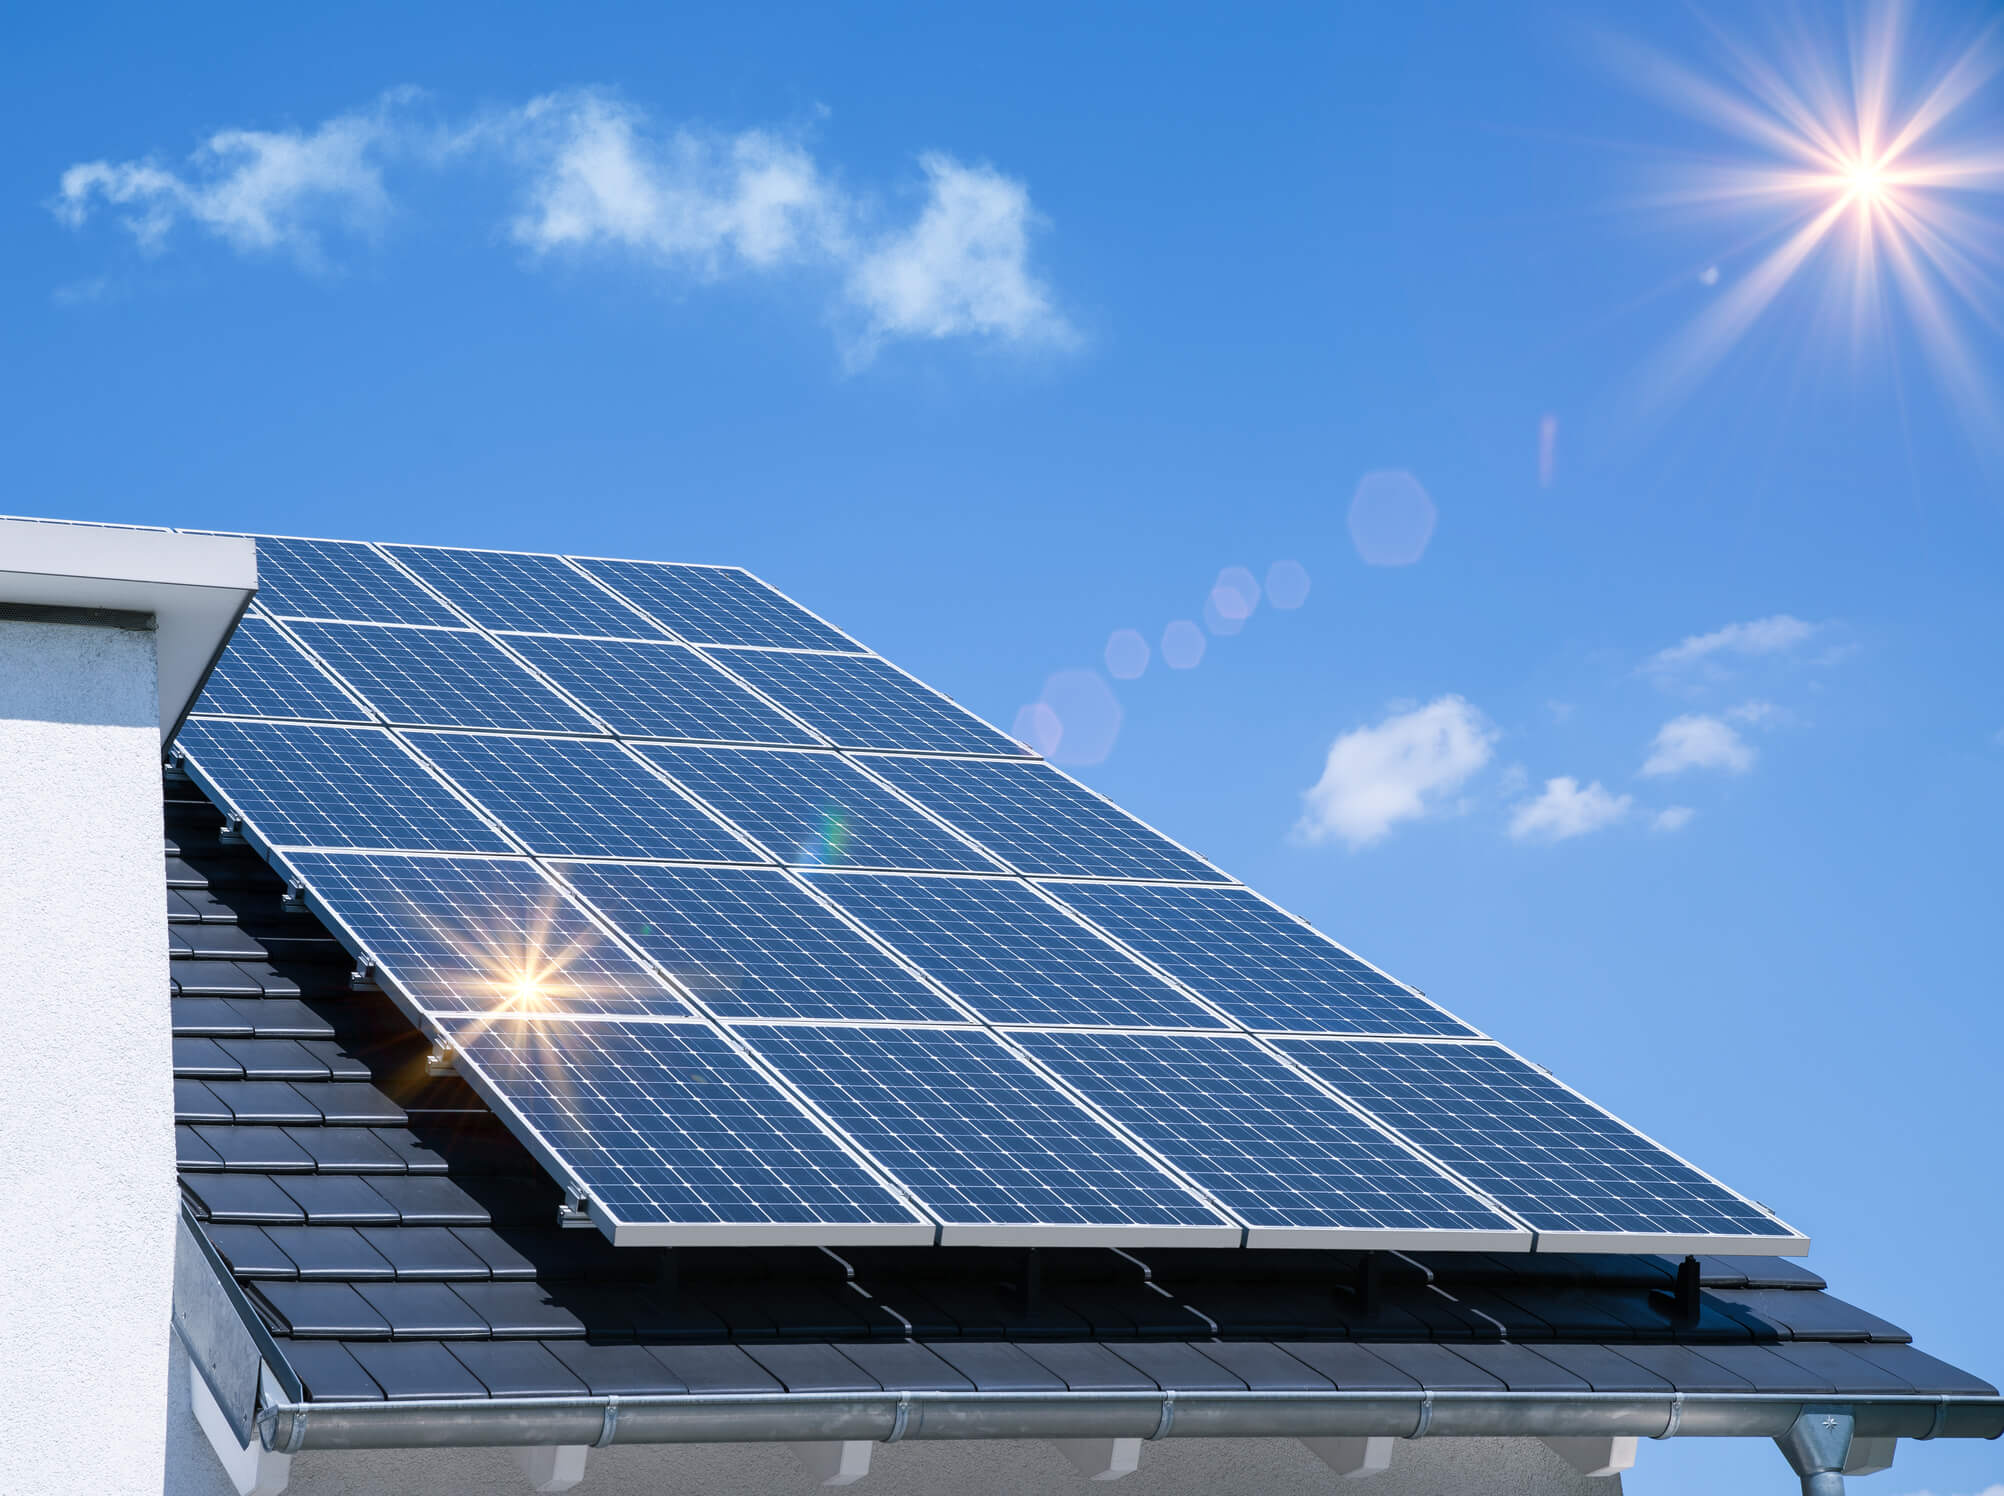
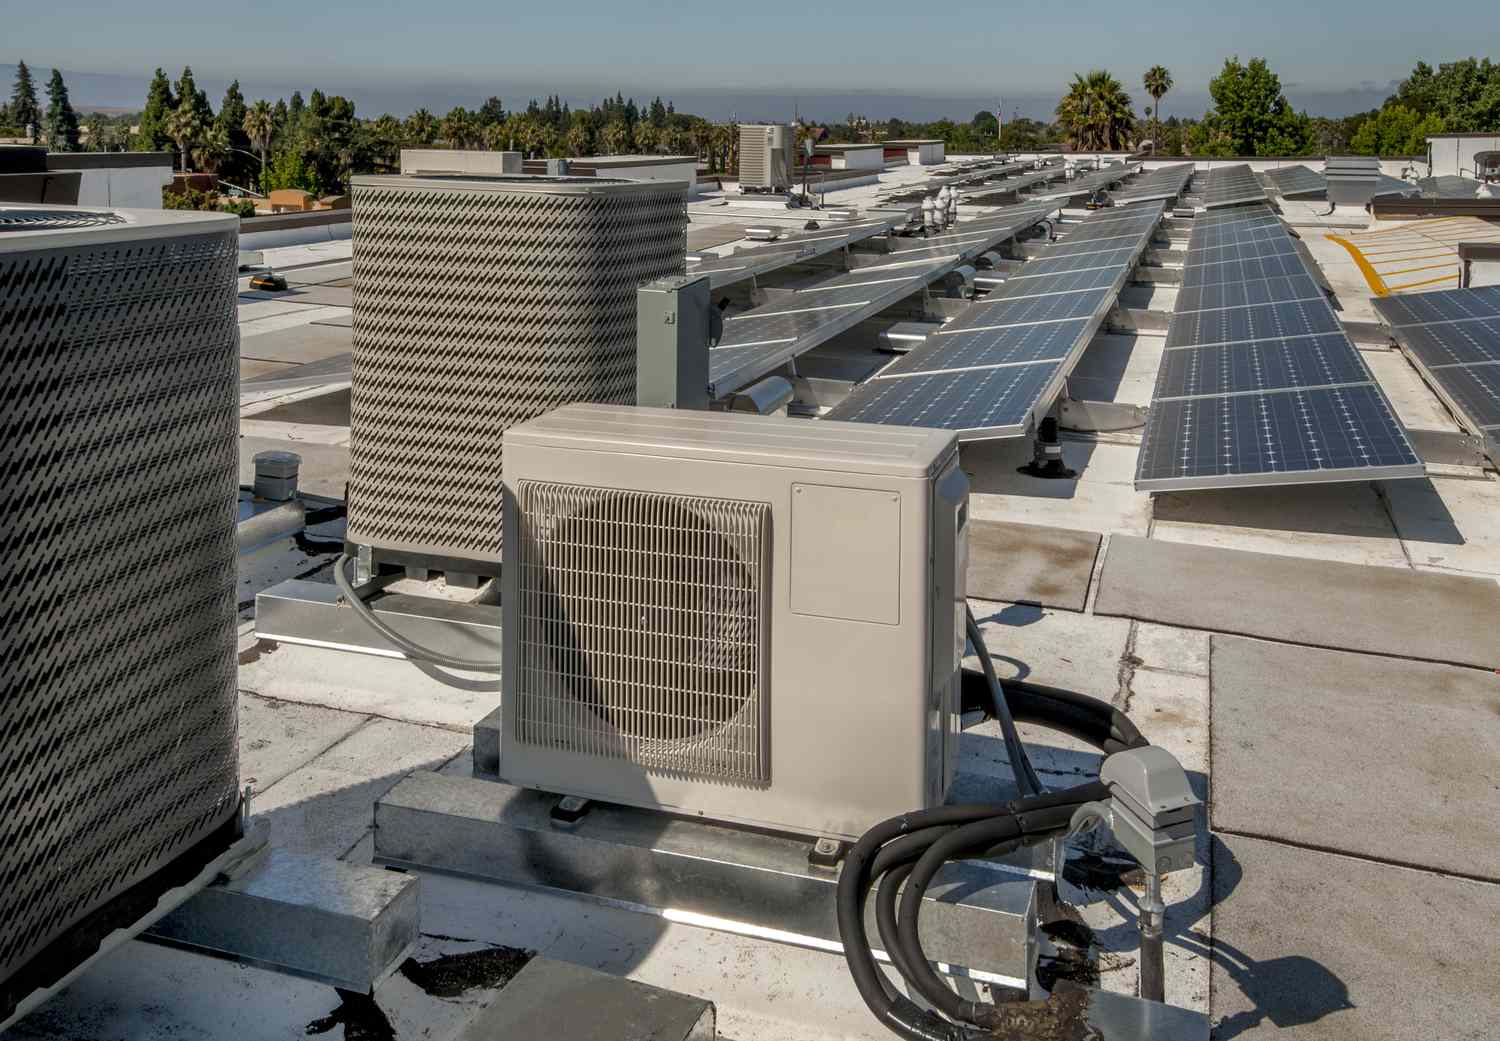
Installing solar panels on your roof is not only an environmentally friendly choice, but it can also help you save money on your energy bills in the long run. However, mounting solar panels to your roof requires careful planning and execution to ensure a safe and effective installation. In this article, we will guide you through the process of mounting solar panels to your roof step by step.
Before you begin, it’s important to note that the specific installation process may vary depending on the type of solar panels you have and the design of your roof. It’s always recommended to consult with a professional or follow the manufacturer’s instructions for your specific panels. That being said, let’s dive into the general steps involved in mounting solar panels to your roof.
Note: Safety should always be a priority when working on your roof. If you’re not comfortable working at heights or if you’re unsure about any aspect of the installation, it’s best to hire a professional to do the job.
Key Takeaways:
- Embrace the power of solar energy by following a step-by-step guide to safely and effectively mount solar panels to your roof. Enjoy the benefits of clean, sustainable energy while reducing your carbon footprint and energy bills.
- Prioritize safety and consult professionals as needed to ensure a successful solar panel installation. Contribute to a more sustainable future, save money on energy bills, and reduce greenhouse gas emissions by embracing solar energy.
Read more: How To Clean Solar Panels On A Roof
Step 1: Gather the required tools and materials
Before you begin the solar panel installation process, it’s essential to gather all the necessary tools and materials. Having everything prepared beforehand will help streamline the installation and save you time and frustration. Here’s a list of the basic tools and materials you’ll need:
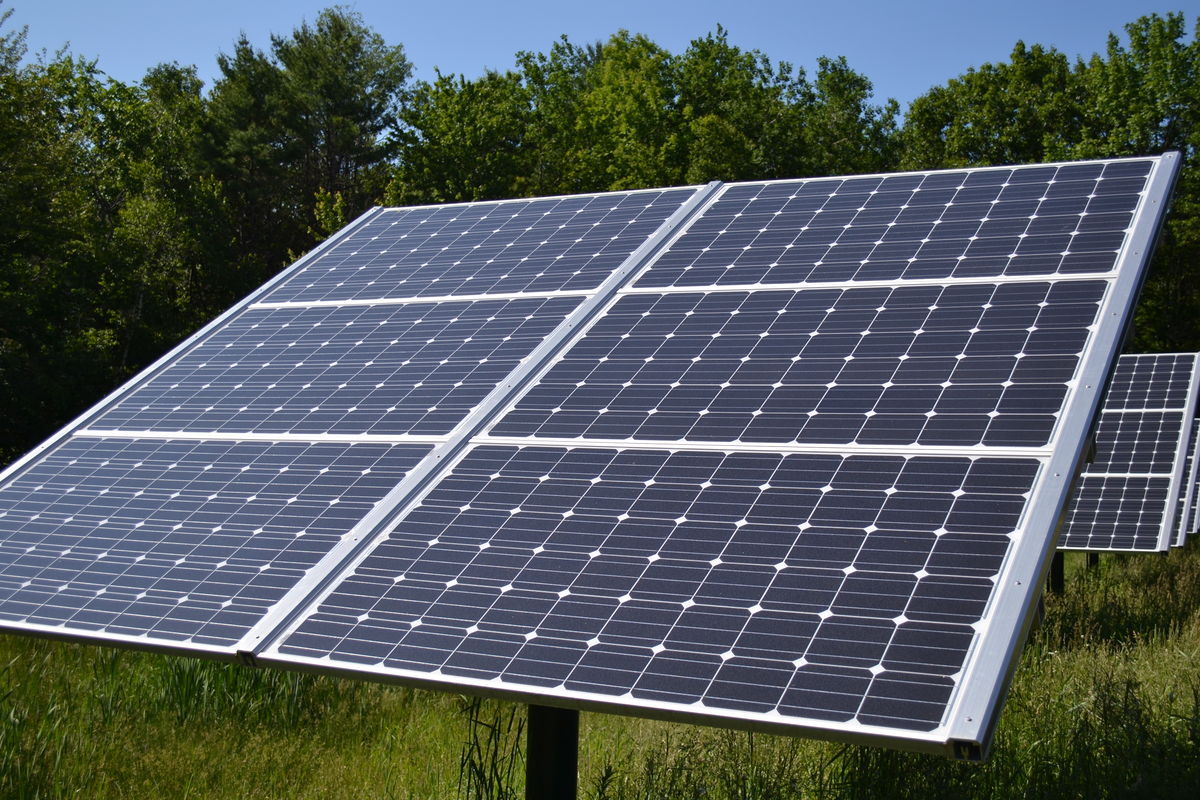
- Solar panels: Choose solar panels that are suitable for your energy needs and budget. Consider factors such as efficiency, size, and warranty when making your selection.
- Roof mounting brackets or rails: These are used to secure the solar panels to your roof. Brackets are generally used for asphalt shingle roofs, while rails are used for tiled or metal roofs.
- Lag bolts: These are heavy-duty screws used to attach the mounting brackets or rails to the roof structure. Make sure to choose lag bolts that are appropriate for your roof material and can withstand the weight of the solar panels.
- Sealing and flashing materials: These are necessary to create a watertight seal around the areas where the solar panels will be mounted. Look for products specifically designed for solar panel installations.
- Wire connectors: These are used to connect the solar panels to the electrical system. Make sure to choose connectors that are compatible with your solar panel and wiring specifications.
- Wire management tools: Cable clips, ties, and conduit can help keep the wires tidy and organized, reducing the risk of damage or tripping hazards.
- Drill and screwdriver: You’ll need these tools to secure the brackets or rails to the roof and attach the solar panels.
- Wrench or socket set: These tools will be used to tighten bolts and nuts during the installation process.
- Safety equipment: Don’t forget to prioritize safety by using a harness, gloves, safety glasses, and other protective gear when working at heights.
Once you have gathered all the necessary tools and materials, you’ll be ready to move on to the next step: determining the optimal placement of the solar panels on your roof.
Step 2: Determine the optimal placement on the roof
Before you start attaching the mounting brackets or rails to your roof, it’s crucial to determine the optimal placement for your solar panels. The placement will depend on several factors, including the orientation and tilt of your roof, shading from nearby trees or structures, and any local regulations or restrictions.
The ideal placement for solar panels is a south-facing direction with minimal shading throughout the day. This maximizes the amount of sunlight your panels will receive, resulting in more efficient energy production. However, east and west-facing orientations can also be effective, depending on your location and energy needs.
To determine the best placement for your solar panels, consider the following:
- Roof orientation: Study the direction your roof faces to determine if it receives enough sunlight throughout the day. South-facing roofs tend to receive the most sunlight in the Northern Hemisphere, but adjustments can be made for other orientations.
- Tilt angle: The tilt of your roof can affect the efficiency of your solar panels. In general, the optimal tilt angle is equal to your latitude location, but again, adjustments can be made depending on your specific circumstances.
- Shading: Assess any potential shading issues caused by nearby trees, chimneys, or other structures. Shading can significantly reduce the effectiveness of your solar panels, so it’s essential to minimize or avoid shading as much as possible.
- Local regulations: Check with your local authorities or homeowner’s association to ensure compliance with any regulations or restrictions regarding solar panel placement. Some areas may have specific guidelines on placement and appearance.
By carefully considering these factors, you’ll be able to determine the optimal placement for your solar panels on your roof. Once you have identified the best location, you can move on to the next step: preparing the roof for installation.
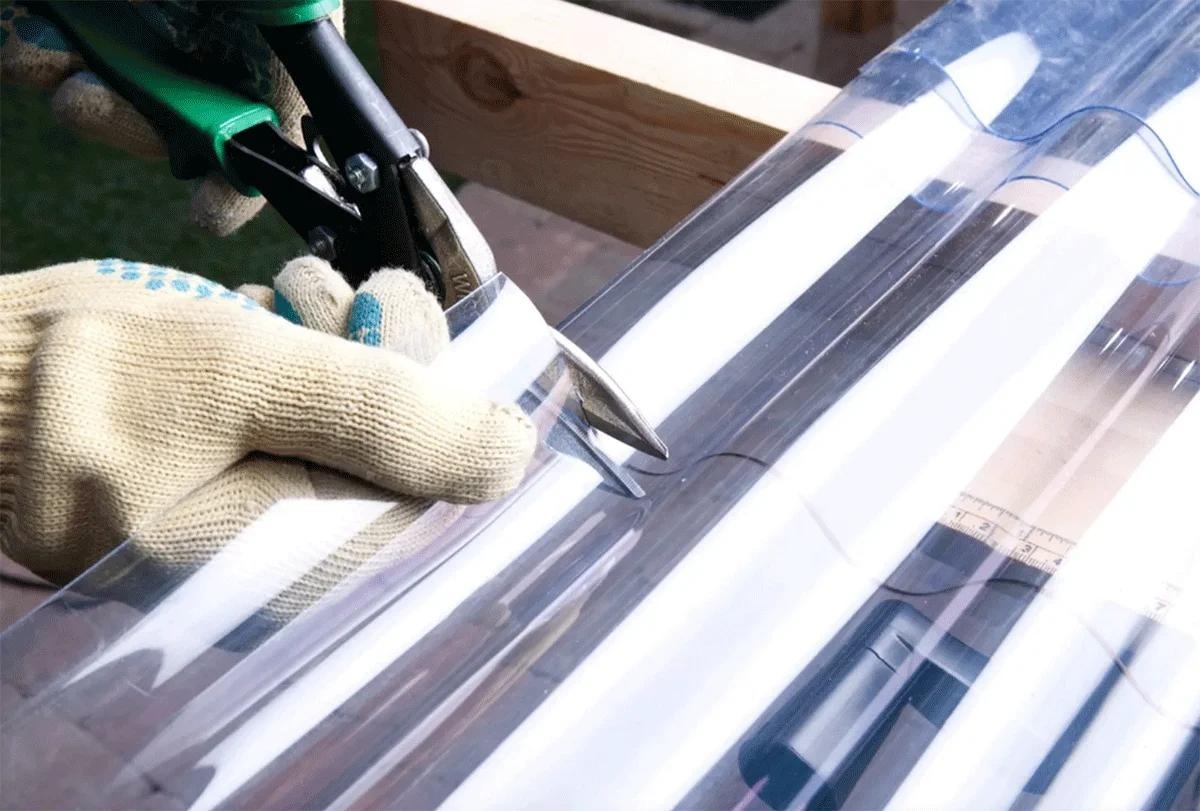
Step 3: Prepare the roof for installation
Preparing the roof for solar panel installation is an essential step to ensure a secure and durable installation. By taking the time to properly prepare the surface, you’ll minimize the risk of leaks and damage to your roof. Here are the key steps involved in preparing your roof:
- Clean the roof: Start by removing any debris, dirt, or moss from the roof surface. Use a broom or a pressure washer (if safe to do so) to thoroughly clean the area where the solar panels will be installed. Make sure the roof is dry before proceeding.
- Inspect the roof surface: Carefully examine the roof for any signs of damage, such as cracks, loose shingles, or deteriorated areas. Address any necessary repairs before proceeding with the installation. It’s essential to have a structurally sound roof to support the weight of the solar panels.
- Locate and mark roof rafters: Determine the location of the roof rafters to ensure proper attachment points for the mounting brackets or rails. You can use a stud finder or look for visible signs of the rafters, such as nails or seams in the roof sheathing.
- Apply flashing and sealing materials: To prevent water from seeping into the roof, apply flashing and sealing materials around the areas where the mounting brackets or rails will be installed. Follow the manufacturer’s instructions for proper application.
- Create a pathway for wiring: Plan and create a pathway for the wiring from the solar panels to the electrical system. This can involve drilling holes or using conduit to protect the wires.
Properly preparing your roof ensures a solid foundation for the installation of solar panels. Take the time to complete these steps carefully to avoid any issues later on. Once the roof is prepared, you’re ready to move on to the next step: installing the roof brackets or rails.
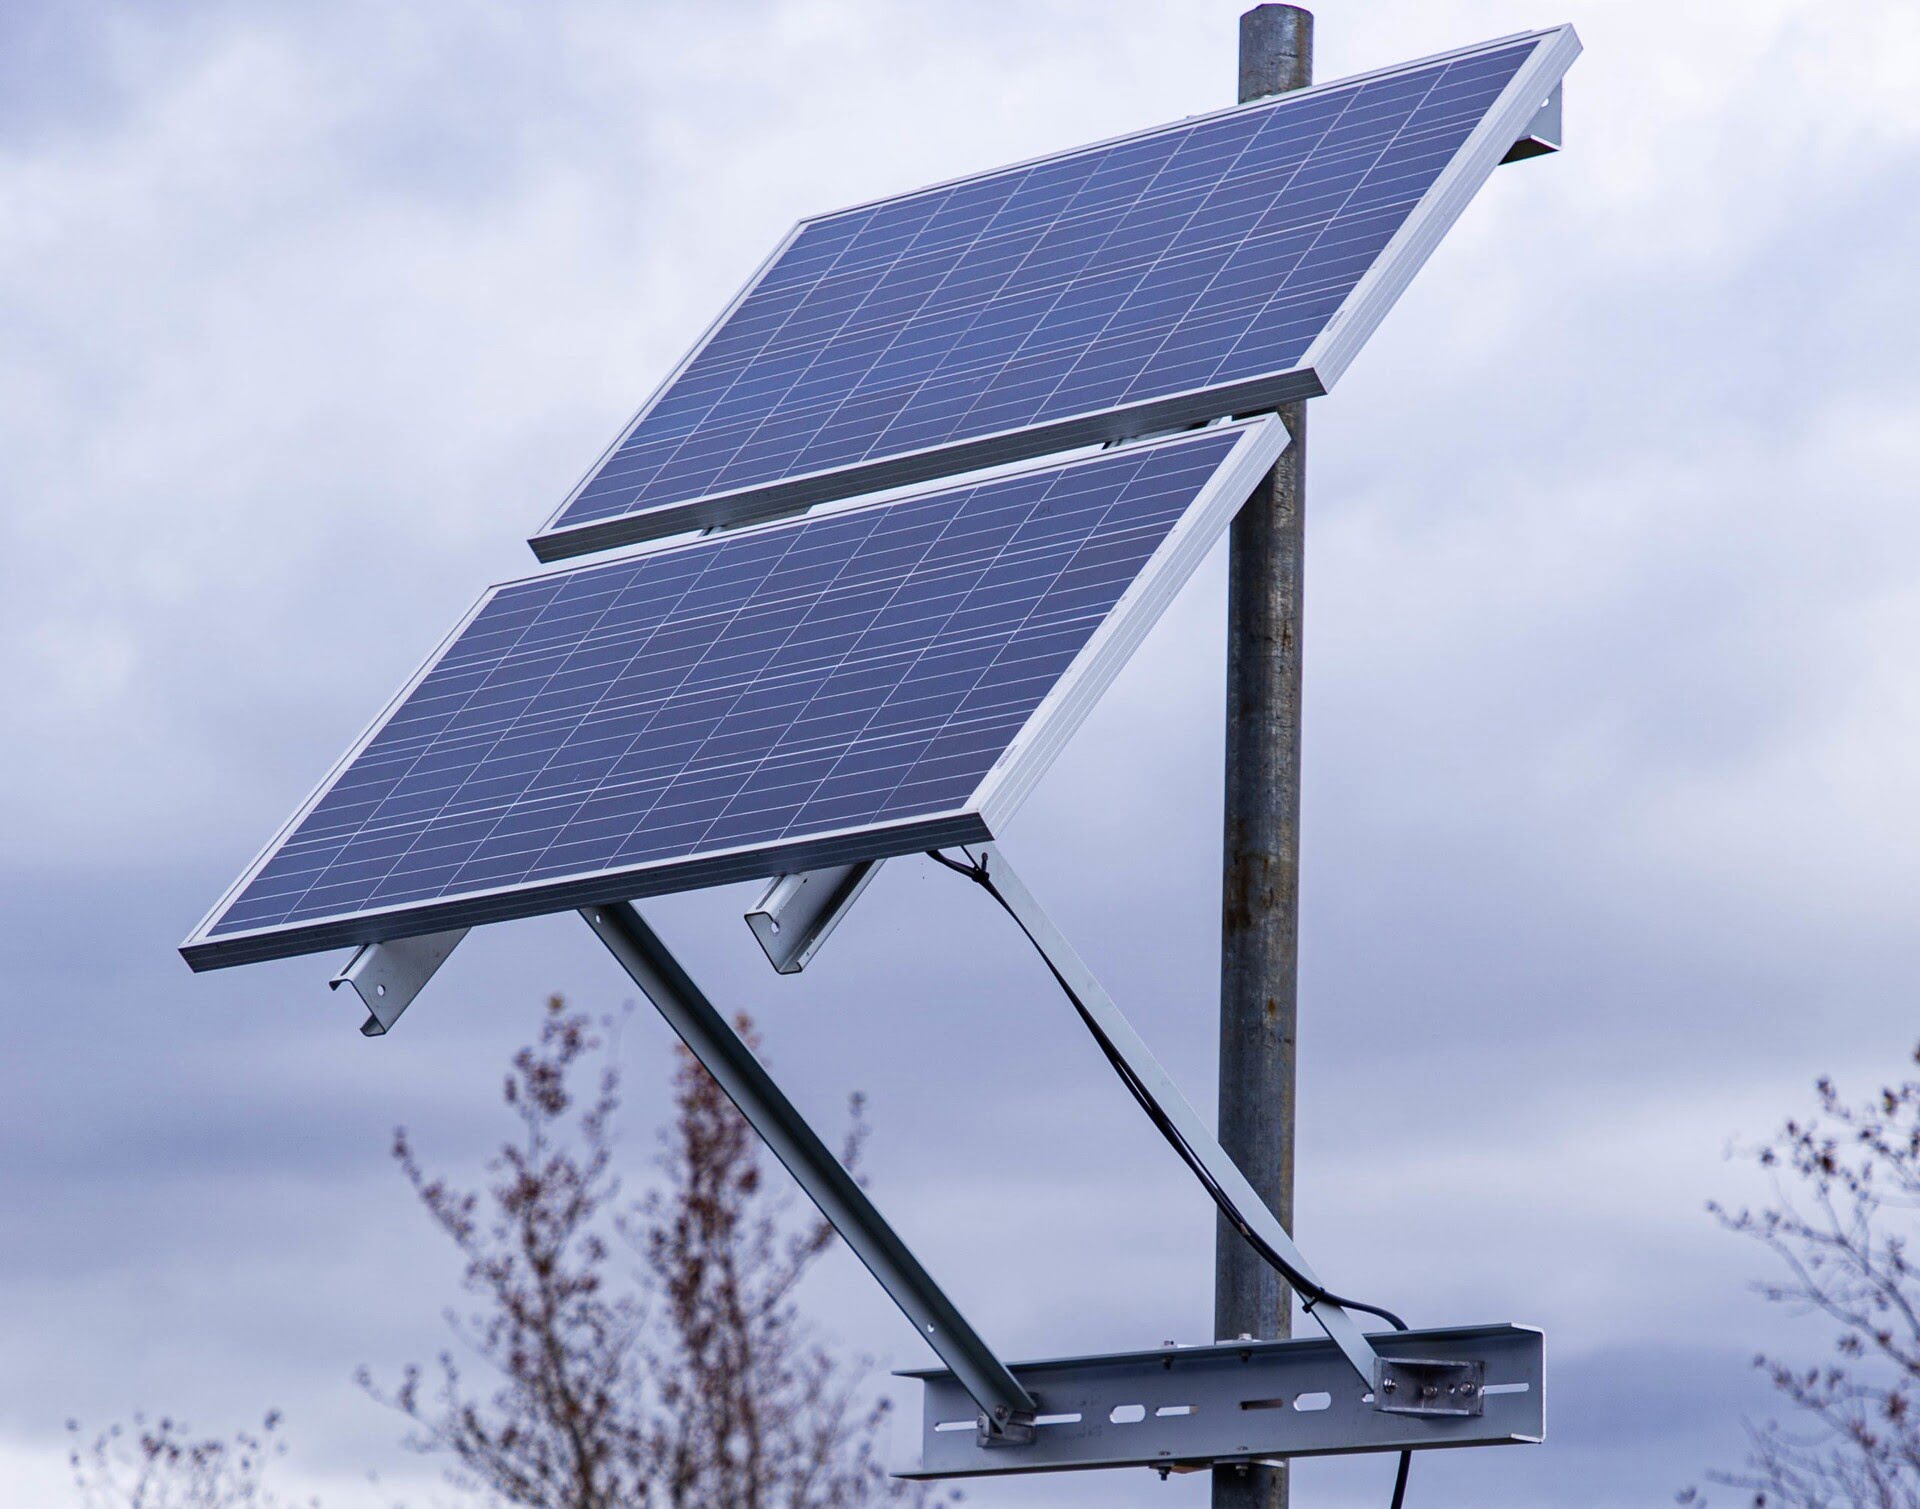
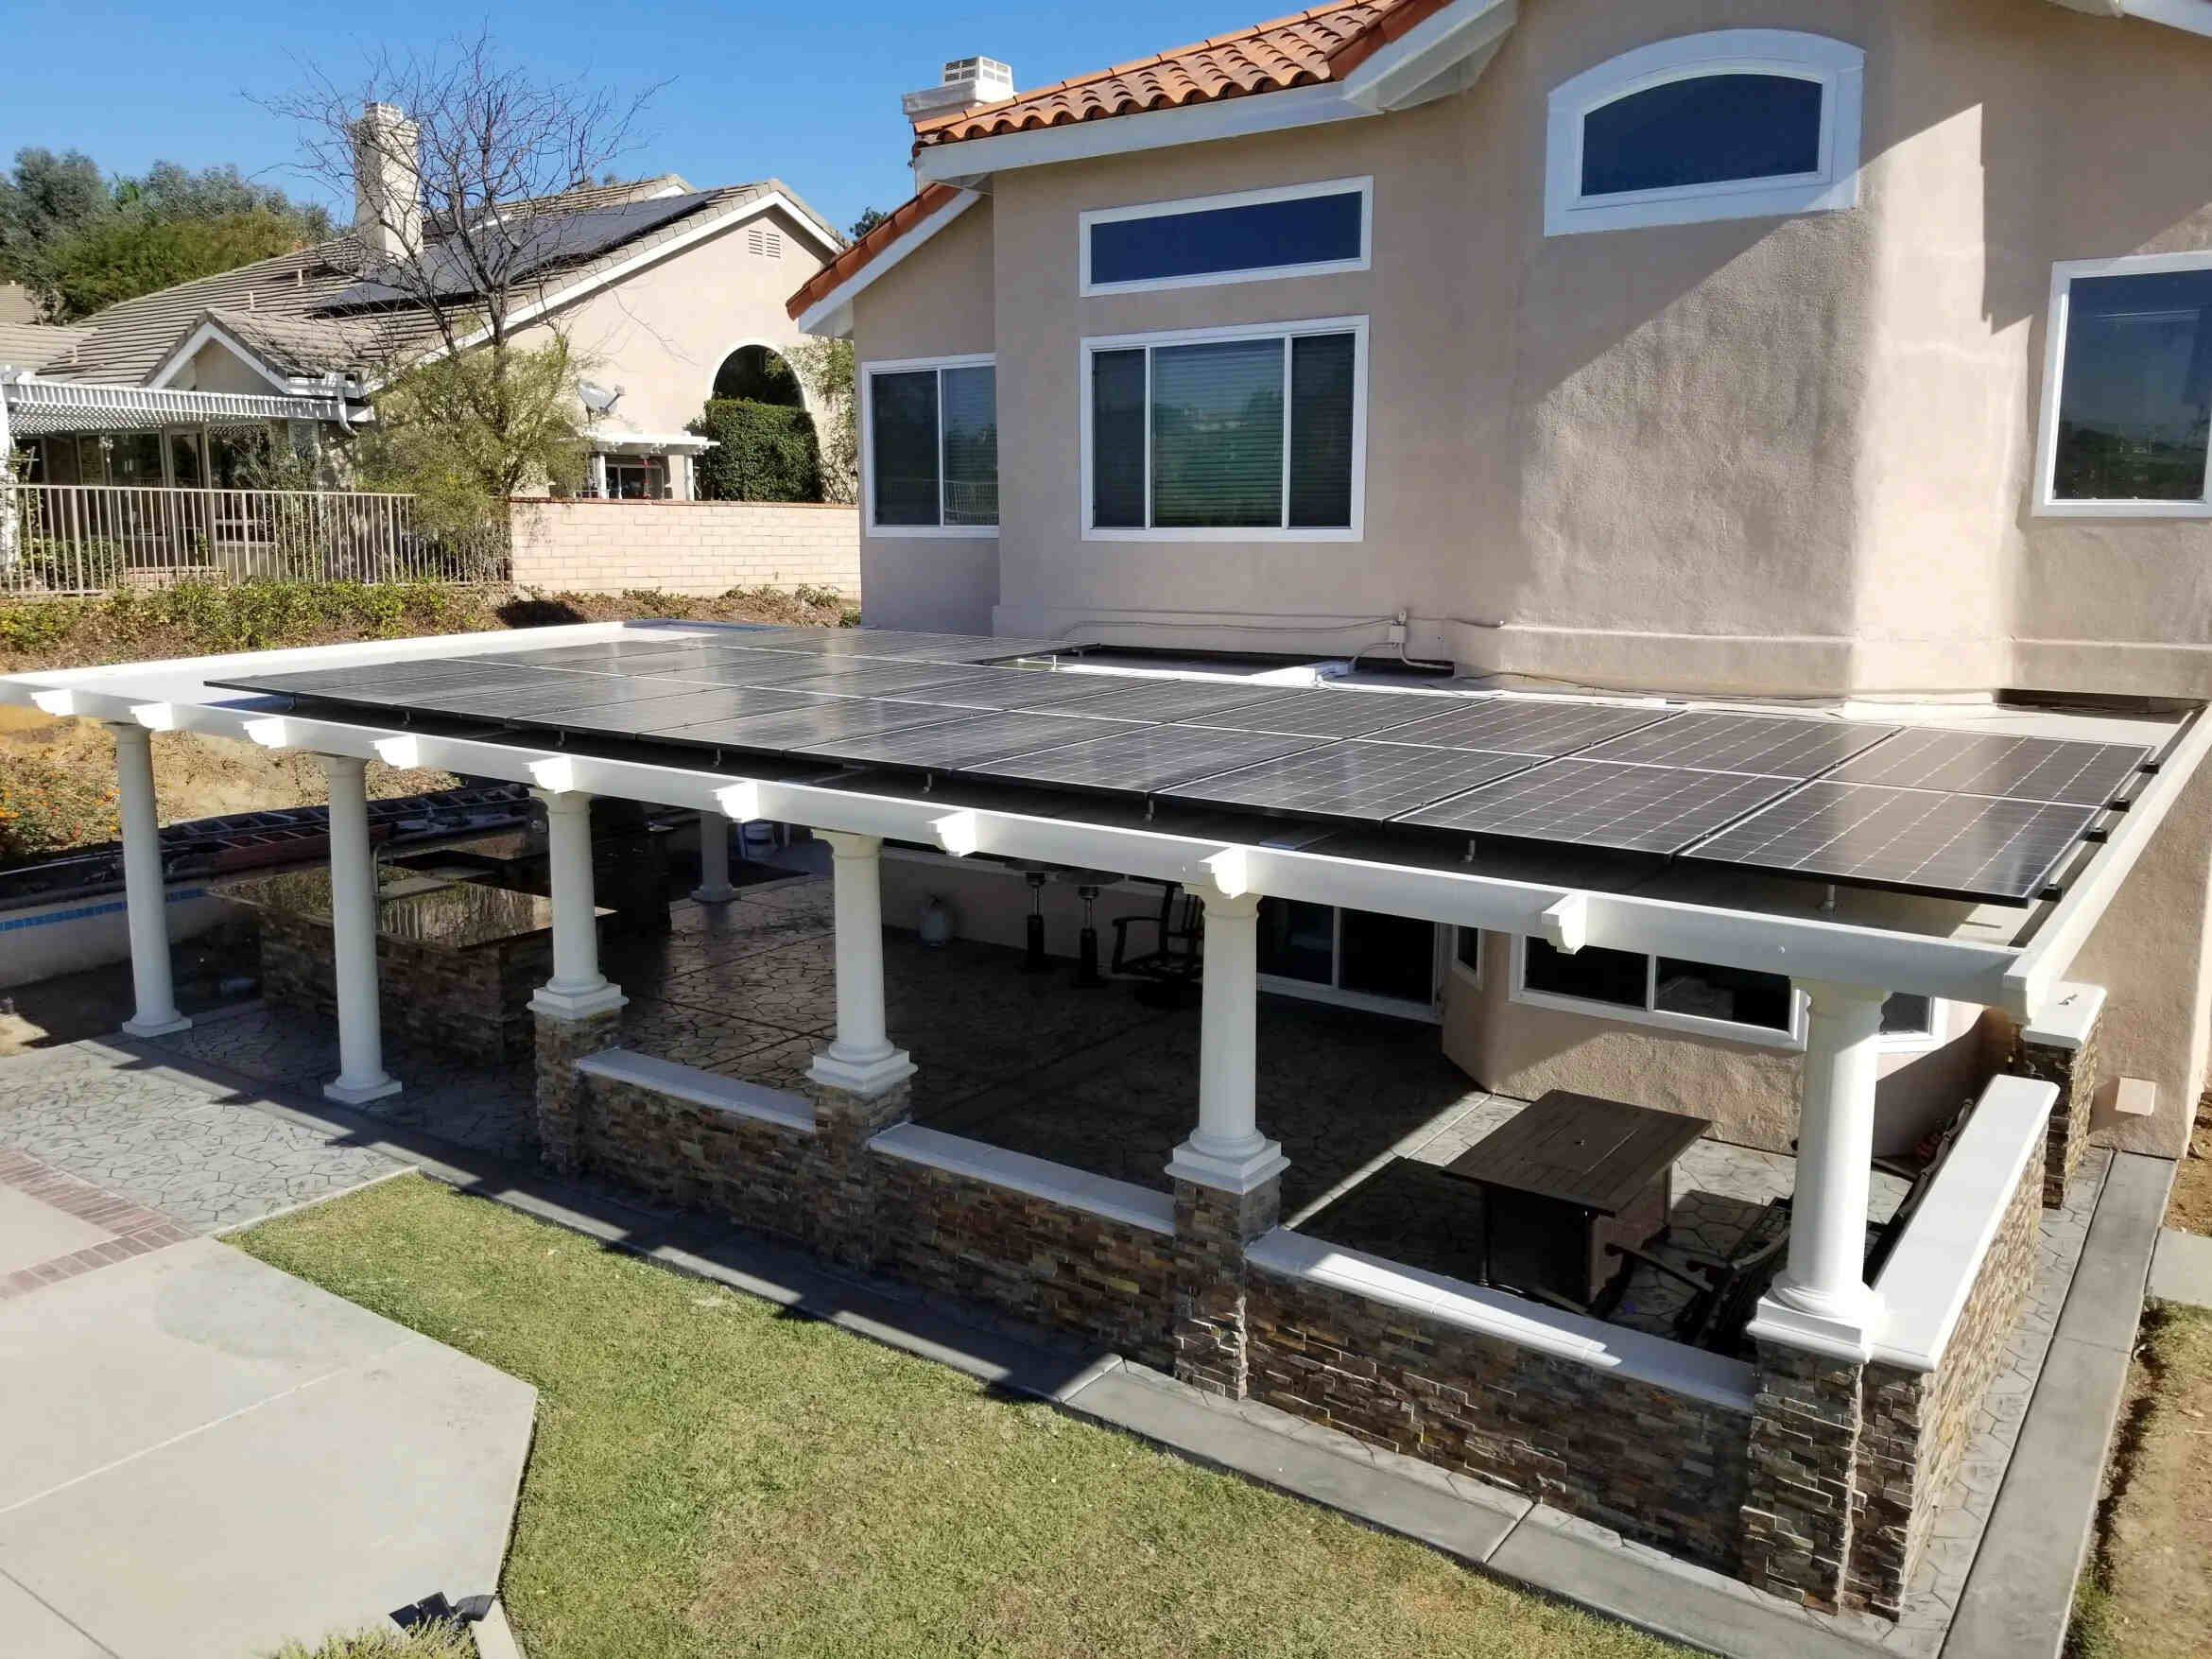
Step 4: Install roof brackets or rails
Installing the roof brackets or rails is a critical step in mounting solar panels to your roof. These components provide the structural support necessary to securely attach the solar panels. The installation process may vary depending on the type of roof and mounting system you have, but here are the general steps to follow:
- Position the brackets or rails: Mark the locations where the brackets or rails will be installed on the roof. Ensure they are evenly spaced and aligned according to the specifications provided by the manufacturer.
- Attach the brackets or rails: Using the appropriate screws or bolts, secure the brackets or rails to the roof surface. Make sure to follow the manufacturer’s instructions for the correct installation method and torque settings.
- Check the alignment: After attaching the first bracket or rail, use a level to ensure it is perfectly horizontal or angled as required. Adjust if necessary before securing the remaining brackets or rails in place.
- Strengthen the connections: Once all the brackets or rails are securely attached, go back and reinforce the connections. Double-check that they are tight and properly aligned.
If you’re unsure about the installation process or if you have a complex roof design, it’s a good idea to consult with a professional to ensure a safe and accurate installation. With the brackets or rails securely in place, you’re ready to move on to the next step: attaching the solar panels to the mounting system.
When mounting solar panels to a roof, be sure to use flashing and sealant to prevent water leaks. It’s important to follow manufacturer’s instructions and local building codes for proper installation.
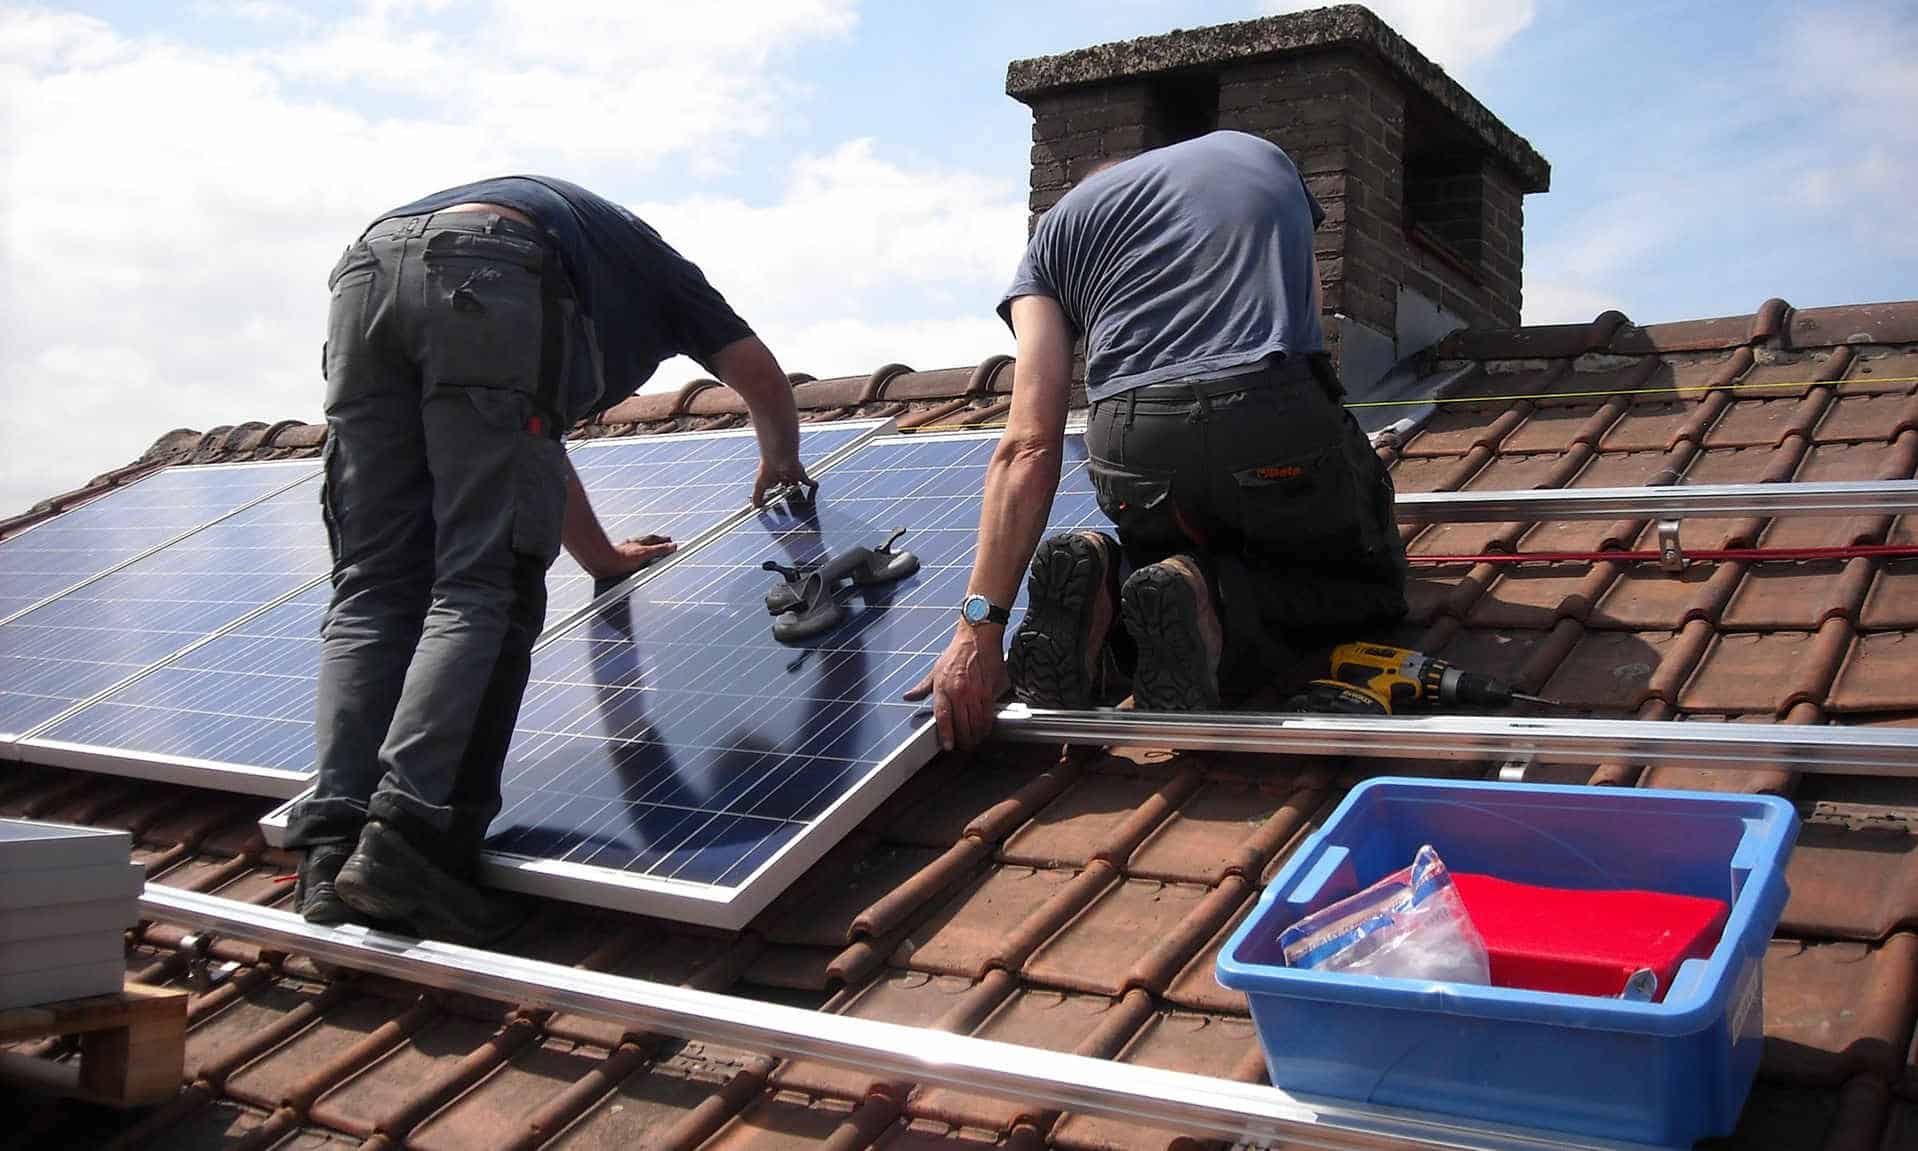
Step 5: Attach the solar panels to the brackets or rails
With the roof brackets or rails securely installed, it’s time to attach the solar panels to the mounting system. This step is crucial for ensuring that the panels are firmly fixed in place and properly aligned for optimal energy production. Here’s how you can attach the solar panels to the brackets or rails:
- Position the solar panels: Carefully lift each solar panel onto the mounting system, aligning them with the brackets or rails. Ensure that the panels are positioned correctly and evenly spaced.
- Attach the panels: Depending on your specific mounting system, there may be different methods for attaching the solar panels. Common methods include using clamps, brackets, or sliding the panels into a rail system. Follow the manufacturer’s instructions to securely attach each panel in place.
- Align and level the panels: Use a level to ensure that each panel is aligned horizontally and vertically. This will help optimize the performance and efficiency of the solar panels.
- Tighten the connections: After verifying the alignment, tighten all the bolts, clamps, or brackets to secure the panels in place. Be careful not to overtighten and damage the panels or mounting system.
Remember to follow the manufacturer’s guidelines for your specific solar panels and mounting system. If you’re unsure about any aspect of the installation process, consult with a professional to ensure a safe and secure attachment. Once the solar panels are firmly in place, you’re ready to move on to the next step: connecting the panels to the electrical system.
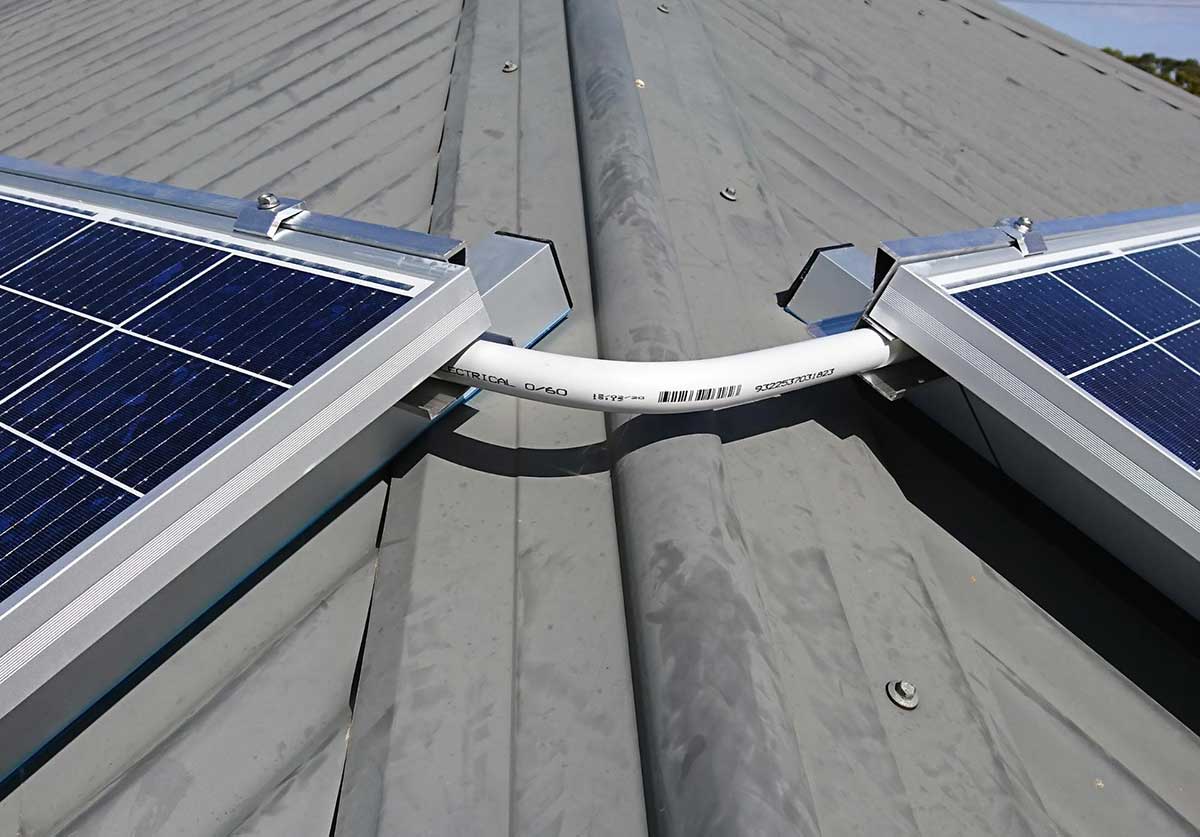
Step 6: Connect the solar panels to the electrical system
Connecting the solar panels to the electrical system is a crucial step in the installation process. This allows the energy generated by the panels to be converted and utilized in your home or building. Follow these steps to ensure a proper connection:
- Locate the solar panel wiring: Identify the wiring coming from each solar panel. The wires are typically located at the back of the panels and may be bundled together.
- Strip the wire insulation: Carefully strip off a small section of the wire insulation, exposing the copper conductors. Be cautious not to cut into the wires.
- Connect the wires: Depending on the electrical system design, you may need to connect the solar panel wires to a junction box or a combiner box. Follow the manufacturer’s instructions for proper wire connections, using appropriate wire connectors or terminals.
- Check the polarity: Ensure that the positive (+) and negative (-) terminals of the solar panels are correctly connected. Reversing the polarity can affect the performance of the panels and the overall system.
- Secure the connections: Once the wires are properly connected, use wire connectors or terminals to secure the connections. Make sure they are tight and free of any exposed copper conductors.
- Route the wiring: Carefully route the wiring from the solar panels to the electrical system. Use cable clips or conduit to secure and protect the wires from damage.
- Follow electrical code standards: It’s crucial to comply with the local electrical codes and regulations when connecting the solar panels to the electrical system. If you’re uncertain, consult with an electrician or follow the guidelines provided by a licensed professional.
Take the necessary precautions when working with electrical components and ensure that all connections are secure and properly insulated. By correctly connecting the solar panels to the electrical system, you’re ready to move on to the final step: testing and securing the installation.
Step 7: Test and secure the installation
After completing the installation of the solar panels and connecting them to the electrical system, it’s vital to test the system and secure the installation to ensure its efficiency and longevity. Follow these steps to properly test and secure your solar panel installation:
- Test the system: Once the solar panels are connected to the electrical system, test the system to ensure that it is generating electricity. Monitor the energy production through a solar energy monitoring system or check the readings on your inverter. If you notice any issues or discrepancies, consult with a professional to diagnose and resolve the problem.
- Secure the wiring: Make sure that all wiring, especially the connections between the solar panels and the electrical system, is properly secured and protected. Use cable clips, ties, or conduit to organize and protect the wires from potential damage.
- Inspect the mounting system: Regularly inspect the roof brackets or rails to ensure that they remain secure and in good condition. Check for any signs of damage, such as loose bolts or shifting panels, and address them promptly to avoid any potential issues.
- Ensure watertight seals: Revisit the areas where flashings and sealing materials were applied during the installation process. Make sure that all seals remain intact and watertight to prevent any water infiltration into the roof.
- Maintain regular maintenance: Solar panel systems require regular maintenance to keep them functioning optimally. Follow the manufacturer’s recommendations for cleaning and maintaining the panels, as well as inspecting the electrical components periodically.
- Monitor energy production: Keep track of the energy production of your solar panels over time. Compare it to your expected energy savings and review any significant changes. Monitoring will help you identify any performance issues and allow you to address them promptly.
By testing the system, securing the installation, and conducting regular maintenance, you can ensure the long-term efficiency and effectiveness of your solar panel installation.
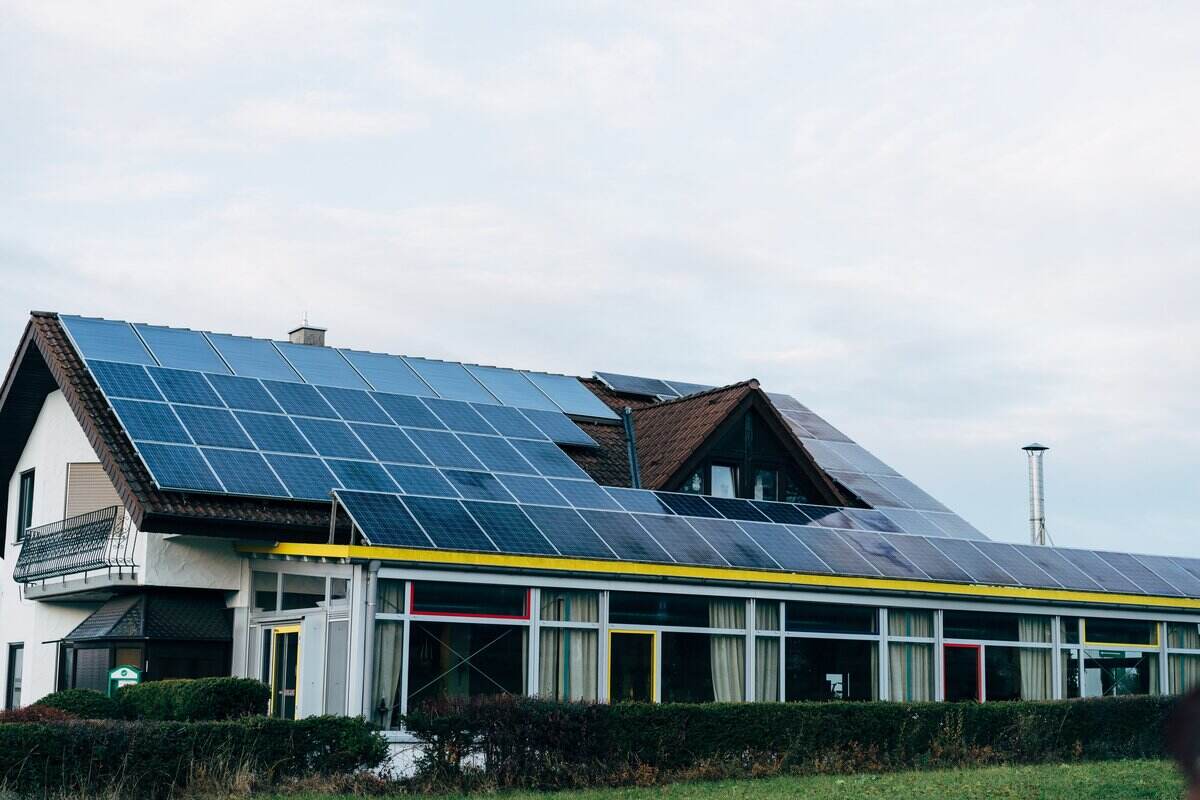
With the completion of these steps, you have successfully mounted solar panels to your roof. Not only have you made a significant investment in renewable energy, but you have also taken a step towards a more sustainable and cost-effective future. Enjoy the benefits of your solar panel system while reducing your carbon footprint and lowering your energy bills.
Conclusion
Mounting solar panels to your roof is a rewarding and eco-friendly endeavor that allows you to generate clean and sustainable energy. By following the step-by-step process outlined in this guide, you can ensure a safe and effective installation of your solar panels.
Starting with gathering the necessary tools and materials, you progressed through determining the optimal placement on your roof and preparing the surface for installation. You then installed the roof brackets or rails, securely attached the solar panels, and connected them to the electrical system. Finally, you tested and secured the installation, setting the stage for long-term energy production.
Throughout the process, it’s important to prioritize safety by wearing appropriate protective gear and consulting professionals when needed. While this guide provided a general overview, always refer to the specific instructions provided by the manufacturer of your solar panels and mounting system.
By embracing solar energy, you contribute to a more sustainable future and reduce your reliance on traditional energy sources. Not only can solar panels help you save money on your energy bills, but they also reduce greenhouse gas emissions and promote renewable energy adoption.
Remember to regularly monitor and maintain your solar panel system to ensure its optimal performance. This includes regular cleaning, checking for any potential issues, and ensuring the proper functioning of all components.
Embrace the power of solar energy and enjoy the benefits it brings. With a well-mounted solar panel system, you can harness the energy of the sun to power your home and contribute to a greener world.
Frequently Asked Questions about How To Mount Solar Panels To Roof
Was this page helpful?
At Storables.com, we guarantee accurate and reliable information. Our content, validated by Expert Board Contributors, is crafted following stringent Editorial Policies. We're committed to providing you with well-researched, expert-backed insights for all your informational needs.


0 thoughts on “How To Mount Solar Panels To Roof”