Home>Furniture>Outdoor Furniture>How To Build A Solar Panel Patio Cover
Outdoor Furniture
How To Build A Solar Panel Patio Cover
Modified: October 18, 2024
Discover how to build a solar panel patio cover that enhances your outdoor furniture setup. Step-by-step guide for creating a sustainable and stylish addition to your backyard.
(Many of the links in this article redirect to a specific reviewed product. Your purchase of these products through affiliate links helps to generate commission for Storables.com, at no extra cost. Learn more)
Introduction
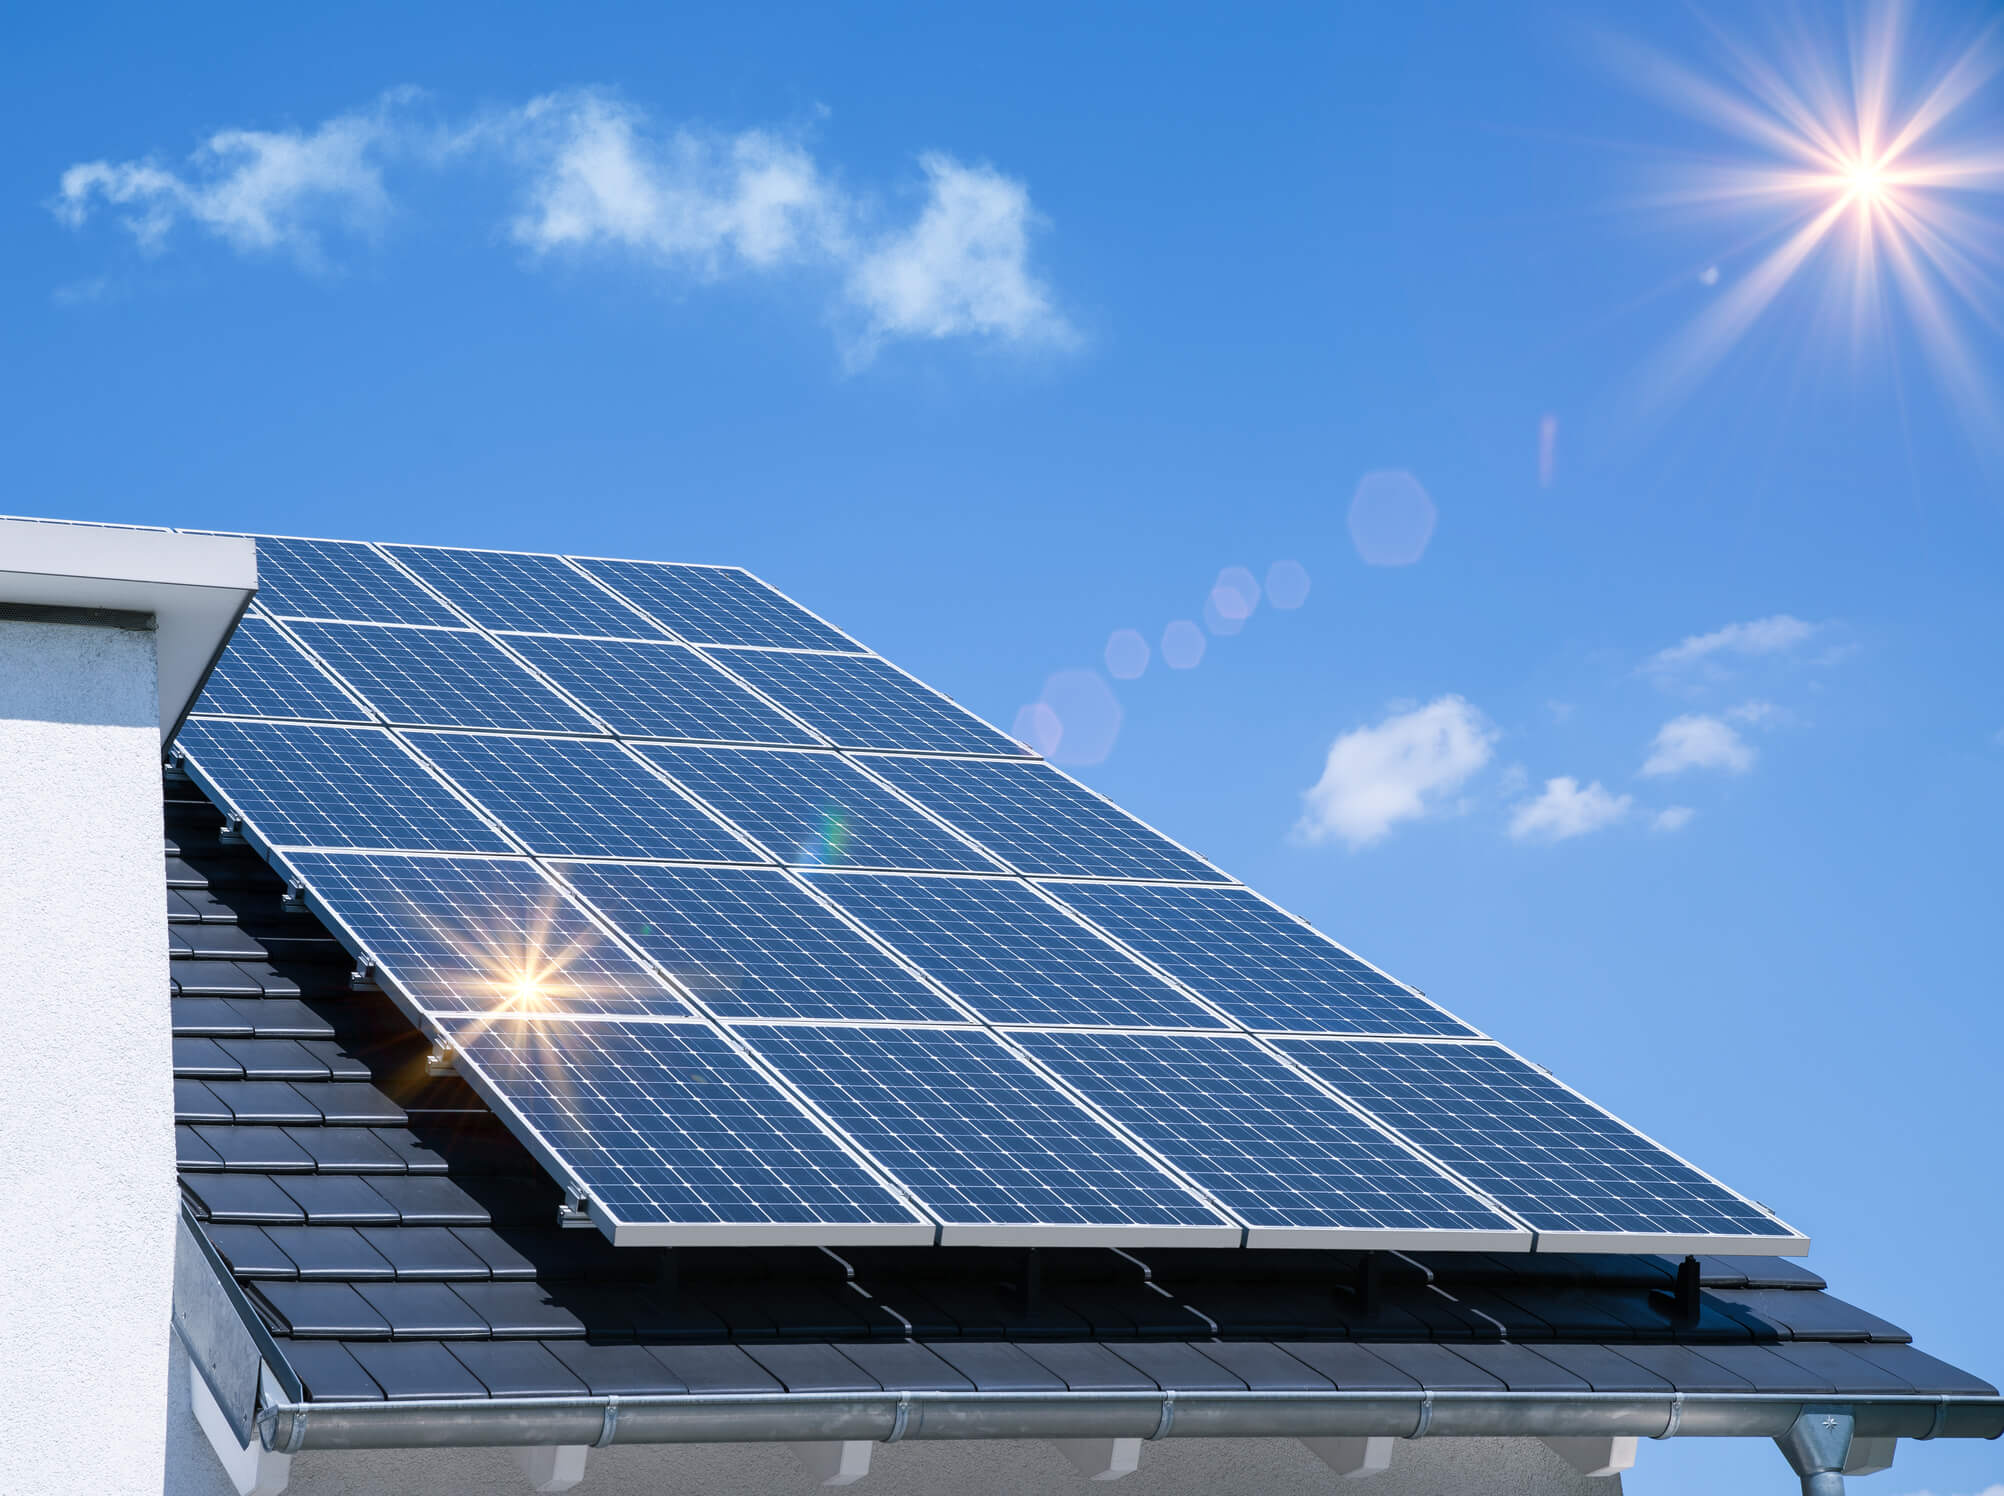
Are you looking for a way to make the most of your outdoor space while also harnessing the power of the sun? Look no further than a solar panel patio cover. This innovative and eco-friendly solution not only provides shade and protection for your patio area but also generates clean and renewable energy.
Solar panel patio covers are a perfect addition to any home, offering a myriad of benefits. Not only do they allow you to enjoy the outdoors all year round, but they also help reduce energy costs and contribute to a more sustainable environment.
In this article, we will guide you through the step-by-step process of building a solar panel patio cover. From planning and designing to installation and connection, we will cover all the necessary details to bring your eco-friendly project to life.
Before diving into the construction process, it is important to note that while this project can be tackled by DIY enthusiasts, it does require a certain level of technical knowledge and expertise. If you are not comfortable working with electrical systems, it’s best to consult a professional electrician.
Now, let’s embark on this exciting journey of creating your very own solar panel patio cover!
Key Takeaways:
- Building a solar panel patio cover allows you to create a sustainable outdoor space that harnesses the power of the sun, reducing energy costs and contributing to a more eco-friendly environment.
- By following the step-by-step guide, you can design, build, and connect your own solar panel patio cover, providing clean energy and enhancing your outdoor living experience.
Read more: How To Build A Covered Patio
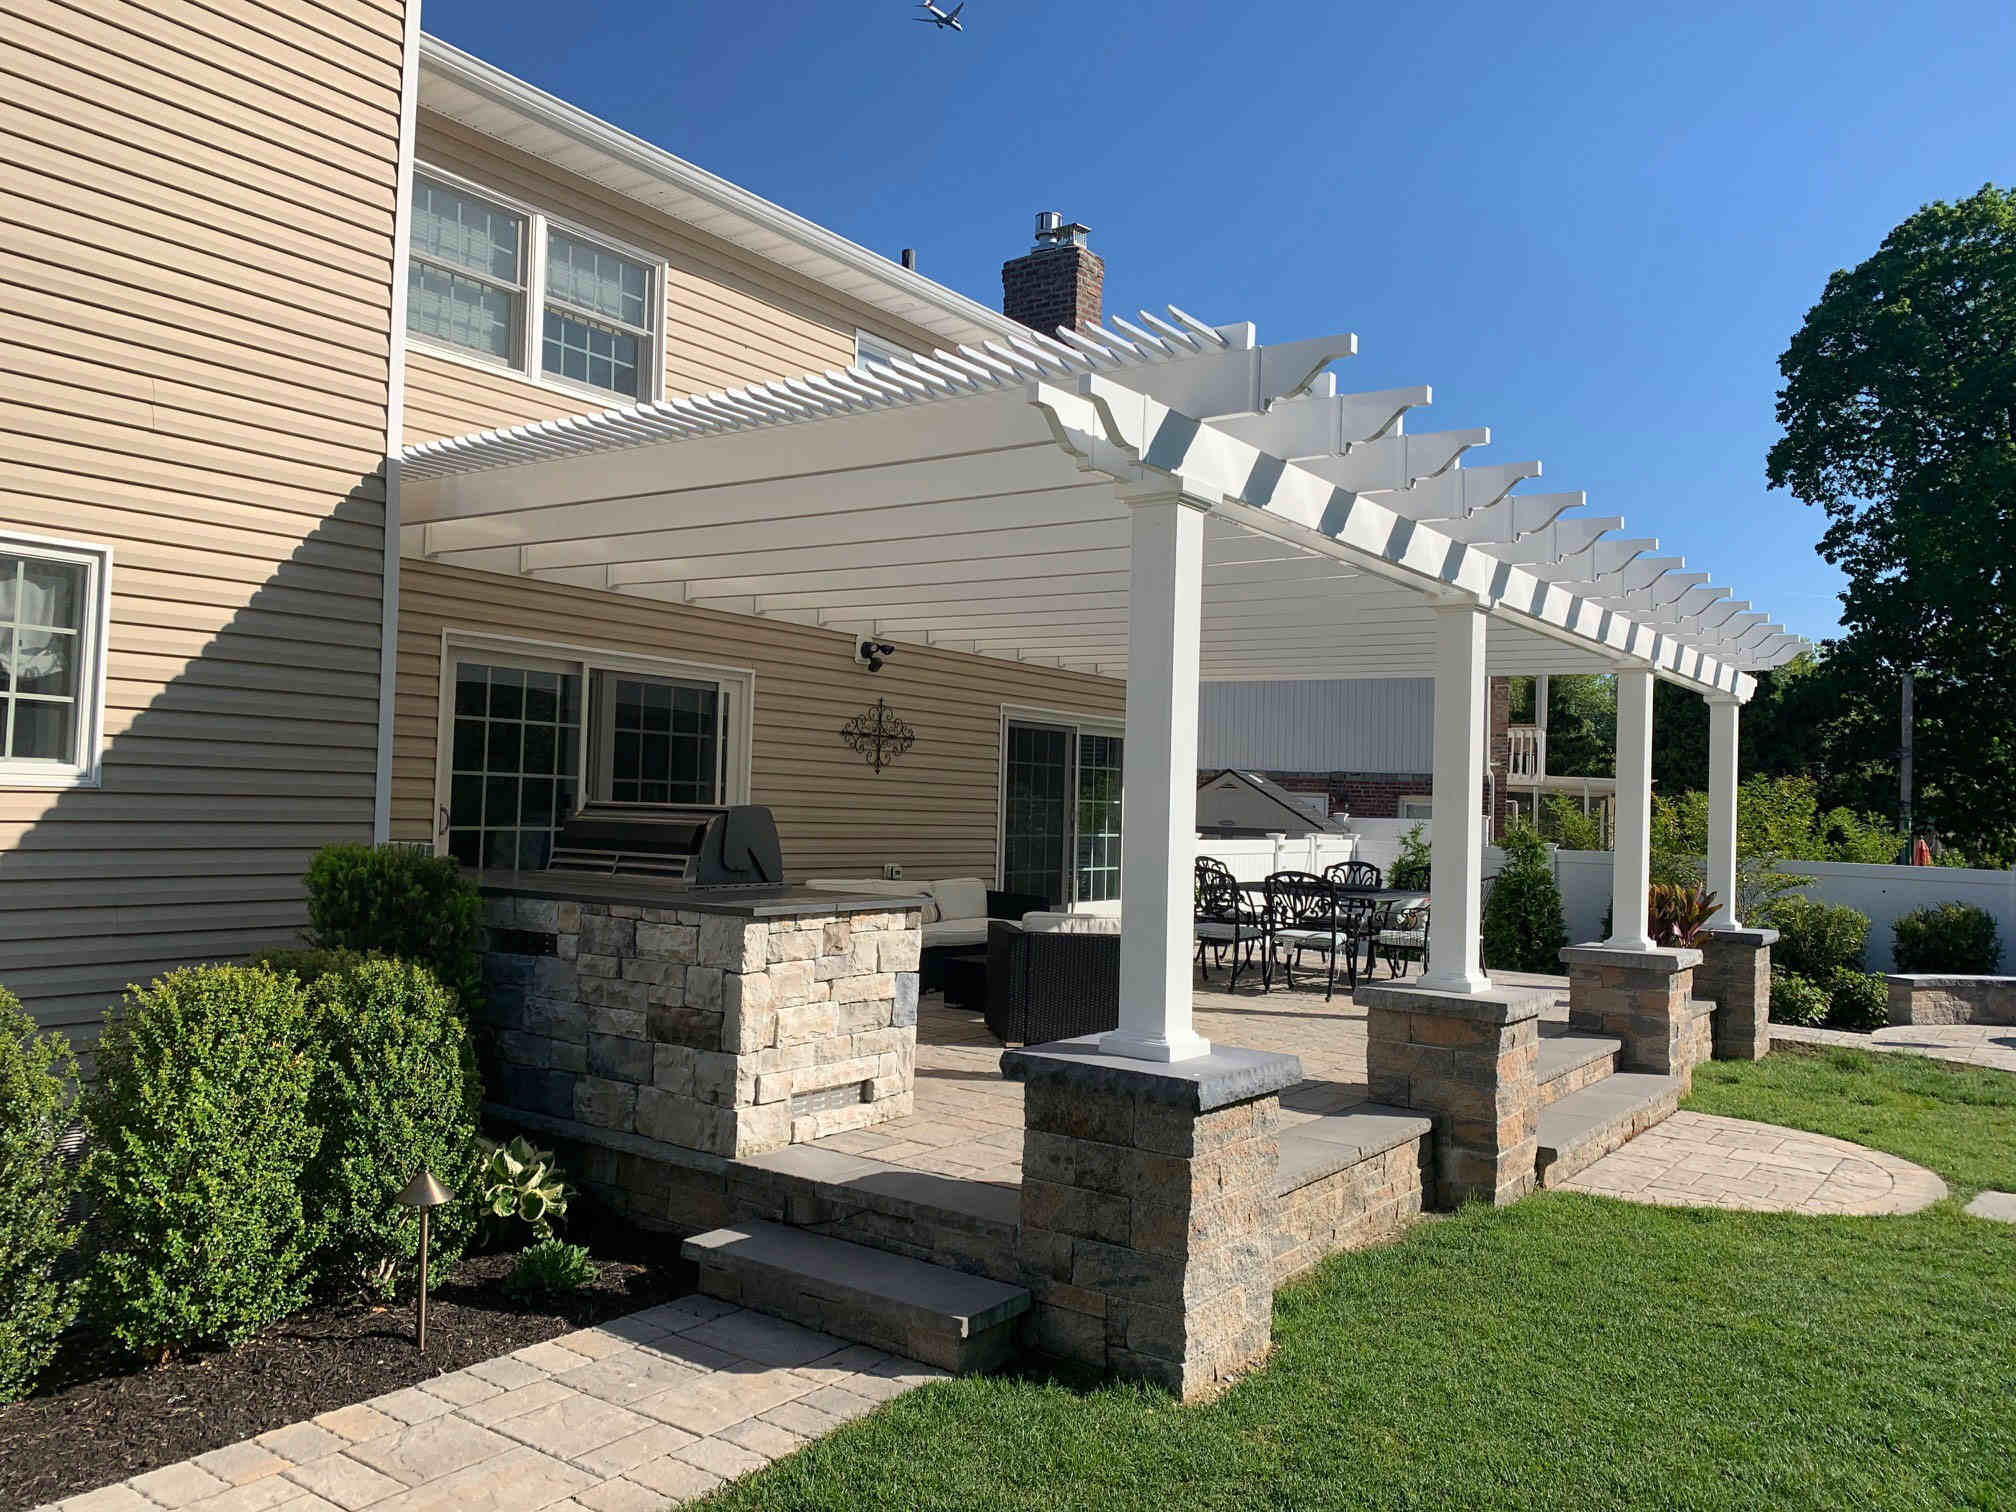
Step 1: Planning and Designing Your Solar Panel Patio Cover
The first step in building a solar panel patio cover is planning and designing. This crucial stage will ensure that your solar panel patio cover meets your specific requirements and complements the existing architectural style of your home.
Start by assessing the available space and determining the ideal size and layout for your patio cover. Consider factors such as the orientation of the sun, local weather conditions, and any nearby obstructions that may affect the panel’s exposure to sunlight.
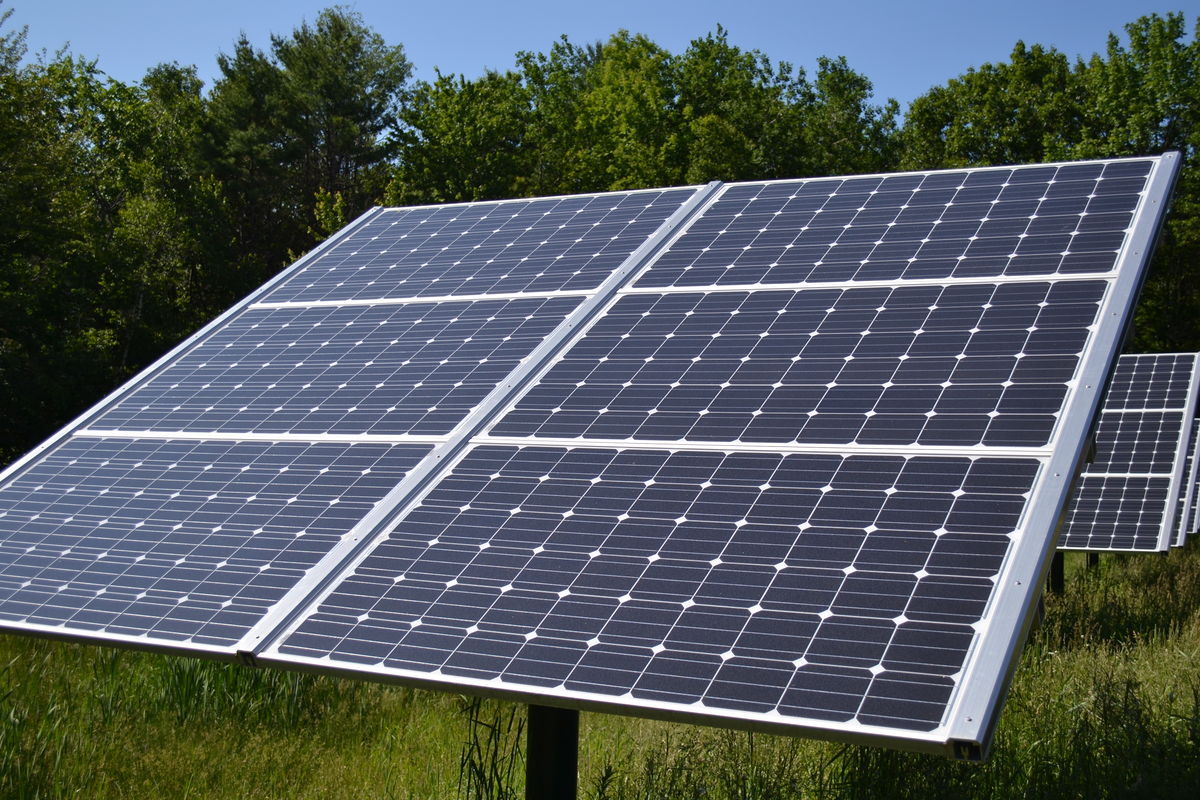
Next, decide on the type of solar panels you want to use. There are various options available, including monocrystalline, polycrystalline, and thin-film solar panels. Each type has its advantages and considerations, such as efficiency, durability, and cost.
Once you have determined the size and type of solar panels, you can move on to designing the support structure. Consider using sturdy materials such as aluminum or steel for the frame to ensure stability and longevity. Incorporate aesthetic elements that match your outdoor space, such as pergolas or lattice patterns.
Additionally, it is crucial to take local building codes and regulations into account during the planning phase. Some areas may have restrictions on the size, height, or placement of solar structures, so it’s important to research and obtain any necessary permits before proceeding.
Lastly, consider the electrical aspects of your solar panel patio cover. Determine the optimal location for the inverter, which converts the DC electricity produced by the solar panels into usable AC electricity. Plan the wiring route from the solar panels to the inverter, ensuring that it is properly hidden and protected.
By carefully planning and designing your solar panel patio cover, you can create a functional and visually appealing addition to your outdoor space that harnesses the power of the sun.
Step 2: Gathering Materials and Tools
Once you have completed the planning and design phase of your solar panel patio cover, it’s time to gather the materials and tools needed for construction. Having everything ready will ensure a smooth and efficient building process.
Here’s a list of the essential materials and tools you’ll need:
- Solar panels: Purchase high-quality solar panels that meet your energy requirements. Choose a reputable supplier that offers reliable products with warranties.
- Support structure materials: Depending on your design, you will need aluminum or steel beams, posts, brackets, and hardware to construct the frame of your patio cover.
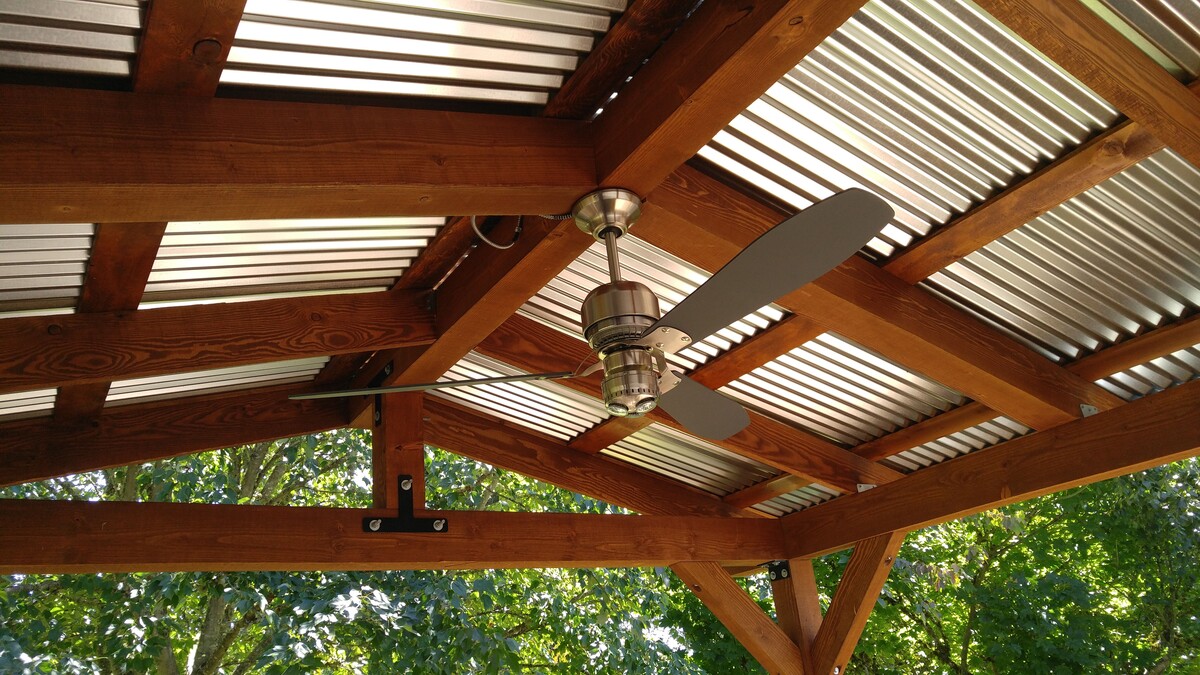
- Roofing materials: Select roofing materials that offer durability and weather resistance. Options include corrugated metal, polycarbonate panels, or shade cloth.
- Electrical components: Gather the necessary electrical components such as wires, connectors, junction boxes, grounding equipment, and an inverter for converting the solar energy into usable electricity.
- Tools: Prepare a set of basic tools including a drill, level, wrench, screwdriver, measuring tape, safety equipment (gloves, goggles), and a ladder for easy access to the roof.
- Fasteners: Acquire appropriate fasteners such as screws, bolts, and nuts for connecting the various components of your patio cover securely.
When purchasing materials, it’s important to ensure compatibility and quality to guarantee the longevity and performance of your solar panel patio cover. Consider consulting with experts or professionals in the field to ensure you are using the right materials for your specific project.
Once you have gathered all the materials and tools, organize them in a designated work area. This will help streamline the construction process and ensure that everything is easily accessible when needed.
With everything in place, you are now ready to move on to the next step—preparing the patio area for construction.
Step 3: Preparing the Patio Area
Before you can begin the installation of your solar panel patio cover, you need to prepare the patio area where it will be built. This involves a few important steps to ensure a solid foundation and a safe working environment.
Here’s what you need to do:
- Clean the area: Remove any furniture, plants, or debris from the patio area to clear the workspace. This will provide a clean and clutter-free environment for construction.
- Inspect the patio surface: Examine the surface of your patio for any damage or unevenness. Repair cracks or uneven spots to ensure a level and stable foundation for the support structure of your patio cover.
- Mark the layout: Use marking tape or chalk to outline the position and dimensions of your solar panel patio cover. This visual reference will help guide you during the installation process.
- Check for underground utilities: Before digging any holes for the support posts, it’s essential to check for any underground utilities such as water pipes, gas lines, or electrical cables. Contact your local utility companies to perform a thorough inspection or use a utility locating service to avoid any accidents during excavation.
- Secure necessary permits: Check with your local building department to determine if any permits are required for constructing a solar panel patio cover. Obtain the necessary permits to ensure compliance with local regulations.
- Ensure safety precautions: Before starting any construction work, take necessary safety precautions such as wearing appropriate protective gear, using safety harnesses when working at heights, and following proper ladder safety procedures.
By properly preparing the patio area, you are setting the stage for a smooth and efficient construction process. Taking the time to clean, inspect, and mark the area will help ensure the structural integrity and longevity of your solar panel patio cover.
Now that the patio area is ready, it’s time to move on to the next step—installing the support structure.
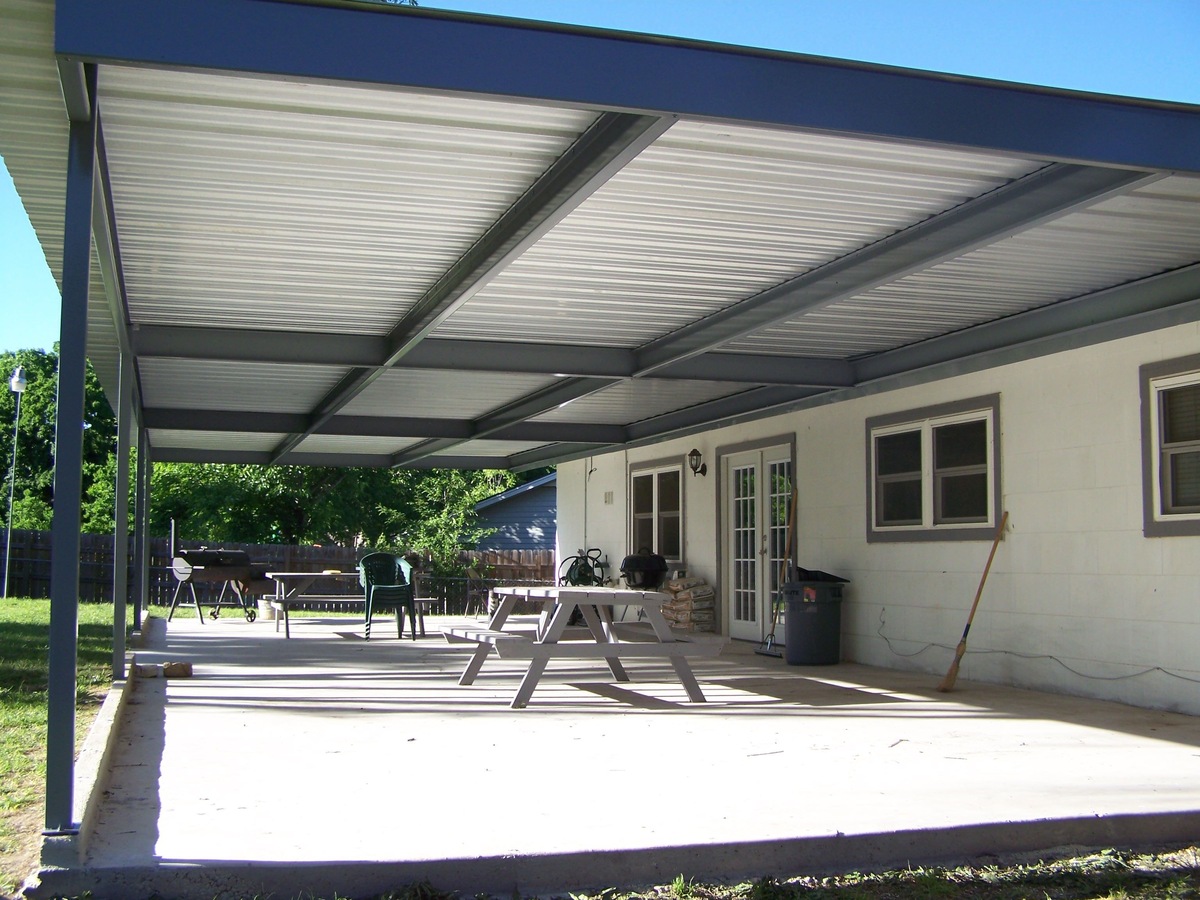
Step 4: Installing the Support Structure
With the patio area prepared, it’s time to move on to installing the support structure for your solar panel patio cover. The support structure acts as the backbone, providing stability and strength to your patio cover.
Follow these steps for a successful installation:
- Measure and mark the positions of the support posts: Using the previously marked layout, measure and mark the exact positions for the support posts. Ensure that they are evenly spaced and aligned according to your design.
- Dig the post holes: Use a post hole digger or an auger to dig the designated holes for the support posts. The depth and diameter of the holes will depend on the size and material of the posts, as well as the specific requirements of your patio cover.
- Secure the support posts: Place the support posts into the holes and fill them with concrete. Use a level to ensure that the posts are plumb and straight. Allow the concrete to dry and cure as recommended by the manufacturer.
- Connect the beams and cross-braces: Once the support posts are secure, it’s time to connect the beams and cross-braces. Follow the design of your solar panel patio cover, ensuring that all connections are sturdy and properly aligned.
- Check for stability and adjust if necessary: After connecting the beams and cross-braces, check the stability of the support structure. Make any adjustments or reinforcements as needed to ensure that the structure is solid and can withstand various weather conditions.
Throughout the installation process, it’s important to refer to your design plans and double-check measurements to ensure accuracy. Taking the time to properly install the support structure will provide a strong and reliable foundation for your solar panel patio cover.
Once the support structure is in place, it’s time to move on to the next step—mounting the solar panels.
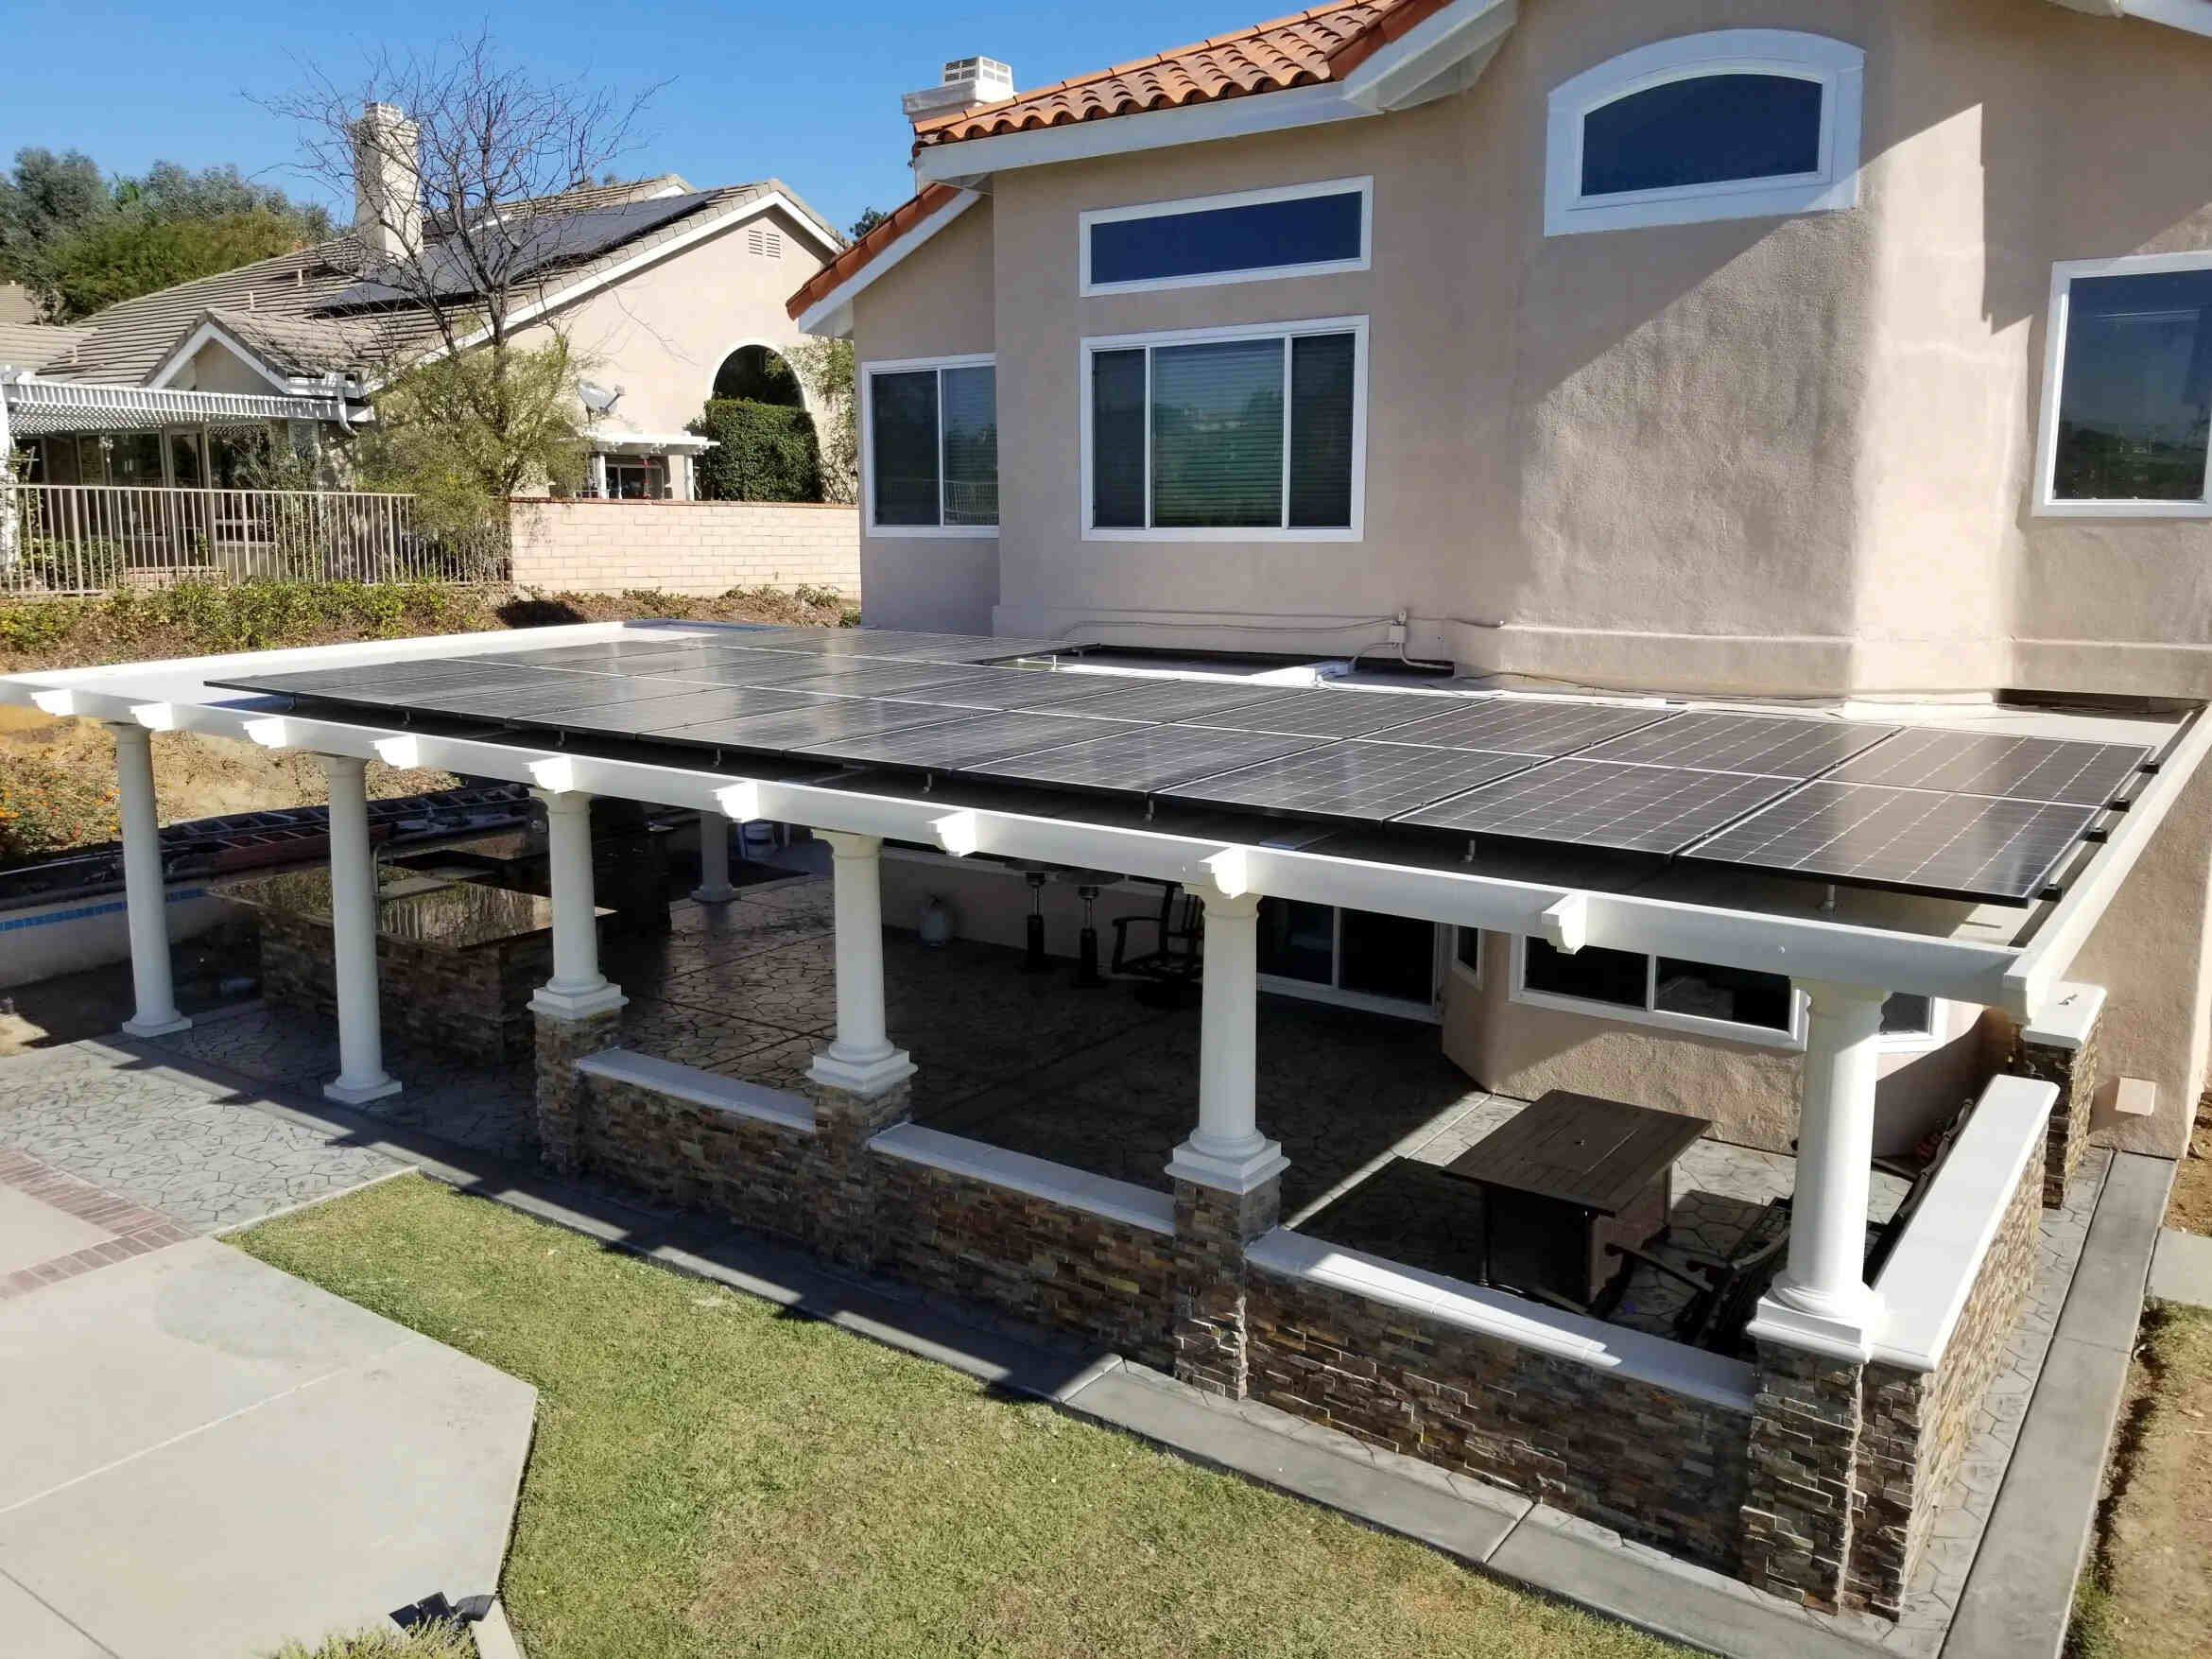
When building a solar panel patio cover, make sure to properly angle the panels to maximize sun exposure. This will ensure maximum energy production from your solar panels.
Read more: How To Build A Freestanding Patio Cover
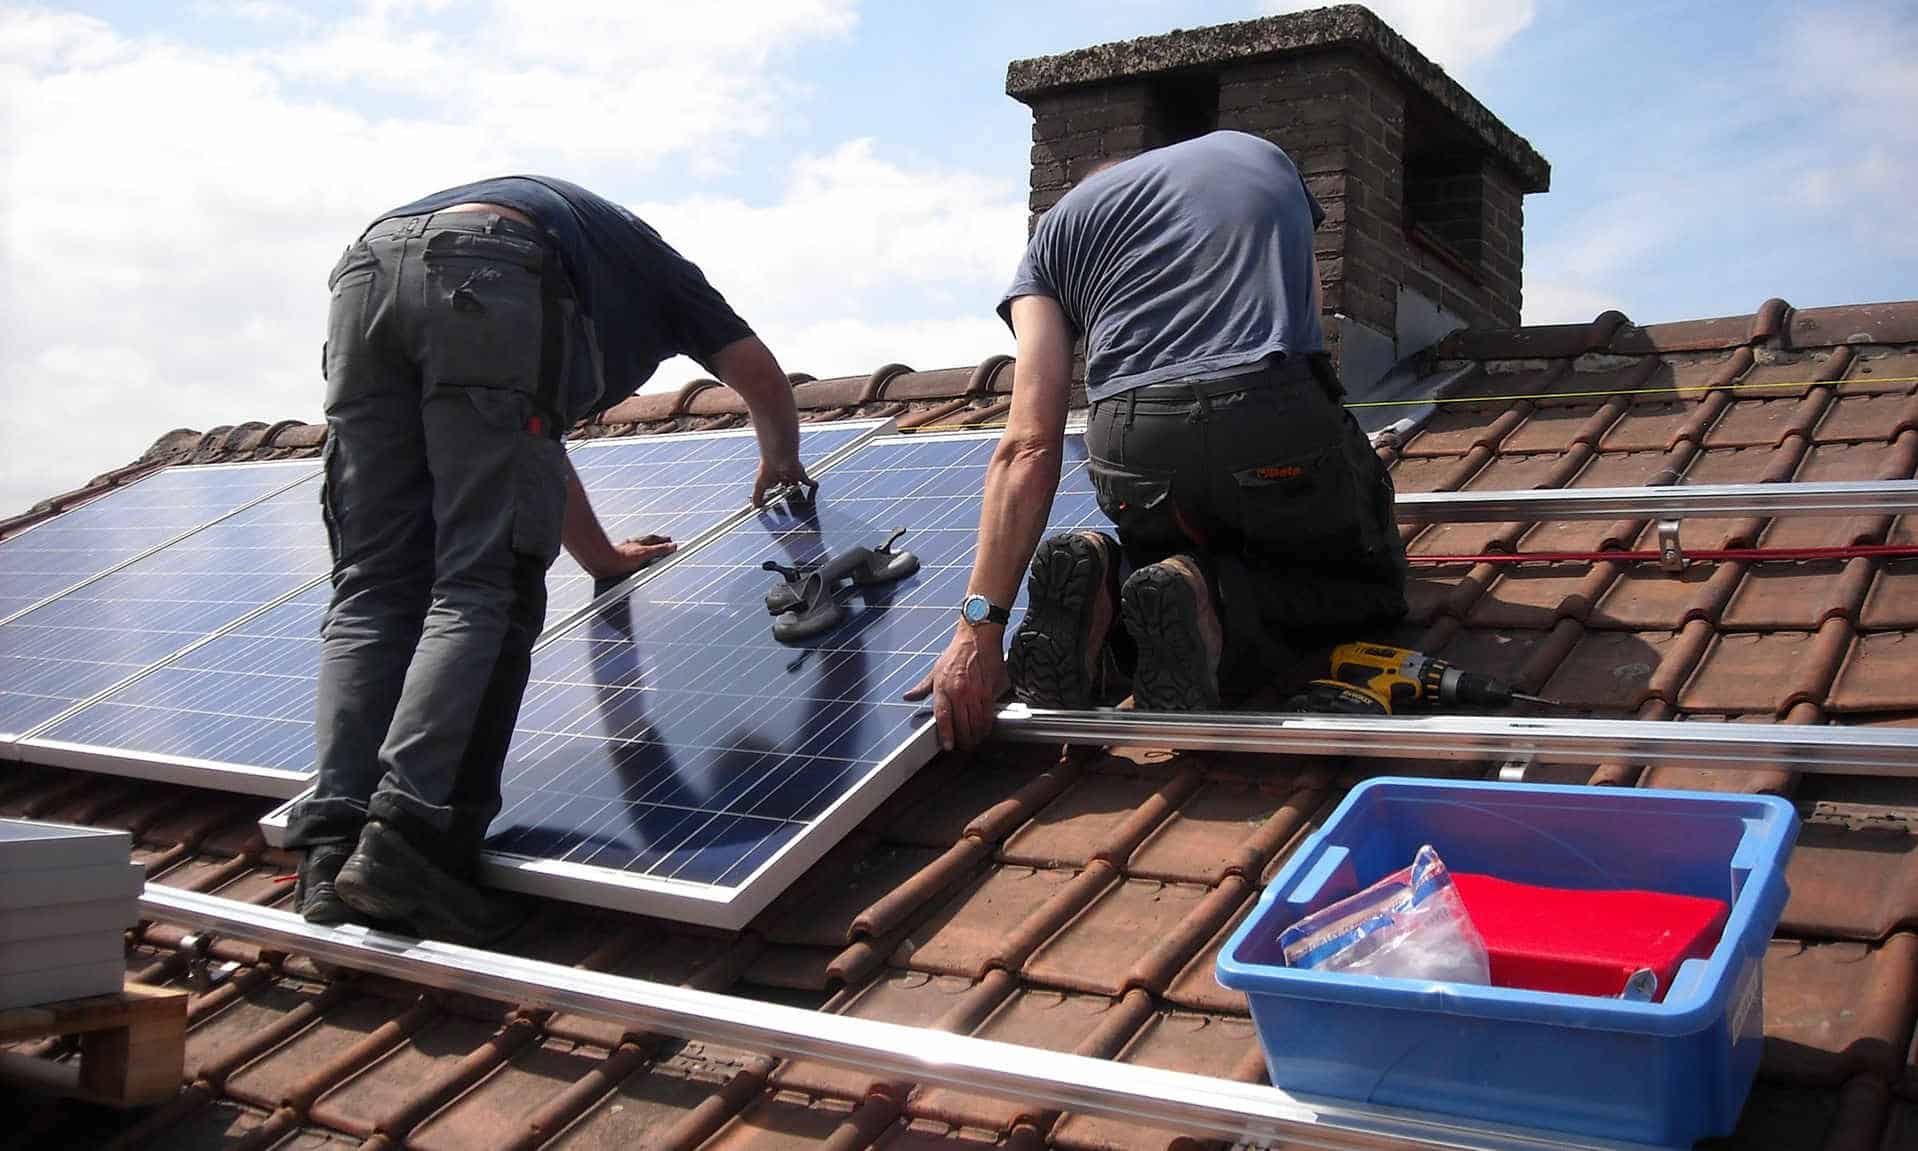
Step 5: Mounting the Solar Panels
Now that the support structure is in place, it’s time to mount the solar panels onto your patio cover. Proper mounting ensures that the panels are secure, optimally positioned, and able to capture maximum sunlight for efficient energy production.
Follow these steps to mount the solar panels:
- Determine the layout and positioning: Decide on the layout and positioning of the solar panels on your patio cover. Consider factors such as optimal sun exposure, spacing between panels, and any shading issues that may affect efficiency.
- Install the panel mounting brackets: Attach the panel mounting brackets to the support structure according to your predetermined layout. These brackets will secure the panels in place.
- Place the solar panels: Carefully place the solar panels onto the mounting brackets, ensuring that they are aligned properly and securely fastened. Refer to the manufacturer’s instructions for specific mounting requirements.
- Secure the panels: Use appropriate hardware, such as screws or bolts, to secure the solar panels onto the mounting brackets. Ensure that they are tightly fastened but avoid overtightening, which could damage the panels.
- Check for proper angling: Adjust the angle of the solar panels if necessary to optimize sun exposure. The ideal angle will vary depending on your location and the time of year, so research the optimal tilt angle or consult with experts in the field.
Throughout the mounting process, handle the solar panels with care to avoid any damage. Ensure that all connections and fasteners are secure to prevent any shifting or movement that could jeopardize the performance of your solar panel patio cover.
Once the solar panels are securely mounted, it’s time to move on to the next step—wiring the solar panels and connecting them to the electrical system.
Step 6: Wiring the Solar Panels
With the solar panels securely mounted, it’s time to connect them and wire them together to ensure their proper functioning. Proper wiring is essential for efficiently harnessing the solar energy and transferring it to the electrical system of your home.
Here are the steps to wire the solar panels:
- Plan the wiring route: Determine the most efficient and practical route for the wiring from the solar panels to the inverter or charge controller. Consider factors such as distance, accessibility, and aesthetics.
- Connect the solar panels in series or parallel: Depending on your system configuration, connect the solar panels in series or parallel. Series connections increase the voltage output, while parallel connections increase the current output. Consult the wiring diagram provided by the solar panel manufacturer for proper connection instructions.
- Securely connect the wires: Use appropriate connectors and wiring techniques to securely connect the wires from the solar panels. Ensure that all connections are tight, well-insulated, and protected from the elements.
- Route the wiring: Carefully route the wiring from the solar panels to the inverter or charge controller, taking care to avoid any sharp objects or potential hazards. Use conduit or conduit clamps to protect and secure the wiring.
- Properly ground the system: Install a grounding wire to ensure the safety of your solar panel system. Connect the grounding wire to the grounding lug of the solar panels, inverter, and any other necessary components, following local electrical codes and regulations.
- Label the wiring: Label all the wiring connections and components for easy identification and maintenance. Proper labeling will help troubleshoot any issues or perform maintenance in the future.
Throughout the wiring process, it is crucial to prioritize safety. Ensure that all electrical connections are properly insulated, and test the system regularly to verify its functionality and performance. If you are not confident in your electrical skills, it is advisable to consult a professional electrician for assistance.
With the solar panels wired and connected, it’s time to move on to the next step—connecting your solar panel patio cover to the electrical system of your home.
Step 7: Connecting to the Electrical System
Connecting your solar panel patio cover to the electrical system of your home is a crucial step that allows you to make use of the solar energy you have generated. Proper connection ensures that the electricity produced by your solar panels can be used to power your home or fed back into the grid.
Here’s how to connect your solar panel patio cover to the electrical system:
- Locate the main electrical panel: Identify the main electrical panel or service entrance where the electricity is distributed throughout your home. This is where you will connect your solar panel system.
- Install the AC disconnect switch: In many jurisdictions, an AC disconnect switch is required to be installed between the inverter and the main electrical panel. Consult local electrical codes and regulations to determine if this is necessary for your installation.
- Connect the inverter to the main electrical panel: Follow the manufacturer’s instructions to connect the inverter to the main electrical panel. This involves connecting the output wires from the inverter to the appropriate circuit breaker slots or connecting to a dedicated solar service panel.
- Install the net meter (if applicable): If you plan to feed excess solar energy back into the grid for credit or compensation, you may need to install a net meter. Consult with your local utility company to determine the requirements and procedures for installing the net meter.
- Test the system: Once all the connections are made, test the system to ensure that it is functioning properly. Verify that the solar energy is being properly integrated into the electrical system and that the net meter (if applicable) is accurately measuring energy production and consumption.
It is essential to follow all local electrical codes and regulations when connecting your solar panel patio cover to the electrical system. If you are uncertain about any aspect of the connection process, it is recommended to consult with a qualified electrician or solar installer for assistance.
By successfully connecting your solar panel patio cover to the electrical system, you can start enjoying the benefits of solar energy and reduce your reliance on traditional sources of electricity.
Now that your system is connected and operational, it’s time for the final step—testing and finalizing the installation.
Step 8: Testing and Finalizing the Installation
After completing the installation of your solar panel patio cover and connecting it to the electrical system, it is essential to perform thorough testing to ensure everything is functioning properly. Testing allows you to confirm the performance of your solar panel system and address any potential issues before finalizing the installation.
Follow these steps to test and finalize the installation:
- Check the electrical output: Measure and verify the electrical output of your solar panel system using a multimeter or monitoring software provided by the manufacturer. Confirm that the system is generating the expected amount of electricity.
- Test the system under optimal conditions: Conduct tests under different weather conditions to see how the solar panels perform. This will give you an idea of the system’s efficiency and its ability to generate electricity in various scenarios.
- Monitor energy production: Keep track of your solar panel system’s energy production over a period of time to ensure consistency and identify any potential issues or irregularities.
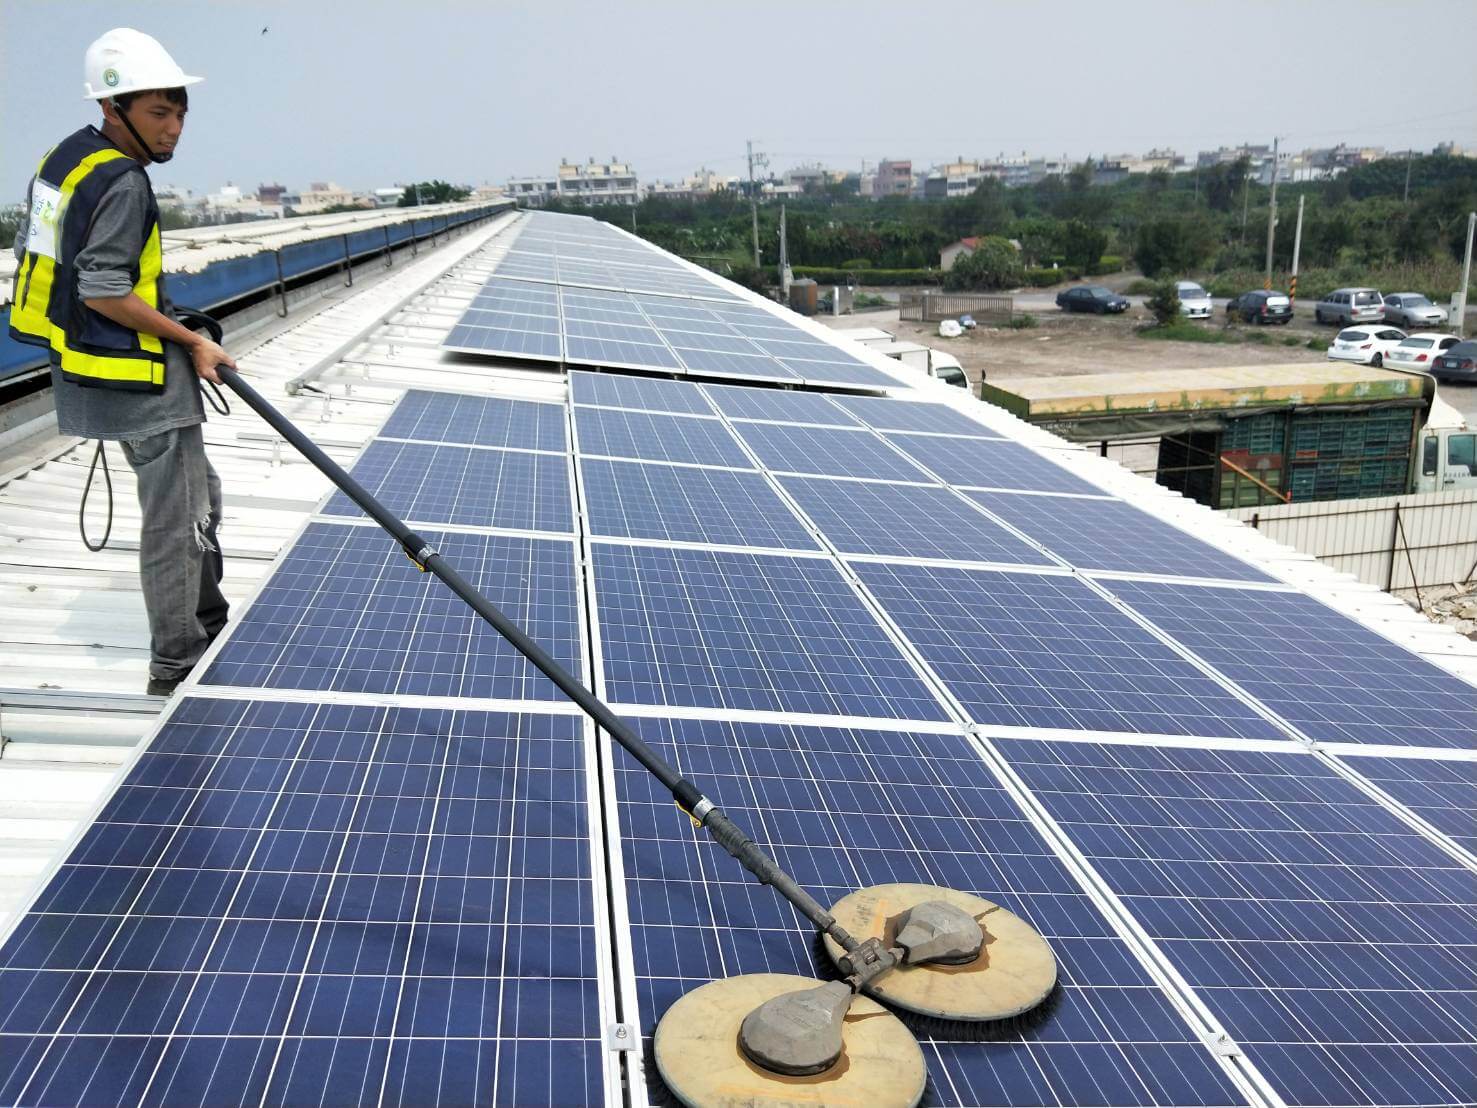
- Inspect for any loose connections or damage: Regularly inspect your solar panel system for any signs of loose connections, wear, or damage. Address any issues promptly to maintain optimal performance.
- Review the system performance: Analyze the data and review the overall performance of your solar panel patio cover system. Compare your energy production with your energy consumption to see the impact of solar energy on your home’s electricity usage.
- Document and finalize the installation: Keep detailed documentation of your solar panel system’s installation, including permits, warranties, and maintenance records. This will be valuable for future reference and potential upgrades.
Finalizing the installation involves ensuring that all components are properly secured, all wires are neatly organized and labeled, and the system adheres to any local regulations and safety standards.
By thoroughly testing and finalizing the installation, you can have peace of mind knowing that your solar panel patio cover is operating efficiently and effectively, providing you with clean and renewable energy for years to come.
Congratulations! You have successfully completed the construction and installation of your solar panel patio cover. Enjoy the benefits of clean energy while enhancing your outdoor space with this eco-friendly solution!
Thank you for following our step-by-step guide, and we hope this article has been helpful in creating your very own solar panel patio cover.
Read more: How To Build A Wood Patio Cover
Conclusion
Building a solar panel patio cover is an exciting and sustainable way to enhance your outdoor space while harnessing the power of the sun. By following the step-by-step guide outlined in this article, you are now equipped with the knowledge and skills to create your very own solar-powered oasis.
The planning and design phase ensures that your patio cover meets your specific needs and complements the architectural style of your home. Gathering the right materials and tools sets the foundation for a successful construction process. Preparing the patio area and installing the support structure provide a sturdy and secure base for your solar panels. Mounting the solar panels and wiring them together maximizes their energy production potential.
Connecting your solar panel patio cover to the electrical system allows you to utilize the clean energy you generate, reducing your dependence on traditional sources of electricity. Through proper testing and finalizing the installation, you can ensure the long-term performance and efficiency of your solar panel system.
Embracing solar energy not only benefits the environment but also offers numerous advantages to homeowners. By generating your own clean energy, you can potentially save money on utility bills and reduce your carbon footprint. Additionally, a solar panel patio cover provides shade and protection for your outdoor space, allowing year-round enjoyment.
Remember to consult local building codes and regulations throughout the construction process and, if needed, seek professional assistance to guarantee safety and compliance. Regular maintenance and monitoring will help to uphold the optimal performance of your solar panel patio cover system.
Now, it’s time to sit back, relax, and enjoy the benefits of your eco-friendly and energy-efficient outdoor space. With your solar panel patio cover, you not only enhance your lifestyle but also contribute to a sustainable future.
Thank you for joining us on this journey to create a solar-powered oasis. Happy solar panel patio cover adventures!
Frequently Asked Questions about How To Build A Solar Panel Patio Cover
Was this page helpful?
At Storables.com, we guarantee accurate and reliable information. Our content, validated by Expert Board Contributors, is crafted following stringent Editorial Policies. We're committed to providing you with well-researched, expert-backed insights for all your informational needs.


0 thoughts on “How To Build A Solar Panel Patio Cover”