Articles
How To Mount A Solar Conduit
Modified: October 20, 2024
Learn how to install and use solar conduit mounts with our informative articles. Find step-by-step instructions and expert tips for a successful installation.
(Many of the links in this article redirect to a specific reviewed product. Your purchase of these products through affiliate links helps to generate commission for Storables.com, at no extra cost. Learn more)
Introduction
Welcome to the ultimate guide on how to install a solar conduit mount. As the demand for renewable energy continues to rise, more and more homeowners are turning to solar power to meet their energy needs. Solar panels are a great way to harness the power of the sun and generate clean and sustainable electricity for your home.
When it comes to installing solar panels, one crucial aspect is the proper placement and mounting of the conduit. The conduit mount serves as a secure and stable foundation for your solar panels, ensuring that they are securely attached to your roof.
In this guide, we will walk you through each step of the installation process, from assessing your roof to wiring the solar panels. By following this comprehensive guide, you can confidently install a solar conduit mount and set yourself up for successful solar panel installation.
Before we dive into the installation process, let’s take a look at the materials you will need for this project.
Key Takeaways:
- Properly preparing the conduit mount, assessing the roof, and securing the conduit are crucial steps in ensuring a successful solar panel installation. Attention to detail and safety measures are essential throughout the process.
- Testing the solar power system after installation is vital to verify its functionality and performance. Regular monitoring and maintenance can maximize the efficiency and longevity of the solar panels.
Read more: How To Mount Solar Panels To Roof
Materials Needed
Before you begin the installation process, it’s important to gather all the necessary materials. Here are the materials you will need to install a solar conduit mount:
- Solar conduit mount kit: This kit typically includes the mounting bracket, bolts, nuts, and washers.
- Roof flashing: This is used to create a watertight seal around the mounting bracket and prevent leaks.
- Solar panel racking: The racking system provides a secure framework for the solar panels.
- Drill and drill bits: These will be needed to create holes for the mount and secure it to the roof.
- Screwdriver: A screwdriver is necessary for tightening screws and other fasteners.
- Measuring tape: This will help you accurately measure and mark the mounting locations on your roof.
- Caulking gun and roof sealant: These are essential for sealing any gaps or holes to prevent water penetration.
- Safety equipment: Don’t forget to wear safety goggles, gloves, and appropriate footwear to protect yourself during the installation process.
Once you have gathered all the necessary materials, you can proceed to assess your roof to determine the best placement for the solar conduit mount. Let’s move on to the next step.
Step 1: Assessing Your Roof
Before installing the solar conduit mount, it’s crucial to assess your roof to determine the best location for the mount. Here are the key factors to consider during this assessment:
- Sunlight exposure: Ensure that the area where you plan to install the solar conduit mount receives ample sunlight throughout the day. Avoid areas that are heavily shaded by trees or nearby structures as it can hinder the performance of your solar panels.
- Roof pitch: The pitch or slope of your roof will impact the angle at which the solar panels are installed. It’s important to choose a mounting location that allows for optimal sun exposure while ensuring the panels are securely attached.
- Roof material: Different types of roofs require different installation methods. Consider the material of your roof, whether it’s asphalt shingles, metal, tile, or another type, and ensure that the installation process is compatible with your roof’s material.
- Roof condition: Assess the overall condition of your roof and make any necessary repairs or maintenance before installing the solar conduit mount. A structurally sound roof will provide a solid foundation for the mounting system.
Once you have evaluated these factors, choose a suitable location on your roof for the solar conduit mount. Take measurements and mark the positions where the mount will be installed. This will serve as a guide during the installation process.
With the assessment completed and the mounting locations marked, you are ready to gather the tools and move on to the next step: preparing the conduit mount.
Step 2: Gathering Tools
Now that you have assessed your roof and determined the placement for the solar conduit mount, it’s time to gather the necessary tools for the installation process. Having the right tools on hand will make the installation smoother and more efficient. Here are the essential tools you will need:
- Drill: A drill is required to create holes in the roof for the mount and for securing it.
- Drill bits: Choose drill bits that are appropriate for the material of your roof.
- Screwdriver: You will need a screwdriver to tighten screws and fasteners.
- Measuring tape: Use a measuring tape to accurately measure and mark the mounting locations on the roof.
- Caulking gun: A caulking gun is necessary for applying roof sealant to seal any gaps or holes.
- Safety goggles: Protect your eyes from debris or any potential hazards with safety goggles.
- Gloves: Wear gloves to protect your hands during the installation process.
- Ladder or scaffolding: Depending on the height of your roof, you may need a ladder or scaffolding to safely access the installation area.
- Roof sealant: Use roof sealant to ensure a watertight installation and prevent any leaks.
Make sure that all the tools are in good working condition and readily available before you begin the installation process. It’s also a good idea to familiarize yourself with the functions and proper usage of each tool to ensure a smooth installation process.
With the necessary tools gathered and ready, you can now proceed to the next step: preparing the conduit mount for installation.
Step 3: Preparing the Conduit Mount
Before you can install the conduit mount, it’s important to properly prepare it for the installation process. Follow these steps to ensure that the conduit mount is ready for secure attachment to your roof:
- Read the instructions: Carefully read the manufacturer’s instructions that come with the conduit mount. This will provide you with specific guidelines and steps for preparing and installing the mount.
- Inspect the mount: Thoroughly inspect the conduit mount to ensure that all components are included and in good condition. Check for any signs of damage or defects.
- Clean the mount: Use a clean cloth or brush to remove any dirt, dust, or debris from the surface of the conduit mount. This will ensure proper adhesion of the roof sealant and prevent any potential issues.
- Apply roof sealant: Using a caulking gun, apply a layer of roof sealant to the base of the conduit mount. This will create a waterproof seal and prevent any moisture from seeping into your roof.
- Allow drying time: Give the roof sealant sufficient time to dry and set before proceeding with the installation. Refer to the manufacturer’s instructions for the recommended drying time.
By properly preparing the conduit mount, you are ensuring a solid foundation for your solar panels and minimizing the risk of any leaks or damage to your roof. Once the mount is prepared, you can move on to the next step: marking the mounting locations on your roof.
Read also: 15 Amazing Conduit Mount for 2025
Step 4: Marking the Mounting Locations
Now that the conduit mount is prepared, it’s time to mark the mounting locations on your roof. Properly marking these locations ensures accurate installation and alignment of the solar conduit mount. Follow these steps to mark the mounting locations:
- Measure and mark: Use a measuring tape to determine the appropriate distances between the mounting locations. Refer to the manufacturer’s instructions for specific measurements, as they may vary depending on the size and specifications of your solar panels.
- Pencil marks: Use a pencil or marker to make small marks on the roof surface at the predetermined mounting locations. Ensure that the marks are clearly visible and can be easily identified during the installation process.
- Double-check measurements: Before proceeding with the installation, double-check your measurements to ensure accuracy. Make any necessary adjustments to the marks if needed.
While marking the mounting locations, it’s important to keep in mind the optimal placement of the conduit mount. Consider factors such as the angle of sunlight, potential shading, and structural integrity of your roof. Taking these factors into account will ensure maximum efficiency and longevity for your solar panel system.
Once you have finished marking the mounting locations, it’s time to move on to the next step: drilling holes for the conduit mount.
When installing a solar conduit mount, make sure to properly seal all connections to prevent water from entering the conduit and causing damage to the wiring.
Step 5: Drilling Holes
With the locations marked, it’s time to drill holes for the conduit mount. Follow these steps to safely and accurately drill the necessary holes:
- Positioning: Position yourself securely on a ladder or scaffolding, ensuring that you have a stable and safe working platform. Take extra precautions to maintain your balance and stability during the drilling process.
- Select the appropriate drill bit: Choose a drill bit that is specifically designed for the type of material your roof is made of. Different materials may require different types of drill bits, such as masonry bits for concrete or metal bits for metal roofs.
- Start drilling: Place the drill bit on one of the marked locations and apply gentle pressure to create the initial hole. Gradually increase the pressure and continue drilling until you reach the desired depth. Repeat this process for all marked locations.
- Remove debris: Once the holes are drilled, use a brush or cloth to remove any debris or dust from the holes. This will ensure a clean and secure fit for the conduit mount.
It’s important to follow safety guidelines and wear appropriate protective gear, such as safety goggles, gloves, and sturdy shoes, during the drilling process. Take your time and work carefully to ensure that the holes are accurately positioned and drilled to the correct depth.
With the holes drilled, you are now ready to proceed to the next step: installing the conduit mount onto your roof.
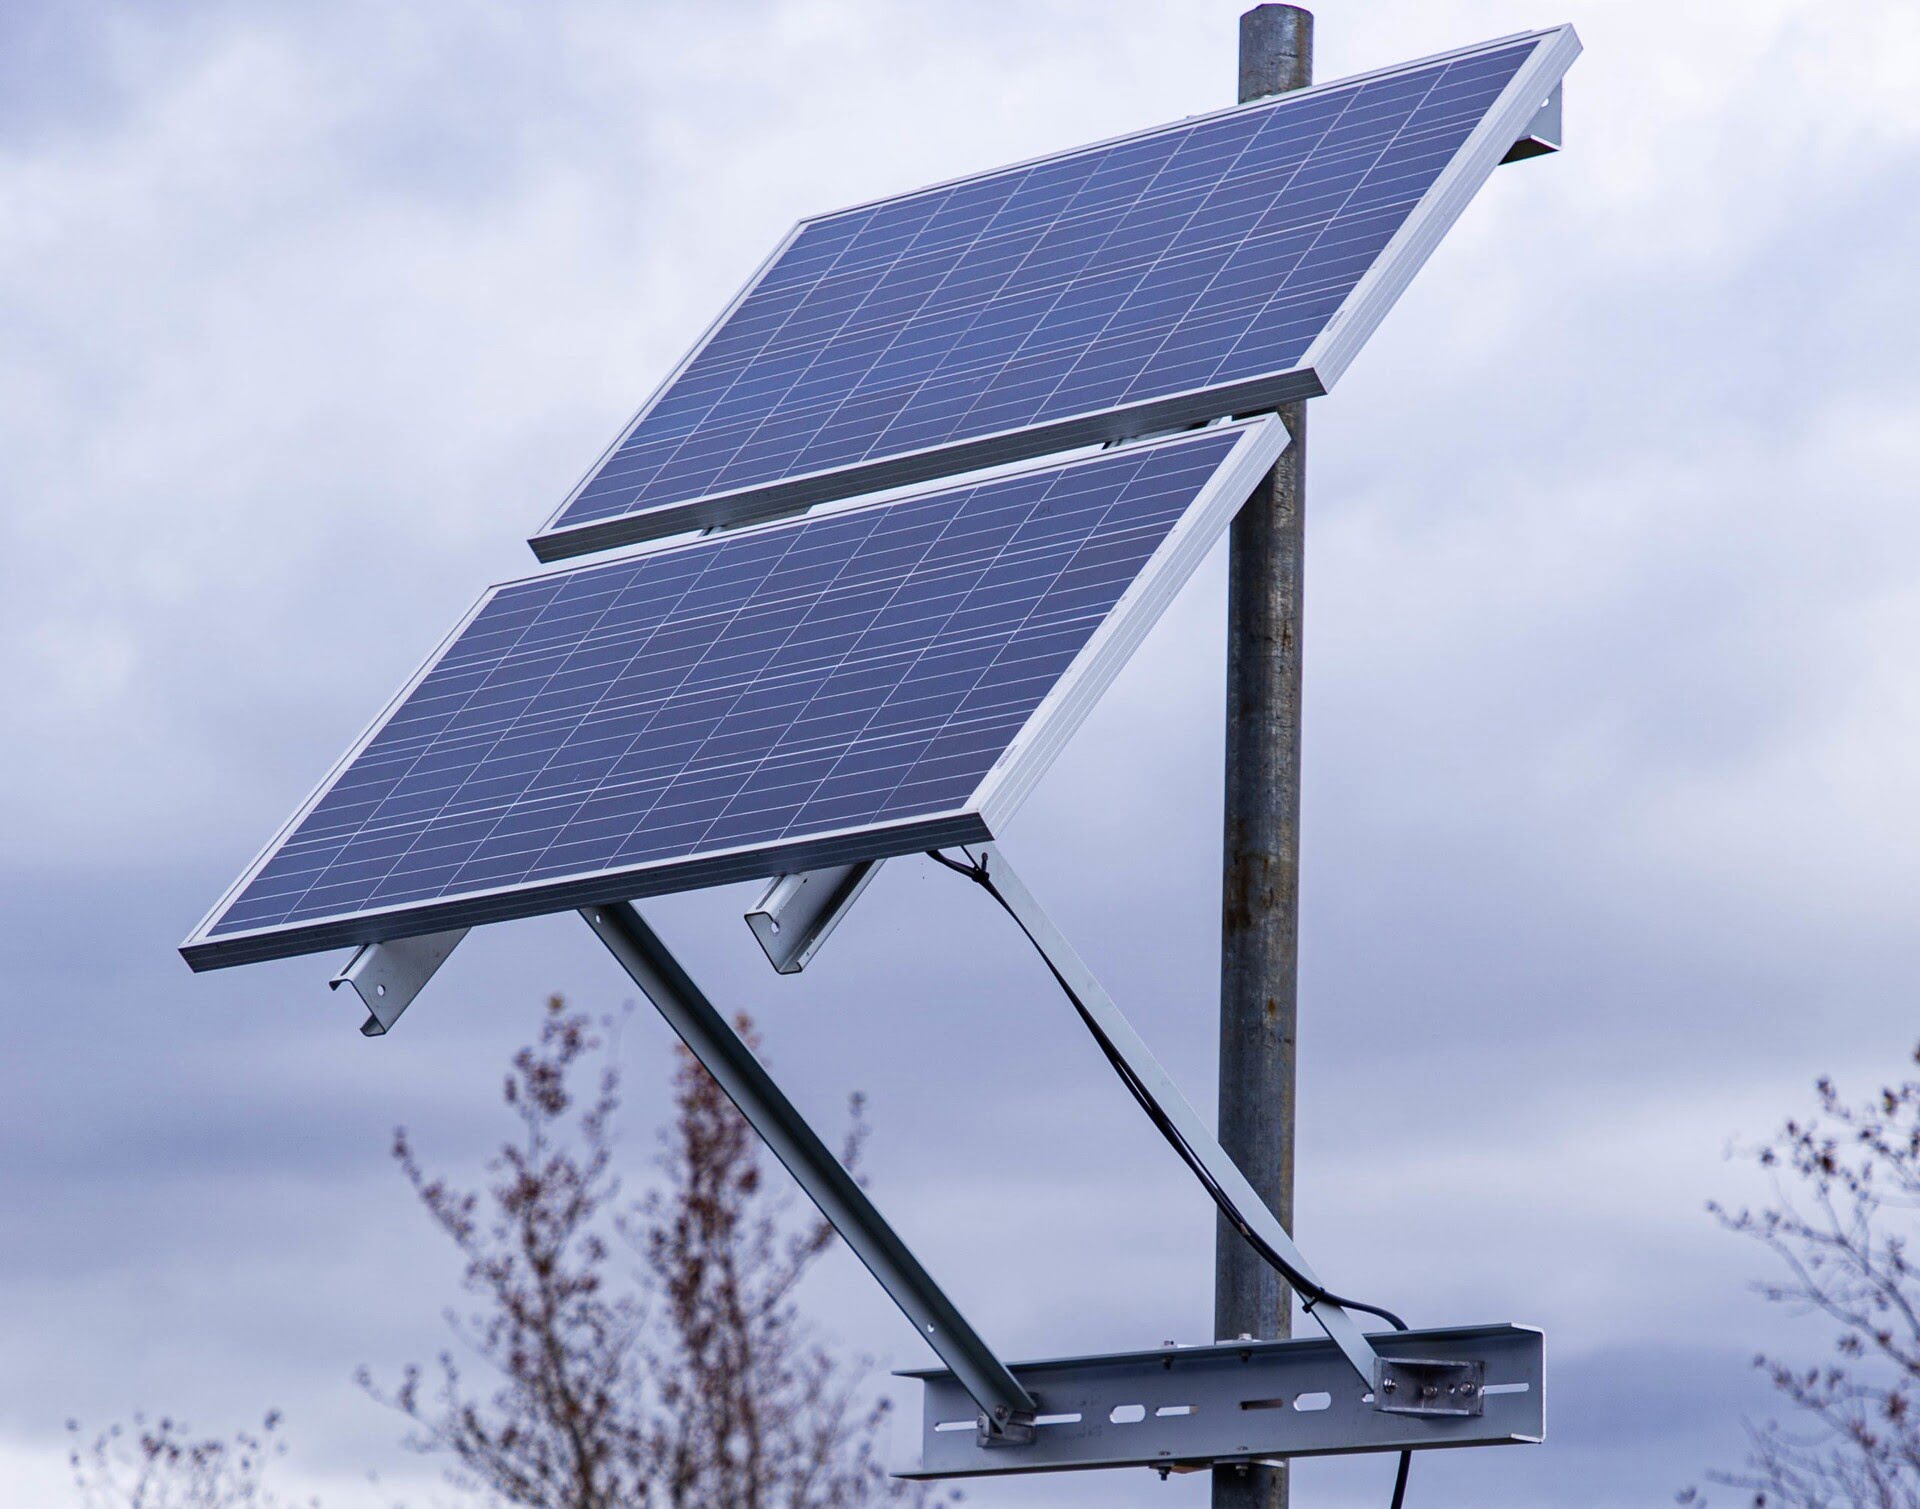
Step 6: Installing the Conduit Mount
Now that you’ve prepared the conduit mount and drilled the necessary holes, it’s time to install it onto your roof. Follow these steps to securely attach the conduit mount:
- Position the mount: Carefully position the conduit mount over the drilled holes, aligning it with the marked mounting locations on your roof. Ensure that the mount is centered and level for the best installation result.
- Insert bolts and washers: Insert the provided bolts through the mounting holes on the conduit mount. Place a washer on each bolt, ensuring that it sits flush against the mount’s surface.
- Tighten the bolts: Use a screwdriver or a wrench to tighten the bolts, securing the conduit mount firmly to the roof. Take care not to overtighten the bolts, as it can damage the mount or your roof.
- Check for stability: Once the mount is securely fastened, give it a gentle shake to ensure that it is stable and properly attached. If any adjustments are needed, loosen the bolts slightly, make the necessary adjustments, and retighten the bolts.
It’s crucial to follow the manufacturer’s instructions during the installation process, as they may provide specific guidelines for your particular conduit mount. If you encounter any difficulties or uncertainties, it’s recommended to seek professional assistance to ensure a safe and successful installation.
With the conduit mount securely installed, you are now ready to move on to the next step: securing the conduit in place.
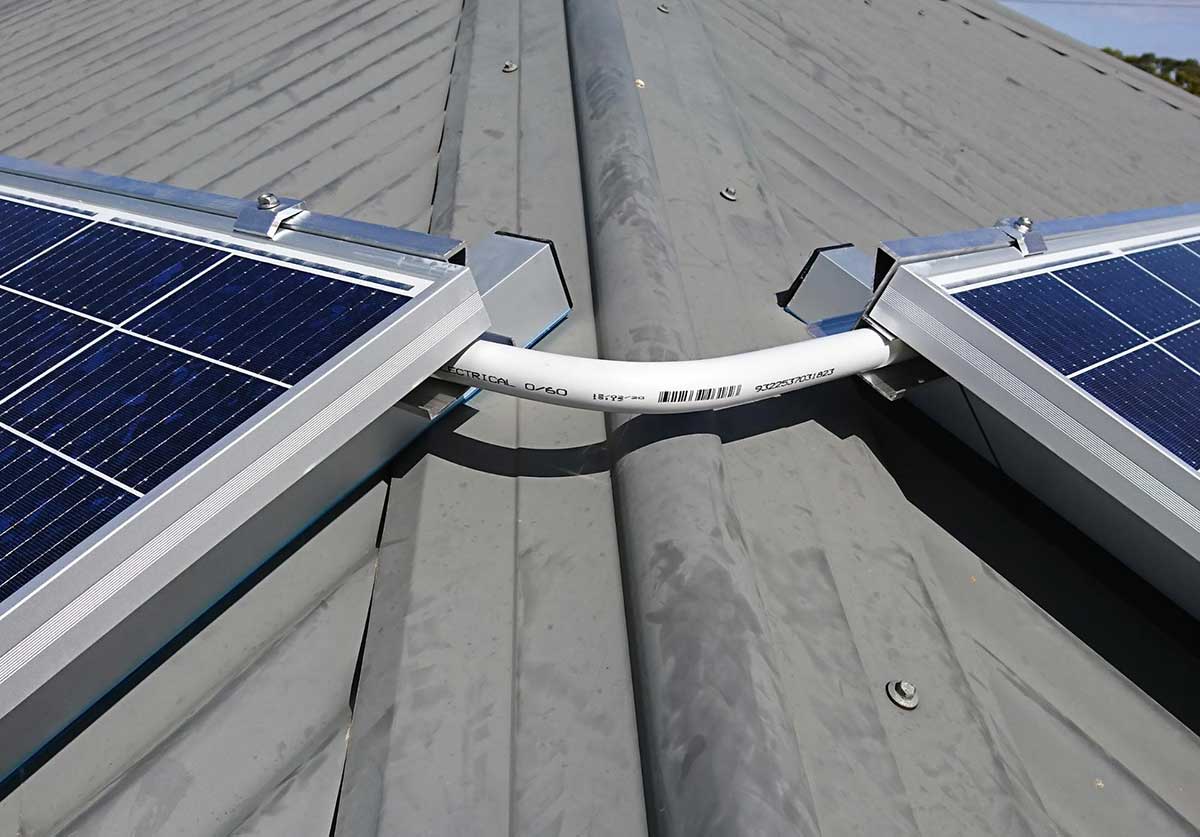
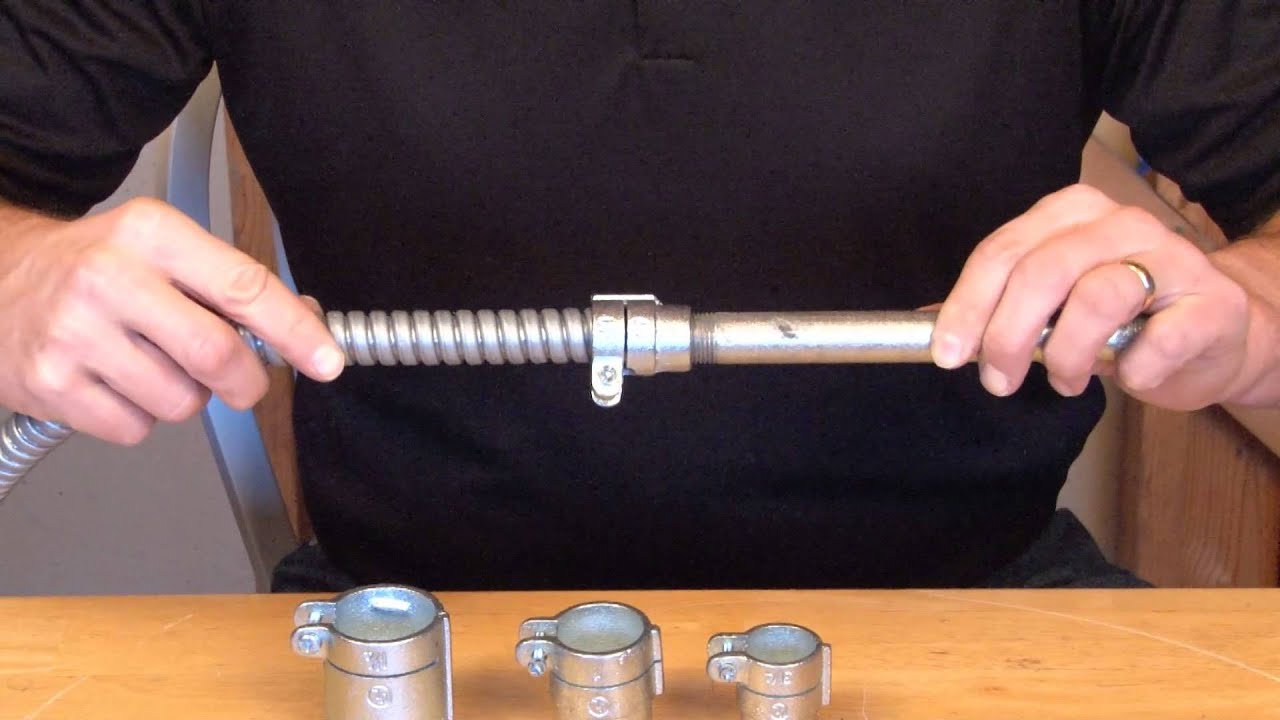
Step 7: Securing the Conduit
Now that the conduit mount is installed, it’s time to secure the conduit in place. The conduit provides protection and routing for the electrical wires that connect the solar panels. Follow these steps to securely fasten the conduit:
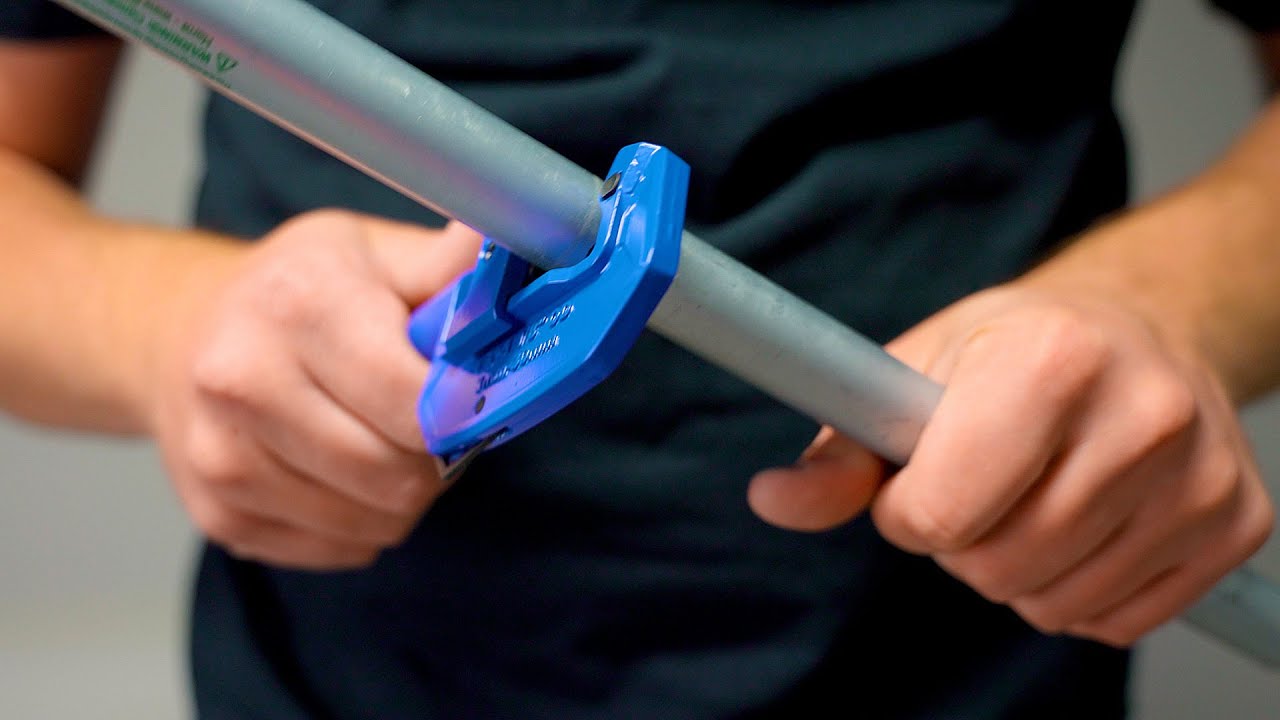
- Measure and cut the conduit: Measure the distance between the conduit mount and the solar panels. Use a conduit cutter to cut the conduit to the appropriate length. Ensure that the conduit is long enough to reach the solar panels but not excessively long.
- Attach the conduit to the mount: Use conduit clamps or brackets to attach the conduit to the conduit mount. Secure the clamps or brackets tightly to ensure a stable connection. Space the clamps or brackets evenly along the conduit for added stability.
- Secure the conduit to the roof: Depending on your roof type and preferences, you may choose to secure the conduit to the roof surface. This can be done using clips, straps, or other mounting hardware. Ensure that the conduit is securely fastened and properly aligned.
- Route the wires: Carefully route the electrical wires inside the conduit, ensuring that they are properly organized without any tangles or sharp bends. Use wire ties or clips to secure the wires inside the conduit as needed.
- Seal any openings: Inspect the conduit and ensure that all openings, such as entry points into the roof or walls, are properly sealed with appropriate sealant. This will prevent water from entering the conduit and causing damage to the electrical components.
It’s important to follow safety precautions and adhere to local electrical codes when securing the conduit and routing the wires. If you’re unfamiliar with electrical work, it’s strongly recommended to consult a licensed electrician for assistance.
With the conduit securely in place, you can now proceed to the next step: wiring the solar panels.
Read also: 14 Amazing Surface Mount Conduit for 2025
Step 8: Wiring the Solar Panels
With the conduit securely installed and the wiring route established, it’s time to wire the solar panels to complete your solar power system. Follow these steps to properly wire the solar panels:
- Connect the solar panels: Depending on the configuration of your solar panels, connect them in series or parallel. Check the manufacturer’s instructions for the specific wiring configuration.
- Strip the wire ends: Strip the ends of the wires coming from the solar panels to expose the conductive copper wire. Use wire strippers to remove the insulation without damaging the wire.
- Connect the wires to the conduit: Open the conduit access at the conduit mount and carefully route the wire ends into the conduit. Ensure that the wires are properly aligned and organized, avoiding any sharp bends or kinks.
- Make the connections: Inside the conduit, make the necessary connections between the solar panel wires and the corresponding wires from the electrical components, such as the charge controller or inverter. Use appropriate connectors, such as butt connectors or MC4 connectors, to ensure secure and reliable connections.
- Secure the connections: Once the connections are made, use electrical tape or heat shrink tubing to cover and protect the connections. This will prevent any moisture or foreign objects from causing damage to the wires or connections.
- Test the system: Before completing the final steps, it’s important to test your solar power system. Use a multimeter or a voltage meter to check the voltage output of the system and ensure that the connections are properly functioning.
It’s crucial to follow the manufacturer’s wiring instructions and consult a licensed electrician if you’re uncertain about any aspect of the wiring process. Working with electricity can be dangerous, so it’s important to prioritize safety throughout the entire installation process.
With the solar panels properly wired, you’re now ready to move on to the final step: testing the system.
Step 9: Testing the System
After completing the wiring of your solar power system, it’s important to thoroughly test it to ensure its proper functionality and performance. Follow these steps to test your solar system:
- Check the connections: Double-check all the connections and ensure they are secure and properly tightened. Verify that there are no loose wires or exposed conductors.
- Turn on the system: If your system has an inverter, turn it on. The inverter converts the DC (direct current) power generated by your solar panels into usable AC (alternating current) power for your home.
- Monitor the output: Use a monitoring system, such as a meter or an app provided by your solar installation company, to track and monitor the output of your solar panels. Observe the power generation and make sure it aligns with your expectations.
- Check for errors or malfunctions: Monitor the system for any error messages or malfunctions. Address any issues promptly by referring to the system manual or contacting your solar installer for assistance.
- Consult with a professional: If you notice any significant issues or inconsistencies with the system’s performance, it’s advisable to consult a professional solar technician or installer. They can conduct a thorough inspection to identify and resolve any potential problems.
Testing your solar power system is essential to ensure its efficiency and effectiveness in harnessing clean energy for your home. Regular monitoring and maintenance can help maximize the lifespan and performance of your solar panels.
Congratulations! You have successfully completed the steps to install and test your solar conduit mount and wiring. With your solar power system up and running, you can now enjoy the benefits of renewable energy and a greener future.
Remember, if you ever need to make changes or modifications to your solar installation, it’s recommended to consult a professional to ensure a safe and proper installation.
Should you encounter any difficulties or have further questions in the future, don’t hesitate to reach out for expert guidance. Happy solar panel installation!
Conclusion
Congratulations on completing the installation of your solar conduit mount and wiring your solar panels! By following this comprehensive guide, you have taken a significant step towards harnessing clean and sustainable energy for your home. Solar power not only helps reduce your carbon footprint but also provides long-term cost savings and energy independence.
Throughout this guide, we started by assessing your roof and determining the optimal placement for the mount. We then gathered the necessary tools and prepared the conduit mount for installation. After marking the mounting locations and drilling the holes, we securely installed the conduit mount onto your roof. With the conduit mount in place, we proceeded to secure the conduit and wire the solar panels. Finally, we tested the system to ensure its proper functionality.
It’s important to remember that safety is paramount during the installation process. If you’re unsure about any aspect or encounter any difficulties, it’s always best to consult with a professional electrician or solar installer. They can provide expert guidance and ensure a safe and successful installation.
With your solar power system now operational, you can enjoy the benefits of renewable energy and contribute to a greener future. Monitor the performance of your system regularly and schedule routine maintenance to keep it running efficiently for years to come.
Thank you for choosing solar energy and taking the initiative to install a solar conduit mount. By embracing renewable energy, you are making a positive impact on the environment while enjoying the benefits of sustainable and clean electricity for your home. Here’s to a brighter and more sustainable future!
Frequently Asked Questions about How To Mount A Solar Conduit
Was this page helpful?
At Storables.com, we guarantee accurate and reliable information. Our content, validated by Expert Board Contributors, is crafted following stringent Editorial Policies. We're committed to providing you with well-researched, expert-backed insights for all your informational needs.


0 thoughts on “How To Mount A Solar Conduit”