Articles
How To Cut PVC Roof Panels
Modified: December 7, 2023
Learn how to cut PVC roof panels with our informative articles. Get step-by-step instructions and tips for a successful installation.
(Many of the links in this article redirect to a specific reviewed product. Your purchase of these products through affiliate links helps to generate commission for Storables.com, at no extra cost. Learn more)
Introduction
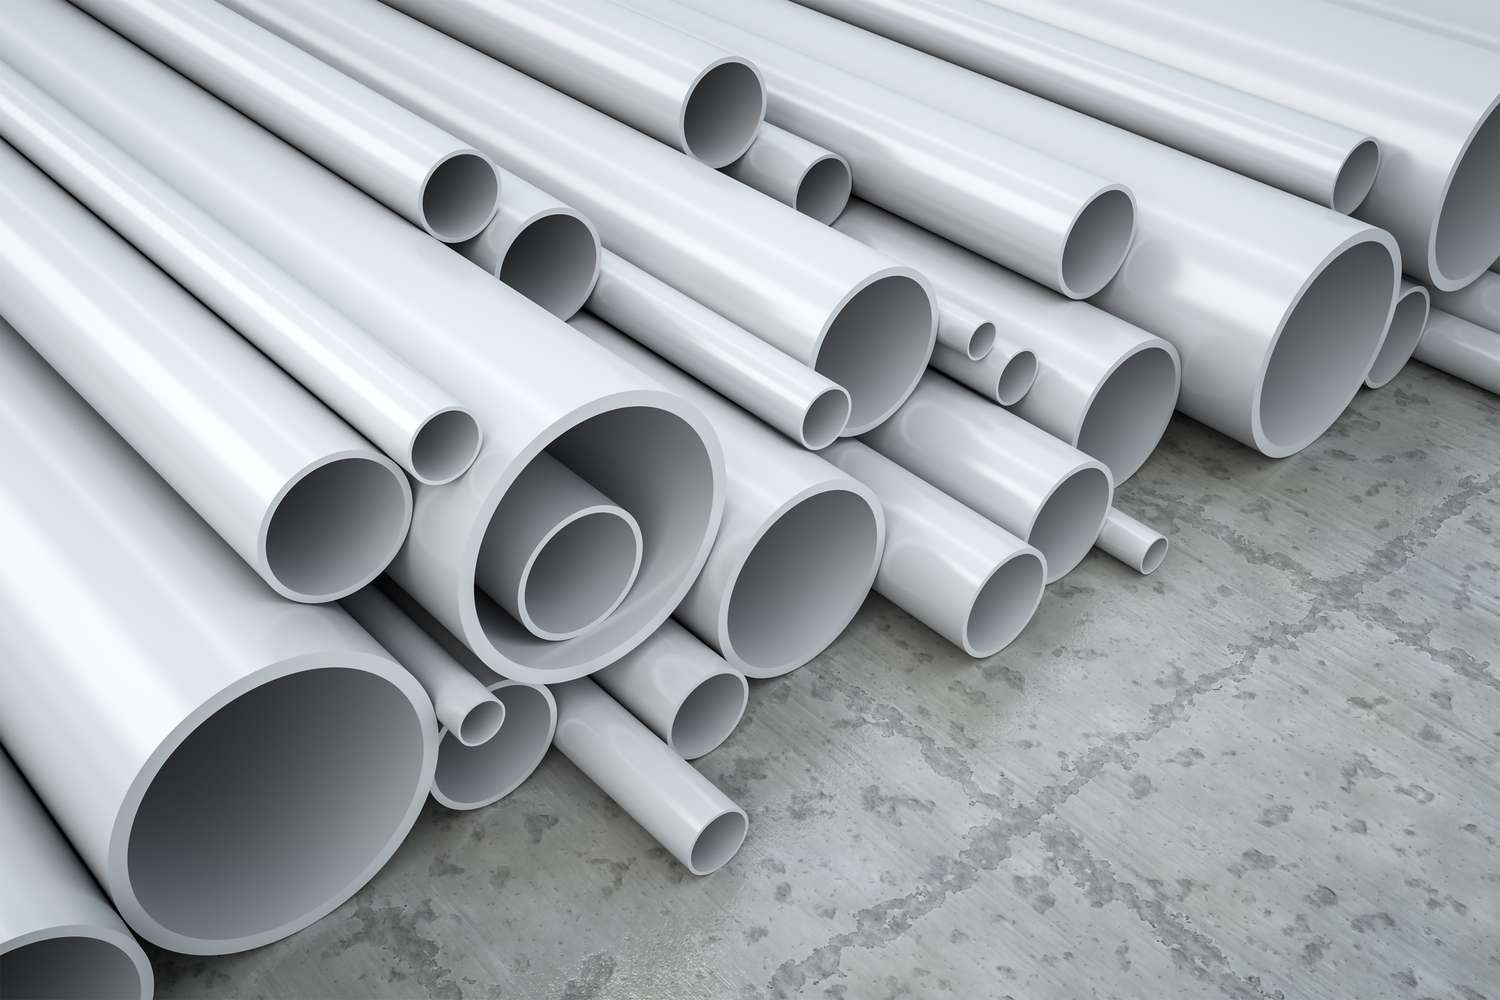
Installing PVC roof panels can be a cost-effective and durable solution for your roofing needs. Whether you are replacing an existing roof or constructing a new building, cutting PVC roof panels accurately is essential to ensure a proper fit and a professional finish.
In this article, we will guide you through the step-by-step process of cutting PVC roof panels. We will also provide you with safety precautions, a list of tools and materials you will need, and tips on how to install the panels once they are cut. By following these instructions, you can confidently tackle the task and achieve a successful installation.
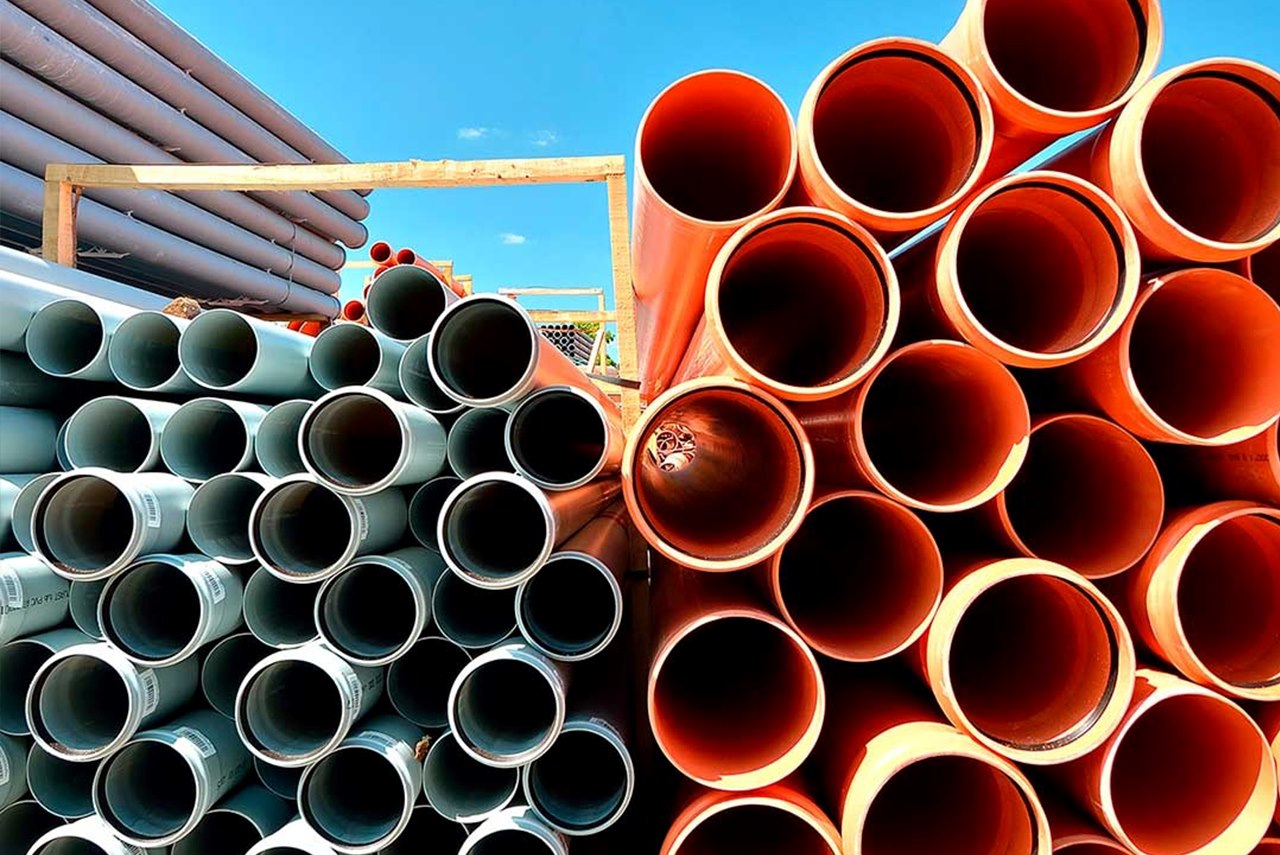
Before we delve into the cutting process, it’s important to note that PVC (polyvinyl chloride) is a durable and lightweight material commonly used in construction. It offers excellent resistance to chemicals, weathering, and UV radiation, making it an ideal choice for roofing applications.
Now, let’s proceed with the necessary safety precautions to ensure your well-being while working with PVC roof panels.
Key Takeaways:
- Safety first! When cutting PVC roof panels, prioritize protective gear, a well-ventilated workspace, and proper tools to minimize hazards and ensure a secure working environment.
- Precision is key. From measuring and marking to cutting and installing, attention to detail and adherence to the step-by-step process are crucial for achieving accurate cuts and a professional finish.
Read more: How To Cut PVC Blinds?
Safety Precautions
Working with PVC roof panels requires you to take certain safety precautions to protect yourself from potential hazards. Here are some important steps to follow:
- Wear Protective Gear: Before you start cutting PVC roof panels, make sure to wear safety goggles to protect your eyes from flying debris. Additionally, wear work gloves to prevent injuries from sharp edges and cuts.
- Work in a Well-Ventilated Area: Cutting PVC panels can release toxic fumes, so it’s crucial to work in a well-ventilated area. Open windows and doors or use fans to promote airflow and keep the workspace free from stagnant air.
- Use a Respirator: To further protect yourself from inhaling harmful fumes, wear a respirator mask that is specifically designed for working with chemicals and airborne particles.
- Secure the Panels: Before cutting the PVC roof panels, ensure they are safely secured in place. Use clamps or other sturdy tools to prevent the panels from moving during the cutting process.
- Use Proper Cutting Techniques: When operating power tools, such as a circular saw or jigsaw, always follow the manufacturer’s guidelines and use them in accordance with safety instructions. Keep your fingers away from the cutting area and maintain a firm grip on the tool at all times.
- Clean Up Properly: After cutting the PVC roof panels, promptly clean up any debris or scraps. Dispose of them in a safe manner, following local regulations for waste management.
By observing these safety precautions, you will minimize the risk of accidents and ensure a safer working environment. Now that we have covered the safety aspects, let’s move on to the tools and materials you will need for cutting PVC roof panels.
Tools and Materials Required
Before you can begin cutting PVC roof panels, it’s important to gather all the necessary tools and materials. Here is a list of what you will need:
- Measuring Tape: A measuring tape will be essential for accurately measuring the dimensions of the PVC roof panels.
- Marker or Pencil: You will need a marker or pencil to mark the cutting lines on the panels.
- Straight Edge or Ruler: A straight edge or ruler will help you create straight and precise cutting lines.
- Circular Saw or Jigsaw: A circular saw or jigsaw equipped with a fine-toothed blade specifically designed for cutting PVC will be the main tool for cutting the panels.
- Safety Goggles: Safety goggles will protect your eyes from flying debris during the cutting process.
- Work Gloves: Work gloves will provide protection for your hands from sharp edges and cuts.
- Respirator Mask: A respirator mask will protect you from inhaling toxic fumes released during the cutting process.
- Clamps: Clamps will help secure the panels in place while you cut.
- Deburring Tool or Sandpaper: A deburring tool or sandpaper will be necessary to smooth the cut edges of the PVC panels.
- Cleaning Solution and Cloth: A cleaning solution and cloth will be useful for cleaning and finishing the cut edges.
Make sure to gather all the necessary tools and materials before starting the cutting process. This will ensure that you have everything you need within reach and can complete the task efficiently.
With the tools and materials ready, let’s move on to the step-by-step process of cutting PVC roof panels.
Step 1: Measure and Mark the Panels
Before you begin cutting the PVC roof panels, you need to accurately measure and mark the areas that need to be cut. Follow these steps:
- Measure the Dimensions: Use a measuring tape to measure the length and width of the area where the panel needs to fit. Take precise measurements and note them down.
- Transfer Measurements: Transfer the measurements onto the PVC panel using a marker or pencil. Use a straight edge or ruler to ensure straight and accurate lines.
- Consider Overhang: If the panel is intended to overhang the structure, add the desired overhang distance to the measurements and mark accordingly.
- Add Cutting Allowance: Add a small amount of cutting allowance to the measurements to allow for any adjustments needed during the installation process.
- Double-Check: Double-check the measurements and markings to ensure accuracy before moving on to the cutting process.
By taking the time to measure and mark the PVC roof panels accurately, you will ensure that the panels fit properly and create a professional-looking finish. Now that you have measured and marked the panels, it’s time to prepare the cutting area.
Step 2: Prepare the Cutting Area
Before you start cutting the PVC roof panels, it’s important to prepare a suitable cutting area to ensure safety and efficiency. Follow these steps to prepare the cutting area:
- Choose a Well-Ventilated Space: Select a well-ventilated area, preferably outdoors, to minimize the inhalation of toxic fumes generated during the cutting process. If working indoors, ensure that the space is properly ventilated with open windows or fans.
- Cover the Work Surface: Place a stable and flat work surface, such as a sturdy table or workbench, in the cutting area. Cover the surface with a protective layer, such as a tarp or cardboard, to prevent scratches on the panels and to catch any debris or scraps.
- Secure the Panels: Use clamps or other suitable tools to securely fasten the PVC roof panels to the work surface. This will prevent movement and ensure stability during the cutting process.
- Position Yourself Safely: Stand in a comfortable position where you have good control of the cutting tool. Keep sufficient clearance around you to move freely and safely while operating the tool.
- Set Up Lighting: Ensure that you have sufficient lighting in the cutting area to clearly see the marked lines on the PVC panels. Good lighting will help you make accurate cuts and prevent mistakes.
- Keep Fire Safety Measures: PVC panels can generate heat and sparks during cutting, especially when using power tools. Keep a fire extinguisher nearby as a precautionary measure in case of any fire-related accidents.
By preparing a well-ventilated and organized cutting area, you will maximize safety and efficiency during the cutting process. Now that the cutting area is set up, let’s proceed to the next step – cutting the PVC roof panels.
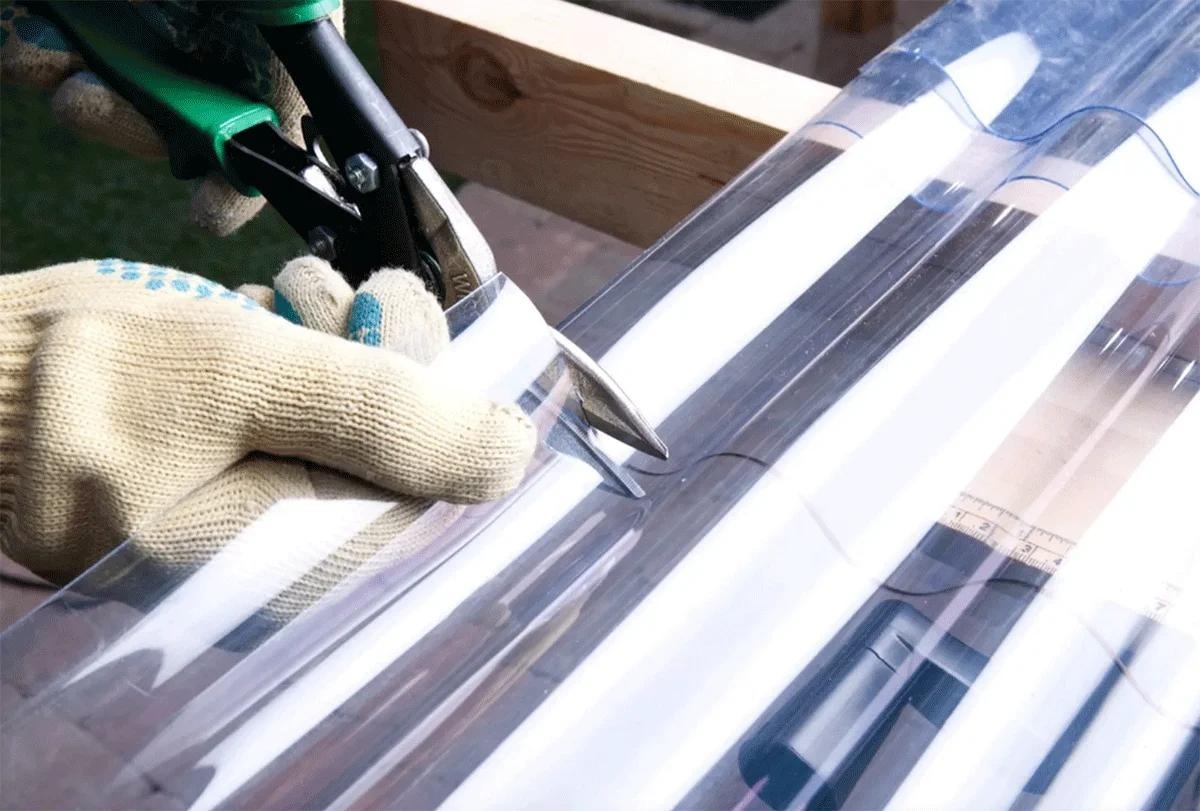
When cutting PVC roof panels, use a fine-toothed saw to minimize chipping and ensure a clean cut. Support the panel properly to prevent bending or cracking during cutting.
Read more: How To Cut Plumbing PVC Pipe
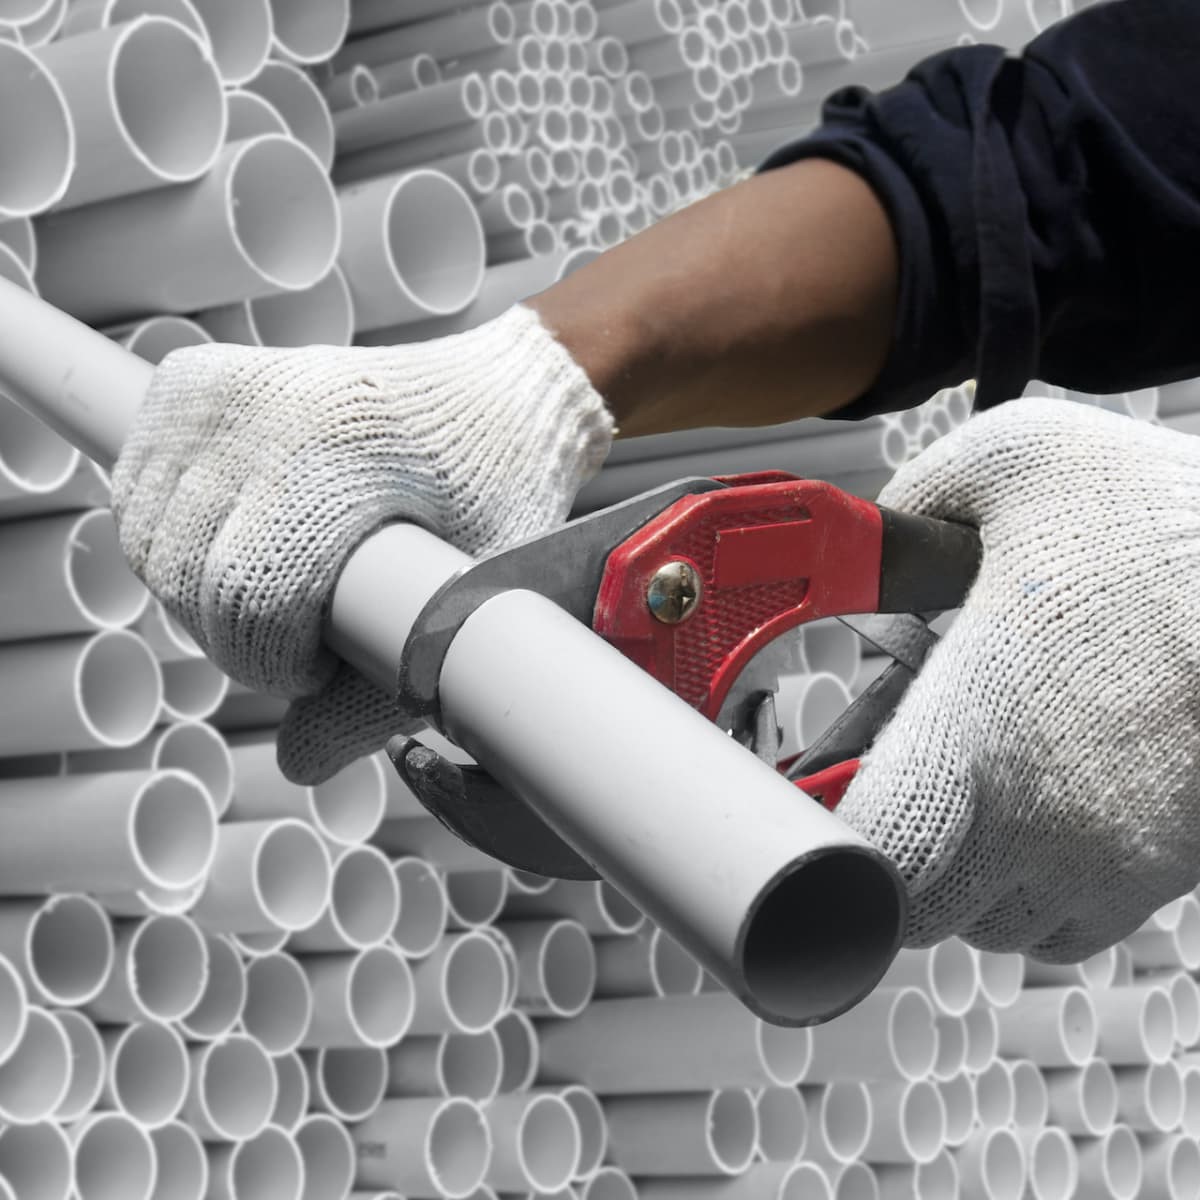
Step 3: Cut the PVC Roof Panels
Now that you have prepared the cutting area, it’s time to cut the PVC roof panels. Follow these steps for an accurate and clean cut:
- Select the Right Tool: Depending on your preference and the available tools, choose either a circular saw or a jigsaw equipped with a fine-toothed blade specifically designed for cutting PVC material.
- Position the Panel: Position the PVC roof panel securely on the work surface, ensuring that it is firmly clamped in place.
- Align the Cutting Line: Align the cutting line with the blade of the cutting tool. Take your time to make sure the alignment is accurate, as it will determine the precision of the cut.
- Start the Cutting Process: Firmly grasp the cutting tool and slowly start cutting along the marked line. Apply even pressure and let the tool do the work without forcing it.
- Be Mindful of Speed: Maintain a moderate and consistent cutting speed to ensure a smooth and precise cut without overheating the blade or panel.
- Follow the Cutting Line: Keep the blade of the cutting tool aligned with the cutting line as you progress along the panel. Use the straight edge or ruler as a guide, if necessary, to ensure straight cuts.
- Take Breaks if Needed: If you feel that the blade or panel is getting too hot, take short breaks to allow them to cool down. This will prevent any damage to the tool or the PVC material.
- Double-Check the Cuts: Once you have completed cutting the panel, double-check the accuracy of the cut by comparing it with the measurements and desired specifications.
By following these steps, you will be able to successfully cut the PVC roof panels with precision. However, the cutting process may leave rough edges that need to be addressed. Let’s move on to the next step – cleaning and finishing the cut edges.
Step 4: Clean and Finish the Cut Edges
After cutting the PVC roof panels, it’s important to clean and finish the cut edges for a professional and polished look. Follow these steps to clean and finish the cut edges:
- Inspect the Cut Edges: Carefully inspect the cut edges of the PVC panels for any roughness or burrs that may be present.
- Deburring Tool: If there are any burrs or rough edges, use a deburring tool to smooth them out. Simply run the deburring tool along the cut edges to remove any rough spots or protrusions.
- Sandpaper: If a deburring tool is not available, you can use sandpaper with a fine grit (around 200-400) to gently sand the cut edges. This will help smoothen any roughness or sharpness.
- Be Gentle: When using a deburring tool or sandpaper, take care to apply gentle pressure and work in a consistent motion. Avoid applying too much force, as it may damage the panel.
- Clean with a Cloth: Once the cut edges are smooth, use a clean cloth dampened with a mild cleaning solution to wipe away any debris or dust from the cutting process.
- Drying Time: Allow the cut edges to dry completely before proceeding with the installation process. This will ensure a clean and secure fit.
By cleaning and finishing the cut edges, you will create a neater and more professional appearance for your PVC roof panels. The final step in the process is to install the panels, which we will cover next.
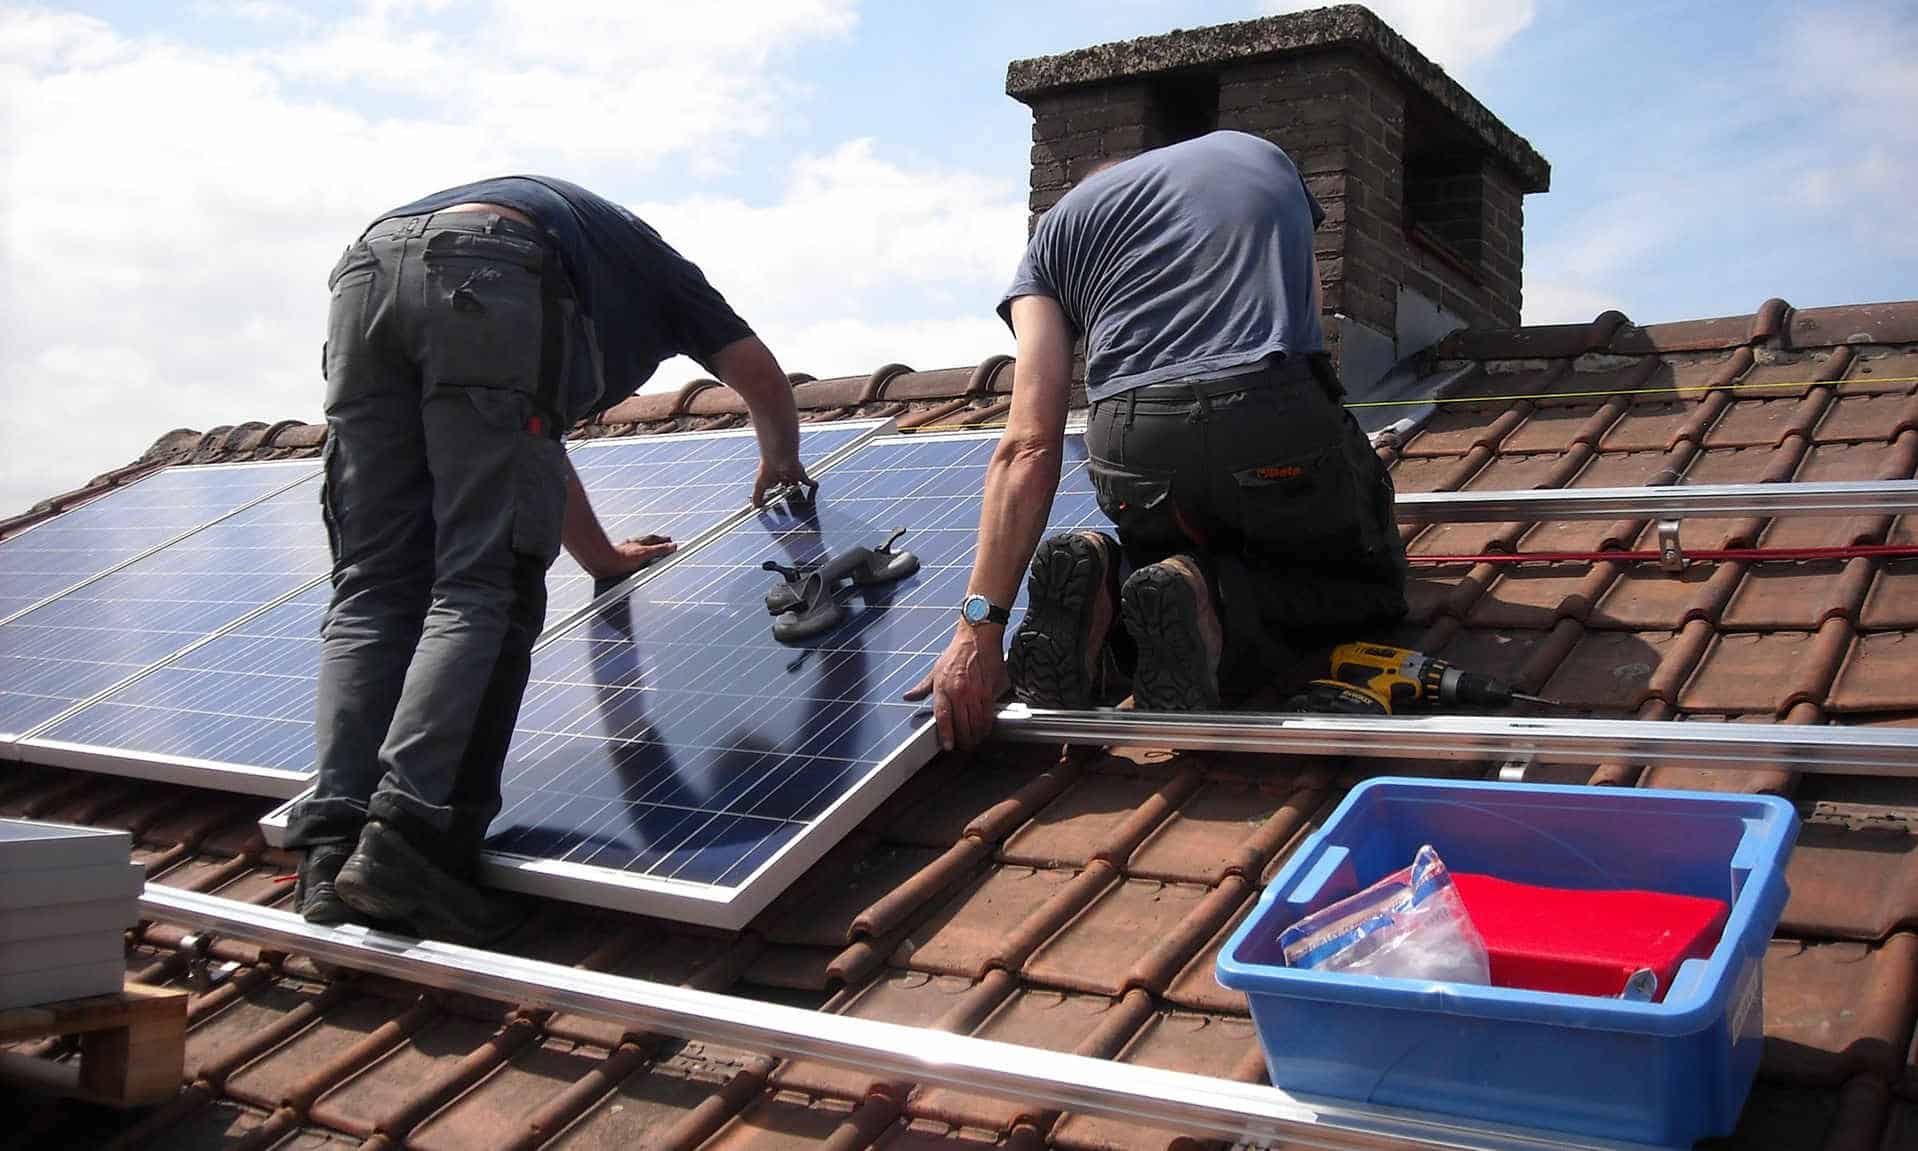
Step 5: Install the PVC Roof Panels
Now that you have successfully cut and prepared the PVC roof panels, it’s time to install them. Follow these steps for a proper installation:
- Position the First Panel: Start by positioning the first panel in the desired location. Ensure that it is aligned properly and securely fastened to the structure using appropriate fasteners or adhesives.
- Overlap or Interlock: Depending on the design of the PVC roof panels, you may need to overlap or interlock them. Follow the manufacturer’s instructions to ensure the correct installation method.
- Secure the Panels: Use the recommended fasteners, such as roofing screws or nails, to securely attach the panels to the structure. Place the fasteners at the designated points along the edges and ridges of the panels.
- Maintain Proper Spacing: Leave a small gap between the panels to allow for natural expansion and contraction due to temperature fluctuations. Refer to the manufacturer’s guidelines for the recommended spacing.
- Continue with Additional Panels: Repeat the process for each subsequent panel, ensuring proper alignment, overlapping, and secure fastening.
- Check for Level and Plumb: Regularly check the level and plumb of the installed panels to ensure they are aligned correctly and offering proper water drainage.
- Trimming and Fitting: In some cases, you may need to trim the panels to fit around corners, protrusions, or other obstacles. Use the same cutting techniques we covered earlier to make precise cuts.
- Seal the Joints: Apply an appropriate sealant or waterproofing material to the joints and seams between the panels to prevent any water infiltration.
By following these steps, you can successfully install the PVC roof panels. Make sure to carefully follow the manufacturer’s instructions and guidelines specific to your panel type for the best results. Once the panels are properly installed, you can enjoy the benefits of their durability and weather resistance.
Remember, if you have any doubts or concerns during the installation process, it’s always best to consult with a professional roofing contractor or seek advice from the manufacturer. They can provide further guidance and ensure a successful installation.
Now that you have learned how to cut and install PVC roof panels, you are ready to embark on your roofing project with confidence. Enjoy the benefits of a functional and aesthetically pleasing roof that will protect your property for years to come.
Conclusion
Cutting PVC roof panels is a crucial step in the process of installing a durable and cost-effective roofing solution. By following the steps and safety precautions outlined in this article, you can confidently tackle the task, ensuring precise cuts and a professional finish.
The safety precautions highlighted in the article, such as wearing protective gear, working in a well-ventilated area, and using the appropriate tools, will help safeguard your well-being throughout the cutting process. Always prioritize safety to prevent accidents and injuries.
The tools and materials required for cutting PVC roof panels, including measuring tape, marking tools, cutting tools, safety equipment, and cleaning supplies, will equip you with everything you need to successfully complete the task.
The step-by-step instructions provided in this article, from measuring and marking the panels to cleaning and finishing the cut edges, offer a comprehensive guide to achieving accurate cuts and a professional installation.
Remember to take your time, be mindful of the alignment and speed when cutting, and double-check the measurements and cuts to ensure their accuracy. Additionally, properly installing the PVC roof panels by following the manufacturer’s instructions will help create a sturdy and watertight roof for your building.
Whether you are replacing an existing roof or constructing a new building, cutting and installing PVC roof panels can be a rewarding DIY project. However, if you are unsure or uncomfortable with the process, it is always advisable to consult a professional roofing contractor who can provide expert guidance and ensure a successful installation.
By utilizing the knowledge and techniques shared in this article, you can confidently embark on your PVC roof panel cutting and installation project, knowing that you have the skills and understanding to achieve a durable and visually appealing roof. So, get started and enjoy the benefits of a well-executed PVC roof panel installation.
Frequently Asked Questions about How To Cut PVC Roof Panels
Was this page helpful?
At Storables.com, we guarantee accurate and reliable information. Our content, validated by Expert Board Contributors, is crafted following stringent Editorial Policies. We're committed to providing you with well-researched, expert-backed insights for all your informational needs.


0 thoughts on “How To Cut PVC Roof Panels”