Articles
How To Build A Kitchen Food Pantry Cabinet
Modified: January 18, 2024
Looking for articles on how to build a kitchen food pantry cabinet? Check out our comprehensive guide for step-by-step instructions and expert tips!
(Many of the links in this article redirect to a specific reviewed product. Your purchase of these products through affiliate links helps to generate commission for Storables.com, at no extra cost. Learn more)
Introduction
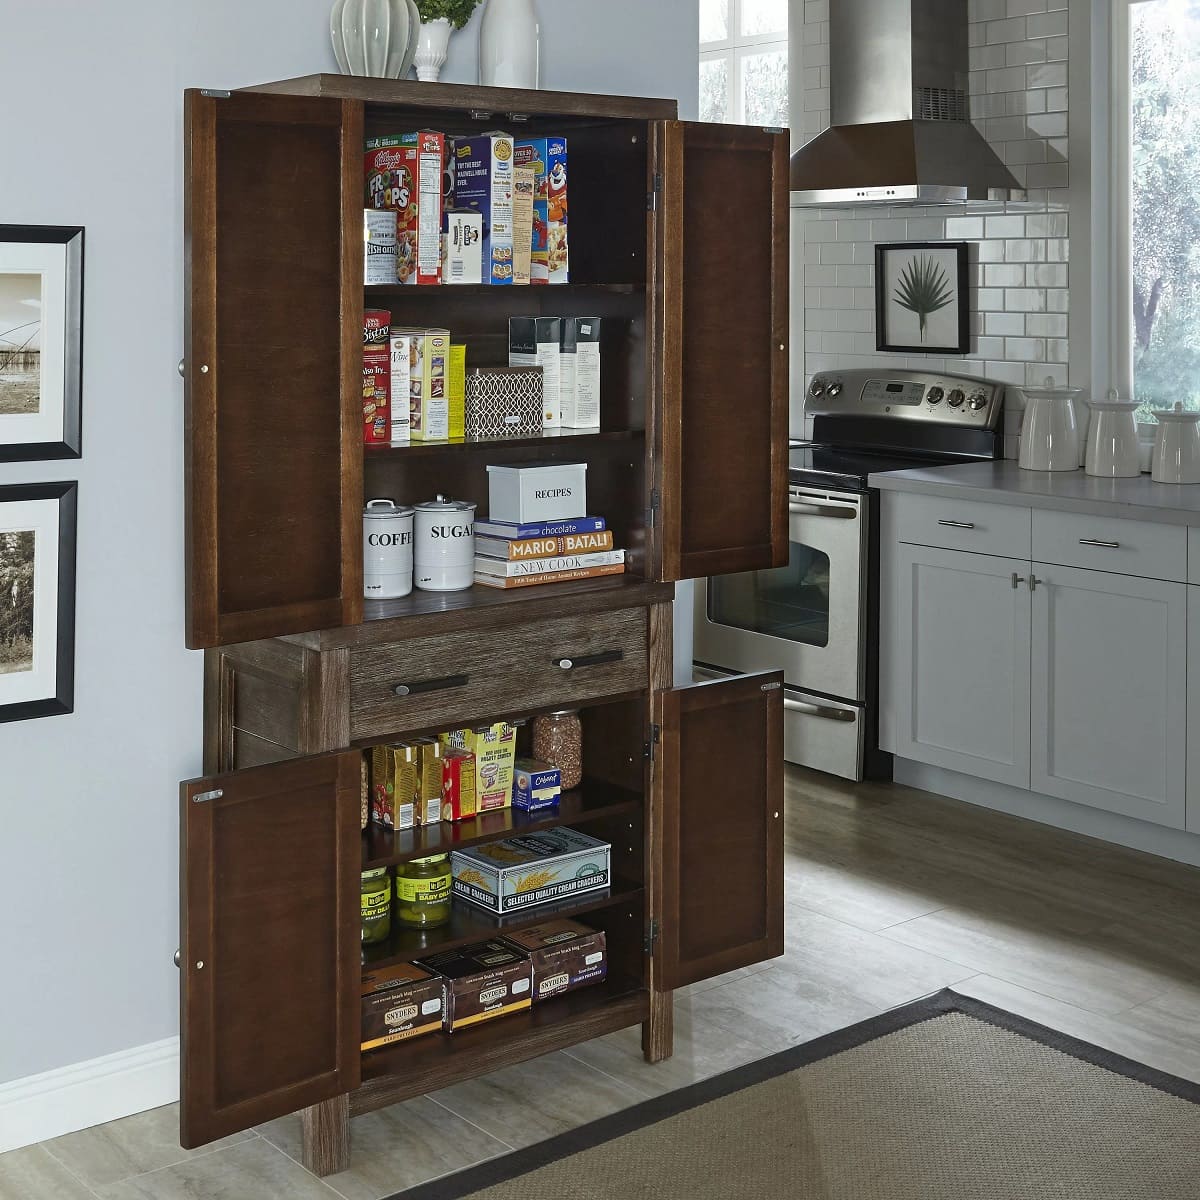
Welcome to our comprehensive guide on how to build a kitchen food pantry cabinet. Having a well-organized pantry is a game-changer when it comes to meal planning, food storage, and keeping your kitchen clutter-free. A dedicated pantry cabinet not only maximizes storage space but also adds a touch of elegance to your kitchen decor.
In this article, we will take you through a step-by-step process of planning, designing, and constructing your very own pantry cabinet. Whether you’re a seasoned DIY enthusiast or a beginner, our detailed instructions and tips will help you create a functional and stylish storage solution that perfectly suits your needs.
Before diving into the construction process, it’s essential to consider your specific requirements and goals for the pantry cabinet. Are you looking to store dry goods, canned goods, or a combination of both? Will you need space for small appliances or extra storage for kitchen utensils? Taking the time to define your needs will guide your decision-making process and ensure that the end result is tailored to your preferences.
Once you have a clear vision in mind, it’s time to move on to the planning and preparation phase. This involves selecting the location for your pantry cabinet, evaluating the available space, and gathering the necessary materials and tools. Let’s delve into each of these steps in more detail.
Key Takeaways:
- Building a kitchen food pantry cabinet involves careful planning, precise measurements, and thoughtful organization. From selecting materials to stocking the pantry, every step contributes to a functional and stylish storage solution tailored to your needs.
- Maintenance and upkeep are crucial for ensuring the longevity and efficiency of your pantry cabinet. Regular cleaning, monitoring, and reorganization help create a well-maintained and convenient storage space in your kitchen.
Read more: How To Build Pantry Cabinet
Planning and Preparation
Before embarking on any DIY project, it’s crucial to plan and prepare accordingly. Building a kitchen food pantry cabinet is no exception. This phase involves selecting the location for your pantry cabinet, evaluating the available space, and gathering the necessary materials and tools.
When choosing the location for your pantry cabinet, consider accessibility and convenience. Ideally, it should be located near your cooking area to facilitate easy access while preparing meals. Additionally, make sure you have enough space to accommodate the size of the cabinet and allow for smooth movement around it.
Next, it’s time to measure and evaluate the available space. Start by measuring the area where you plan to install the pantry cabinet. Take note of the width, height, and depth, as these measurements will dictate the size of the cabinet you will build. Consider any existing plumbing, electrical outlets, or obstacles that may affect the installation process. It’s also advisable to consult local building codes and regulations to ensure compliance.
With the location and measurements in mind, it’s time to gather the materials and tools you’ll need. Here’s a list of the basic materials required for building a pantry cabinet:
- Plywood or solid wood for the cabinet construction
- Wood glue
- Screws or nails for assembly
- Shelving material such as plywood or wire racks
- Door material (optional)
- Cabinet handles or knobs
- Hinges (if adding doors)
- Paint or stain for finishing
- Measuring tape
- Saw
- Drill
- Screwdriver
- Sander or sandpaper
- Paintbrushes or foam rollers
These are the basic materials and tools, but you may need additional supplies depending on the design and features you choose for your pantry cabinet. It’s a good idea to make a detailed list and gather all the necessary items before starting the construction process.
Once you have everything you need, it’s time to move on to the next phase: building the basic structure of the pantry cabinet. This is where the real construction work begins. Join us in the next section as we guide you through the steps of building a sturdy and functional pantry cabinet.
Choosing the Right Location
When it comes to building a kitchen food pantry cabinet, choosing the right location is essential for its functionality and convenience. The ideal location will allow easy access to your pantry items while seamlessly integrating with the rest of your kitchen layout. Here are some factors to consider when determining the best spot for your pantry cabinet:
Proximity to the Cooking Area: It’s recommended to choose a location that is in close proximity to your cooking area. This ensures easy access to ingredients and pantry items while you’re preparing meals. Placing the pantry cabinet near your stove or countertop can save you time and effort by minimizing the distance you need to travel while cooking.
Availability of Space: Assess the available space in your kitchen to find an area that can accommodate the size of the pantry cabinet. Consider the width, depth, and height required for your pantry cabinet, including any additional space needed for doors to open and close smoothly. Avoid placing the pantry cabinet in a cramped corner or tight space that could hinder its functionality.
Traffic Flow: Take into account the traffic flow in your kitchen when choosing the location for your pantry cabinet. Ensure that it doesn’t obstruct the main pathways or create congestion in the kitchen. You should be able to navigate around the pantry cabinet without any hindrance, especially during busy meal prep times.
Accessibility: Consider how accessible the pantry cabinet will be for all members of your household. If you have young children or elderly family members, make sure the pantry cabinet is at a height that is easily reachable for them. You may also want to avoid placing it too high or too low to prevent strain or discomfort while retrieving items.
Functional Adjacency: Think about the functional adjacency of the pantry cabinet in relation to other kitchen elements. If you have a dedicated space for small appliances or a baking station, consider situating the pantry cabinet nearby. This allows for smooth workflow and easy access to all the essentials in one area.
Overall Aesthetics: While functionality is key, it’s also important to consider how the pantry cabinet will blend with the overall aesthetics of your kitchen. Choose a location that complements the existing design elements, such as cabinetry and countertops. Consider the color and style of the pantry cabinet to ensure it harmonizes with the rest of the kitchen decor.
By carefully considering these factors, you can choose a location for your pantry cabinet that not only meets your functional needs but also enhances the overall atmosphere and efficiency of your kitchen. Once you have determined the perfect spot, it’s time to move on to the next step: measuring and evaluating the space to ensure a proper fit for your pantry cabinet. Stay tuned!
Measuring and Evaluating Space
Once you have chosen the ideal location for your kitchen food pantry cabinet, the next step is to accurately measure and evaluate the available space. This is crucial to ensure that your pantry cabinet fits perfectly and functions optimally within your kitchen. Here’s a step-by-step guide to help you measure and evaluate the space:
1. Measure the width, height, and depth: Use a measuring tape to determine the exact dimensions of the area where you plan to install the pantry cabinet. Measure the width from wall to wall, the height from floor to ceiling, and the depth from the front to the back of the space. Note down these measurements as they will guide you in constructing the appropriate-sized pantry cabinet.
2. Consider the surrounding space: Take into account any obstacles or existing features that might impact the installation of your pantry cabinet. Measure the distance from nearby walls, cabinets, or appliances to ensure there is enough clearance for the pantry cabinet to fit comfortably without interfering with other elements of your kitchen. Consider factors like door swings and the ability to fully open and close doors without obstruction.
3. Evaluate for potential modifications: Assess if any modifications are needed to the space to accommodate the pantry cabinet. For instance, if the space is uneven or has uneven flooring, you may need to level it before installing the cabinet. If there are electrical outlets, plumbing, or ventilation ducts in the area, plan accordingly to work around them or make necessary adjustments.
4. Take note of wall stud locations: It’s important to know the locations of the wall studs in the surrounding area where you plan to install the pantry cabinet. Wall studs provide structural support and will be used to secure the cabinet securely to the wall. Use a stud finder or other methods to locate the studs and mark their positions to ensure proper anchoring of the cabinet.
5. Make a sketch or diagram: Create a sketch or diagram of the space, noting all the measurements and important details. This will serve as a visual reference throughout the construction process and help you visualize how the pantry cabinet will fit into the designated area. Include any modifications or additional requirements that you identified during the evaluation process.
By meticulously measuring and evaluating the space, you can ensure that your kitchen food pantry cabinet fits seamlessly and optimizes the available area. These measurements and evaluations will guide you in the subsequent steps of selecting materials and tools, as well as constructing the basic structure of the pantry cabinet. So grab your measuring tape and get ready to bring your pantry cabinet to life!
Selecting the Materials and Tools
Now that you have measured and evaluated the space for your kitchen food pantry cabinet, it’s time to move on to selecting the materials and tools needed for the construction process. Choosing the right materials and having the necessary tools on hand are crucial for a successful build. Here’s a guide to help you make the right choices:
Materials:
- Cabinet Construction: Select high-quality materials for building the cabinet structure, such as plywood or solid wood. Plywood is a popular choice due to its durability, affordability, and ease of use. Opt for plywood with a thickness suitable for the size of your pantry cabinet, typically around ¾ inch.
- Shelving Material: Consider the type of shelves you want in your pantry cabinet. Plywood or wire racks are commonly used for pantry shelving. Plywood shelves offer stability and can be customized to fit your storage needs, while wire racks allow for better airflow and visibility of the stored items.
- Door Material: Decide whether you want to add doors to your pantry cabinet or leave it open. If you choose to have doors, select a material that matches your kitchen aesthetics. Common options include plywood, solid wood, or glass for a more decorative touch.
- Cabinet Hardware: Choose handles or knobs that are functional and visually appealing. Consider the size and style of the hardware to ensure it complements the overall design of your pantry cabinet.
- Finishing: Decide on the finish you want for your pantry cabinet. You can paint the cabinet with a color that matches your kitchen decor or opt for a natural wood stain to enhance the beauty of the wood grain.
Tools:
- Measuring Tape: An essential tool for accurately measuring the dimensions of the space and the necessary cuts for the materials.
- Saw: Depending on the materials used, you may need a circular saw, jigsaw, or miter saw to cut the plywood or wood pieces to the desired sizes.
- Drill: A power drill will be required for creating holes, attaching screws or nails, and installing the cabinet hardware.
- Screwdriver: A screwdriver will come in handy for tightening screws and assembling parts of the pantry cabinet.
- Sander or Sandpaper: Use a sander or sandpaper to smoothen any rough edges and ensure a polished finish for your pantry cabinet.
- Paintbrushes or Foam Rollers: If you plan on painting the cabinet, have paintbrushes or foam rollers available to apply an even coat of paint.
These are the basic materials and tools required for building a kitchen food pantry cabinet. As you progress with the construction process, you may find the need for additional tools or supplies based on the specific design and features you choose for your pantry cabinet.
Before starting the construction, ensure that you have gathered all the necessary materials and that your tools are in good working condition. Being well-prepared will make the building process smoother and more efficient. So, stock up on plywood, gather your tools, and get ready to bring your pantry cabinet to life!
Building the Basic Structure
Now that you have all the necessary materials and tools, it’s time to dive into building the basic structure of your kitchen food pantry cabinet. The foundation of the cabinet is crucial for its stability and longevity. Follow these steps to create a sturdy and functional structure:
1. Cut the Cabinet Panels: Start by cutting the plywood or solid wood panels according to the measurements you took earlier. These panels will form the sides, top, and bottom of the cabinet. Use a saw or a suitable cutting tool to ensure accurate and clean cuts.
2. Assemble the Frame: Begin by assembling the frame of the pantry cabinet. Lay the bottom panel flat, then attach the side panels to it using wood glue and screws or nails. Make sure the edges are flush and the corners are square. Repeat the process to attach the top panel, completing the basic box structure.
3. Reinforce the Corners: To reinforce the corners and add stability to the cabinet, you can use corner braces on the inside of the cabinet. Secure them with screws or nails, ensuring they are properly aligned and firmly attached.
4. Install the Shelf Supports: Determine the desired height and spacing for your shelves. Install shelf supports on the inside of the cabinet using screws or shelf pins. These supports will help hold the shelves in place and provide stability for heavy items.
5. Cut and Install the Shelves: Cut the shelves to the desired size using plywood or other suitable shelving material. Slide them into the cabinet, resting them on the installed shelf supports. Make any necessary adjustments to ensure they are level and secure.
6. Add Back Panel (Optional): If you prefer a closed-back cabinet, you can add a plywood or hardboard panel to the back of the cabinet. Attach it using screws or nails, ensuring it is flush with the outer edges of the cabinet.
7. Sand and Smooth: Take a moment to sand the surfaces of the cabinet to smooth any rough edges or imperfections. This step will ensure a professional finish and help prevent splinters or snags while using the pantry cabinet.
8. Apply Finish (Optional): If desired, you can now finish the cabinet using paint, stain, or varnish. Choose a finish that matches your kitchen decor and follows the manufacturer’s instructions for application. Allow sufficient drying time before proceeding to the next steps.
With the basic structure of your pantry cabinet built, you’re one step closer to creating a functional and organized storage solution for your kitchen. In the next sections, we will guide you through the process of installing shelves and dividers, adding doors and hardware, and applying finishing touches. So, roll up your sleeves and get ready to transform your pantry vision into a reality!
When building a kitchen food pantry cabinet, make sure to include adjustable shelves to accommodate different sized items and maximize storage space.
Installing Shelves and Dividers
With the basic structure of your kitchen food pantry cabinet in place, it’s time to maximize its storage potential by installing shelves and dividers. This step will help you create organized compartments for different types of pantry items. Follow these steps to properly install shelves and dividers:
1. Determine Shelf Positions: Consider the height of the items you plan to store in your pantry cabinet and determine the spacing for your shelves. Measure and mark the desired positions for each shelf inside the cabinet.
2. Install Shelf Supports: Use shelf supports or shelf pins to create a stable foundation for your shelves. Place the supports at the predetermined positions, ensuring they are level and evenly spaced. You can use a level to ensure accuracy.
3. Cut and Install Shelves: Measure and cut the shelves to fit the dimensions of each section inside the pantry cabinet. Use plywood or other suitable shelving material that can support the weight of your pantry items. Place the shelves onto the installed supports, making sure they fit securely.
4. Add Dividers (if desired): Depending on your storage needs, you may want to include dividers to separate different groups of items. Measure and cut additional pieces of plywood or solid wood to serve as dividers. Install them vertically or horizontally within the cabinet, attaching them securely to the structure.
5. Ensure Stability: After installing the shelves and dividers, double-check their stability. Apply pressure to each shelf to ensure it can withstand the weight of your pantry items. Make any necessary adjustments or reinforce with additional screws or nails to enhance stability.
6. Test and Reorganize: Load your pantry cabinet with items to test the functionality of the shelves and dividers. Assess if any adjustments need to be made, such as adding more dividers or rearranging the shelf positions. This step allows you to customize the organization of your pantry cabinet to fit your specific storage needs.
By carefully installing shelves and dividers, you can create a well-organized and efficient storage system within your kitchen food pantry cabinet. The next step is to add doors and hardware to enhance the functionality and aesthetics of your pantry cabinet. We’ll guide you through this process in the upcoming section, so stay tuned!
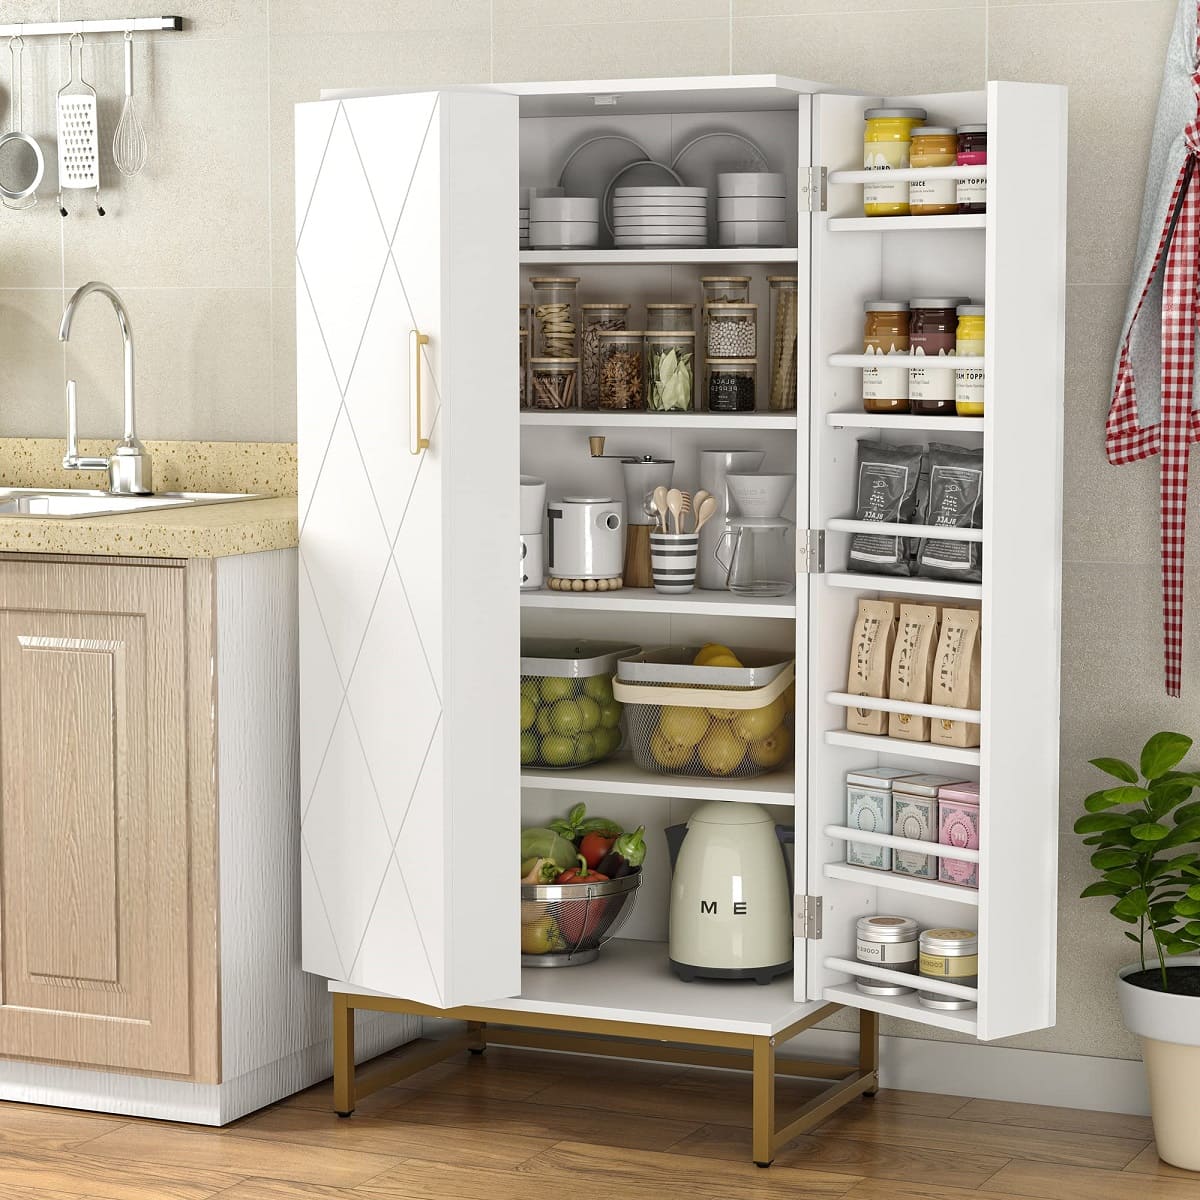
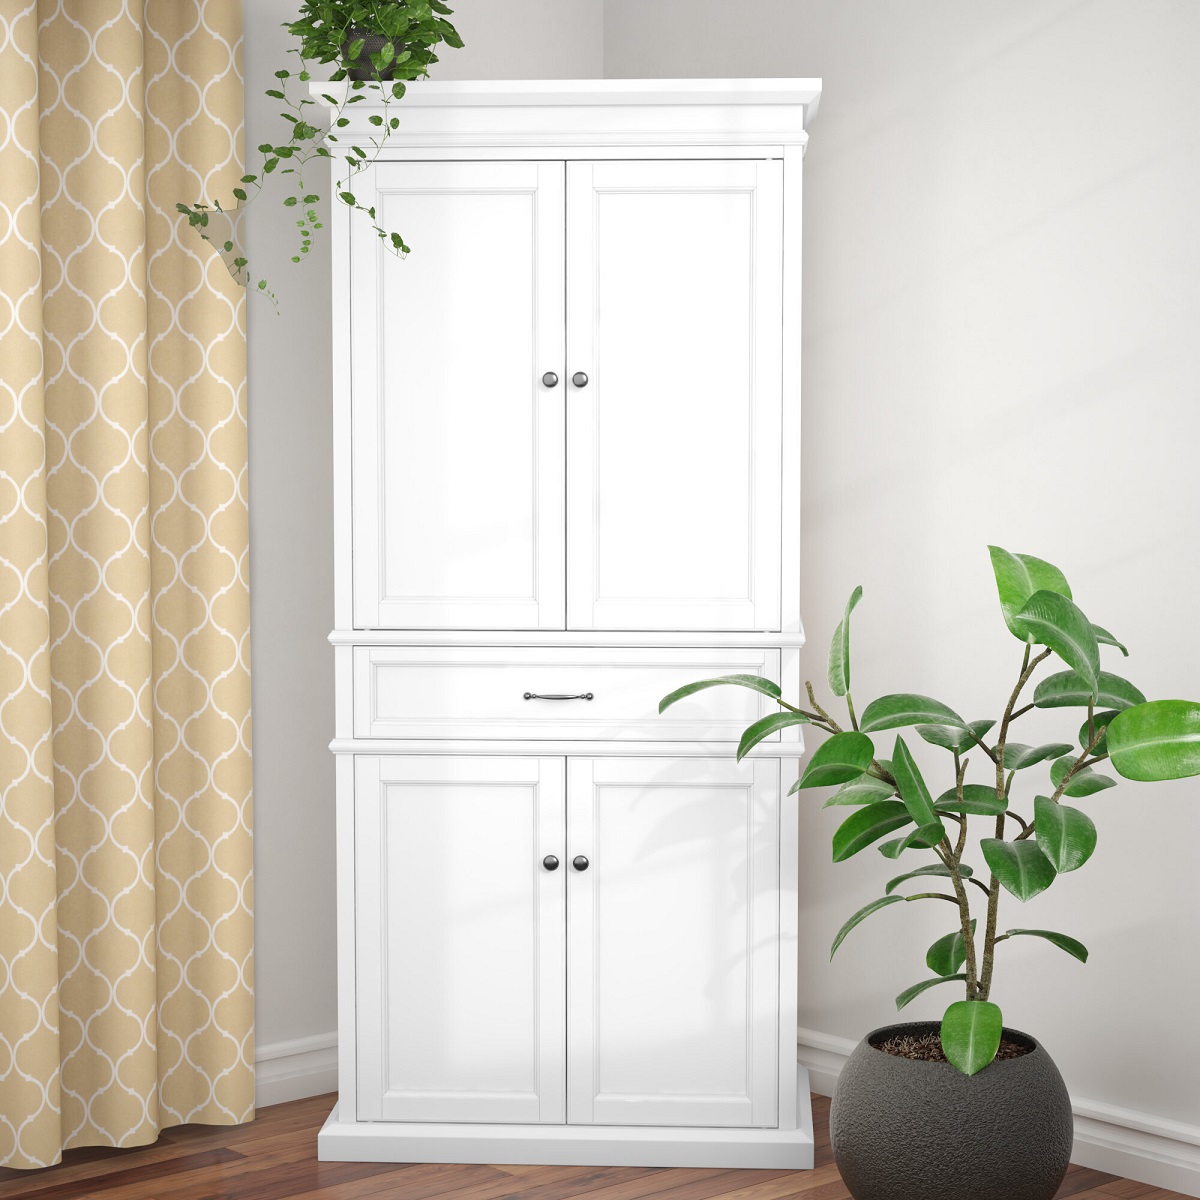
Adding Doors and Hardware
Adding doors and hardware to your kitchen food pantry cabinet not only enhances its functionality but also adds a touch of style. Doors help keep your pantry items concealed, while hardware such as handles or knobs provide ease of access. Follow these steps to properly add doors and hardware to your pantry cabinet:
1. Measure and Cut the Doors: Measure the openings of your pantry cabinet and cut the plywood or solid wood doors to fit. Ensure the doors have a slight overlap with the cabinet edges for a professional finish. Use a saw or appropriate cutting tool to make clean and accurate cuts.
2. Install Hinges: Measure and mark the locations for hinges on both the doors and the cabinet frame. Attach the hinges to the doors first, ensuring they are in line with the top and bottom edges. Then, attach the hinges to the cabinet frame. Make any necessary adjustments to ensure the doors are aligned properly and open smoothly.
3. Attach Handles or Knobs: Determine the placement of handles or knobs on your pantry cabinet doors. Measure and mark the positions where you want the hardware to be installed. Pre-drill holes if necessary, then attach the handles or knobs securely. Take into consideration the functionality and aesthetics of the hardware, ensuring they align with your overall kitchen design.
4. Test the Door Functionality: Open and close the doors to ensure they operate smoothly and without any obstructions. Adjust the hinges if needed to improve the door’s movement and alignment. It’s also a good idea to test the doors with items stored inside to ensure they can withstand weight without sagging or causing any issues.
5. Apply Finishing Touches: If desired, apply a finish to the doors and cabinet to match your kitchen decor. Paint, stain, or varnish the surfaces according to the manufacturer’s instructions. Allow sufficient drying time before moving on to the final step.
6. Clean and Polish: After completing the installation of doors and hardware, clean the surfaces of the pantry cabinet to remove any dust or debris. Polish the doors and hardware to give them a glossy shine and a finished look.
By adding doors and hardware to your pantry cabinet, you transform it into a functional and visually appealing storage solution for your kitchen. With the main construction complete, it’s time to focus on the final touches and organization of your pantry. In the next section, we’ll guide you through applying finishing touches and provide tips on organizing and stocking your newly built pantry cabinet. Ready to put the final pieces in place? Let’s continue!
Applying Finishing Touches
With your kitchen food pantry cabinet built and doors installed, it’s time to apply the finishing touches that will elevate its appearance and functionality. These final steps will make your pantry cabinet visually appealing and ensure it is ready to serve as an organized storage space. Follow these tips to apply the perfect finishing touches:
1. Sand and Smoothen: Before applying any finish, take the time to lightly sand the surfaces of the pantry cabinet, doors, and shelves. This will help smoothen any rough edges or imperfections, ensuring a clean and polished finish. Use a sanding block or sandpaper with a fine grit for best results.
2. Clean and Remove Dust: After sanding, clean the surfaces of the pantry cabinet thoroughly to remove any dust or debris. Use a soft cloth or a vacuum cleaner with a brush attachment to ensure that the surfaces are clean and ready for finishing.
3. Apply Paint, Stain, or Varnish: Choose the appropriate finish for your pantry cabinet based on your desired look and durability. You can opt to paint the cabinet with a color that matches your kitchen decor, stain it to highlight the natural beauty of the wood grain, or apply a protective varnish for a glossy finish. Follow the manufacturer’s instructions for your chosen finish, and apply multiple thin coats for a smooth and even appearance.
4. Allow Sufficient Drying Time: Proper drying time is crucial to ensure the finish adheres well and is fully cured. Be patient and allow the recommended drying time between coats of paint, stain, or varnish. Keep the cabinet and doors in a well-ventilated area to ensure proper air circulation during the drying process.
5. Mount and Adjust the Doors: Once the finish has dried, carefully mount the doors onto the installed hinges. Check to make sure they align properly and open and close smoothly. Make any necessary adjustments to the hinges to ensure the doors are properly aligned and level.
6. Install Cabinet Hardware: Complete the look of your pantry cabinet by installing the cabinet hardware, such as handles or knobs. Measure and mark the desired positions, then securely attach the hardware. Ensure they are straight and evenly aligned for a polished appearance.
7. Clean and Organize: Before stocking your pantry cabinet, take the time to clean the interior thoroughly. Wipe down the shelves, remove any remaining dust, and ensure the surfaces are free from debris. Consider using shelf liners to protect the shelves and make cleaning easier in the future.
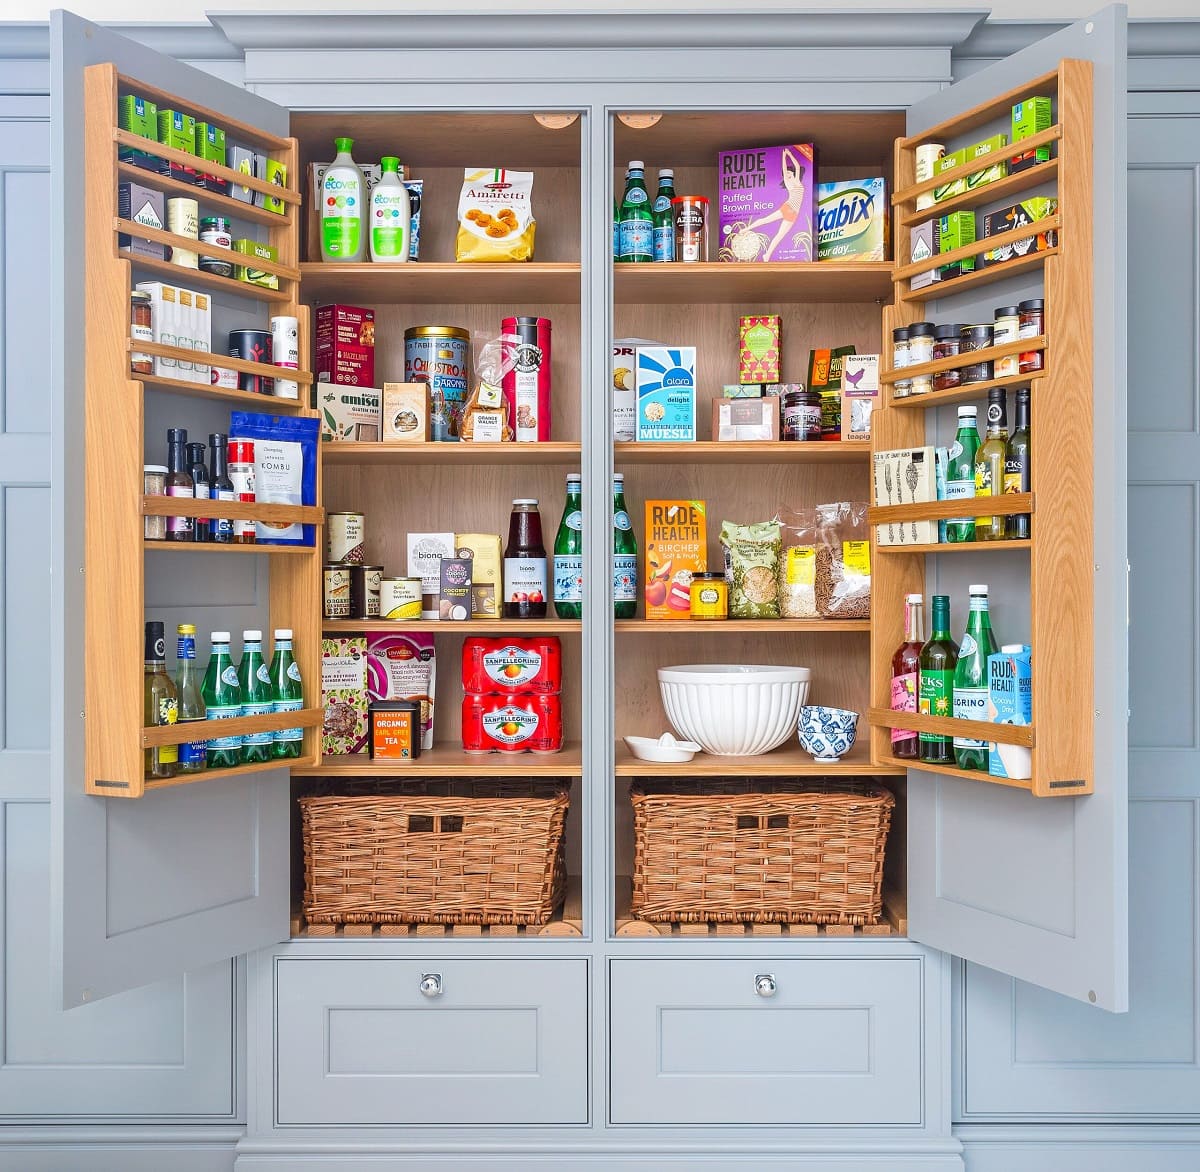
8. Organize and Stock: Now comes the fun part – organizing and stocking your pantry cabinet! Group similar items together, such as canned goods, dry goods, and baking ingredients. Use storage containers or baskets to keep items organized and easily accessible. Consider adding labels to further enhance organization and efficiency.
By applying these finishing touches to your pantry cabinet, you will not only enhance its overall aesthetic appeal but also ensure that it functions smoothly and efficiently. Your newly built pantry cabinet is now ready to be filled with all your favorite ingredients and kitchen essentials. Enjoy the benefits of a well-organized and stylish storage space in your kitchen!
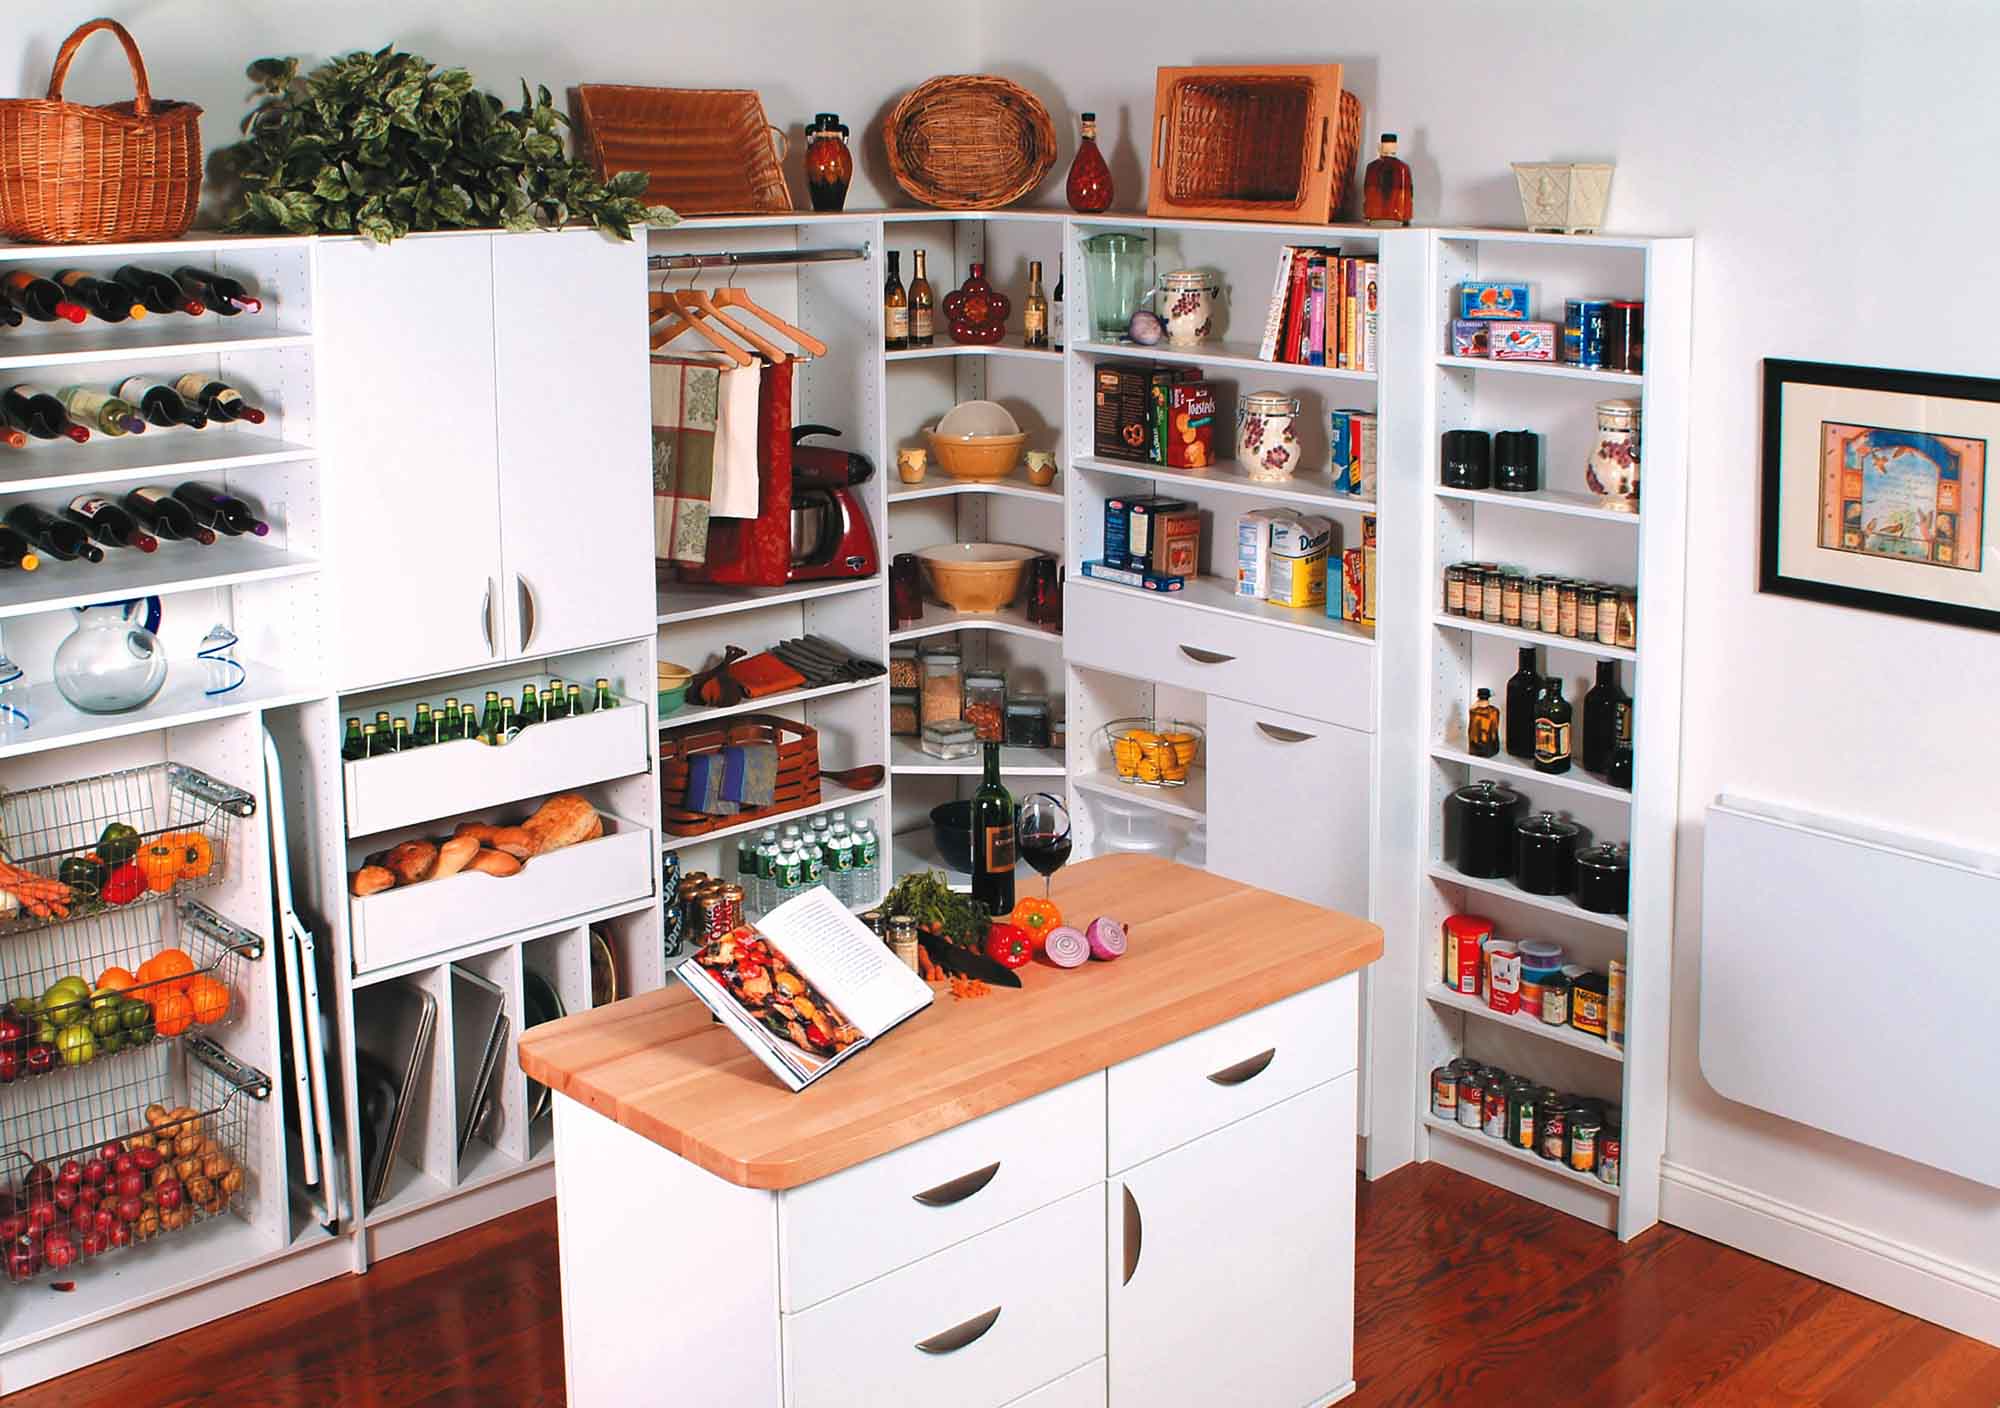
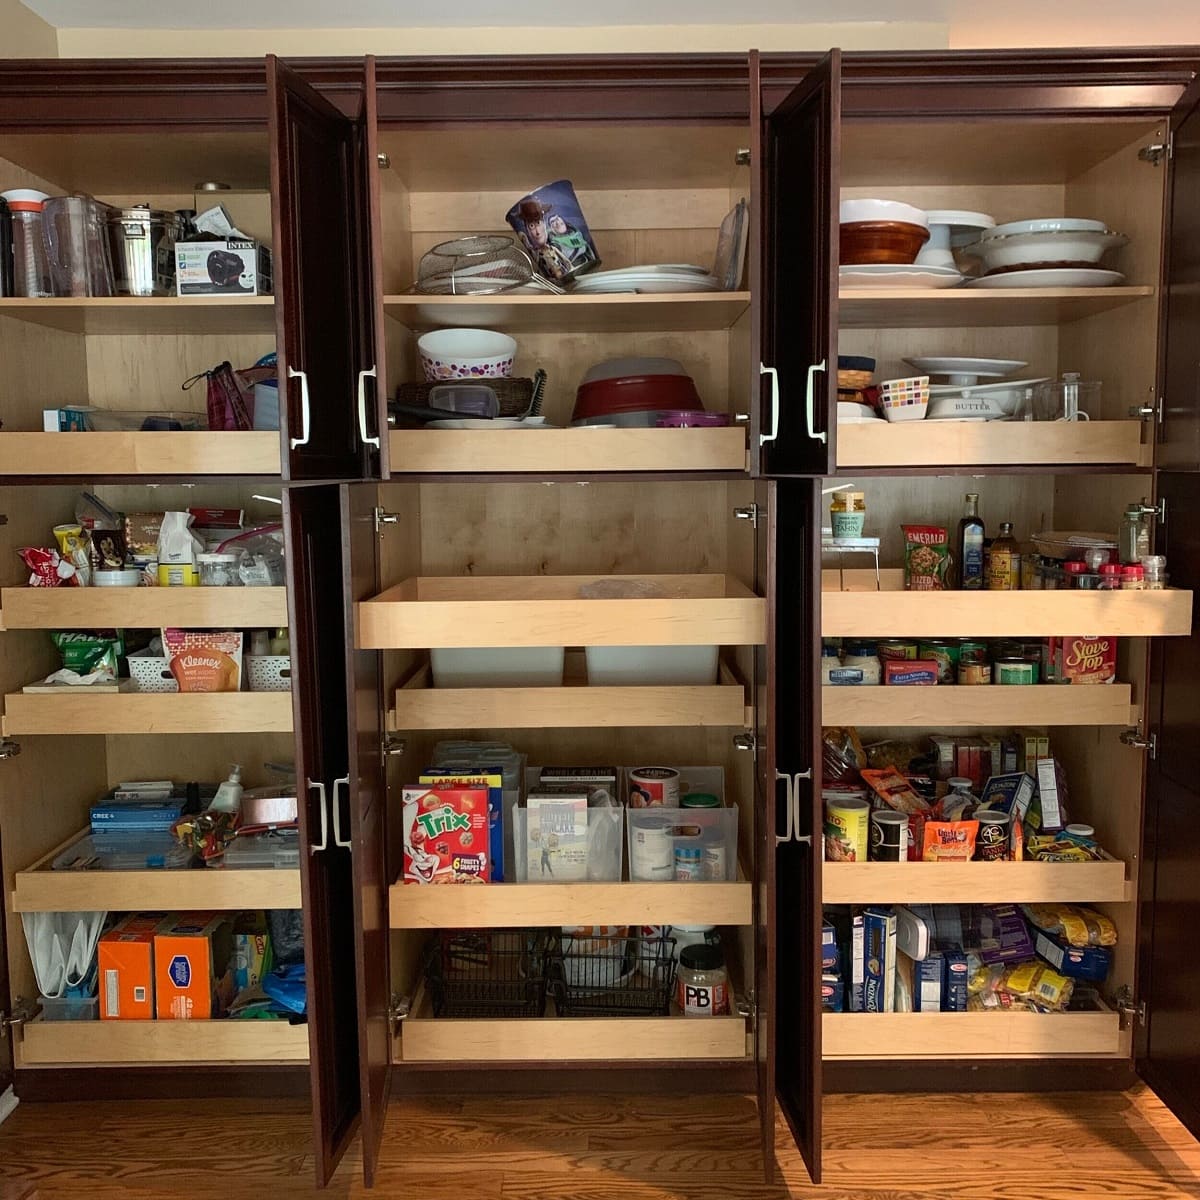
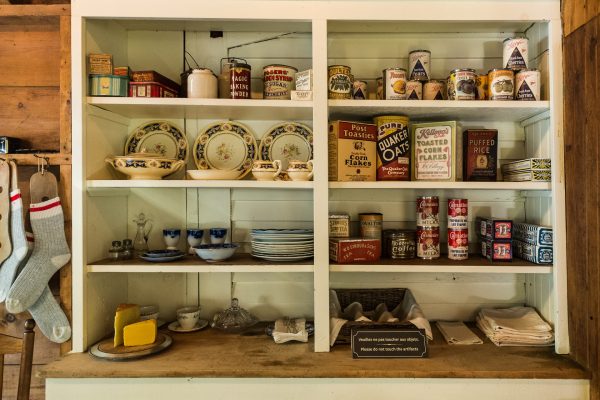
Organizing and Stocking the Pantry
Now that you have built and finished your kitchen food pantry cabinet, it’s time to organize and stock it with all your essentials. A well-organized pantry makes meal planning and cooking a breeze. Follow these tips to create a functional and efficient pantry:
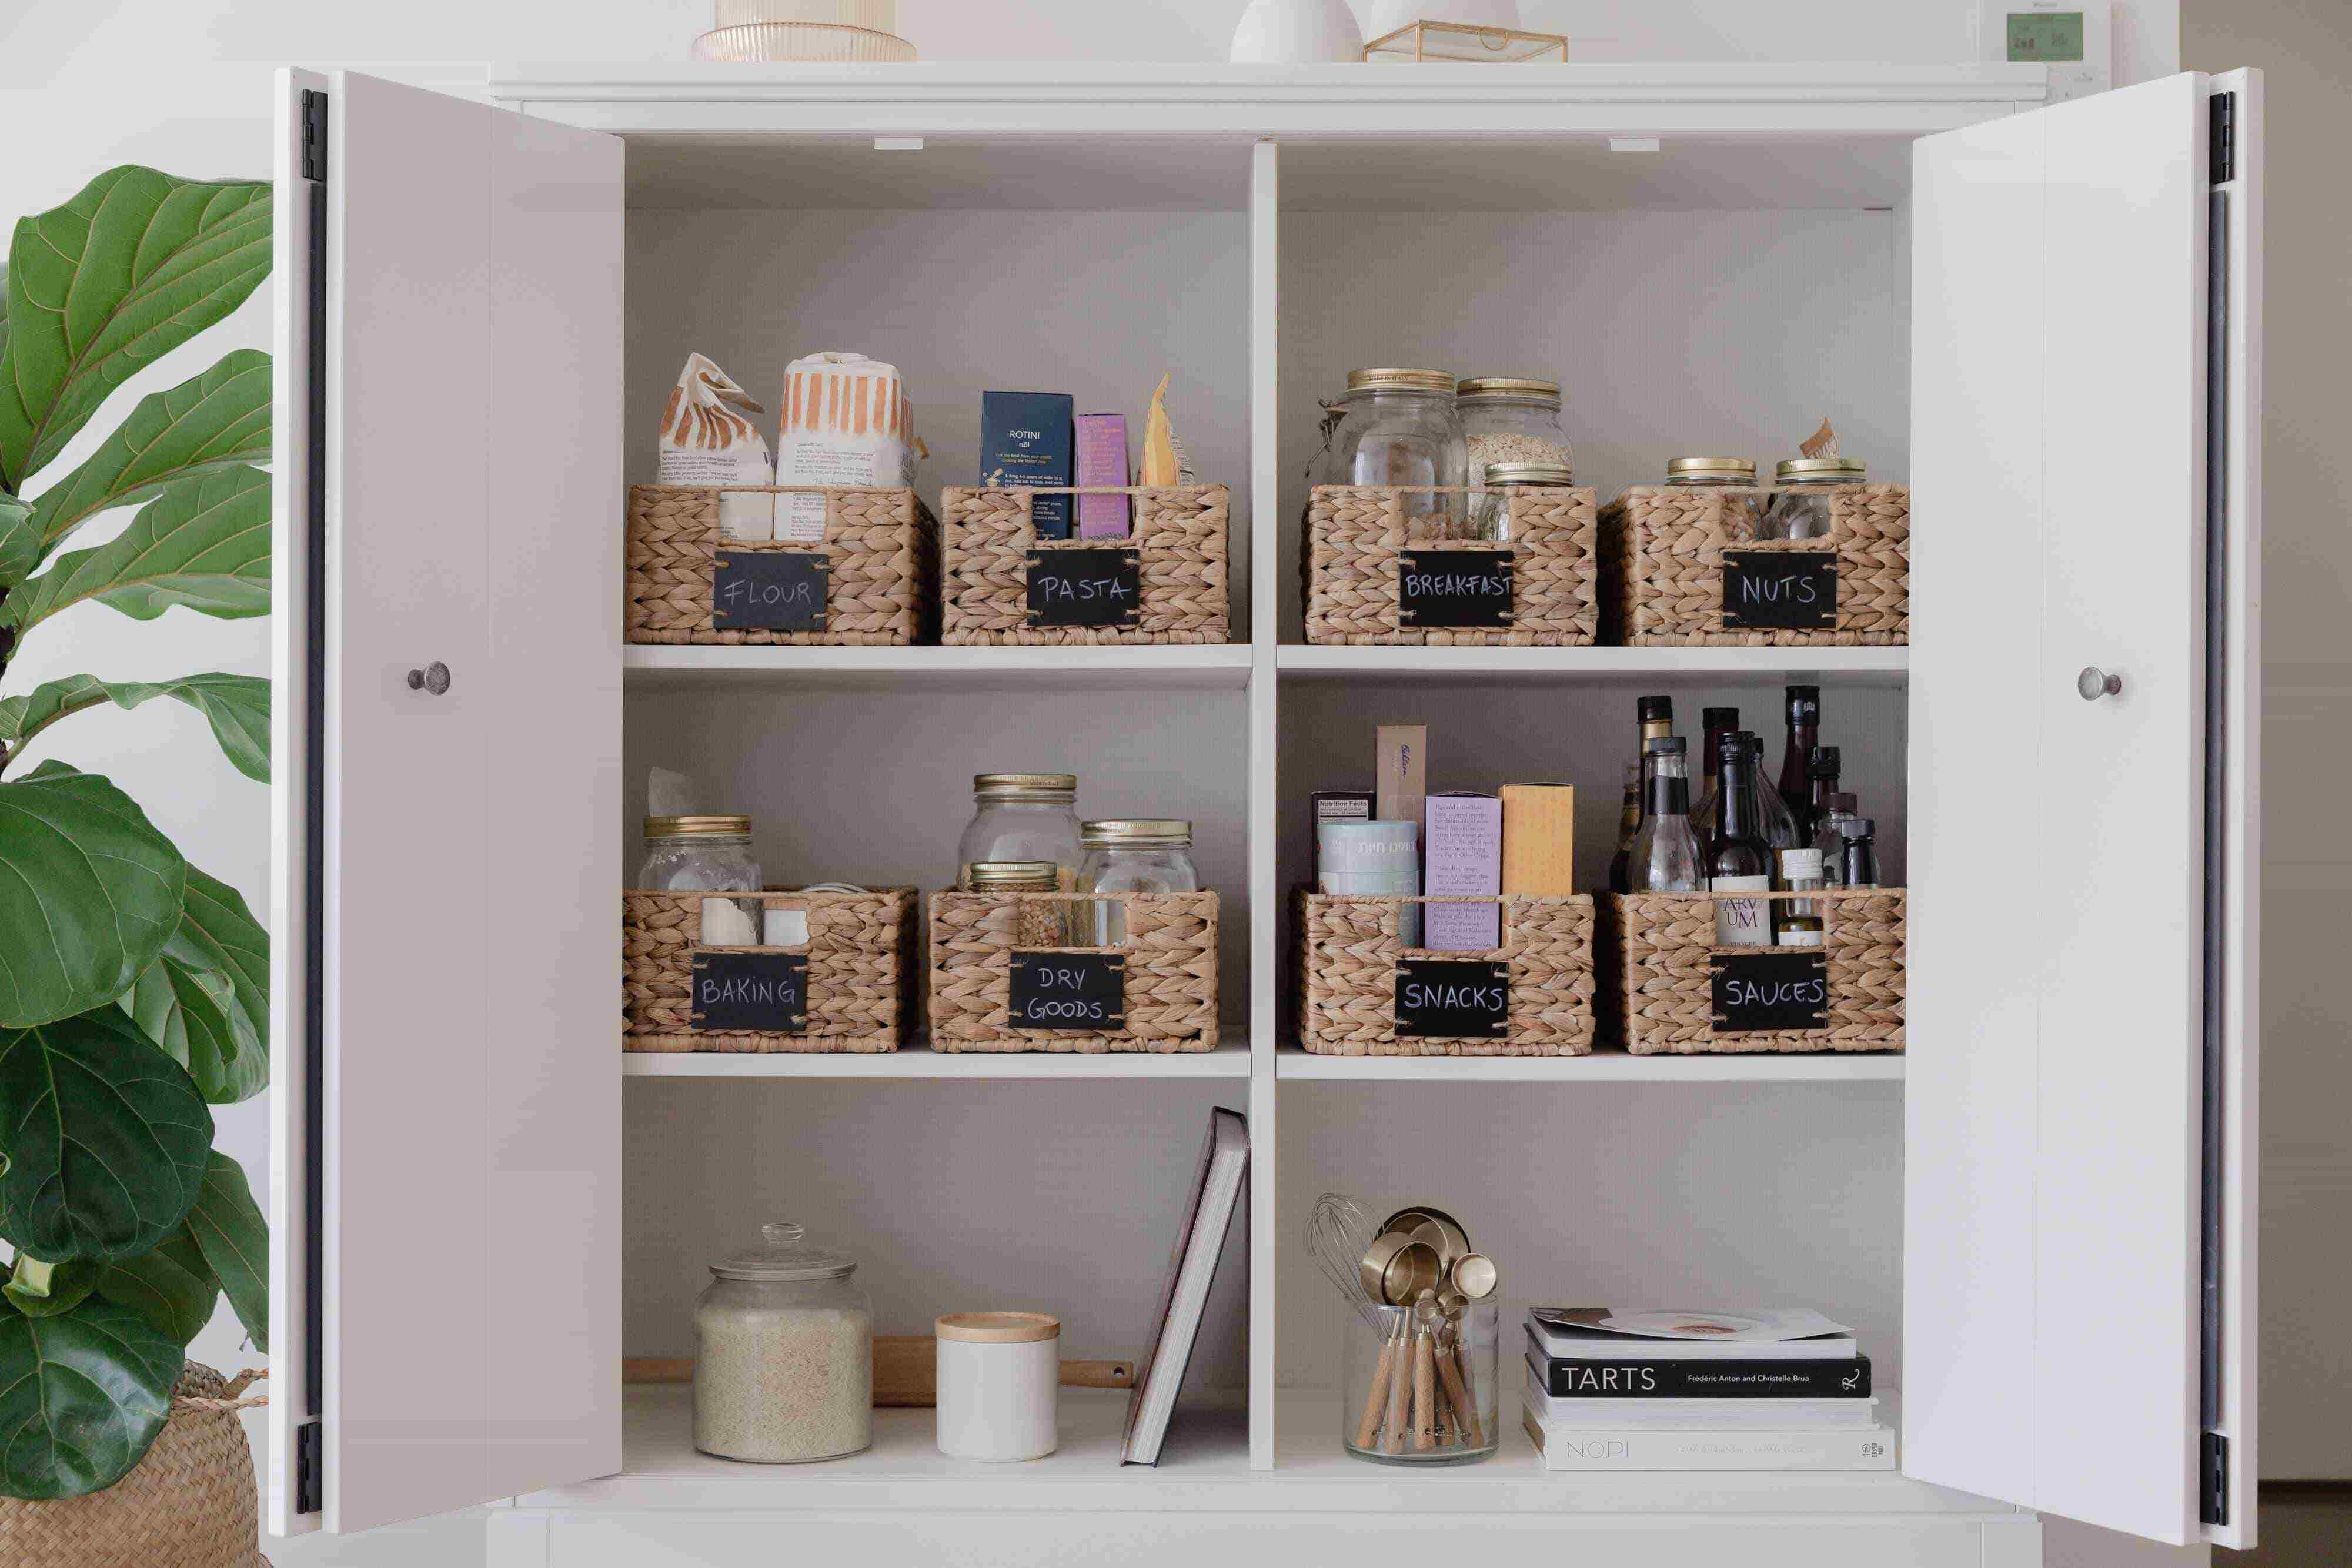
1. Categorize Your Items: Start by categorizing your pantry items. Group similar items together, such as canned goods, dry goods, snacks, spices, baking ingredients, and so on. By categorizing, you’ll be able to easily locate what you need and keep your pantry well-organized.
2. Use Storage Containers: Opt for clear, stackable storage containers to store loose items like rice, pasta, flour, and other pantry staples. This not only keeps your ingredients fresh but also makes it easier to see and access what you have. Label the containers for quick identification.
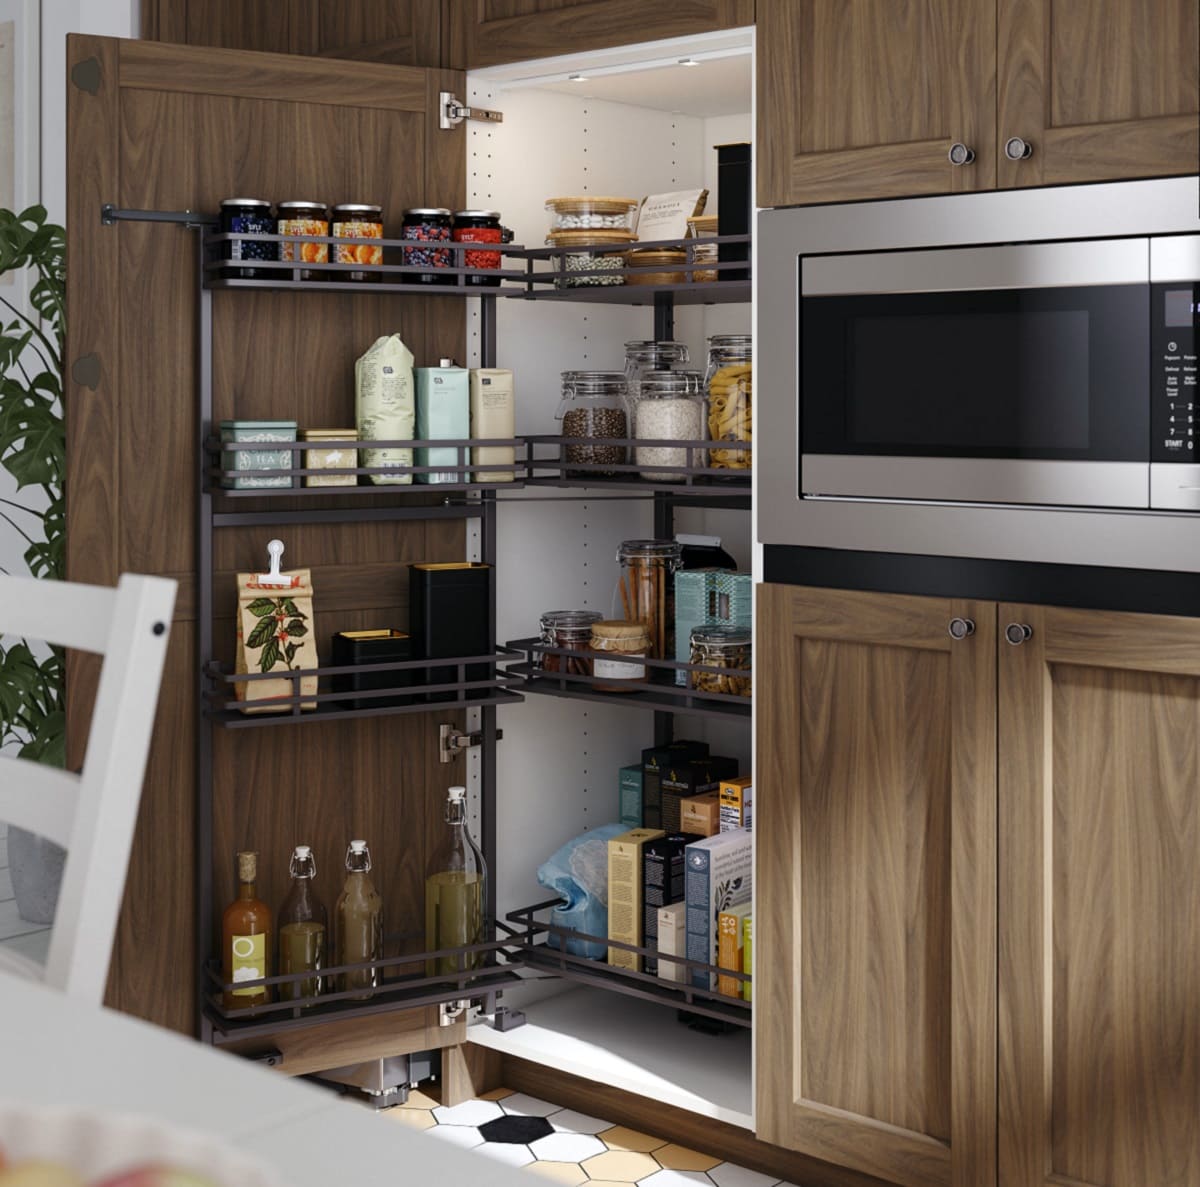
3. Consider Adjustable Shelving: As your pantry needs may change over time, consider using adjustable shelving. This allows you to modify the height spacing to accommodate different sizes of items as needed. It provides flexibility and maximizes storage capacity.
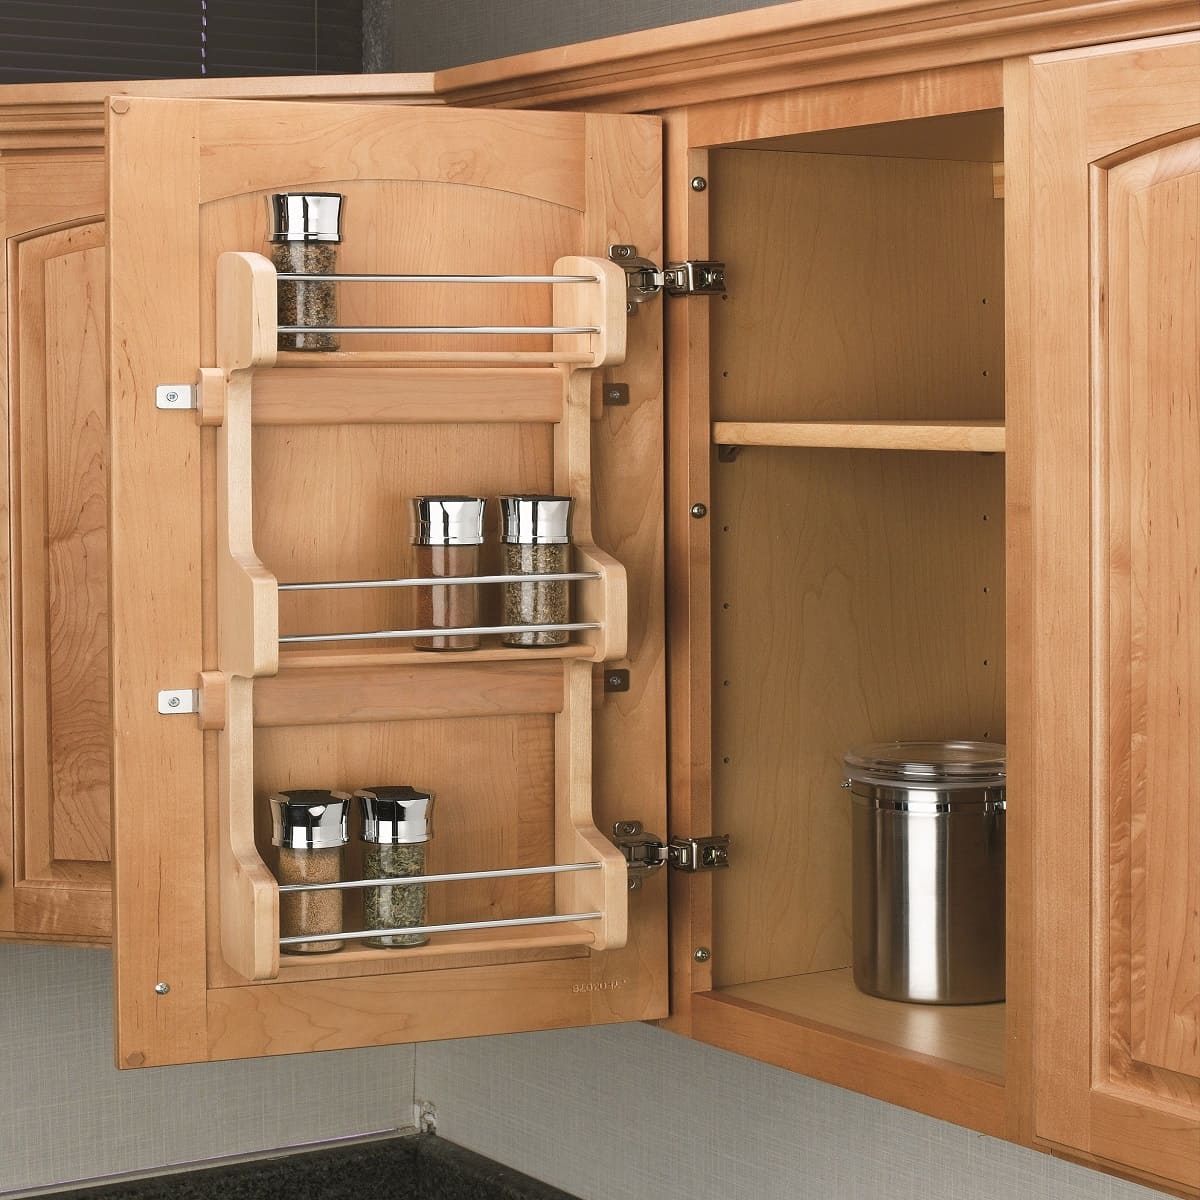
4. Utilize Door Space: Make the most of the back of the pantry cabinet doors. Install hooks or racks to hang kitchen utensils, measuring spoons, or even a spice rack. This clever use of space helps free up shelf space and keeps frequently used items easily accessible.
5. Use Vertical Dividers: Install vertical dividers or shelf organizers to create divisions within the pantry. These separators help keep various items separate and prevent them from toppling over. They also make it easier to visualize and access your pantry items.
6. Rotate and Label: Practice the “first in, first out” principle. When restocking your pantry, place newer items at the back and older ones at the front. This ensures that your ingredients stay fresh and prevents items from expiring. Additionally, label containers and shelves for easy identification.
7. Maximize Bottom Shelf Space: Reserve the bottom shelf of your pantry for heavier items like large kitchen appliances or bulkier items that won’t fit well on higher shelves. This helps distribute the weight evenly and prevents any potential accidents or strain while retrieving items.
8. Periodic Inventory Check: Regularly go through your pantry to check for expired or soon-to-expire items. Discard anything past its best-before date and make note of items that need restocking. This habit helps keep your pantry fresh, clean, and updated.
By following these organizing and stocking tips, you can maintain a clutter-free and efficient pantry cabinet. Enjoy the ease of meal preparation and cooking when everything is within reach and neatly organized. Remember to periodically reorganize and restock your pantry to ensure optimal functionality.
With your kitchen food pantry cabinet now complete and fully stocked, you have created a space where ingredients and supplies are easily accessible. Now, step back and admire your beautifully organized and well-stocked pantry cabinet in your kitchen!
Maintenance and UpkeepNow that your kitchen food pantry cabinet is built, organized, and stocked, it’s essential to establish a maintenance routine to keep it in optimal condition. Regular maintenance and upkeep will ensure the longevity and efficiency of your pantry cabinet. Follow these tips to maintain your pantry cabinet:
1. Clean Regularly: Schedule regular cleaning sessions for your pantry cabinet. Wipe down the shelves, doors, and surfaces with a damp cloth to remove any spills, dust, or crumbs. This helps prevent the buildup of dirt and ensures a hygienic storage environment.
2. Check for Pest Control: Regularly inspect your pantry cabinet for signs of pests, such as insects or rodents. Routinely check food containers for any infestation or signs of spoilage. If you notice any issues, take immediate action to address the problem and prevent further damage.
3. Check for Leaks and Moisture: If your pantry cabinet is located near plumbing fixtures or pipes, regularly check for leaks or moisture buildup. Water can damage the cabinet and its contents. Ensure that the surrounding area is dry and there are no signs of water damage or mold growth.
4. Maintain Proper Air Circulation: Adequate air circulation is important to prevent food spoilage and maintain the freshness of your pantry items. Avoid overcrowding the shelves and ensure there is sufficient space between items for proper airflow. This will help extend the shelf life of your pantry essentials.
5. Monitor Expiry Dates: Regularly check the expiry dates of the items in your pantry cabinet. Remove and discard any expired or stale items to maintain the quality and safety of your pantry. Replenish with fresh items as needed to ensure a well-stocked and up-to-date pantry.
6. Reorganize Periodically: Take the opportunity to reorganize your pantry cabinet periodically. Evaluate your storage needs and make adjustments as necessary. Reassess the placement of items, rearrange shelves, or introduce additional organizers to optimize space and improve accessibility.
7. Repair any Damage: If you notice any damage to your pantry cabinet, such as loose hinges, broken shelves, or chipped surfaces, repair them promptly. Tighten loose screws, replace damaged parts, or touch up any areas that need repair. Regular maintenance helps prevent further deterioration and extends the life of your pantry cabinet.
8. Stay Organized: Maintain the organization of your pantry cabinet by putting items back in their designated places after use. Avoid clutter and keep the shelves tidy. This will make it easier to locate items and maintain an organized and functional pantry space.
By following these maintenance and upkeep practices, you can ensure the longevity and optimal performance of your kitchen food pantry cabinet. Regular cleaning, monitoring, and updating will help create a well-maintained and efficient storage solution in your kitchen. Enjoy the convenience and benefits of a well-maintained pantry for years to come!
With your pantry cabinet now constructed, stocked, and maintained, you have created a functional and organized storage space in your kitchen. Having everything at your fingertips will make meal preparation and cooking a breeze. Enjoy the convenience and efficiency of your kitchen food pantry cabinet!
Conclusion
Congratulations on completing the construction, organization, and maintenance of your kitchen food pantry cabinet! You have created an invaluable storage space that enhances the functionality and efficiency of your kitchen. With a well-organized pantry, meal planning, cooking, and grocery shopping become easier and more enjoyable.
Throughout this comprehensive guide, we have covered the step-by-step process of building a pantry cabinet, including planning, selecting materials and tools, constructing the basic structure, adding doors and hardware, and applying finishing touches. We have also provided valuable tips on organizing, stocking, and maintaining your pantry cabinet to keep it in optimal condition.
By carefully selecting the right location, measuring the space, and gathering the necessary materials and tools, you set a strong foundation for your pantry cabinet. Building the basic structure, installing shelves and dividers, and adding doors and hardware have transformed your vision into a functional and stylish storage solution.
We have emphasized the importance of applying finishing touches and organizing your pantry with categorization, storage containers, and proper utilization of space. Regular maintenance and upkeep, including cleaning, checking for pest control, and monitoring expiry dates, ensure that your pantry cabinet remains in top condition for years to come.
Now that your kitchen food pantry cabinet is complete, it’s time to step back and take pride in your accomplishments. Enjoy the convenience and efficiency of having all your pantry items neatly organized and readily accessible. Your pantry cabinet will undoubtedly become an essential asset in your kitchen, making mealtime and food storage a seamless and enjoyable experience.
Remember, as your needs change, don’t hesitate to modify and adapt your pantry cabinet accordingly. Regularly reassess your storage requirements, reorganize when necessary, and keep up with maintenance to ensure continued efficiency and satisfaction.
Thank you for joining us on this journey of building and optimizing your kitchen food pantry cabinet. We hope this guide has provided you with valuable insights, tips, and inspiration. Happy cooking, meal planning, and organizing in your beautiful pantry cabinet!
Frequently Asked Questions about How To Build A Kitchen Food Pantry Cabinet
Was this page helpful?
At Storables.com, we guarantee accurate and reliable information. Our content, validated by Expert Board Contributors, is crafted following stringent Editorial Policies. We're committed to providing you with well-researched, expert-backed insights for all your informational needs.


0 thoughts on “How To Build A Kitchen Food Pantry Cabinet”