Home>Articles>How To Build A Pantry Cabinet And Match With Existing Cabinets
Articles
How To Build A Pantry Cabinet And Match With Existing Cabinets
Modified: August 25, 2024
Discover step-by-step articles on building a pantry cabinet and seamlessly integrating it with your existing cabinets. Transform your kitchen storage with these expert tips.
(Many of the links in this article redirect to a specific reviewed product. Your purchase of these products through affiliate links helps to generate commission for Storables.com, at no extra cost. Learn more)
Introduction
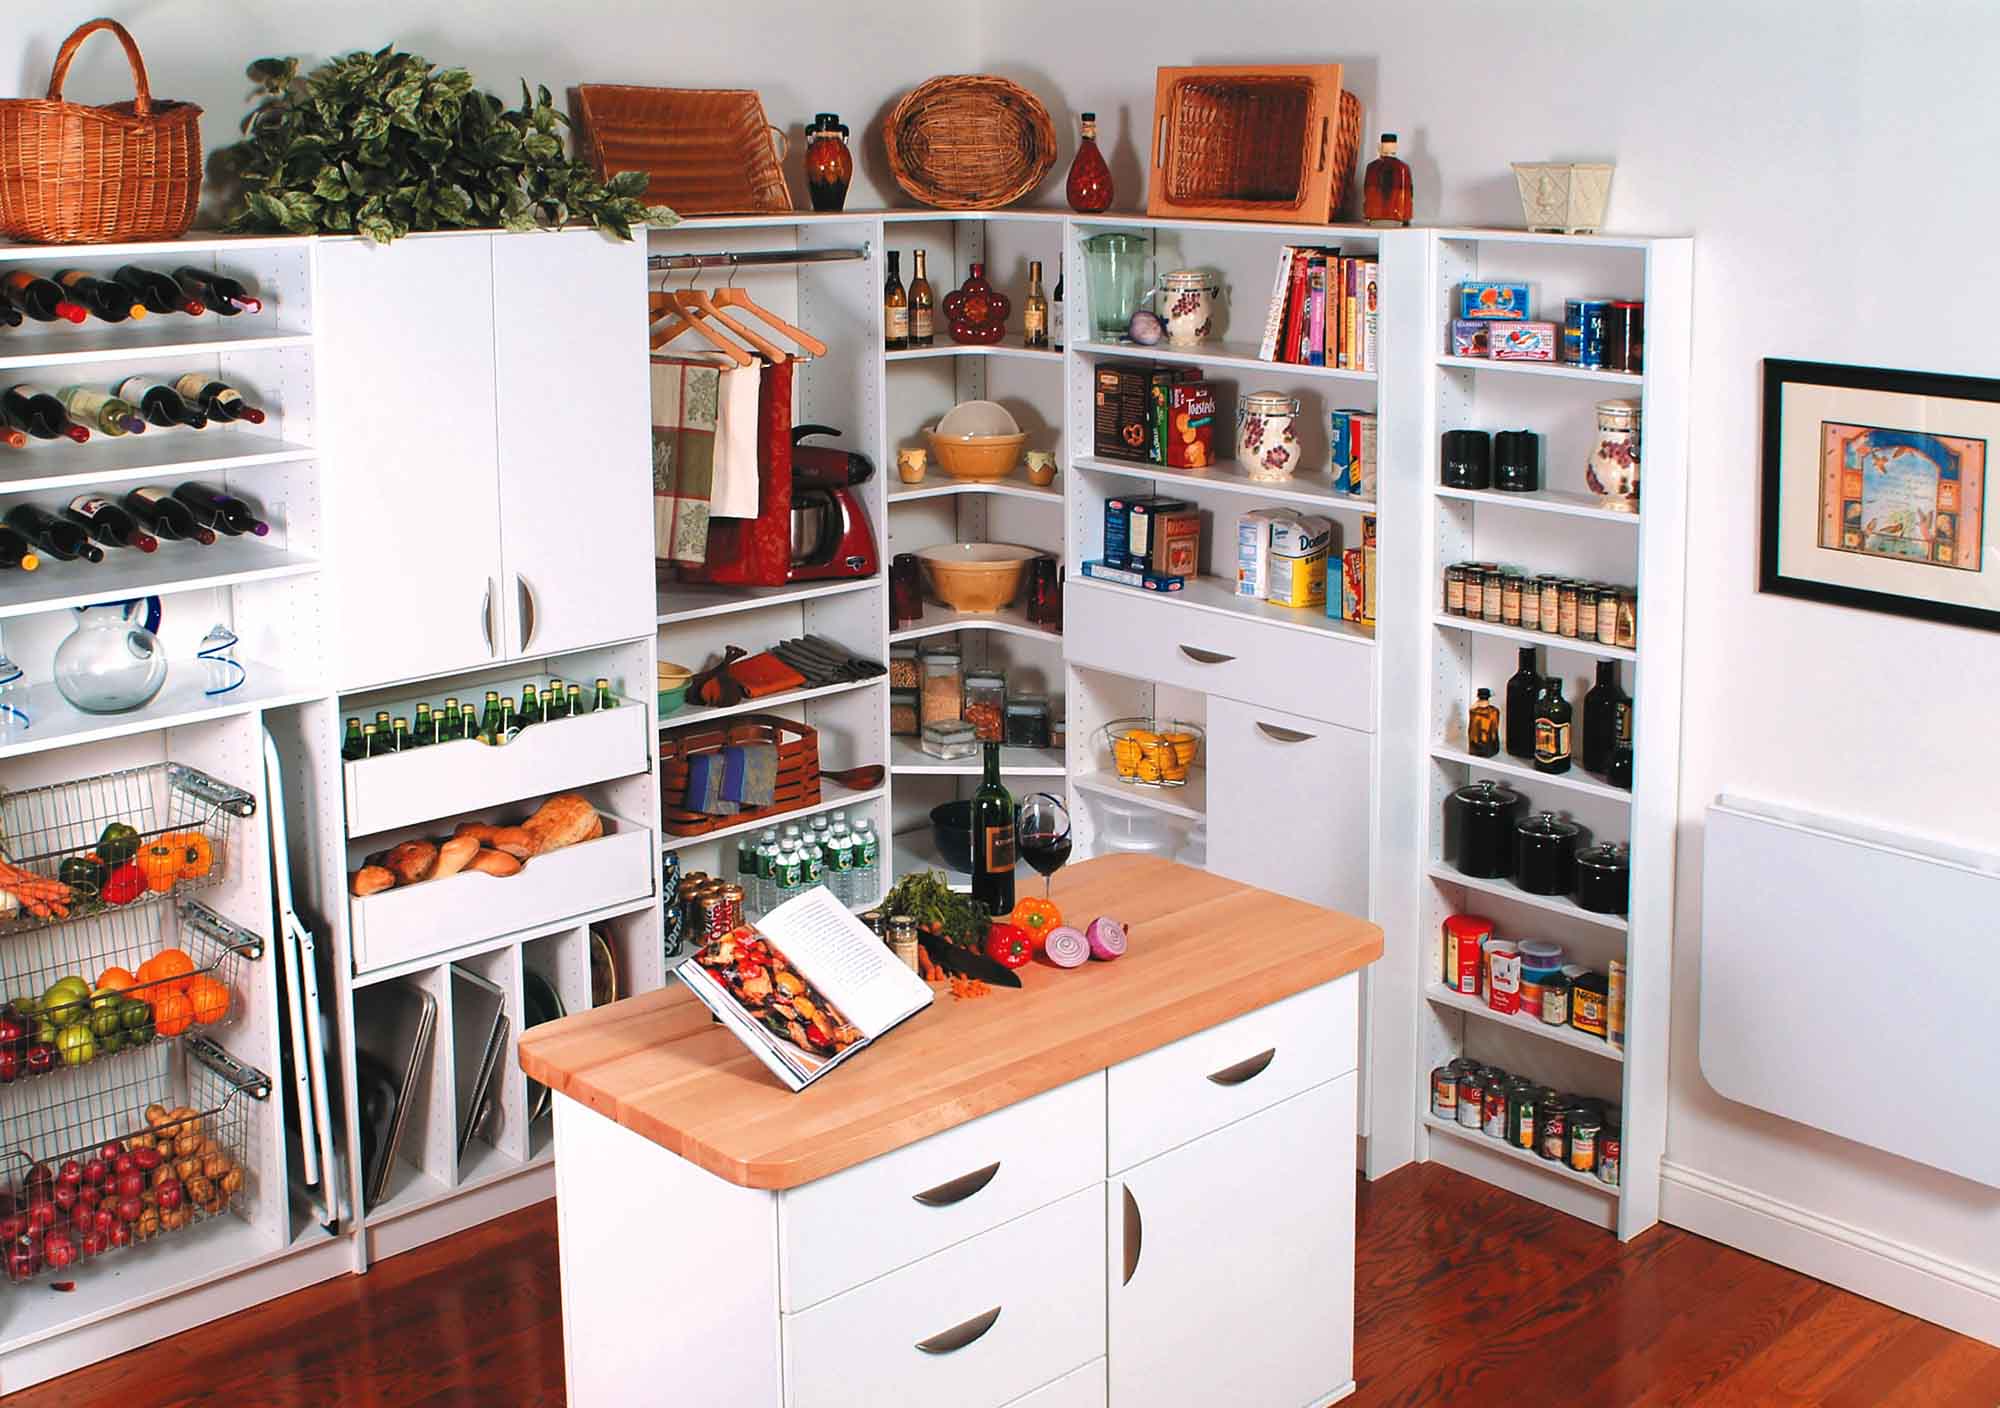
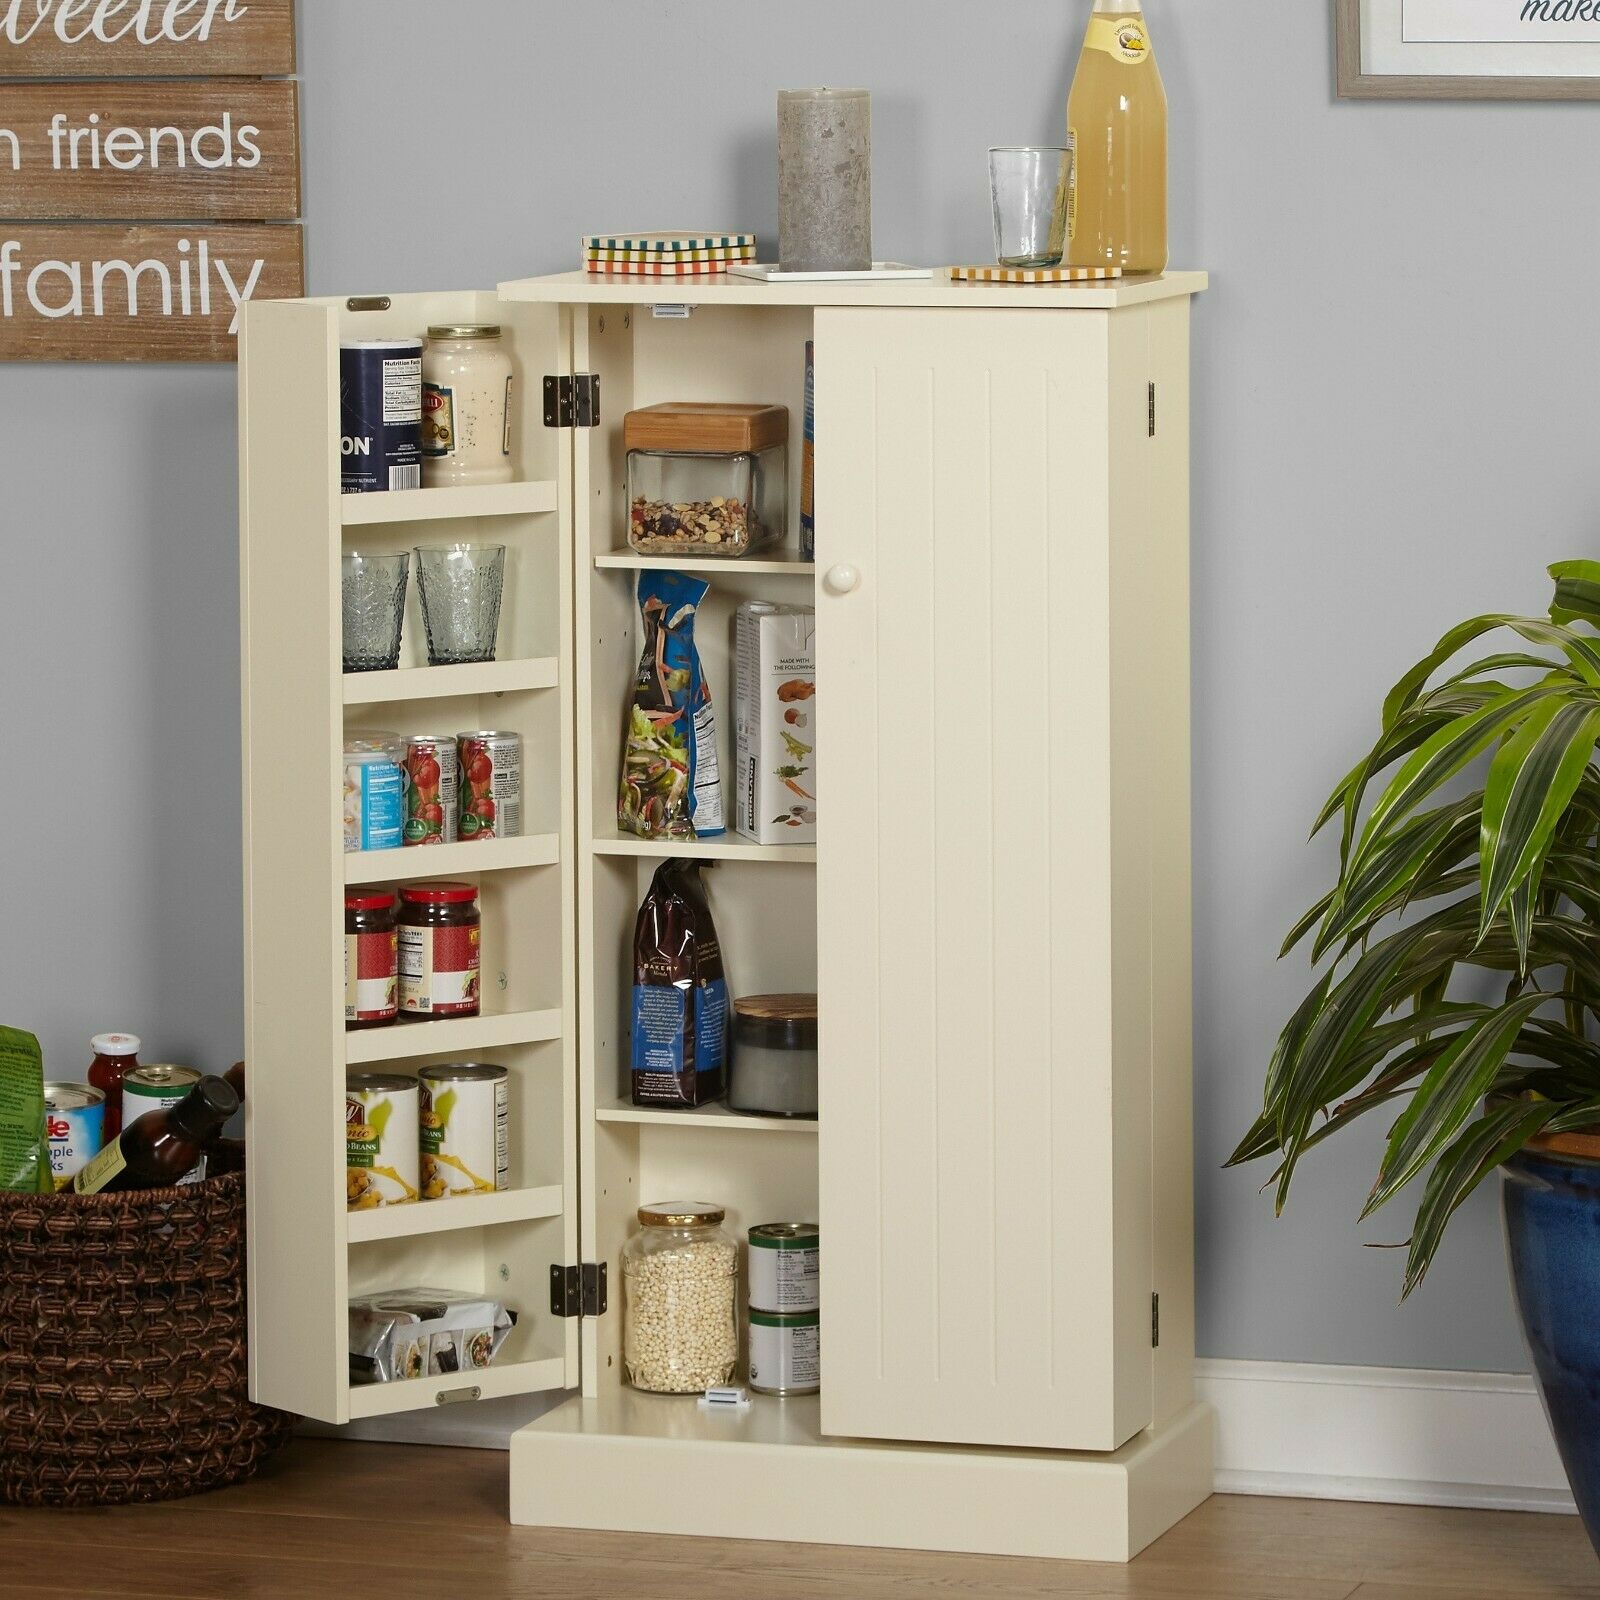
Welcome to this comprehensive guide on how to build a pantry cabinet and seamlessly blend it with your existing cabinets. Are you tired of cluttered kitchen counters and disorganized food storage? A pantry cabinet can be the solution to all your organization woes. With a well-designed pantry cabinet, you can have a dedicated space to store your dry goods, canned foods, and kitchen essentials. Not only will this help you keep your kitchen tidy, but it will also make meal preparations and grocery shopping much more efficient.
Before we dive into the steps of building a pantry cabinet, it’s important to understand the benefits of having one. A pantry cabinet allows you to maximize your kitchen storage space by utilizing vertical space effectively. By adding extra shelves and compartments, you can store more items without cluttering your countertops or existing cabinets. Additionally, a well-organized pantry cabinet makes it easier to keep track of your food inventory and reduces the chances of buying duplicate items. It also allows for better visibility, making it simple to find the specific ingredients you need when cooking.
In this guide, we will take you through the process of building a pantry cabinet that seamlessly integrates with your existing cabinets. Whether you have a small kitchen or a large one, these steps will help you create a functional pantry cabinet that suits your needs and complements your kitchen design.
Before you start, keep in mind that this project requires some basic carpentry skills and tools. If you’re not confident in your abilities, it’s always a good idea to consult with a professional or enlist the help of a friend or family member experienced in carpentry. With that said, let’s get started on creating your custom pantry cabinet!
Key Takeaways:
- Building a pantry cabinet involves assessing space, gathering materials, constructing the cabinet, and adding finishing touches. Customization and attention to detail are essential for creating a functional and visually appealing storage solution.
- Integrating a pantry cabinet with existing cabinets requires careful planning and installation. Consider lighting, organization accessories, and personalization to enhance the functionality and aesthetic appeal of the cabinet.
Step 1: Assessing Your Space
The first step in building a pantry cabinet is to assess the available space in your kitchen. Take a close look at your existing cabinets and determine where you can fit a pantry cabinet. Consider both the height and width of the area to ensure that your pantry cabinet will fit seamlessly into the existing layout.
Start by evaluating the height of the space. Measure the distance between the floor and the ceiling or any overhead cabinets. This will help you determine how tall your pantry cabinet can be. Keep in mind that you’ll need enough clearance to comfortably open and close the pantry doors.
Next, measure the width of the space where the pantry cabinet will be placed. Take into consideration any appliances or fixtures in the vicinity. You don’t want your pantry cabinet to hinder the functionality of other kitchen elements.
Once you have the measurements, consider the depth of your pantry cabinet. A standard depth for pantry cabinets is around 24 inches, allowing enough space to store various items. However, you can adjust the depth based on your specific needs and available space. For example, if you have a narrow kitchen, you might want to opt for a shallower pantry cabinet to save on space.
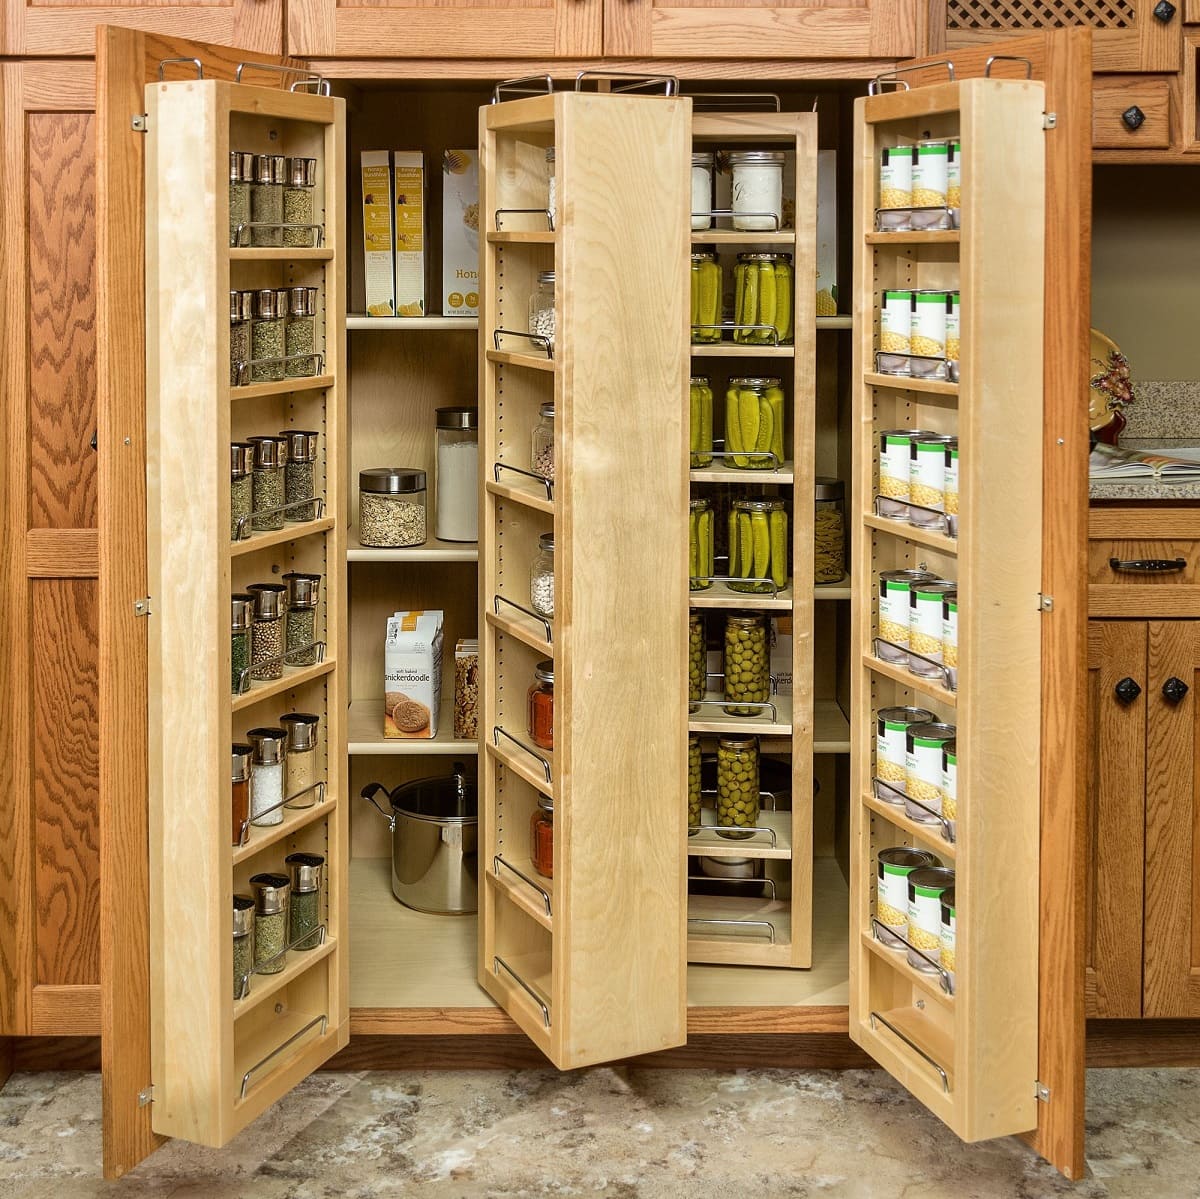
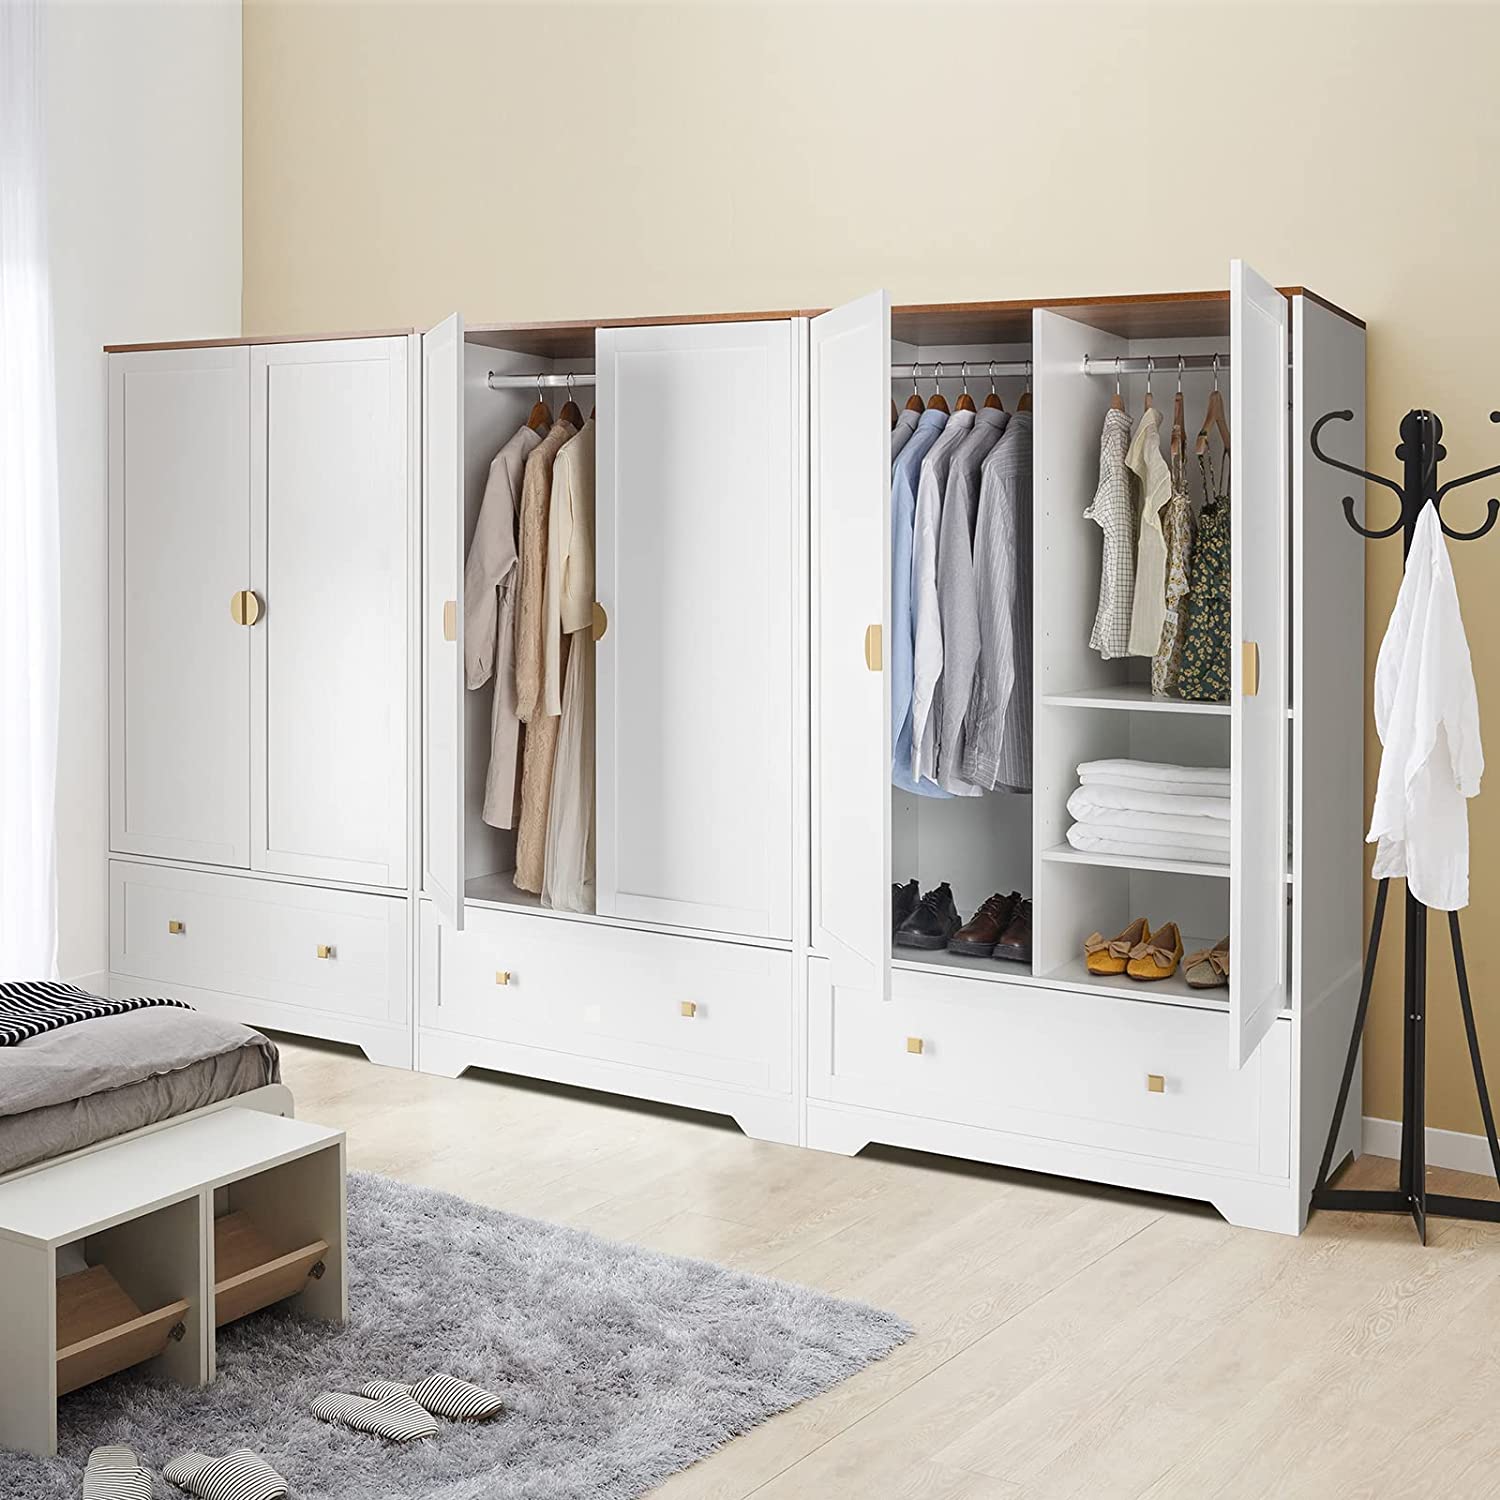
As you assess your space, also think about the functionality of your pantry cabinet. Consider whether you would prefer open shelves, pull-out drawers, or a combination of both. Think about the types of items you plan to store in the pantry and how the design can optimize accessibility and organization. You may also want to incorporate features such as adjustable shelves or built-in spice racks to enhance the functionality of your pantry cabinet.
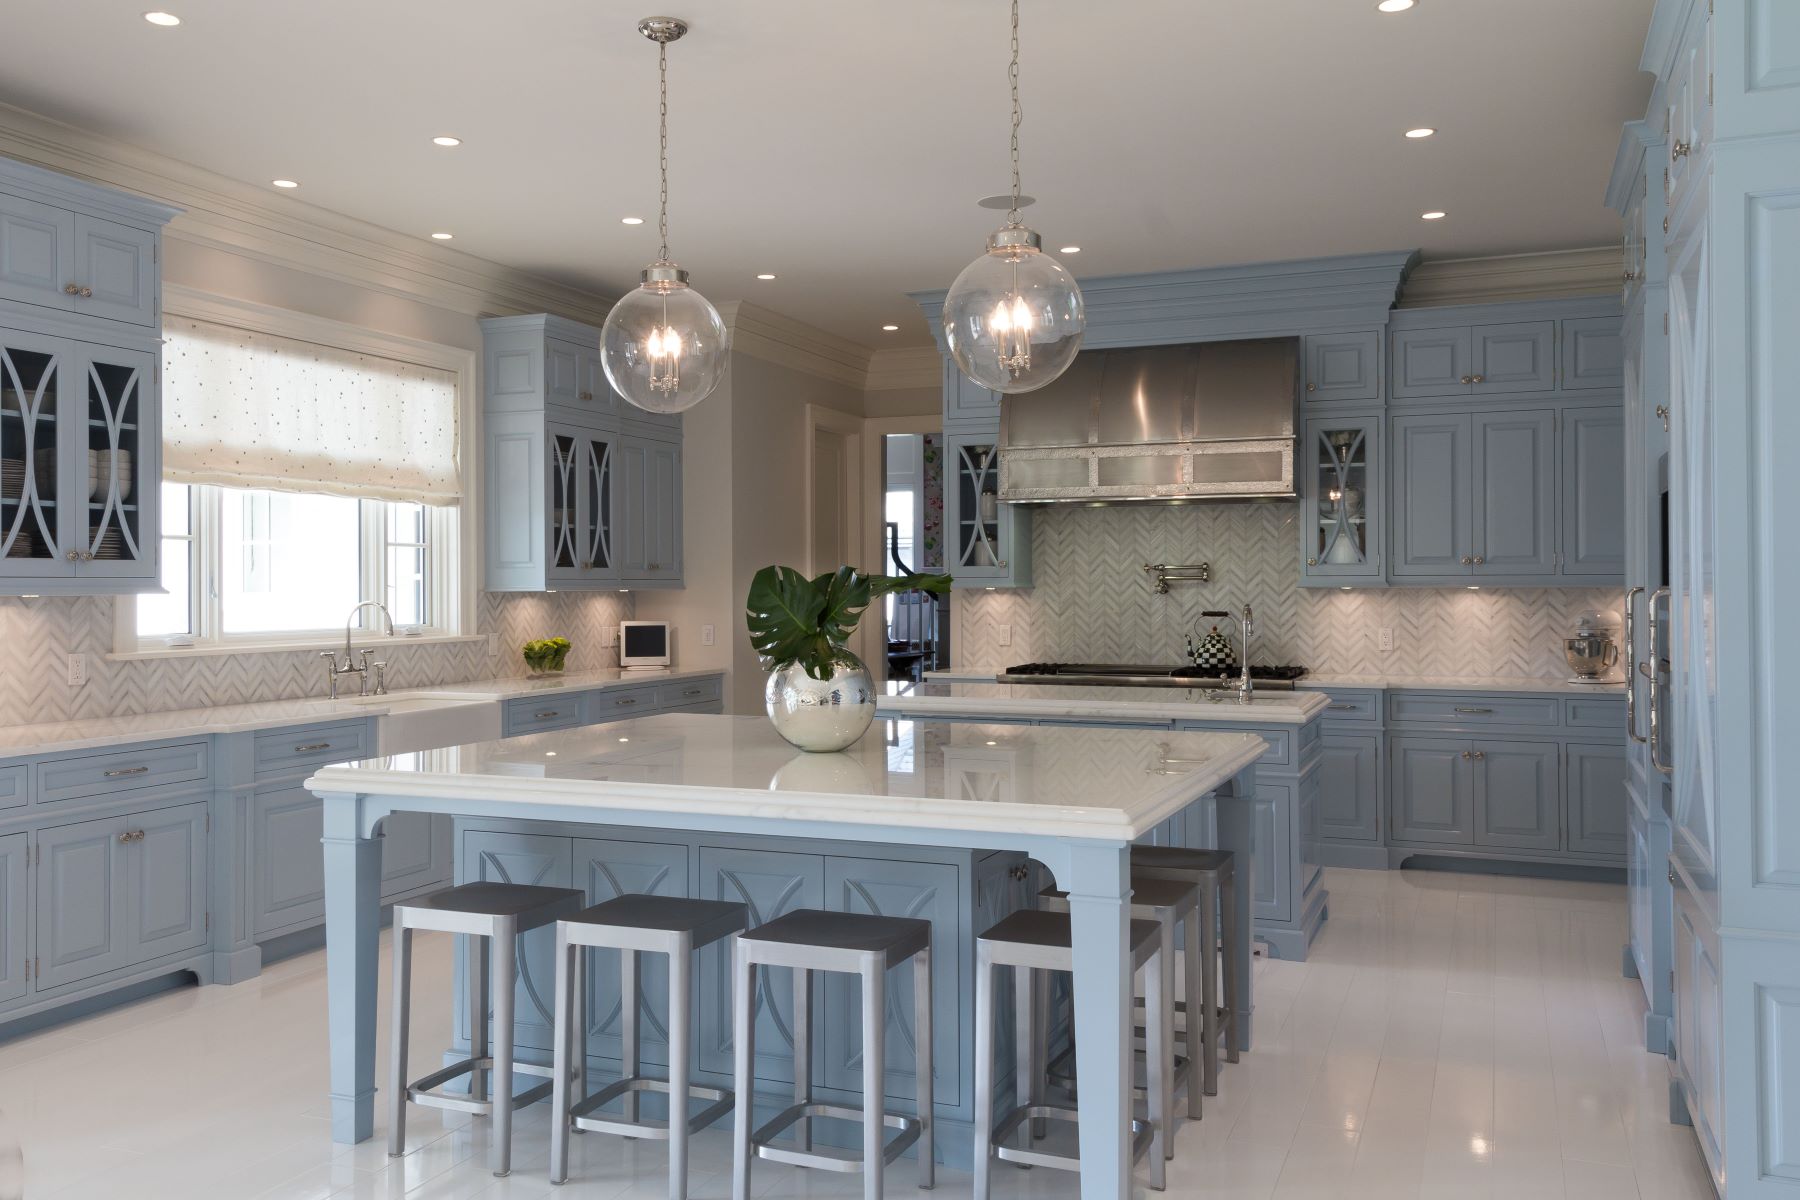
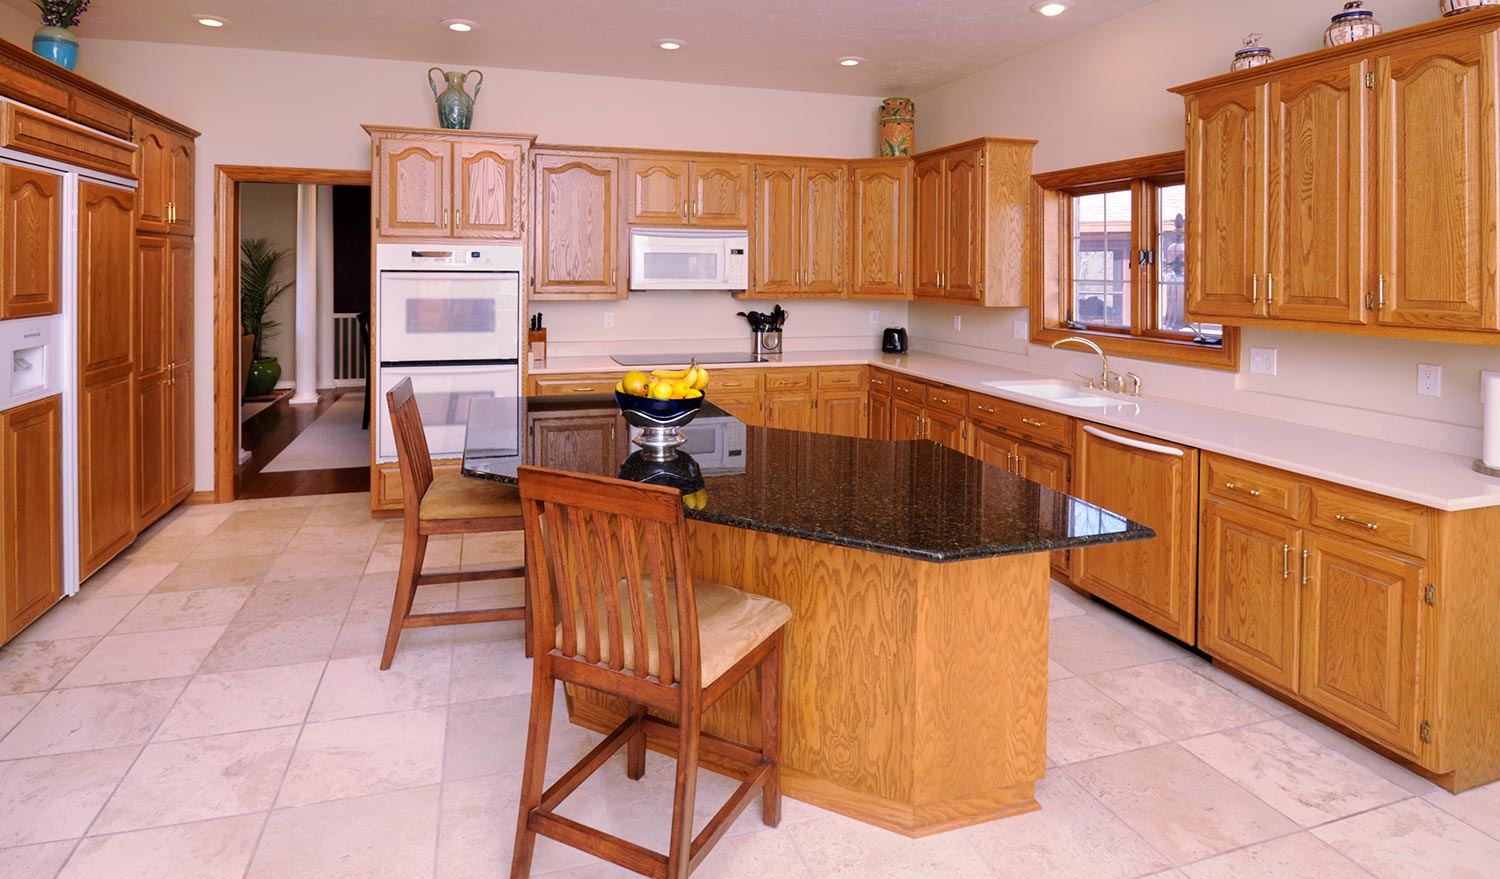
Lastly, take note of any existing cabinets or countertops that you would like your pantry cabinet to match. Consider the style, color, and materials used in your kitchen. By selecting similar finishes and design elements, you can ensure that your pantry cabinet seamlessly integrates with the rest of your kitchen.
Once you have thoroughly assessed your space and considered all the factors mentioned above, you will have a better idea of the size, style, and design that will work best for your pantry cabinet. With this information in hand, you can move on to the next steps of gathering materials and tools.
Step 2: Gathering Materials and Tools
Now that you have assessed your space and have a clear idea of the size and style of your pantry cabinet, it’s time to gather the necessary materials and tools. Having everything on hand before you begin the construction process will help ensure a smooth and efficient building process.
Here are the materials you will need:
- Plywood or MDF boards for the cabinet carcass
- Wood or MDF boards for the shelves
- Cabinet doors (if desired)
- Hinges
- Handles or knobs
- Screws
- Wood glue
- Sandpaper
- Paint or stain (depending on your preference)
When selecting the materials, consider the overall aesthetic of your kitchen and choose materials that will blend well with your existing cabinets and decor. Opt for high-quality plywood or MDF to ensure the durability and longevity of your pantry cabinet.
In addition to the materials, you will also need various tools to complete the project:
- Tape measure
- Saw (circular saw or table saw)
- Drill
- Screwdriver
- Clamps
- Sanding block or electric sander
- Paintbrushes or paint sprayer
Make sure all your tools are in good working condition and that you have the necessary safety equipment, such as safety glasses and gloves.
Before making any purchases, create a detailed list of the materials and tools you need. This will ensure that you don’t forget anything when you head to the hardware store. It’s also a good idea to check if you have any of the materials or tools already available in your workshop or garage, as this can save you some money.
Once you have gathered all the necessary materials and tools, you’re ready to move on to the next step: removing excess items from your kitchen to make room for the pantry cabinet.
Step 3: Removing Excess Items
Before you start building and installing your pantry cabinet, it’s important to clear out any excess items from your kitchen. This step will not only create space for the new pantry cabinet but also give you a chance to declutter and organize your kitchen.
Begin by emptying out your existing cabinets. Take everything out and assess each item individually. Sort them into three categories: keep, donate, and discard. Keep items that are essential and frequently used in your kitchen. Donate items that are still in good condition but no longer serve a purpose for you. Discard any items that are broken, expired, or no longer usable.
As you go through your kitchen items, consider your future pantry cabinet’s design and functionality. Think about how you can best organize your items within the new cabinet. Group similar items together, such as canned goods, spices, baking supplies, etc. This will make it easier to find things once your pantry cabinet is complete.
Once you’ve sorted through all your items and decided what to keep, donate, and discard, it’s time to find new homes for the items you’re keeping. If you have temporary storage available, you can store them there until the pantry cabinet is ready. Alternatively, you can use temporary shelves or storage bins to keep your items organized while you work on building your pantry cabinet.
Clearing out excess items from your kitchen not only creates space for your new pantry cabinet but also helps you create a more organized and functional kitchen overall. You’ll be able to enjoy a clutter-free cooking experience once your pantry cabinet is installed.
With a clean and organized kitchen, you’re now ready to move on to step 4: measuring and planning for your pantry cabinet.
Step 4: Measuring and Planning
Now that you have cleared out excess items and created space for your pantry cabinet, it’s time to measure and plan the specifics of your project. Accurate measurements and careful planning are crucial for ensuring that your pantry cabinet fits seamlessly into your kitchen and meets your needs.
Start by determining the exact dimensions of the space where your pantry cabinet will be installed. Measure the height, width, and depth of the area, taking into account any obstacles such as electrical outlets or plumbing pipes. Note down these measurements for reference.
Next, consider the layout and design of your pantry cabinet. Think about the specific items you want to store and how you want to organize them. This will help you decide on the number and size of shelves you will need, as well as any additional features like spice racks or pull-out drawers.
Using your measurements as a guide, create a detailed plan or sketch of your pantry cabinet. Include the overall dimensions, the placement of shelves, and any design elements you want to incorporate. This plan will serve as your blueprint throughout the construction process.
Once you have a plan in place, it’s time to gather the necessary materials based on your measurements. Purchase the plywood or MDF boards for the cabinet carcass and shelves, ensuring that they match the dimensions you have calculated. You may also want to consider purchasing pre-made cabinet doors or handles to save time and effort.
With your measurements, plan, and materials ready, you are now well-prepared to move on to the next step: building your pantry cabinet. Building your own pantry cabinet allows you to customize it to fit your kitchen perfectly and add personal touches that reflect your style and needs.
Remember to double-check your measurements and plan before cutting any materials to avoid any mistakes. Attention to detail and careful planning will result in a beautifully crafted pantry cabinet that not only looks great but also functions efficiently.
Now that you’re equipped with the necessary knowledge and preparation, let’s dive into step 5: building the pantry cabinet.
When building a pantry cabinet to match existing cabinets, focus on using the same materials, finishes, and hardware to create a cohesive look. This will help the new pantry blend in seamlessly with the rest of the kitchen.
Read more: How To Build Kitchen Pantry Cabinet
Step 5: Building the Pantry Cabinet
Building your own pantry cabinet allows you to create a customized storage solution that perfectly fits your kitchen space. This step will guide you through the process of constructing the pantry cabinet from start to finish.
1. Begin by cutting the plywood or MDF boards according to the measurements you obtained in the previous step. Carefully use a saw to cut the pieces for the cabinet carcass and shelves. Remember to wear safety goggles and gloves during this process.
2. Once you have all the pieces cut, assemble the cabinet carcass. Use wood glue and screws to join the boards together. Begin by attaching the sides to the top and bottom panels, ensuring that everything is square and level. Then, attach the back panel to complete the frame.
3. Install the shelves inside the cabinet. Measure and mark the desired height for each shelf, considering the items you plan to store and allowing for enough space between them. Attach the shelf supports or create notches on the sides of the cabinet to hold the shelves securely in place.
4. If you’re adding cabinet doors, measure and cut the plywood or MDF boards for the doors. Attach hinges to the doors and then mount the doors onto the cabinet. Ensure that the doors are hung level and function smoothly.
5. Sand all the surfaces of the cabinet to create a smooth finish. Start with a coarse-grit sandpaper to remove any rough edges or imperfections, then gradually move to finer-grit sandpaper for a polished look. Wipe away any dust with a clean cloth.
6. Apply a coat of paint or stain to the cabinet, following the manufacturer’s instructions. Choose a color or finish that complements your kitchen design. Allow the paint or stain to dry completely before continuing.
7. Once the paint or stain is dry, you can add any final touches to your pantry cabinet. Install handles or knobs on the cabinet doors to enhance the functionality and aesthetics of the cabinet. Ensure they are aligned properly and securely attached.
By following these steps, you can build a beautiful and functional pantry cabinet that seamlessly integrates into your kitchen space. Take your time during each phase of the construction process and double-check your measurements to ensure accuracy and precision.
With your pantry cabinet built and ready, it’s time to move on to step 6: installing the pantry cabinet.
Step 6: Installing the Pantry Cabinet
With your pantry cabinet built and finished, it’s time to install it in your kitchen. Proper installation is essential to ensure the stability and functionality of the cabinet. Follow these steps to successfully install your pantry cabinet:
1. Prepare the installation area by clearing out any obstacles or items that may hinder the installation process. Ensure that the area is clean and free from any debris.
2. Position the pantry cabinet in the designated area according to your previous measurements and plan. Make sure it is level and plumb by using a level tool. You may need assistance to hold the cabinet in place while securing it to the wall.
3. Use a drill and screws to attach the cabinet to the wall. Locate the wall studs and screw through the back of the cabinet and into the studs, ensuring a secure attachment. Repeat this process along the top and bottom of the cabinet to provide maximum stability.
4. Double-check that the cabinet is level and correctly aligned with the surrounding cabinets or walls. Make any necessary adjustments before proceeding.
5. If you have multiple cabinets or plan to attach your pantry cabinet to existing cabinets, use clamps to hold them together securely. This will ensure a seamless transition between the cabinets.
6. Once the cabinet is securely attached, open and close the doors to ensure they operate smoothly. Check for any misalignments or adjustments, and make any necessary tweaks to ensure proper functionality.
7. Clean up the installation area and remove any tools or debris. Give the cabinet a final inspection to ensure everything is in place and secure.
With your pantry cabinet successfully installed, you can now begin organizing your items and enjoying the added storage and functionality it provides. Take some time to arrange your kitchen essentials in a way that makes meal preparations and grocery shopping more convenient.
Remember to periodically check the cabinet for any signs of wear or damage and perform routine maintenance as needed. With proper care, your pantry cabinet will continue to serve you well for years to come.
Now that your pantry cabinet is installed, it’s time for the final step: adding the finishing touches to complete the overall look and functionality of your pantry cabinet.
Step 7: Finishing Touches
Congratulations on reaching the final step of building your pantry cabinet! Step 7 focuses on adding the finishing touches that will elevate the overall look and functionality of your cabinet.
Here are some key considerations:
1. Paint or Stain: If you haven’t already, apply a final coat of paint or stain to the pantry cabinet. This will not only protect the wood but also enhance its appearance. Choose a finish that complements your kitchen design and personal preference.
2. Decorative Elements: Consider adding decorative elements to your pantry cabinet to give it a customized and personal touch. This could include decorative trim, molding, or even glass inserts for the cabinet doors. These details can enhance the overall aesthetic appeal of your cabinet.
3. Lighting: Installing lights inside your pantry cabinet can improve visibility and make it easier to locate items. LED strip lights or small puck lights can be placed underneath the shelves to provide adequate lighting without taking up much space. This will enhance the functionality of your cabinet, especially in dimly lit areas.
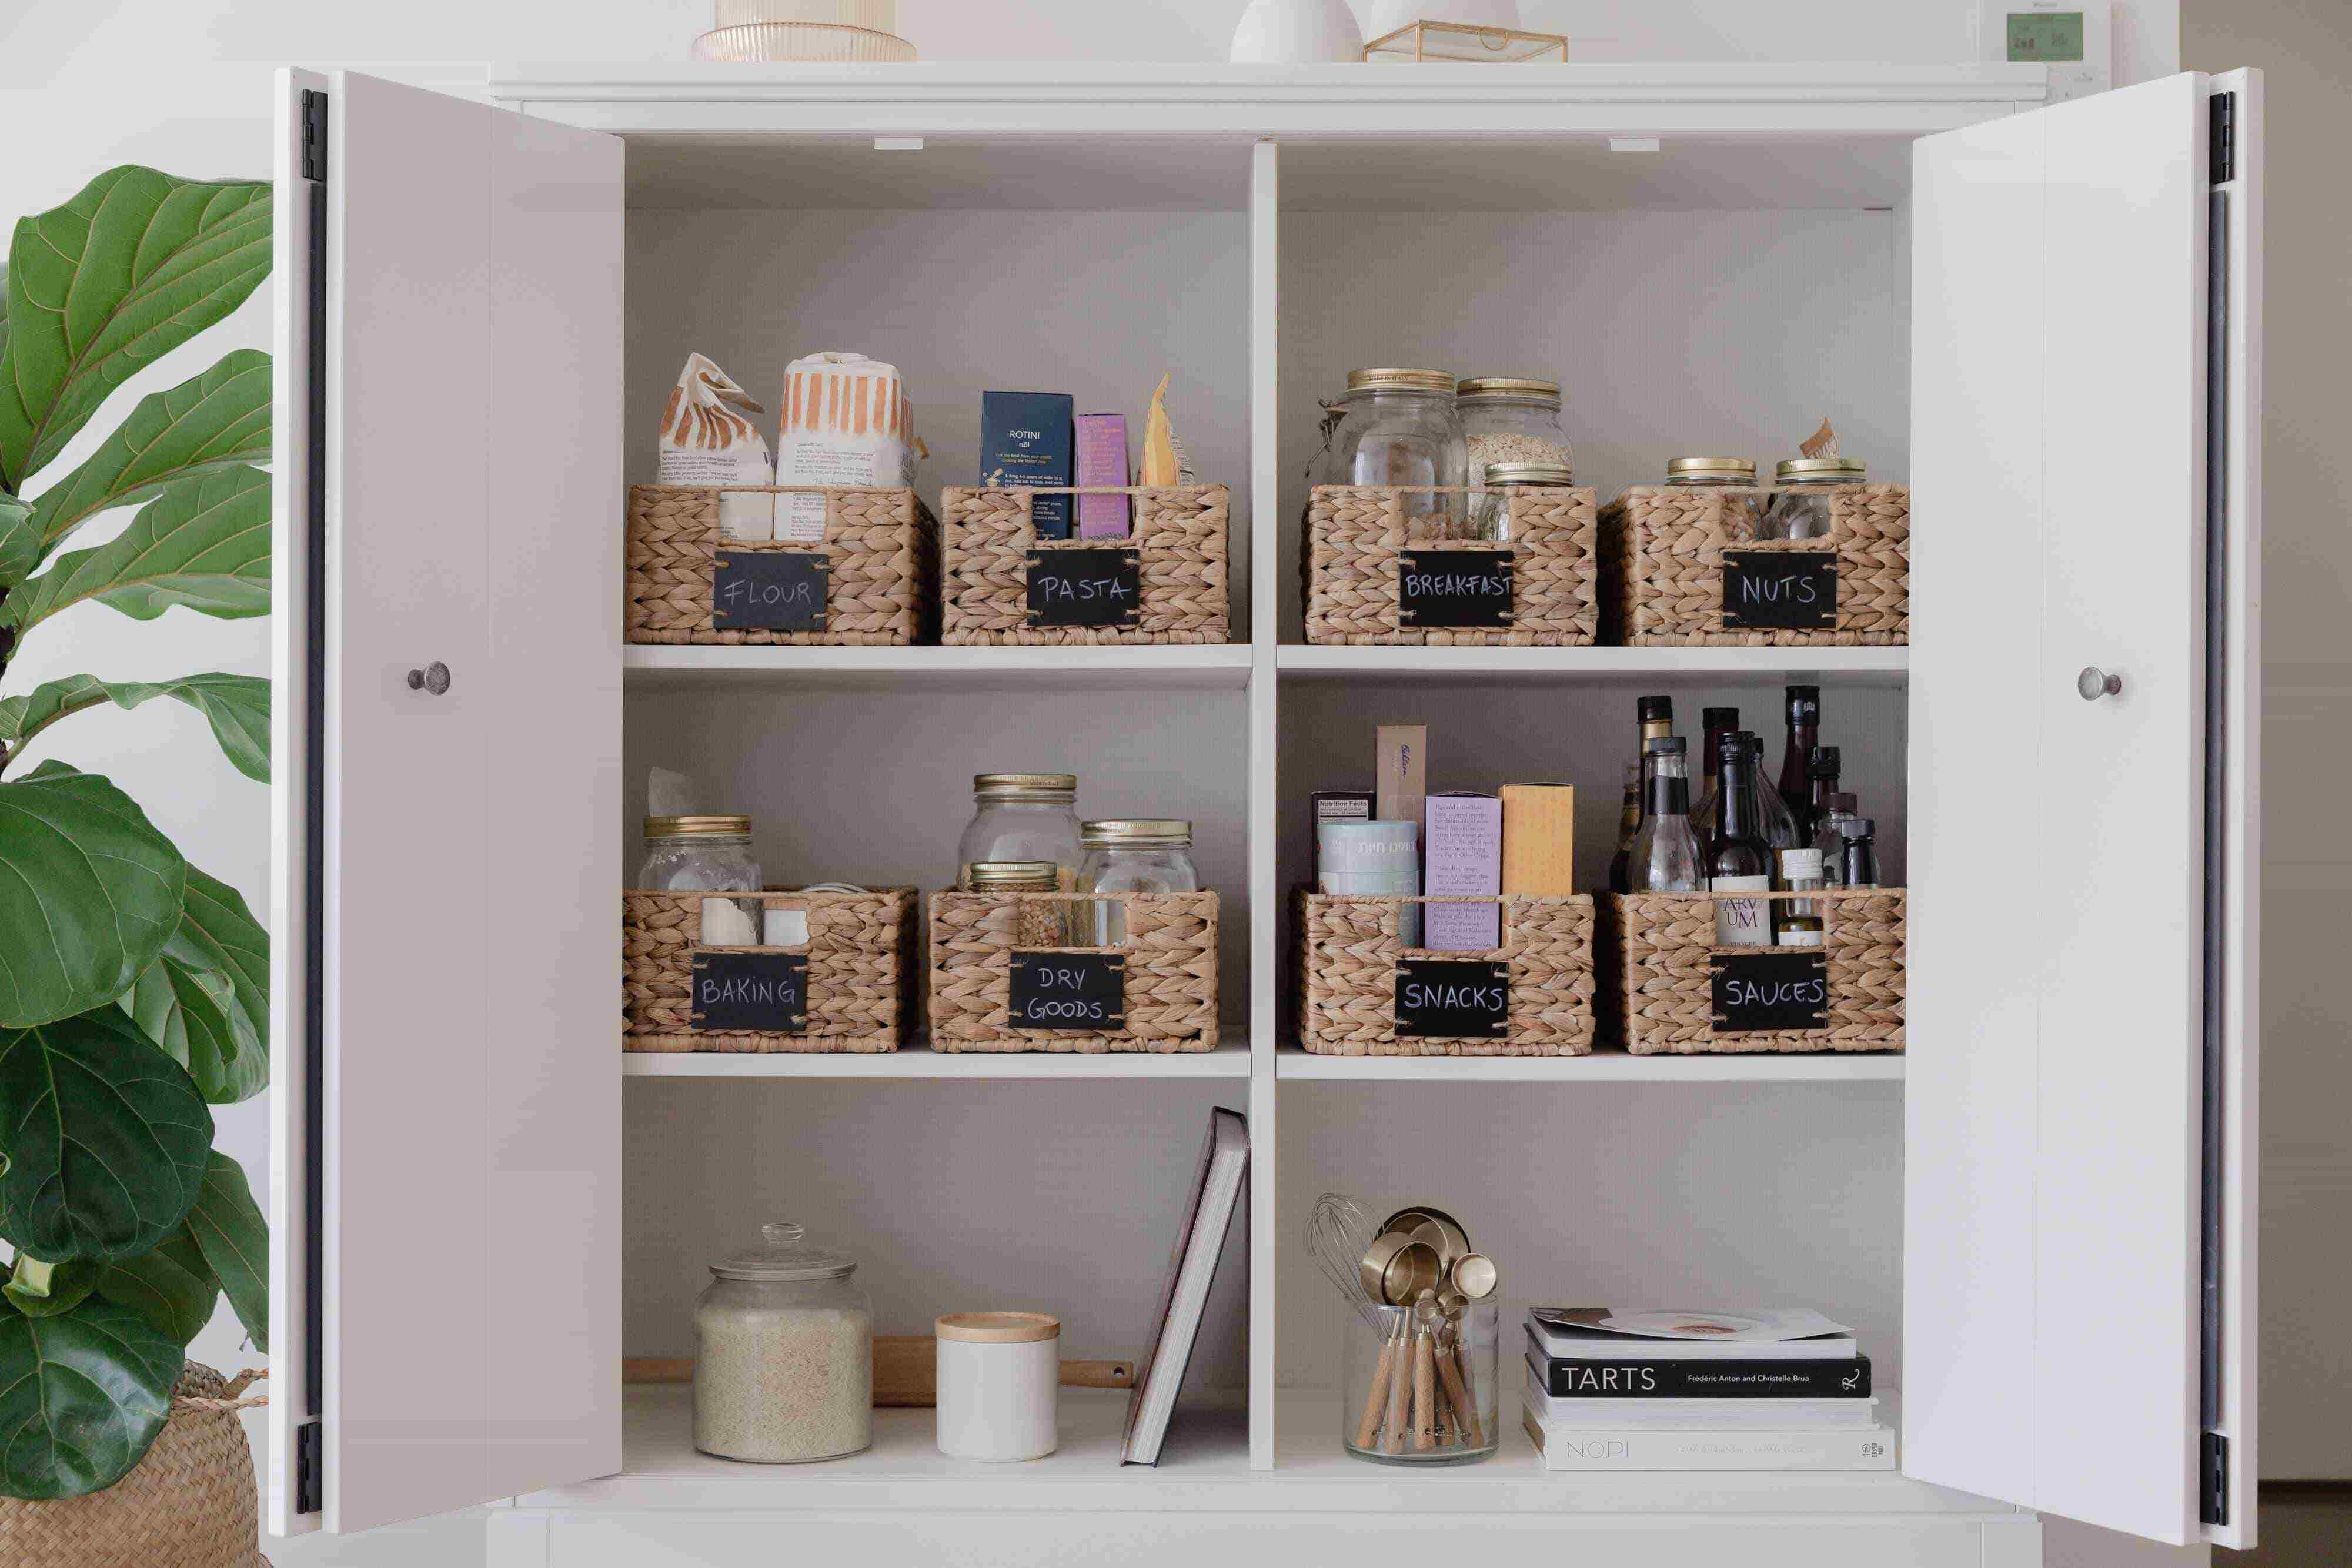
4. Organization Accessories: Consider incorporating organization accessories such as baskets, bins, or drawer dividers into your pantry cabinet. These accessories can help you maximize storage space and keep items neatly organized. Use them to categorize different types of food or kitchen essentials for easy access.
5. Door Hardware: Choose door handles or knobs that match the style and finish of your kitchen. The right hardware can enhance the overall look of your pantry cabinet and create a cohesive appearance with the rest of your kitchen cabinets.
6. Labeling: To ensure easy identification of items stored in your pantry cabinet, consider using labels. Labeling shelves or containers will help you locate specific items quickly, making your cooking and meal preparation process more efficient.
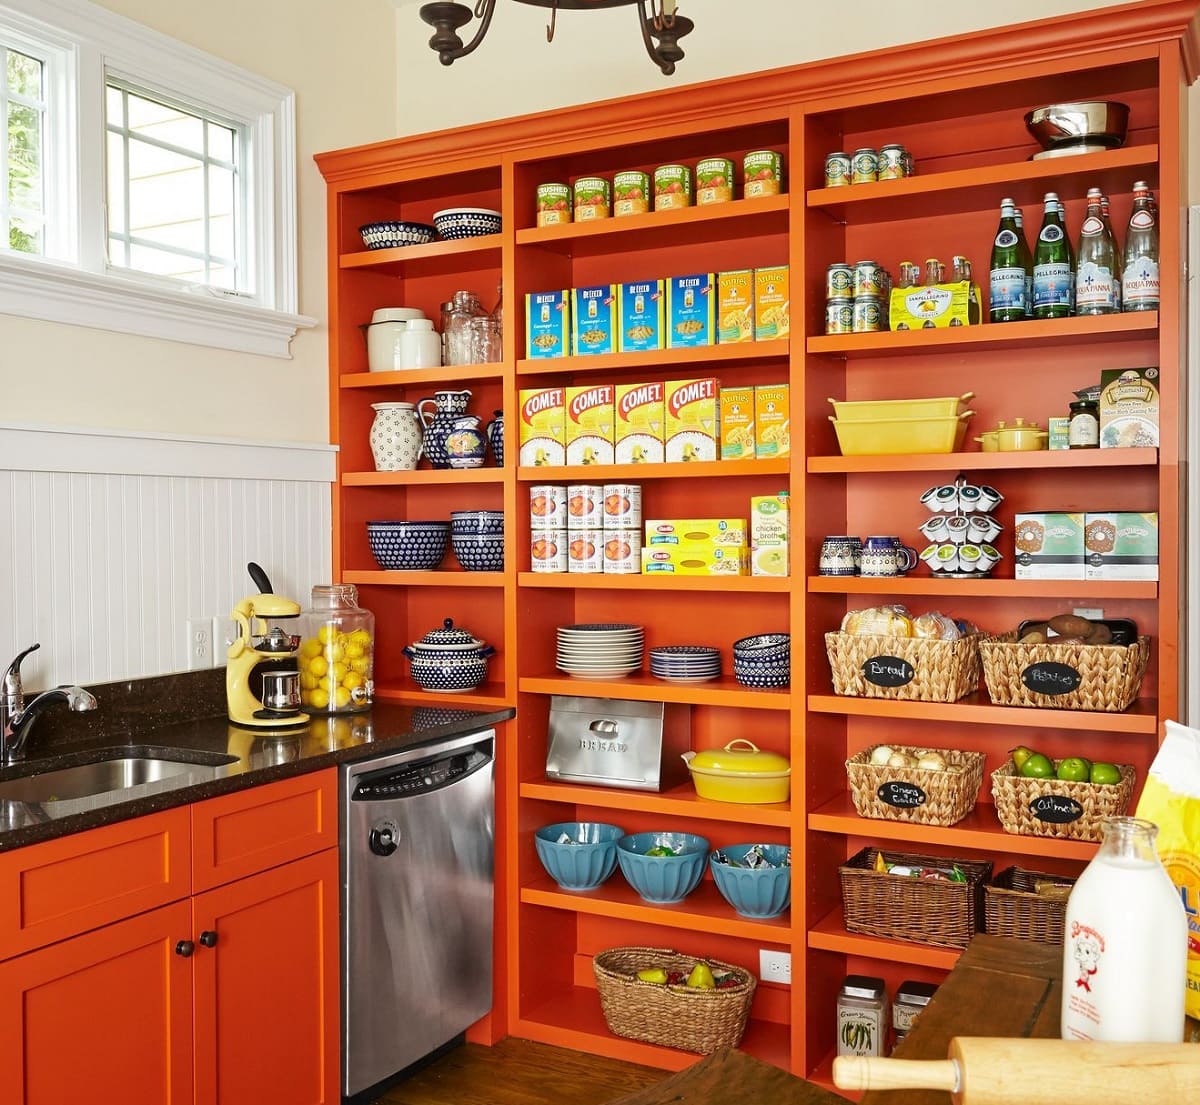
7. Personalization: Finally, add your personal touch to the pantry cabinet. Decorate the shelves with colorful kitchen accessories, display cookbooks, or add small plants to create a warm and inviting atmosphere in your kitchen.
By focusing on these finishing touches, you can transform your pantry cabinet into a functional and visually appealing storage solution that adds value to your kitchen. Remember that customization is key here, so feel free to adapt these suggestions to your personal taste and needs.
With the completion of Step 7, you have successfully built and personalized your pantry cabinet. Take a step back and admire the hard work you have put into creating this valuable addition to your kitchen. Enjoy the benefits of a well-organized and efficient space as you continue to cook and create memories in your kitchen.
Congratulations once again, and happy organizing!
Conclusion
Building a pantry cabinet and seamlessly integrating it with your existing cabinets is a rewarding and practical project that can transform your kitchen organization. By following the steps outlined in this guide, you have learned how to assess the available space, gather materials and tools, remove excess items, measure and plan, construct the cabinet, install it, and add finishing touches. Each step played a crucial role in creating a functional and visually appealing pantry cabinet that suits your needs.
With a well-designed pantry cabinet, you can maximize storage space, declutter your kitchen countertops, and easily find the items you need for cooking and meal preparation. The added organization and efficiency will make your time in the kitchen more enjoyable and stress-free.
Remember that throughout the construction process, it’s important to take accurate measurements, plan thoughtfully, and pay attention to detail. This ensures that your pantry cabinet not only fits seamlessly into your kitchen but also aligns with your personal style and preferences.
Building your own pantry cabinet allows for customization, giving you the opportunity to add personalized touches and incorporate features that meet your specific storage needs. Whether it’s adjustable shelves, pull-out drawers, or decorative elements, make sure to create a pantry cabinet that reflects your unique taste and enhances the overall design of your kitchen.
As you enjoy your newly built pantry cabinet, remember to regularly maintain and organize its contents. This will help sustain its functionality and ensure a clutter-free space. Take advantage of organization accessories, label shelves, and make use of efficient storage solutions for better accessibility and convenience.
Congratulations on completing this journey of building a pantry cabinet and seamlessly integrating it into your kitchen. You should feel proud of your accomplishment and the positive impact it will have on your daily life. Enjoy the benefits of a well-organized and efficient kitchen, and savor the pleasure of cooking in your newly transformed space.
Happy cooking and bon appétit!
Frequently Asked Questions about How To Build A Pantry Cabinet And Match With Existing Cabinets
Was this page helpful?
At Storables.com, we guarantee accurate and reliable information. Our content, validated by Expert Board Contributors, is crafted following stringent Editorial Policies. We're committed to providing you with well-researched, expert-backed insights for all your informational needs.


0 thoughts on “How To Build A Pantry Cabinet And Match With Existing Cabinets”