Articles
How To Cut Down A Pantry Cabinet
Modified: February 28, 2024
Learn how to efficiently cut down a pantry cabinet with our informative articles. Transform your space and make the most out of your kitchen storage.
(Many of the links in this article redirect to a specific reviewed product. Your purchase of these products through affiliate links helps to generate commission for Storables.com, at no extra cost. Learn more)
Introduction
Welcome to this comprehensive guide on how to cut down a pantry cabinet. If you’ve recently moved into a new home or have discovered that your existing pantry cabinet is too tall for your needs, you’ve come to the right place. In this article, we will walk you through step-by-step instructions on how to safely and effectively cut down a pantry cabinet, allowing it to fit perfectly into your space.
Having a pantry cabinet that suits your needs is essential for an organized and efficient kitchen. By making adjustments to the height of your pantry cabinet, you can maximize your storage space and make it easier to access items. Whether you need to reduce the height of a newly purchased pantry cabinet or want to repurpose an existing one, this article will provide you with the necessary guidance.
Before we dive into the steps, let’s first go over the tools and materials you will need for this project. These items will help you effectively dismantle and adjust your pantry cabinet.
Key Takeaways:
- Customize Your Space
Transform your pantry cabinet to fit your needs by following our step-by-step guide. Maximize storage, enhance organization, and create a tailored and efficient kitchen storage solution. - Safety First, Precision Always
Prioritize safety, measure accurately, and make precise cuts when cutting down a pantry cabinet. Enjoy the rewarding process of creating a functional and personalized storage space.
Tools and Materials
Before starting the process of cutting down a pantry cabinet, gather the following tools and materials:
- A measuring tape
- A pencil or marker
- A level
- A circular saw or jigsaw
- A miter saw
- A drill
- Screwdriver
- Safety goggles
- Gloves
- Dust mask
- Damp cloth or sponge
- Sandpaper (coarse and fine grit)
- Screws
- Wood filler
- Paint or stain (if desired)
Having these tools and materials on hand will make the process smoother and help you achieve the best results. Ensure that you have a clear work area, preferably in a well-ventilated space, where you can safely work on the pantry cabinet.
Now that you have everything you need, let’s move on to the step-by-step instructions on how to cut down a pantry cabinet.
Step 1: Emptying the Pantry Cabinet
The first step in cutting down a pantry cabinet is to fully empty its contents. Remove all items stored inside the cabinet, including food items, dishes, and any other items that may be stored there. This will not only make it easier to work on the cabinet but also prevent any accidents or damage to your belongings during the process.
Once the pantry cabinet is completely empty, take the opportunity to clean the interior. Use a damp cloth or sponge to wipe down the shelves, drawers, and walls of the cabinet. This will remove any dust, dirt, or food residue that may have accumulated over time.
By starting with an empty and clean pantry cabinet, you’ll have a clear workspace and ensure that the final result is a fresh and hygienic storage space for your kitchen essentials. After completing this step, you’re ready to move on to the next one.
Step 2: Removing Shelves and Drawers
Now that the pantry cabinet is empty, the next step is to remove the shelves and drawers. These components will need to be taken out in order to access the cabinet frame for cutting down.
Start by removing any adjustable shelves first. Most pantry cabinets have shelves that can be adjusted to different heights. Use a screwdriver or drill to unscrew any screws or brackets that are holding the shelves in place. Carefully lift each shelf out of the cabinet and set them aside.
Next, remove the drawers, if your pantry cabinet has them. Open each drawer fully and locate the screws or brackets that hold them in place. Use a screwdriver or drill to remove these screws, then gently pull the drawers out of the cabinet.
Remember to keep track of the screws and brackets as you remove the shelves and drawers. Place them in a small container or bag so that they don’t get lost during the process. This will make it easier to put everything back together later on.
With the shelves and drawers removed, you now have better access to the cabinet frame. This will allow you to proceed to the next step of detaching the cabinet doors.
Step 3: Detaching Cabinet Doors
In this step, we will focus on detaching the cabinet doors from the pantry cabinet. Removing the doors will make it easier to work on the cabinet frame and ensure a clean cut.
Start by opening all the cabinet doors fully. This will give you better access to the hinges and screws that hold the doors in place. Examine the hinges and locate the screws that attach them to the cabinet frame.
Using a screwdriver or drill, carefully remove the screws from each hinge, taking care not to damage the doors or hinges in the process. Once the screws are removed, gently lift each door off the cabinet and set them aside in a safe place.
If your pantry cabinet has multiple doors, make sure to keep them organized and labeled so that you can easily reattach them later. Placing them in a designated area or using painter’s tape to label them can help avoid confusion.
After removing the cabinet doors, inspect the hinges and screws for any damage or wear. If necessary, replace them with new hinges or screws to ensure proper functionality when reattaching the doors.
You have now successfully removed the cabinet doors, and the next step involves disassembling the cabinet frame to prepare for cutting it down.
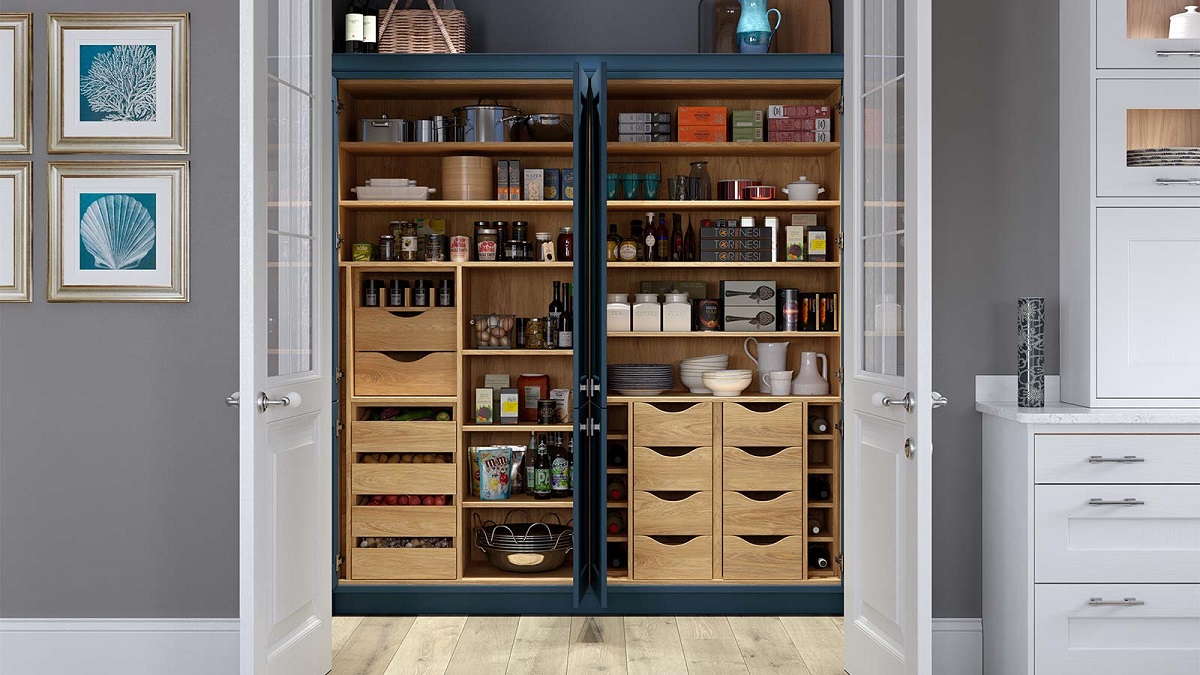
Read more: What Is A Pantry Cabinet
Step 4: Disassembling the Cabinet Frame
Now that the cabinet doors have been removed, it’s time to disassemble the pantry cabinet frame. This step involves separating the different sections of the cabinet to facilitate the cutting process.
Begin by examining the construction of your pantry cabinet. Look for screws, nails, or other fasteners that hold the cabinet frame together. Use a screwdriver or drill to remove these fasteners, starting from the top and working your way down.
If your pantry cabinet has a back panel, remove it by unscrewing or prying off any nails or staples holding it in place. This will allow for easier access to the interior of the cabinet.
As you disassemble the cabinet frame, be mindful of any connections or joints that may require additional effort to separate. Gently tap or pry apart any stubborn sections, being cautious not to damage the wood or structure of the cabinet.
Once you have fully disassembled the cabinet frame, set aside the individual pieces in a safe location. It’s a good idea to keep them organized and labeled, so you can easily reassemble the cabinet later on.
With the pantry cabinet frame disassembled, you’re now ready to move on to the next step: cutting down the cabinet to the desired height.
When cutting down a pantry cabinet, measure carefully and use a circular saw with a fine-tooth blade to make clean, straight cuts. Sand the edges to smooth them out and finish with a matching paint or stain.
Step 5: Cutting Down the Cabinet Frame
In this step, we will focus on cutting down the pantry cabinet frame to the desired height. This will involve using a circular saw or jigsaw to make precise cuts.
Before you begin cutting, make sure to measure and mark the desired height on each section of the cabinet frame. Use a measuring tape and a pencil or marker to accurately mark the cutting line.
If using a circular saw, ensure that the blade is set to the appropriate depth for cutting through the wood. Align the saw blade with the marked cutting line and carefully guide the saw along the line, applying steady pressure as you cut through the cabinet frame.
If using a jigsaw, use a guide or clamps to help keep the saw straight as you cut along the marked line. Take your time and follow the line closely to ensure a clean and accurate cut.
While cutting, it’s important to wear safety goggles and gloves to protect yourself from any flying debris or sharp edges. Additionally, wearing a dust mask can help protect against sawdust inhalation.
Once you have made the cuts to reduce the height of the cabinet frame, carefully inspect the edges to ensure that they are smooth and even. Use sandpaper, starting with coarse grit and moving to fine grit, to smooth out any rough edges or splinters.
Take your time during this step to ensure precise and accurate cuts. Double-check your measurements and make any necessary adjustments before moving on to the next step.
Now that the pantry cabinet frame has been cut down to the desired height, we can proceed to the next step: adjusting the shelves and drawers to fit the new dimensions.
Step 6: Adjusting Shelves and Drawers
With the pantry cabinet frame cut down to the desired height, it’s time to adjust the shelves and drawers to fit the new dimensions. This step ensures that the interior storage space is optimized and functional.
Start by measuring and marking the new height for each shelf and drawer. Use a measuring tape and pencil or marker to accurately mark the measurements on each component.
If your pantry cabinet has adjustable shelves, reposition them to the desired heights by aligning the shelf brackets with the marked measurements. Use a screwdriver or drill to secure the brackets in place, ensuring that they are level and stable.
If necessary, trim the shelves using a circular saw or jigsaw to fit the new dimensions of the pantry cabinet. Remember to sand down any rough edges for a smooth finish.
When adjusting the drawers, evaluate the drawer runners or slides. If they need to be shortened to fit the new cabinet height, carefully remove the drawer slides from both the cabinet frame and the drawer itself. Shorten the slides using a saw or alternative cutting tool, following the manufacturer’s instructions if available. Reattach the slides to the appropriate heights, ensuring that they are aligned and functioning correctly.
As you adjust the shelves and drawers, test their fit and functionality at each stage. Make any necessary adjustments to ensure that they slide smoothly and securely in their respective positions.
By properly adjusting the shelves and drawers, you will create a well-organized and functional storage space within your pantry cabinet.
Now that the interior components have been adjusted, it’s time to reattach the cabinet doors in the next step.
Step 7: Reattaching Cabinet Doors
After adjusting the shelves and drawers, it’s time to reattach the cabinet doors to complete the transformation of your pantry cabinet. Restoring the doors will not only enhance the appearance of the cabinet but also provide functionality and security.
Begin by aligning the hinges on each door with the hinge plates or mounting brackets on the cabinet frame. Use a screwdriver or drill to insert the screws and secure the hinges in place. Make sure to tighten the screws firmly but not excessively to avoid damaging the doors or hinges.
As you reattach the cabinet doors, check for any adjustments needed to ensure that they hang straight and level. Use a level to make sure the doors align properly and make any necessary modifications to the hinge placement if needed.
If your pantry cabinet has adjustable hinges, take the opportunity to align the doors and make any necessary adjustments for even spacing and proper closure. Refer to the manufacturer’s guidelines for adjusting hinges if applicable.
Go through each door and test its movement and functionality. Open and close the doors to ensure they swing smoothly and securely. If any adjustments are required, loosen the screws slightly to allow for minor fine-tuning.
Once you are satisfied with the alignment and functionality of the cabinet doors, tighten all the screws securely. Take care not to overtighten, as this can strip the screw holes or damage the hinges.
Now that the cabinet doors have been reattached, it’s time to move on to the final step: restocking and organizing your pantry cabinet.
Read more: How To Organize Small Pantry Cabinet
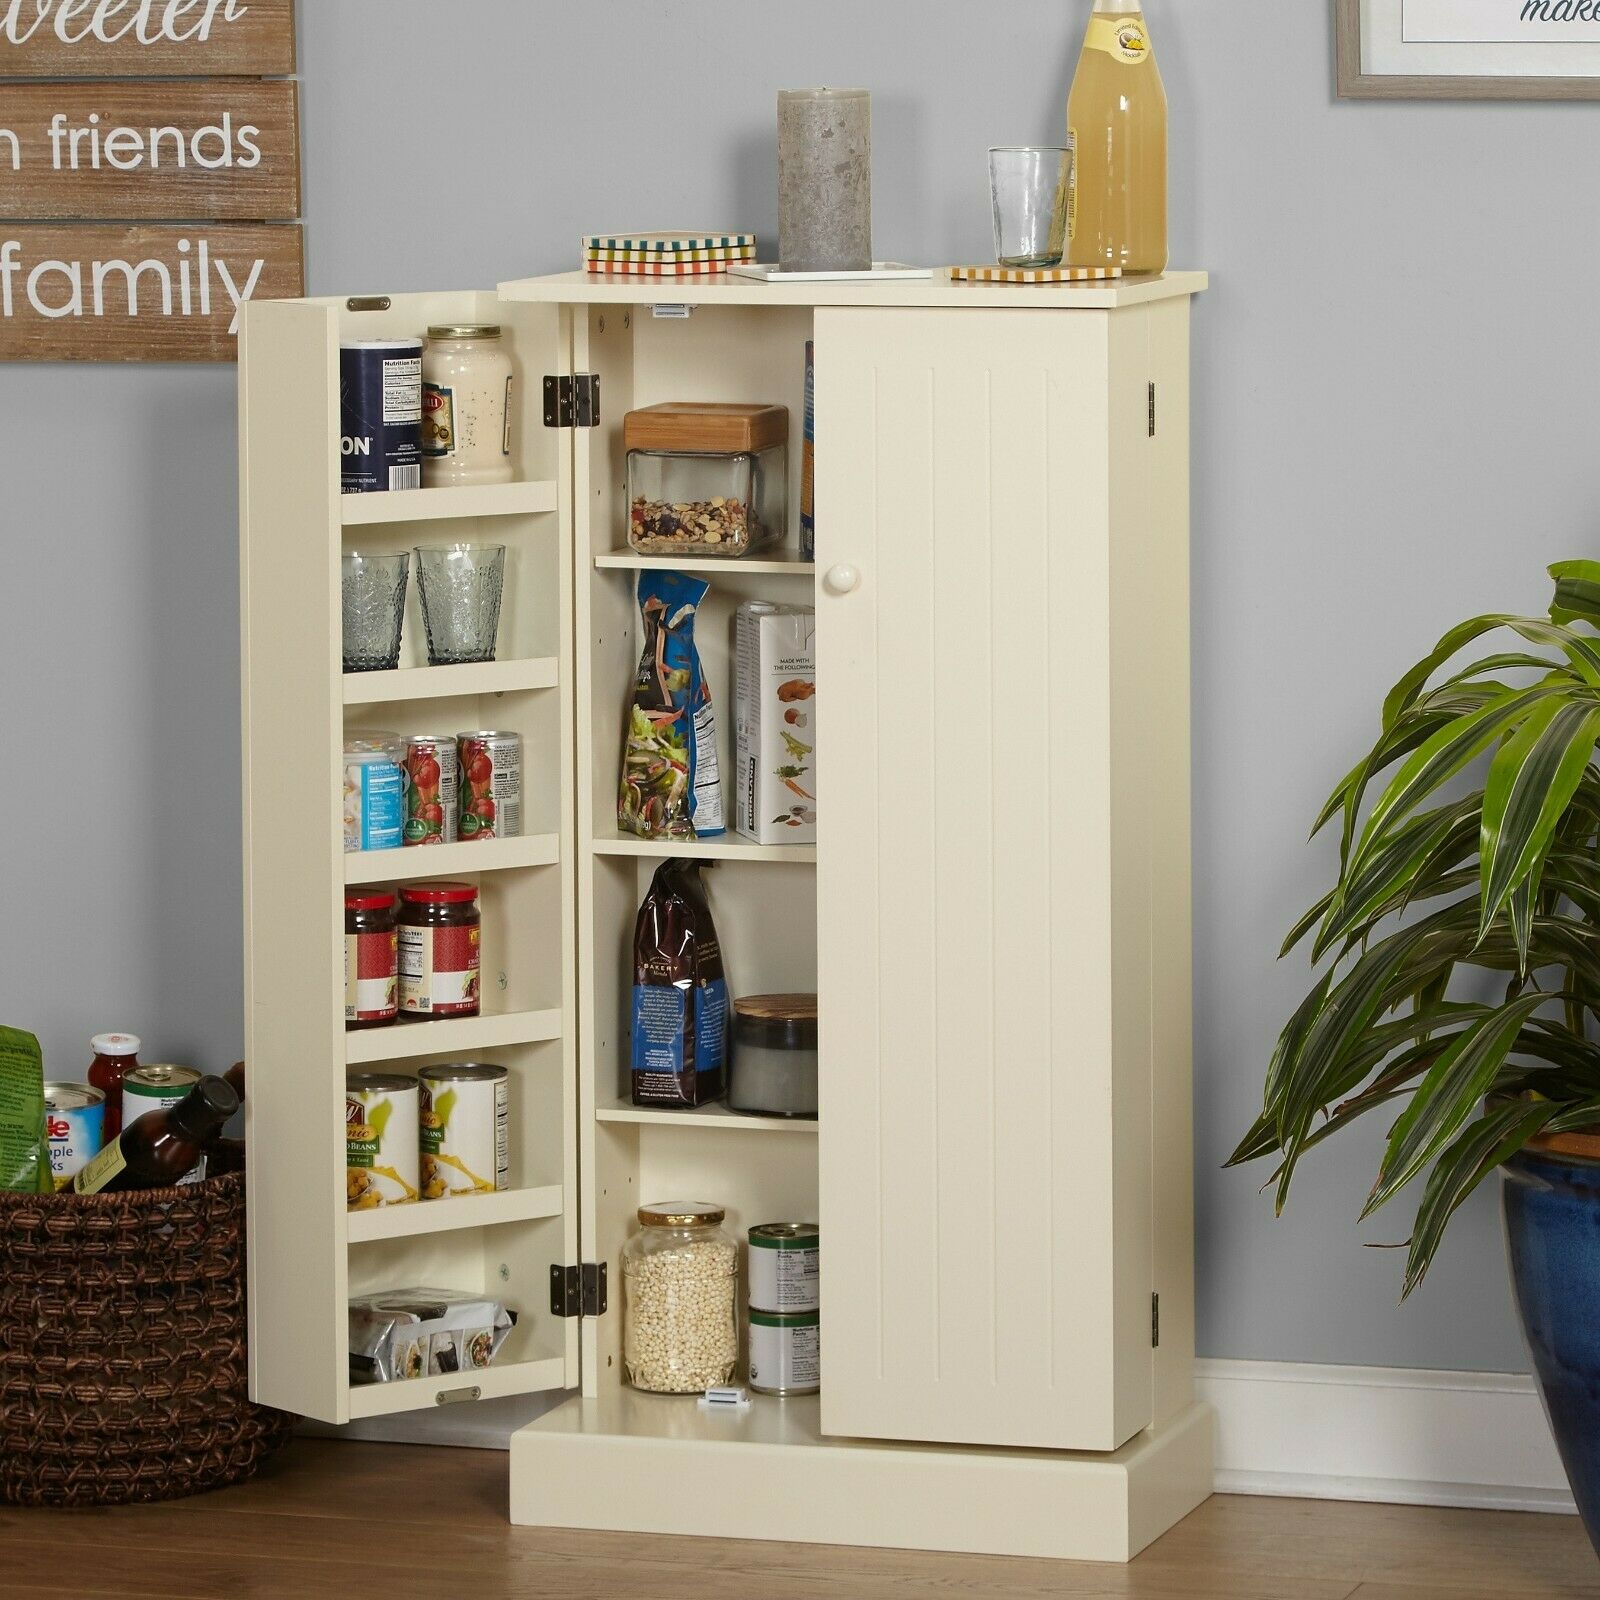
Step 8: Restocking and Organizing
Congratulations! You’ve successfully cut down your pantry cabinet and reattached the doors. It’s now time to restock and organize your newly transformed cabinet to make the most of the available space.
Start by sorting through the items you removed from the pantry cabinet earlier. Take this opportunity to declutter and get rid of any expired or unused items. Donate any non-perishable food items that are still in good condition to a local food bank or charity.
Once you’ve sorted through your items, begin restocking the pantry cabinet. Group similar items together for easy access and convenience. Utilize storage containers, bins, or baskets to further organize your items and maximize space.
Consider implementing a labeling system to identify the contents of each shelf or bin. This will help you locate items quickly and maintain an organized pantry cabinet.
As you restock, take into account the newly adjusted shelf and drawer heights. Adjust the placement of items accordingly to make the most efficient use of the space.
Additionally, take the opportunity to clean the exterior of the pantry cabinet. Wipe down the doors, handles, and surfaces with a damp cloth or gentle cleaner to remove any dust or fingerprints.
Once you’ve finished restocking and organizing, step back and admire your newly cut-down pantry cabinet. Take note of how the adjustments have improved the functionality and aesthetics of your storage space.
Remember to periodically review and reorganize your pantry cabinet to ensure that it remains clutter-free and organized. This will make it easier to find items and maintain a well-functioning pantry.
Conclusion
Cutting down a pantry cabinet can be a rewarding project that allows you to customize your storage space to meet your specific needs. By following the step-by-step instructions in this guide, you can successfully modify the height of your pantry cabinet and create a more functional and efficient kitchen storage solution.
Throughout the process, it is important to prioritize safety by wearing protective gear, such as safety goggles and gloves, and working in a well-ventilated area. Take your time to measure accurately, make precise cuts, and double-check your work at each stage to ensure a successful outcome.
Once the pantry cabinet is cut down, adjusting the shelves and drawers to fit the new dimensions is crucial. This will help optimize the storage space and enhance the organization of your pantry items.
By reattaching the cabinet doors and ensuring they are properly aligned and functional, you can complete the transformation of your pantry cabinet and restore its visual appeal.
Lastly, take the time to restock and organize your newly modified pantry cabinet. Decluttering and sorting through items will help maximize space and make it easier to locate the items you need. Utilize storage containers, labels, and other organizational tools to create a well-organized and efficient pantry.
Remember, cutting down a pantry cabinet requires careful planning and execution, but the end result is worth the effort. Enjoy the benefits of a customized storage space that suits your needs and enhances the functionality of your kitchen.
Now that you have the knowledge and guidance, it’s time to grab your tools and start transforming your pantry cabinet into a more tailored and efficient storage solution. Happy cutting!
Frequently Asked Questions about How To Cut Down A Pantry Cabinet
Was this page helpful?
At Storables.com, we guarantee accurate and reliable information. Our content, validated by Expert Board Contributors, is crafted following stringent Editorial Policies. We're committed to providing you with well-researched, expert-backed insights for all your informational needs.


0 thoughts on “How To Cut Down A Pantry Cabinet”