Articles
What Type Of Paint For Basement Walls
Modified: January 6, 2024
Discover the best type of paint for basement walls in our informative articles. Make your basement a vibrant and inviting space with the right paint choice.
(Many of the links in this article redirect to a specific reviewed product. Your purchase of these products through affiliate links helps to generate commission for Storables.com, at no extra cost. Learn more)
Introduction
When it comes to renovating your basement, choosing the right paint for the walls is a crucial decision. The basement is often a neglected area of the house, but with the right paint choice, you can transform it into a functional and inviting space.
Before diving into the different types of paint suitable for basement walls, it’s essential to consider a few factors. The basement environment tends to have higher humidity levels, which can lead to moisture issues and the growth of mold and mildew. Additionally, basements may have uneven surfaces, such as concrete or block walls, that require special attention during the painting process.
In this article, we will explore the various types of paint that are suitable for basement walls, along with tips on how to prepare your basement walls for painting and important application techniques to achieve a lasting and beautiful finish.
So, grab your paintbrush and let’s dive into the world of basement wall paint options!
Key Takeaways:
- Choose the right paint for your basement walls by considering factors like moisture resistance, surface preparation, durability, cleanup, and color to create a visually appealing and long-lasting finish.
- Types of paint suitable for basement walls include latex, acrylic, epoxy, and mold-resistant paint, each with its own advantages. Properly prepare the walls and follow application tips for a professional-looking result.
Factors to Consider Before Choosing Paint for Basement Walls
Before you start browsing through the paint aisles, there are a few key factors to consider that will help you choose the best paint for your basement walls:
- Moisture Resistance: Basements are notorious for excess moisture and potential water leaks. It’s crucial to select a paint that is specifically designed to resist moisture, prevent water penetration, and inhibit the growth of mold and mildew.
- Surface Preparation: Basement walls often have rough or uneven surfaces, such as concrete or block. Properly preparing the surface by filling in cracks, smoothing out rough spots, and applying a primer will ensure better adhesion and a more even finish.
- Durability: Basements are typically high-traffic areas, so choosing a paint that can withstand wear and tear is key. Look for paint that is known for its durability and ability to resist scuffing, chipping, and fading.
- Cleanup and Maintenance: Consider the ease of cleaning and maintaining the painted walls. Basements tend to experience more dirt and dust accumulation, so choosing a paint that can be easily cleaned without compromising its color or finish is important.
- Color and Lighting: Basements often lack natural light, so selecting the right color can make a significant difference in brightening up the space. Lighter colors are generally recommended to make the basement feel more spacious and to reflect any available light.
By keeping these factors in mind, you will be better equipped to choose a paint that will ensure long-lasting, moisture-resistant, and visually appealing basement walls. Now, let’s explore the different types of paint that are suitable for basement walls!
Types of Paint Suitable for Basement Walls
Now that you understand the important factors to consider, let’s explore the different types of paint that are suitable for basement walls:
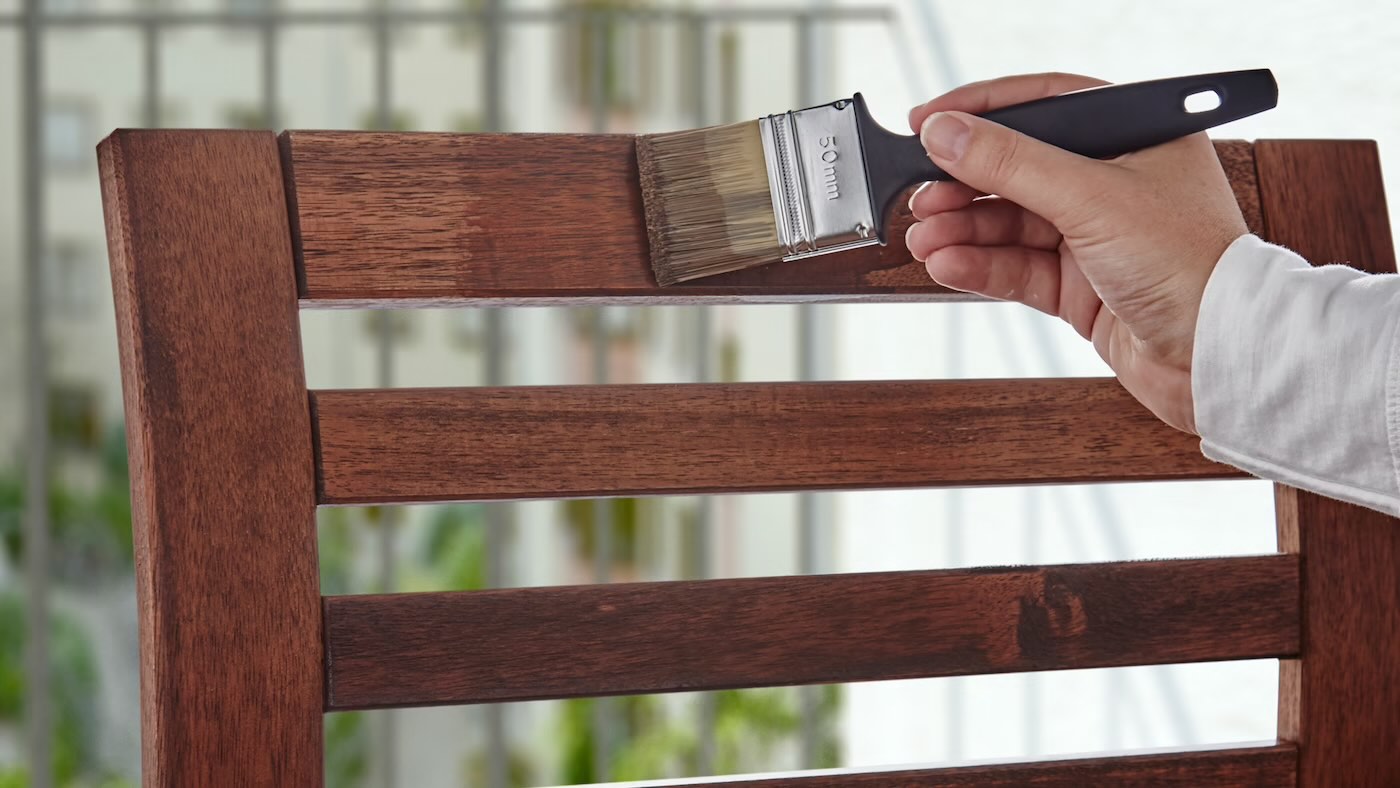
- Latex Paint: Latex paint, also known as acrylic paint, is a popular choice for basement walls. It is water-based, quick-drying, and easy to clean up with soap and water. Latex paint is available in a wide range of colors and finishes, making it suitable for various basement styles. It is also known for its durability and resistance to moisture. However, for basement walls with previous water damage, it’s recommended to use a waterproofing sealer before applying latex paint.
- Acrylic Paint: Acrylic paint is similar to latex paint but usually has a higher acrylic content, making it more durable and resistant to damage. It provides excellent adhesion and is known for its long-lasting finish. Acrylic paint is versatile and can be used on different types of basement wall surfaces. It also comes in various finishes, including gloss, satin, and matte.
- Epoxy Paint: Epoxy paint is an excellent choice for basements that are prone to moisture or have concrete floors. It forms a thick, durable, and moisture-resistant coating that protects against water damage. Epoxy paint is commonly used for basement floors but can also be used on walls. It provides a high-gloss finish and is resistant to stains, chemicals, and abrasion. Keep in mind that epoxy paint requires proper surface preparation, including repairing any cracks or imperfections.
- Mold-Resistant Paint: In basements with a history of mold or mildew issues, mold-resistant paint can be a lifesaver. This type of paint contains additives that help prevent mold and mildew growth, making it ideal for controlling moisture-related problems. Mold-resistant paint usually has a higher coverage and is available in different colors and finishes.
When selecting the type of paint for your basement walls, consider the specific needs of your space, such as moisture levels, surface conditions, and previous water damage. Additionally, consult with a paint specialist or professional to ensure you choose the best option for your specific requirements.
Now that you have an understanding of the different paint types, let’s move on to preparing your basement walls before painting.
Latex Paint
Latex paint, also known as acrylic paint, is one of the most popular choices for painting basement walls. It offers several advantages that make it suitable for this environment.
Latex paint is water-based, which means it is easy to clean up with just soap and water. This makes it an ideal choice for DIY projects as it eliminates the need for harsh solvents or thinners. Additionally, latex paint dries quickly, allowing you to apply multiple coats in a shorter amount of time.
When it comes to basement walls, latex paint is known for its durability and resistance to moisture. It forms a protective barrier that helps prevent water penetration into the walls, reducing the risk of water damage and mold growth. However, it’s important to note that if your basement has a history of water issues or previous water damage, it’s recommended to apply a waterproofing sealer before applying latex paint.
Another advantage of latex paint is its versatility. It is available in a wide range of colors, finishes, and sheens, allowing you to choose the perfect look for your basement. Whether you prefer a glossy finish, a matte look, or something in between, latex paint has options to suit your style.
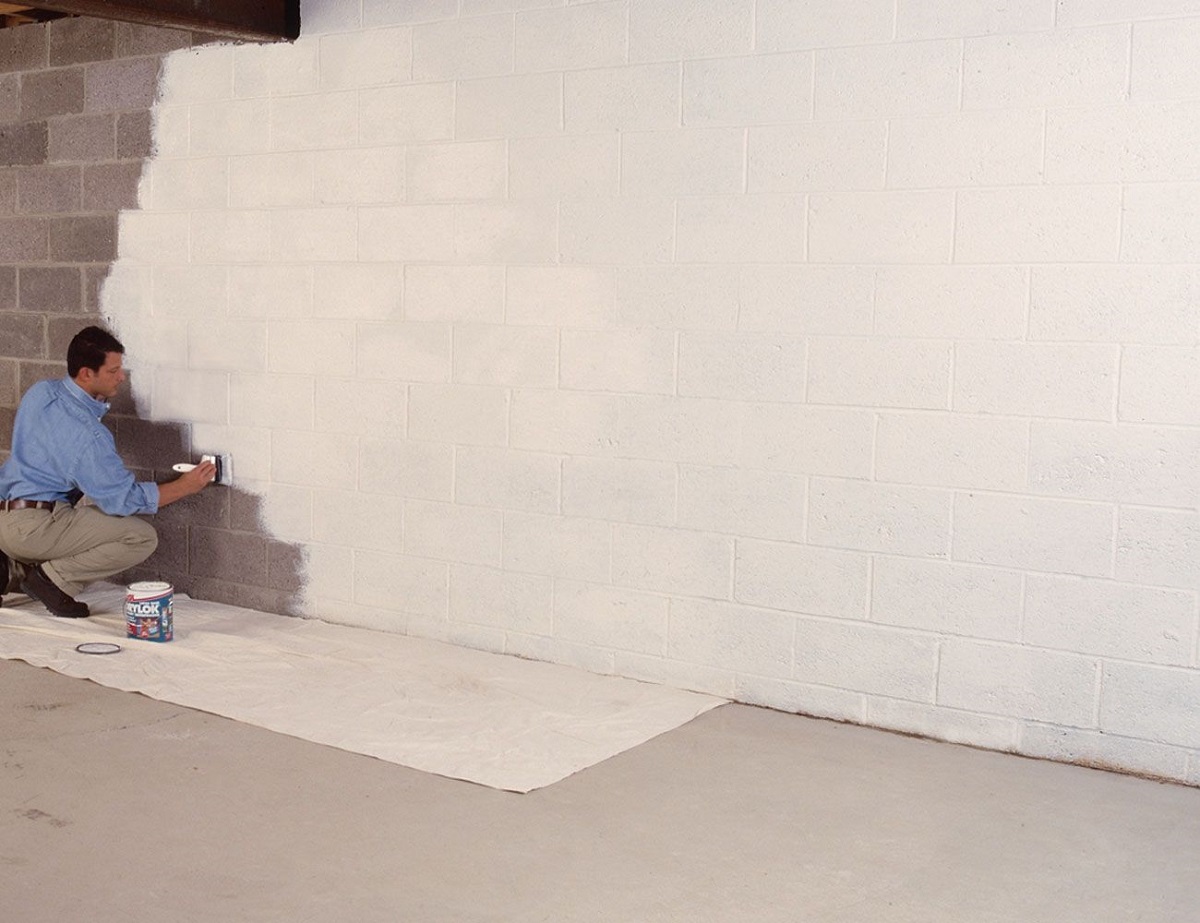
Applying latex paint to basement walls is a relatively straightforward process. Begin by preparing the surface by gently cleaning it with a mild detergent to remove any dirt or debris. Patch and repair any cracks or imperfections and ensure the walls are completely dry before applying the paint.
Using a roller or brush, start by cutting in around the edges and corners of the walls. Then, work in small sections, applying the paint in thin, even coats. Be sure to allow sufficient drying time between coats to ensure proper adhesion and a smooth finish.
Overall, latex paint is a reliable and versatile option for basement walls. Its durability, moisture resistance, and easy cleanup make it a popular choice among homeowners. Take your time to select the right color and finish, and follow proper application techniques to achieve a beautifully painted basement wall.
Now, let’s move on to explore another type of paint suitable for basement walls.
Acrylic Paint
Acrylic paint is another excellent choice for painting basement walls. Similar to latex paint, it offers several advantages that make it suitable for the basement environment.
Acrylic paint is known for its durability and ability to withstand wear and tear, making it a great option for high-traffic areas such as basements. It forms a strong and long-lasting finish that can resist chipping, peeling, and fading over time. This makes it ideal for basement walls that may encounter rough handling or potential damage.
In addition to its durability, acrylic paint provides excellent adhesion to various surfaces commonly found in basements, such as concrete, block, or drywall. It can be used on both interior and exterior basement walls, offering versatility for different areas of your basement.
One of the key advantages of acrylic paint is its ability to create a wide range of finishes. It is available in gloss, satin, and matte finishes, allowing you to choose the desired look for your basement walls. Glossy finishes can reflect light and create a brighter appearance, while matte finishes offer a more subdued and subtle effect.
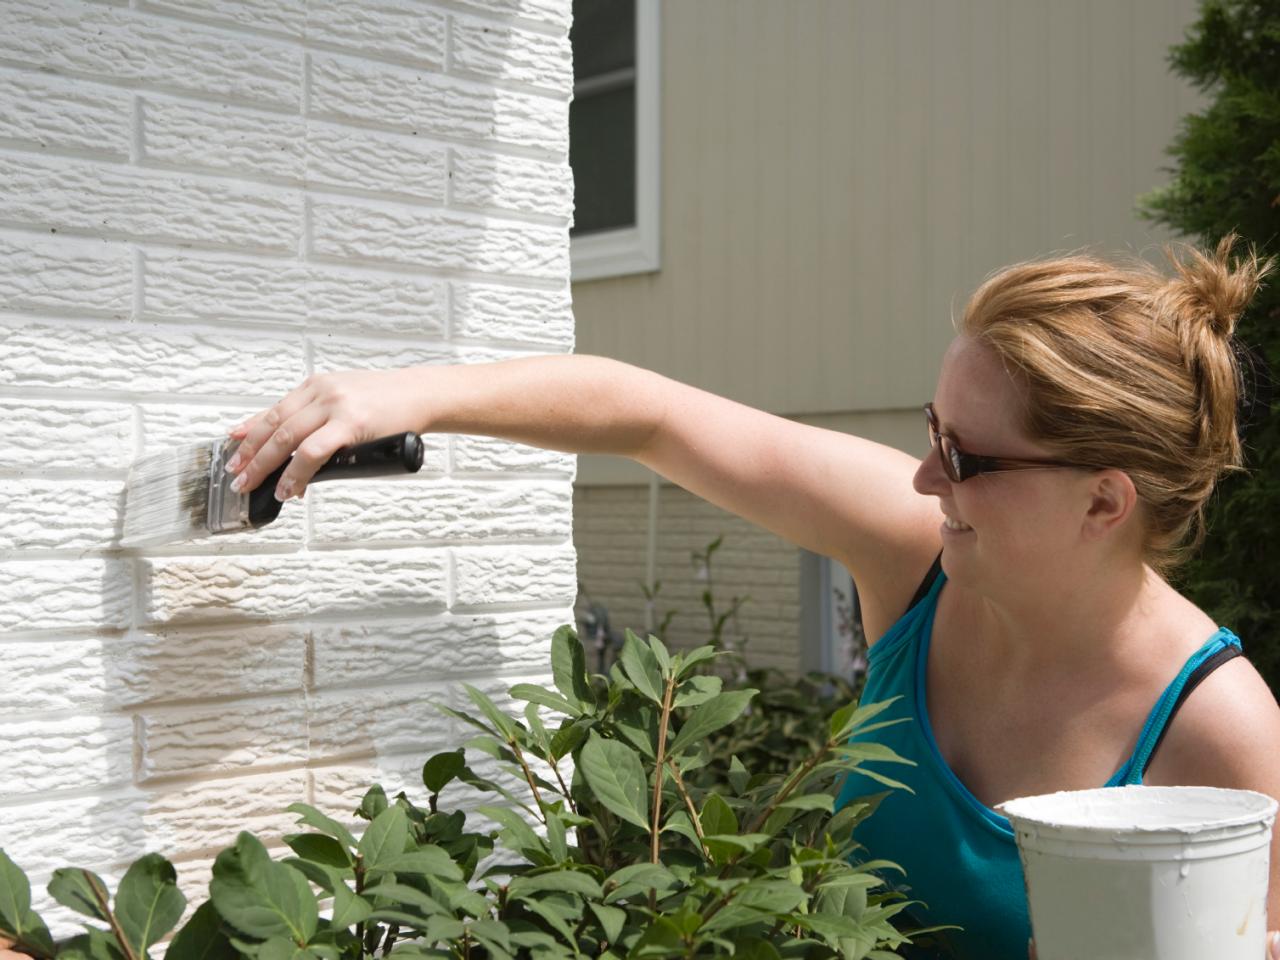
When it comes to application, acrylic paint is relatively easy to work with. Begin by preparing the surface, ensuring it is clean, smooth, and free of any dust or debris. Use a paint primer specifically designed for acrylic paint to ensure optimal adhesion and a smooth finish.
Using a roller or brush, apply the acrylic paint in thin, even coats. Start from the top of the wall and work your way down, overlapping each stroke slightly for a seamless finish. Be sure to allow sufficient drying time between coats to achieve the desired results.
It’s important to note that acrylic paint, like latex paint, is water-based and can be cleaned up easily with soap and water. This makes it a convenient choice for DIY projects, as it eliminates the need for harsh solvents or thinners.
Overall, acrylic paint is a versatile and durable option for painting basement walls. Its ability to withstand wear, create various finishes, and provide excellent adhesion makes it a popular choice among homeowners. Consider the specific needs and style of your basement when choosing the right acrylic paint for your project.
Now that we have explored acrylic paint, let’s move on to another type of paint suitable for basement walls.
When painting basement walls, use a high-quality latex paint specifically designed for masonry surfaces. This type of paint is durable, mold-resistant, and provides good coverage for concrete walls.
Read more: What Type Of Paint For Stairs
Epoxy Paint
If your basement is prone to moisture issues or has a concrete floor, epoxy paint can be an excellent choice for your basement walls. Epoxy paint is specifically designed to provide a thick, durable, and moisture-resistant coating that can protect against water damage.
Epoxy paint is known for its exceptional durability and resistance to stains, chemicals, and abrasion. It creates a thick barrier that can withstand heavy use and high traffic, making it an ideal choice for basement walls that may encounter rough handling or potential damage.
One of the key advantages of epoxy paint is its ability to adhere to a variety of surfaces, including concrete, block, and masonry. This makes it suitable for both interior and exterior basement walls. However, it’s important to properly prepare the surface before applying epoxy paint, as any cracks or imperfections should be repaired.
When it comes to application, epoxy paint typically requires a multi-step process. This includes cleaning the surface thoroughly to remove any dirt, dust, or grease. It is recommended to etch the surface using an etching solution, which helps create a rougher surface for better adhesion.
Once the surface is prepared, epoxy paint is applied in two coats: a base coat and a topcoat. It’s essential to follow the manufacturer’s instructions for the specific epoxy paint you choose, as the mixing ratio and application process may vary. Be sure to use a roller or brush that is suitable for epoxy paint to achieve a smooth and even application.
Keep in mind that epoxy paint is known for its high-gloss finish. This can add a sleek and modern look to your basement walls. However, if you prefer a different finish, such as matte or satin, there are epoxy paint options available with varying sheens.
Overall, epoxy paint is a durable and moisture-resistant option for basement walls. Its ability to withstand water damage, create a high-gloss finish, and offer excellent protection against stains and abrasion makes it a popular choice. Consider the specific conditions of your basement when deciding if epoxy paint is the right option for you.
Now that we have explored epoxy paint, let’s move on to another type of paint suitable for basement walls.
Mold-Resistant Paint
If your basement has a history of mold or mildew issues or if you simply want to take precautions against moisture-related problems, mold-resistant paint is an excellent choice for your basement walls.
Mold-resistant paint is specially formulated with additives that help prevent the growth of mold, mildew, and other fungi. These additives create a protective barrier that inhibits the development of mold spores, even in environments with higher humidity levels, such as basements.
One of the primary benefits of using mold-resistant paint is the added peace of mind it provides. It can help mitigate the risk of mold and the associated health issues that can arise from exposure to mold spores. This is especially important in basements, as the below-ground level of the house tends to have higher humidity and potential water infiltration.
Mold-resistant paint is typically available in a variety of colors and finishes, ensuring that you can find the perfect style for your basement. It can be applied to various surfaces, including concrete, drywall, and block. However, it’s crucial to properly prepare the surface by cleaning it and filling any cracks or imperfections before applying the paint.
When applying mold-resistant paint, follow standard painting techniques. Use a roller or brush to apply thin, even coats on the walls, making sure to cover all surfaces. Allow sufficient drying time between coats to ensure proper adhesion and a smooth finish.
It’s important to note that while mold-resistant paint provides an added layer of protection against mold growth, it does not completely eliminate the need to address any underlying moisture or water issues in your basement. If you have ongoing moisture problems, it’s important to identify the source and implement appropriate measures to correct the issue.
In summary, mold-resistant paint is an excellent choice for basement walls, particularly if you want to prevent mold and mildew growth. Its specialized additives help inhibit the development of mold spores, providing added peace of mind and protection for your basement environment.
Now that we have explored the different types of paint suitable for basement walls, let’s move on to the next step: preparing your basement walls for painting.
Preparing Basement Walls for Painting
Before you start painting your basement walls, it’s essential to properly prepare the surface to ensure optimal paint adhesion and a smooth, long-lasting finish. This is especially important in basements, where the walls may have unique challenges such as uneven surfaces, moisture issues, or previous water damage. Follow these steps to prepare your basement walls for painting:
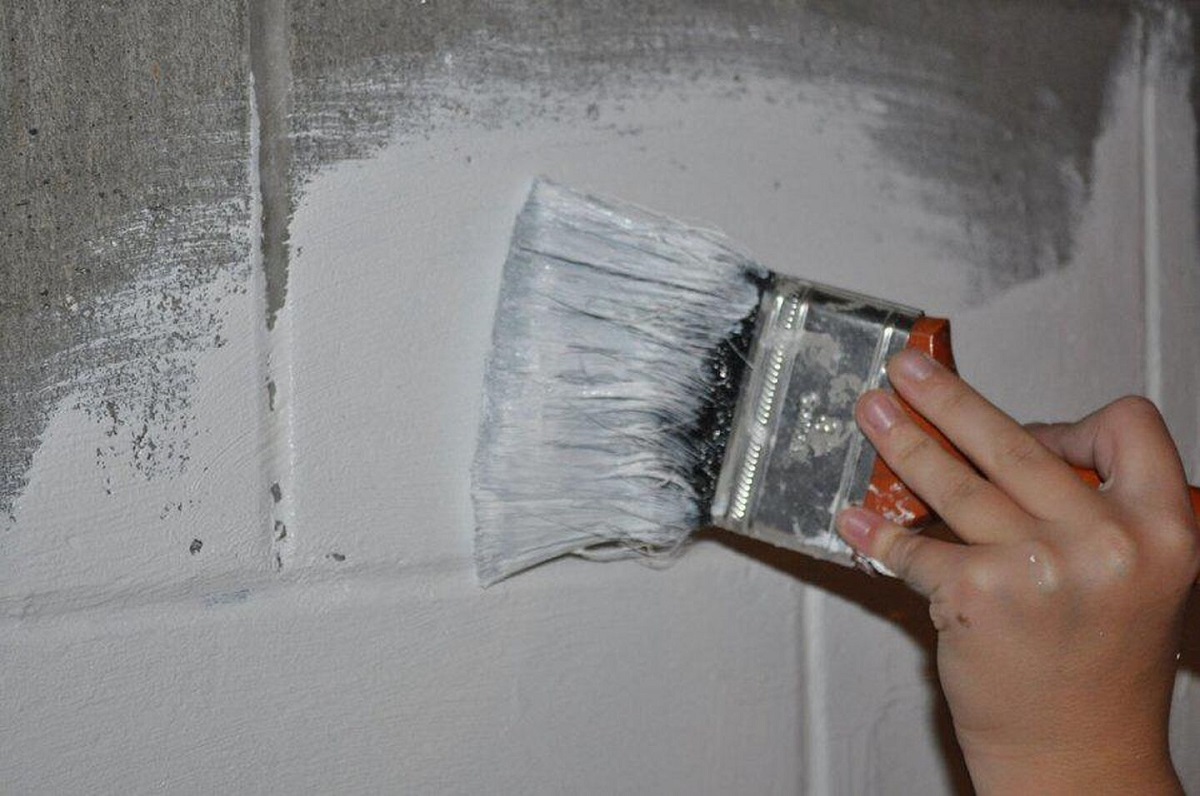
- Clean the Walls: Start by cleaning the walls to remove any dirt, dust, or grease. Use a mild detergent and water solution, and scrub the walls gently with a sponge or soft brush. Pay close attention to areas with visible stains or mold and make sure to thoroughly rinse the walls after cleaning.
- Repair Cracks and Imperfections: Inspect the walls for any cracks, holes, or other imperfections. Use a suitable patching compound to fill in these areas and use a putty knife to smooth it out. Allow the compound to dry completely and sand it lightly to ensure a smooth surface.
- Remove Loose Paint: If there are any areas with peeling or loose paint, it’s important to remove it before painting. Use a scraper or putty knife to carefully scrape away any loose paint, taking care not to damage the underlying surface. Sand the edges of the remaining paint to blend it with the rest of the wall.
- Apply a Primer: Applying a primer is crucial, especially if you’re painting over bare concrete or repairing significant wall damage. A primer helps with paint adhesion, prevents stains from bleeding through, and creates a uniform surface. Choose a primer suitable for your specific project and follow the manufacturer’s instructions for application.
- Protect the Surrounding Area: Before you begin painting, protect the surrounding areas, such as floors and furniture, with drop cloths or plastic sheets. This will help prevent any accidental spills or splatters from damaging your basement’s belongings.
By following these preparation steps, you will create a clean and smooth surface for your paint to adhere to, ensuring a more professional-looking and long-lasting finish. Don’t rush through this process, as proper preparation is key to achieving the best results for your basement walls.
Now that your basement walls are prepped and ready, it’s time to move on to the next step: applying the paint. Continue reading to discover application tips and techniques for painting basement walls.
Application Tips for Painting Basement Walls
Now that your basement walls are prepared, it’s time to start painting. Follow these application tips to ensure a smooth and professional-looking finish:
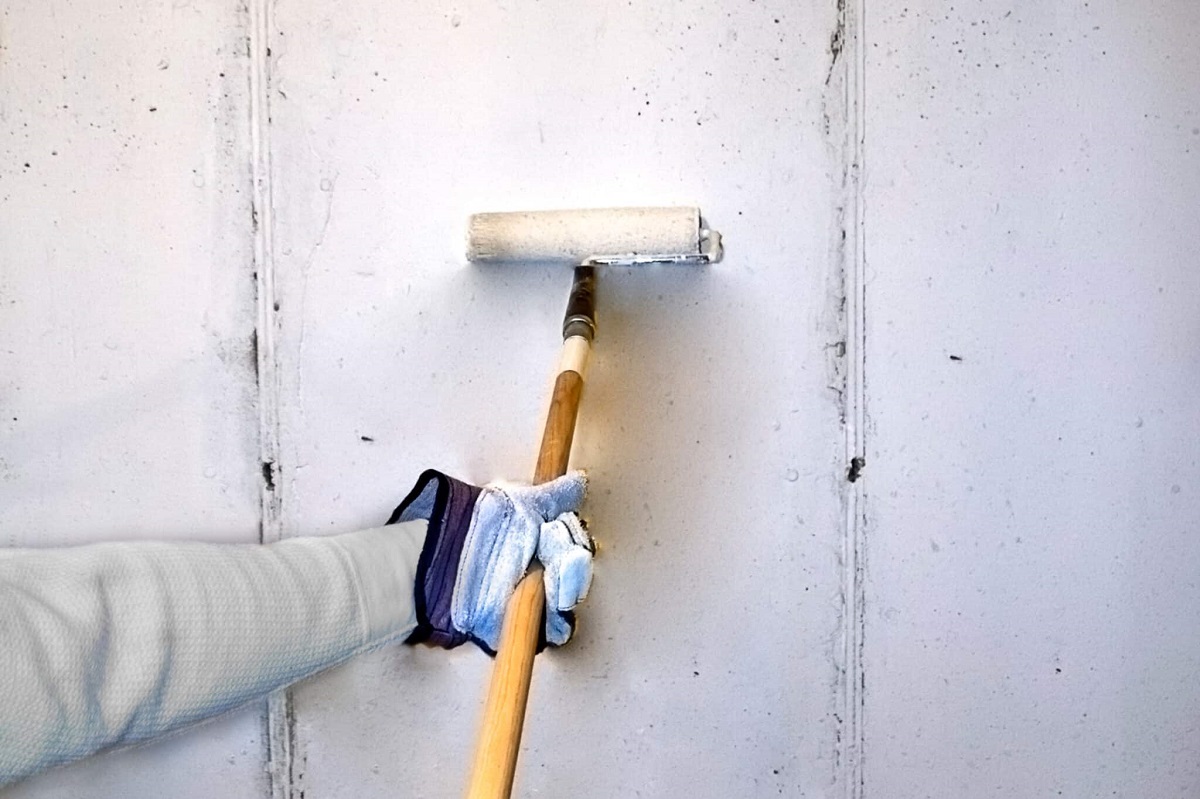
- Choose the Right Paint Tools: Select high-quality paint tools that are suitable for the type of paint you’re using. Invest in a good roller and brush that are specifically designed for the type of paint you’ve chosen. This will help ensure even coverage and reduce the risk of visible brushstrokes or roller marks.
- Start with Cutting In: Before applying paint to the larger areas of the wall, start by cutting in around the edges and corners. Use a brush to carefully paint a border along the edges where the roller may not reach easily. This will create a clean and precise finish when you use the roller on the larger surfaces.
- Work in Small Sections: Painting large areas of the basement walls all at once can lead to visible lap marks, especially if the paint dries too quickly. To avoid this, work in small sections at a time. Start from the top of the wall and work your way down, maintaining a wet edge as you apply the paint.
- Apply Thin, Even Coats: Apply the paint in thin, even coats for better adhesion and a smoother finish. Avoid overloading the brush or roller with too much paint, as this can result in drips or an uneven application. It’s better to apply multiple thin coats, allowing each layer to dry before proceeding.
- Use Proper Ventilation: Basements often have limited ventilation, so it’s important to ensure adequate airflow while painting. Open windows or use fans to improve air circulation. This will help the paint dry properly and prevent any strong odors from lingering in the basement.
- Allow Sufficient Drying Time: Patience is key when it comes to painting basement walls. Allow each coat of paint to dry completely before applying the next one. Follow the manufacturer’s instructions for recommended drying times, as they may vary depending on the type of paint you’re using and the humidity levels in your basement.
- Inspect and Touch Up: Once the paint has dried, inspect the walls carefully for any missed spots, drips, or uneven areas. Touch up these areas with a small brush, blending them seamlessly with the rest of the wall. This attention to detail will ensure a professional-looking finish.
By following these application tips, you’ll have a smoother and more enjoyable painting experience. Take your time, work in small sections, and maintain a consistent application technique for the best results.
Once you’ve finished painting, allow the paint to cure fully according to the manufacturer’s instructions before enjoying your newly transformed basement space.
Now that you have a well-painted basement, it’s time to stand back and appreciate the beautiful results you’ve achieved. With the right paint choice, proper surface preparation, and careful application, you’ve successfully transformed your basement walls into a functional and visually appealing space.
Still, have questions? Consult with a paint specialist or professional for further guidance tailored to your specific project. Happy painting!
Read more: What Type Of Paint To Whitewash Brick
Conclusion
Choosing the right paint for your basement walls can make a significant difference in transforming the space into a functional and inviting area. By considering factors such as moisture resistance, surface preparation, durability, cleanup, and color, you can ensure that your basement walls are not only visually appealing but also able to withstand the unique challenges of the basement environment.
In this article, we explored several types of paint suitable for basement walls, including latex paint, acrylic paint, epoxy paint, and mold-resistant paint. Each type has its own advantages and considerations, allowing you to choose the one that best fits your specific needs and preferences.
We also discussed the importance of properly preparing your basement walls before painting, including cleaning, repairing cracks, and applying a primer. These steps ensure the best possible adhesion and a smooth, professional-looking finish.
Additionally, we provided application tips such as using the right paint tools, starting with cutting in, working in small sections, applying thin and even coats, ensuring proper ventilation, allowing sufficient drying time, and inspecting and touching up as needed.
By following these guidelines and taking the time to select the right paint and prepare your basement walls, you can achieve exceptional results. A well-painted basement not only enhances the aesthetics of the space but also improves its functionality and durability.
Remember, proper maintenance is crucial to ensuring the longevity of your basement walls. Regular cleaning and addressing any moisture issues promptly will help preserve the integrity of the paint and prevent any potential damage or mold growth.
Now, armed with knowledge about the different types of paint, surface preparation, and application techniques, you can confidently embark on your basement painting project. Enjoy the process, and may your basement walls become a testament to your creativity and personal style.
Frequently Asked Questions about What Type Of Paint For Basement Walls
Was this page helpful?
At Storables.com, we guarantee accurate and reliable information. Our content, validated by Expert Board Contributors, is crafted following stringent Editorial Policies. We're committed to providing you with well-researched, expert-backed insights for all your informational needs.


0 thoughts on “What Type Of Paint For Basement Walls”